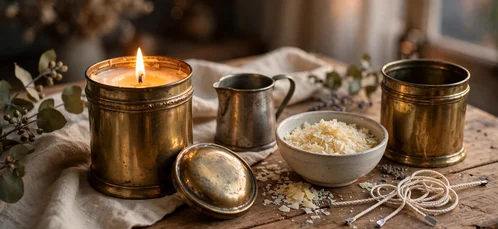
Yes, you can make DIY candles from repurposed candy dishes, and a thrifted glass candy dish can become a safe, beautiful soy candle, but only if the glass passes a heat test first. Not every pretty dish is candle safe. Thin pressed glass, dishes with chips or cracks, and glass that feels feather light can crack when hot wax goes in or when the candle burns. The fix is simple and takes ten minutes: fill the dish with hot tap water, leave it for ten minutes, and check for cracks, clouding or any change in the glass. If it passes, you have a candle vessel that cost a dollar or two and looks like it came from a boutique.
Once the dish passes, the rest is straightforward kitchen craft. Soy wax flakes, a cotton wick sized to the dish diameter, a pouring pitcher and a thermometer are all you need. This tutorial walks you through the heat test, the wax maths, the pour, the cure and the styling, so your first dish candle burns cleanly and looks gift worthy.
Why DIY Candles from Repurposed Candy Dishes Work So Well
A candy dish already has everything a candle vessel needs. It is wide, so the wax pool spreads evenly. It is shallow, so the flame stays visible and the scent throws well. And most thrifted dishes come with a lid, which keeps dust off the wax between burns and turns the finished candle into a gift that looks finished rather than homemade. I found my first dish at a flea market for a dollar, and it still sits on my coffee table years later.
The wide opening is the real advantage. A narrow jar traps heat and soot, while a wide dish lets the wax melt all the way to the edge, so you avoid the tunnel that ruins so many jar candles. A dish between four and six inches across gives you a generous melt pool without needing a huge amount of wax, and the low profile means the flame sits below the rim for the first few burns, which looks calm and intentional.
The lid is more than decoration. Soy wax picks up dust and kitchen smells when left uncovered, and a lid keeps the surface clean. It also lets you gift the candle without wrapping it in layers of tissue. Just tie a ribbon around the lid and add a sprig of dried lavender, and the dish does the presenting for you.
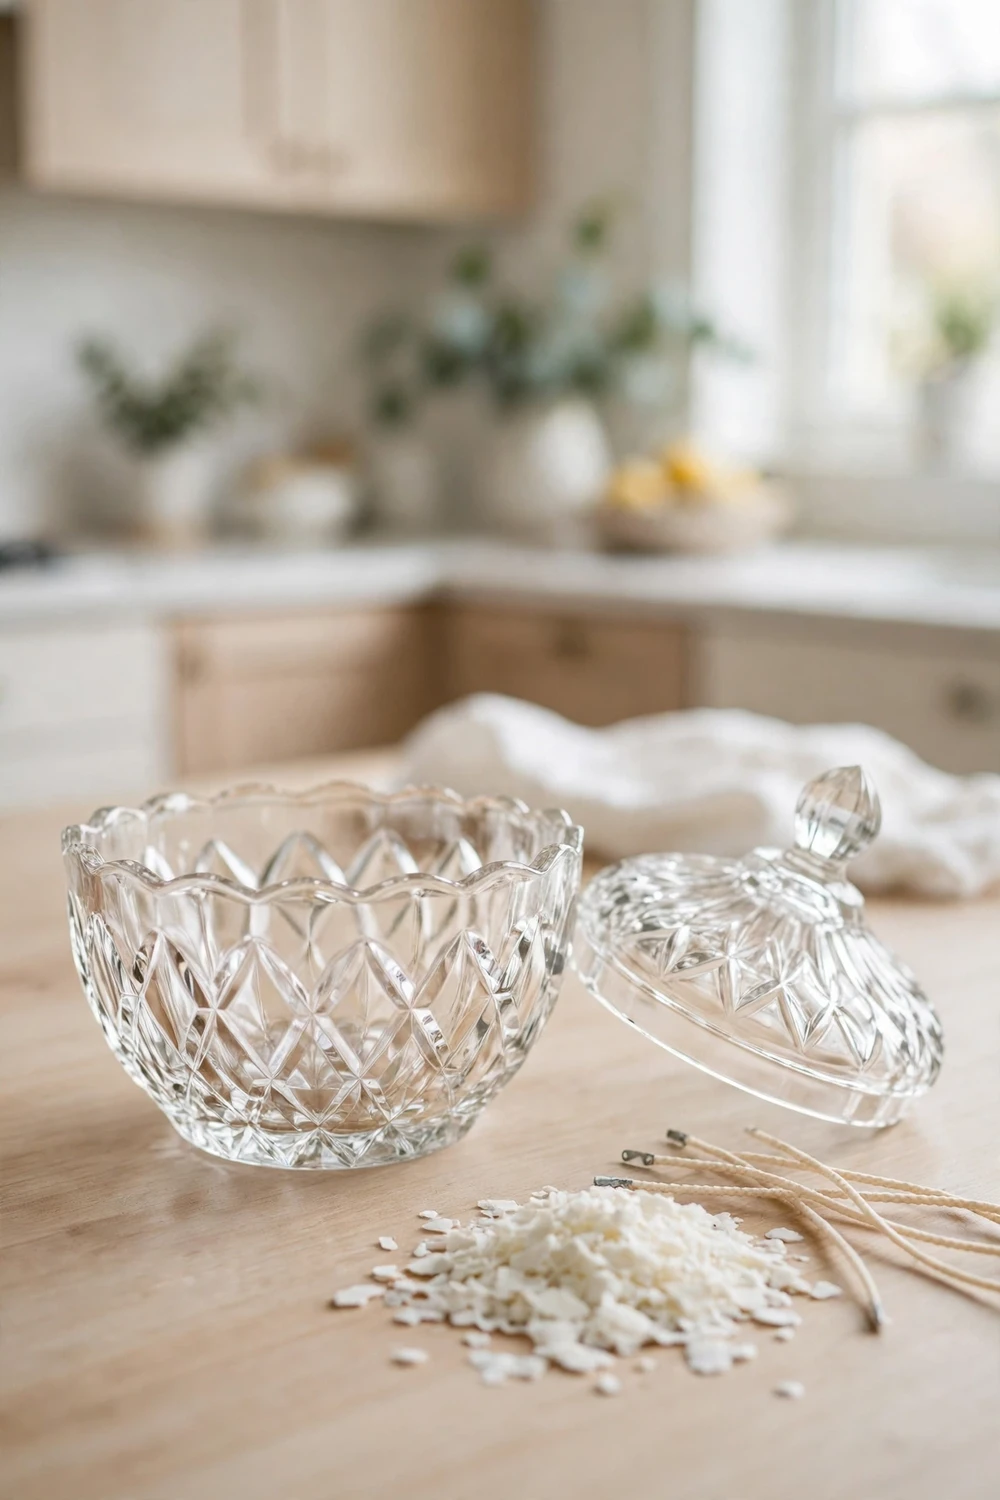
Before you buy, hold the dish up to the light. Look for bubbles, thin spots and any chip on the rim or the base. A dish with a thick, even base and a solid feel in the hand is the one to take home. Leave behind anything that feels paper thin, anything with a crack you can feel with a fingernail, and any dish with gold or metallic paint on the inside, since that paint can flake into hot wax.
The Heat Test Every Dish Must Pass First
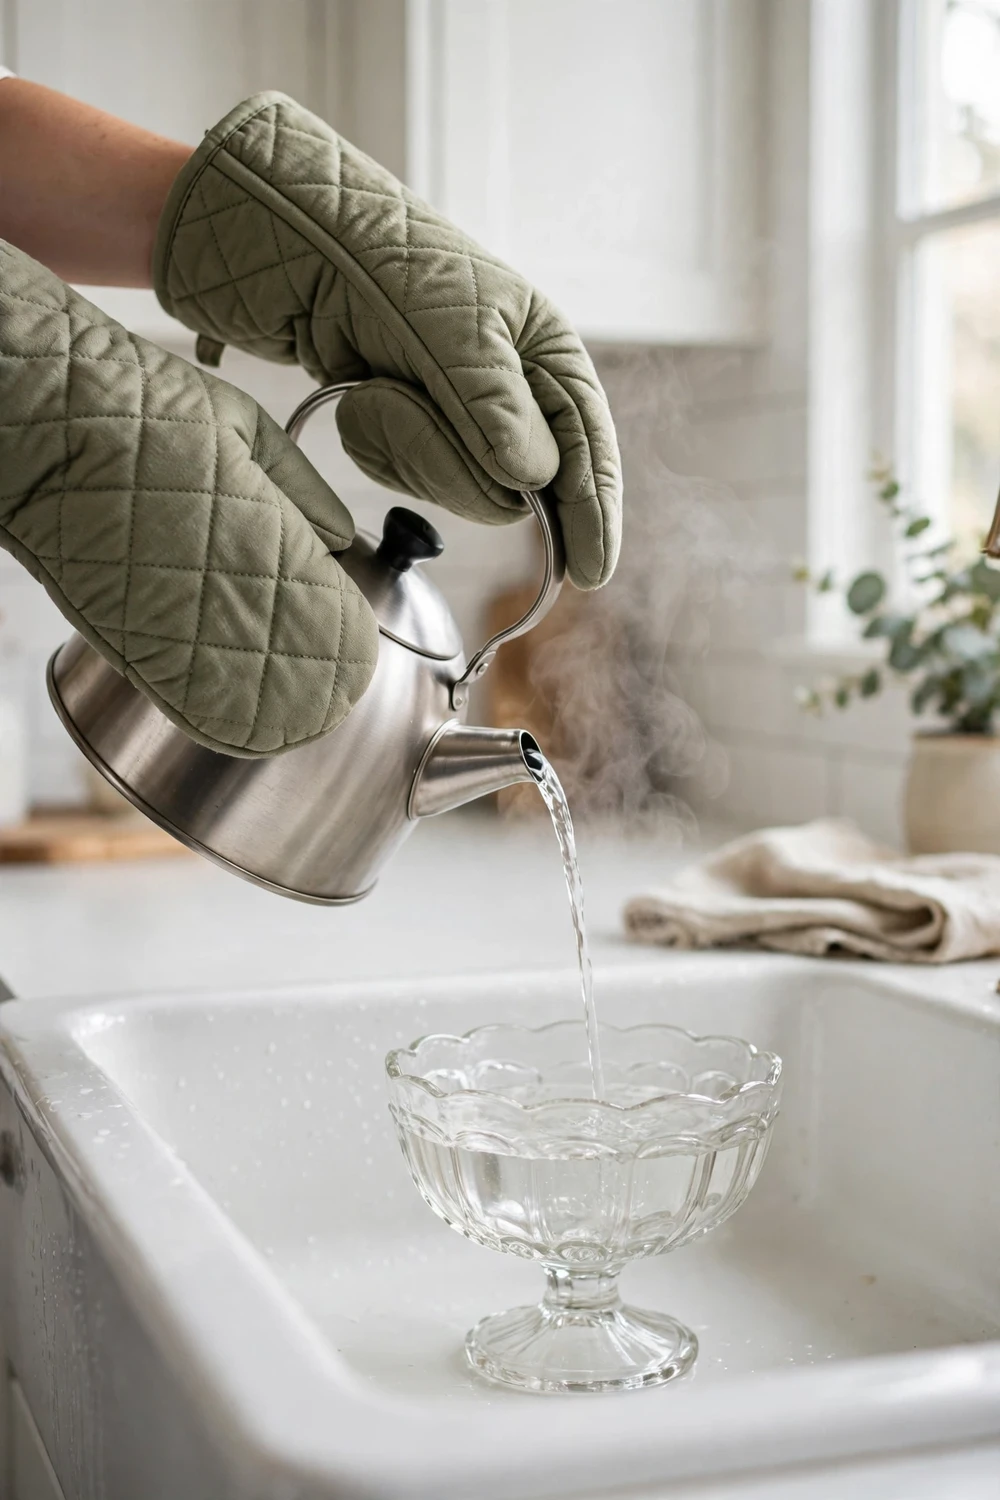
This is the step that separates a safe candle from a risky one, and it takes ten minutes. Fill the dish with the hottest water from your tap, set it in the sink, and leave it for ten minutes. Then empty it, dry it, and inspect it closely in good light. Look for new cracks, fine lines that were not there before, clouding in the glass, or any spot that feels different to the touch. If anything has changed, the dish fails. Use it for cotton balls or paper clips instead, and find another dish for your candle.
The water test works because it mimics what hot wax does to glass, without the mess. Hot wax is poured at around 135 degrees Fahrenheit, which is close to very hot tap water, and a burning candle keeps the glass warm for hours. A dish that survives ten minutes of hot water without complaint will handle wax without trouble. A dish that cracks in water would have cracked with wax, and wax on a table is a far bigger problem than water in a sink.
Do the test even if the dish looks sturdy. I once tested a heavy looking dish that seemed perfect, and a hairline crack appeared along the base within five minutes. That crack would have let hot wax seep onto my table during the first burn. Ten minutes in the sink saved me a ruined tablecloth and a scare, and it is now a habit I never skip.
After the test, wash the dish with warm soapy water and dry it completely. Any water left inside will make the wax sputter and can cause wet spots on the finished candle surface. Set the dish on a towel for half an hour, then wipe the inside with a dry cloth just before you pour. A dry, room temperature dish gives you the cleanest pour and the smoothest top.
Wax and Wick Maths by Dish Size
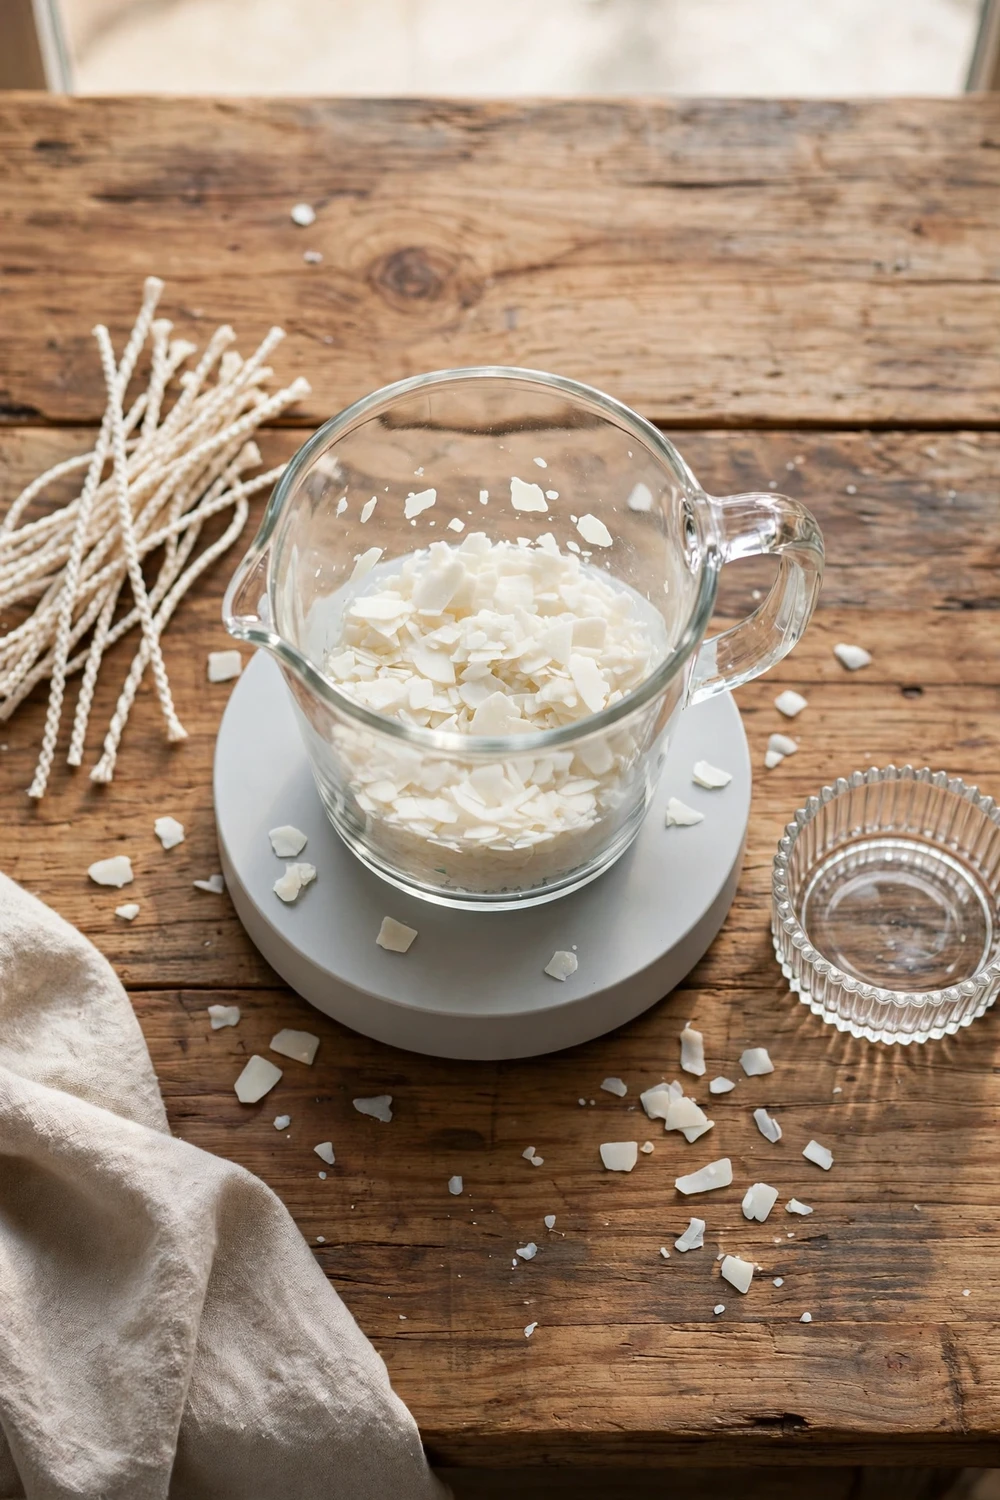
Wide dishes need more wax than they look like they need, and they need more wick than a jar of the same volume. The reason is the diameter. A flame has to melt wax all the way to the rim, and one small wick in a wide dish leaves a ring of unmelted wax around the edge. That ring never melts in later burns either, so the candle tunnels and wastes wax.
The maths is simple once you know the dish diameter. Measure across the widest inside point of the dish, not the rim outside. Then use the table below to find the wax weight and the wick setup. The wax weights assume you fill the dish to about half an inch below the rim, which is the safe fill line for a shallow vessel. The wick sizes are for a standard cotton wick in pure soy wax. Wooden wicks are covered a little later.
| Dish diameter | Soy wax flakes | Wicks needed | Wick size |
|---|---|---|---|
| Up to 4 inches | About 4 ounces | 1 wick | Small, 6 ply cotton |
| 4 to 5 inches | About 6 ounces | 1 wick | Medium, 6 ply cotton |
| 5 to 6 inches | About 8 ounces | 2 wicks | Small, 6 ply cotton each |
| 6 to 7 inches | About 11 ounces | 2 wicks | Medium, 6 ply cotton each |
| Over 7 inches | About 14 ounces | 3 wicks | Small, 6 ply cotton each |
For a double wick dish, space the wicks evenly, each about a third of the way in from the rim on opposite sides, so their melt pools meet in the middle. For a triple wick dish, place them in a triangle. Keep at least an inch between any wick and the glass edge, because a wick too close to the wall heats one spot and can crack even a tested dish.
How much wax for a candle dish is a question every beginner asks, and the honest answer is to weigh it rather than guess it. Fill the dish with water to the fill line, pour the water into a measuring jug and note the volume. One fluid ounce of water equals about one ounce of wax flakes, so the water weight tells you the wax weight. Write the number on masking tape under the dish and you will never remeasure it.
Wick size by dish diameter matters more than wick size by wax weight, because the wick has to heat the surface, not the depth. A wick that is too large will burn hot and fast, smoke and leave soot on the glass, while one that is too small will drown in its own melt pool. If you are unsure between two sizes, choose the smaller one and test burn the candle.
Fragrance oil is measured by weight as a share of the wax weight, usually six to ten percent for soy wax. A six ounce wax pour at eight percent needs about half an ounce of oil. More oil does not mean a stronger candle. Too much can pool on the surface and smoke, so stay inside the range on the bottle label and weigh it on the kitchen scale.
Tools, Wax and Fragrance to Gather Before You Start
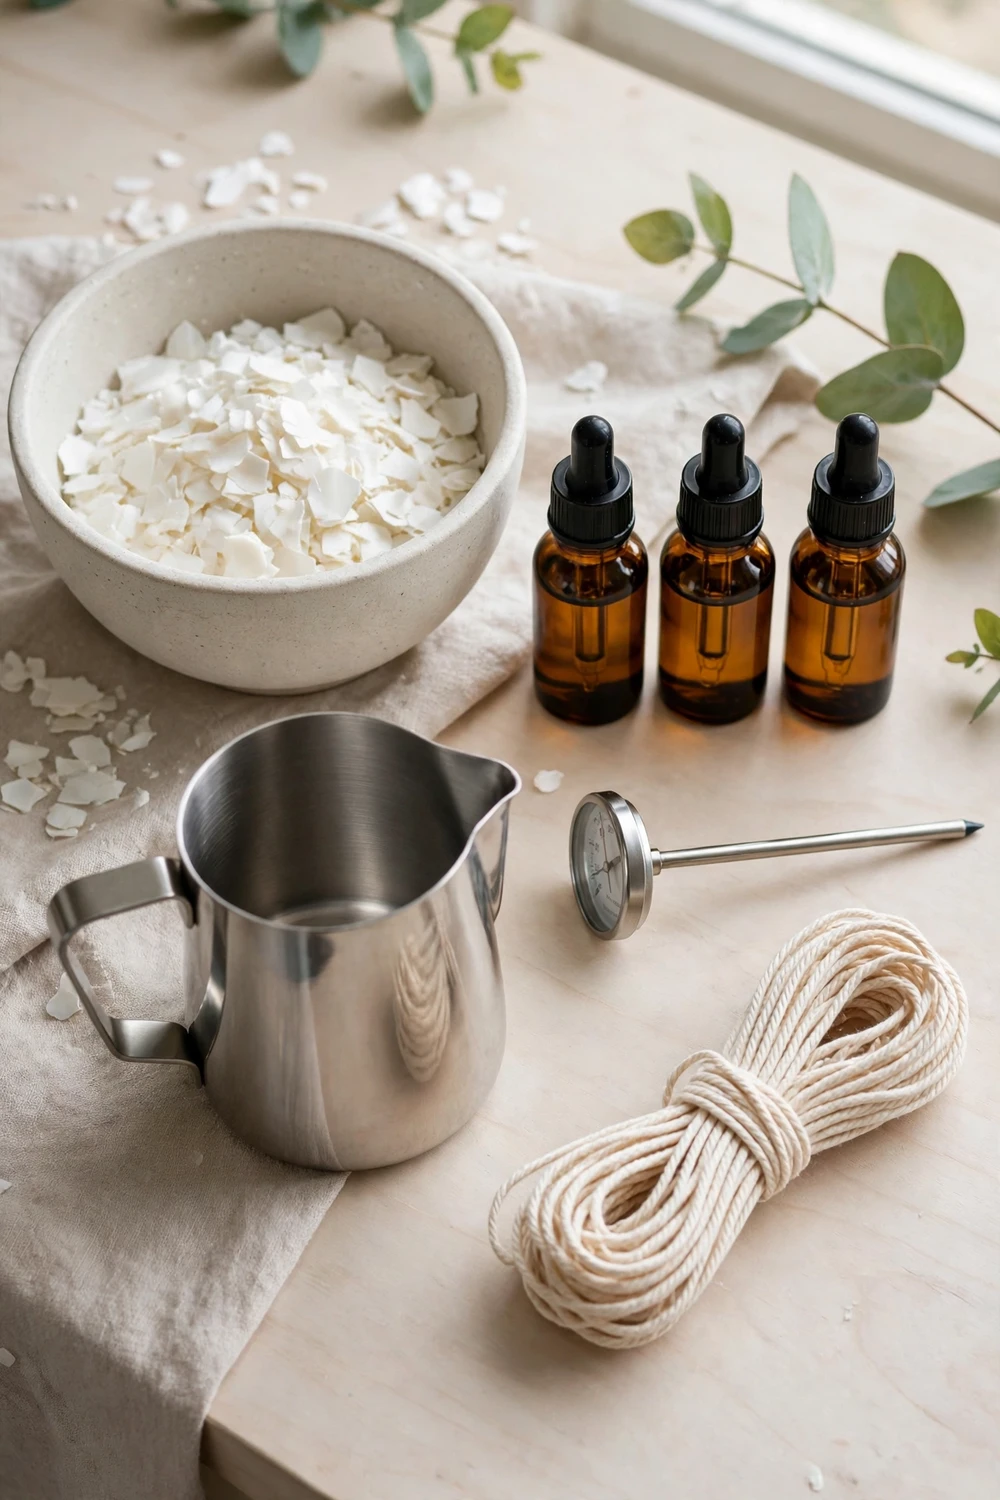
Good candle making is mostly preparation. Once wax is melted, everything moves quickly, and you do not want to be hunting for a wick sticker while the wax cools past pouring temperature. Lay out every item before the heat goes on, and the whole pour will take less than half an hour.
Soy wax flakes are the best choice for candy dishes. Soy wax burns cooler than paraffin, which is kinder to glass, and it holds fragrance well in a wide shallow pool. Buy flakes rather than blocks, because flakes melt evenly and are easy to weigh. A five pound bag covers roughly ten medium dishes, so a single bag is enough for a whole gifting batch.
You will need a pouring pitcher, a thermometer, a kitchen scale, wick stickers, wick bars or chopsticks, and a long lighter. A double boiler is ideal for melting, but a large saucepan with a few inches of water and a heatproof jug set inside works just as well. Never melt wax directly in a saucepan over a flame. Direct heat can scorch the wax, while gentle water bath heat keeps the temperature under control.
Choose fragrance oil made for candles, not diffuser blends and not perfume. Candle fragrance oils are tested to burn safely in wax, while essential oils need lower amounts and some, like cinnamon bark oil, can smoke badly. If you are making candles as gifts, stick with candle fragrance oils and note the scent name on the label under the dish.
Wick stickers hold the wick tab to the base of the dish. They are small double sided foam dots, and one per wick is enough. Press the tab firmly and hold it for five seconds. In a wide dish, also prepare a wick bar, a small stick laid across the rim with the wick threaded through its centre hole, or a pair of chopsticks balanced across the top. Either one keeps the wick upright and centred while the wax sets. A wick that leans will burn against the glass, so this small step is worth doing properly.
Protect your work surface with newspaper or a silicone mat, and keep paper towel nearby. Soy wax wipes up easily while warm but sets hard once cool. Do not move a freshly poured dish for at least an hour, because even a small knock can shift the wick, and a shifted wick cannot be fixed once the wax firms up.
Melting, Scenting and Pouring Soy Wax Step by Step
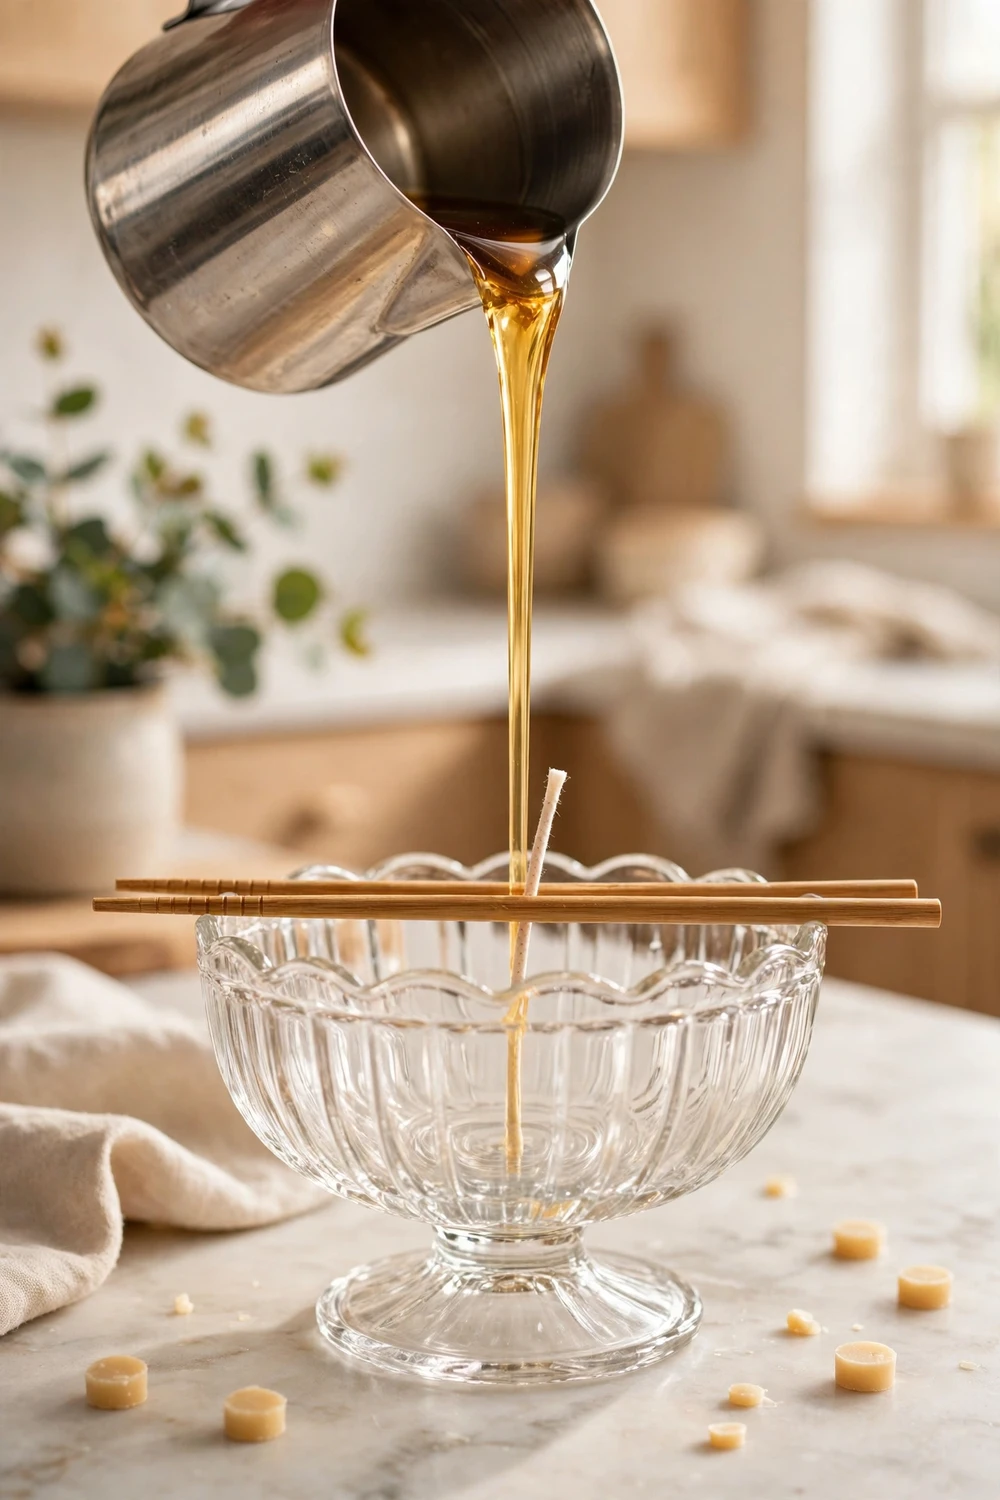
Pouring is where the craft shows. The steps are not hard, but the temperatures matter. Soy wax poured too hot can crack a dish, sink in the middle as it cools and pull away from the glass. Poured too cool, it sets lumpy and traps air. The window is generous if you watch the thermometer, so take your time and trust the numbers rather than guessing by eye.
Weigh your flakes on the kitchen scale using the amounts from the table in the earlier section. Pour them into the pitcher and set the pitcher in the water bath over medium heat, stirring every couple of minutes. Soy wax melts fully at about 170 to 180 degrees Fahrenheit, turning into a clear golden liquid with no lumps at all.
Take the pitcher off the heat when the wax reaches about 185 degrees and add the fragrance oil. Pour the weighed oil in and stir slowly for a full two minutes. Slow stirring matters because fast stirring whips in air bubbles that later show up as tiny holes in the surface, while steady stirring binds the oil into the wax so the scent throws evenly.
Let the wax cool to about 135 degrees before pouring. This is the pouring temperature that gives soy wax a smooth top in a shallow dish. While it cools, stick your wicks to the base of the dish and centre them with the wick bars or chopsticks. Check the placement from above and from the side. A wick that looks centred from above can still lean, and a lean shows up as an uneven melt pool on the first burn.
Pour slowly, in one steady stream, aiming at the centre of the dish rather than at the wick. A slow pour traps less air and keeps the wick standing straight. Stop at the fill line, about half an inch below the rim, because a dish filled to the brim leaves no room for the melt pool to rise and hot wax near the rim is a burn risk when the candle is moved.
Leave the dish completely alone for at least four hours at room temperature. Do not put it in the fridge or the freezer to speed things up. Fast cooling makes soy wax pull away from the glass and leaves wet spots, those cloudy patches where wax has separated from the wall. If the top sets with a small dip in the centre, that is normal for soy wax, and a quick top up pour of a little melted wax will level it.
Setting the Wick and Letting the Candle Cure
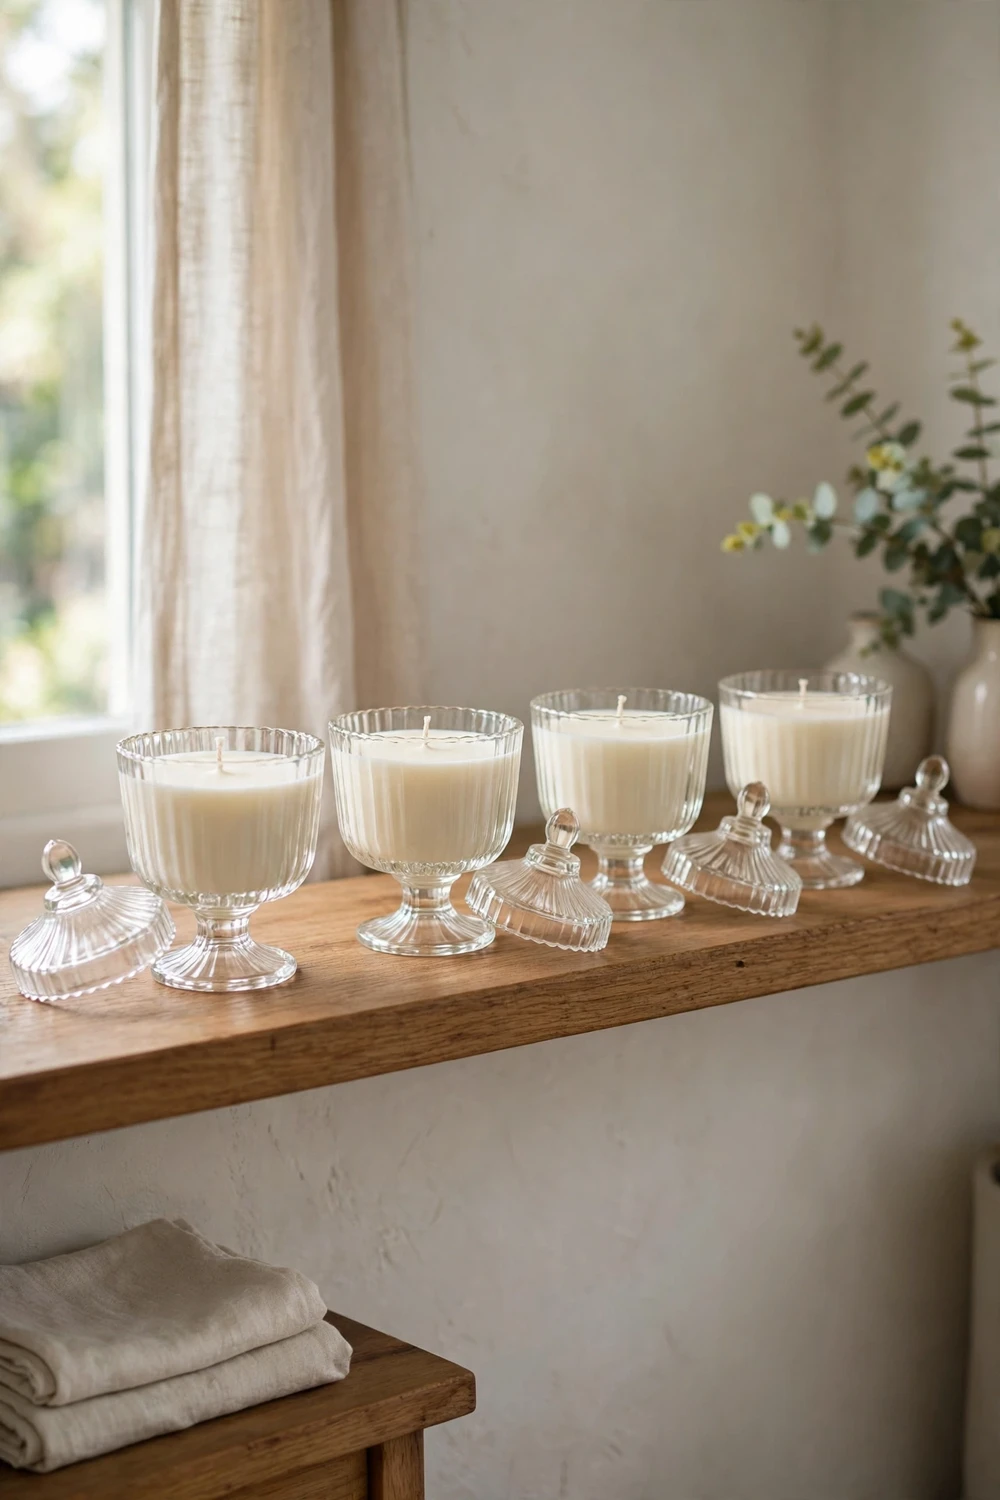
Curing is the quiet part of candle making and the part beginners most often skip. Curing means leaving the finished candle alone so the wax and fragrance oil bond fully. A candle burned the day it is poured will smell faint, no matter how much oil you added. The same candle burned a week later will smell twice as strong. Patience is the ingredient that costs nothing and changes everything.
Soy wax needs at least seven days of curing, and ten to fourteen days is better for a wide dish with a large scent load. Put the lid on, set the candle on a shelf out of direct sunlight and leave it alone. Sunlight fades coloured wax and warms the surface unevenly, so a cool cupboard shelf or a shaded bookcase is the right spot.
While the candle cures, trim the wick to a quarter of an inch. Do this after the wax has fully set, not while it is still soft. A freshly trimmed wick lights cleanly and burns with a steady flame, while a wick left long from the pour will mushroom at the tip, smoke and drop soot into the wax.
The first burn matters more than any other. Light the candle and let it burn until the melt pool reaches the rim all the way around, which usually takes one to two hours. This first full melt pool sets the memory of the candle. If you blow it out after twenty minutes, the candle will tunnel in later burns and leave a ring of wasted wax at the edges.
After each burn, let the wax cool and harden fully before moving the dish or replacing the lid, because warm wax sloshes and a lid placed on it traps heat. Once cool, check the wick and trim it again if needed. A well made soy candle in a candy dish should give thirty to forty hours of burn time, depending on the dish size.
Stop burning when about half an inch of wax is left in the dish. A flame burning with almost no wax left heats the glass directly, and even a dish that passed the heat test can crack when the wax runs out. Half an inch is also the point where the wick tab sits close to the base and can get hot enough to scorch. Tell gift recipients this rule too, because they will not know it unless you do.
Scents That Suit Each Season
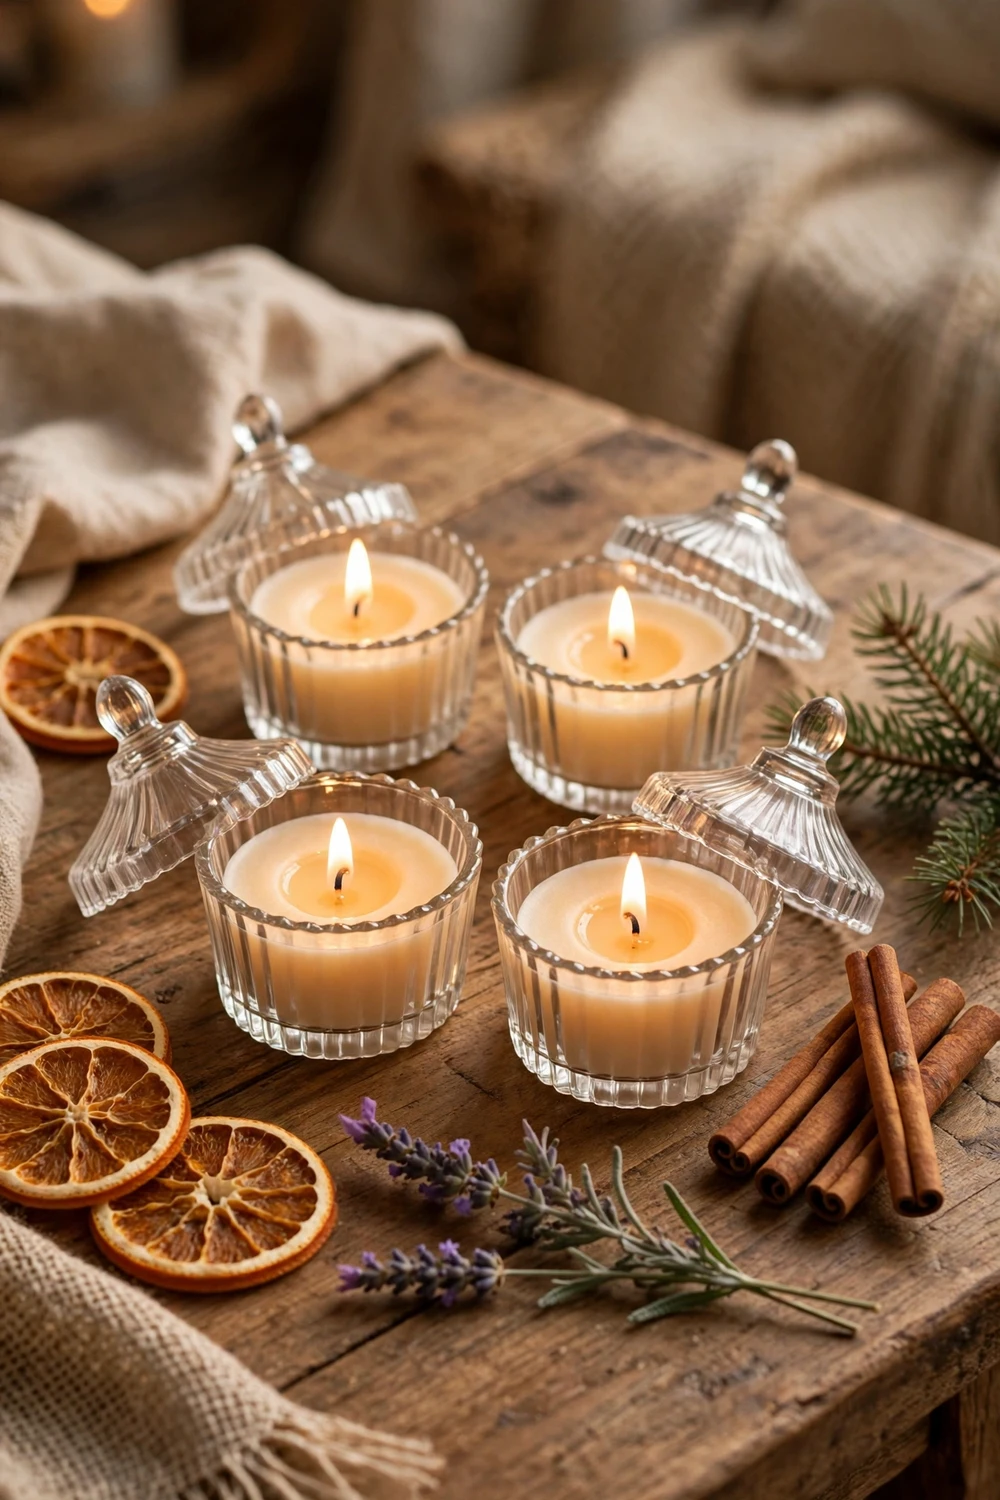
A wide dish throws scent generously, so a little fragrance goes a long way, and the right scent makes the candle feel made for the moment. Seasonal scents are the easiest way to choose. The table below gives a starting blend for each season, using candle fragrance oils at the usual six to ten percent load.
| Season | Scent blend | Best setting |
|---|---|---|
| Spring | Lilac with a touch of green leaves | A bright windowsill or a spring table |
| Summer | Sea salt with citrus and driftwood | A patio table or a breezy living room |
| Autumn | Apple cider with cinnamon and clove | A cosy reading corner or a hallway console |
| Winter | Pine with cedar and a hint of vanilla | A mantelpiece or a festive dining table |
| All year | Vanilla bean with warm amber | A bedroom, a bathroom or a gift for anyone |
Spring scents should be light. Lilac and fresh linen work well in a shallow dish because the wide melt pool releases them quickly without becoming heavy. Avoid strong florals in small rooms, because a wide dish can fill a bedroom in minutes.
Summer calls for freshness. Citrus, sea salt and herbal blends suit warm weather and open windows. A citrus candle on a patio table looks lovely, but keep it out of direct sun while it burns, because sunlight warms the wax and makes the flame uneven. Shade, or a table just inside the door, is the better spot.
Autumn and winter are when candy dish candles earn their place. Spiced apple, cinnamon, pine and cedar all feel right in cooler months, and the wide flame of a double wick dish gives a warm glow a narrow jar cannot match. These are also the best seasons for gifting. Make your autumn batch in September so it has cured fully by the time the cold evenings arrive.
If you are unsure whether a scent will suit a room, test it in the smallest dish you have before committing to a batch. One small pour, cured for a week and burned for an hour, tells you everything. A scent that smells perfect from the bottle can be too strong or too weak in wax, and a test candle costs very little. This is the kind of small habit that separates candles people love from candles that sit unlit on a shelf.
Styling and Gifting Your Finished Candy Dish Candles
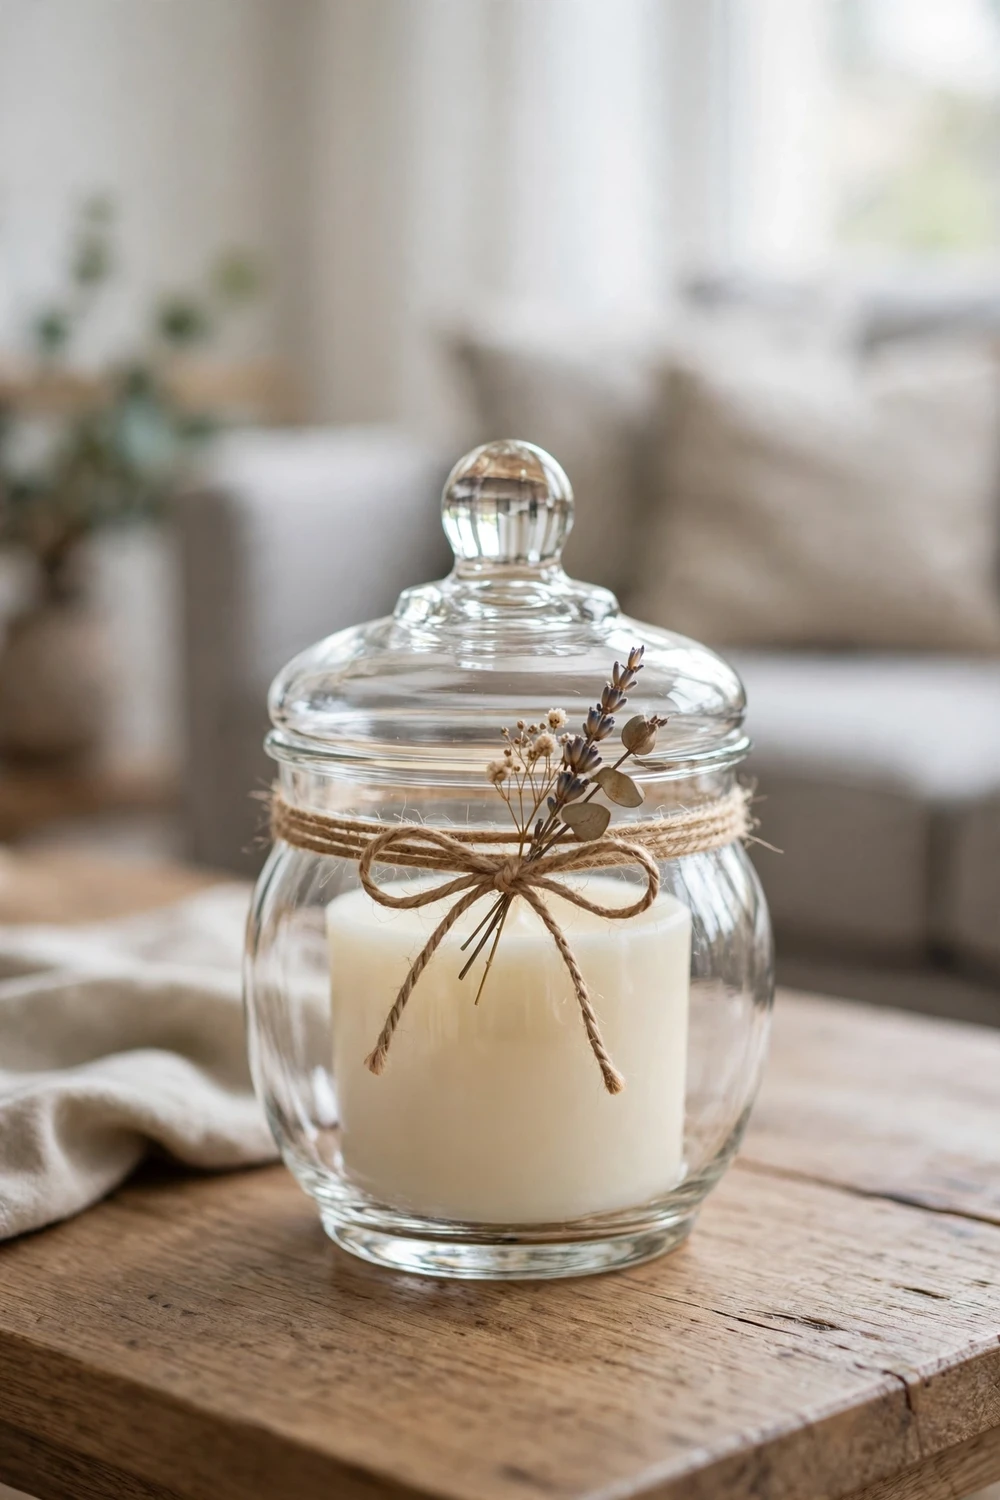
A finished candy dish candle is already decorative, so styling it takes very little effort. Place it where the light can reach it, because cut glass throws tiny patterns on the wall when the flame is lit. A coffee table, a mantelpiece or a dining sideboard all work. Avoid a high shelf, because you need to reach the candle safely to light it and trim the wick.
On a dining table, a candy dish candle makes an easy centrepiece. It sits low, so it never blocks conversation across the table, and the lid can be set beside it as a small tray for the wick trimmer or a matchbox. Our roundup of simple dining table centrepiece ideas that look expensive shows how a low glass piece anchors a table without crowding it. For a more modern table, the modern dining table centrepiece ideas collection offers the same low, uncluttered approach.
In a bedroom, a candy dish candle belongs on a dresser or a bedside table, never on the bed itself. A soft vanilla or lavender scent suits the room, and the lid keeps dust off the wax between uses. For styling ideas that pair well with candlelight, see our romantic bedroom ideas for a dreamy makeover and the elegant guest bedroom ideas for adults.
Gifting is where these candles shine. A candy dish candle looks like a shop bought gift the moment the lid goes on, and it costs far less than a boutique candle of the same size. Tie a ribbon around the lid, tuck a dried flower sprig under the ribbon, and add a small card with the scent name and the two safety notes: trim the wick before each burn and stop with half an inch of wax left. Those two lines show the gift was made with care, not just poured and wrapped.
Make gifting easier by working in small batches of one scent. Six matching dishes in one scent, poured on the same day and cured together, give you six ready gifts for birthdays, housewarmings and holidays. Keep one for yourself so you know exactly how the batch burns.
For a different take on thrifted candle vessels, the thrifted brass canister candle tutorial shows how a metal vessel changes the whole look and feel of a candle. Brass gives a warm, moody glow where glass gives a bright, clear one. The two projects sit nicely together on a shelf, and a brass canister beside a glass candy dish makes a gift set that looks considered rather than thrown together.
Questions Readers Ask Before Lighting Their First Dish Candle
Can any glass dish be used for a candle?
No. Use only sturdy soda lime glass, milk glass or thick cut glass that has passed the hot water heat test. Skip crystal, thin glass, dishes with cracks and dishes with metal trim through the glass. A dish that fails the test should never hold wax.
How much wax does a candy dish candle need?
Weigh it rather than guessing. Fill the dish with water to half an inch below the rim, pour the water into a measuring jug and use that weight in wax flakes. A five inch dish needs about six ounces of wax, and a six inch dish needs about eight ounces.
What wick size should I use for a wide shallow dish?
Size the wick by the dish diameter, not by the wax weight. A dish up to five inches across takes one medium cotton wick, while a five to six inch dish needs two small wicks spaced evenly. Keep at least an inch between any wick and the glass wall.
How long should soy wax cure before the first burn?
At least seven days, and ten to fourteen days is better for a wide dish. Curing lets the fragrance oil bond with the wax, so the scent throw is far stronger. A candle burned the day it is poured will smell faint even with the right amount of oil, so the wait is worth it.
Why does my candle have a ring of unmelted wax around the edge?
The wick is too small for the dish diameter, or the first burn was too short. Let the melt pool reach the rim all the way around on the first burn, which takes one to two hours. If the ring stays after that, move up one wick size or add a second wick on the next pour.
Is it safe to put the lid on a candle after burning?
Yes, but only once the wax has cooled and hardened completely. A lid placed on warm wax traps heat and can soften the top unevenly. Wait until the dish feels cool to the touch, then replace the lid. Never put the lid on a lit candle.
Your Turn to Light Up a Thrifted Treasure
You now have the whole process for making DIY candles from repurposed candy dishes, from the heat test to the first burn, and none of it needs special skill or costly tools. A thrifted dish, a bag of soy flakes, a few wicks and a week of patience are enough. Start with one dish that you love, test it properly, pour it carefully and let it cure. When you light it for the first time and the melt pool reaches the rim in a clean, even circle, you will know the maths and the waiting were worth it.
Make a second one once the first has burned well, then a small batch for gifts. Keep notes on which dishes passed, which scents threw best and which wick sizes worked, because those notes become your own reference for every future pour.