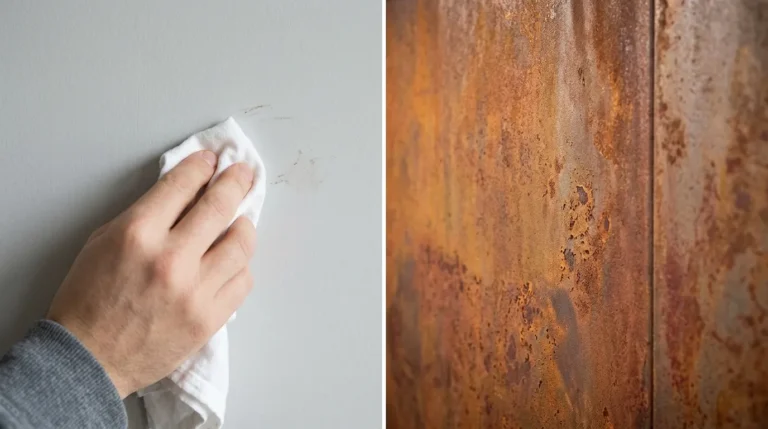
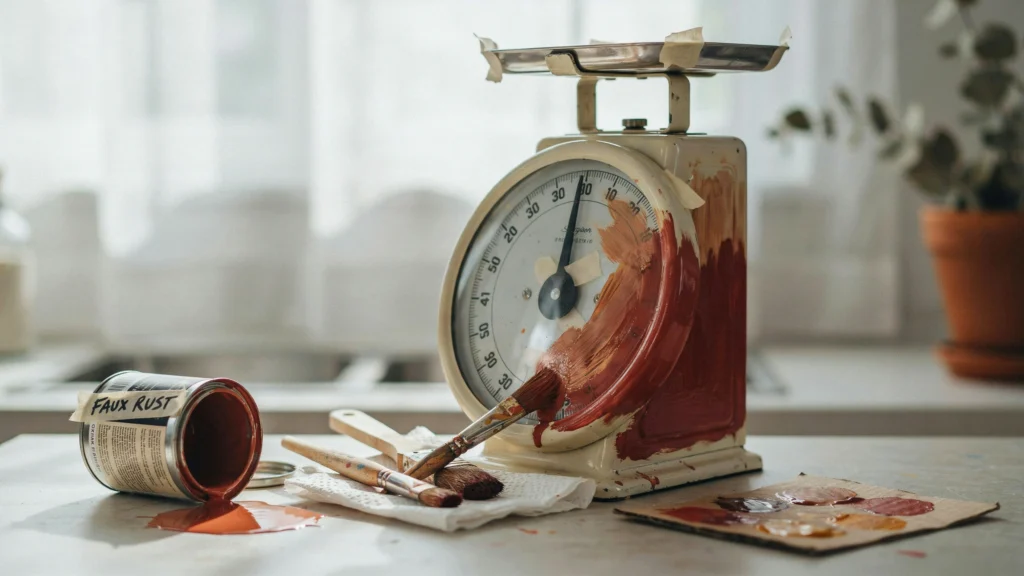
There’s something deeply satisfying about taking a plain, forgotten object and giving it a whole new story. A thrifted kitchen scale, dull and a little boring, can become a striking piece of decor with nothing more than paint and a little patience. Faux rust is the trick that makes it happen and transforming a thrifted scale with faux rust paint is easier than you’d expect.
Why Faux Rust?
Real rust takes years to form, and it weakens metal over time. Faux rust gives you that aged, weathered look in an afternoon, without any damage. You control exactly where the “rust” appears, how heavy it looks, and which colors come through. That kind of control is hard to get with the real thing.
It’s also budget-friendly. A thrifted scale might cost you a few dollars, and a small set of paints can cover several projects. You get the charm of an antique without the antique price tag.
What You’ll Learn
By the end of this guide, you’ll know how to:
- Pick the right thrifted scale for the project
- Clean, sand, and prime the metal so the paint sticks actually
- Layer colors to mimic real rust
- Use sponging, stippling, and dry brushing to build texture
- Seal your work so it lasts
- Style your finished piece in your home
No prior painting experience needed. We’ll walk through each step in plain terms.
Gathering Your Tools and Materials
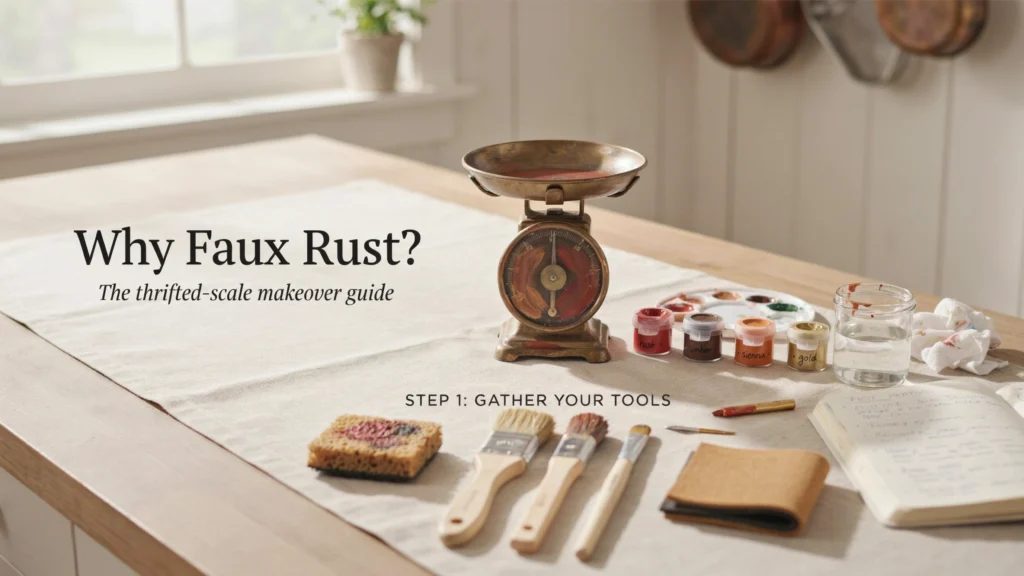
Good results start with the right supplies. You don’t need a fancy studio, just a handful of items you can find at most craft and hardware stores.
The Thrifted Scale: Choosing Your Canvas
Look for a scale with an interesting shape and detail. Old-style hanging scales, balance scales, or vintage kitchen scales all work well. The more nooks, edges, and curves it has, the more places “rust” can naturally settle.
A few things to check before you buy:
- Solid build: Metal bodies take faux rust better than thin plastic.
- Good bones: Surface scratches are fine. Avoid pieces with parts missing.
- A flat or textured surface: Either works, but textured spots hold paint nicely.
Essential Paints and Primers
You’ll need three paint tones to build believable rust:
- Base coat: A dark reddish-brown, the deep shade rust shows in its oldest areas.
- Mid-tone: A warm orange, the most common rust color.
- Accent colors: A bright orange for highlights and a touch of black for shadowed, pitted spots.
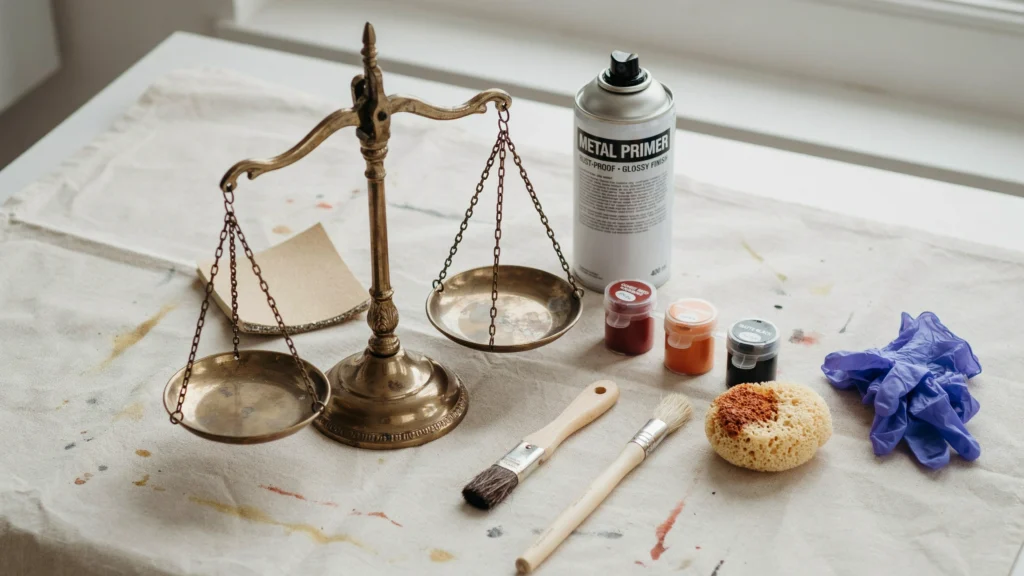
Acrylic craft paints work great and clean up with water. You’ll also need a metal primer, which helps paint grip the smooth surface instead of peeling later.
Applicators and Protective Gear
Texture comes from your tools, so gather a small variety:
- A natural sea sponge for mottled patches
- A stiff, short-bristled brush for stippling
- A soft, flat brush for dry brushing
- Fine-grit sandpaper (around 220 grit)
- Disposable gloves and a drop cloth to keep things clean
Preparing Your Scale for Transformation
Skipping prep is the fastest way to ruin a project. Paint needs a clean, slightly rough surface to hold onto. Spend a little time here and your finish will last for years.
Cleaning and Degreasing
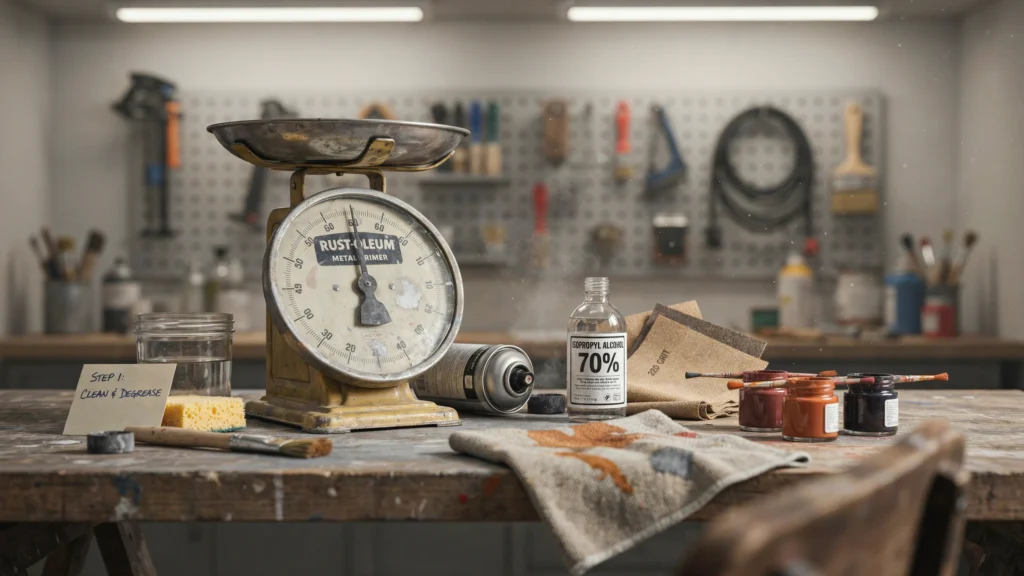
Thrifted items carry years of grime, fingerprints, and oily residue. Wipe the whole scale down with warm, soapy water, then go over it with rubbing alcohol to remove any leftover grease. Let it dry completely. Paint will not bond to a dirty surface, no matter how good your technique is.
Sanding for Adhesion
Lightly sand the entire surface with your fine-grit sandpaper. You’re not trying to strip it, scuff it up so the primer has something to grab. A few minutes of gentle sanding is enough. Wipe away the dust with a dry cloth when you’re done.
Priming for a Flawless Base
Apply a thin, even coat of metal primer and let it dry per the can’s instructions, usually a couple of hours. Primer does two jobs: it helps paint stick, and it gives you a uniform surface so your colors look consistent. One coat is usually plenty, but a second thin coat won’t hurt on tricky metal.
The Art of Layering: Creating Authentic Rust Effects
Real rust isn’t one flat color. It’s a blend of deep browns, warm oranges, and dark shadows all mixed together. You’ll recreate that look by building up layers, darkest first.
The Base Coat: Foundation of Rust
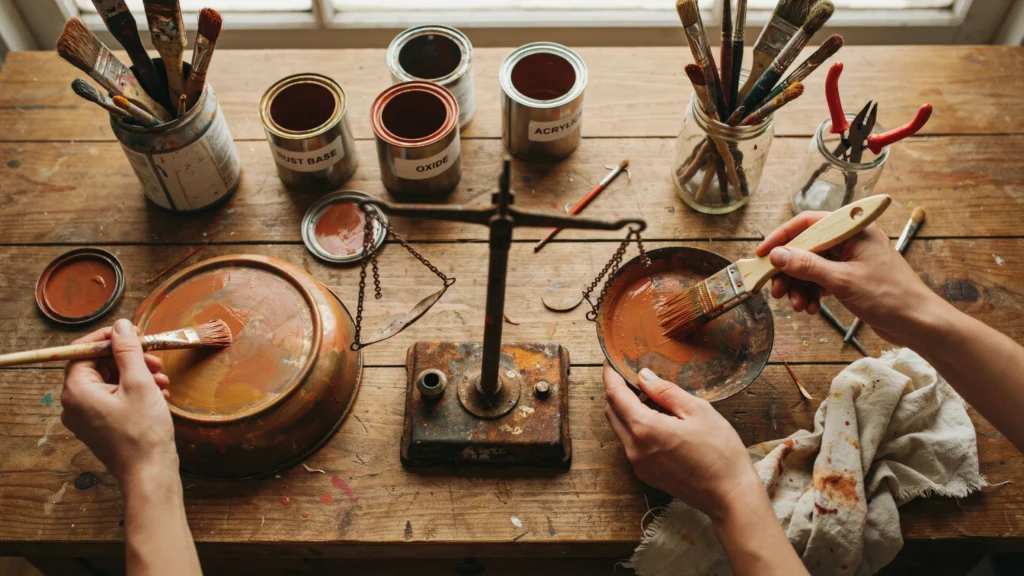
Start with your dark reddish-brown. Brush it over the whole scale in a thin, even layer. This is the foundation everything else sits on, and it represents the oldest, deepest rust. Let it dry fully before moving on. Don’t worry about perfection here; it won’t be the top layer.
Mid-Tone Magic: Adding Depth and Texture
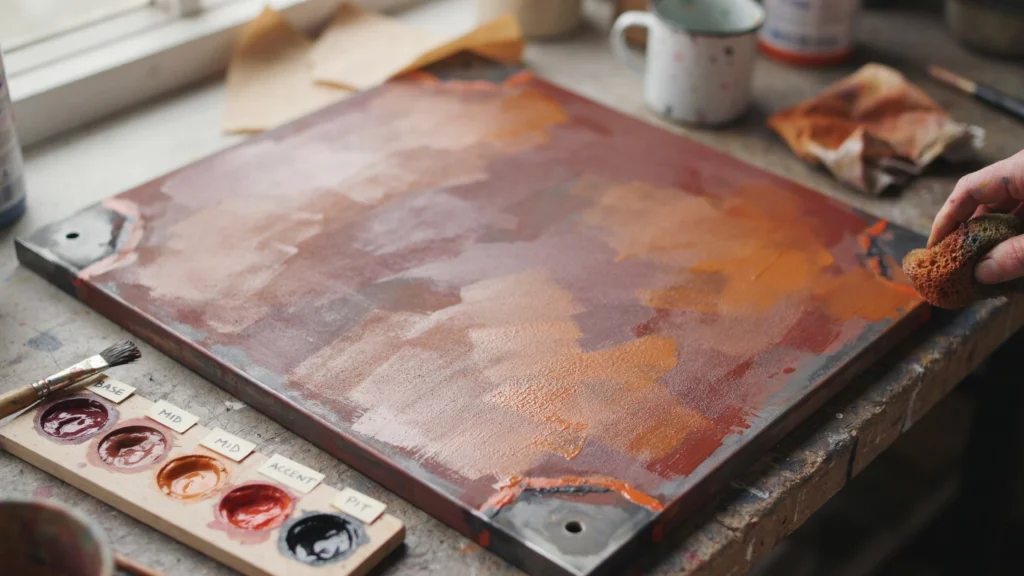
Now bring in your warm orange. Instead of painting it on solid, dab it in patches so the dark base shows through in spots. Think about where water and weather would naturally pool: edges, corners, and low points. Leaving some base color visible is what makes the effect look real instead of painted.
Accent Colors: Highlighting the Gritty Details
Finish with your two accents. Use the bright orange sparingly on raised edges and high points where fresh rust would catch the light. Then tap small amounts of black into crevices and recessed areas to suggest deep pits and shadows. Less is more here. A few well-placed touches sell the whole look.
Mastering the Techniques: Sponge, Stipple, and Dab
The colors set the stage, but technique creates the realism. These three simple methods give you the rough, uneven texture that real rust has. Practice each one on scrap cardboard first.
Sponge Application for Mottled Textures
Dip a sea sponge lightly into your paint, dab off the excess on a paper towel, then press it onto the surface. Twist and lift to vary the pattern. The sponge’s irregular holes leave a blotchy, organic texture that’s almost impossible to get with a brush. This is your go-to for broad rusty areas.
Stippling for Pitted and Corroded Looks
Load a stiff, short-bristled brush with a small amount of paint, then tap the bristle tips straight down onto the surface. This leaves tiny speckled dots that mimic pitting and corrosion. Build it up gradually in the spots where rust would eat into the metal most, like seams and bolt holes.
Dry Brushing for Highlights and Edges
Dip a flat brush in paint, then wipe almost all of it off until the brush feels nearly dry. Lightly drag it across raised edges and details. Only the highest points pick up the color, which creates natural-looking highlights. Use this with your bright orange to make edges pop.
Alternative Method: Spray Paint Faux Rust Technique
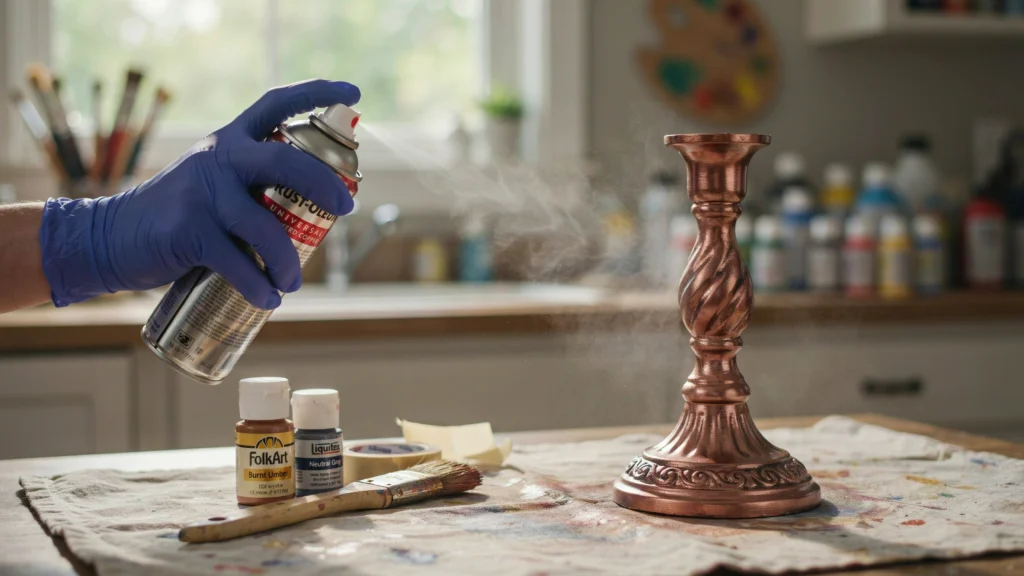
If you want a quicker start, spray paint gives you a solid rust base in a fraction of the time it takes to build up acrylic layers by hand. Begin with a coat of hammered copper spray paint over the entire piece, which mimics the rough, metallic texture of aged metal right out of the can. Once dry, dab on a matte brown acrylic paint with a stiff brush and pounce it into the surface for texture, letting some of the copper show through in spots. Finish by pouncing a layer of warm gray over the brown, leaving both previous layers peeking out here and there to suggest rust breaking through in patches. This method works especially well on pieces with lots of raised detail, since the spray coat reaches into grooves that a brush might miss.
Does Faux Rust Work on Plastic Parts?
Yes, and this is especially useful if your thrifted piece is missing an original component. Metal primer isn’t necessary on plastic, but a light sanding still helps the paint grip. Follow the same base coat, mid-tone, and accent layering process described above, and the plastic will take the paint just as convincingly as metal once it’s sealed. This is a handy trick if you find a scale, tray, or decorative object missing a bowl, tray insert, or other small piece; a plastic replacement can be faux-rusted to match seamlessly.
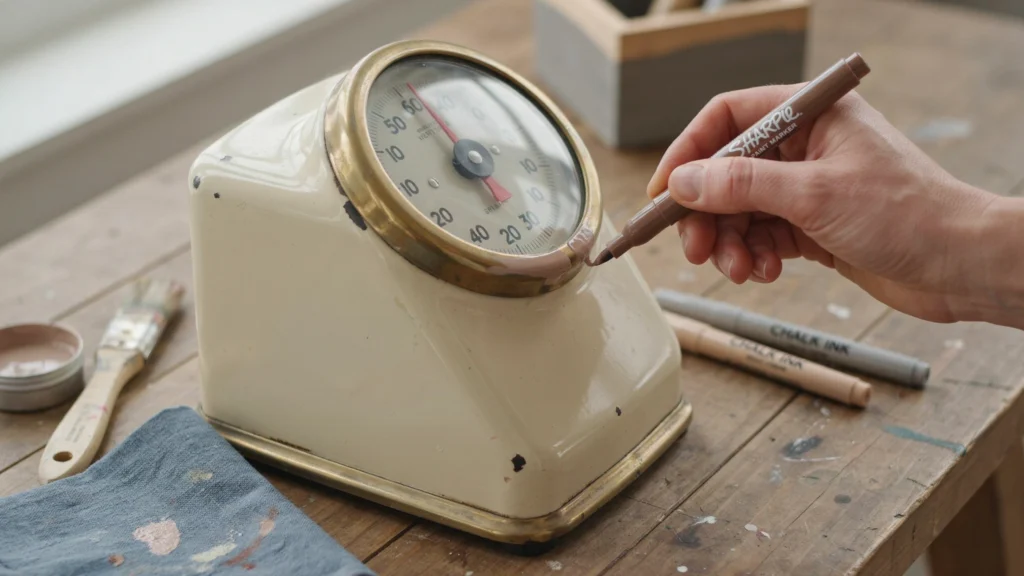
Using Markers for Small Detail Touch-Ups
Some areas, like a scale’s dial, glass-covered face, or tight seams, are too small or delicate to paint with a brush. For these spots, a brown Sharpie or Sharpie paint marker works well to fill in small gaps or cover an original paint color that peeks through after distressing. A chalk ink wet-wipe marker is another option for softer, more blendable coverage on textured or curved surfaces where a brush would be clumsy. These tools won’t replace your main paint layers, but they’re perfect for last-minute fixes once the rest of the piece is finished.
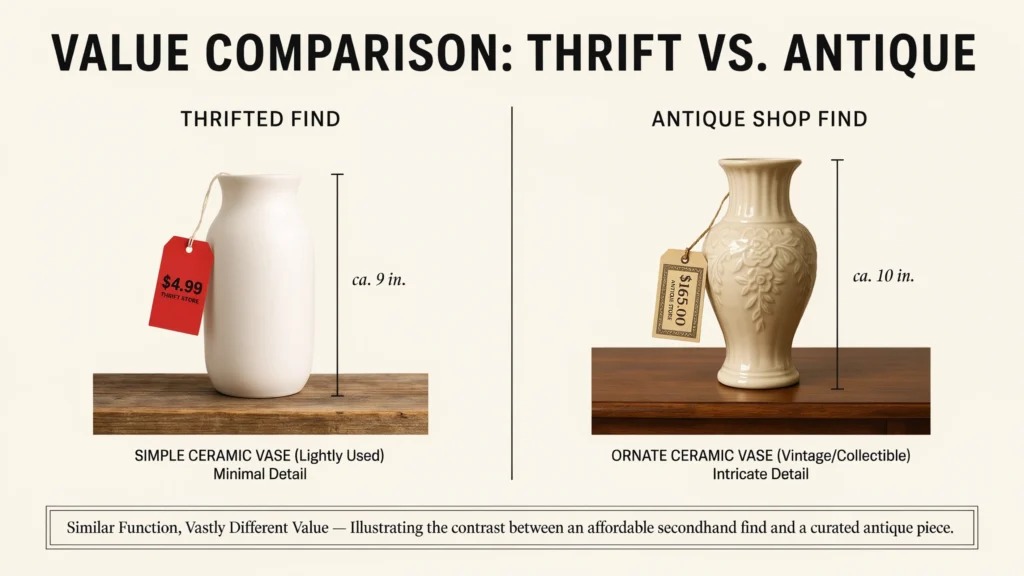
How Much Does a Faux Rust Makeover Really Save You?
Thrifted pieces transformed with faux rust paint techniques cost a fraction of what similar aged or antique items sell for. A scale or decorative object picked up secondhand for $5 to $16 in paint supplies can replicate the look of vintage pieces that sell for $80 to over $100 online or in antique shops. Even factoring in primer, sealer, and a few paint colors, most faux rust projects stay well under $20 total, making this one of the most budget-friendly ways to add authentic-looking vintage character to your home.
Sealing Your Masterpiece: Protecting the Faux Rust
You’ve done the hard work, so protect it. A sealer locks in your colors, prevents chipping, and keeps the finish looking fresh through years of dusting and handling.
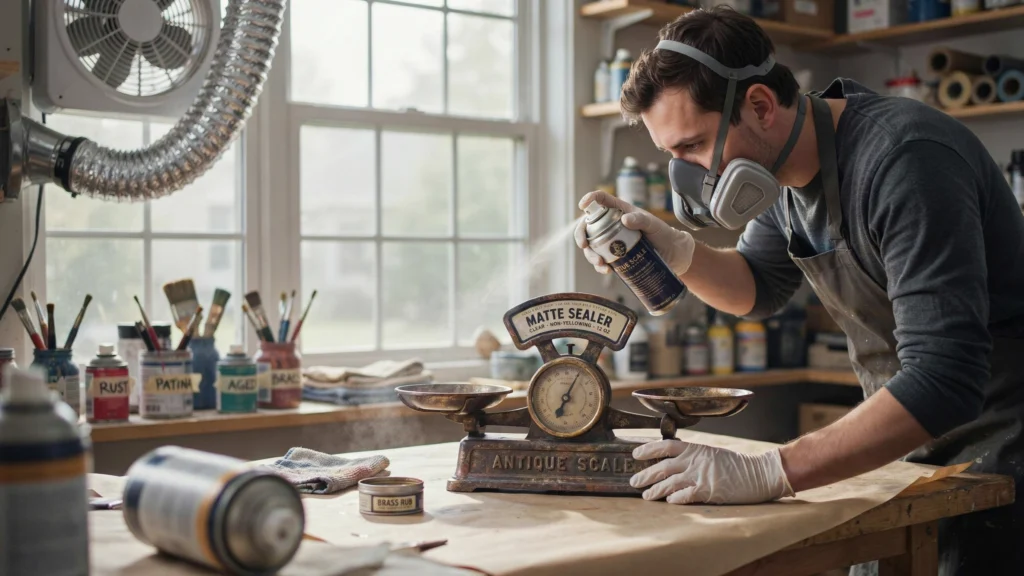
Choosing the Right Sealer
A clear matte sealer is your best friend for faux rust. Glossy finishes reflect light and make the surface look wet and fake, which works against the aged effect you’ve built. Matte keeps things dry and weathered-looking. Spray sealers are easy for beginners, but a brush-on sealer works too if you prefer more control.
Application Techniques for Durability
Apply in a well-ventilated space and follow these steps:
- Hold the spray can about 10 inches from the surface.
- Use light, sweeping passes rather than one heavy coat.
- Let each coat dry before adding the next.
- Apply two to three thin coats for solid protection.
Thin layers dry evenly and won’t drip or pool in the details.
Displaying Your Transformed Treasure
A finished piece deserves a spot where people will notice it. The right setting makes your faux rust look like a genuine antique find.
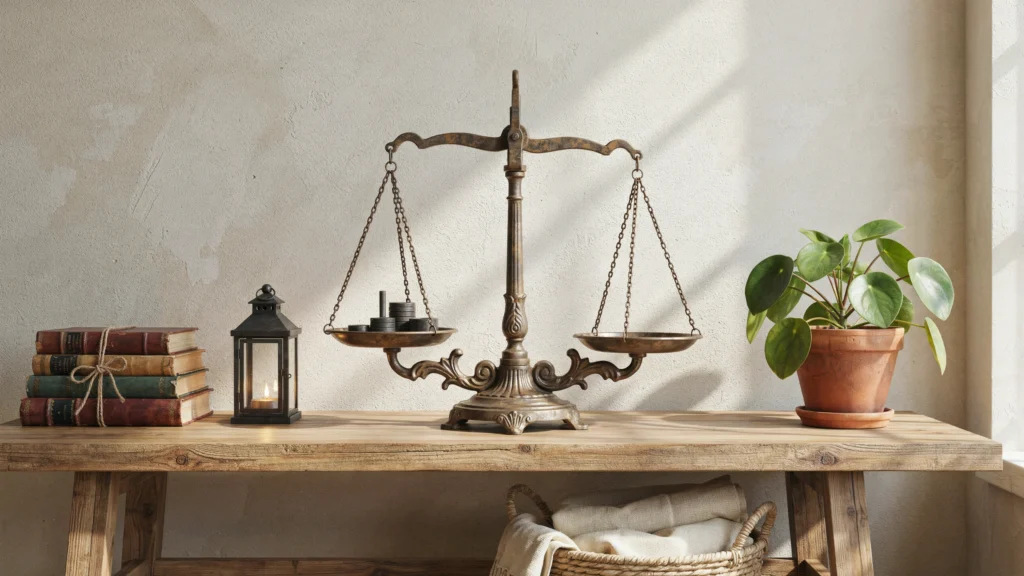
Integrating into Home Decor
Rusty tones pair naturally with warm, earthy spaces. Set your scale on a wooden console, a kitchen shelf, or an entryway table. It blends beautifully with farmhouse, industrial, and vintage styles. Surround it with weathered wood, old books, or aged metal to let the whole grouping feel collected over time.
Creative Display Ideas
Don’t limit yourself to a flat surface. A few fun options:
- Use a hanging scale to hold a trailing plant or dried flowers.
- Place small seasonal items, like pumpkins or pinecones, on a balance scale’s tray.
- Group it with other faux-rusted finds for a curated vignette.
- Pair it with a soft light source so the texture casts gentle shadows.
Troubleshooting and Tips for Success
Even simple projects hit a few bumps. Here’s how to fix common issues and push your skills further.
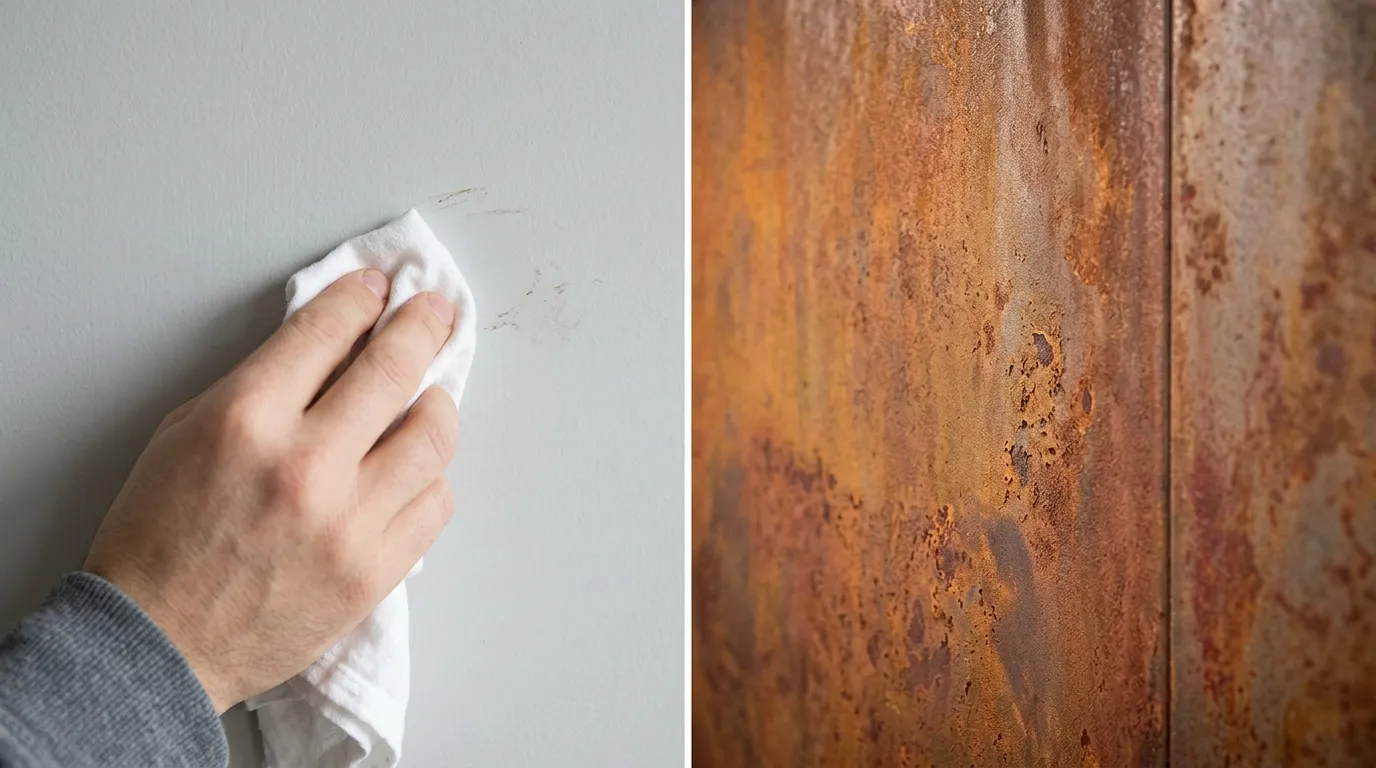
Common Challenges and Solutions
- Paint looks too uniform: You skipped layering. Go back and dab darker or lighter spots to break up the flat color.
- Colors look fake or cartoonish: Tone it down with a thin wash of brown, then dry-brush highlights back in.
- Paint peeling or scratching off: Your prep was rushed. Clean, sand, and prime again before repainting.
- Made a mistake: Wipe wet paint away quickly with a damp cloth, or let it dry and paint over it. Faux rust is forgiving.
Advanced Faux Rust Techniques
Once you’ve got the basics, try mixing in a little real texture. A dusting of fine sand or texture paste under your base coat adds physical roughness that catches light realistically. You can also experiment with rust-activator kits, which use real iron particles and a solution to create actual oxidation in controlled spots. Combine these with your painting skills for effects that fool almost anyone.
Conclusion: The Joy of Upcycling
You started with a plain, overlooked scale and turned it into a piece with character and history, all from a bit of paint and some patience. That’s the real reward of upcycling: seeing potential where others see clutter.
Along the way, you learned how to prep metal properly, layer colors for depth, and use sponging, stippling, and dry brushing to build texture. You sealed your work to protect it and found creative ways to show it off. Those same skills carry over to picture frames, tins, garden pots, and countless other thrifted finds.
FAQs
What kind of paint works best for a faux rust finish?
You don’t need a fancy “rust paint” kit. A base coat of flat black or dark brown, layered with burnt sienna, burnt umber, and a bit of orange acrylic, gets you most of the way there. The trick is layering, not the paint brand.
Do I need to sand the scale before painting?
Yes, a quick pass with 220-grit sandpaper helps. Most thrifted scales have a painted or enamel finish, and paint won’t grip well on a smooth surface. You don’t need to strip it down to bare metal, just rough it up enough for the primer to bite.
What’s the best way to get a realistic textured rust look?
Dabbing paint with a sea sponge or scrunched-up plastic wrap instead of brushing it on flat gives you that pitted, uneven texture real rust has. Mix your rust tones in a few separate spots on a palette and dab randomly instead of blending them smooth.
Can I use baking soda or texture paste to make it look more corroded?
Yes. Mixing a bit of baking soda or fine texture paste into your base coat before painting adds a gritty, raised surface. Once it’s dry and you layer rust tones over it, it reads as real corrosion instead of flat paint.
How do I seal the finish so it doesn’t rub off?
A matte or satin sealer spray, applied in light coats, locks the paint in place without giving it a shiny, “painted” look. Avoid gloss sealers, since real rust is never shiny.
Will this work on plastic scales, or only metal ones?
It works on plastic too, as long as you use a plastic-adhesion primer first. Without that step, the paint tends to chip off plastic surfaces much faster than it would on metal.
How long does the whole project take?
Plan for a couple of hours of hands-on work, spread across a day or two, since each layer needs time to dry before the next one goes on. Rushing the drying time is the most common reason the texture ends up looking muddy instead of layered.