Yes, you can turn a plain unfinished work table into a proper, hard-working piece, and an unfinished furniture makeover is one of the best first DIY projects because the wood is bare, clean and ready for whatever finish you choose. You do not need a workshop full of tools. A few sheets of sandpaper, a decent brush, a finish that suits how you will use the table, and a clear sealer will take you most of the way there.
The secret is order. Prep first, choose the finish second, and seal last. Paint hides flaws and gives you colour. Stain shows off the grain and feels warm. A two-tone finish gives you both. The seven routes below walk you through each one, with the grits, coats and drying times that make the difference between a finish that lasts and one that peels by spring.
Before You Touch a Brush: Read the Wood and Pick Your Finish
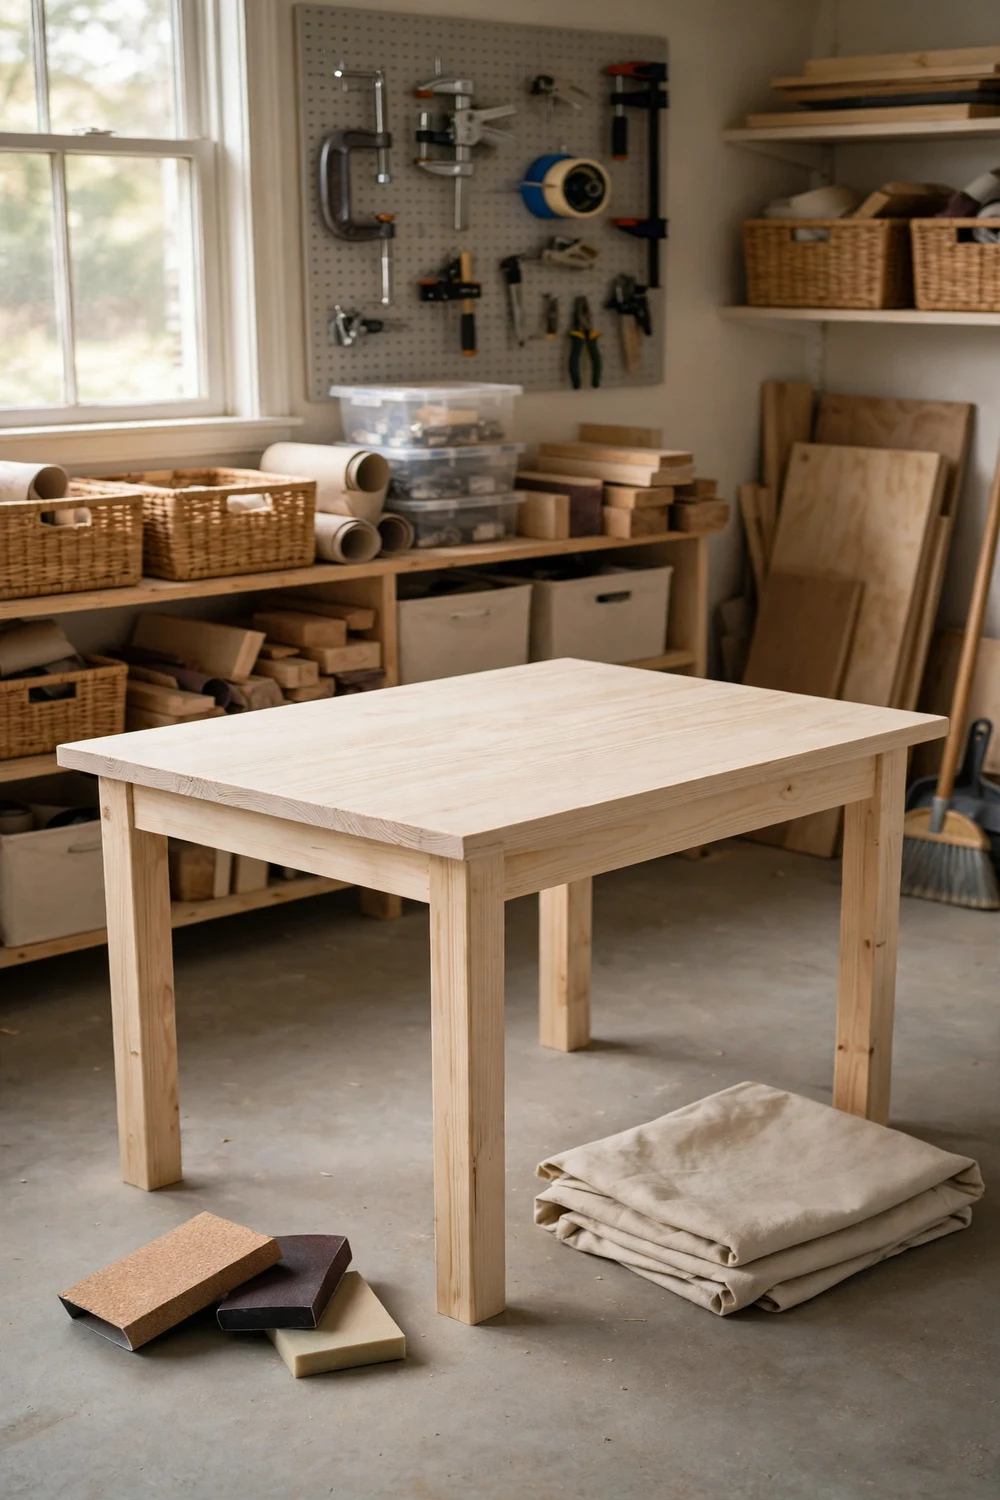
Every unfinished furniture makeover starts the same way, with ten quiet minutes of looking. Run your hand over the top. Most unfinished tables are pine, which is soft, pale and honest about its grain. It dents if you drop a hammer on it, and it drinks up stain unevenly if you rush. Neither flaw is a problem once you know it is there. It only becomes a problem when you skip the reading step and go straight for the paint tin.
Check the joints next. Press each leg and listen for a wobble. Tighten any loose screw and add a dab of wood glue to a joint that moves. A table that rocks now will still rock when it is painted, and a wobble will crack a fresh finish along the apron within weeks. Measure the table too. A work table for a laptop and a notebook wants a top around 120 cm long and 60 cm deep. A craft table wants more depth, closer to 75 cm, so paper and tools can spread out without falling off the back edge.
Then decide how the table will actually live. A desk for daily laptop work needs a hard, wipeable top. A homework table for kids needs a finish that survives pens, glue and the odd juice spill. Your answer here picks your finish, so be honest about it. The table that looks perfect in a photo and fails on Monday morning is the one that was finished for the camera, not for the work.
Height matters more than most people think. A typical writing and laptop height sits around 73 to 76 cm from floor to tabletop. If you plan to stand at the table for cutting fabric or packing orders, a height nearer 90 cm saves your back. Sit in the chair you plan to use and rest your forearms on the top. Your shoulders should stay relaxed and your wrists should sit level. If the table is too low, add taller legs or sturdy risers before you paint anything.
Use the table below to match a finish to your plans. It is a starting point, not a rule. Your wood, your room and your habits get the final say.
| Finish | Best for | Coats | Durability on a work table |
|---|---|---|---|
| Paint | Daily use, kids, hiding flaws | Primer plus 2 to 3 thin coats | High, once sealed |
| Stain plus sealer | Showing grain, warm rooms | 1 to 2 coats of stain, 3 of sealer | High on the top, good on legs |
| Oil or wax | Light use, natural feel | 2 to 3 coats, rubbed in | Medium, needs reapplying |
| Two-tone | A desk that must look finished | Paint on base, stain on top | High, best of both |
One last check before you start. Look at the room the table will live in and pick a finish that belongs there. A deep green table can anchor a pale room, and a warm stained top can soften white furniture. This is the step where you customize unfinished wood furniture into something that looks chosen, not just painted.
1. Sand It Right: The Grit Ladder That Makes Every Finish Stick
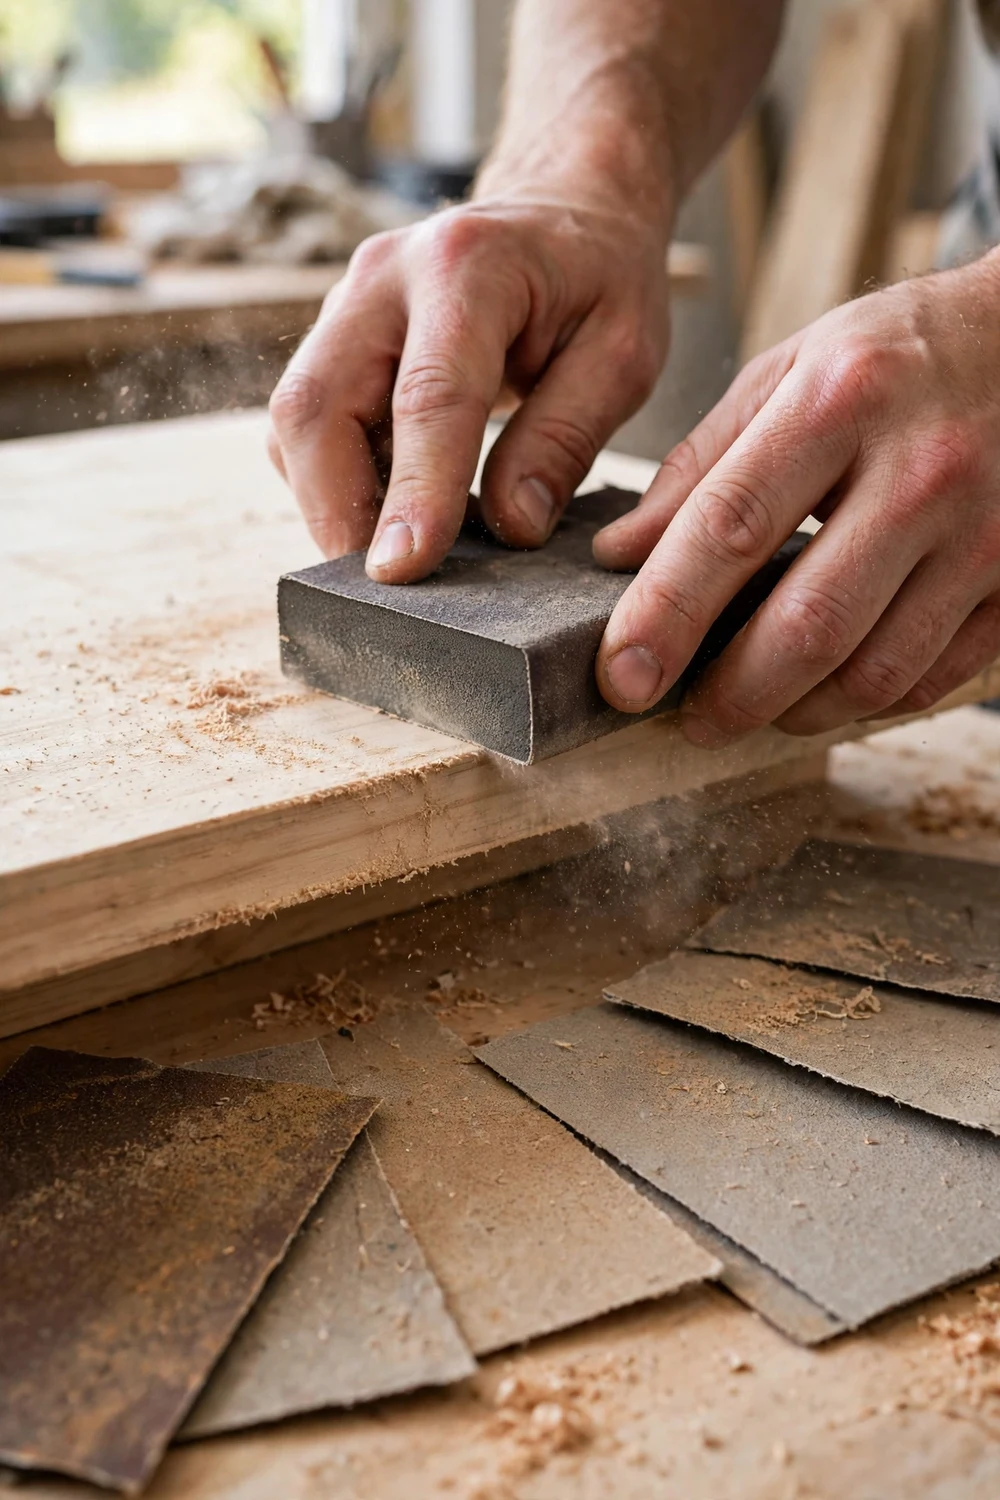
Sanding is the least glamorous part of an unfinished furniture makeover, and it is the part that decides whether your finish survives. Paint and stain both need a surface they can grip. Raw wood straight from the shop is often rougher than it looks, with mill marks and raised fibres that will show through a thin coat. Twenty minutes with the right grits fixes that, and it is time you will never regret spending.
Work through the grits in order and do not skip a step. Start with 120 grit to level the surface and remove rough patches. Move to 180 grit to smooth it out, then finish with 220 grit for a surface that feels silky under your palm. Each grit erases the scratches left by the one before it. Jump from 120 straight to 220 and the deep scratches stay, waiting to catch the light once the finish goes on. Always sand with the grain, in long even strokes, never in circles.
Pay attention to the edges. Run your hand along the tabletop edge and the leg corners. A sharp factory edge chips easily and feels harsh. A few light passes with 220 grit will soften it just enough to feel finished without looking rounded. Check the underside of the top too. It does not need to be perfect, but a quick pass removes splinters that catch on sleeves and cleaning cloths.
| Grit | Job | When to use it |
|---|---|---|
| 80 | Heavy levelling | Only for rough spots, dents or old glue |
| 120 | First full pass | Every bare table, to even the surface |
| 180 | Smoothing | After 120, before any finish |
| 220 | Final polish | Last pass, and between sealer coats |
Between grits, wipe the dust away. A dry cloth moves most of it, but a slightly damp cloth picks up the fine dust that a dry one leaves behind. Let the wood dry fully before the next grit, which typically takes only a few minutes. Vacuum the work area as well, because dust in the air lands on wet paint and dries into bumps you will feel every time you rest your hand on the top.
Here is the test I use before any finish goes on. Run your bare hand slowly across the whole top, then again with your eyes closed. Your fingertips will find rough spots your eyes miss. When the whole surface feels even, you are ready. Good prep is quiet work, and nobody will ever compliment your sanding. They will compliment the finish, and the finish is only as good as the sanding underneath it.
2. Paint It Bold: Full Colour for a Work Table That Hides Wear
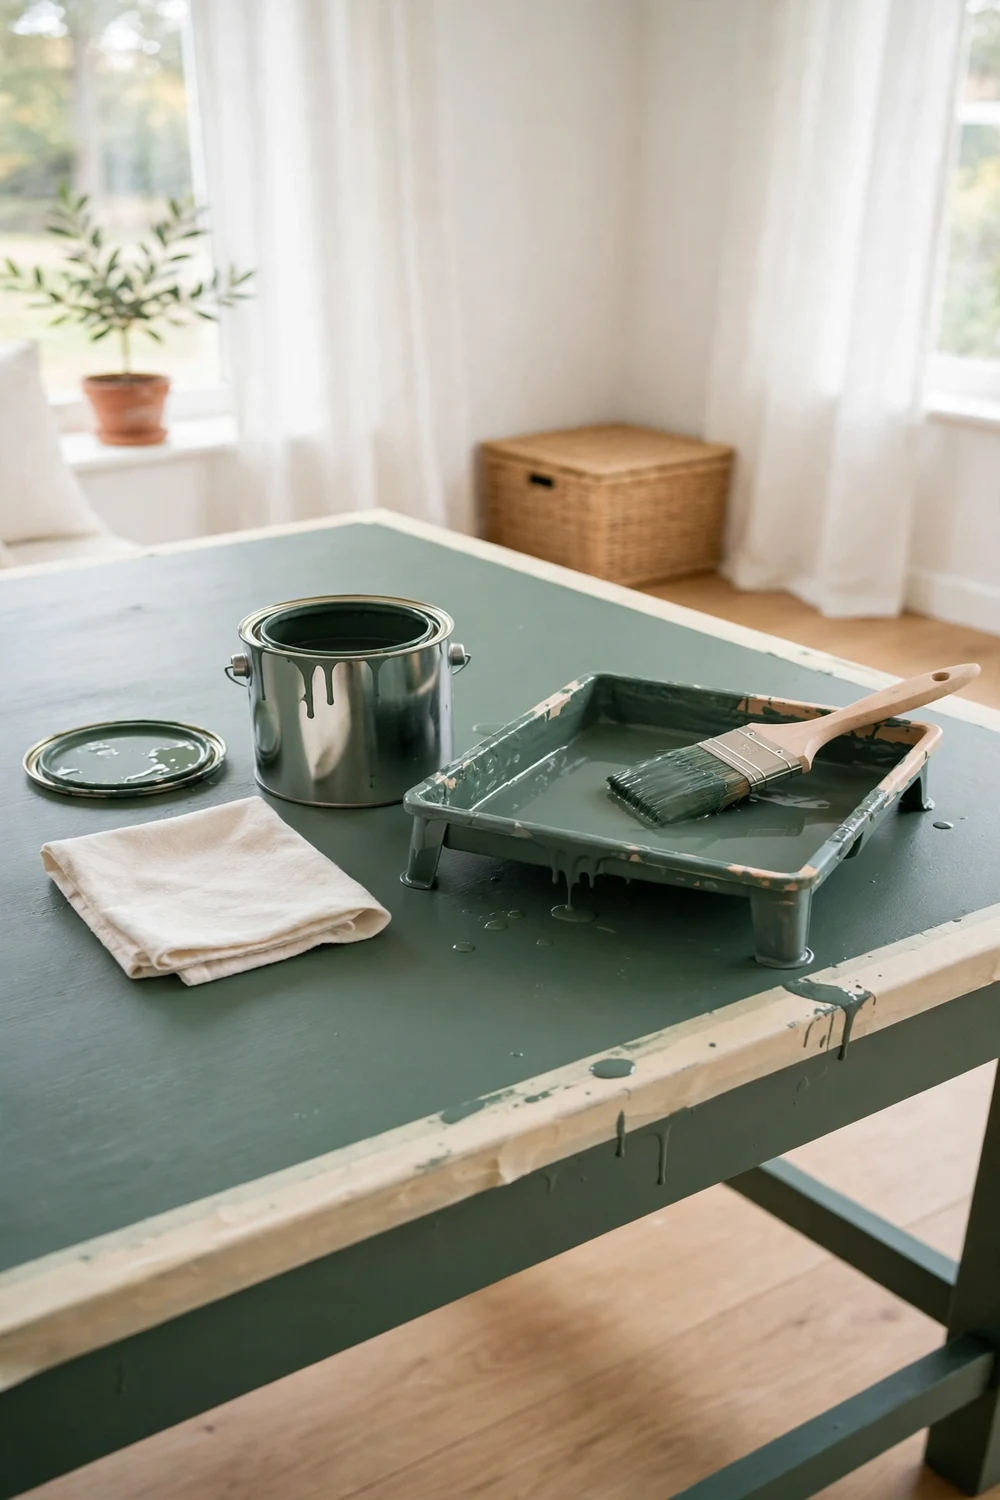
Paint is the most forgiving way to paint unfinished furniture, and it is the best choice when the wood is plain, patched or a little uneven. A solid colour hides filler, knots and grain differences that stain would only highlight. It also gives you the widest choice. A deep green, a soft navy or a warm cream can turn a budget table into the piece the whole room is built around. Pick a colour you will still like in two years, not just this weekend.
Prime first, even though the wood is bare. A coat of primer seals the thirsty surface so your paint sits on top instead of soaking in patchily, and it stops pine knots from bleeding through as yellow spots months later. Use a brush for the legs and apron and a small foam roller for the top, which lays down a smoother coat than a brush. One thin coat of primer is enough. Let it dry fully, then sand it very lightly with 220 grit and wipe the dust away.
For the colour coats, thin beats thick every time. Two or three thin coats will look smoother and last longer than one heavy coat that sags and takes days to harden. Load the brush lightly, work in the direction of the grain, and keep a wet edge so each stroke blends into the last. Wait for the recommended recoat time on the tin between coats, which is typically two to four hours for water-based paint. Rushing this step traps moisture under the next coat, and that is how a finish stays soft and picks up marks.
Chalk paint is a popular pick for this kind of project because it sticks well and dries to a soft matte finish, but it needs a sealer on a work surface or it will mark the first time a mug slides across it. A standard acrylic furniture paint with a satin or eggshell sheen is often the easier choice for a table that gets used every day. If you want texture in the finish, a look at DIY textured paint techniques will show you which textures suit flat surfaces. Let the final coat cure before you load the table up. Paint may feel dry in hours, but it typically needs several days to harden fully, so go easy on it for the first week.
3. Stain It Warm: Let the Grain Do the Talking
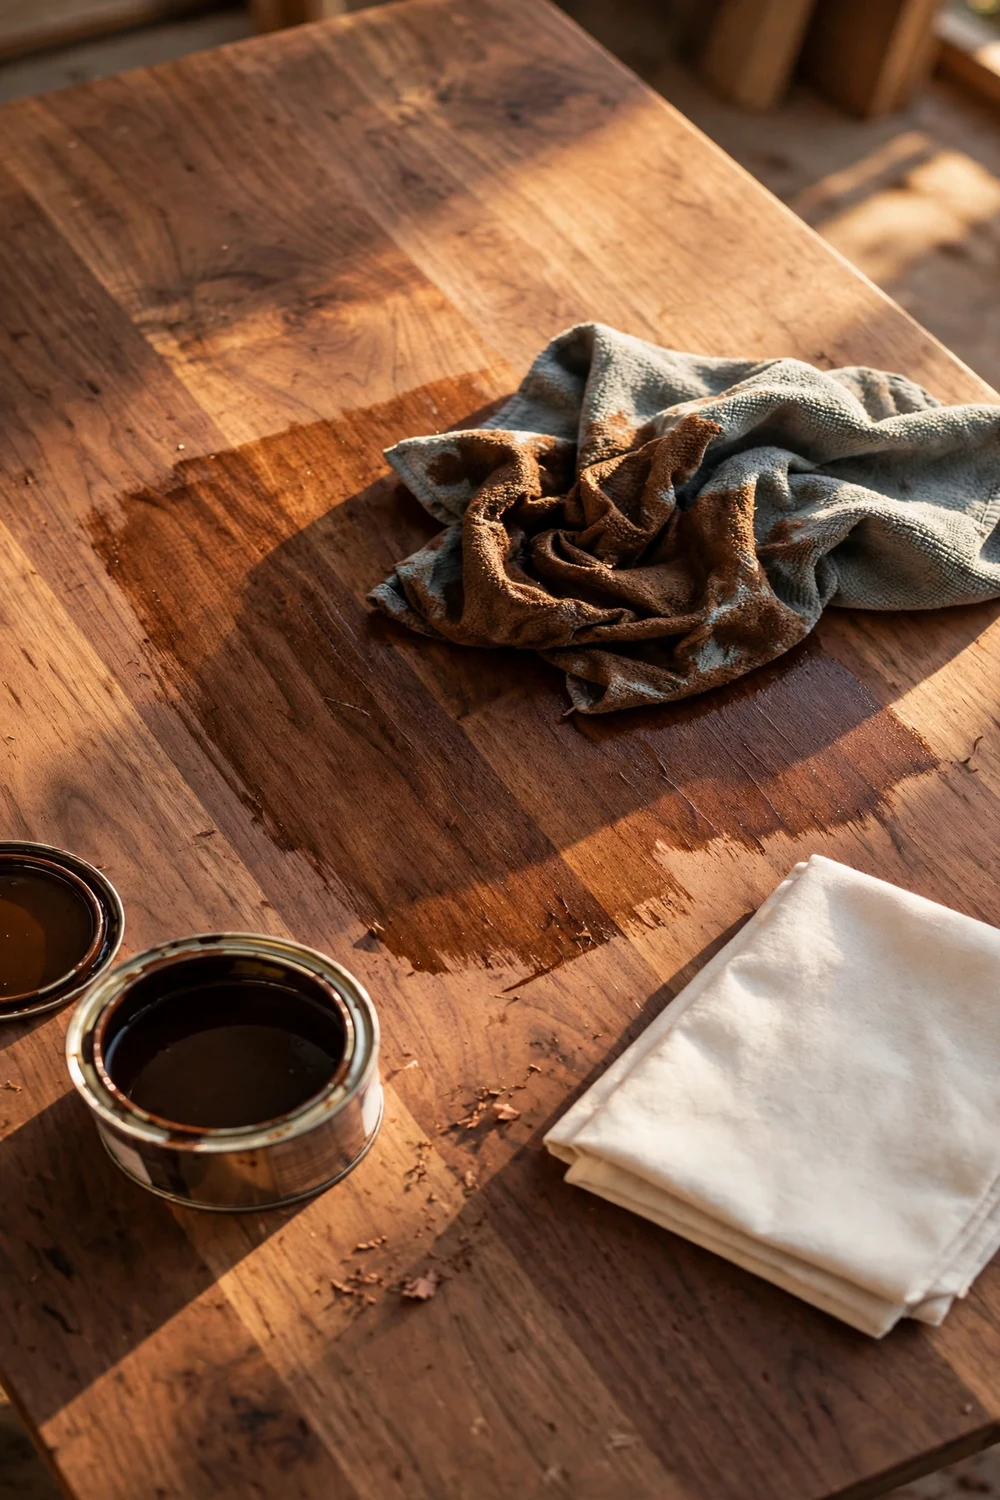
When you stain unfinished table wood, you are choosing the wood over the colour. The grain stays visible, the surface feels like real timber under your hands, and the whole piece reads warmer than paint ever can. It is the right call when the wood itself is pretty, with a clear grain and no big filler patches to hide. If your table is pale pine, a medium walnut or honey tone will give it the depth it lacks on its own.
Pine needs one extra step that many first timers skip: a pre-stain conditioner. Pine is soft and uneven, so it absorbs stain in blotches, dark where the wood is soft and pale where it is dense. Brush the conditioner on, let it soak in for the time the tin suggests, usually around fifteen minutes, and then stain while the wood is still slightly damp with it. Without conditioner you get a patchy top. With it you get an even, calm colour that looks like it came from a much more expensive piece.
Apply stain with a clean cloth or a foam brush, working in sections you can finish before the stain starts to set. Brush it on generously, let it sit for five to fifteen minutes depending on how deep you want the colour, then wipe off the excess with a fresh cloth, always with the grain. The longer you leave it, the darker it gets, so test on the underside of the top first. One coat is often enough on pine, but a second coat will deepen the tone if the first looks washed out. Let the first coat dry fully, usually overnight, before you judge it.
Gel stain is worth knowing about if the grain worries you. It sits more on the surface than a liquid stain, so it colours more evenly on tricky softwoods and even over an old finish in some cases. It is applied the same way, with a cloth, and wiped back the same way. Whatever stain you choose, remember that stain is colour, not protection. It needs a sealer over it, which we cover in method six. For more ideas on layered, weathered wood finishes, the faux driftwood finish guide shows how three thin layers can build a look no single coat can match.
4. Go Two-Tone: A Natural Top and a Painted Base
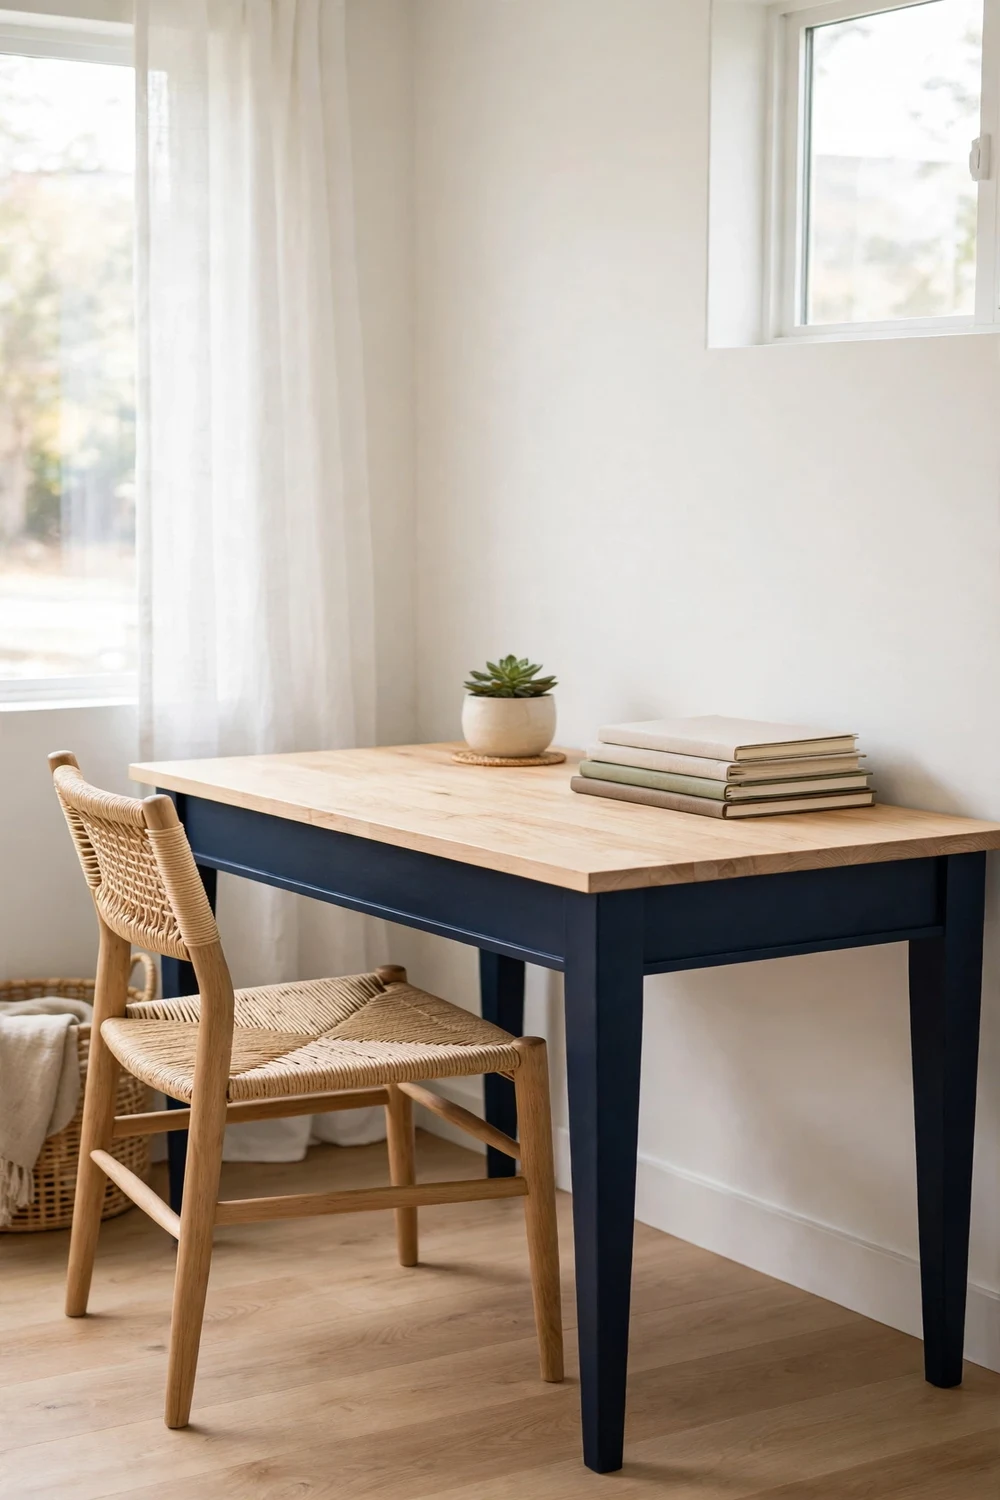
Two-tone is the finish I recommend most often for an unfinished work table, because it solves the one argument every household has about furniture. One person wants the warmth of wood. The other wants colour. Two-tone gives you both, and it looks more considered than either choice on its own. A pale natural top with a deep painted base reads as a designer piece, not a compromise, and it suits a desk, a craft table and a hallway work spot equally well.
Start with the base, because paint drips down and stain drips do not forgive. Tape off the top where it meets the apron with a good quality painter’s tape, pressing the edge down firmly with a fingernail or a credit card so paint cannot creep underneath. Paint the legs and apron exactly as in method two: primer, two thin colour coats, light sanding between coats. Deep navy, forest green and charcoal all work beautifully against pale wood, and they hide scuffs far better than white does.
While the base dries, work on the top. Sand it to 220 grit, then either leave it bare under a clear sealer for the palest look, or give it one light coat of a honey or natural stain to warm it up. The contrast is the whole point, so keep the top light. Seal the top separately with three coats of water-based polyurethane, which stays clear and will not yellow the pale wood the way an oil-based finish can.
The line between the two finishes is where this look succeeds or fails. Pull the tape off while the last coat is still slightly tacky, pulling it back on itself at a low angle, and you will get a crisp edge. Wait until the paint is fully dry and the tape can pull chips of paint away with it. Small tables suit this treatment especially well, and if you want proof, the faux bone inlay nesting table makeovers show how a small surface with a strong contrast can carry a whole corner of a room. Once both finishes are sealed, the table is ready for the next step, which is making it work harder.
5. Add Storage and Hardware That Earn Their Keep
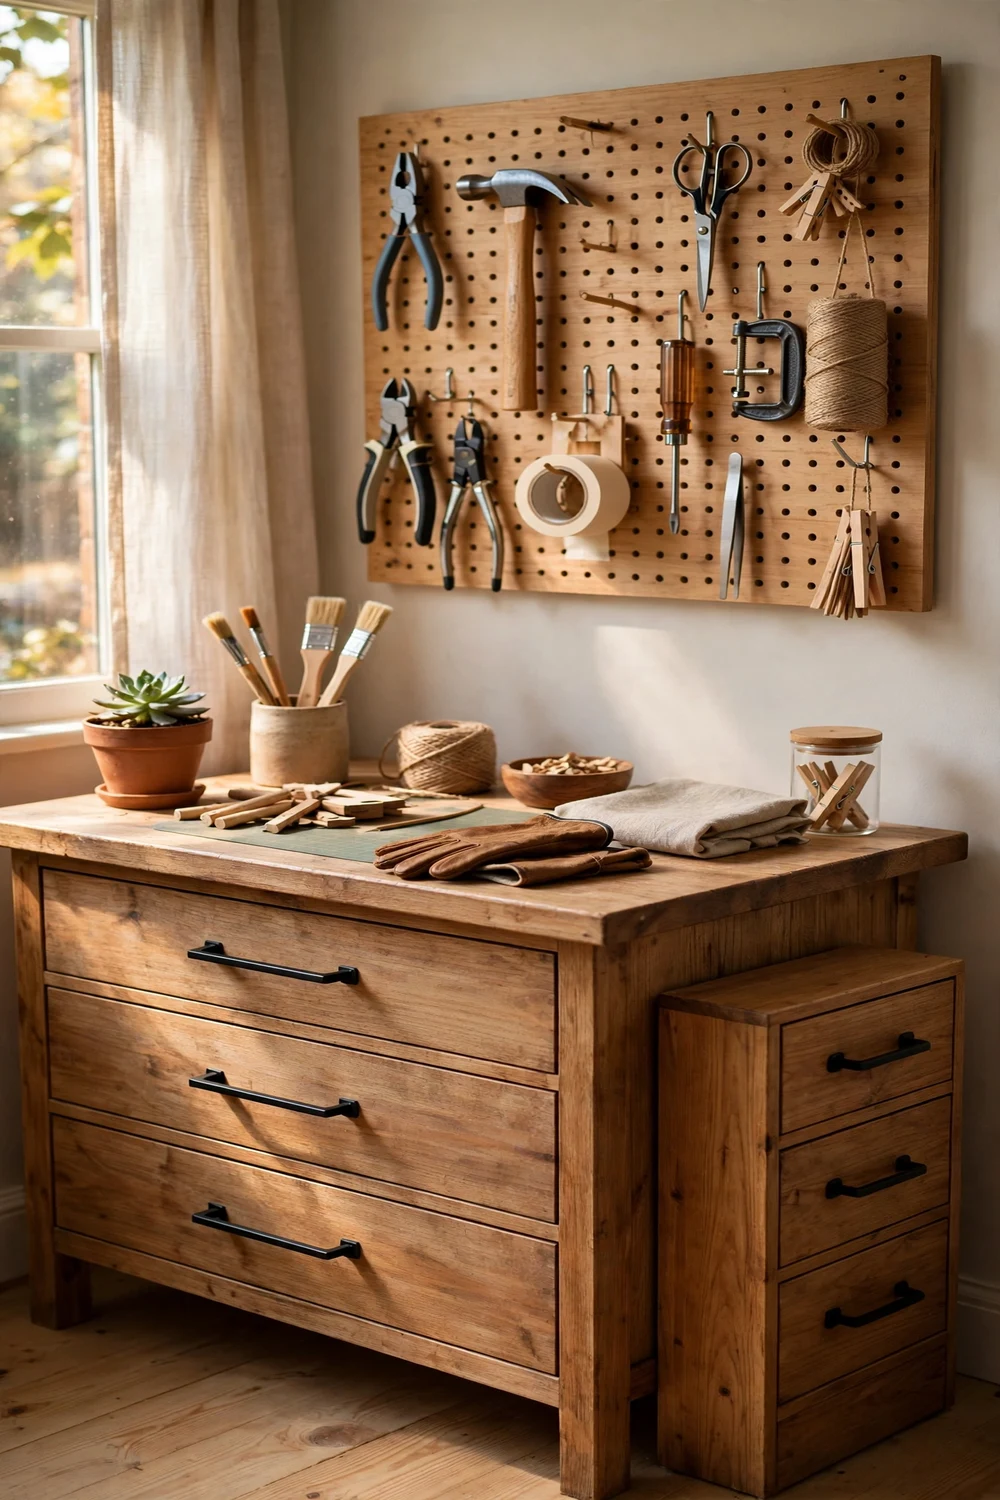
A plain work table only holds what fits on top of it. Add storage, and it holds your whole project. This is the method that changes how the table works, not just how it looks, and it is where a simple unfinished furniture makeover starts to feel like a custom build. Start with what you actually lose track of. Scissors, chargers, tape, pens and small tools are the usual suspects, and each one wants a home that is not the middle of the tabletop.
A shallow drawer unit that slides under the top is the easiest win. A ready-made unit around 40 cm wide and 45 cm deep tucks under most tables without blocking your knees, and it holds the clutter that used to live in piles. Screw it to the underside of the top from below, using short screws that cannot poke through the surface. Measure the screw length twice. Leave at least 60 cm of clear knee space in front of your sitting position so the drawer does not turn your desk into a shelf you cannot sit at.
Hardware is the cheapest way to make a plain table look considered. Swap plain wooden knobs for black metal pulls, leather tabs or simple cup handles, and the whole piece changes character. Standard pull spacing is 96 mm between screw holes, which is the size most ready-made pulls come in, so measure your drawers before you buy. Drill from the front with a sharp bit and a piece of masking tape over the spot to stop the wood splitting. Fit the pulls after the final coat of paint or sealer has dried, not before, so you are not working around them with a brush.
Look up, too. A pegboard above the table keeps tools visible and off the surface, and it costs very little. Hang it so the bottom edge sits about 30 cm above the tabletop, which leaves room for a lamp and tall items underneath. Casters are worth considering if the table moves between rooms. Locking casters add about 7 to 8 cm of height, so factor that into your height plan from the start. When the table will serve as a homework spot, the affordable homework station guide has practical sizing advice for matching a desk and a chair to a growing child.
6. Seal It Like You Mean It: A Topcoat That Survives Real Work
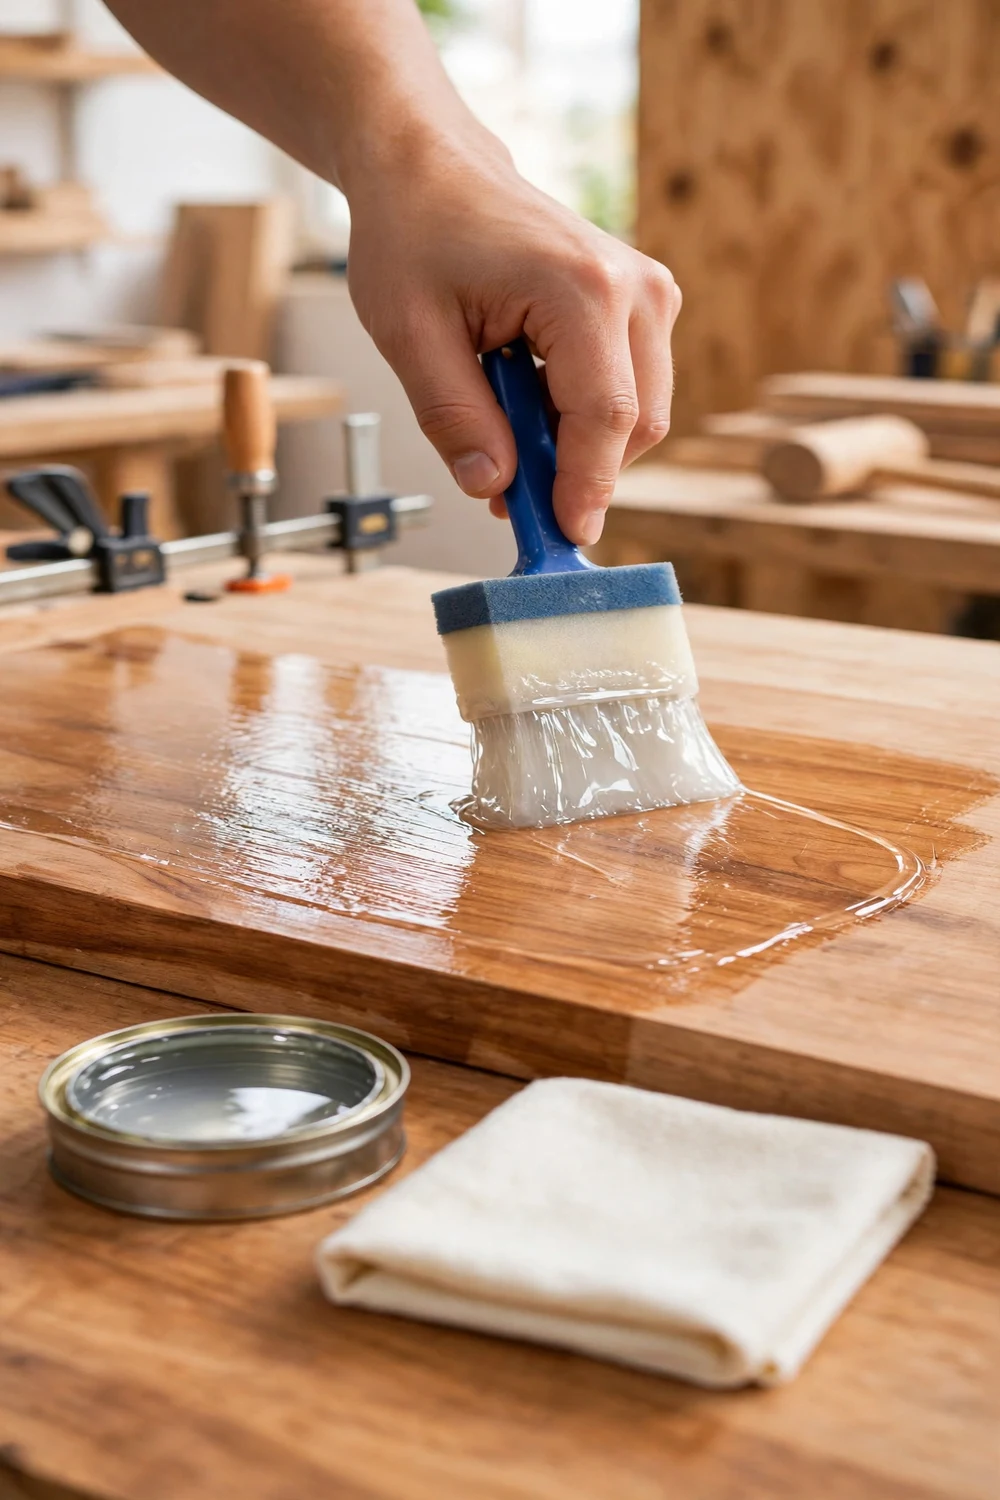
Sealing is the step people skip, and it is the step that decides whether your unfinished furniture makeover lasts a year or a decade. Paint on its own will mark. Stain on its own will wear away. A clear topcoat is the hard skin that takes the daily punishment so the colour underneath does not have to. Learning to seal unfinished furniture properly is what separates a weekend project from a piece that lasts.
For a work table, water-based polyurethane is the simplest reliable choice. It dries clear, it does not yellow pale wood, it cleans up with water, and it is tough enough for daily use. Choose a satin sheen for a work surface. Gloss shows every scratch and dust mark, and matte can look cloudy over dark paint. Apply it with a good quality synthetic brush or a foam brush, in thin coats, working with the grain. Three coats on the top is the right number for a surface that gets used every day.
The routine between coats is simple but not optional. Wait for the coat to dry, which is typically two to four hours, then sand very lightly with 320 grit or 220 grit paper, just enough to knock back dust nibs and give the next coat something to grip. Wipe the dust away with a tack cloth or a barely damp cloth and let the surface dry before the next coat. Never shake the tin. Shaking whips air into the finish and the bubbles dry into the coat. Stir it gently instead.
Cure time is different from dry time, and this is where most finishes get ruined. A coat may feel dry to the touch in a few hours, but the finish underneath is still soft. A full cure typically takes around a week for water-based polyurethane, and sometimes longer in a cold or damp room. During that week, use the table gently. No dragging heavy boxes across it and no hot mugs straight on the surface. A felt pad under a lamp and a cork mat under a mug will protect the finish while it hardens.
7. Style the Finished Table for the Room It Lives In

A finished table still needs a place to belong, and this last step is what turns a project into a piece of furniture. Put the table where the light is good and the work actually happens, not where the empty wall is. Near a window is ideal for a desk or a craft table, but keep the top out of direct sun for long stretches, since strong sun will fade a stain and warm a dark painted top more than you would like. Leave at least 75 cm of clear space behind the chair so you can sit down and stand up without shuffling sideways.
Style the top in layers, and keep it honest. A lamp on one side, a small plant or a jar of pens on the other, and the middle left clear for actual work. That is the whole formula. A lamp with a warm bulb makes evening work comfortable, and a shade that sits just above eye level when you are seated will not glare. A woven basket underneath holds chargers, notebooks or fabric. Resist the urge to fill every centimetre. A work table that looks styled but cannot be worked at is just a display shelf with a chair.
Match the chair to the table height you set at the start. A seat height around 45 cm pairs well with a standard 73 to 76 cm table, leaving room for your thighs underneath. If the chair is too low, you will hunch. If it is too high, your shoulders will rise to your ears within an hour. A small rug under the table and chair will anchor the whole setup in a larger room.
Finally, give the table a job description. A table that is a laptop desk on weekdays and a craft table on weekends needs a clear surface and storage that swaps easily. A basket for craft supplies that lifts away in one move keeps the peace. If the table will anchor a home office corner, the minimalist home office ideas show how a plain desk, clear surfaces and a few well-chosen pieces can make a small corner feel calm and focused instead of cramped. Your table is done when it looks good in the room and works hard in it, and not a moment before.
Mistakes That Ruin an Unfinished Furniture Makeover
Most failed finishes come from the same short list, and every item on it is easy to avoid once you know it is there. Check your project against these before you open a tin.
- Skipping the sanding. Paint and stain need a key to grip. A rough, dusty surface will shed its finish within months.
- Coats laid on too thick. Heavy coats sag, stay soft and pick up marks. Two thin coats always beat one thick one.
- No sealer on a work surface. Colour is not protection. An unsealed top will stain the first time a mug sweats on it.
- Painting over dust. Dust in the air lands on wet paint and dries into bumps. Wipe the piece and the room before every coat.
- Using the table too soon. A finish that feels dry is not yet cured. Give it a gentle first week and it will repay you for years.
Questions Readers Ask About Unfinished Furniture Makeovers
Do I need to sand unfinished furniture before painting?
Yes. A full pass with 120 grit, then 180, then 220 gives paint a surface it can grip. Skip it and the paint can peel, especially along edges and on the tabletop.
Can I stain an unfinished work table without a conditioner?
You can, but pine will almost always stain in blotches without one. A pre-stain conditioner evens out absorption, so the colour comes out calm and consistent.
How many coats of sealer does a work table need?
Three thin coats of water-based polyurethane on the top is the right number for daily use, with a light sanding between coats. Two coats is enough for the legs.
What is the best finish for a table used every day?
Paint plus a clear sealer, or stain plus a clear sealer. The sealer does the hard work either way, so choose the look you prefer and seal it properly.
Can I paint over stain later if I change my mind?
Yes, once the stained surface is sealed and lightly sanded. Sand with 180 grit, wipe away the dust, prime, and paint as normal.
How long should I wait before using the table?
You can use it gently after a day or two, but a full cure typically takes around a week. Keep heavy items and hot mugs off the top until then.
Your Table, Your Rules: Start With One Finish and Finish It Well
Pick the route that fits your table and your week, gather the few things it needs, and start with the sanding. A plain unfinished table is a blank page, and the best unfinished work table ideas are the ones that get finished. Yours is waiting.