Yes, you can make a DIY candle in a thrifted brass canister, and it is one of the most satisfying small projects you can finish in a single afternoon. A solid brass canister holds heat well, looks far more expensive than it cost, and gives you a candle that feels like something from a boutique shelf.
The trick is not the pouring. The trick is everything before it: picking a canister with no leaks, cleaning the brass properly, matching the wick to the width of the canister, and then giving the finished candle time to cure. Get those four steps right and the candle burns evenly, smells the way you intended, and lasts.
You will need:
- One solid brass canister, cleaned and fully dry
- Soy wax flakes or a soy blend, enough to fill the canister to about half an inch below the rim
- Pre-tabbed cotton wicks in the right size for your canister, plus wick stickers or a dab of hot glue
- A double boiler or a heatproof jug set inside a saucepan of simmering water
- A candle thermometer, a kitchen scale, and a ruler or tape measure
- Chopsticks, pencils or a wick holder to keep the wick centred
- Fragrance oil made for candles, if you want scent, and a small heat gun or hair dryer for fixing the top
- Newspaper or an old tray to protect your work surface, plus oven mitts
Start With the End in Mind: Picking a Brass Canister Worth the Effort
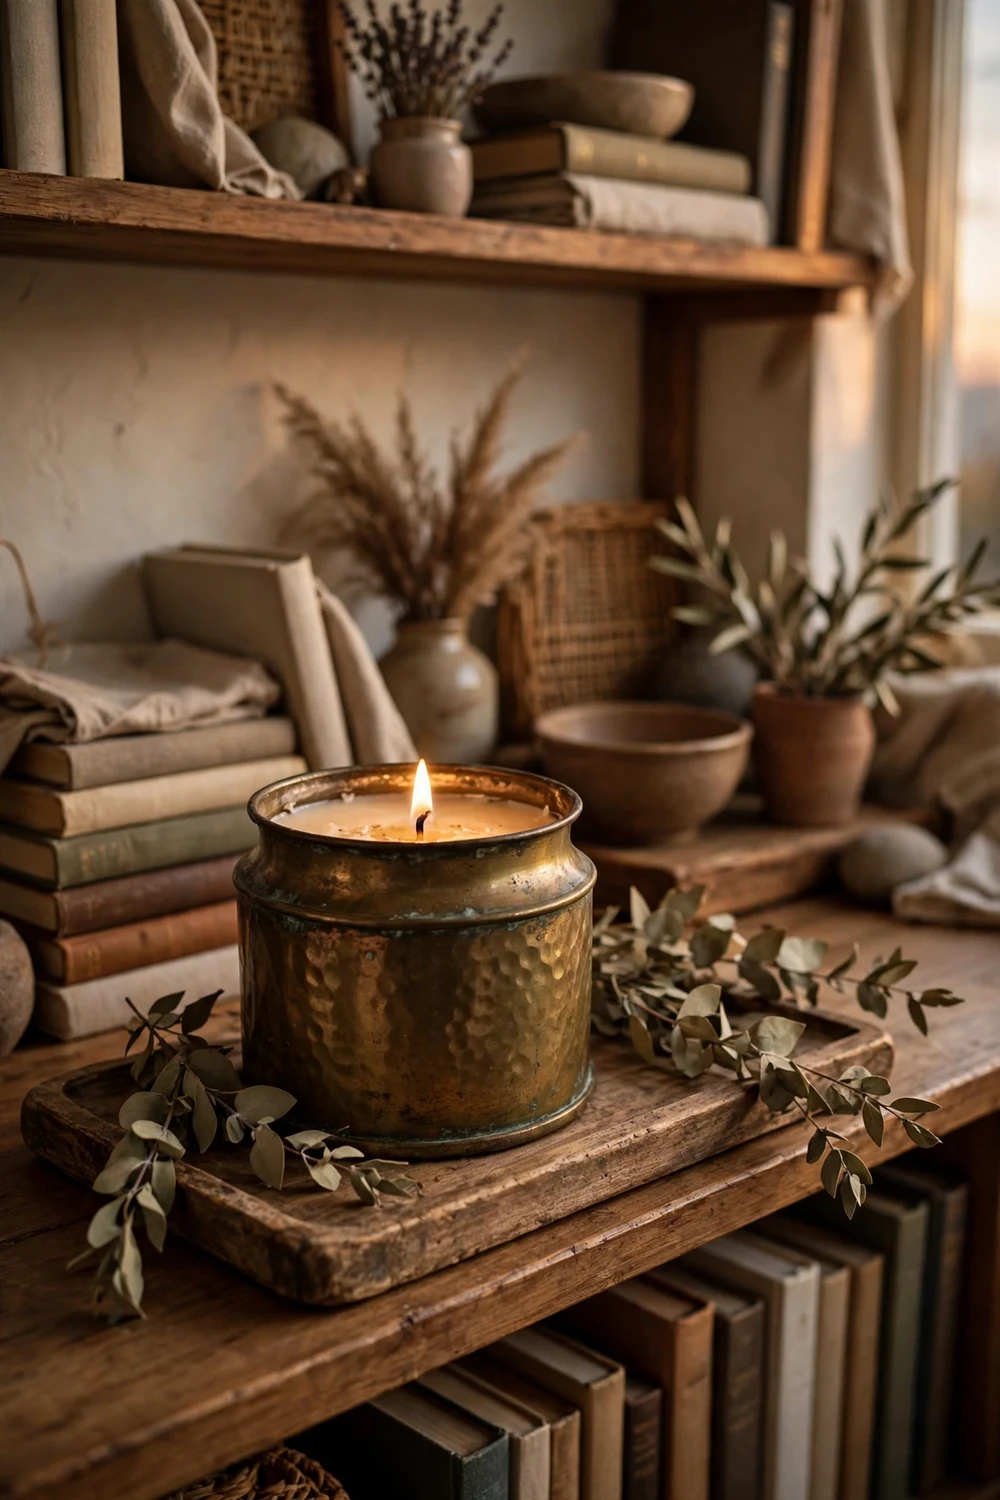
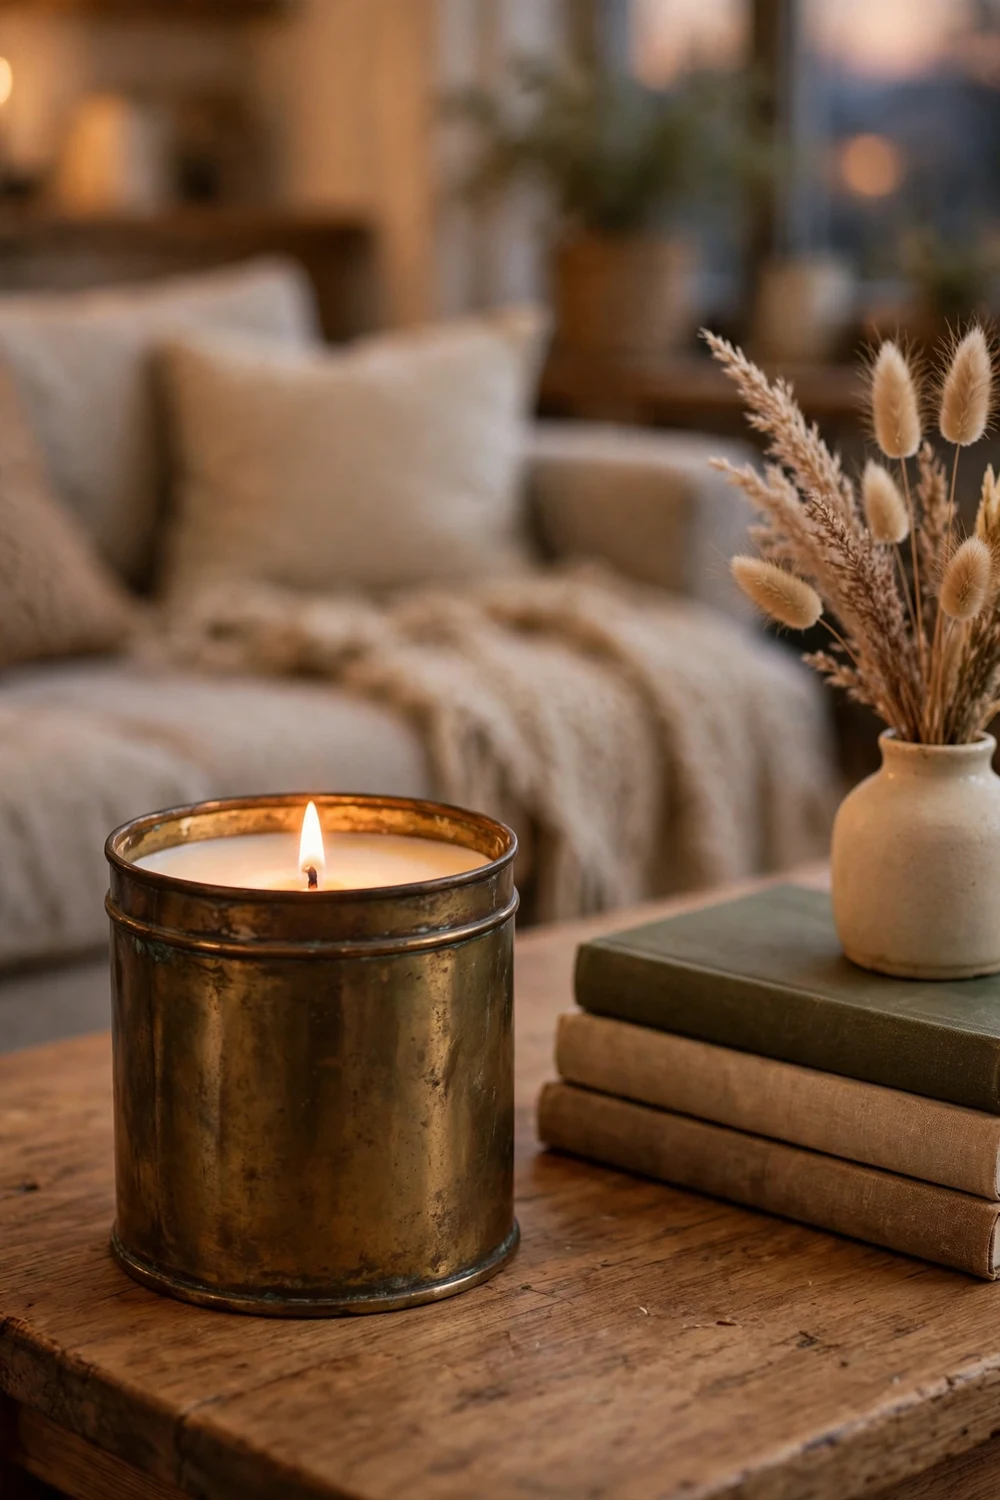
The finished candle in the photo above is the goal, so keep that picture in your head while you shop. You want a canister that will look just as good on a shelf as it does in your hand, because once the wax is in, the brass is the whole look. A plain tea canister, a small lidded jar, or a squat storage tin can all work, and the best ones usually cost very little at a thrift store.
Size matters more than shape. Look for a canister with an inside diameter between about two and a half and four inches. That range is easy to wick, easy to fill, and burns well without fuss. Anything wider than four inches will probably need two or three wicks.
Before you buy, set the canister on a flat surface and check that it sits level without rocking. Run a finger around the inside base and up the seam, feeling for holes, sharp splits, and loose solder. Then hold a small fridge magnet against the side. A magnet will not stick to solid brass, but it will grab onto plated steel. Plated pieces can still work, but hard scrubbing can wear the thin brass layer away.
Look inside, too. Old tea or coffee often leaves a sticky film, and that film stops wax from gripping the metal. A dark, even patina is not a problem. Flaking green crust, a sour or chemical smell, or a sticky residue you cannot identify are all reasons to pass. The same goes for any canister with a wooden handle, a plastic knob, a fabric lining, or a cork seal still attached. Those parts cannot take heat.
One more test takes thirty seconds. Fill the canister with water up to the level where your wax will stop, about half an inch below the rim, and set it on a dry tea towel for ten minutes. If the towel stays dry, the canister is watertight and ready. If you enjoy rescuing tired metal, see our guide to faux rust paint on a thrifted scale, and our roundup of luxury DIY candles from thrift store finds has more vessel ideas.
Cleaning and Prepping Brass Without Ruining the Patina
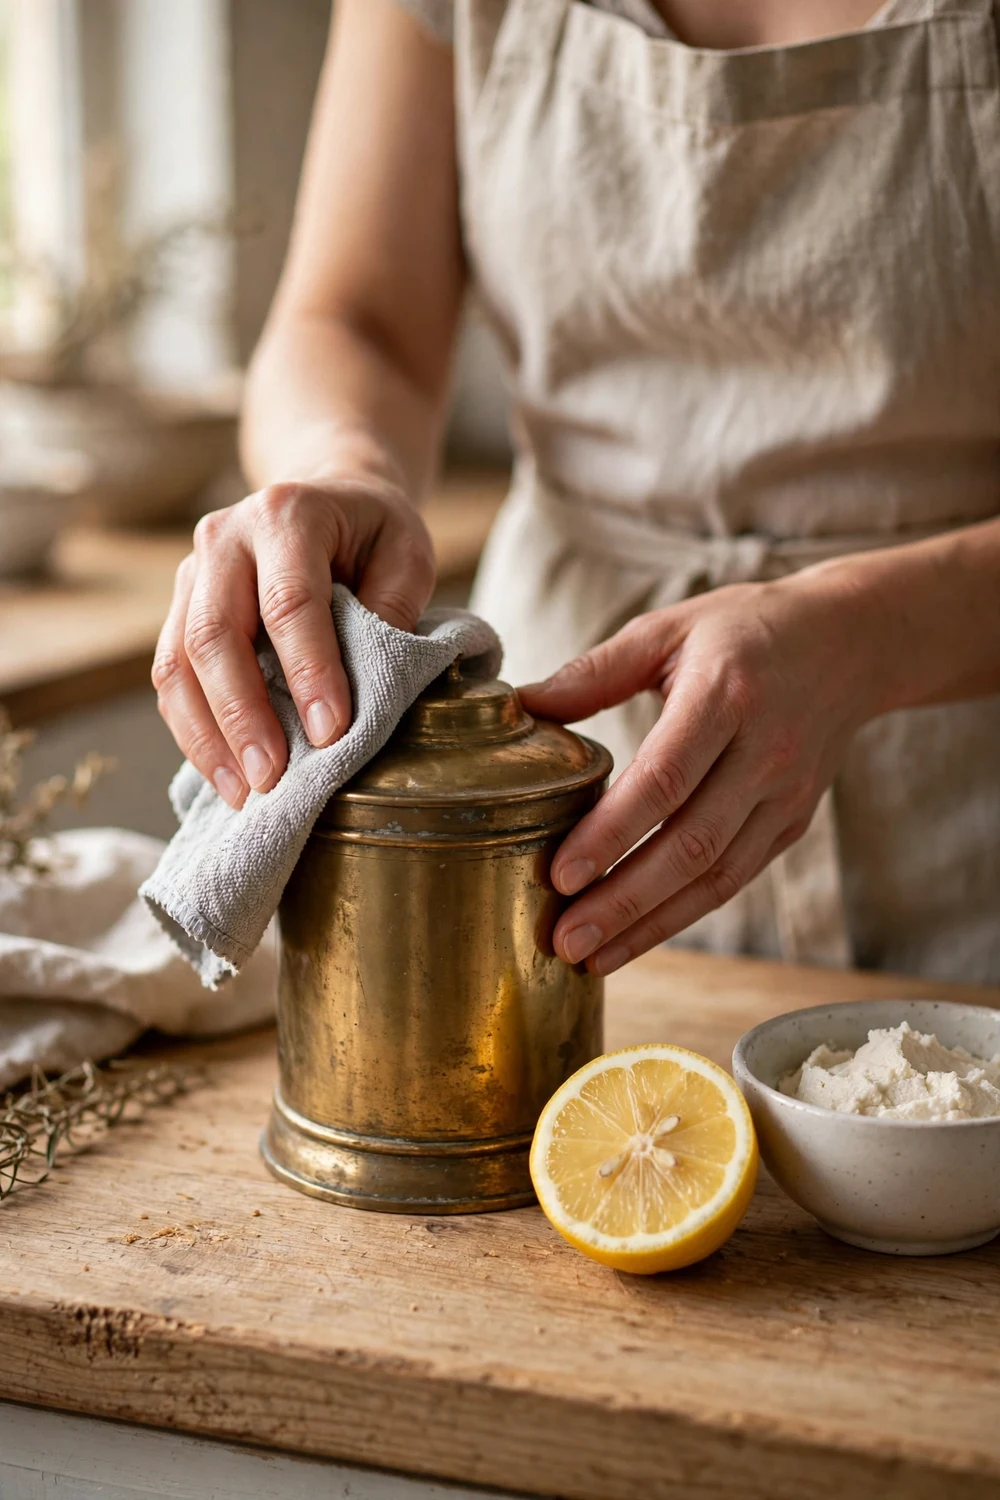
Cleaning is the step most short tutorials skip, and it decides whether your candle looks handmade in the good way or the disappointing way. Wax will not bond well to a greasy or dusty surface, and a canister that still smells faintly of old tea will pass that smell into your candle. Twenty minutes of proper cleaning now saves you from a candle you do not want to light.
Start with the gentlest clean and see how far it gets you. Wash the canister inside and out with warm water and a few drops of mild dish soap, using a soft cloth or a soft toothbrush for the rim and any engraved detail. Rinse it well, then dry it straight away with a clean towel. If the canister looks good after this wash and you like the soft, aged glow of the patina, you can stop here.
If the tarnish is heavy and you want a brighter finish, make a simple paste from lemon juice and baking soda. Squeeze half a lemon into a small bowl, add baking soda a spoonful at a time, and stir until you have a paste about the thickness of toothpaste. Rub it over the brass with a soft cloth, working in the direction of the grain of the metal rather than in circles. Rinse with warm water and dry immediately. Test the paste on a small patch at the back first, especially if the piece might be lacquered, because a polish paste can cloud lacquer or strip it unevenly.
For a canister you plan to keep dark and moody, skip the paste entirely. Soap and water remove the grime, and the patina stays put.
Do not use steel wool, scouring pads, or harsh chemical dips on any piece you plan to turn into a candle. Abrasives scratch the surface, and chemical dips can leave residues you cannot see, which you do not want sitting under hot wax. Once the canister is clean, leave it somewhere warm and dry for at least an hour so every trace of moisture inside evaporates. Just before you pour, warm it gently in a bowl of warm water or with a hair dryer, then dry it again. A warm canister helps the wax grip the walls instead of pulling away as it cools, which is one of the main causes of pale patches called wet spots.
Choosing Your Wax: Soy, Beeswax or a Blend
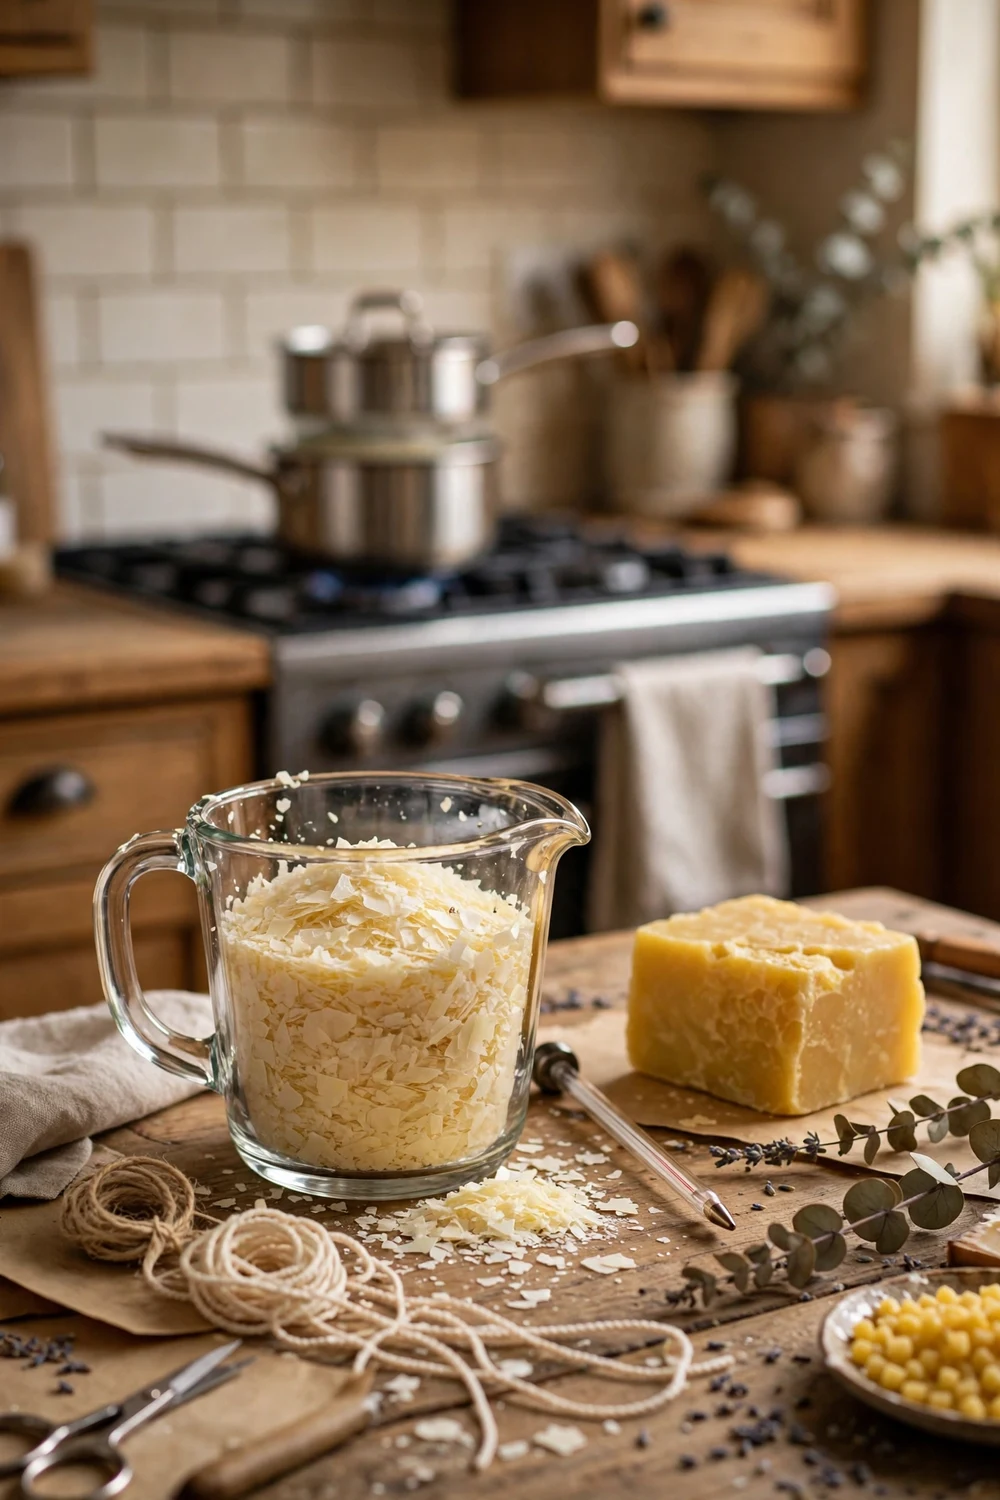
For a first brass canister candle, the choice is simpler than the internet makes it sound. You want a container wax that melts cleanly, holds scent well, and forgives a beginner, and that points most people toward soy. Soy wax is sold as flakes that melt into a creamy, pale wax. It burns slowly, gives off very little soot, and takes fragrance oil well.
Soy has two quirks worth knowing. It can develop a white, frosty bloom as it cools, and it can pull away from the walls and leave pale patches. Both are cosmetic, and neither affects how the candle burns. Soy also needs a proper cure. A soy candle burned the day after pouring will smell faint, and the maker will blame the fragrance oil when the real problem is impatience. The curing section below explains the wait.
Beeswax brings a warm honey colour and a gentle scent of its own, even before you add anything. It burns a little hotter than soy and it is harder to work with, because it needs a higher pouring temperature and it can be fussier about wick size. It also costs more, typically noticeably more than soy for the same weight. Beeswax suits a canister you want to keep unscented or very lightly scented.
Paraffin is the traditional candle wax, and it is still the easiest wax for strong scent and a smooth, hard finish. It holds colour well and it rarely frosts. The trade off is that it is made from petroleum, and it can produce more soot than soy when the wick is too large. If you choose it, buy a container grade paraffin, not the harder pillar grade, because pillar wax will not grip the walls of your canister properly.
Whatever you choose, read the guidance that comes with that exact wax. Melting points and pouring temperatures vary between brands, and the numbers on your bag beat any general guide. As a rough guide, soy container wax typically melts fully somewhere around 120 to 180 degrees Fahrenheit depending on the blend, and it is usually poured somewhere around 135 to 150 degrees. Beeswax melts at about 144 to 149 degrees and is usually poured hotter, closer to 160 to 170 degrees. Work out how much wax you need, too. If the canister holds 16 fluid ounces of water up to your fill line, you will need roughly 13 ounces of wax by weight, because wax is lighter than water. Buy a little extra for topping up sinkholes.
| Wax | Best for | Scent throw | Look | Beginner friendly |
|---|---|---|---|---|
| Soy | A first candle, clean burn, natural feel | Good, best after curing | Creamy, can frost or show wet spots | Yes, the easiest starting point |
| Beeswax | Unscented or lightly scented candles | Gentle, with a natural honey note | Warm golden colour, smooth when poured hot | Fair, needs hotter pouring and careful wicking |
| Paraffin, container grade | Strong scent and bright colour | Strong | Smooth and hard, rarely frosts | Yes, if you follow the temperature guidance |
| Soy blend | A smoother top with good scent | Good to strong | Smooth, fewer surface flaws than pure soy | Yes, a good middle ground |
Sizing the Wick for Your Canister
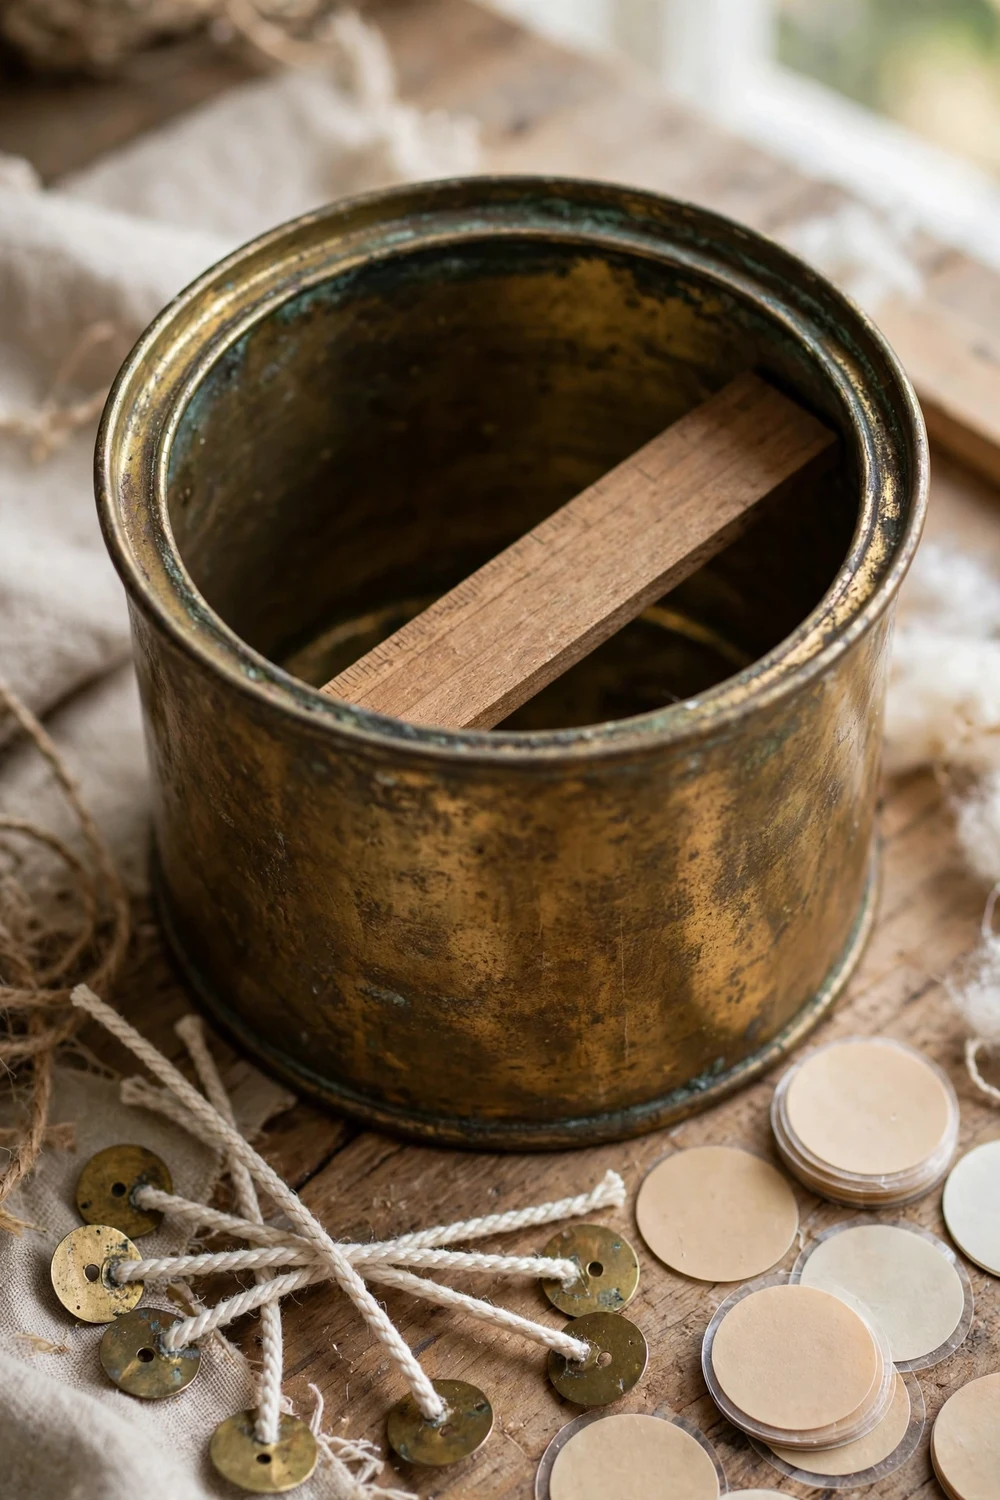
If there is one step that decides whether your candle burns well or tunnels down the middle and wastes half its wax, this is it. The wick is a small thing, and it is tempting to grab whatever pack is cheapest, but wick size is not a detail you can guess. It is set by the width of your canister.
Start by measuring the inside diameter of your canister at its widest point. Measure across the inside, wall to wall, at the level where the wax surface will sit, not at the base and not at the rim if the canister tapers. Brass canisters often taper slightly, wider at the middle than at the base, so measure at the widest point of the wax area. Write the number down. A canister that measures three inches across needs a very different wick from one that measures two inches.
Wicks come in families called series, and the common ones for container candles are CD, ECO, and HTP. The letters describe how the wick is braided, and the number after them is the size within that family. A CD 10 is a larger wick than a CD 6, and an ECO 8 sits in roughly the same range as a CD 10 for soy wax. You do not need to learn every series. You need one series, one size, and a test burn. Most beginners do well with CD or ECO wicks in soy wax, so pick one of those and use the table below as your starting point.
| Inside diameter | CD, starting size | ECO, starting size | How many wicks |
|---|---|---|---|
| 1.5 to 2 inches | CD 4 to 6 | ECO 2 to 4 | One |
| 2 to 2.5 inches | CD 6 to 8 | ECO 4 to 6 | One |
| 2.5 to 3 inches | CD 8 to 10 | ECO 6 to 8 | One |
| 3 to 3.5 inches | CD 10 to 14 | ECO 8 to 12 | One |
| 3.5 to 4 inches | CD 16 to 18 | ECO 12 to 14 | One, or two for a safer burn |
| Over 4 inches | Two or three smaller wicks | Two or three smaller wicks | Two or three, spaced evenly |
Read the table as a starting point, not a promise. Your wax, your fragrance load, and your canister all change the result, which is why candle makers test. A wick that is too small will leave a ring of wax on the walls, the flame will look weak, and the candle will tunnel. A wick that is too large will make a deep, hot melt pool, the flame will smoke, and the brass will get hotter than it should. The right wick gives you a melt pool that reaches the walls within a couple of hours, a steady flame about an inch tall, and very little smoke.
For a canister wider than four inches, add wicks instead of climbing to a bigger single wick. Space two wicks evenly across the width, or three in a triangle for a wide, round canister, and size each one for the zone it has to melt. A rough guide is to treat each wick as covering a zone about two to two and a half inches wide. Keep the wicks at least an inch away from the brass wall and from each other, so their flames cannot merge.
Choose a wick a couple of inches longer than your canister is tall, so you have enough length to hold while you centre it and to trim later. Pre-tabbed wicks come with a small metal disc already attached to the base. Stick the tab to the centre of the base with a wick sticker or a dab of hot glue, press it down firmly, and check from above that it sits dead centre.
Setting Up and Pouring the Wax, Step by Step
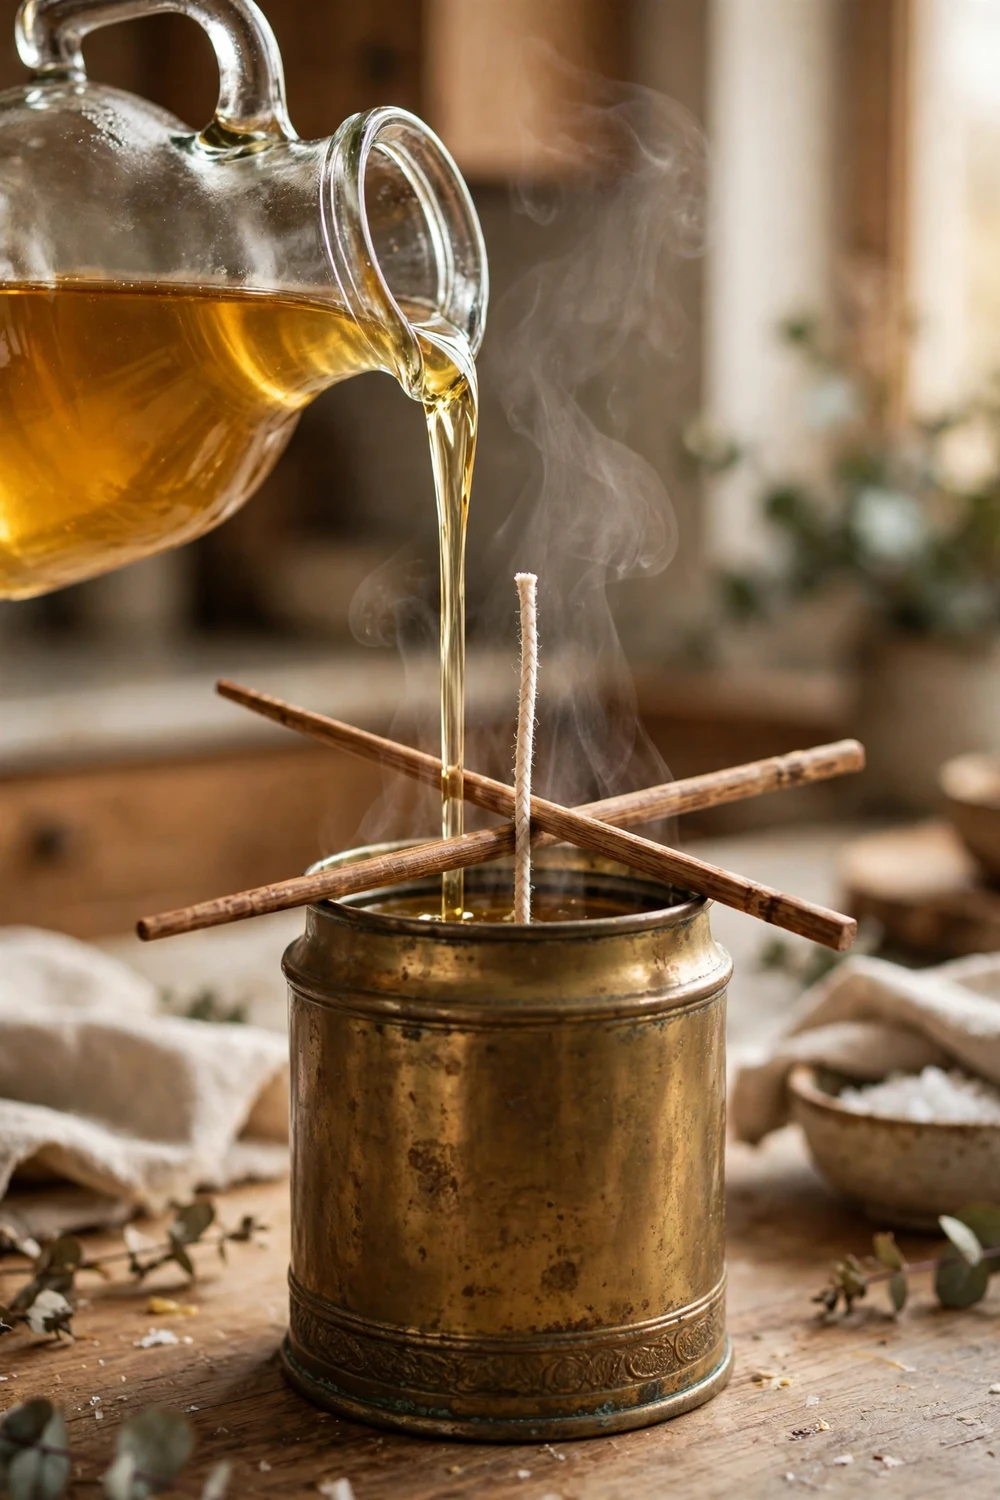
Cover your work surface with newspaper or an old tray, set the canister on a flat, level spot where it can sit undisturbed for a full day, and keep children and pets out of the room. Lay out your thermometer, scale, wick holder, and oven mitts before the wax melts. Set the wick first, while the canister is still empty. Press the tabbed wick onto the centre of the base with a wick sticker or a dab of hot glue, then lay two chopsticks across the rim and rest the wick between them so it stands straight up.
Melt the wax in a double boiler, never directly over a flame and never in a microwave. Keep the water at a gentle simmer and stir now and then with a wooden spoon you keep just for candle making. Soy wax is ready when it is fully liquid and clear. Take it off the heat as soon as it reaches the temperature your supplier recommends for adding fragrance, which for many soy waxes is around 185 degrees Fahrenheit. Wax that is overheated can scorch and become a fire risk, so do not walk away from a melting pot.
If you are adding fragrance, stir the oil in gently for a full two minutes so it binds with the wax. A common starting point is about one ounce of fragrance oil per pound of wax, but stay inside the load your wax and your oil both recommend, and never exceed it. Too much oil does not make a stronger candle. It makes a candle that smokes, sweats, and can flare. The same applies to dye. A tiny amount goes a long way, and a deep colour needs a wick check.
Let the wax cool to pouring temperature before you pick up the jug. For many soy waxes that is around 135 to 150 degrees Fahrenheit, and for beeswax it is hotter, closer to 160 to 170 degrees. Pour slowly, in a thin, steady stream, aiming for the side of the wick rather than straight down it, so you do not push the wick off centre. Fill to about half an inch below the rim. Then leave the canister completely alone. Do not move it, and do not put it in the fridge or freezer. Fast cooling causes sinkholes and cracked tops.
Curing, Trimming and the First Burn
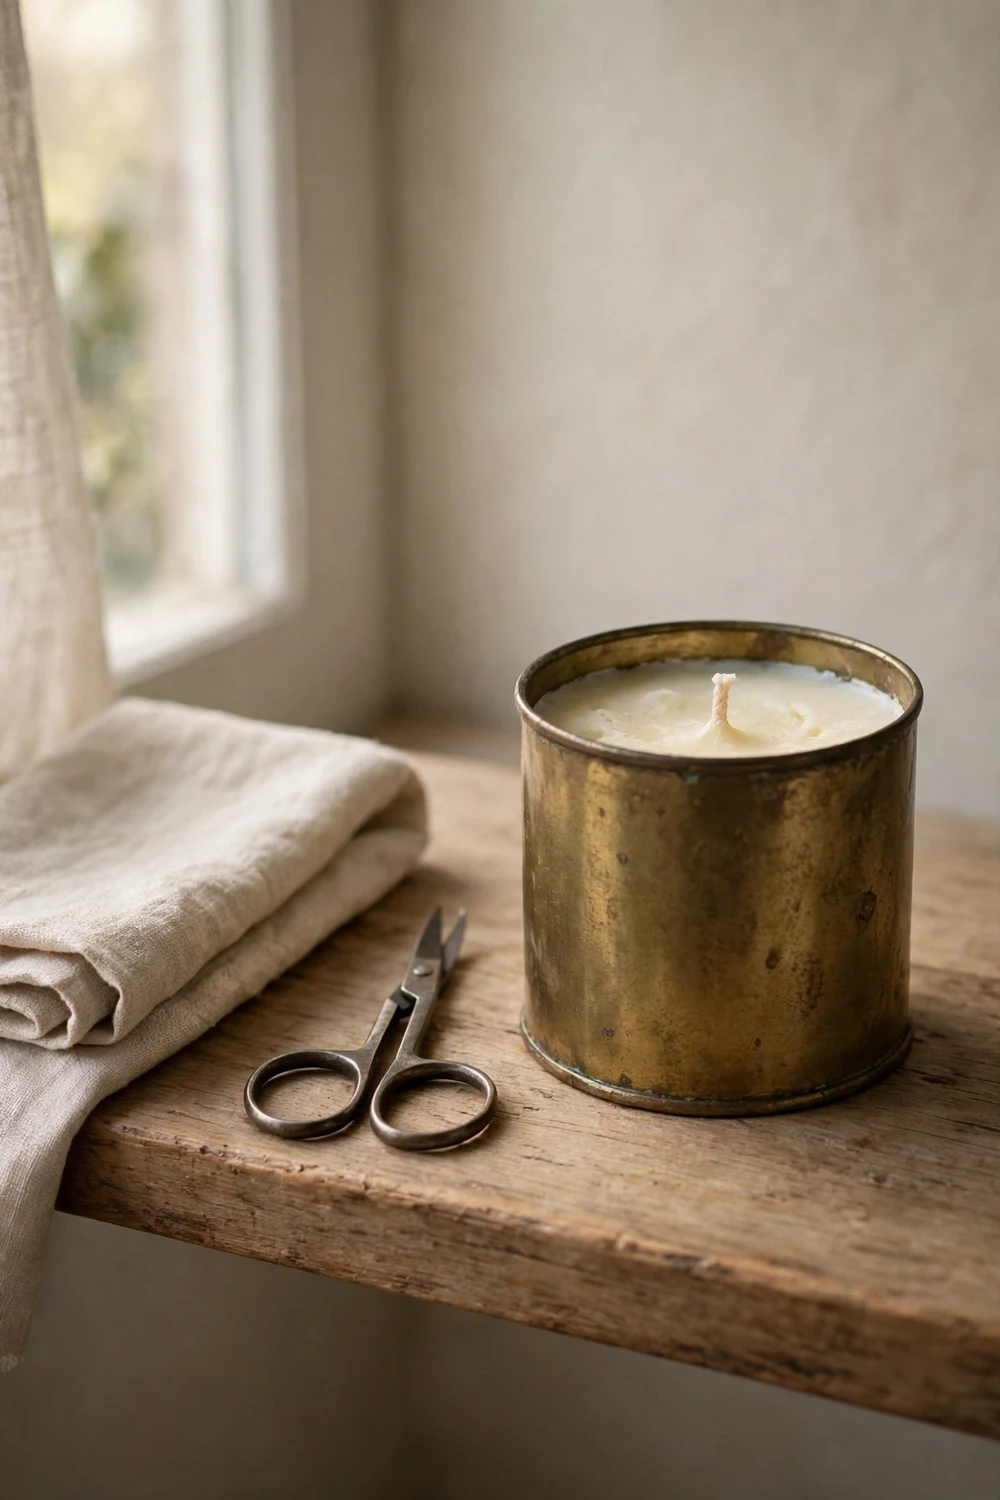
Curing is the part nobody wants to hear about, because you have a beautiful candle sitting on the shelf and you want to light it now. I think the waiting is honestly the hardest part of this whole project, harder than the cleaning and harder than the wick maths. But a candle is not finished when the wax turns solid. It is finished when the wax and the fragrance have had time to bind together, and that takes days, not hours.
For a soy candle, leave it alone for at least a week, and two weeks is better if you used fragrance oil. Put the canister somewhere cool and out of direct sunlight, with its lid on if it has one, or a small plate over the top to keep dust off. An unscented soy candle can be burned after a day or two, once the wax is fully hard, but a scented one burned too early will smell faint. Beeswax needs a similar wait, usually around a week.
When curing is done, trim the wick to about a quarter of an inch before the first light. A long wick makes a tall, smoky flame and can drop soot onto the wax. Use a wick trimmer or small scissors, and trim before every burn, not just the first one. The first burn sets the pattern for every burn after it. Light the candle when you have a couple of hours at home, and let it burn until the melted wax reaches the brass walls all the way around. That usually takes about an hour for every inch of diameter, so a three inch canister needs roughly three hours. If you blow it out after twenty minutes, every burn after that will follow the same narrow tunnel.
As a rule, do not burn any container candle for more than about four hours at a time. Let it cool, trim the wick, and light it again later. A steady flame about an inch tall with a small, even melt pool is what you want. Brass gets hot, and this is the thing to respect from the very first burn. The sides of the canister will be warm within an hour and genuinely hot to touch by the end of a long burn. Never pick up a lit brass candle, and never move it while the wax is liquid. Set it on a heatproof tray from the start, and leave it there until the wax is solid and the metal is cool.
Fixing Sinkholes, Wet Spots and Other Common Problems
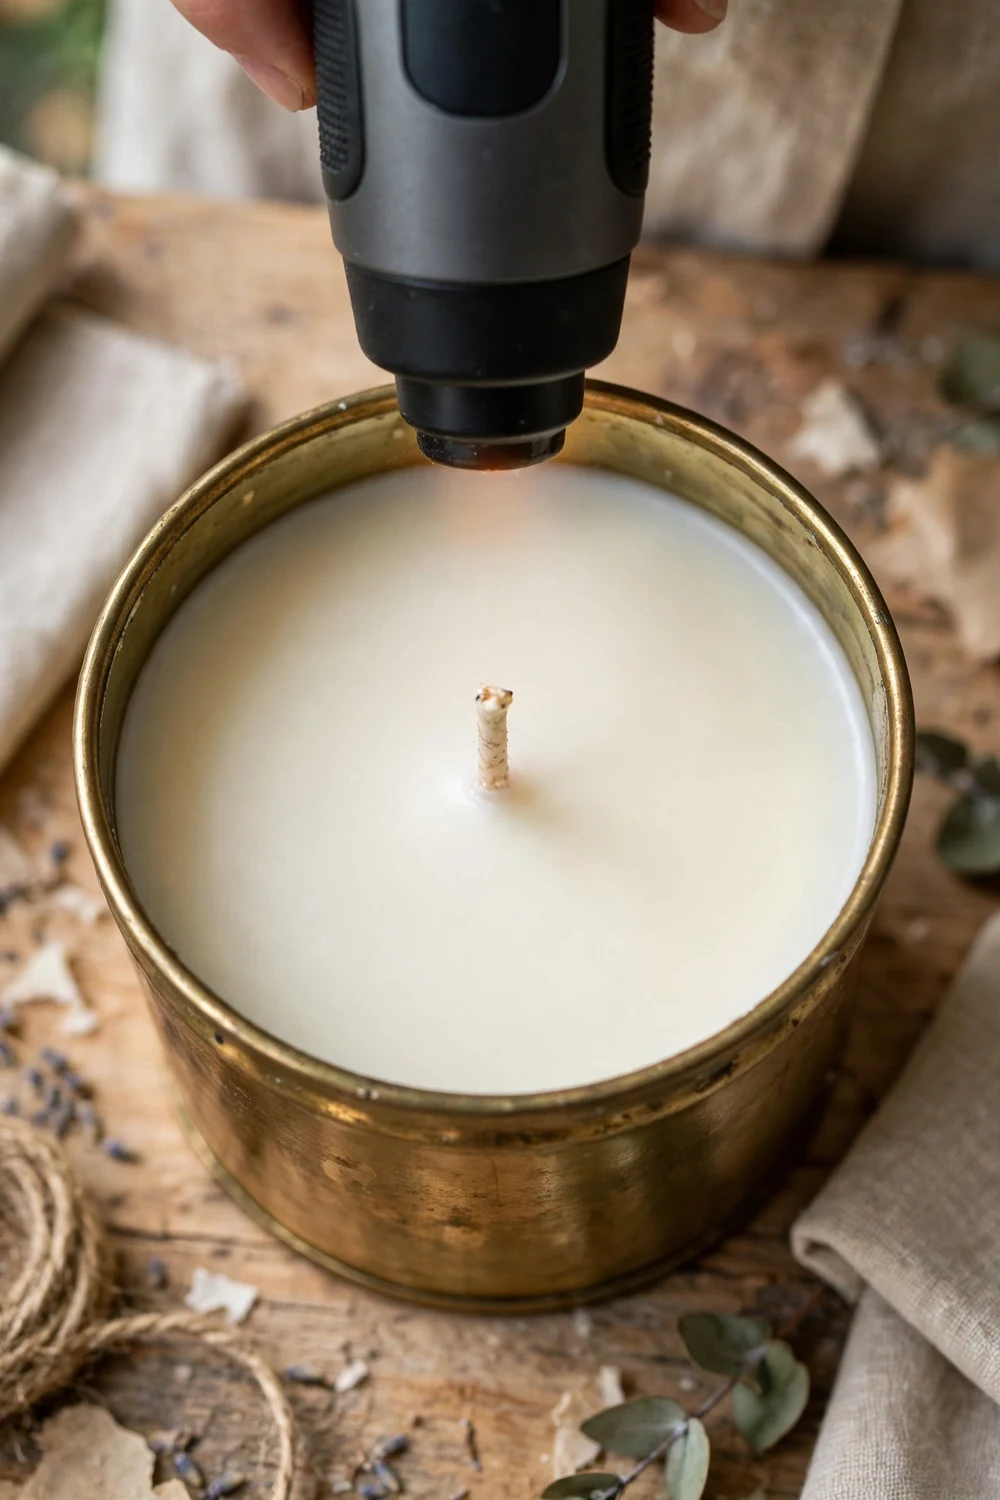
Almost every first candle has a flaw, and almost every flaw has a simple fix. Sinkholes look like small craters around the wick, and they happen because wax shrinks as it cools and traps air underneath. Poke two or three small holes around the wick with a skewer, top up with reserved melted wax, and let it cool slowly at room temperature. A shallow dip can also be smoothed with a heat gun or a hair dryer held a few inches above the surface.
Wet spots are pale patches where the wax has pulled away from the brass wall. They are cosmetic, and they do not affect the burn or the scent. Warming the canister before pouring and cooling the candle slowly both help. Frosting is similar: a white bloom on soy wax that is harmless and often fades once the candle is lit. If a flawless top matters a lot to you, a soy blend or a paraffin container wax will give you a smoother finish.
Tunnelling means the candle burns straight down the middle and leaves a wall of wax at the edge, and it is almost always caused by short burns. Wrap a strip of foil around the top, leaving a hole for the flame, and burn it for an hour or two so the edges melt, watching it closely. A weak scent usually means the candle was burned before it cured, the fragrance load was too low, or the oil was not made for candles. Soot usually means the wick is too long or too large, or the candle sits in a draft.
Burning Safely and Styling the Finished Candle
Never leave a burning candle unattended, and never burn one while you are asleep or out of the house. Keep the canister away from curtains, dried flowers, children, and pets, and burn it on a stable, heatproof surface away from drafts. Never move it while it is lit, and stop burning when about half an inch of wax is left. Brass gets hot, so let the canister cool fully before you touch it.
Styling is where the project pays off, because the finished candle looks like something you bought. The warm brass sits beautifully against wood, linen, stone, and deep green, so a wooden tray on a coffee table or a stack of books on a shelf are natural homes for it. Brass pairs well with other warm, handmade pieces: our DIY air dry clay chain drapes beautifully beside it, a DIY gold leaf sculpture picks up the same metallic notes, and our guide to DIY textured paint can give the wall behind it some texture.
A brass canister candle also makes a thoughtful gift. When the candle is finished, the canister is not. Scoop out the last wax, wash it with hot, soapy water, and pour again. A good brass canister can be refilled many times.
Frequently Asked Questions
Can you pour candle wax directly into a brass canister?
Yes, if the canister is solid, watertight, and clean, with no holes, loose solder, or plastic and wooden parts. Fill it with water first to check for leaks.
What wax is best for a brass canister candle?
Soy container wax is the easiest choice for a first candle. Beeswax gives a warm honey colour, and a soy blend is a good middle ground for a smoother top.
How do I know what wick size to use?
Measure the inside diameter at its widest point, then use a wick chart as a starting point. A three inch canister usually starts around a CD 10 to 14, and wider canisters need two or three wicks.
Why did my candle get sinkholes?
Wax shrinks as it cools and traps air under the surface. Poke small holes around the wick, top up with reserved wax, and cool the candle slowly at room temperature.
How long should a brass canister candle cure before burning?
Leave a scented soy candle for one to two weeks, and a beeswax candle for about a week. Burning too early is the most common reason a scent seems faint.
Is it safe to burn a candle in a metal container?
Yes, if you follow the rules. Brass gets hot, so use a heatproof tray, never move a lit candle, never leave it unattended, and trim the wick before each burn.
Your First Step
You do not need a full candle making kit to start. You need one good canister, a bag of soy wax flakes, and a few wicks in the right size. Go to the thrift store, check the base, do the magnet test, and bring home the one that feels solid and sits level. Wash it, test it with water, and order your wax.