How to Restore Cane Furniture: A Step by Step Repair Guide
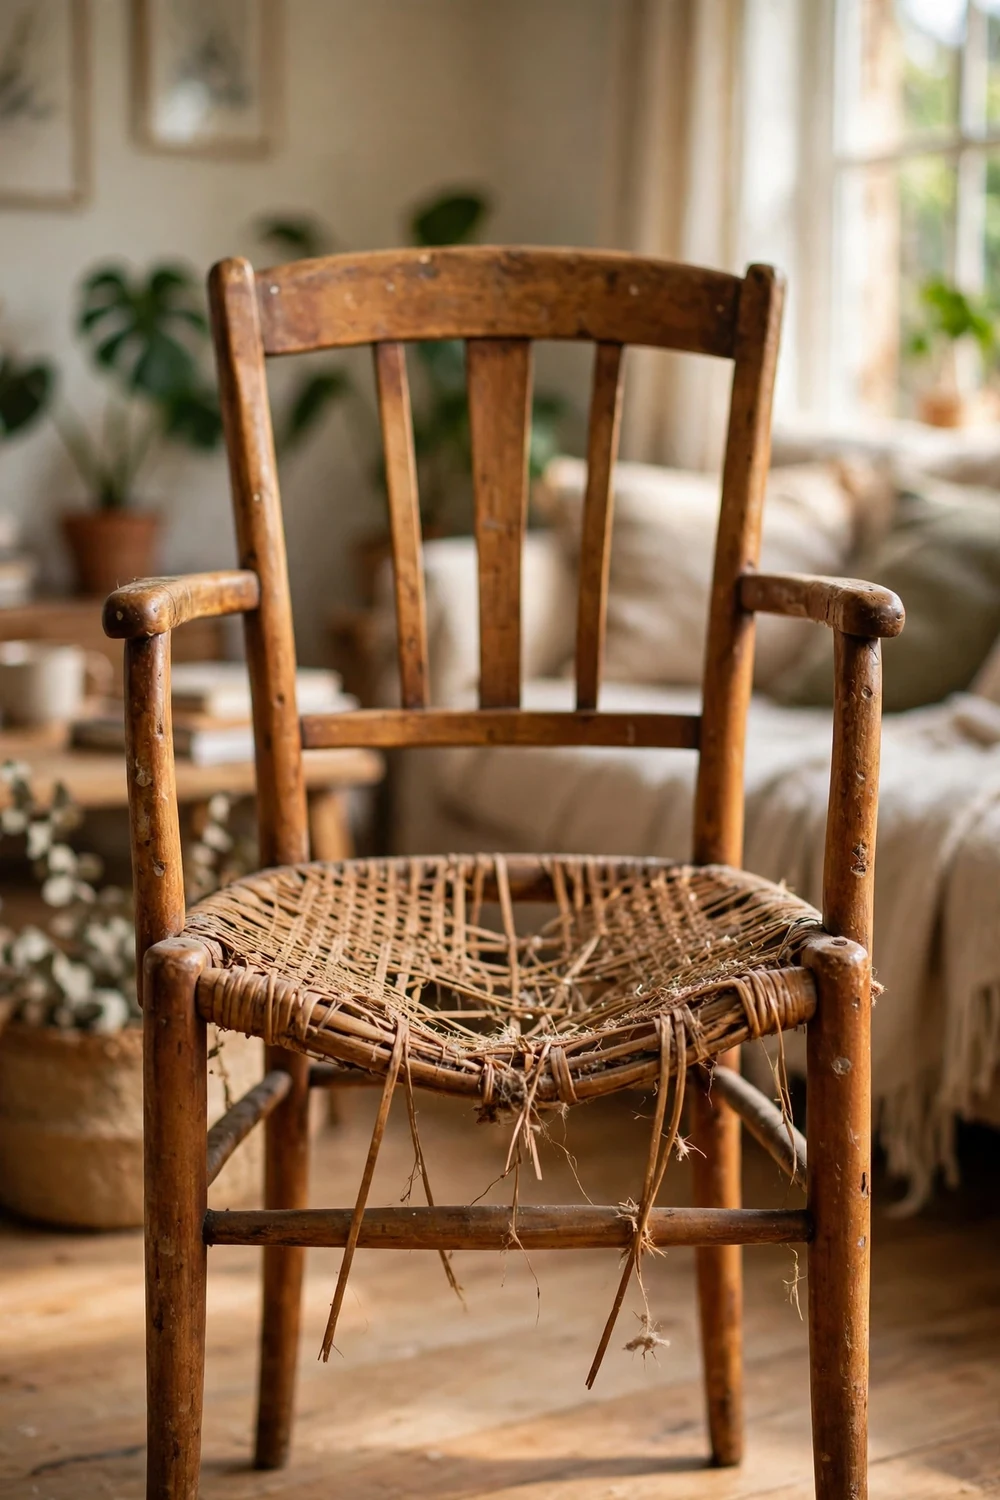
Yes, you can learn how to restore cane furniture at home, and most worn chairs need far less work than they look like they do. If the cane is intact but sagging, warm water and slow drying will often pull it taut again. A few broken strands can be spliced in, and a failed panel can be replaced with a fresh sheet of cane webbing pressed into the frame groove.
The trick is to match the fix to the damage. Clean first, work out which kind of cane you have, then choose the smallest repair that will hold. This guide covers each step, with the tools, drying times and mistakes to avoid.
What Your Worn Cane Chair Is Really Telling You
Before you buy anything, spend ten quiet minutes with the chair. Press down on the seat with both hands and listen. A seat that gives a little and springs back is tired, not broken. A seat that crackles, or one where strands snap under light pressure, is past the point where water alone will help. That first press tells you more than any photograph will.
Look at the cane in good daylight, top and bottom. Sagging shows as a shallow dip in the middle. Breaks show as loose ends poking up, or a hole where the weave has parted. Fraying near the frame means the cane is pulling away from its fixing, which is a different problem from fraying in the centre. Check the frame too. Rock the chair gently and watch the leg joints. A wobble is usually dried out glue, and it is far easier to fix before you start on the cane. A cracked rail or a split leg needs wood repair first, because no new cane will hold in a frame that moves. The same eye that spots a thrifted scale worth repainting will serve you well at a flea market full of cane chairs.
Use this table to match what you see to the fix it needs.
| What you see | The fix | Difficulty | Time |
|---|---|---|---|
| Seat sags, no strands broken | Tighten with warm water, dry slowly | Easy | 15 min, then 24-48 hrs drying |
| Dust and grime, cane still firm | Clean with mild soap and a soft brush | Easy | 30-45 min, then a few hours drying |
| One or two broken strands | Splice in new soaked strands | Moderate | 1 to 2 hours including soaking |
| Hole the size of your palm or smaller | Patch with pre-woven cane webbing | Moderate | 2 to 3 hours including drying |
| Most of the panel broken or brittle | Replace the whole sheet of webbing | Moderate to hard | Half a day, then 24-48 hrs drying |
| Frame wobbles, joint has come apart | Re-glue the joint and clamp it | Moderate | 30 minutes, then 24 hours clamped |
Work Out Which Kind of Cane You Have Before You Touch It
There are two kinds of cane seat, and they need completely different repairs. Getting this wrong is the single most expensive mistake in cane restoration. Hand caning is made of individual strands woven through a ring of small holes drilled around the seat frame. Look at the underside. If cane passes up and down through holes in the wood, with a wider binder strand around the edge on top, you have a hand-caned chair. A full hand re-cane is skilled, slow work that most people leave to a professional.
Sheet cane, also called pressed cane or cane webbing, comes as a pre-woven sheet. It sits in a continuous groove routed around the seat opening, and a thin wedge of reed called a spline is tapped into the groove over it. Look for a narrow strip of wood around the edge of the panel, with no holes through the frame. If you see that strip, you have sheet cane, and this is the DIY friendly kind. Almost every cane dining chair made in recent decades uses it, and a full replacement is a realistic weekend job.
Cane, rattan and wicker get mixed up often. Cane is the thin outer skin of the rattan palm, peeled into flat strips and woven. Rattan is the whole stem, and wicker is the weaving technique, not a material. Ask for cane webbing or cane strands when you buy supplies, not wicker. Measure before you order. For sheet cane, measure the opening across the groove and add about two inches on each side for fitting overhang, and match the weave pattern to the other chairs in the set.
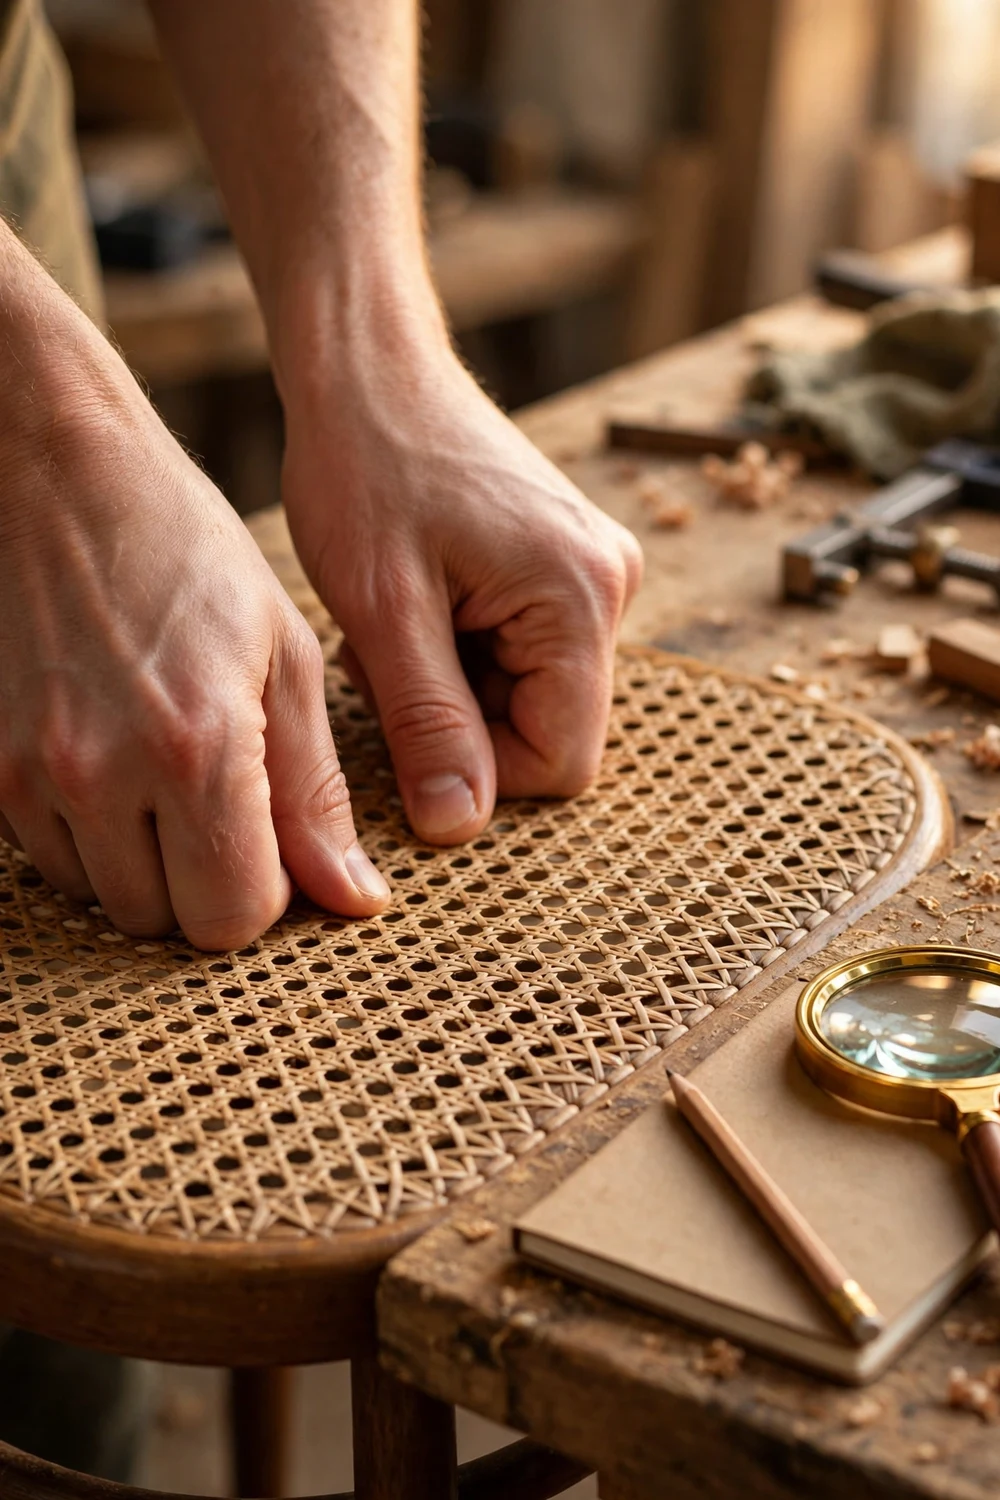
Gather your tools first. Cleaning and tightening need a soft brush, an old toothbrush, a bowl, mild soap, cloths and a spray bottle. Patching needs matching cane strands, an awl, sharp scissors and a little wood glue. A full replacement needs new webbing, a matching spline, a utility knife, a chisel, a mallet, a caning wedge, glue and wooden wedges. The same patience that makes a crown molding upgrade look custom will make your cane repair look professional.
Clean Cane Furniture First, or Every Repair After It Suffers
Cleaning is the least glamorous step and the one most people rush, but it decides how well everything after it works. Dirt trapped in the weave stops water soaking in evenly, so a sagging seat tightens in patches. Grime under a patch stops glue holding, and stain applied over dust looks blotchy. Half an hour of careful cleaning saves you from redoing the repair.
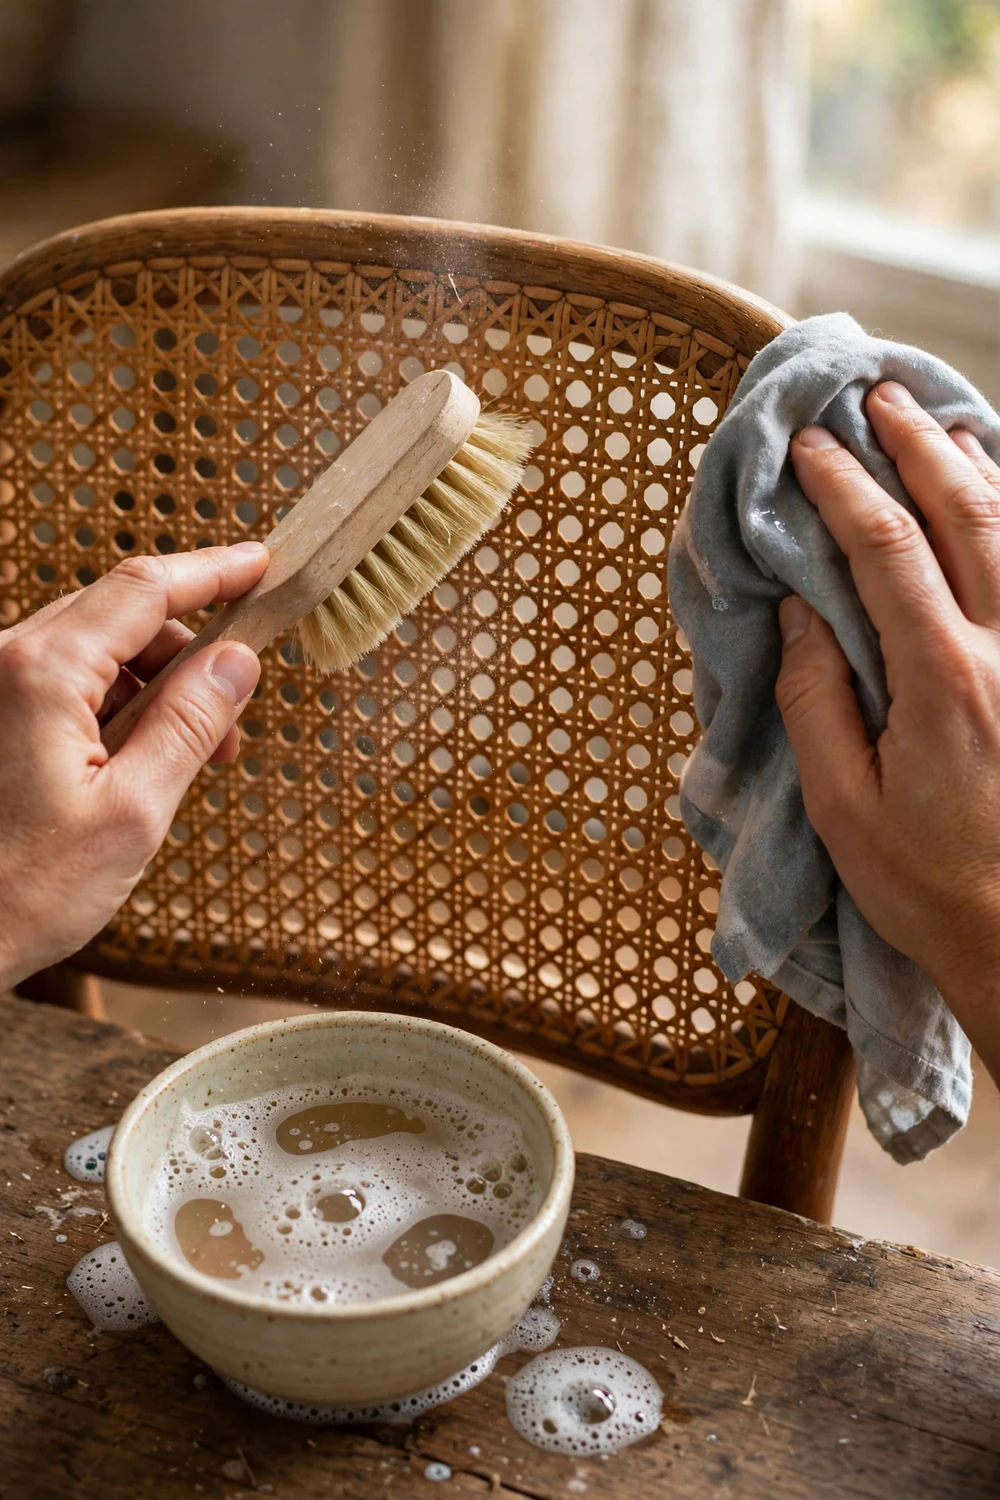
Start dry. Take the chair outside if you can, turn it over, and brush the cane on both sides with a soft brush. A vacuum with a brush nozzle works too, held just above the surface. Work the brush into the crevices where the cane meets the frame, and use an old toothbrush for the tight corners.
Now wash it, gently. Mix a few drops of mild soap into a bowl of warm water. Dampen a soft cloth, wring it out well, and wipe the cane in the direction of the weave. Use the soft brush dipped in the same solution for stubborn grime. Rinse the cloth often. The goal is a damp cane, never a soaked one. Standing water makes cane swell unevenly and split as it dries, so keep puddles off the seat and the cloth away from the frame.
If you find mould or mildew, deal with it before anything else. One part household bleach to ten parts warm soapy water will usually clear it. Hydrogen peroxide diluted in warm soapy water is the gentler alternative for lighter coloured cane. Never mix bleach and peroxide, and never use either at full strength. Work in a ventilated room, wear gloves, and let the cane dry completely in moving air.
Let the chair dry naturally for at least a few hours, ideally overnight, in a room with good air flow. Keep it out of direct sun and away from radiators while it dries. Fast, uneven drying makes cane brittle. Once it is fully dry, look at it again in daylight. The true state of the weave shows clearly for the first time. Do not use a pressure washer, a steam cleaner, abrasive pads or strong solvents on cane. They shred the surface fibres and leave the cane rough and weak.
How to Tighten a Sagging Cane Seat With Warm Water
This is the repair that surprises people most, because it uses nothing but warm water and patience. Cane is a natural fibre. It swells when it takes in moisture, then shrinks as it dries. Wet a sagging seat evenly and let it dry slowly, and the fibres contract and pull the weave taut again. It works on both hand caning and sheet cane, it costs nothing, and it is the first thing to try whenever the cane is intact but loose.
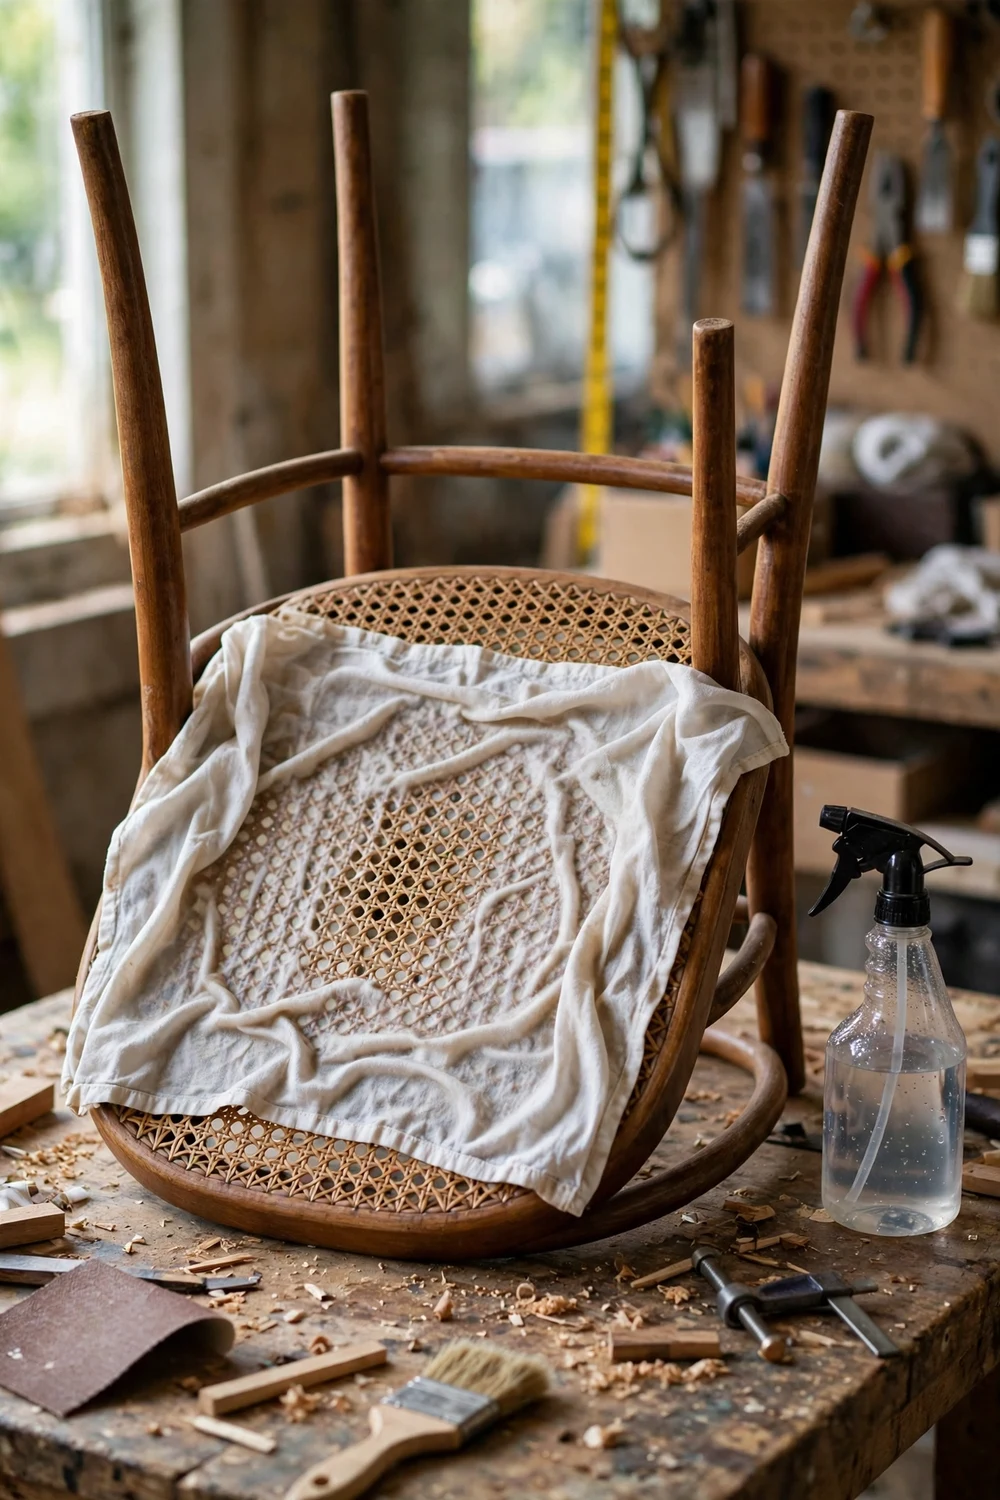
Turn the chair upside down so the underside of the seat faces up. The underside is usually unfinished, so it absorbs water far more readily than the varnished top. Lay a clean cloth soaked in warm water over the cane, or mist the underside with a spray bottle, until the whole panel is evenly damp. Keep the cloth off the wooden frame and the spline, because wet wood swells too and can loosen the glue. An hour or two of contact suits a mildly sagging seat, and an overnight soak suits one that has sagged badly over years.
Remove the cloth and let the chair dry in a warm room with good air flow. This is where the repair actually happens, and rushing it undoes the work. The cane needs 24 to 48 hours to dry fully, slowly and evenly. Do not put it in direct sun, aim a fan heater at it, or sit on it to test it. A chair sat on while the cane is still damp will stretch the fibres back out, often worse than before.
After two full days, press the seat with your palm. A successful tightening feels firm, with a slight spring, and a tap on the panel gives a low drum-like sound. If it still sags a little, repeat the treatment once more. A second round often takes a seat from acceptable to properly taut. If two rounds make no difference, the fibres have lost their elasticity. Move on to patching or replacement.
Patch Small Breaks and Frayed Strands Without Replacing the Panel
A chair with one or two broken strands does not need a new seat, just a careful splice, almost invisible once the cane is oiled. Work with the existing weave, and soak the new cane first so it bends without snapping.
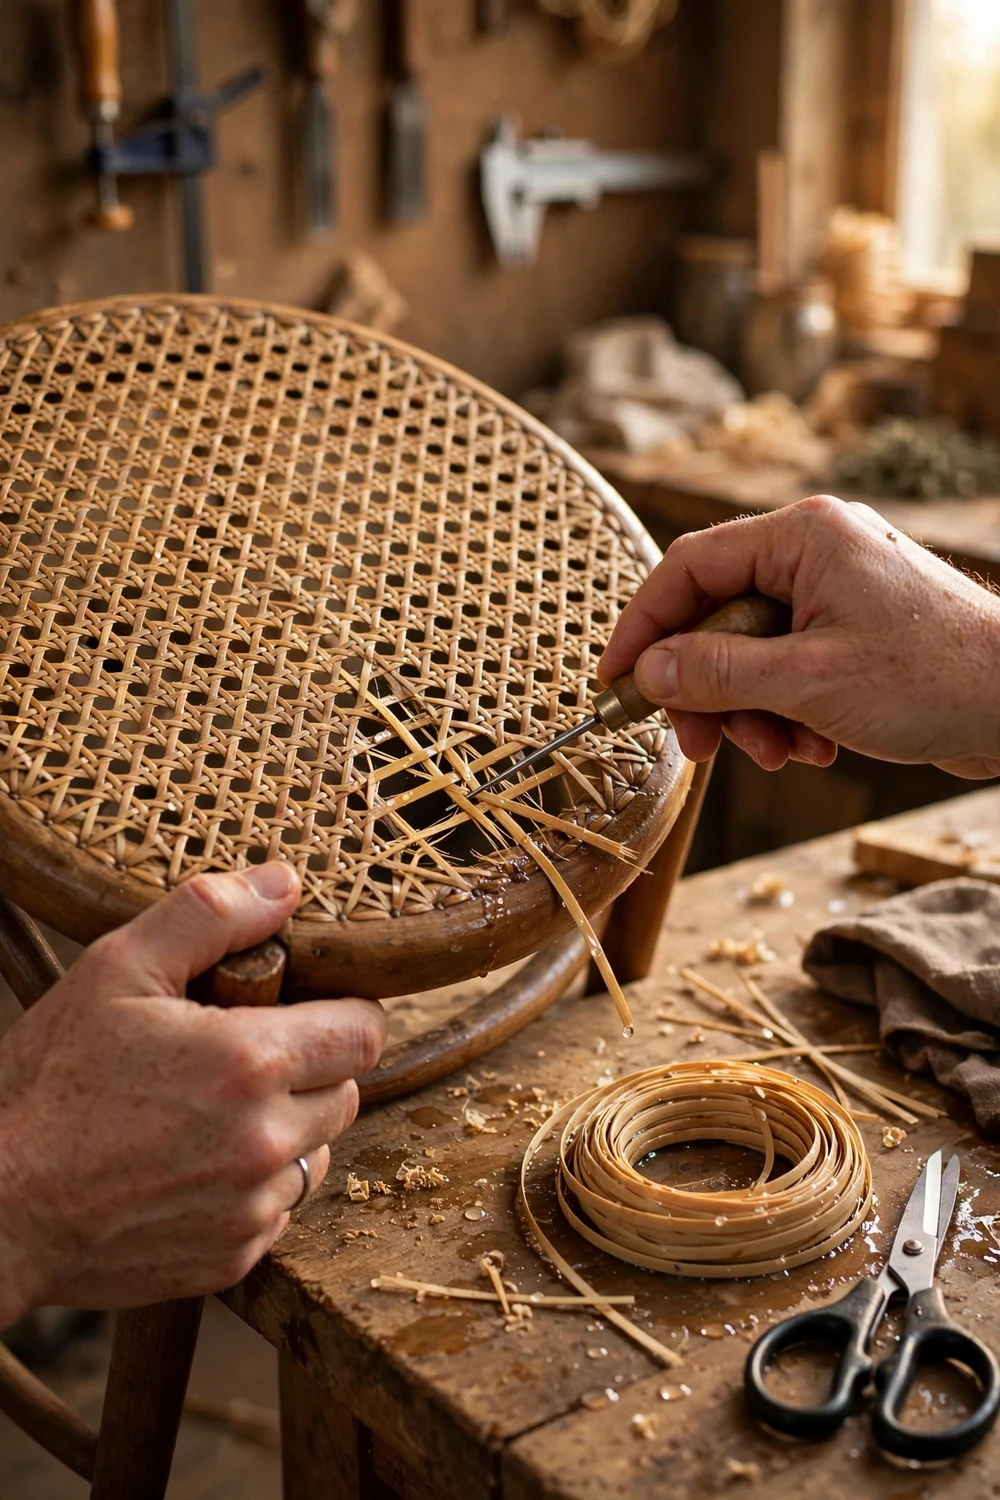
Trim the broken ends first. Cut away frayed fibres with sharp scissors, and note the path of the broken strand through the weave. Cane follows a strict over and under pattern, and your replacement strand must follow exactly the same path, or the patch will sit proud and catch on clothing. If you are unsure, copy the strand next to the broken one.
Soak the new strand in warm water for 20 to 30 minutes. Dry cane snaps when bent sharply, while soaked cane is supple. Cut it a few inches longer than the gap, thread one end under the weave with an awl, then follow the over and under path across, keeping the tension even and the strand flat. Do not pull it drum tight, it will shrink a little as it dries. Tuck the far end under two or three strands, trim it flush, and add a tiny dab of wood glue on a toothpick. Use very little, a blob of glue dries hard and shiny. Leave the patch to dry for 24 hours before sitting on the chair.
For a hole up to about the size of your palm, a patch panel works better than splicing single strands. Cut a piece of pre-woven cane webbing a little larger than the hole, soak it for 30 minutes, and trim the hole into a neat shape. Slide the patch under the edges of the existing weave, matching the pattern, and secure it with a thin line of wood glue along the join, plus a few stitches of fine cane strand while the glue sets. It will not be invisible, but it reads as a repair made with care. Anything larger than a palm sized hole is better as a full panel replacement. A big patch has too many weak edges and will usually fail at the join within a year or two. Stop patching if strands break in several places at once, or the cane crumbles when handled. The material is exhausted.
Replace the Whole Cane Panel: Sheet Cane, Spline and Glue
Replacing a full panel sounds daunting, but it is a sequence of small steps, each easy on its own. Set aside half a day, work on a clear bench, and do not rush the drying. Once you have done one chair, the second takes half the time.
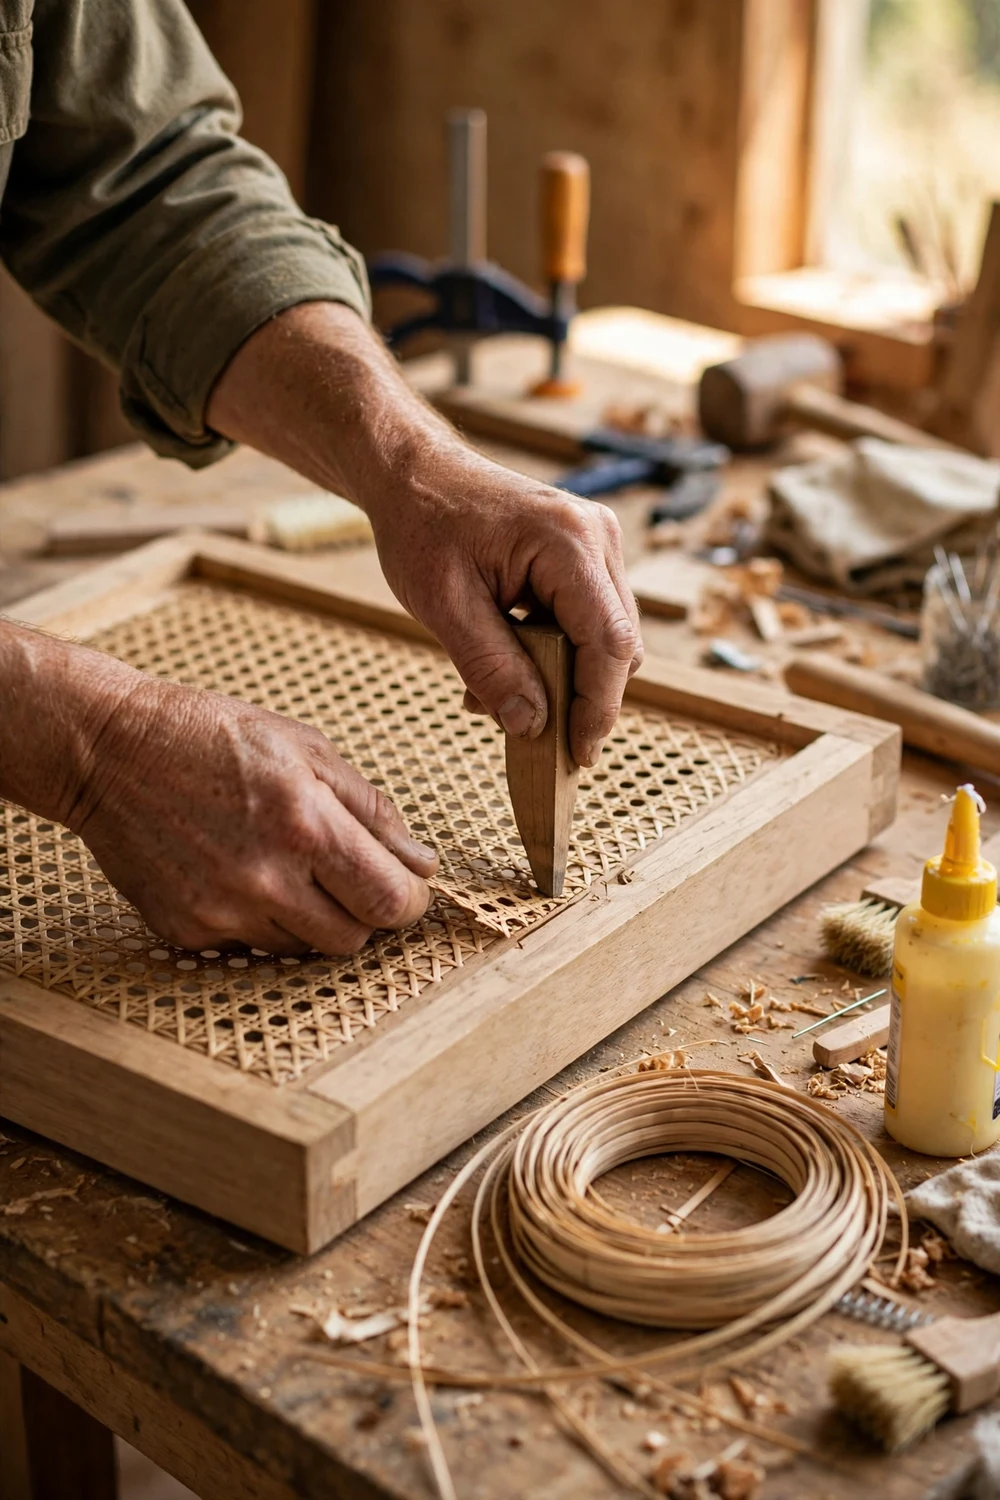
First, remove the old cane and the spline. Score along both edges of the spline with a sharp utility knife so the wood does not splinter. Work a small chisel under one end and tap it gently with a mallet, lifting a little at a time around the frame. The old spline will usually come out in pieces, and that is fine. Pull the old cane free, then clean the groove. Scrape out old glue and fragments with the chisel, and finish with folded sandpaper. New cane will not seat properly in a groove full of old glue.
Measure the opening and cut the new webbing. Lay the sheet over the opening, line the weave up square, and cut it with about two inches of overhang on every side. Soak the webbing and the new spline in warm water for 30 to 60 minutes. Soaked cane is pliable, and it shrinks as it dries, which pulls the finished panel tight. A dry sheet fitted into a groove will stay slack forever, so do not skip the soak.
Now fit the panel. Lay the wet webbing over the opening and press it into the groove at the centre of the front edge with a caning wedge, holding it with a small wooden wedge. Work around the frame a section at a time, keeping the pattern straight. Ease the cane into corners with small folds rather than pulling hard, or you will skew the whole pattern. When the cane is seated all the way around, run a thin bead of wood glue into the groove, then press the soaked spline in on top, starting at the back or the least visible edge. Tap it in gently with a mallet and a block of wood until it sits flush. Trim the excess cane with a sharp knife, held flat against the frame.
Leave the chair alone for 24 to 48 hours. The cane will look slightly loose at first, and that is normal. As it dries it shrinks and tightens, and by the second day it should feel firm and sound drum-like when tapped. Do not sit on it before then, and do not hurry the drying with heat.
A word on sheet cane vs hand caning. If your chair has holes drilled around the frame, it was made for hand caning, and you should not convert it to sheet cane. Routing a groove over those holes weakens the frame, often splits the wood, and destroys the value of the chair. For a good chair, pay a professional.
Finish, Colour and Protect the Restored Cane
A new cane panel looks pale and raw next to an old frame. Leaving the cane natural is simplest, and it is what most caners recommend. New cane darkens on its own over a few months, and within a year it usually matches the rest of a set. If you can live with a slightly lighter seat for a season, leave it alone.
If you need the colour to match now, stain it lightly. Test on a scrap first, because cane takes stain more strongly than wood. An oil based stain applied thinly with a cloth and wiped off quickly gives the most controllable result, with clear lacquer or varnish over the top. Apply finish to the top of the seat only. The underside needs to breathe, and sealing it traps damp and can lead to mould.
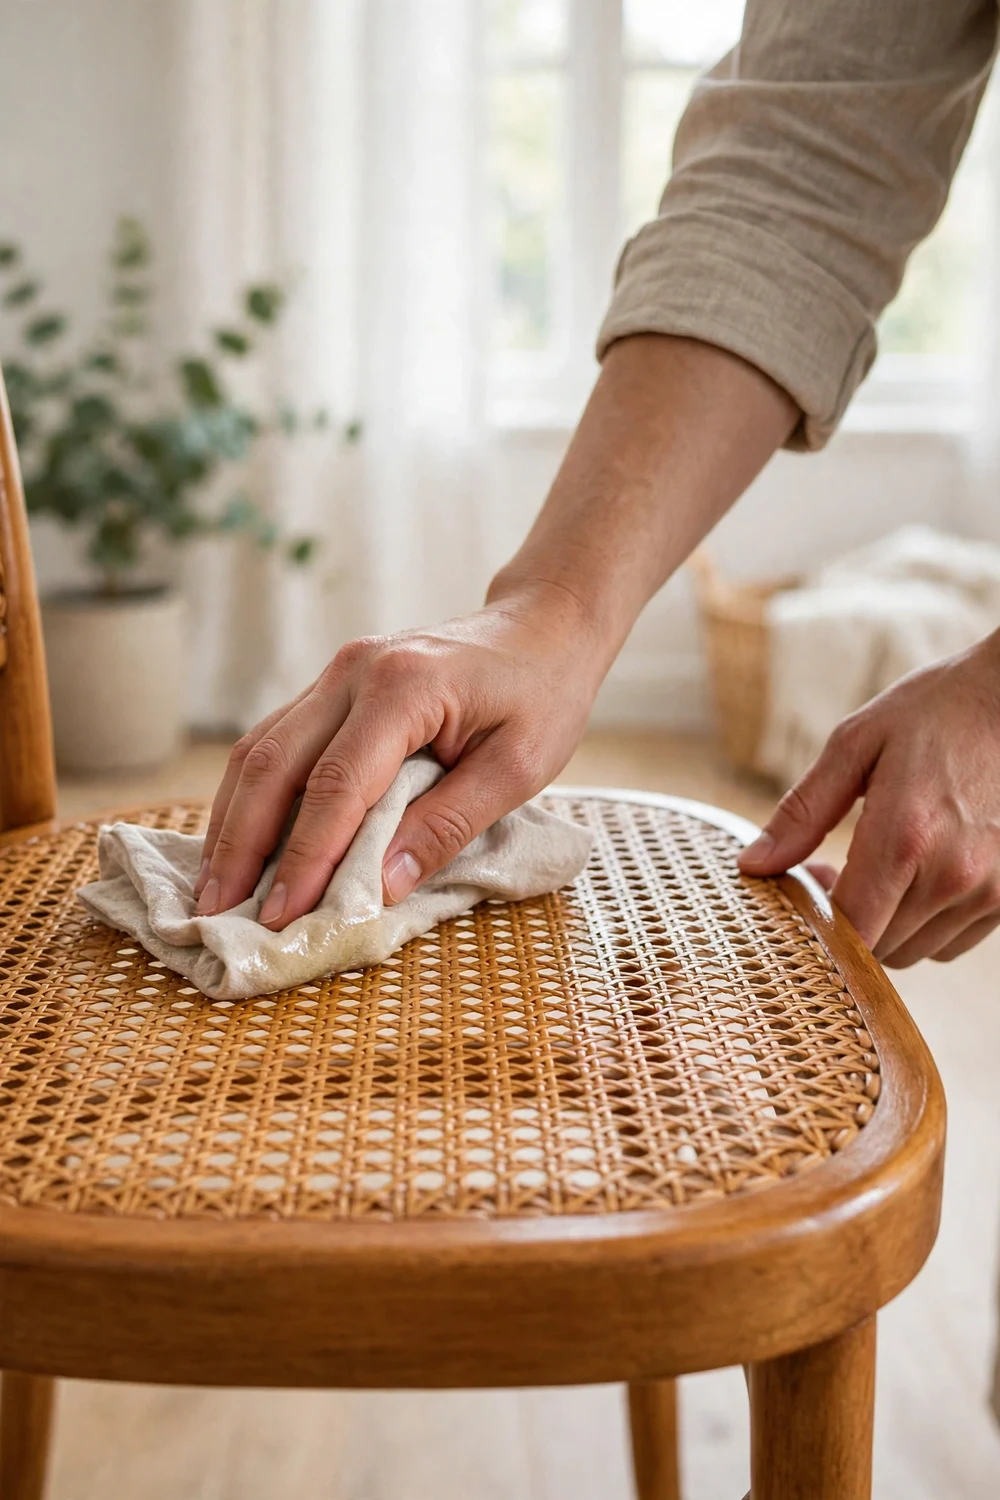
Oil is the gentlest way to revive old cane and keep new cane supple. A very light application of lemon oil, orange oil or mineral oil, rubbed in once or twice a year, keeps the fibres from drying out and restores the warm colour. Use it sparingly. A seat left greasy will attract dust and mark clothing. Tung oil suits indoor cane, and boiled linseed oil suits pieces kept outside, though natural cane lasts far longer indoors, out of rain. Never use a silicone spray or a heavy wax polish on cane, because both leave a film that stops the fibres breathing and makes future repairs harder.
Painting is a valid option when the cane is sound but the colour is beyond saving, or when you want the chair to fit a new room scheme. Wash the cane first, let it dry fully, then apply a thin coat of oil based primer, letting it dry completely before a top coat of paint. Two thin coats beat one thick one, and a spray finish is smoother on a woven surface than a brush, which pools in the holes. The same patient layering that makes a DIY textured paint finish look professional will serve you well here, and a frame refinished to look like faux driftwood pairs beautifully with natural cane.
How to Restore Cane Furniture and Keep It That Way
Sooner or later every cane chair owner faces the same question: is this chair worth repairing, or is it time to let it go? A chair with a solid frame and a shape you love is worth a new panel, even if the repair takes a weekend. A chair with a cracked frame and a shape you never liked is not worth the price of the webbing.
Think about the cane chair repair cost in the round. Webbing, spline and glue for one seat typically cost about the same as a modest takeaway meal. A professional re-cane typically costs several times that, and hand caning costs more again, since it is priced by the hole. A new chair of similar quality typically costs far more than either option. If the frame is sound and the chair is comfortable, repair is usually the better value.
| Option | Typical cost | Time | Best when |
|---|---|---|---|
| Tighten a sagging seat yourself | Almost nothing, just water and cloths | 15 minutes plus 2 days drying | Cane intact but loose |
| Patch broken strands yourself | A small amount | 1 to 2 hours plus a day drying | One or two strands broken |
| Replace sheet cane yourself | Typically a modest amount | Half a day plus 2 days drying | Panel failed, frame sound |
| Professional sheet cane replacement | Typically several times DIY cost | 1 to 2 weeks | You want a flawless finish |
| Professional hand caning | Typically priciest, priced by the hole | Several weeks | Chair is antique or hand caned |
| Buy a replacement chair | Typically far more than a repair | A day of shopping | Frame cracked or not worth saving |
Once the chair is restored, a small care routine will keep it good for years. Dust the cane weekly with a soft brush or a dry cloth. Dust ground into the weave acts like sandpaper on the fibres. Keep the chair in steady humidity, ideally around 40 to 60 percent, and away from radiators, fires and damp walls. Cane hates both extremes. Dry air makes it brittle, damp air invites mould, and swings between the two tire the fibres. Do not stand on a cane seat to reach a high shelf. A light oil rub once or twice a year will keep the cane supple and the colour warm.
Give the restored chair a proper place in the room. One in a spare room gathers dust and dries out, while one in daily use stays supple. Pair it with a small table you love, like one of the faux bone inlay nesting tables that suit a cane chair so well. And if the restoration has given you a taste for refreshing the room, a cheap room makeover with big impact ideas is the natural next step, with the cane chair as the piece that started it all.
Frequently Asked Questions
Can you fix a sagging cane chair seat without replacing the cane?
Yes, in most cases. If no strands are broken, turn the chair upside down and lay a warm damp cloth on the underside for an hour or overnight. Then let it dry slowly for 24 to 48 hours. As the fibres dry they shrink and pull the weave taut. If two rounds fail, the cane needs patching or replacing.
How long does cane take to dry after tightening or replacement?
Allow 24 to 48 hours. Drying depends on temperature and air flow, so a cold or still room needs the full two days. Do not sit on the chair, apply oil or stain, or move it into direct sun meanwhile, because damp cane is fragile and will stretch again if loaded.
Can I replace hand-woven cane with sheet cane?
No. A chair built for hand caning has holes drilled through the frame, and cutting a groove over them weakens the wood. It also destroys the value of the chair. Repair hand caning with hand caning, ideally by a professional. Sheet cane is only for chairs that already have a groove and a spline.
What is the best way to clean cane furniture?
Brush off dust, then wipe with a cloth dampened in warm water with a few drops of mild soap, working in the direction of the weave. Use an old toothbrush for crevices, rinse the cloth often, and let the chair dry naturally in moving air. For mould, use diluted bleach or hydrogen peroxide in warm soapy water, never both.
How much does professional cane chair repair typically cost?
It varies by region and by the chair, but a professional sheet cane replacement typically costs several times the materials alone, because the work takes hours. Hand caning typically costs more, since it is priced by the number of holes. Ask for a quote first, and compare it with a similar quality new chair.
Why does cane sag again after it has been repaired?
Cane is a natural fibre that responds to moisture and load, so a seat tightened in a humid season can loosen in a dry one. The usual causes are a very dry room, storage near a radiator, and sitting on the chair before it has dried fully. Keep humidity steady and oil the cane lightly once or twice a year.
Your Weekend Plan: What to Do First on Saturday Morning
Start with the chair that bothers you most, and give yourself the whole weekend, not just an afternoon. Saturday morning is for cleaning and diagnosis. Saturday afternoon is for the repair itself: a warm damp cloth, a splice, or a new sheet of webbing. Then walk away and let the chair dry for two full days. Do not test it early, however tempting that is.
On Monday evening, press the seat with your palm, listen for that low drum sound, and sit down properly for the first time. That moment, when a chair you nearly threw away holds you firmly again, is the whole point of the exercise. Cane furniture was made to be repaired, not replaced. Keep the leftover cane and spline in a dry box. The next chair in the set will need you soon enough.