Faux bone inlay is a budget-friendly DIY technique that mimics the look of real carved bone using stencils and paint. You can transform plain nesting tables into designer-worthy pieces by sanding, priming, stenciling a pattern, and sealing. Popular styles include Moroccan, geometric modern, bohemian, coastal, and Art Deco. These 5 Faux Bone Inlay Nesting Table Makeovers to Try will inspire you to give ordinary tables a high-end, custom look without the designer price tag.
Nesting tables are one of the most practical pieces of furniture you can own. They tuck neatly into each other to save space, then spread out when you need extra surfaces for drinks, books, or laptops. But practical doesn’t have to mean plain. With a technique called faux bone inlay, you can turn a basic set of nesting tables into a statement piece that looks like it cost hundreds.
Real bone inlay furniture where tiny pieces of carved bone are set into resin has decorated homes for centuries. The catch? Authentic pieces often run into the thousands of dollars. Faux bone inlay gives you that same intricate, hand-crafted appearance using stencils, paint, and a bit of patience.
DIY furniture makeovers have exploded in popularity, partly because they save money and partly because they let you create something truly your own. In this guide, you’ll learn exactly how faux bone inlay works, how to prep your tables, and five distinct makeover styles you can copy at home from Moroccan elegance to Art Deco glamour.
What Is Faux Bone Inlay?
Faux bone inlay is a painting technique that imitates the look of real bone inlay without using any actual bone. Instead of embedding carved bone pieces into a surface, you use a stencil and paint to recreate the detailed, repeating patterns. The result looks remarkably close to the real thing at a fraction of the cost.
Where does bone inlay come from?
Bone inlay design has deep roots in India and the Middle East, where artisans have hand-carved bone and camel bone for hundreds of years. These pieces were often reserved for royalty and wealthy households because of the painstaking labor involved. Traditional Moroccan, Indian, and Persian patterns florals, vines, and geometric lattices still inspire modern inlay designs today.
Why choose faux bone inlay for a DIY project?
Faux bone inlay is popular with DIYers for three clear reasons:
- Cost-effective: A genuine bone inlay table can cost $1,500 or more. A faux version might cost you $30 to $60 in supplies.
- Accessible: You don’t need special woodworking skills. If you can use a stencil and a paintbrush, you can do this.
- Versatile: You can adapt the technique to almost any color scheme or design style, from minimalist to maximalist.
What tools and materials do you need?
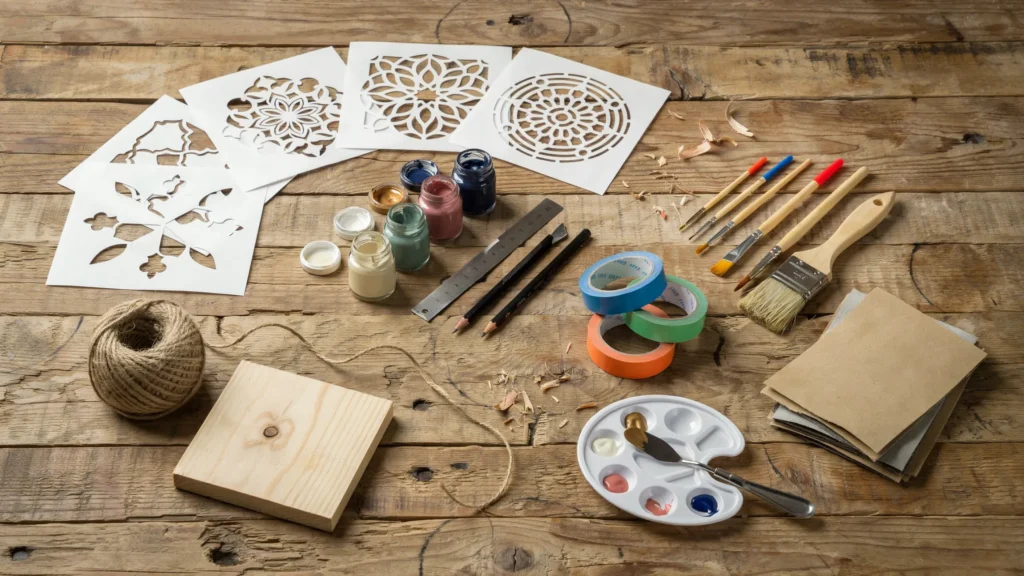
Before you start, gather these basics:
- Adhesive or repositionable inlay stencils
- Acrylic or chalk paint (base color and inlay color)
- A small stencil brush or sponge dauber
- Wood filler (for repairs)
- Sandpaper (120 and 220 grit)
- Primer
- A clear sealant or polyurethane topcoat
- Painter’s tape and drop cloths
Chalk Paint vs. All-in-One Enamel: Which Should You Use?
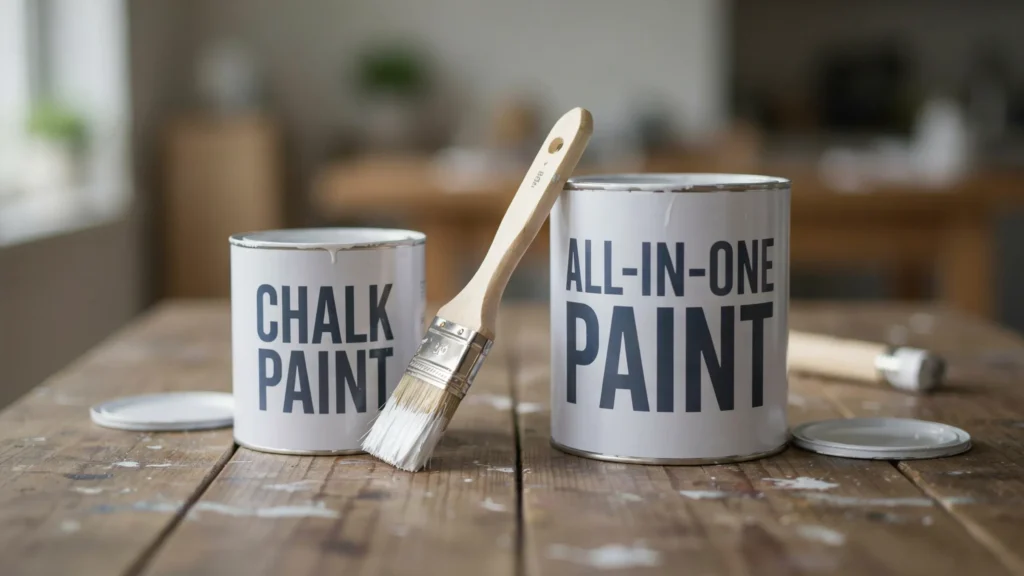
Not all furniture paints behave the same way, and choosing the right type makes a real difference in how smoothly your project goes. Chalk and mineral paints have a thicker, more matte consistency and typically need a wax or topcoat sealant afterward to protect the finish. All-in-one enamel paints, by contrast, are thinner and runnier straight out of the can, dry to a durable finish on their own, and often don’t require a separate topcoat at all, which saves you a step. Chalk paint tends to be more forgiving for beginners since it covers evenly with minimal prep, while enamel gives a smoother, more furniture-store finish if you’re comfortable working a bit faster before it starts to set.
Should Your Primer Match Your Paint Color?
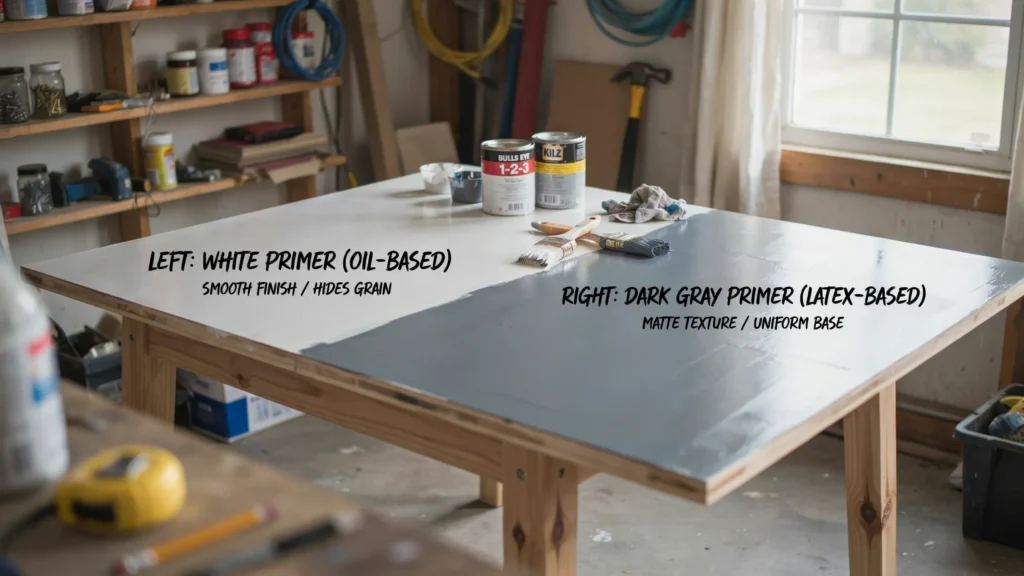
Primer isn’t just about helping paint stick, it also determines whether your base color shows through your finish coat. If you’re painting with a light color like white, ivory, or soft gray, use a white or light-toned primer so nothing dark bleeds through underneath. If you’re using a deep color like navy, black, or emerald for your base coat, switch to a gray or dark stain-blocking primer instead, especially if you’re not sure what the piece was previously painted with. This small choice prevents patchy coverage and saves you from needing extra coats of your actual paint color just to mask an unexpected undertone.
What If Your Nesting Tables Have Multiple Layers of Old Paint?
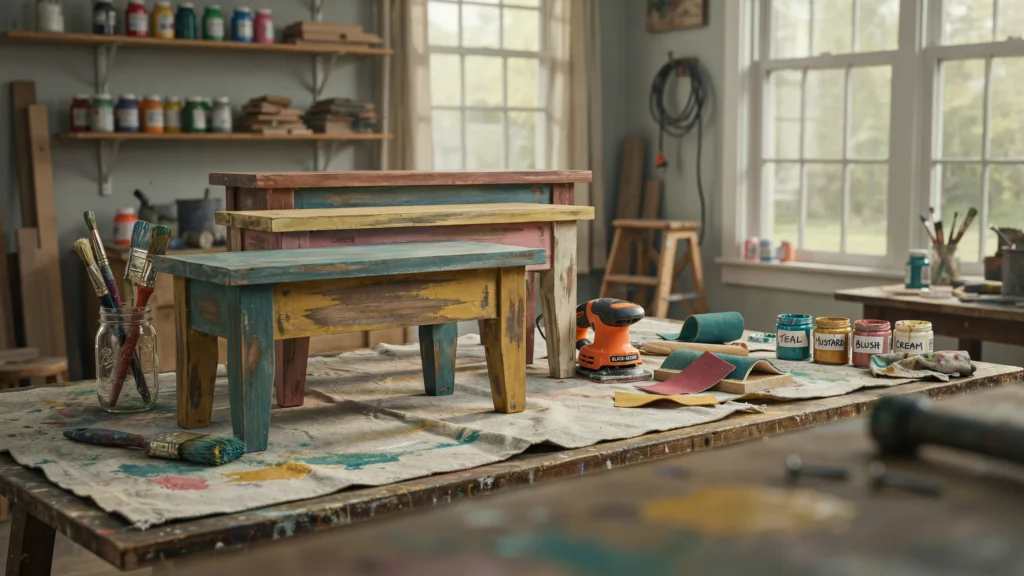
Thrifted furniture often comes with a history of previous makeovers, and stripping through several layers of old paint or varnish takes more patience than a fresh piece. Start with a medium grit like 120 rather than jumping straight to a coarse 60-grit sandpaper, since overly aggressive sanding can strip all the way down to bare particleboard on veneered or engineered wood pieces, which you generally want to avoid. If a power sander is available, it speeds up the process significantly on heavily layered furniture, but test a small hidden spot first to see how the piece responds before sanding the whole surface. It’s fine to stop once you’ve achieved a smooth, even surface rather than sanding all the way down to raw wood, since a good primer coat can bridge the gap either way.
When Is the Best Time to Thrift for Furniture Like This?
Timing your thrift store visits can make a real difference in what you find. Shopping right before or after major holidays tends to be especially productive, since that’s when people declutter their homes to prep for guests or start the new year fresh, and secondhand stores see a wave of quality donations as a result. Solid wood nesting tables, in particular, are a great find during these periods since they hold paint and stencil work far better than particleboard or veneer pieces. Checking joints for stability and giving the surface a quick once-over for major damage before buying will save you extra repair work once you get the piece home.

Should You Expect to Need More Than Two Coats of Paint?
Even with good prep, it’s common to need a third coat of your base color, especially over dark primer or a piece with a lot of existing texture. Budget more drying time into your project timeline than you think you’ll need, since rushing a second or third coat before the previous one is fully dry is one of the most common causes of a streaky or uneven finish. If you come back after your paint has dried and can still see shadows of the old color or primer showing through, don’t be discouraged, simply apply another thin, even coat rather than one thick layer to fix the coverage without risking drips.
How Do You Prepare Nesting Tables for a Makeover?
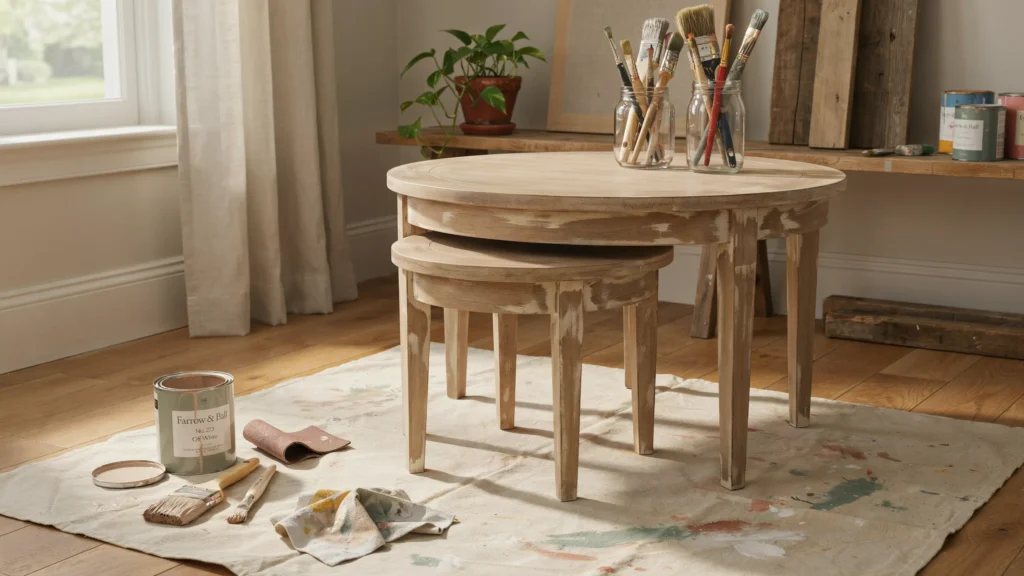
Good prep work is the difference between a finish that lasts and one that peels in a month. Don’t skip these steps.
Where can you source nesting tables?
You have plenty of options depending on your budget. New flat-pack tables from stores like IKEA are affordable and easy to paint. Thrift stores, estate sales, and online marketplaces often have solid wood vintage sets for cheap and solid wood holds paint beautifully. Check the joints and surface for stability before you buy.
How do you clean and repair the tables?
Wipe each table down with a mild soap solution to remove dust, grease, and old polish. Let them dry fully. If you spot dents, scratches, or small holes, fill them with wood filler, let it cure, then sand smooth. This gives you a flat canvas for your design.
Why do sanding and priming matter?
Sanding roughs up the surface so paint can grip. Use 120-grit sandpaper first, then smooth it with 220-grit. Wipe away the dust, then apply a coat of primer. Primer blocks stains, helps paint stick, and gives you a uniform base color. Skip it, and your paint may chip or look patchy.
Should you take the tables apart?
If your nesting tables come apart easily, disassembling them makes painting much simpler. You can reach every angle and avoid drips. If they’re glued or built as one piece, use painter’s tape to protect any areas you don’t want painted.
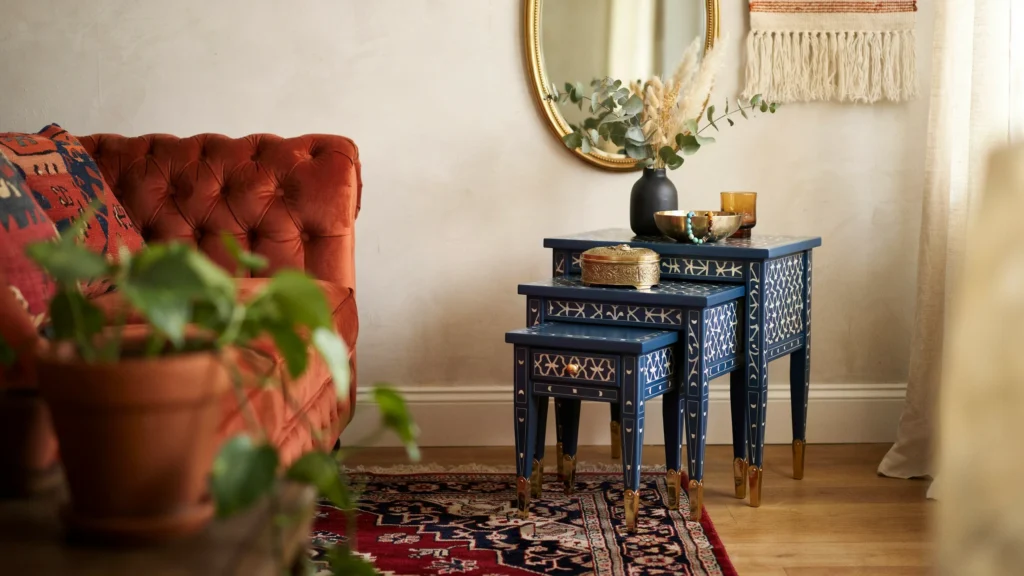
Makeover 1: Classic Moroccan Elegance
This look draws from the ornate tilework and arched motifs you’d find in a Marrakech riad. It’s rich, detailed, and timeless.
Choose a palette of deep blues and crisp whites, with optional gold or brass metallic accents. Paint your base color first a deep navy works beautifully and let it dry completely. Position a Moroccan trellis or floral stencil on top, then dab white paint over it with a stencil brush. Use a light hand to avoid bleed under the stencil edges.
Once dry, you can lightly distress the edges with sandpaper for an aged, well-loved feel. Seal with two coats of clear polyurethane, and finish with antique brass knobs or feet to complete the look.
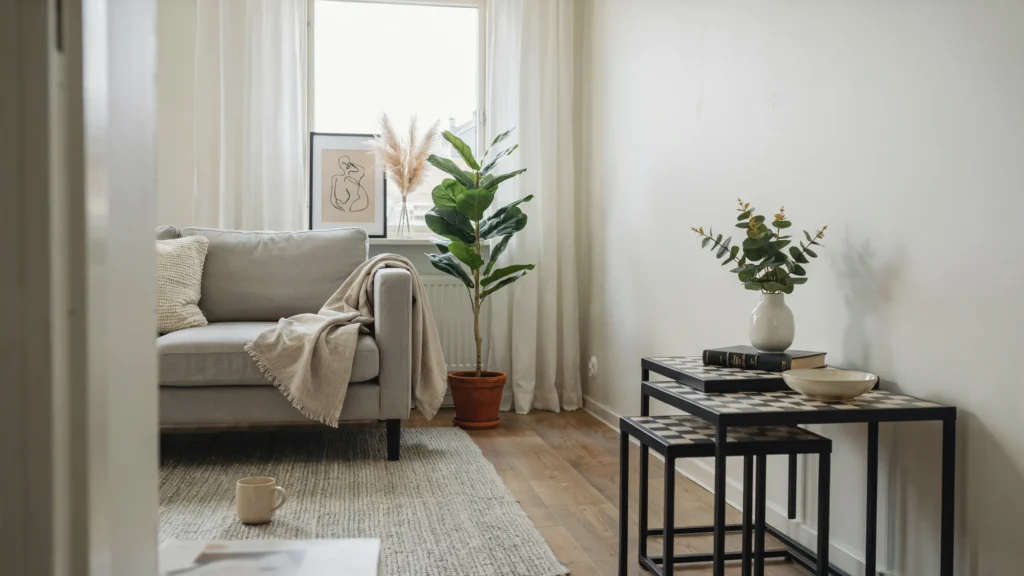
Makeover 2: Geometric Modern Chic
For a cleaner, contemporary vibe, geometric patterns are the way to go. Think of repeating triangles, hexagons, or sharp linear grids.
Stick to a monochrome palette black, white, and shades of gray for maximum impact. The key to this style is crisp lines. Use a high-quality adhesive stencil that lies completely flat, and press the edges down firmly before painting. Apply paint in thin layers rather than one thick coat to prevent bleeding.
To add a modern edge, layer in a few metallic accents. A thin gold or copper line along the table’s edge or legs ties the whole piece together. Finish with a matte sealant for an understated, sophisticated look.
Makeover 3: Bohemian Rhapsody
The bohemian style is all about color, texture, and a relaxed, collected-over-time feel. There are no strict rules here that’s the fun of it.
Reach for vibrant jewel tones like emerald, magenta, and mustard, and pair them with warm, natural wood tones left partly exposed. Layer different stencil patterns on each table in the set, so they complement rather than match exactly. Mixing florals with paisley or mandala motifs gives that eclectic, free-spirited look.
To push the boho feel further, add embellishments. Tiny tassels tied to a knob, a string of wooden beads, or hand-carved decorative pulls all add personality. Seal with a satin finish to keep things warm and soft.

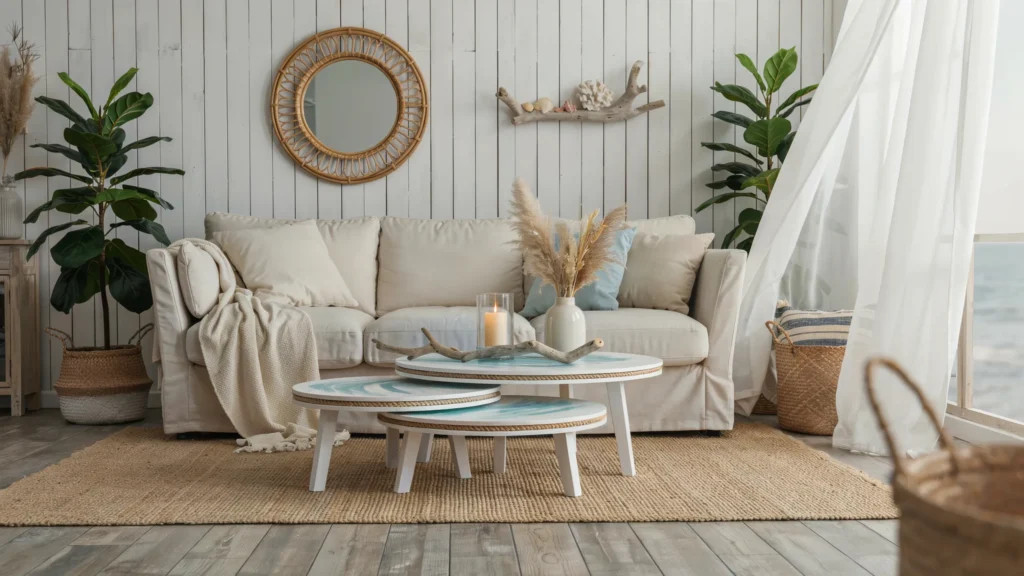
Makeover 4: Coastal Serenity
If you want something calm and breezy, coastal style brings the seaside indoors. The goal is a light, airy, relaxed feel.
Build your palette around soft turquoise, sandy beige, and plenty of white. For the inlay, choose organic, flowing patterns think waves, coral shapes, or subtle scalloped designs rather than rigid geometry. Keep the contrast gentle so the effect feels soft and natural.
Lean into natural materials to finish the look. Wrap a table leg with jute rope, swap a knob for a piece of smooth driftwood, or add a small shell detail. A matte or satin sealant keeps that weathered, beachy character intact.
Makeover 5: Art Deco Glamour
Art Deco is bold, polished, and unapologetically luxurious. This makeover delivers serious drama.
Go for a glamorous palette of gold, black, ivory, and deep emerald green. Choose stencils with strong Art Deco shapes sunbursts, fans, chevrons, and stepped forms. After stenciling, build a high-gloss finish by applying several thin coats of glossy topcoat, sanding lightly between each. The shine is what sells the Deco look.
Finish with opulent hardware think geometric gold pulls or even add a small mirrored panel to the tabletop for extra sparkle. This style works beautifully as an accent in a formal living room or entryway.

Advanced Tips and Tricks for Faux Bone Inlay
Once you’ve mastered the basics, these tips will help you level up your results.
Troubleshoot bleed-through. If paint seeps under your stencil, your stencil isn’t flat enough, or you’re using too much paint. Press edges firmly and offload excess paint onto a paper towel before applying.
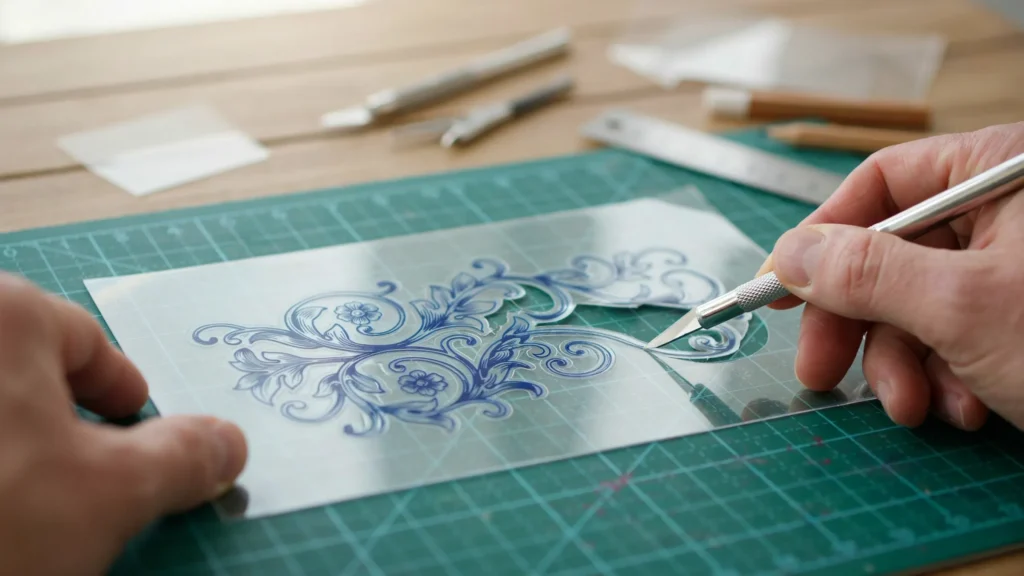
Make your own stencils. Can’t find the pattern you want? Cut custom stencils from thin acetate sheets using a craft knife, or use a cutting machine like a Cricut for precise designs.
Experiment with texture. Adding a touch of texture paste under your inlay color creates a subtle raised effect that mimics real carved bone even more closely.
Maintain your finished tables. Dust regularly with a soft cloth and wipe spills quickly. Avoid harsh cleaners, which can dull the sealant. Reapply a topcoat every few years if the table sees heavy use.
How Do You Show Off Your Finished Tables?
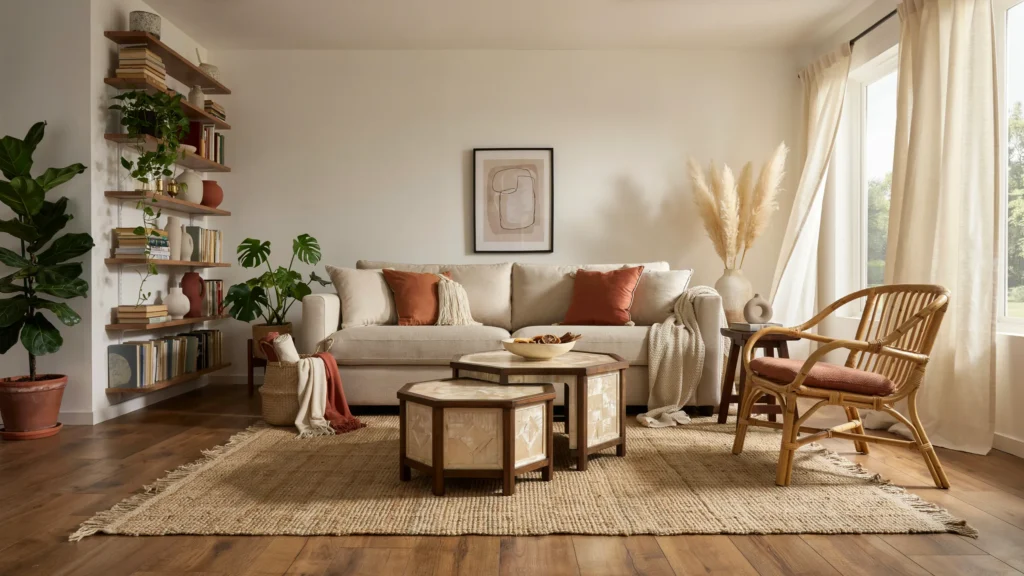
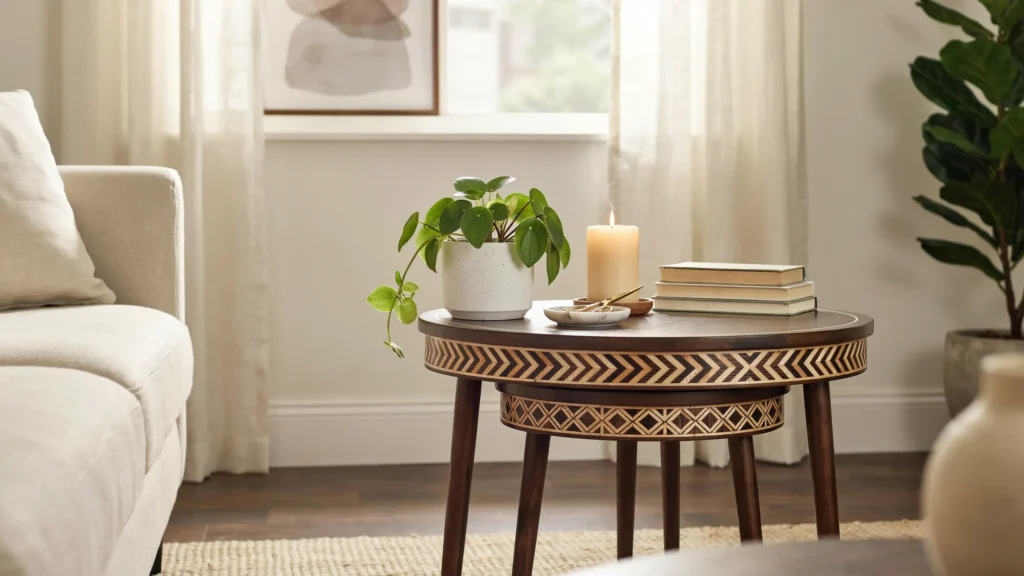
Your hard work deserves the spotlight. Style your nesting tables next to a sofa, beside a reading chair, or fanned out as a small gallery of surfaces. Pair them with a stack of books, a plant, or a candle to add life.
For photos, shoot in natural daylight near a window to capture the true colors and crisp pattern detail. Take a few angles an overhead shot shows the inlay clearly, while a side shot shows how the tables nest together. Snap a “before and after” pair to highlight the transformation.
Sharing your project online is a great way to inspire others and get feedback. Tag your photos with the style you chose so fellow DIYers can find them.
Your Faux Bone Inlay Journey Starts Here
Faux bone inlay proves you don’t need a big budget to create furniture that looks expensive and personal. With nothing more than a stencil, some paint, and a free weekend, you can turn ordinary nesting tables into pieces that reflect your style whether that’s Moroccan, modern, boho, coastal, or Deco.
The best part is that every makeover is genuinely yours. You pick the colors, the patterns, and the finishing details. And because you’re upcycling existing furniture, you’re choosing a more sustainable path than buying new.
So pick a set of tables, choose your favorite style from this guide, and start your first inlay project. You might be surprised how quickly you go from “I could never do that” to “I made that myself.”
Frequently Asked Questions
How much does a faux bone inlay makeover cost?
Most DIY faux bone inlay projects cost between $30 and $60 in supplies, assuming you already own the tables. That includes stencils, paint, brushes, and sealant. Compare that to genuine bone inlay tables, which often start at $1,500.
How long does a faux bone inlay table makeover take?
Plan for one to two days, mostly because of drying time. The actual painting takes a few hours, but primer, base coats, stencil layers, and sealant each need time to dry between steps. Rushing leads to smudges and peeling.
Do I need any special skills to do faux bone inlay?
No. If you can hold a stencil flat and dab paint with a brush, you can complete a faux bone inlay project. It’s one of the most beginner-friendly furniture makeover techniques because the stencil does the hard work of creating the pattern.
What kind of paint works best for faux bone inlay?
Acrylic and chalk paints both work well. Chalk paint adheres easily and gives a matte, vintage feel, while acrylic offers vibrant color and durability. Whichever you choose, always finish with a clear sealant to protect the design.
Can I use this technique on furniture other than nesting tables?
Absolutely. Faux bone inlay works on dressers, nightstands, cabinets, headboards, and trays. The same prep-stencil-seal process applies. Nesting tables are just a great starting project because they’re small and quick to finish.