A grasscloth buffet makeover turns a heavy, boxy thrifted buffet into a light, textured piece that looks made to order. You cut away the solid plinth base, fit four proper furniture feet, wrap the door fronts in grasscloth wallpaper, and paint the frame in a soft, warm white. The whole job takes one weekend, and it works on most flat fronted buffets with a solid base.
The two moves that change everything are the feet and the texture. Feet lift the cabinet off the floor so it stops looking like a block, and grasscloth gives flat doors a woven, natural surface that paint alone cannot match. Get those two right and the rest is simple finishing work.
Why a Grasscloth Buffet Makeover Works
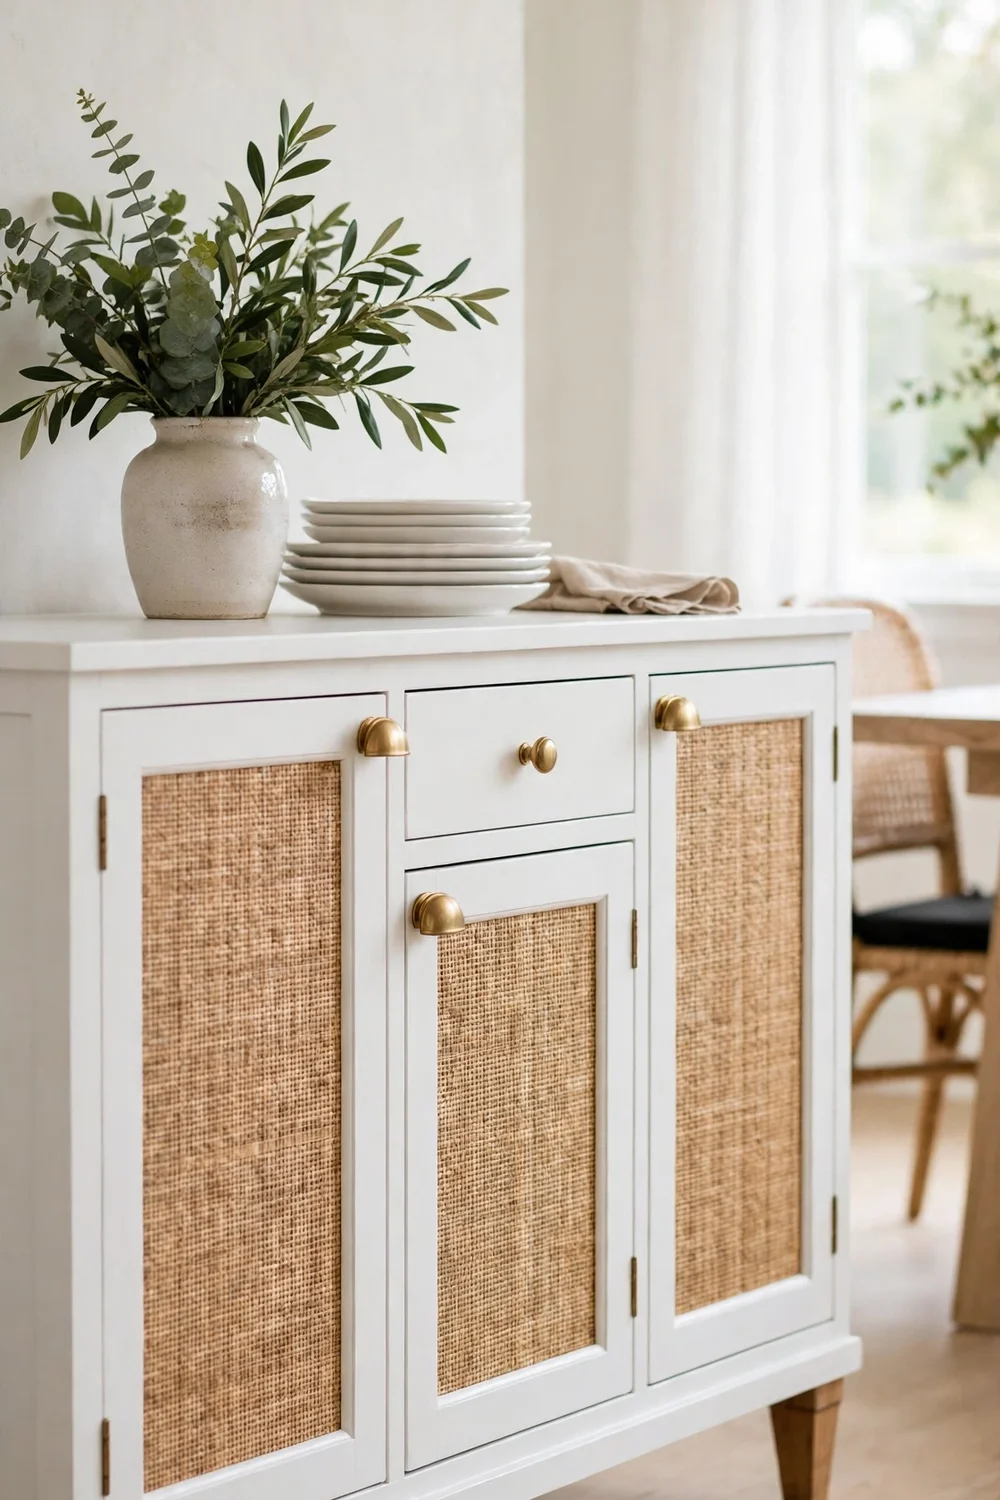
Most thrifted buffets share the same problem. They are well built and generous with storage, yet they sit in a room like a shipping crate. The low plinth base hides the floor line, makes the piece look wider than it is tall, and traps dust along the bottom edge. Lift it on feet and the same cabinet suddenly looks taller, lighter and far more expensive.
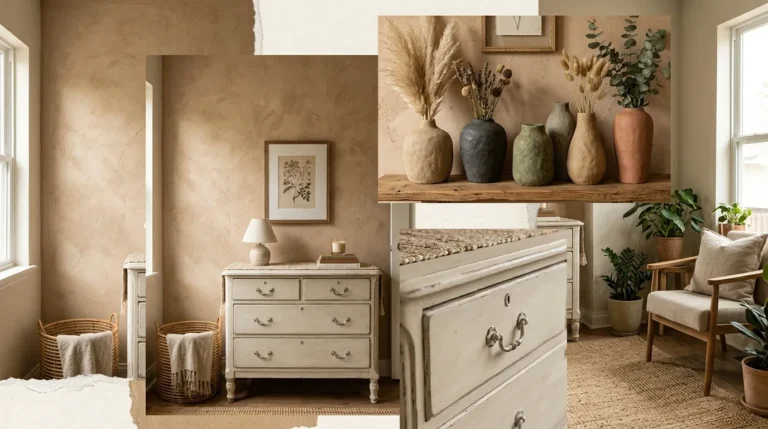
The second reason is texture. A painted buffet is a flat expanse of colour, and flat colour shows every scuff and uneven brush mark. Grasscloth wallpaper on cabinet doors breaks that flatness with a woven surface that catches light differently across the day. It reads as calm and natural from across the room.
Before you buy anything, check that your buffet is a good candidate. The base must be solid enough to hold four mounting plates, and the doors must be flat or nearly flat. Raised panel doors with deep bevels fight the paper at every edge, so save those for a paint only project. Glass fronted doors are ideal, because the frame gives you a clean edge to trim against. Drawers are fine too, as long as the fronts are flat.
Measure the piece before you fall in love with it. A buffet between 120 and 180 centimetres wide suits most dining rooms, and a depth of 40 to 50 centimetres keeps it from crowding the walkway. A standard buffet stands about 85 to 90 centimetres tall, and feet of 10 to 15 centimetres will take it to roughly a metre, which is a good serving height.
Weight matters more than most guides admit. Empty the buffet, then check the joints by rocking it gently from side to side. If it wobbles now, feet will not fix it. Tighten the corner blocks, add glue where a joint has opened, and let it cure before you do anything else. A buffet full of plates is heavy, and the feet carry all of it through four small points. The same patient approach pays off on smaller pieces too, and this faux rust paint makeover on a thrifted scale shows how a little prep work changes the whole result.
Real Grasscloth or Peel and Stick: Picking Your Paper
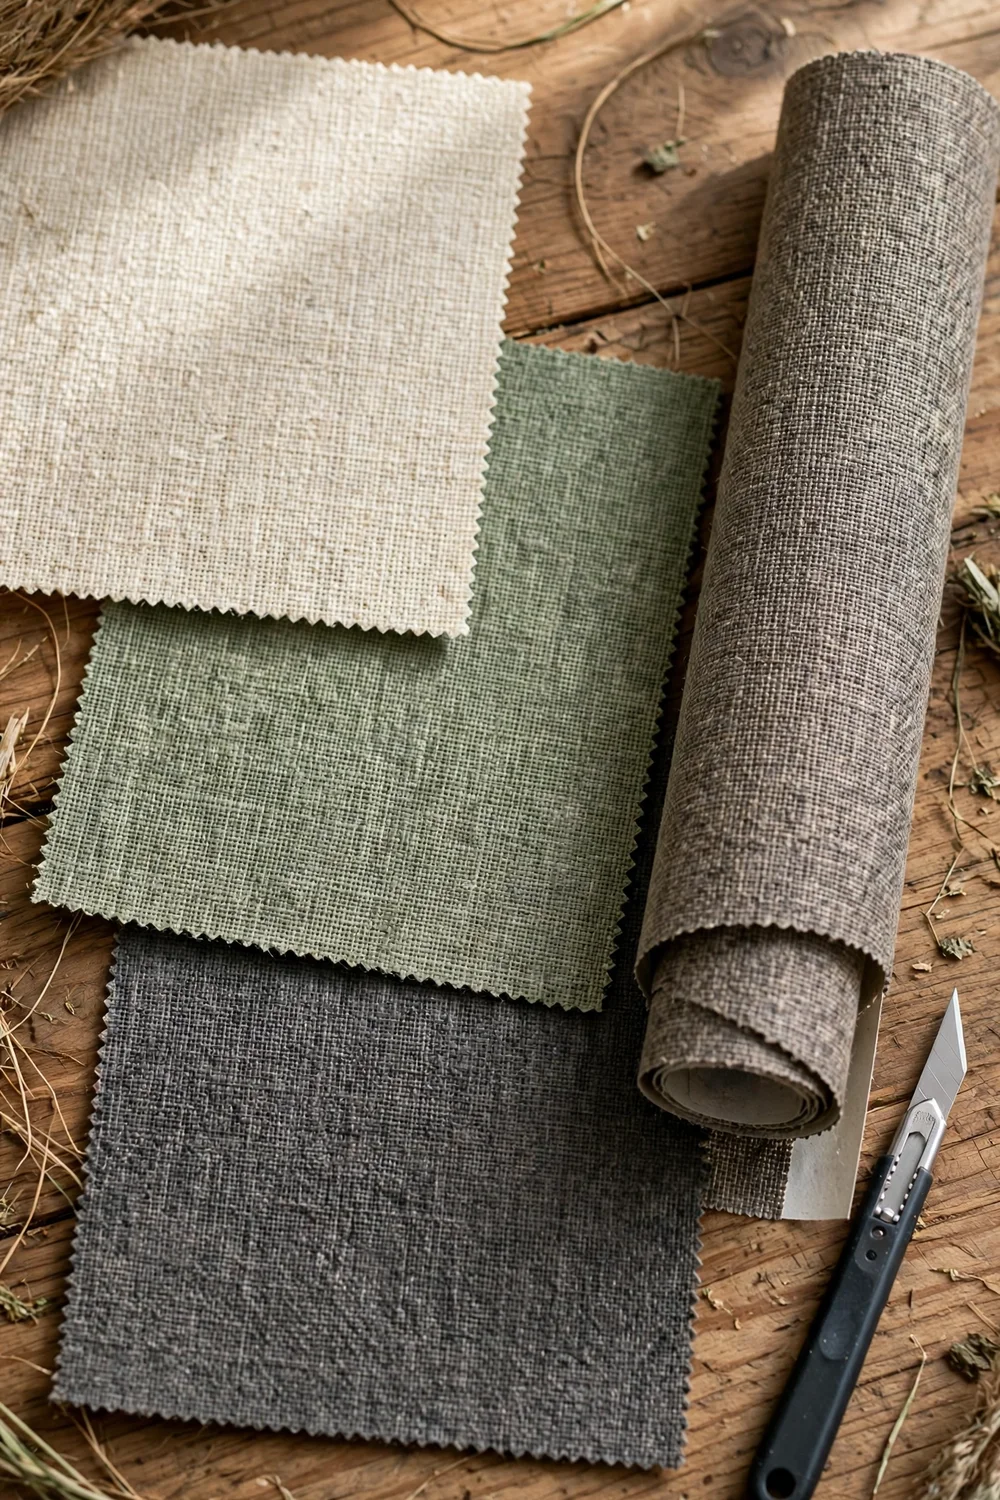
This is the decision that shapes the whole project, so take your time with it. A textured wallpaper furniture makeover lives or dies on this choice, because the paper is the whole look. Real grasscloth is woven from natural plant fibres such as sisal, jute, hemp or seagrass, glued to a paper backing. Peel and stick grasscloth is usually a printed vinyl or a thin woven-look paper with an adhesive back. They look similar in a photo. At arm’s length, they feel very different.
Real grasscloth has depth. The fibres vary in thickness and colour, so no two panels are exactly alike, and that variation is the whole point. The seams show, and the colour can shift slightly from one strip to the next. On a buffet door, where each door is its own panel, that looks intentional and rather beautiful. Real grasscloth needs paste, a sharp blade and a steady hand, and it does not forgive a rushed job.
Peel and stick grasscloth wallpaper on furniture is the friendlier option, and for a first buffet project it is the one I recommend. You can lift it and reposition it, which matters when you are lining up a panel on a door front. It needs no paste and no messy table. The trade off is a flatter look. Some peel and stick papers are printed vinyl with a grasscloth pattern, and up close they read as a photograph of texture. Others use real woven fibre on an adhesive backing, and those are worth paying a little more for.
Colour choice is where most people overthink it. Natural, undyed grasscloth in cream, oatmeal or pale sage is the safest bet, because it works with white, warm grey and wood toned frames alike. Dark grasscloth looks dramatic, but it shows dust and makes a small room feel smaller. If your room is dim, go lighter than you think you need.
Order samples before you commit to a roll. Hold them against the painted frame colour in daylight and in evening light, because grasscloth shifts with the light more than paint does. Check the roll width against your door measurements too. Most peel and stick rolls are about 45 to 50 centimetres wide, which suits a standard buffet door. Plan your cuts so seams fall at the door edges, never in the centre of a panel.
| Grasscloth type | Best for | Fixing method | What to watch |
|---|---|---|---|
| Real woven grasscloth | A permanent, high end finish | Wallpaper paste | Seams and colour shift between strips |
| Peel and stick woven grasscloth | A first buffet project | Self adhesive backing | Check it is real fibre, not printed vinyl |
| Printed vinyl grasscloth look | Busy homes and easy cleaning | Self adhesive backing | Flatter look up close, less depth |
| Paper backed grasscloth | Doors with glass panels | Paste or spray adhesive | Handle gently, it tears when wet |
The Feet Decision: Height, Style and Weight
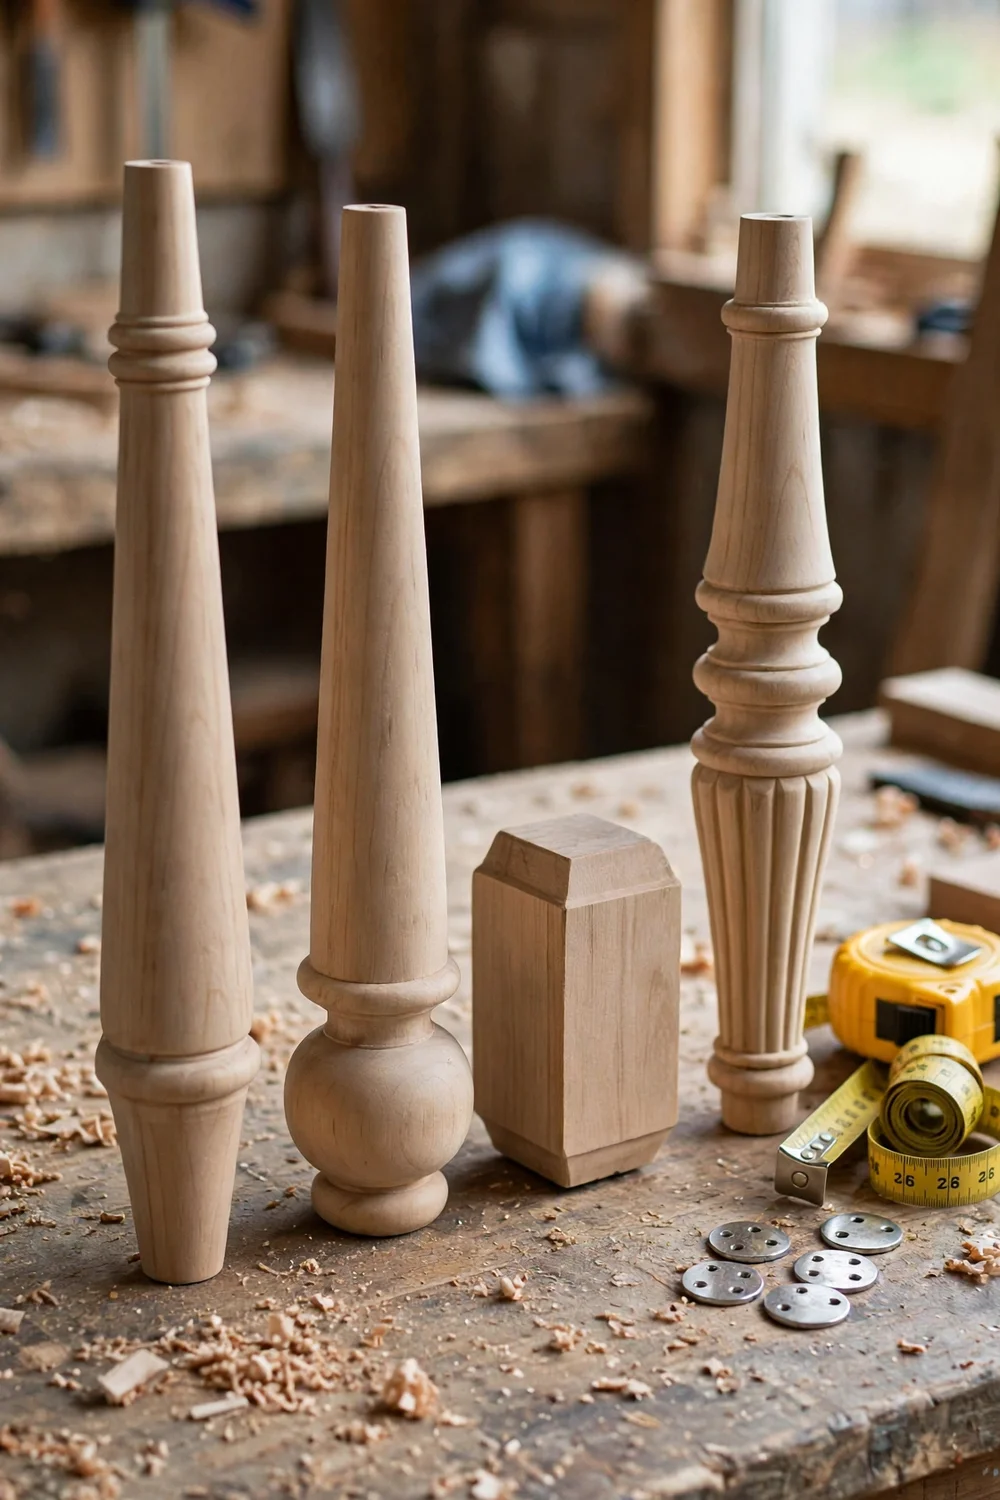
Learning how to add feet to a buffet starts with a simple question. How tall should the feet be? Feet change the height of the whole piece, the gap underneath it, and the way it carries weight. Get the height wrong and the buffet feels top heavy or sits awkwardly against the table.
For most buffets, feet between 10 and 15 centimetres tall work best. Shorter feet, around 7 centimetres, lift the piece just enough to show a shadow line. Taller feet, up to 20 centimetres, give a leggy, mid century feel, but they raise the centre of gravity. If your buffet is longer than 150 centimetres, keep the feet short and add a fifth foot at the centre of the base to stop the span sagging.
Style is the fun part, and it is worth matching the feet to the room rather than to the buffet alone. Tapered legs suit a modern or mid century dining room. Turned legs suit a traditional room. Simple square block feet suit a farmhouse look, and short bun feet suit a low, wide cabinet. Whatever you choose, buy all four feet from the same batch, because wood varies and feet from different batches can sit at slightly different heights.
Weight rating is the detail people skip, and it is the one that matters most. Check the rating on the feet and the mounting plates before you buy. A loaded buffet can easily weigh 60 to 90 kilograms, and each foot carries a quarter of that, plus the extra load when someone leans on the top to serve dinner. Solid wood feet with a hanger bolt and a metal mounting plate are far stronger than plastic feet with a small screw thread.
Placement is a matter of millimetres. Set each mounting plate at least 12 millimetres in from the edge of the base, so the plate stays hidden and the screw has solid wood to bite into. Measure from the centre of the base outward, so the feet sit symmetrically, then check the diagonals with a tape measure. If the diagonal measurements match, the feet are square.
| Foot height | Look it gives | Best for | Watch out for |
|---|---|---|---|
| 7 to 10 cm | A gentle lift, still grounded | Heavy buffets, long cabinets | Hard to clean underneath |
| 10 to 15 cm | Balanced, furniture like | Most dining room buffets | Check the new serving height |
| 15 to 20 cm | Leggy, mid century feel | Short, light buffets | Can feel top heavy when loaded |
| Bun feet, 8 to 10 cm | Low, traditional, solid | Wide, low cabinets | Small contact patch, needs good plates |
Prep Work That Makes or Breaks the Finish
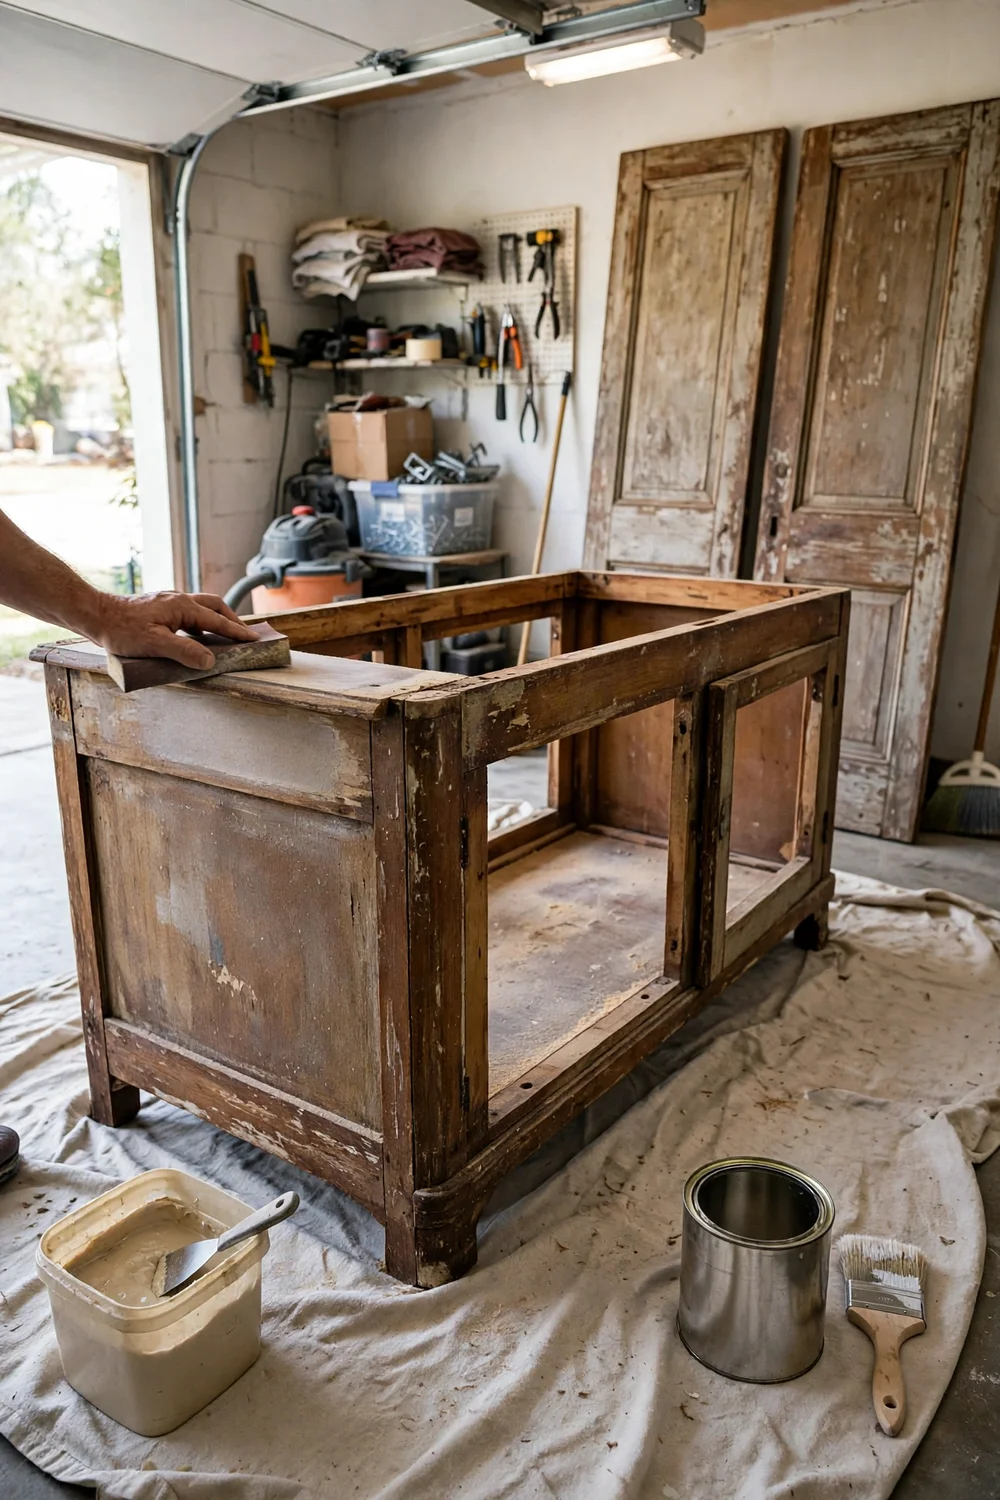
Clean first, sand second. Wash the frame, doors and drawers with warm water and a mild sugar soap solution, then rinse and let everything dry fully. Old furniture polish and kitchen grease repel paint, and sanding just pushes them deeper into the grain. Once the wood is dry, sand the frame with 120 grit paper to key the surface, then follow with 180 grit. You are giving the primer something to grip, not stripping the finish back to bare wood.
Fill every dent, chip and old screw hole with wood filler, and let it dry hard before you sand it flush. Press the filler in with a flexible putty knife, slightly overfill, and sand it back once it is fully cured. A half dried patch will shrink and show as a dip under paint. Check the corners of the doors carefully. That is where old knocks hide.
Prime the frame with a stain blocking primer, especially if you are painting white over dark wood or over a red toned stain. Without it, tannin bleeds through as yellow or pink patches within weeks. One coat, sanded lightly with 220 grit once dry, is usually enough. Two coats are better on mahogany or cherry. This step feels like a delay. It is the reason the paint still looks fresh a year later.
While the primer dries, plan your paper. Measure each door and drawer front, and write the measurements on a sheet of paper with a small sketch of each panel. Add 3 centimetres to every measurement for trimming. Cut your grasscloth pieces from the sketch, not from memory, and label each piece on the back. Paper has a direction, so keep the woven fibres running the same way on every door, usually horizontally.
Gather your tools before the paper comes out of the roll. You will want a sharp craft knife with fresh blades, a steel ruler, a plastic smoothing tool, a tape measure, a pencil, and a clean, dry cloth. Change the blade often. A blunt blade drags the fibres and leaves a ragged edge that no amount of smoothing will fix. If you have done other surface projects, the same rule applies, and this guide to DIY textured paint techniques is a good reminder that the tool matters as much as the material.
Cutting the Plinth and Fitting the Feet
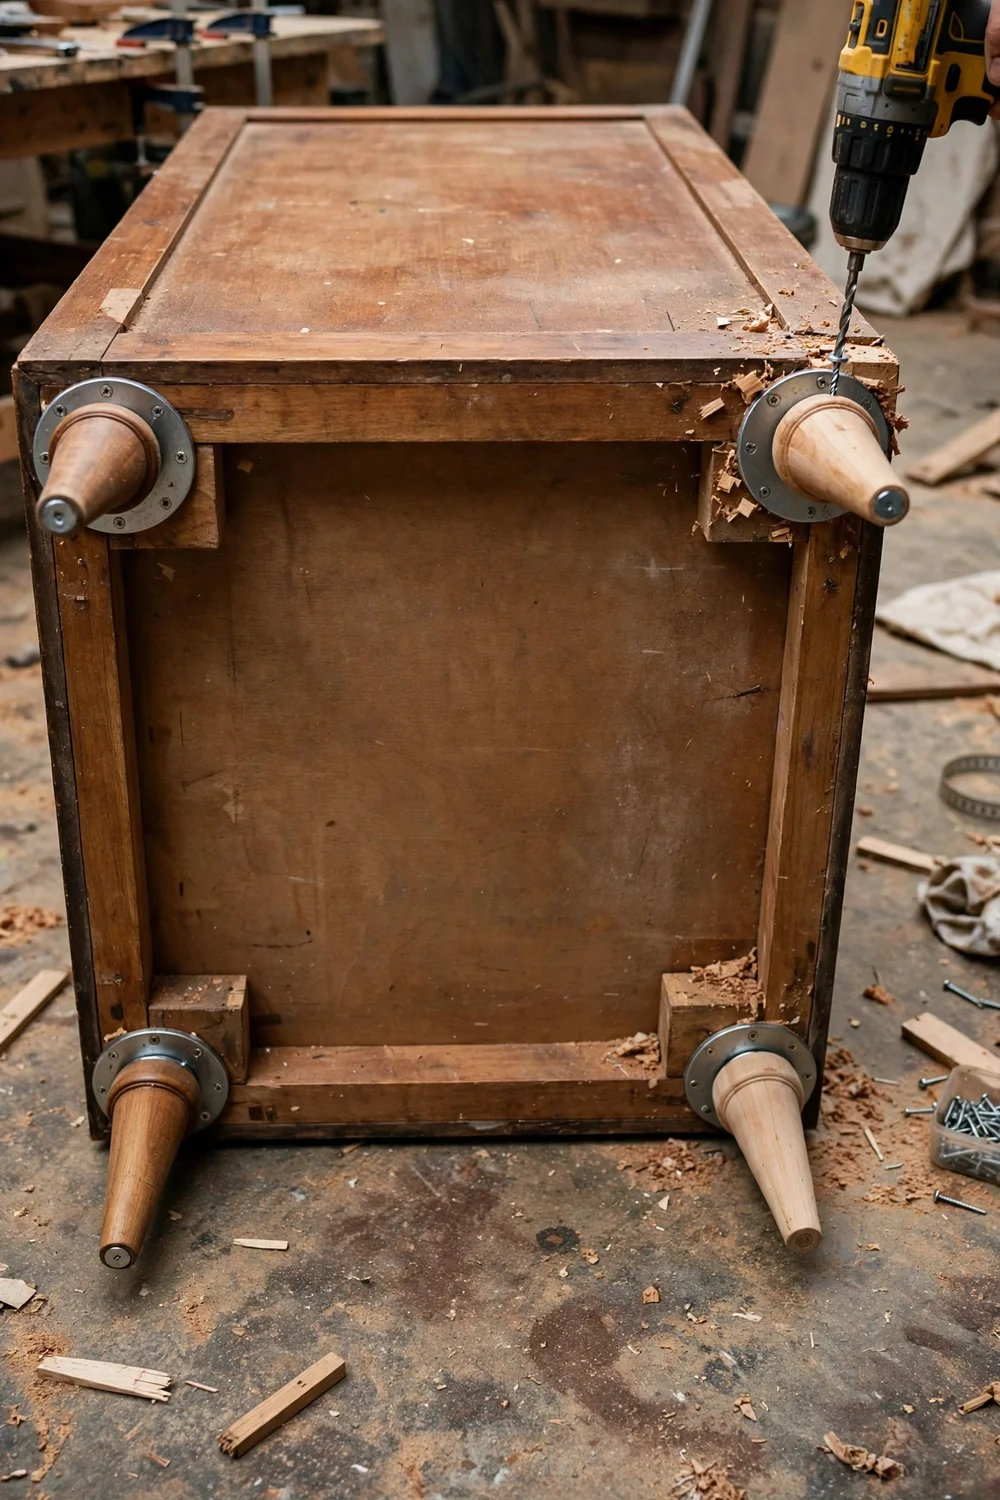
This is the most structural part of the project, and it is easier than it looks. The plinth is the solid board that runs around the bottom of the buffet, and removing it is what lets the feet show. Start by turning the buffet upside down on a thick blanket, so the top does not get scratched. Work with a helper if the piece is long. A buffet is awkward to flip alone, and a dropped corner will undo an hour of prep.
Look at how the plinth is fixed. Most are screwed or nailed to the base from underneath, and some are glued as well. Remove the screws first, then work a thin pry bar gently along the joint, moving a little at a time. Rushing this step splits the base board. If the plinth refuses to move, leave a shallow shadow board of 2 centimetres in place and cut the rest away with a multi tool.
Once the plinth is off, inspect the base. You need solid wood at least 18 millimetres thick at each corner for the mounting plates. If the base is thin or made of chipboard, screw a hardwood block of about 10 by 10 centimetres inside each corner first, and fix the plates to those blocks. Drill pilot holes for every screw. Skipping pilot holes splits the wood, and a split corner block will not hold a screw at all.
Fit the mounting plates next. Position each plate using your centre out measurements, mark the screw holes, and drill pilot holes slightly smaller than the screws. Screw the plates down firmly, then screw the feet into the plates by hand until they are snug. Do not use a wrench to force them. Over tightening strips the thread in the foot, and then the foot spins freely and never locks. Stand the buffet upright and check for rocking on a flat floor. If it rocks, screw the lifting foot in or out by half a turn.
For a long buffet, fit the fifth centre foot now, before the piece is loaded. Place it at the exact centre of the base, on the same line as the front feet, and set it a fraction lower than the corner feet so it only takes load when the base flexes. Check it by sliding a sheet of paper under each foot. The paper should pull out from under the centre foot, but not from under the corners.
Wrapping the Doors in Grasscloth, Step by Step
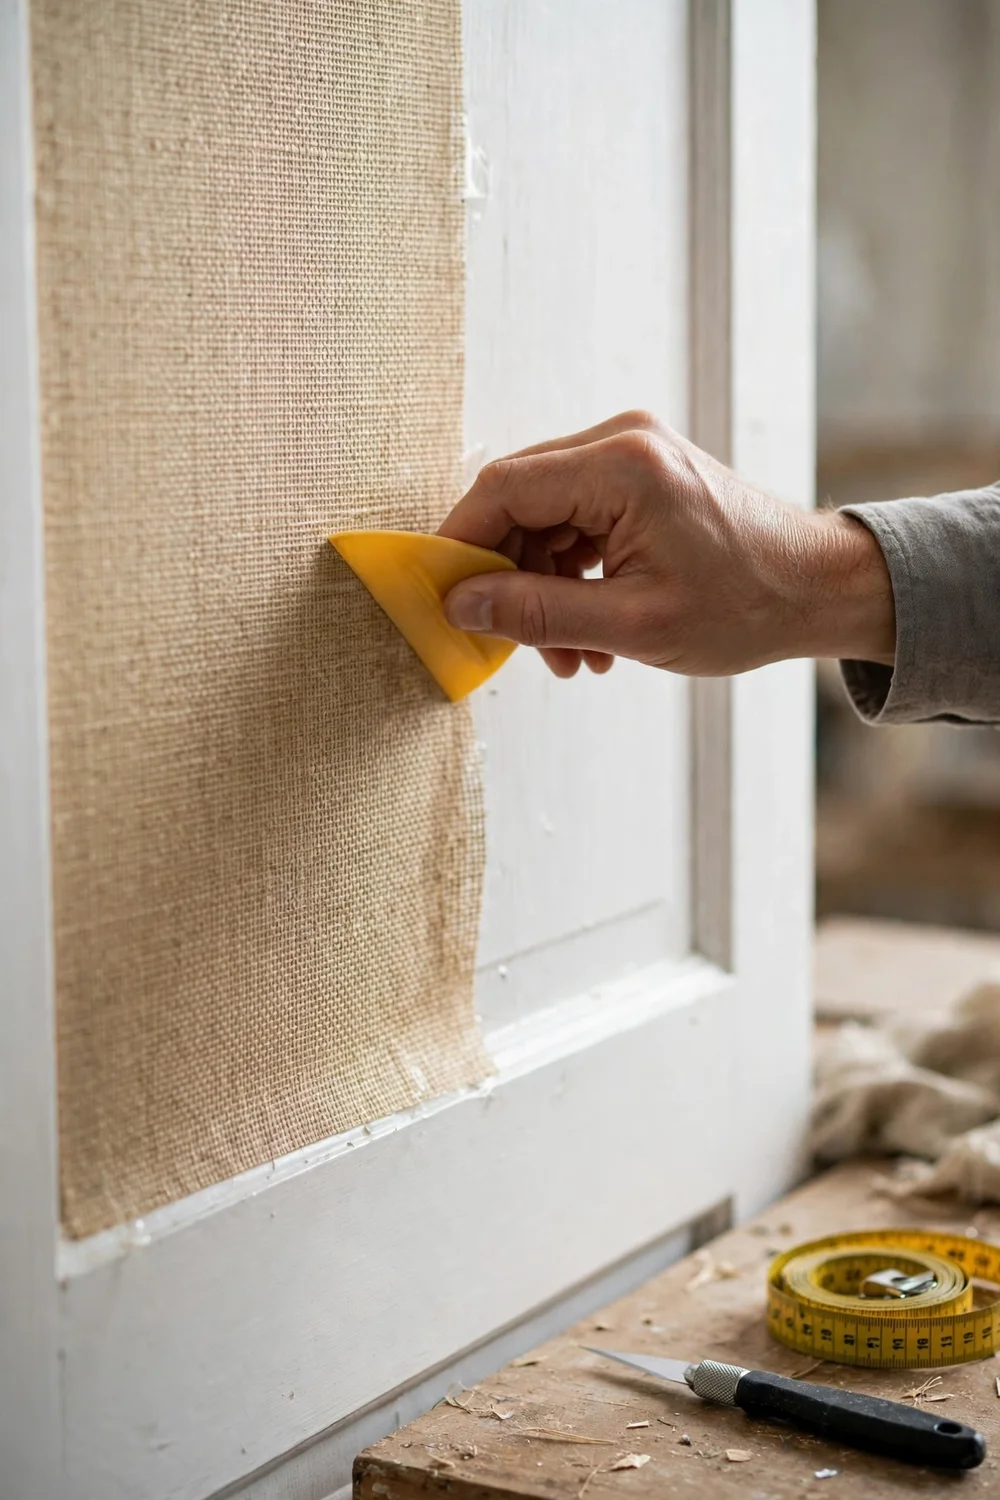
This is the part everyone photographs, and it is also the part where patience pays. Work on one door at a time, on a flat surface, with the door lying horizontal. Paper applied to a vertical door slides and bubbles. Lay the door on a workbench or on towels on the floor, and keep the room warm. Cold adhesive does not grip well, and cold paper is stiff and hard to smooth.
Start with the largest door and your best cut piece. If you are using peel and stick grasscloth, peel back about 10 centimetres of the backing at the top edge and fold it under. Line the paper up with the top edge of the door, leaving 15 millimetres of overhang on all four sides. Press the top edge down, then peel the backing away slowly, smoothing from the centre outward. If a bubble appears, lift the paper back to the bubble and smooth it again.
Grasscloth wallpaper on cabinet doors needs a different touch at the edges than wallpaper on a wall. Once the panel is smooth, trim the overhang with a fresh craft blade and a steel ruler, cutting away from the door so the blade does not dig into the frame. For doors with a raised inner moulding, press the paper into the corner first, then trim along the moulding line. If your doors have glass panels, trim the paper to the glass opening.
Seams deserve a note of their own. Grasscloth does not butt join invisibly the way a plain paper does, because the fibres change from strip to strip. Where a door is wider than your roll, overlap the two pieces by 2 millimetres and cut through both layers with one pass of the blade, then peel away the waste from each side. The two edges will meet in a tight, almost invisible line.
Leave the doors flat for at least a few hours before you rehang them, and a full day if you used paste. Hang them one at a time and check the gaps. The paper adds a small amount of thickness, so a hinge may need a quarter turn of adjustment. If a door rubs, take it off and trim the paper back by a millimetre at that spot. If you want to see how paper behaves on a different surface first, this guide to wallpaper inside picture frame moulding covers the same smoothing and trimming skills on a wall.
Paint, Brass and Hardware: Finishing the Frame
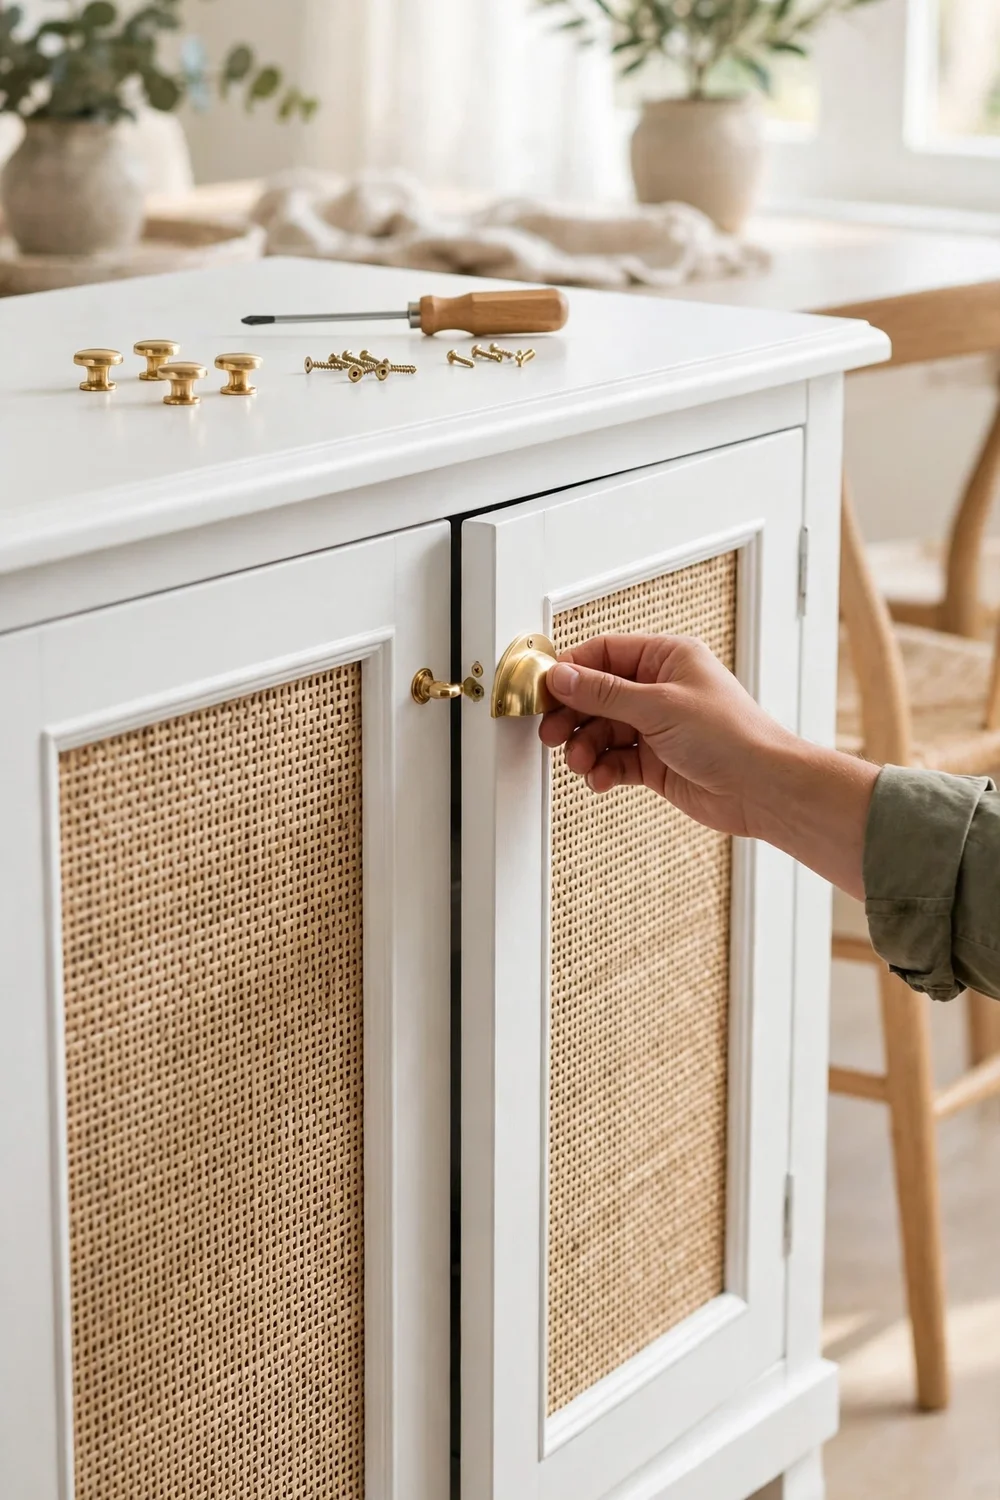
With the doors wrapped and the feet fitted, the frame is what pulls the piece together. Paint the frame before you rehang the doors, so you can reach every edge without masking the paper. Two thin coats of a good furniture paint in eggshell or satin will outlast one thick coat, and thin coats dry flatter with fewer brush marks. Use a small foam roller for the large flat areas and a brush for the edges. Sand lightly with 220 grit between coats.
Colour choice sets the mood of the whole room. A warm white with a hint of cream suits natural grasscloth and wood floors. A soft sage green frame with cream grasscloth feels calm and a little bit country. A deep charcoal frame with pale grasscloth is dramatic, but it shows dust, so keep it for a room that is used gently. Whatever colour you choose, paint the inside of the cabinet too.
Hardware is the jewellery of the piece, and it is worth spending a little more here than you planned. Brass cup pulls on the drawers and round brass knobs on the doors suit grasscloth beautifully, because the warm metal picks up the golden tones in the fibre. Black hardware gives a sharper, more modern look. Measure the existing holes before you buy. If your new pulls need different spacing, fill the old holes, sand them flat, and drill fresh ones.
Seal the grasscloth lightly once everything is dry. A clear, water based matte sealer brushed on in one thin coat protects the fibre from dust and the odd splash, without changing the look. Test it on an offcut first. Some sealers darken natural fibre slightly, and you want to know that before it is on the doors. Do not use a glossy sealer. Shine kills the soft, woven look that made you choose grasscloth.
Rehang the doors slowly, one at a time, and adjust the hinges until the gaps are even. Check that each door opens without touching its neighbour, and that the grasscloth edges do not catch on the frame. Fit the knobs and pulls last, so you do not scratch the paint while you are still moving the piece around. Stand back and look at the buffet from across the room. If one door looks slightly darker than the others, it is probably the light, not the paper.
Styling Your Finished Buffet in the Dining Room
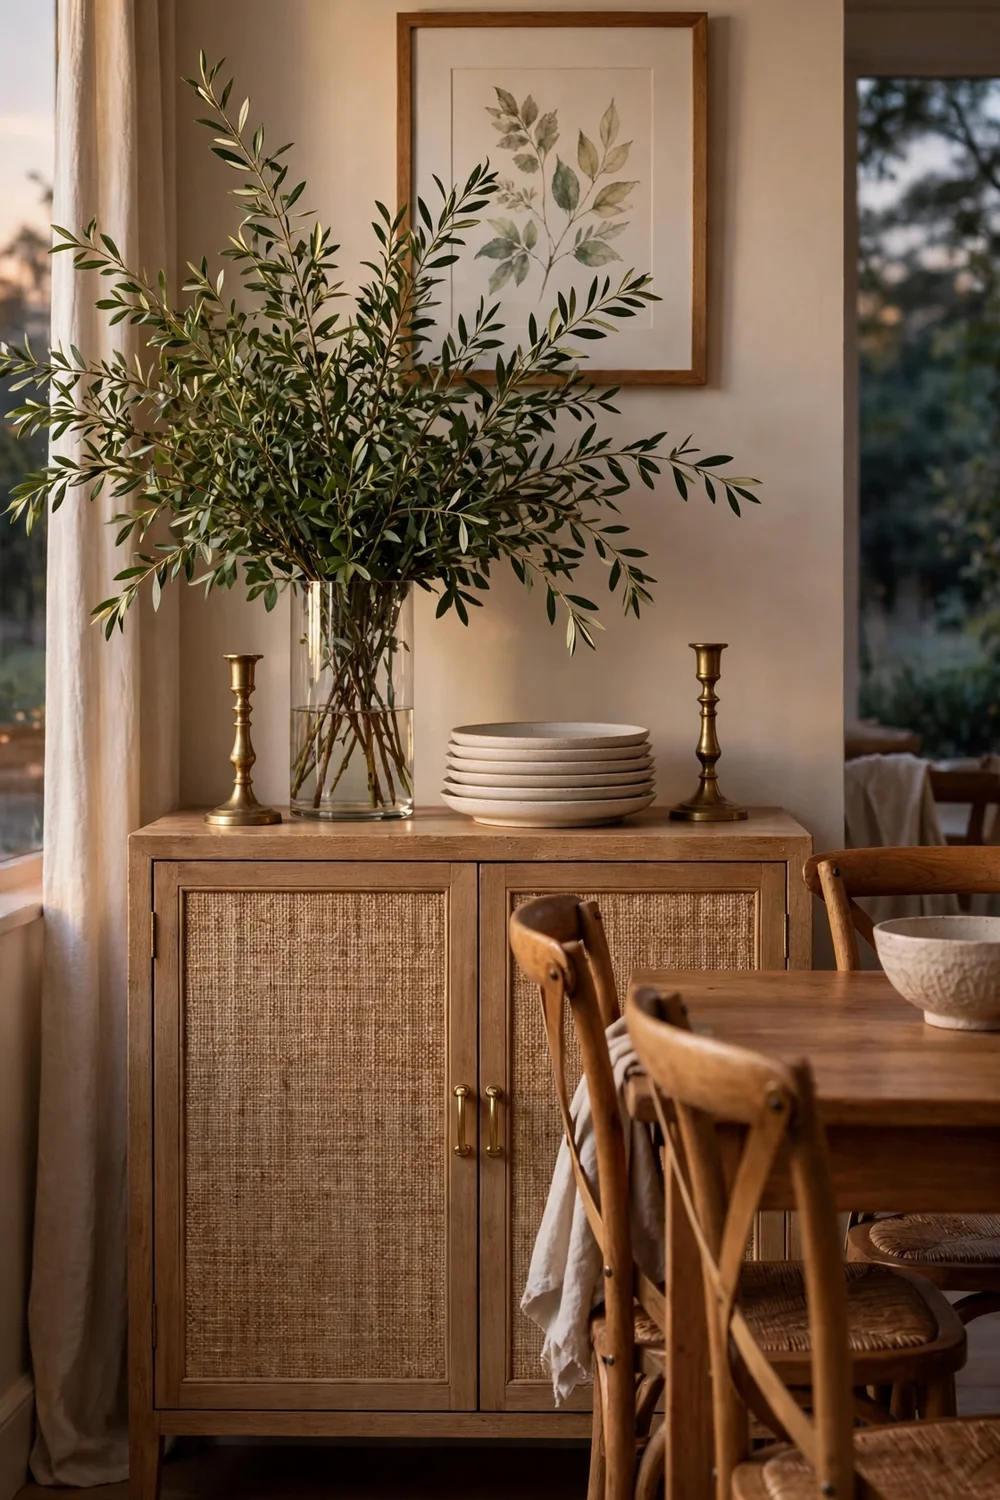
A finished buffet needs styling, but it does not need much. The texture is already doing the work, so the top should stay calm. Start with one tall element at one end, such as a vase of green branches, and a low, wide element at the other end, such as a stack of plates or a shallow bowl. Leave the middle clear, or put a single small object there, like a candle. Three groups, with space between them, look deliberate. A crowded top looks like storage, and storage is what the inside is for.
Think about what lives inside the buffet as well as what sits on top. This is a working piece, not a display cabinet, so organise the inside for real use. Table linen and placemats in one drawer, serving dishes and platters on the shelves, and everyday plates where you can reach them. Line the drawers with leftover grasscloth or a simple linen liner. It protects the wood and stops plates sliding.
Place the buffet where it can be used. Against the wall opposite the dining table is ideal, because you can walk around the table to serve without squeezing past chairs. Leave at least 90 centimetres between the buffet and the table edge, so a person can stand at the buffet while someone else sits at the table. A buffet that blocks the walkway will annoy you every single day. Keep the table centrepiece low too, so the buffet stays the star, and these dining table centrepiece ideas that look expensive work well here, because they stay low and let the room breathe.
Lighting makes the texture sing. A picture light or a pair of small wall lights above the buffet throws a soft wash across the grasscloth and brings out the weave. Avoid a harsh spotlight from directly above. It flattens the weave and shows every seam. Soft, angled light is what this material loves.
Grasscloth Buffet Makeover: Frequently Asked Questions
Can I use peel and stick grasscloth on any buffet?
Peel and stick grasscloth works best on flat, smooth, sealed surfaces such as painted wood, laminate or melamine. It struggles on raw wood, very glossy lacquer and deeply carved fronts, because the adhesive has too little contact. Lightly sand a glossy surface first, and seal raw wood with primer before you apply the paper.
How long does a grasscloth buffet makeover take?
Most people finish in one weekend. Allow a day for cleaning, sanding, filling and priming, and a second day for painting, fitting the feet and wrapping the doors. Drying time between coats is the real schedule, so start early and let each coat cure properly.
Will grasscloth on furniture peel off in a damp room?
Grasscloth is a natural fibre and it absorbs moisture, so it does not suit a bathroom or a very damp kitchen. In a normal dining room it holds well for years, especially if you seal it with a thin coat of clear matte sealer.
Can I paint over grasscloth later if I change my mind?
Yes, you can paint grasscloth with a good latex paint in an eggshell or matte finish, using thin coats so the texture still shows through. Clean it first, prime lightly, and test on an offcut. Painted grasscloth keeps its woven texture and takes on a completely new colour.
How do I clean grasscloth on buffet doors?
Dust it with a soft, dry cloth or a vacuum with a brush attachment. For a mark, dab gently with a barely damp cloth and mild soap, then dry it straight away. Never soak the fibre and never scrub it, because wet grasscloth can stain and the fibres can lift.
Do I need to remove the plinth to add feet?
Yes, in most cases the plinth has to come off, because the feet need to fix to the base and the plinth hides the bottom edge of the cabinet. If the plinth is glued solid, you can cut it back to a slim shadow board of about 2 centimetres instead.
A Weekend Project Worth Doing Properly
A grasscloth buffet makeover is not a quick cosmetic trick. It is a proper piece of furniture work, and it rewards the person who does it slowly. The feet change the shape of the piece. The grasscloth changes the feel of it. The paint and brass finish the job. Together they turn a heavy thrifted cabinet into a piece you will keep for years.
Start with the buffet, not the shopping. Find a solid piece with flat doors, measure it twice, and choose paper and feet that suit your room rather than a photo you saw online. Do the prep work properly, even when it feels dull, and give each coat time to dry. When the doors are hung and the top is styled, step back and enjoy the texture in the evening light. That quiet moment, when the room suddenly looks finished, is the whole reason to do it. If you are still collecting DIY buffet makeover ideas, an unfinished furniture makeover on a plain work table uses many of the same skills on a smaller piece.