Trim is the quiet hero of home design. You might not notice it right away, but a room without proper trim feels unfinished, almost like a sentence missing its period. Crown molding and baseboards frame your walls, add depth, and give your space a polished, intentional feel. The most exciting part is that you can transform a plain room into something custom-built without knocking down a single wall.
In this How to Upgrade Crown Molding and Baseboards for a Custom Look guide, you’ll discover practical techniques for selecting the right trim styles, planning your installation, achieving clean finishes, and adding the details that give any room a refined, custom-crafted appearance.
A. Beyond Basics: Why Upgrade Your Trim?
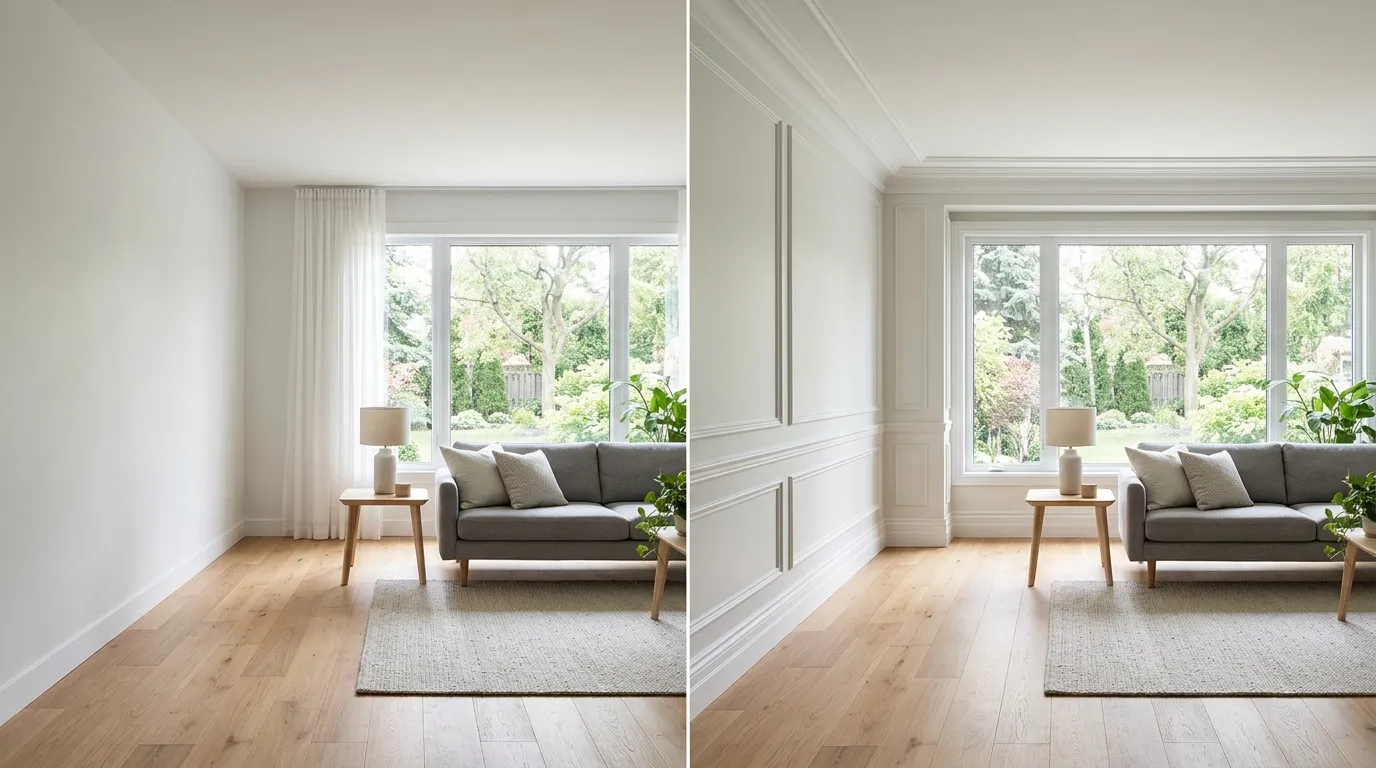
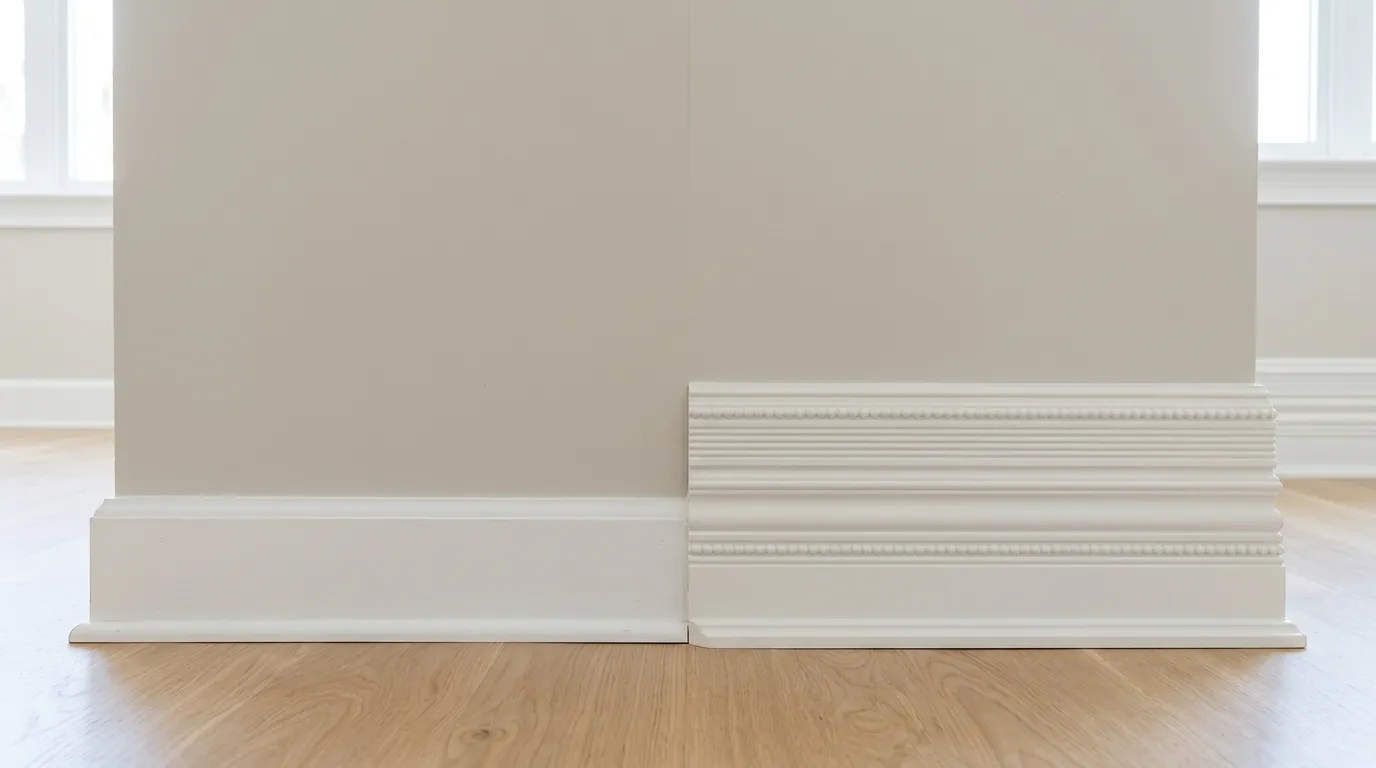
Builder-grade trim is usually thin, plain, and forgettable. It does the job, but rarely adds character. Upgraded your trim instantly boosts your home’s style and perceived value. Think of it like swapping a cheap frame for a gallery-quality one around a painting. The art was always well done, but now it truly shines.
Real-world example: A homeowner replaces narrow 2-inch baseboards with chunky 5-inch ones and adds crown molding. Suddenly the room feels taller, richer, and more expensive, even though the walls and floors have never changed.
B. What We’ll Cover: A Roadmap to Customization
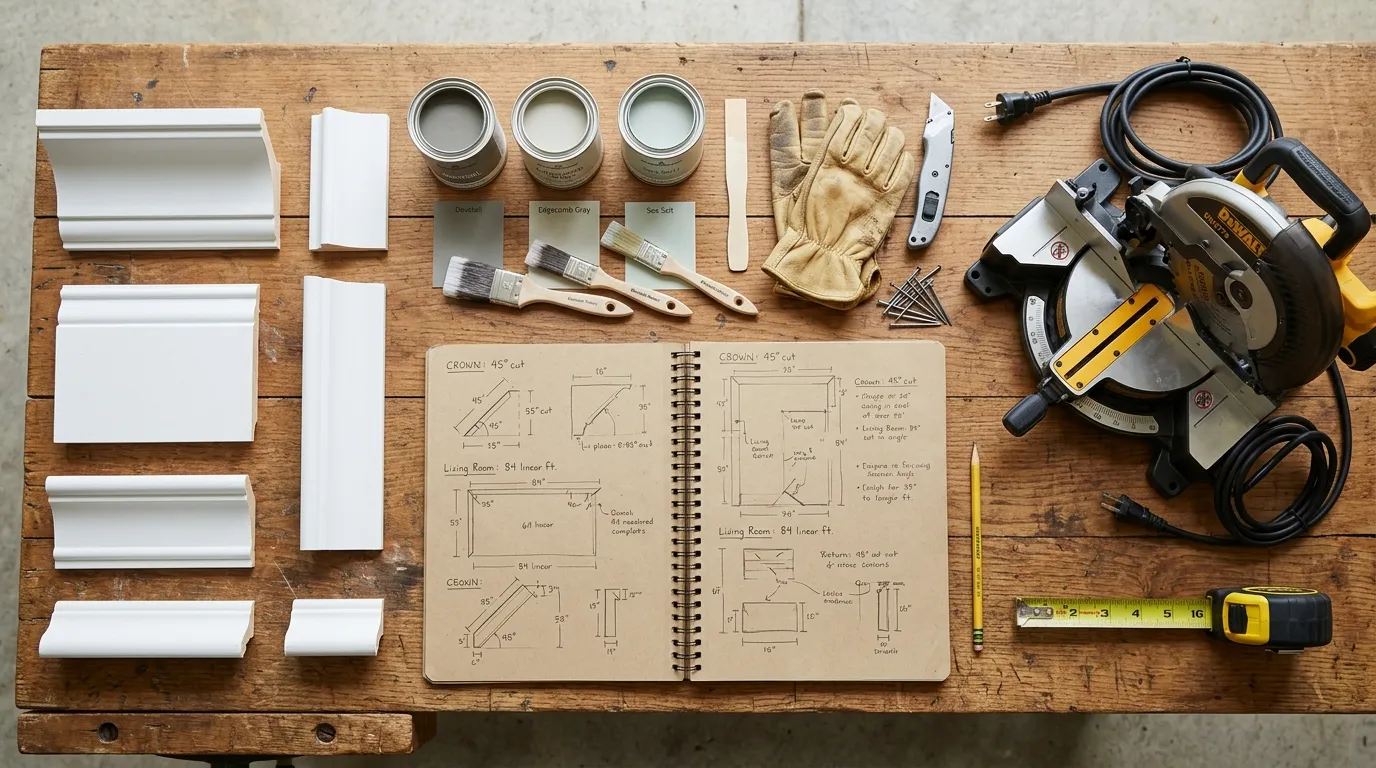
This guide walks you through the whole journey. We’ll start with understanding trim types and materials, then move into planning and budgeting. After that, we’ll cover design choices, tools, and a full step-by-step installation. Finally, we’ll tackle finishing touches, advanced ideas, and easy maintenance. By the end, you’ll have everything you need to tackle this project with confidence.
II. Understanding Crown Molding and Baseboards
Before you buy anything, it helps to know what you’re working with. Crown molding and baseboards do different jobs, and each comes in many styles and materials. Knowing the basics makes every subsequent decision easier.
A. Crown Molding: The architectural crown.
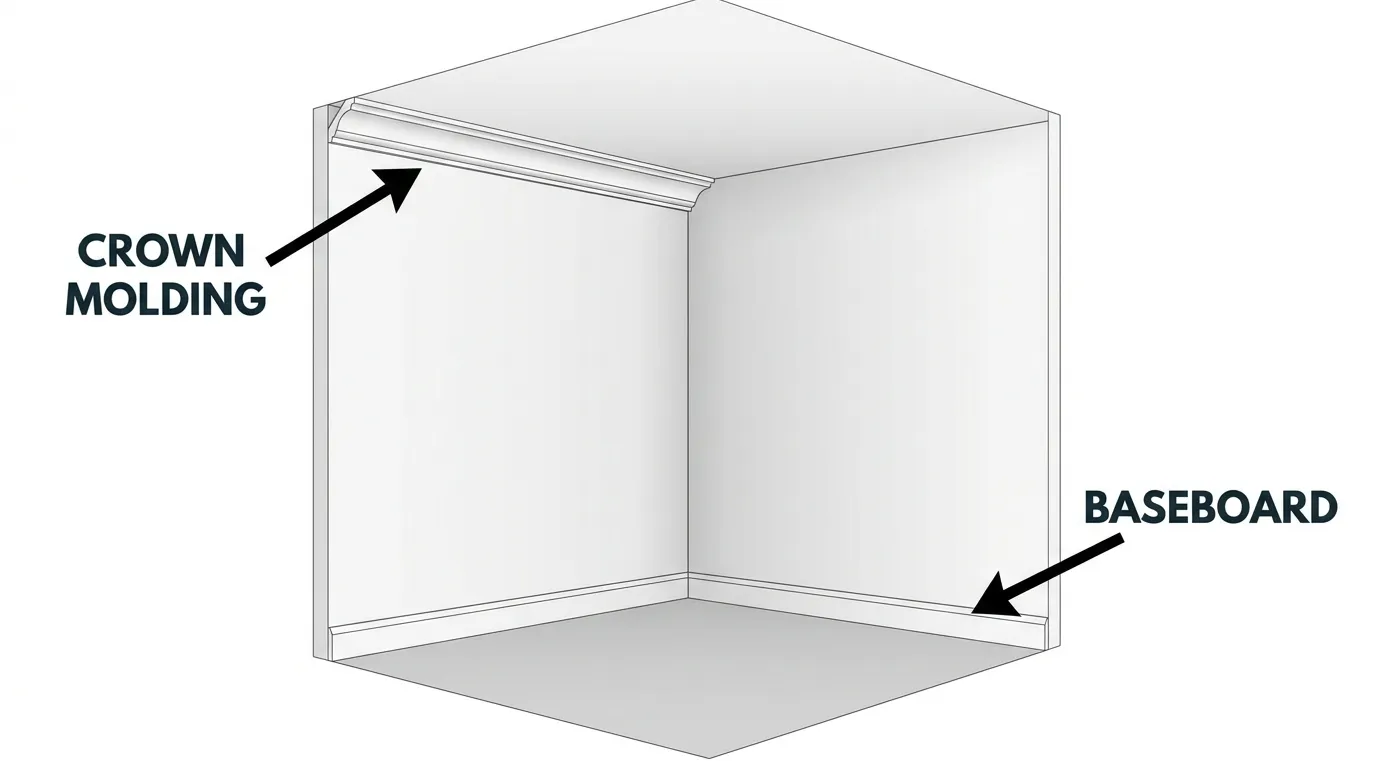
Crown molding sits where your walls meet the ceiling. It bridges that difficult corner with a smooth, decorative curve or angle. The effect draws the eye upward and makes ceilings feel higher. It’s the finishing flourish that signals a room has been thoughtfully designed.
1. Different Styles and Profiles
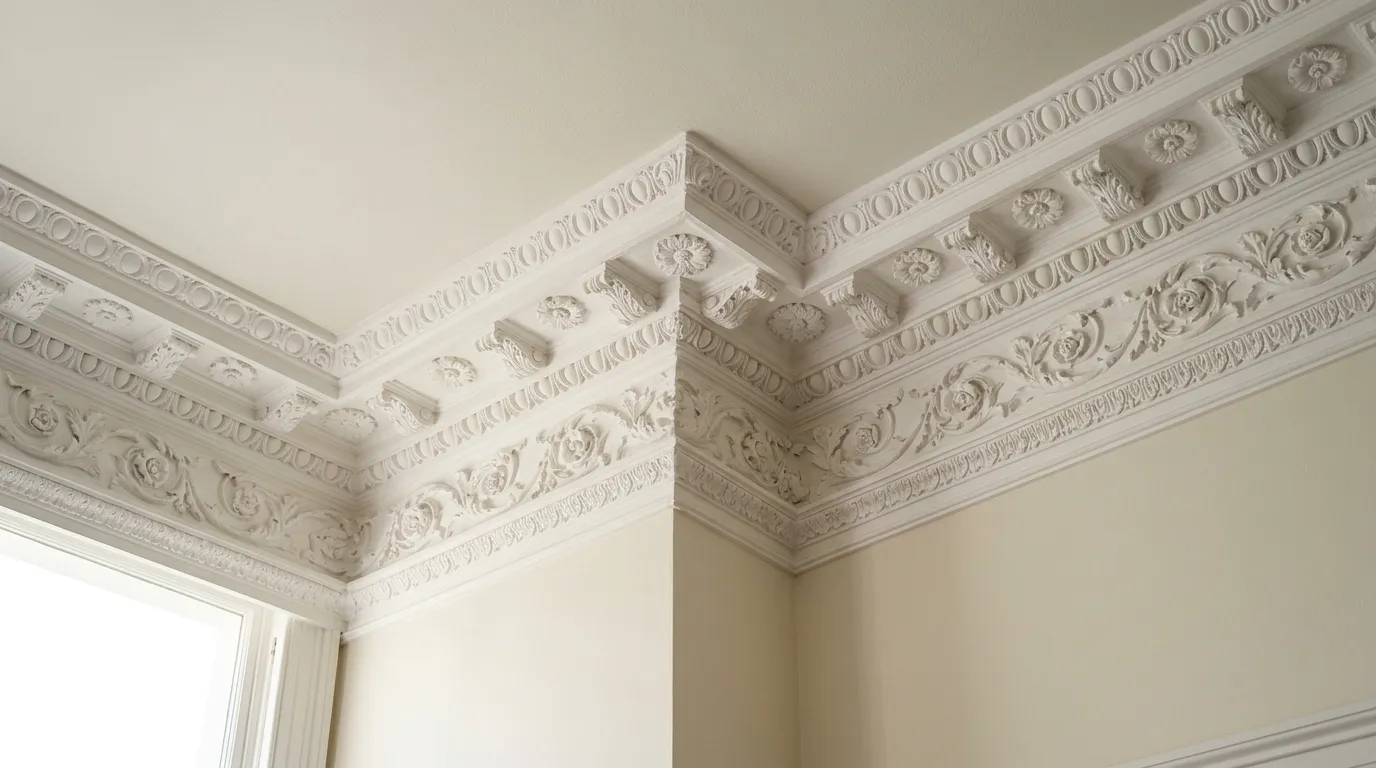
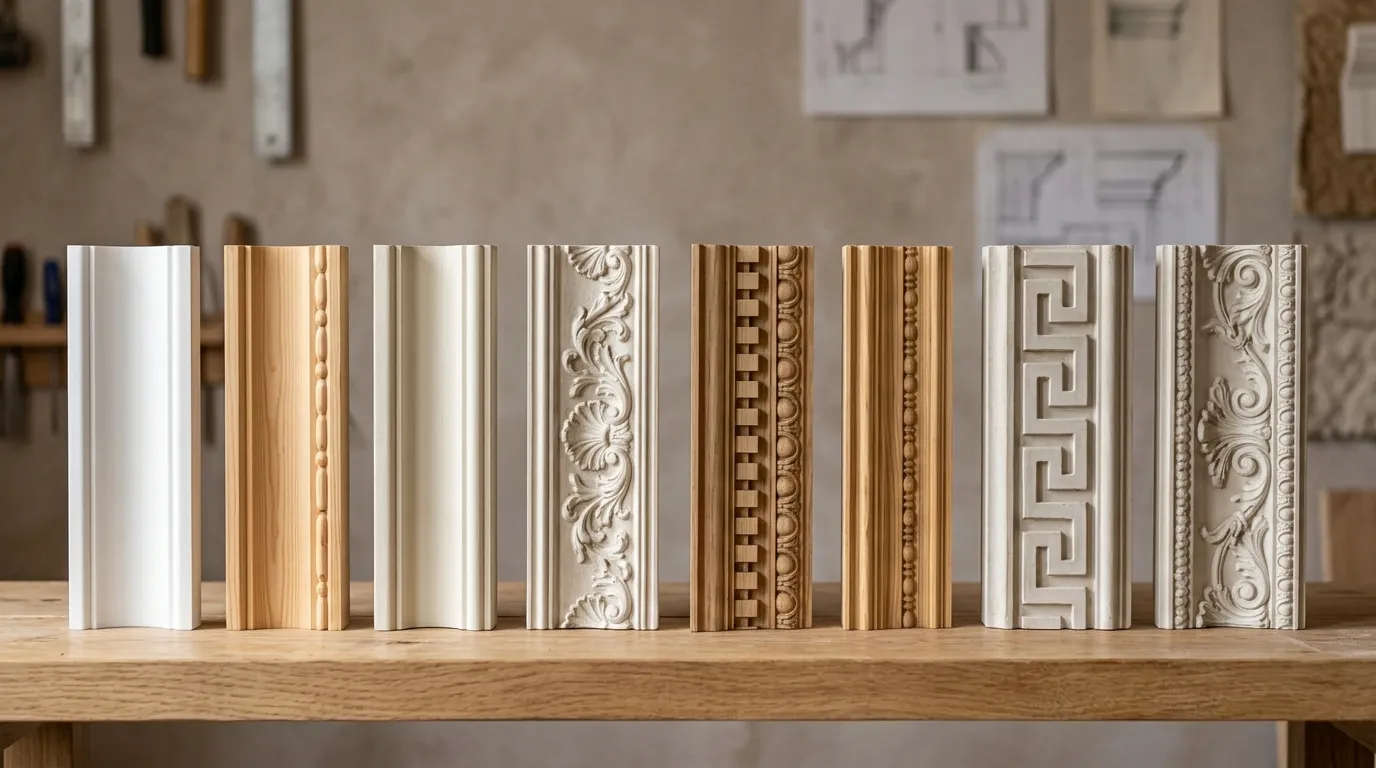
A “profile” is the shape you see when looking at the molding from the end. Some profiles are simple and curved, like a basic cove. Others are layered with steps, scrolls, and ridges for a grand, traditional look. Cove profiles feel soft and modern, while dentil molding (with its small tooth-like blocks) feels formal and classic.
Real-world example: A modern farmhouse might use a clean, simple crown, while a traditional dining room might call for an ornate, multi-step profile.
2. Materials: Wood, MDF, Polyurethane
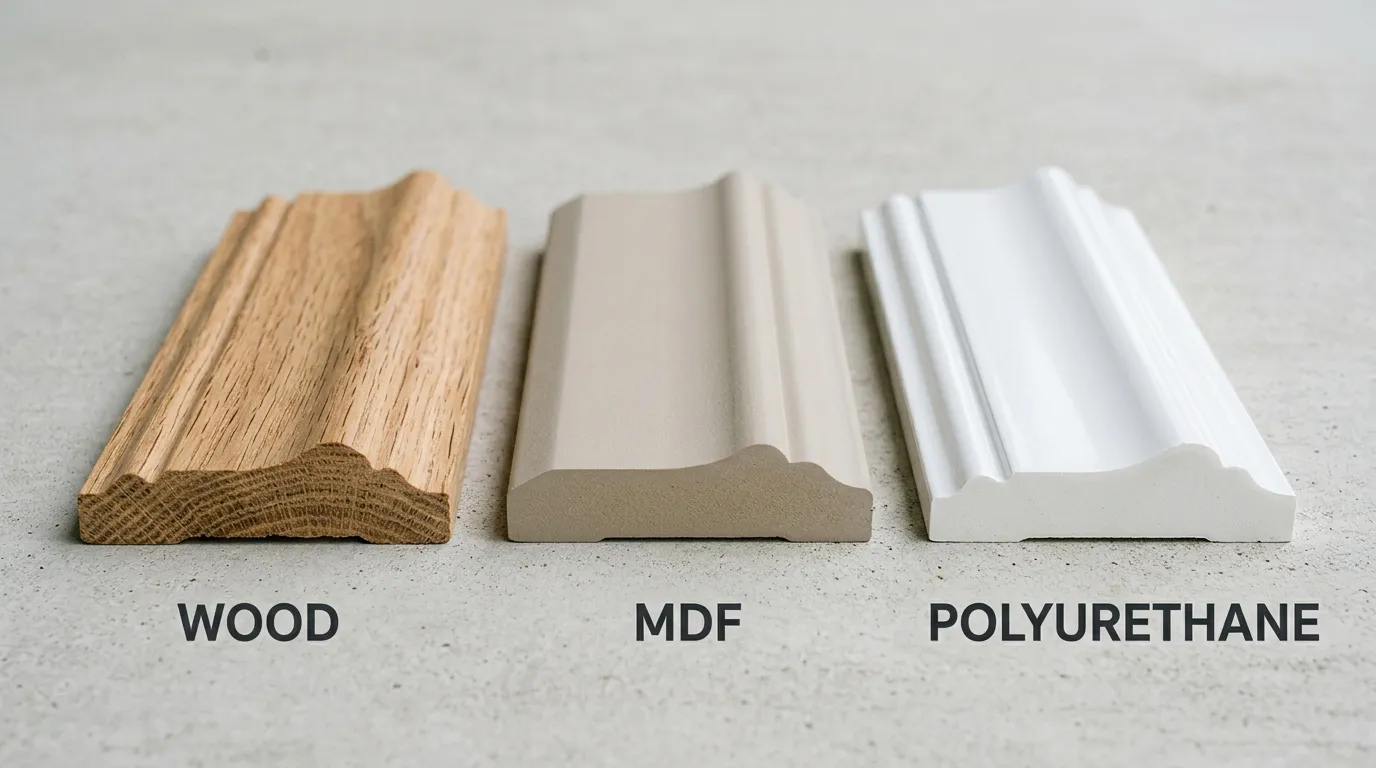
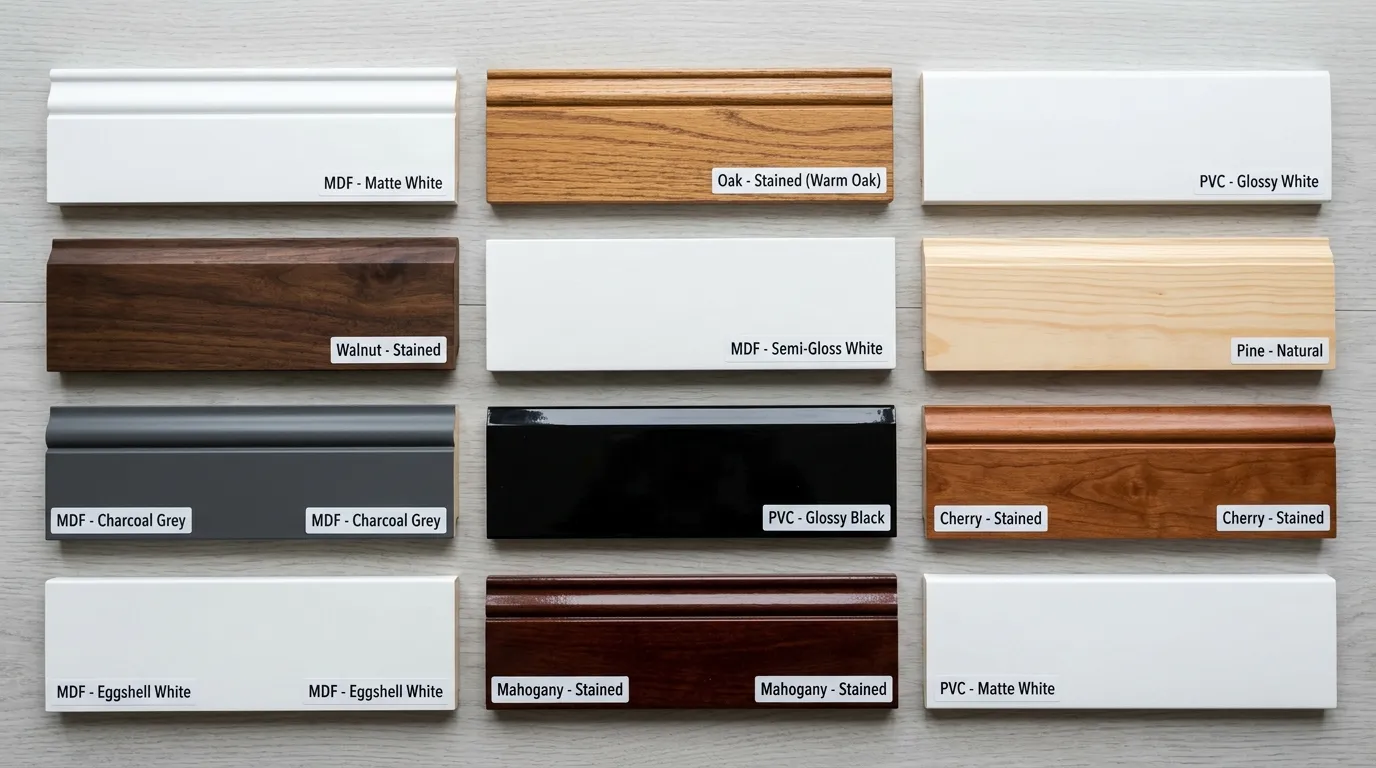
Crown molding comes in three materials. Solid wood looks beautiful and can be stained, but it costs more and warps. MDF (medium-density fiberboard) is affordable, smooth, and suitable for painting, though it dislikes moisture. Polyurethane is lightweight, water-resistant, and easy to install, making it suitable for bathrooms or beginners.
For a painted finish in a dry room, MDF gives you the right looks for less money.
B. Baseboards: The Foundation of the Finish.
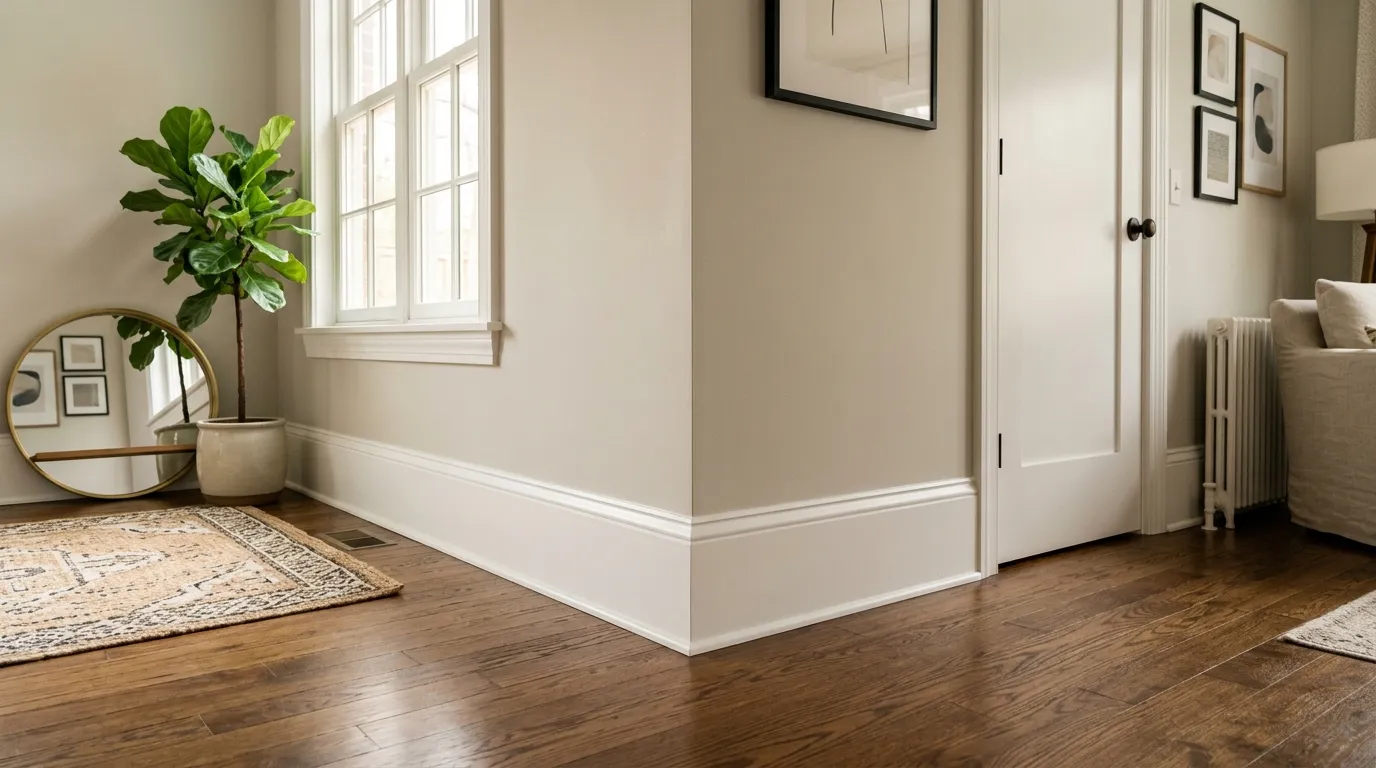
Baseboards run along the bottom of your walls where they meet the floor. They protect the wall from scuffs, kicks, and vacuum bumps, while also covering the gap between the wall and flooring. Beyond function, they ground a room and balance out the crown molding above.
1. Height and Profile Considerations
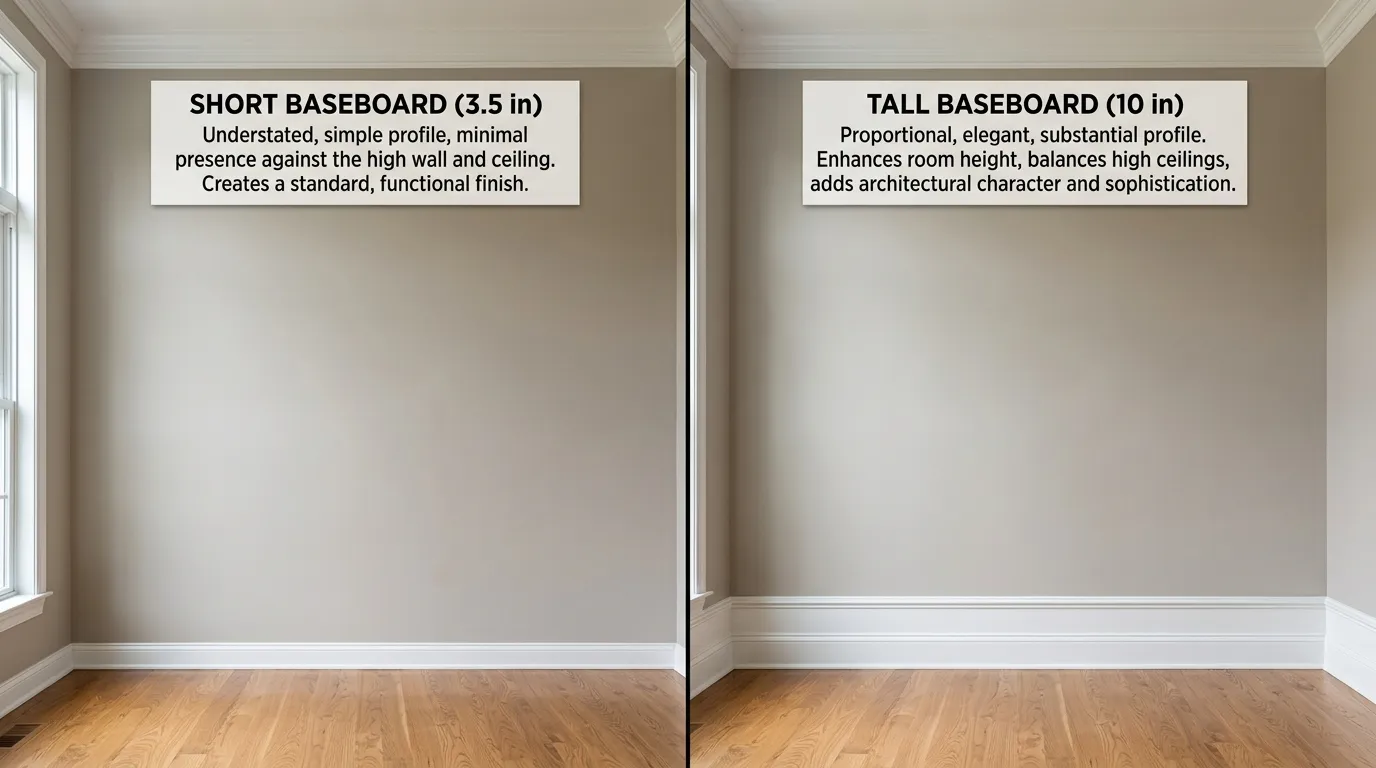
Baseboard height matters more than people realize. Short baseboards can look skimpy in a room with high ceilings. A general rule of thumb is: taller ceilings call for taller baseboards. Profiles range from flat and modern to curved and detailed. Match the baseboard style to your crown molding for a cohesive look.
Real-world example: In a room with 9-foot ceilings, a 5- to 7-inch baseboard looks proportional, while a 3-inch one can feel lost.
2. Material Choices for Baseboards
Like crown molding, baseboards come in wood, MDF, and polyurethane. MDF is the most popular choice for painted baseboards because it’s smooth and budget-friendly. Solid wood works well for a stained, natural look. In damp areas like bathrooms, moisture-resistant PVC or polyurethane holds up best.
III. Planning Your Trim Upgrade: The Foundation of Success
A bit of planning saves headaches. Rushing to the store and buying random molding usually leads to mismatched styles and wasted money. Take time to measure, assess, and budget first. This stage sets you up for smooth sailing.
A. Assess Your Current Space
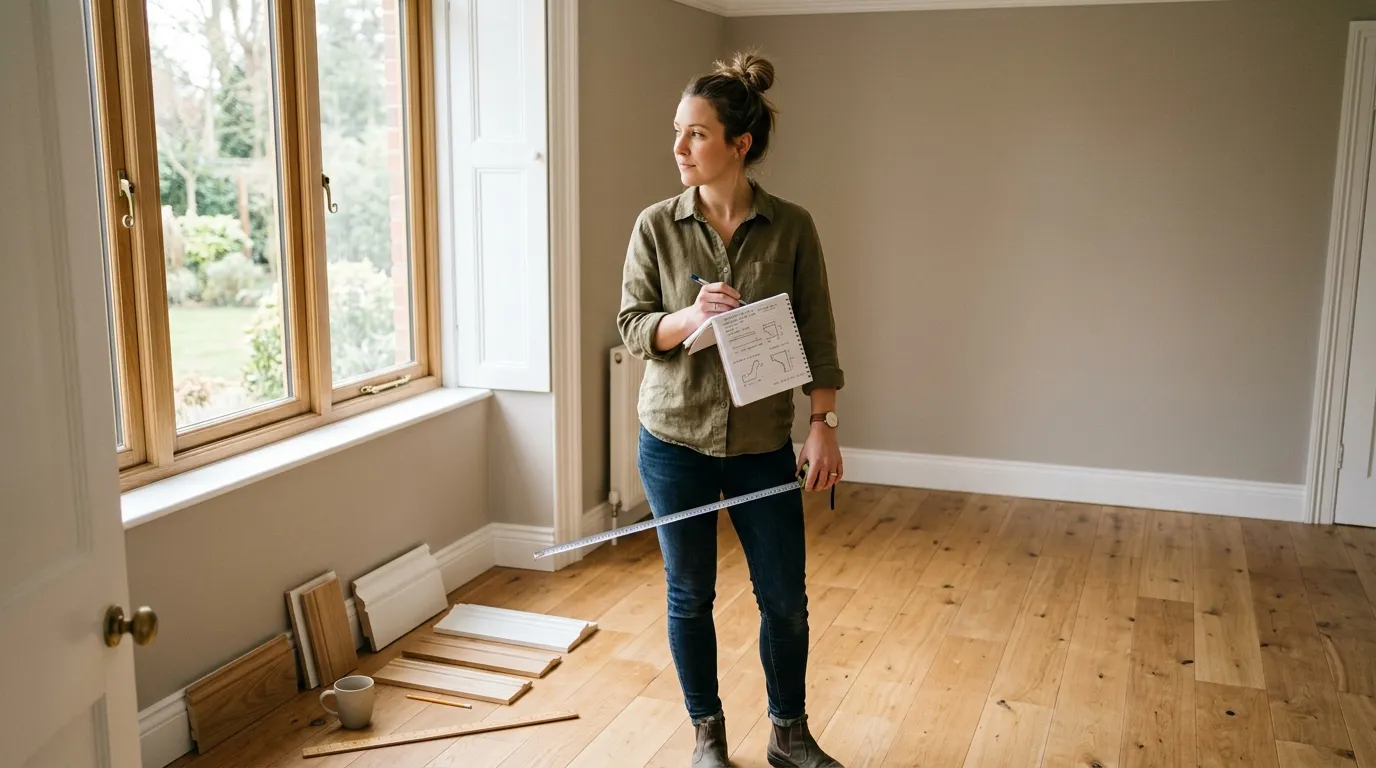
Start by looking honestly at your room. Its size, shape, and existing style all shape your choices. What works in a grand entryway may overwhelm a cozy bedroom. Understanding your space helps you pick trim that fits naturally.

1. Room Dimensions and Ceiling Height
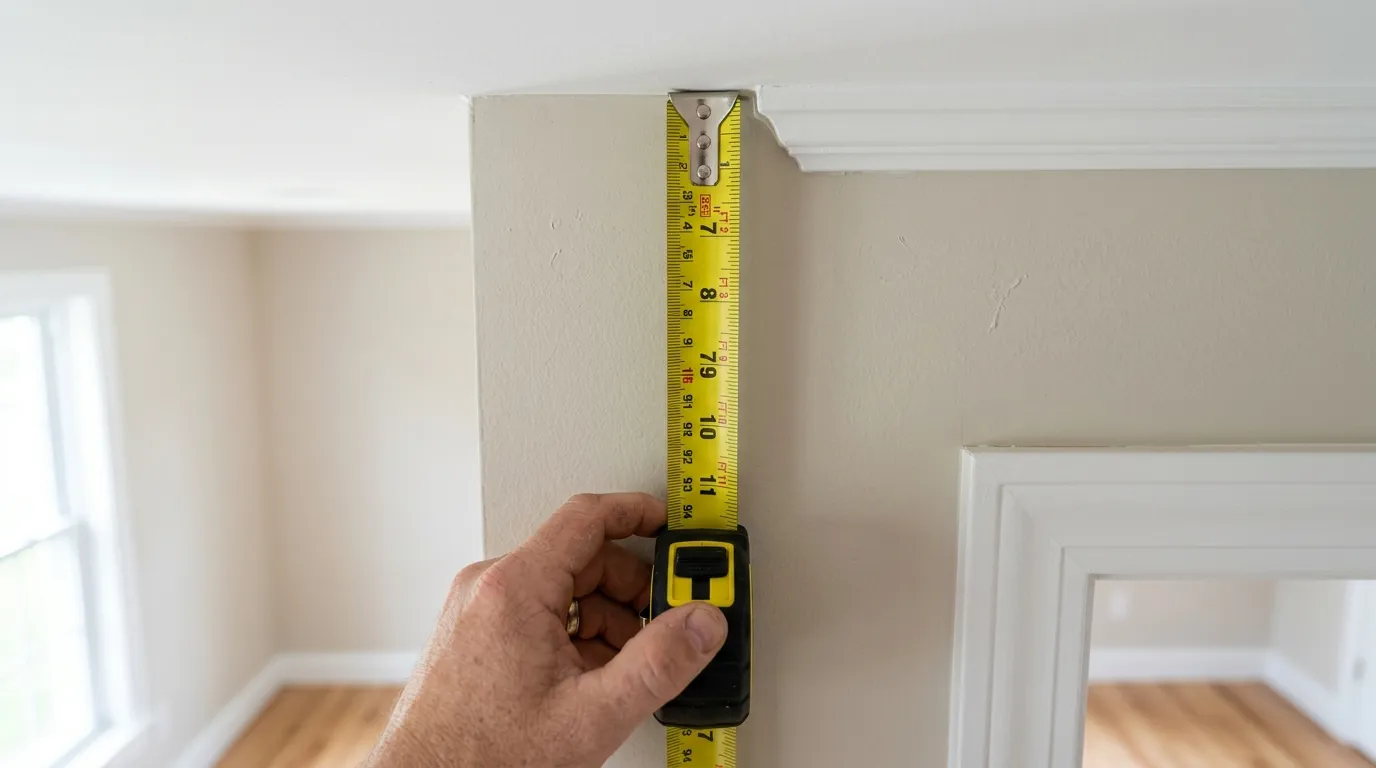
Measure your room’s wall length and ceiling height before anything. These numbers will guide how much material you need and what size trim looks right. Tall ceilings can handle bold, wide crown molding. Low ceilings do better with slim profiles that don’t crowd the space.
Quick tip: Always add 10% extra to your measurements to cover cutting mistakes and waste.
2. Existing Style and Desired Aesthetic
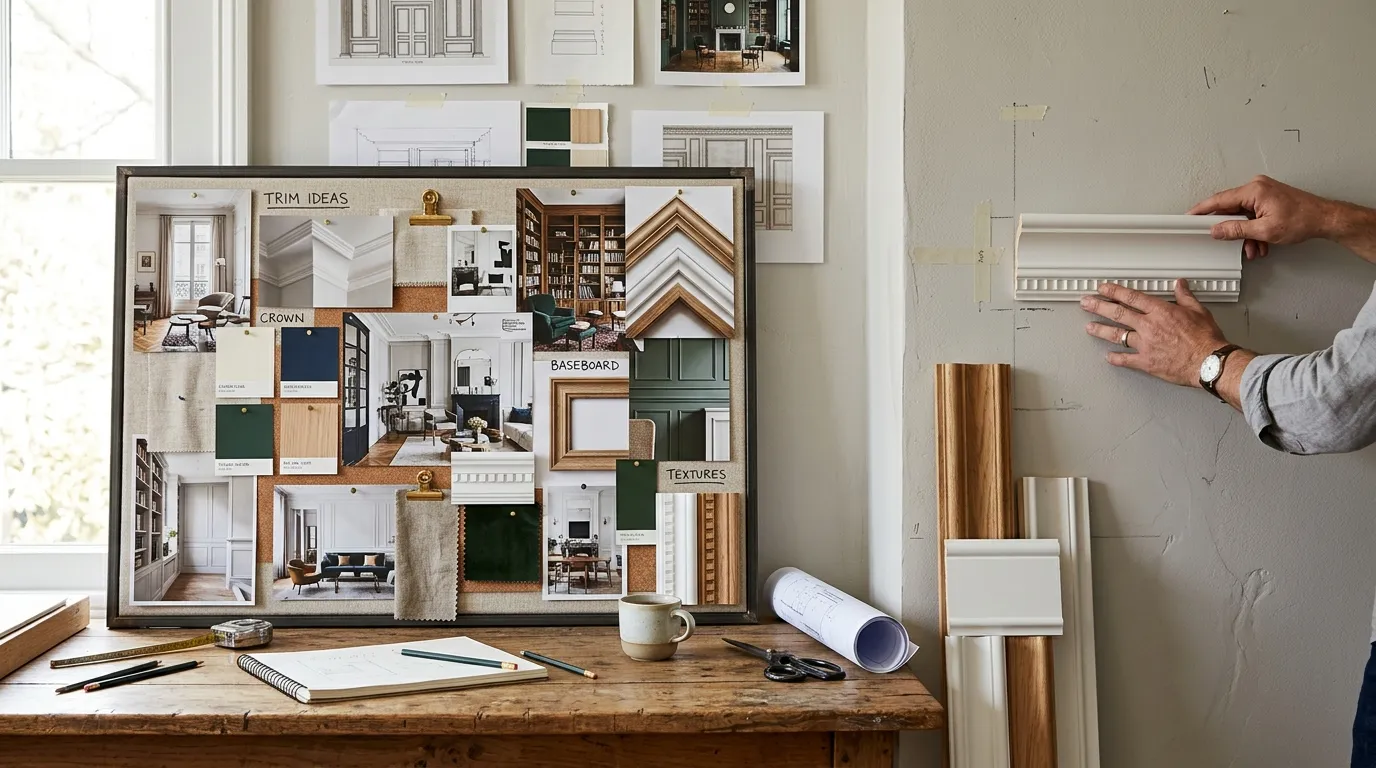
Look at your home’s overall vibe. Is it modern and minimal, or classical and detailed? Your updated trim should support that style, not fight it. Gather inspiration photos and hold molding samples against your walls. It makes a huge difference to see them in your actual lighting.
Real-world example: A sleek, contemporary home looks stunning with clean-lined trim, while a Victorian-style house shines with ornate, layered profiles.
B. Budgeting for Your Project
Money matters, so set a realistic budget early. Trim projects can range from very affordable to quite pricey depending on materials, room size, and who does the work. Knowing your numbers keeps the project stress-free.

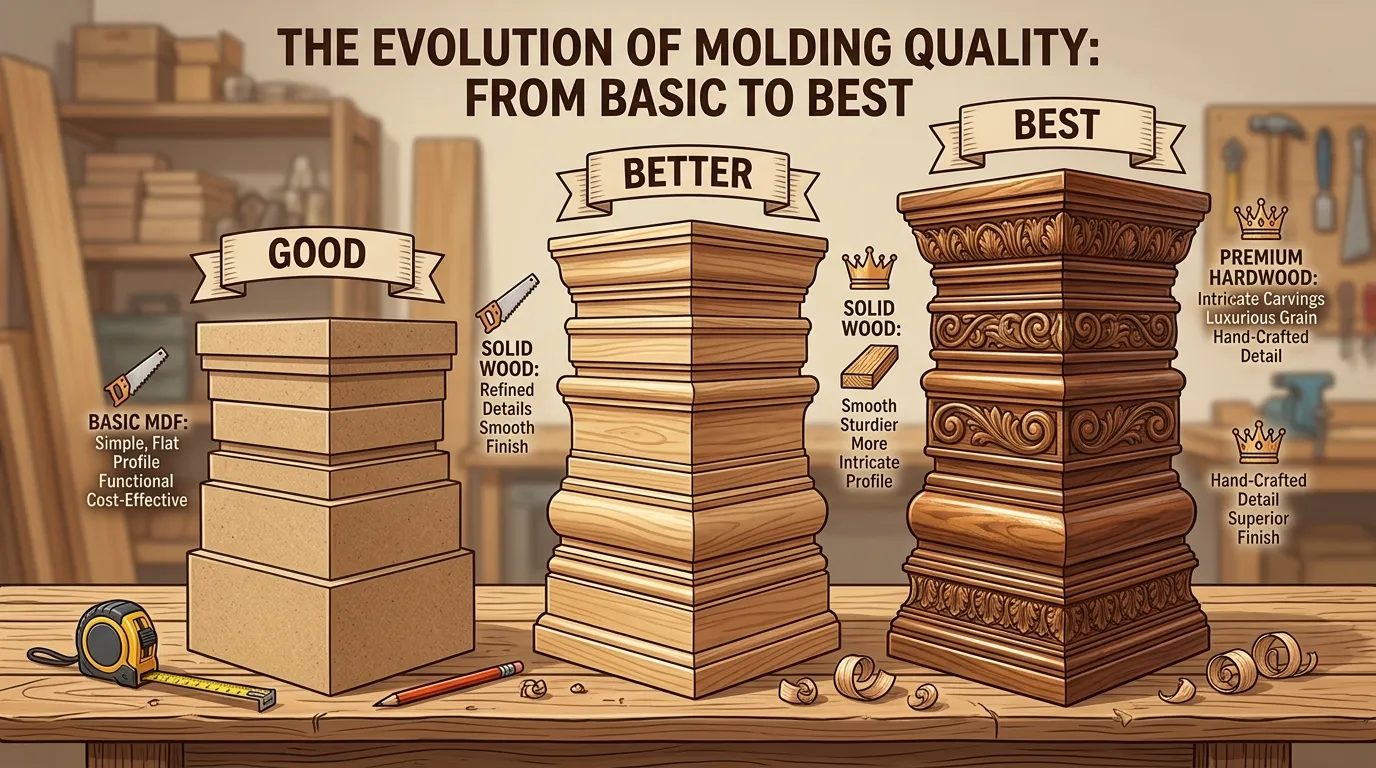
1. Material Costs: Good, Better, Best
Think of materials in three tiers. “Good” is budget-friendly MDF, suitable for painted trim. “Better” is higher-grade MDF or softwood with more detail. “Best” is solid hardwood or premium polyurethane for top-tier looks and durability. Choose based on your goals and how long you plan to stay in the home.
2. Installation: DIY vs. professional
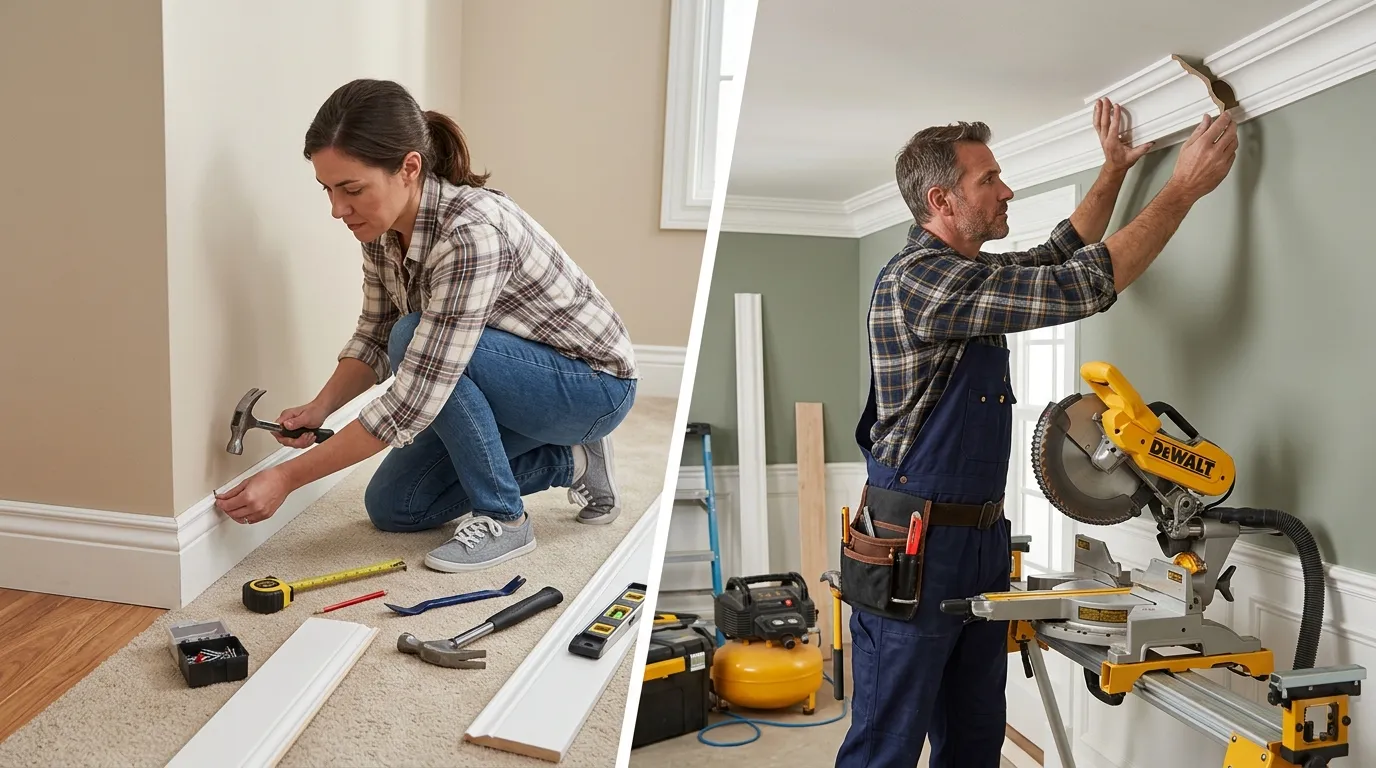
Doing it yourself saves money but takes time, tools, and patience. Hiring a pro costs more but guarantees clean corners and fast finishes. If you’re handy and willing to practice, baseboards make an excellent DIY starter. Crown molding is tricky, so beginners sometimes hire that part.
Real-world example: A homeowner might install simple baseboards themselves and hire a contractor for complex crown molding in a high-ceilinged living room.
IV. Choose Your Custom Look: Styles and Combinations
Here’s where the fun begins. The right combination of profiles and proportions creates that high-end, custom feel. You’re not just adding trim; you’re designing a look. A few smart choices will set your room apart.

A. Layering for Impact: The Power of Stacked
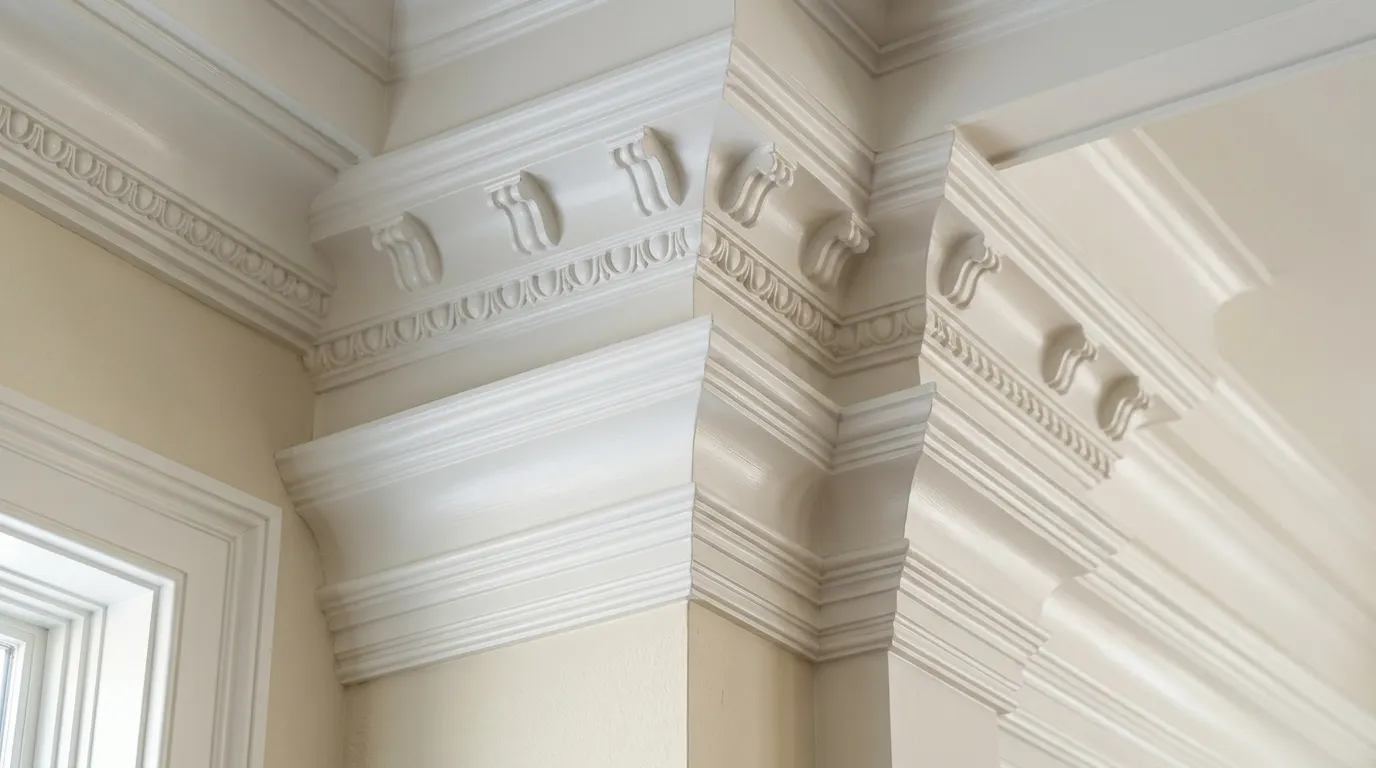
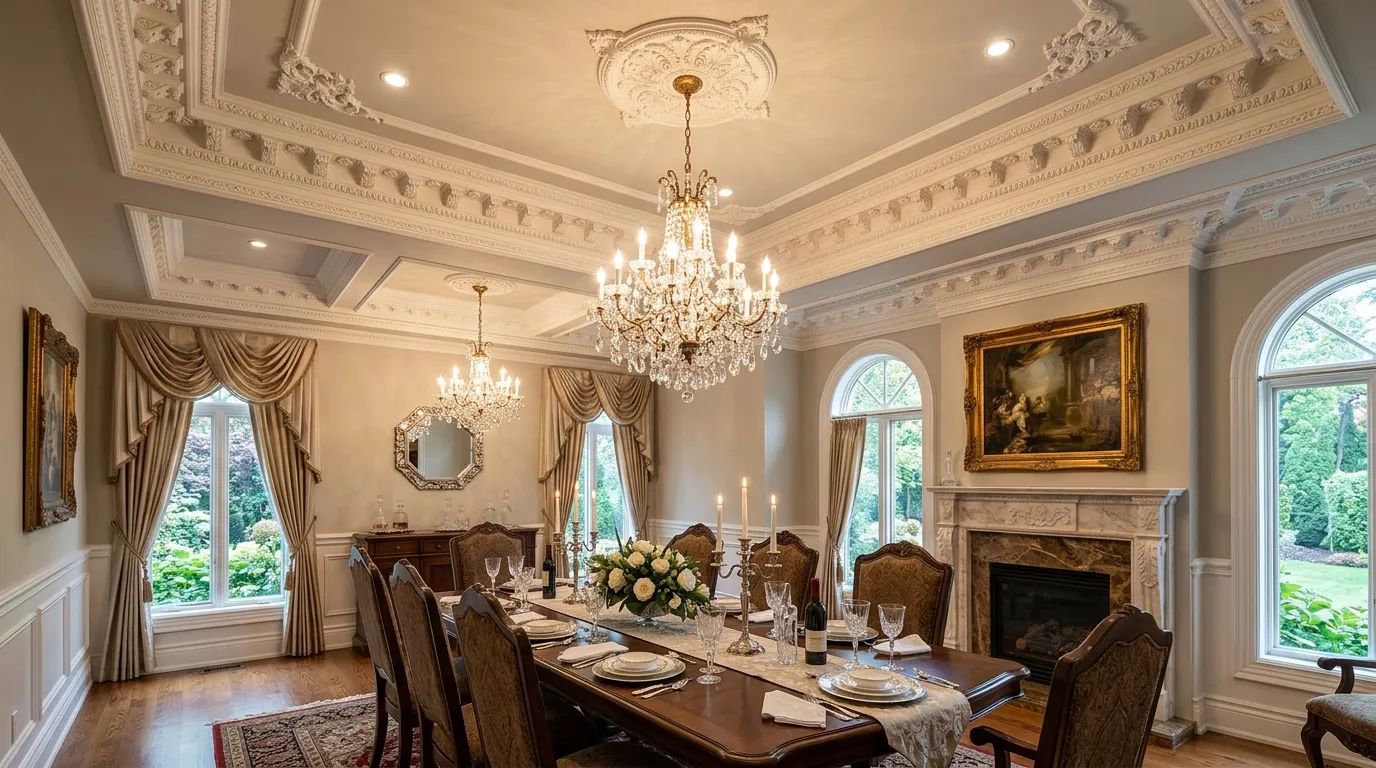
Stacking means combining two or more molding pieces to build something taller and bolder. It’s a clever trick that makes simple, affordable trim look custom and grand. Stacking adds depth and shadow lines that catch the eye.
1. Combining Different Profiles
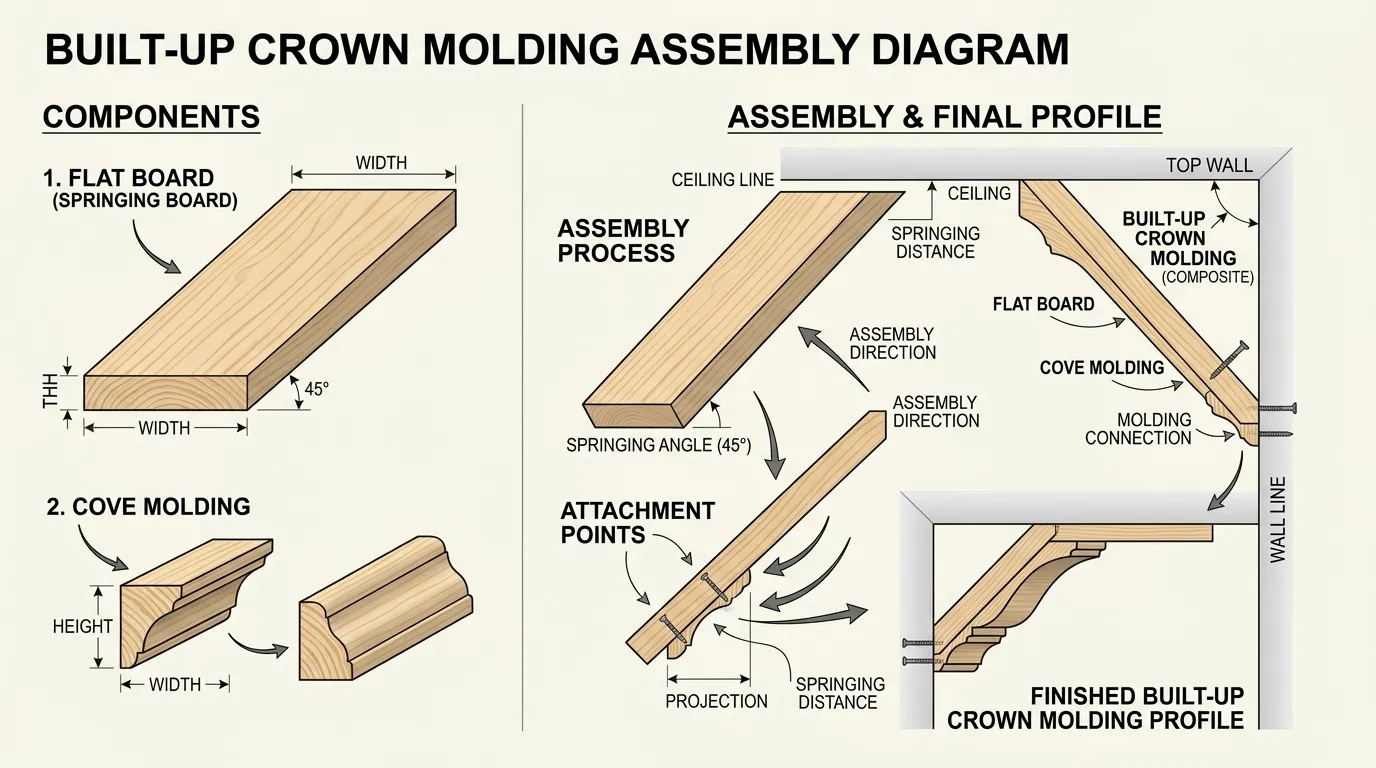
You can pair a flat board with decorative molding on top to create an unusual shape. For example, mount a wide flat trim against the ceiling, then add curved cove molding below it. The result might look like one expensive, custom piece, but it’s just two simple parts joined together.
2. Create a “Built-Up” Look
A built-up look uses several layers to mimic grand moldings found in old, luxurious homes. By stacking three or more elements, you create a rich, dimensional crown that commands attention. It’s appropriate for formal dining rooms or stately entryways.
Quick tip: Sketch your layers on paper first so you know how the pieces fit before cutting.
B. Proportions and Scales: Getting it Right
Even beautiful trim looks off if the size is wrong. Proportion is about matching the trim to the room so everything feels balanced. Get this right and your space will feel harmonious without anyone noticing.
1. Matching trim to Room Size
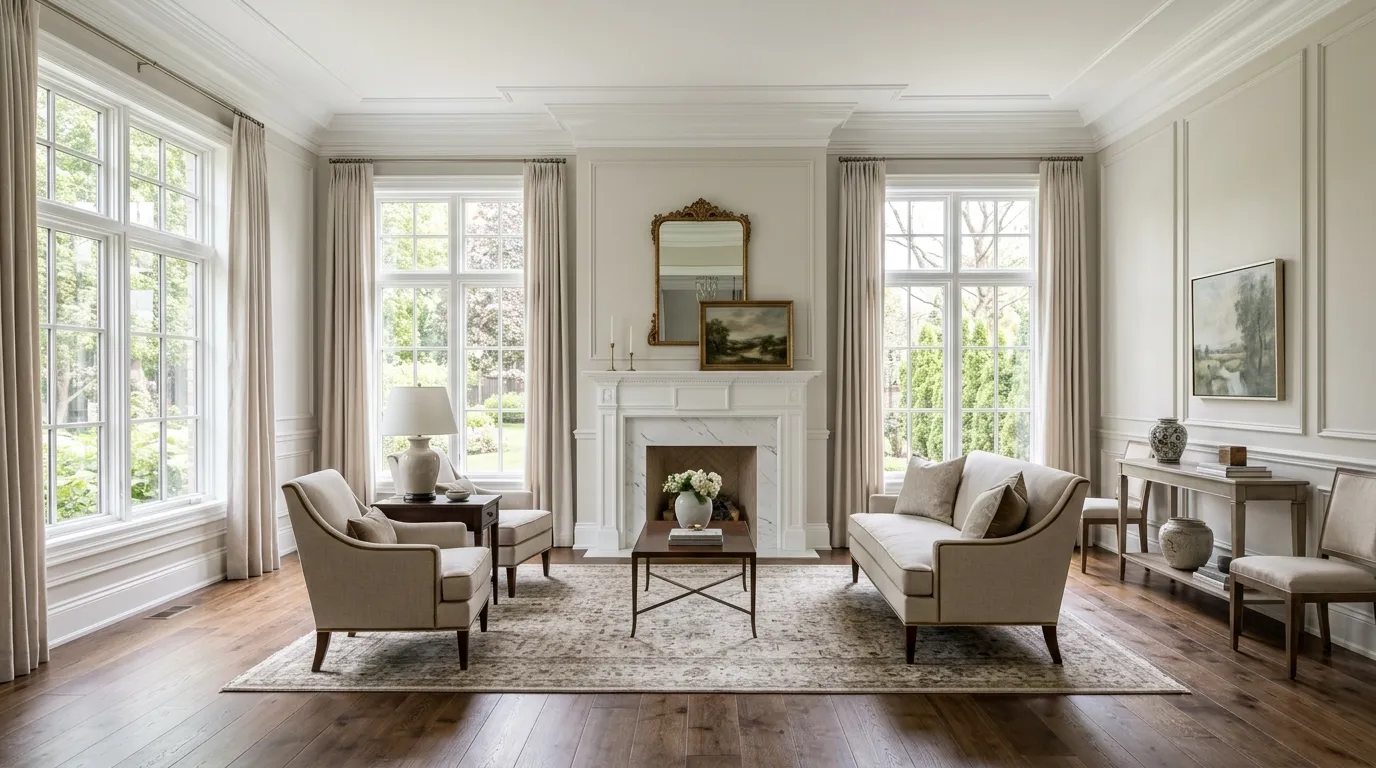
Big rooms with tall ceilings can use large, bold trim. Smaller rooms need slimmers profiles to avoid cramping. Massive crown molding in a tiny powder room can feel overwhelming, while a thin one in a grand foyer disappears.
Real-world example: A spacious living room with 10-foot ceilings shines with 6-inch crown molding, while a small office does better with a modest 3-inch version.
2. Visual Balance and Harmony
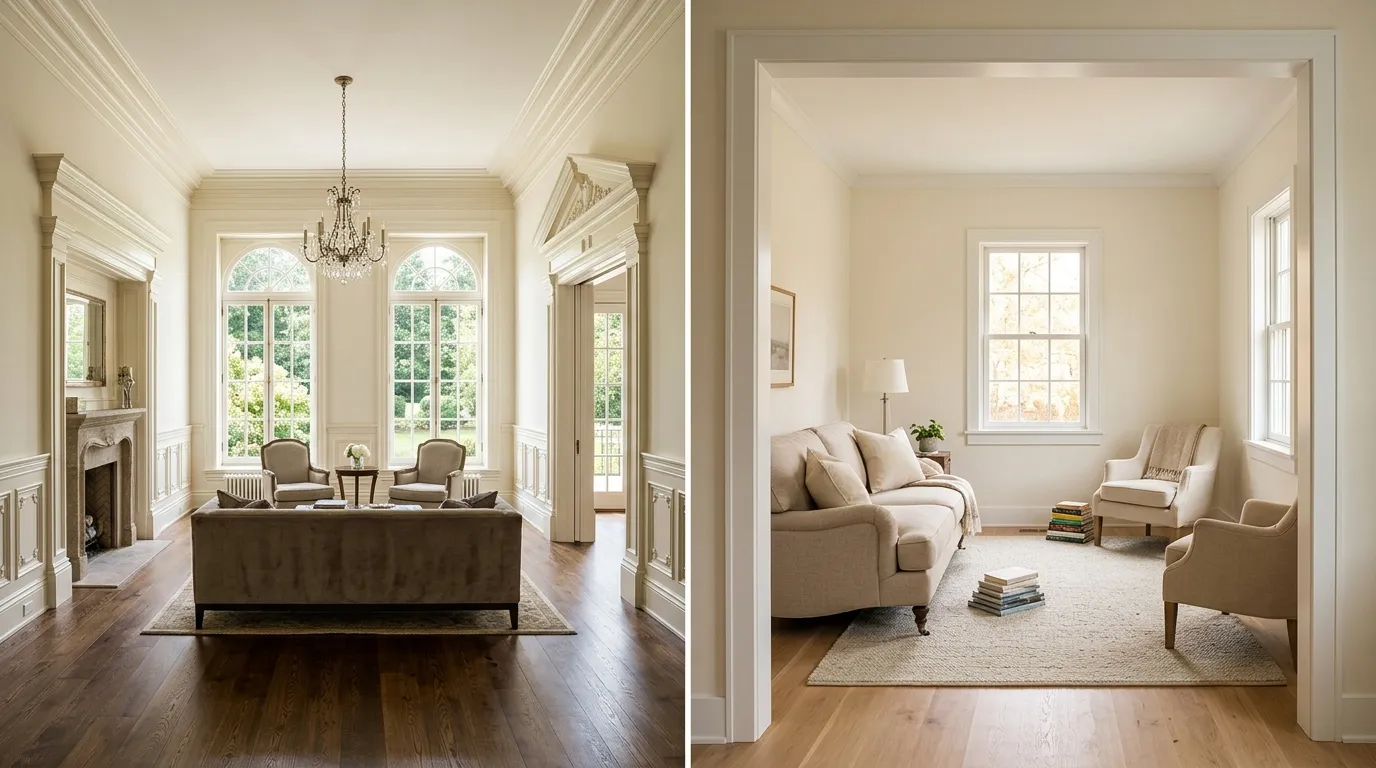
Balance comes from how crown molding and baseboards relate to each other. As a general guide, baseboards are usually taller than crown molding in the same room. When the top and bottom trim are coordinated, the whole space looks intentional and calm.
C. Modern vs. Traditional: Finding Your Aesthetic
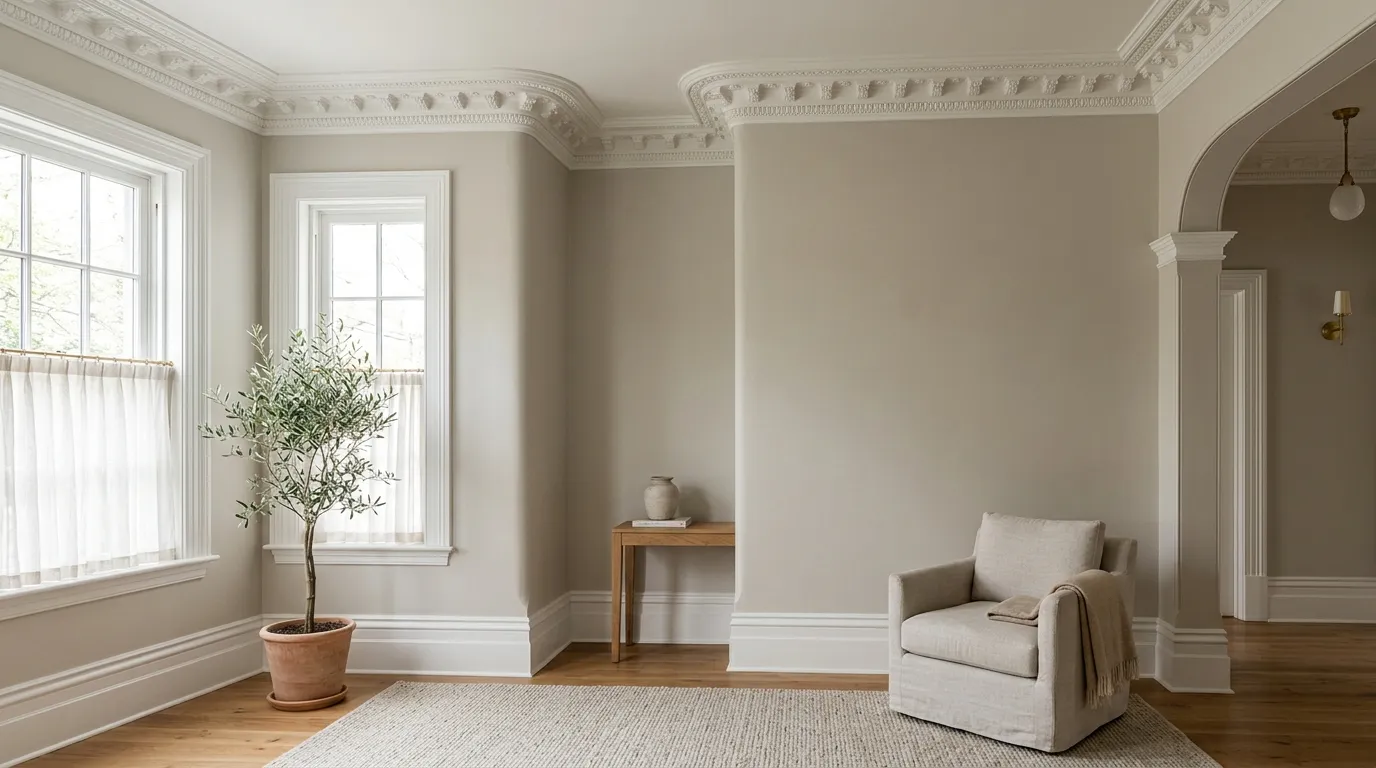
Your trim style should reflect your taste and home character. Modern and traditional looks each have their own charm. Knowing the difference helps you commit with confidence.

1. Sleek lines and MINIMALISm Profiles
Modern trim is all about clean, simple shapes. Think of flat or gently curved profiles with little ornamentation. These minimalist designs suit contemporary homes and create a crisp, uncluttered feel. Often, they come in crisp white or a bold matching wall color.

2. Ornate Details and Classic Designs
Traditional trim emphasizes detail. Layered profiles, dentil blocks, and decorative curves give a rich, timeless feel. These designs fit older homes and formal spaces beautifully. They tell a story about craftsmanship and elegance.
Real-world example: A classical study with dark wood and ornate crown molding feels warm, established, and refined.

V. Tools and Materials: Gearing Up for the Job
Achieving positive results start with the right gear. Trying to cut precise angles with the wrong tools leads to frustration and gaps. Gather what you need before beginning so the work flows smoothly.

A. Essential Tools for Trim Installation
You don’t need a huge workshop, but a few key tools make all the difference. These help you measure, cut, and fasten trim cleanly and safely. Renting bigger items is an option if you only need them once.

1. Miter saw: The Heart of the Project
A miter saw cuts precise angles, which is essential for corners. It lets you make clean 45-degree cuts that join neatly. For trimming, this tool is your best friend. A compound miter saw is ideal because it can tilt at crown molding’s tricky angles.
Quick tip: Always test cut scrap pieces before cutting your real trim.

2. Nail guns: Speed and Precision
A nail gun fastens trim quickly and cleanly, sinking nails without splitting wood. A finished nailer is the common choice for trim. It saves hours compared to hammering by hand and leaves tiny holes that are easy to fill.
Safety note: Always keep your free hand clear of the firing area and wear eye protection.

3. Other hand tools and safety gear
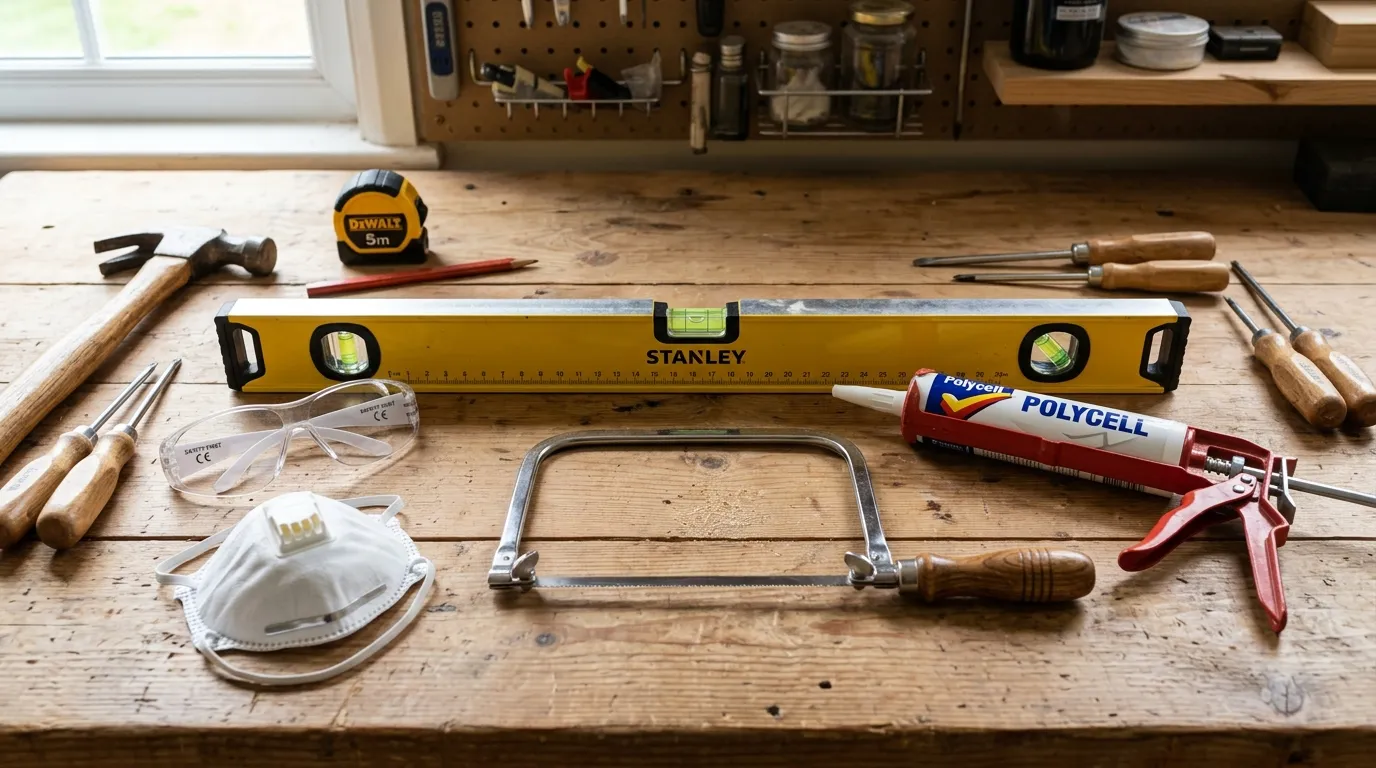
You’ll also want a tape measure, a level, a coping saw for tight corners, a caulk gun, and a putty knife. Don’t skip safety gear: glasses, ear protection, and a dust mask will keep you safe. A pencil and an angle finder should round out your kit.
B. Selecting Your Materials
Beyond the trim itself, you’ll need supporting materials. Choosing the right ones now prevents problems later, like peeling paint or loose corners. Your finished work will last if you follow quality basics.
1. Primed vs. Unprimed wood.
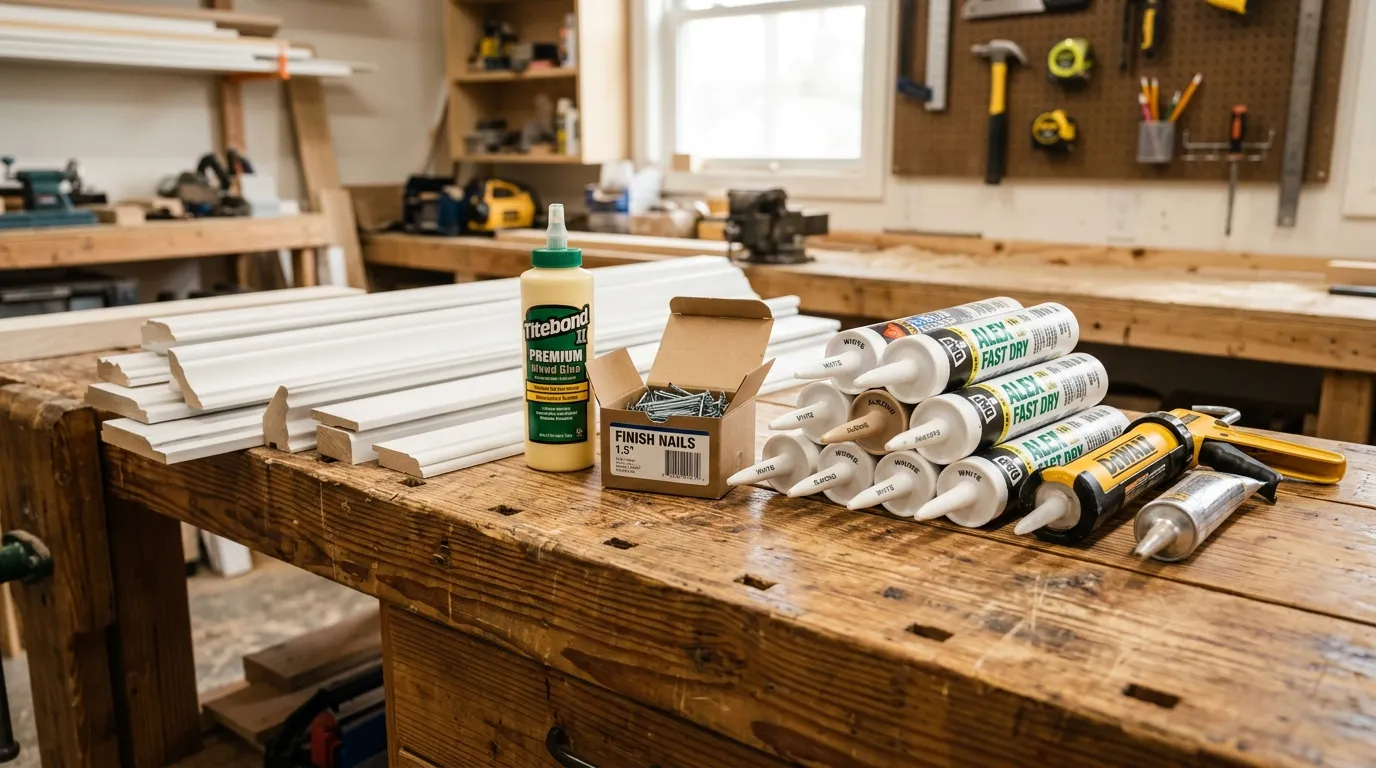
Primed trim comes with a base coat already applied, saving you a step and helping the paint stick better. Unprimed trim is cheaper but needs priming before painting. If you plan to paint your trim, a prime is the easy, time-saving choice.
Quick tip: For a stained wood look, choose unprimed, high-quality wood instead.
2. Adhesives and fasteners
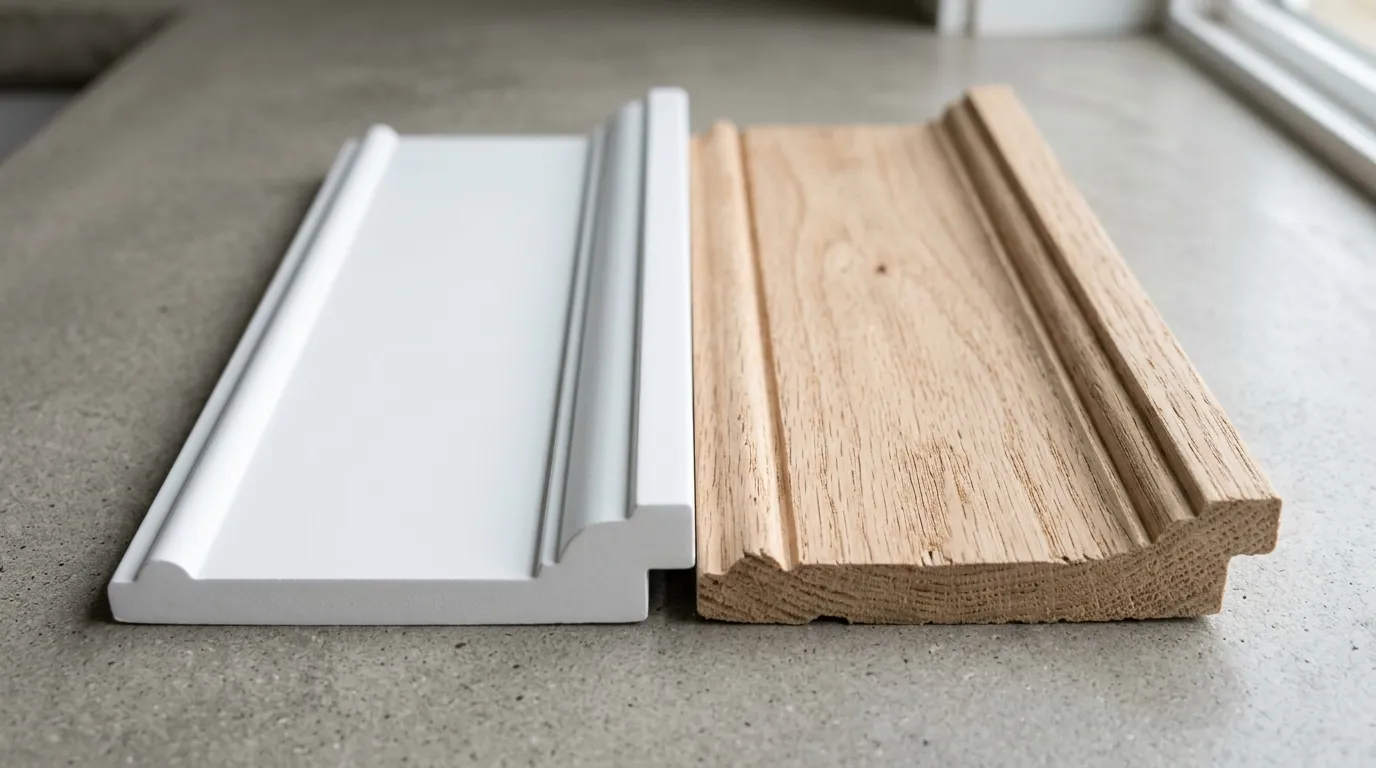
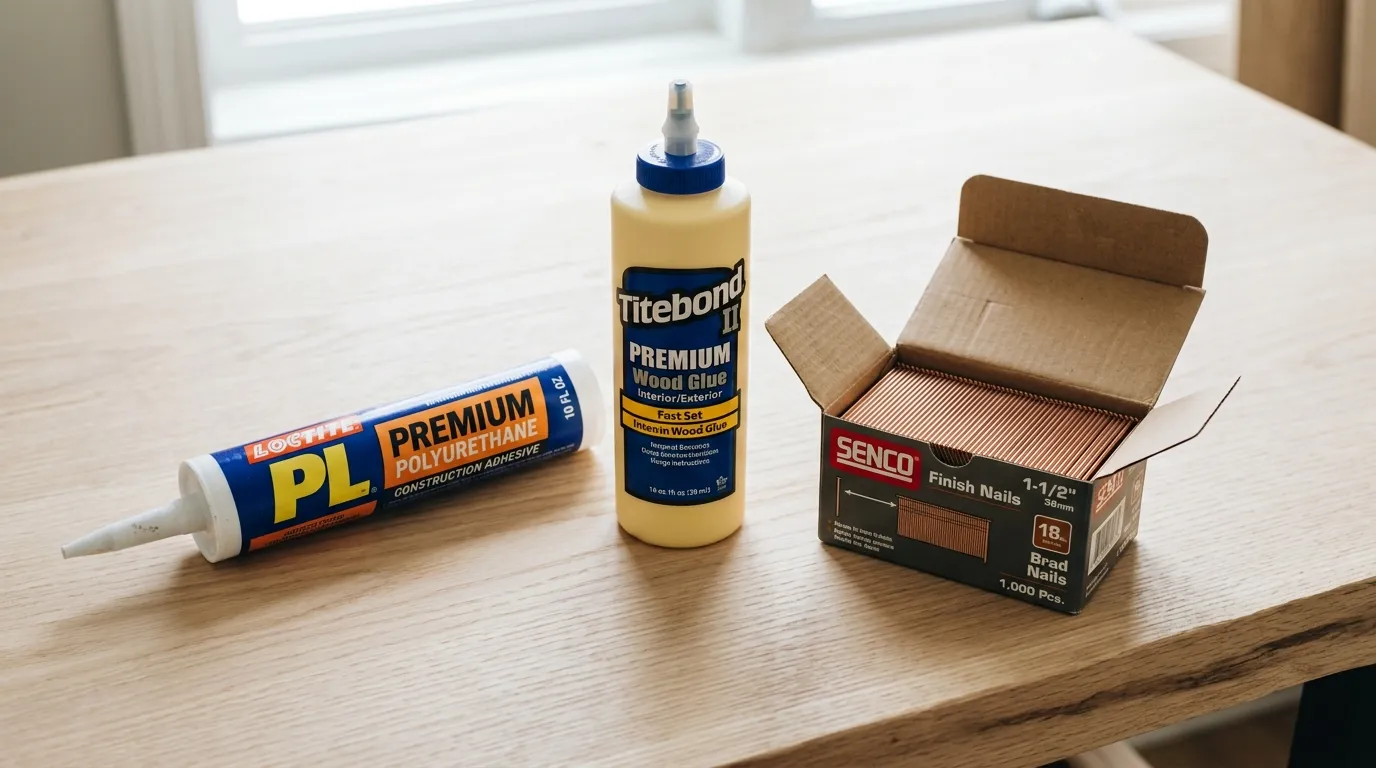
Strong joints need the right glue and nails. Construction adhesive holds trim to the wall, while finish nails lock it in place. Wood glue strengthens corner joints. Together, they keep your trim secure for years without gaps opening.
VI. Step-by-Step Installation Guide
Now we got hands-on. Installation is where your planning pays off. Take it slow, measure carefully, and follow each step in order. Patience leads to professional-looking results.
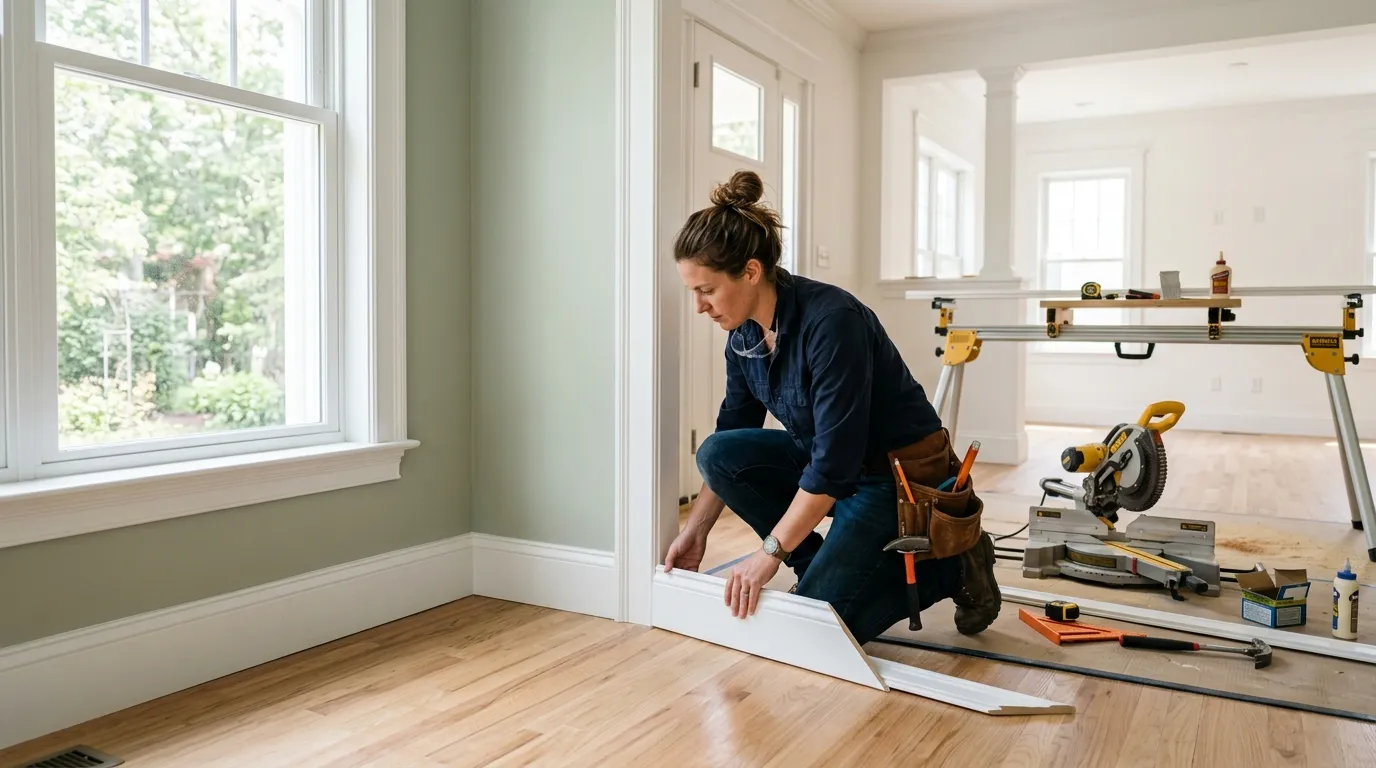
A. Preparing Your Walls
Good preparation makes everything easier. Trim looks best on clean, smooth, sturdy walls. Skipping this step can leave you with crooked trim and visible gaps. Spend some time here for a big payoff.

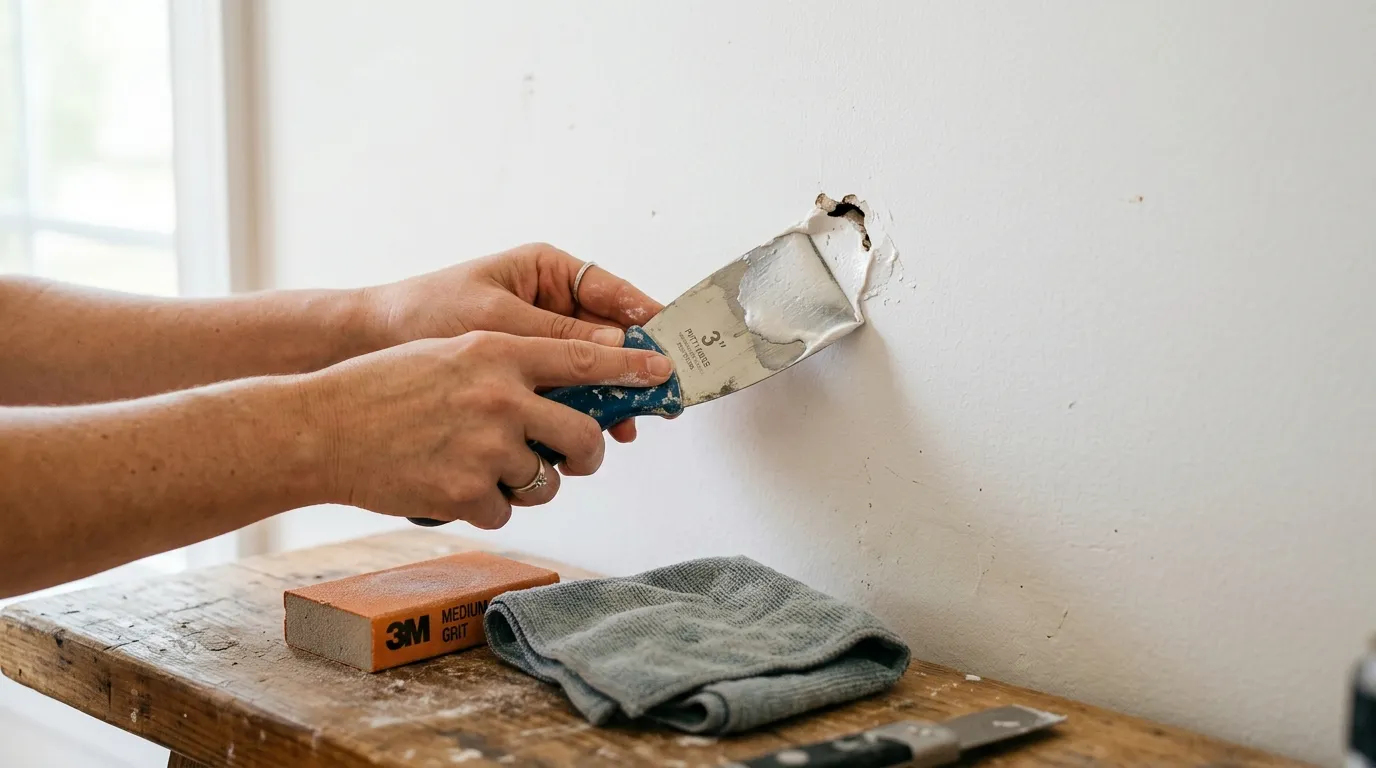
1. Cleaning and Repairing Surfaces
Wipe down walls to remove dust and grease so adhesive sticks well. Fill any holes or dents with spackle and sand them smooth. A flat, clean surface lets trim sit flush without awkward gaps.
2. Remove Old Trim (If Applicable)
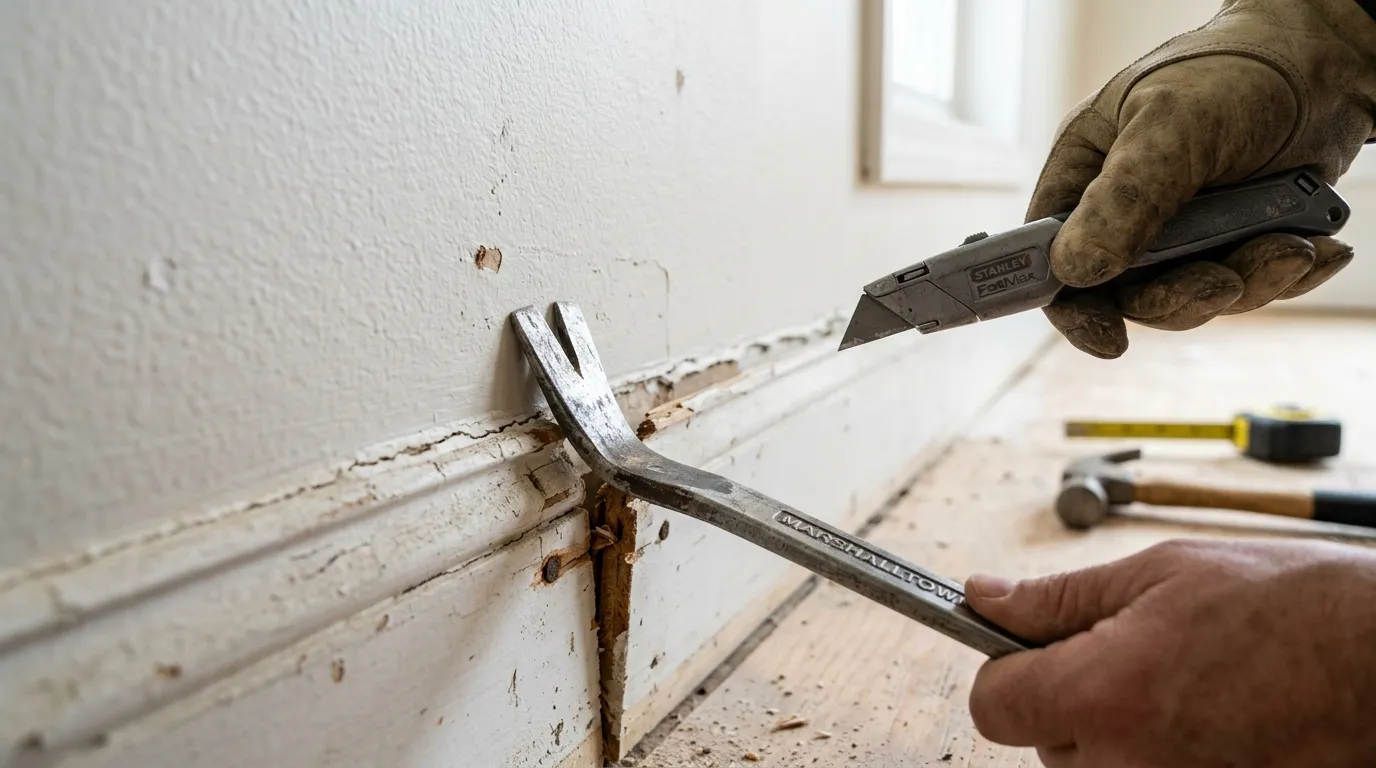
If you’re replacing existing trim, remove it gently. Slide a pry bar behind the trim and ease it off slowly to avoid damaging the wall. Pull out leftover nails and patch any holes left behind.
Quick tip: Score the caulk line with a utility knife first so the old trim can be removed cleanly.
B. Measuring and Cutting Crown Molding
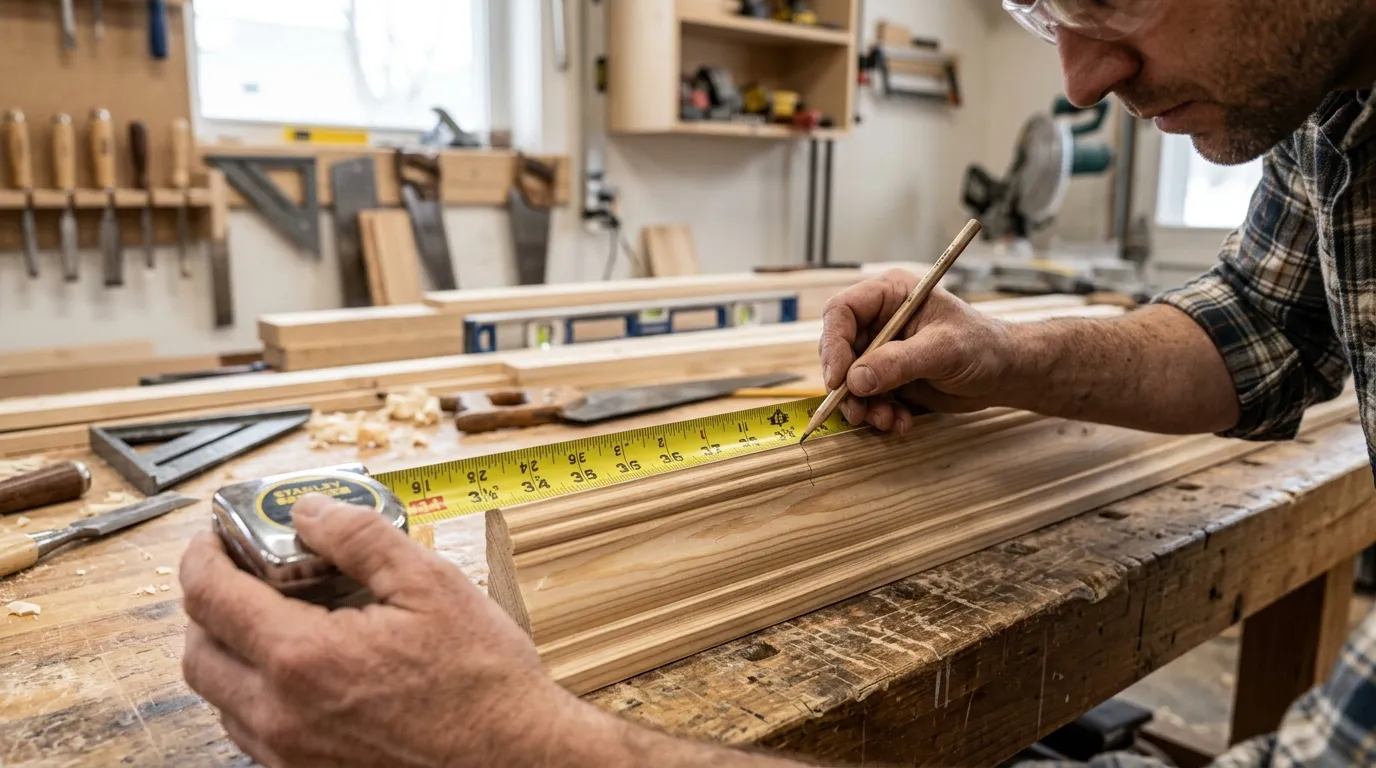
Crown molding is the trickiest part because it sits at an angle between wall and ceiling. Careful measuring and smart cutting make all the difference. Don’t rush through this stage.
1. Inside vs. Outside Corners: The Tricky Bits
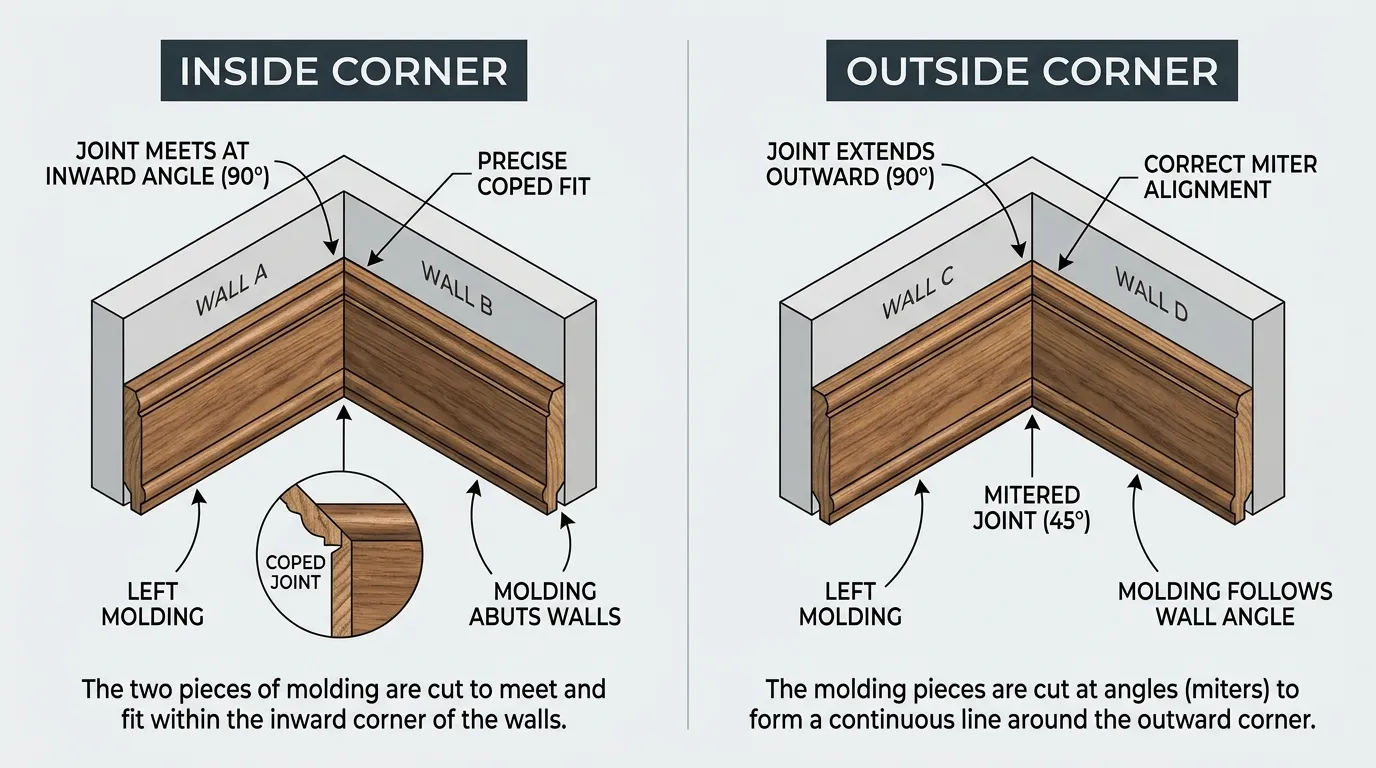
Inside corners turn into rooms, like where two walls meet in a corner. Outside corners turn outwards, like around a column. Each needs opposite angle cuts. Mislabeling them is the most common beginner mistake, so mark each piece clearly.
2. Test cuts and practice pieces
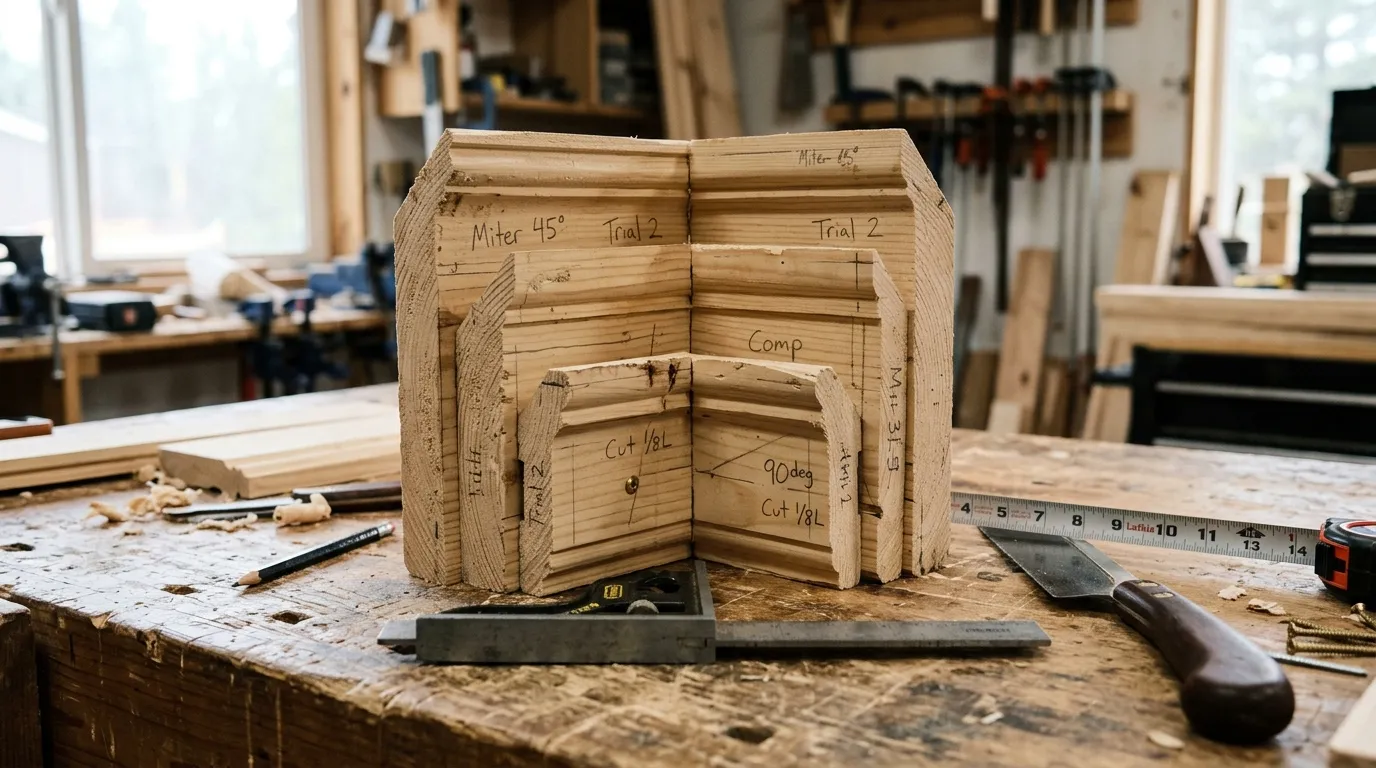
Before cutting a good molding, practice on scrap pieces. Crown molding angles can be confusing, and a few test cuts will build your confidence. Check how the pieces fit together in a corner before committing.
Real-world example: Many DIYers buy extra molding lengths to practice their corner cuts.
C. Installing Crown Molding
With your pieces cut, it’s time to put them up. Crown molding installation is a two-hand job, so having a helper or support blocks makes it easier. Work one wall at a time.

1. Nailing Techniques and Adhesives
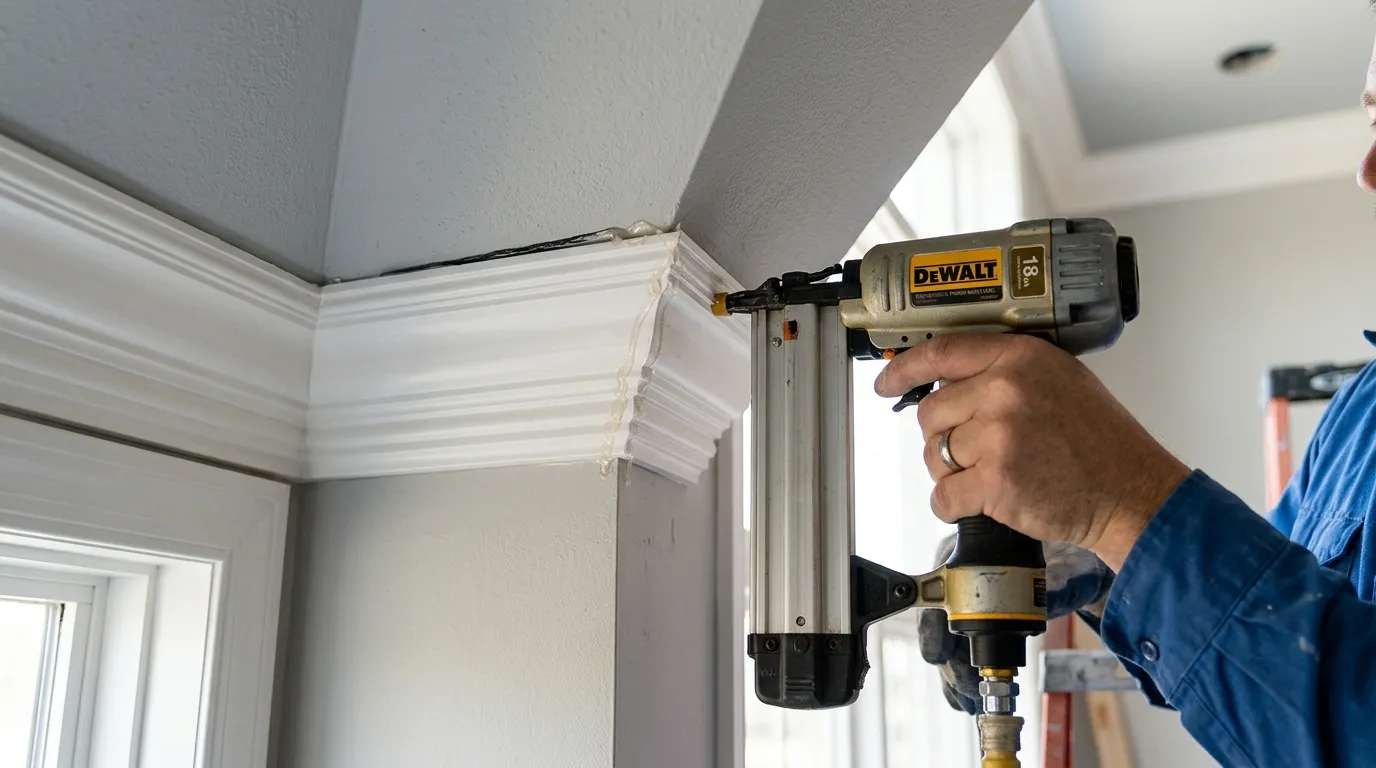
Apply a bead of construction adhesive to the back edges, then press the molding into place. Nail it to the ceiling joists and wall studs for a firm hold. Angle your nails to grip securely without splitting the trim.
2. Filling gaps and Sanding
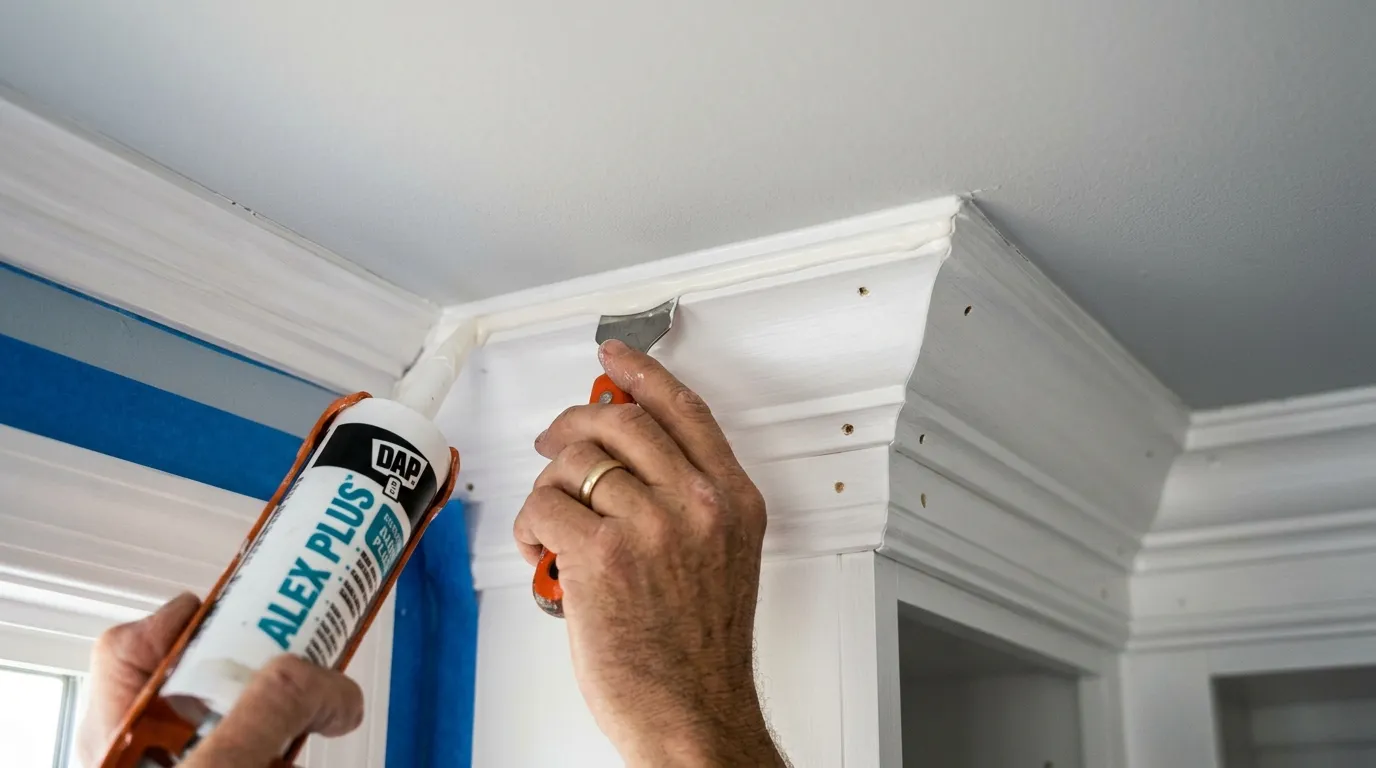
Once it’s lifted up, you may notice small gaps or uneven joints. Fill the gaps with caulk and use wood filler for nail holes. After it dries, sand everything smooth so the surface looks seamless and ready for paint.
D. Measuring and Cutting Baseboards
Baseboards are more forgiving than crown molding, making them an excellent place to build skills. Measure each wall, then cut corners to fit. Clean cuts lead to tight, attractive joints.
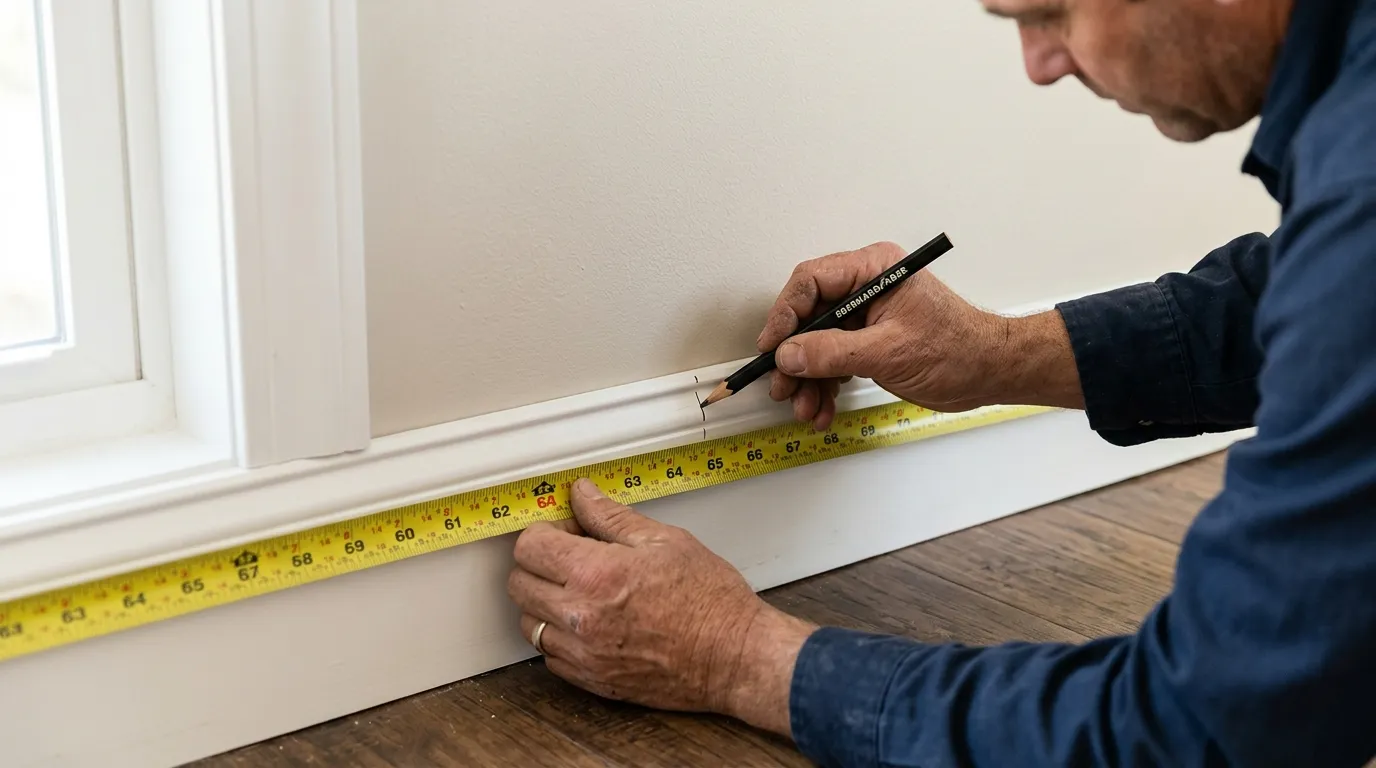
1. Simple miter cuts for Inside and Outside Corners
For many corners, a 45-degree miter cut works well. Two pieces cut at opposite 45s meet to form a clean 90-degree corner. Test the fit before nailing to make sure the angle is right.
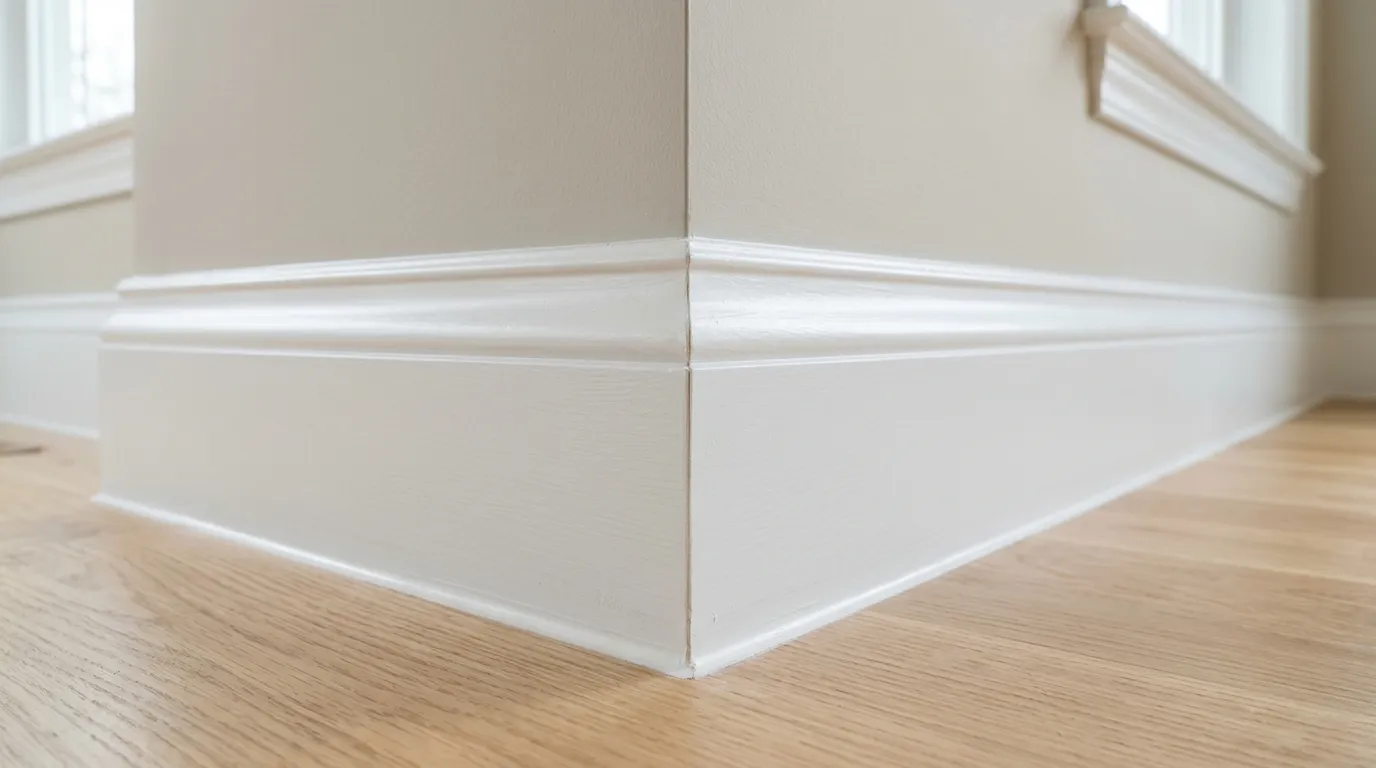
2. COPING Joints for Seamless Corners
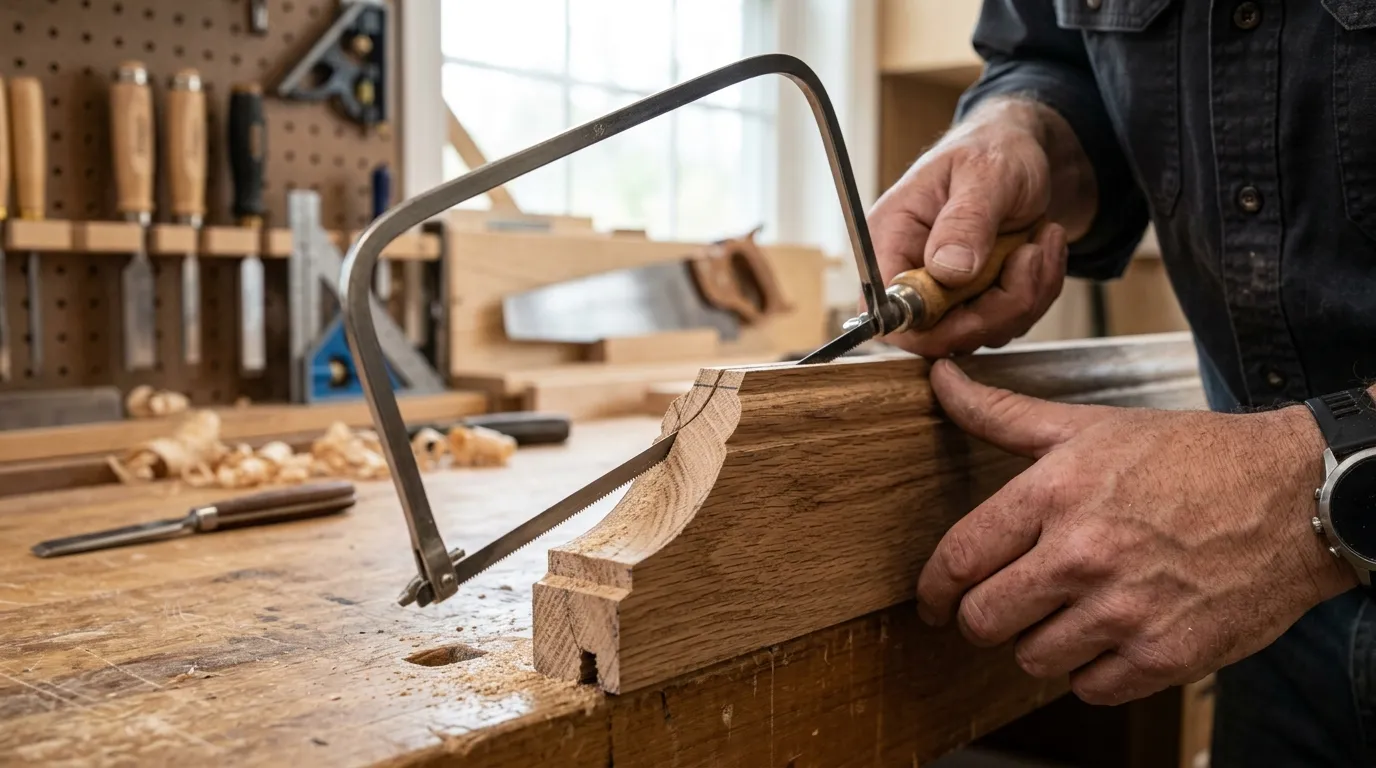
Coping is a pro technique for inside corners. You cut one piece straight against the wall, then shape the end of the second piece to match its profile exactly. Coped joints stay tight even if walls shift slightly, looking better than mitered joints.
Quick tip: A coping saw and patience are all you need to master this.
E. Installing Baseboards
Now fasten your baseboards in place. This step takes place quickly once your cuts are ready. Work along the wall, securing as you go for a solid, gap-free finish.
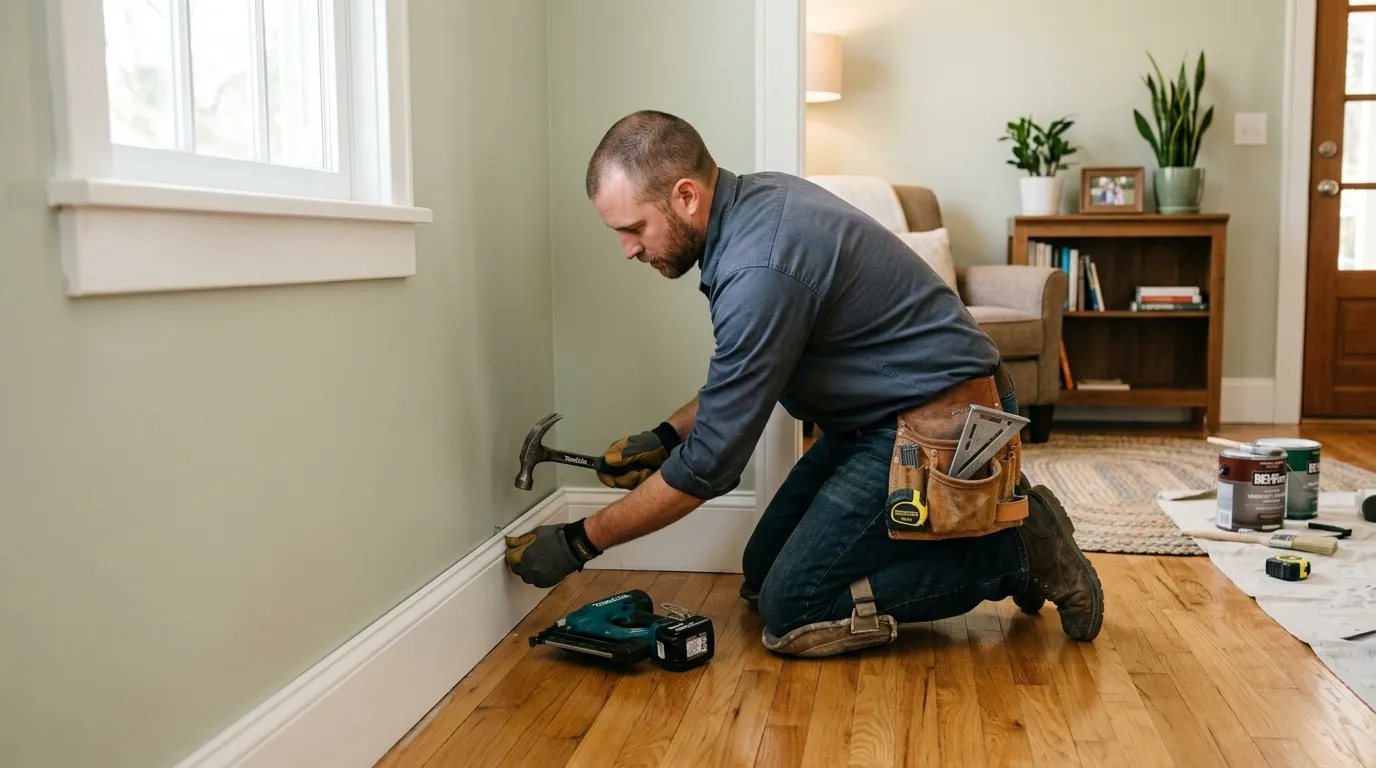
1. Securing to the Studs and Walls
Nail baseboards into wall studs for the strongest hold. Use a stud finder to locate them, then drive finish nails through the baseboard into the framing. For spots without studs, construction adhesive adds extra grip.

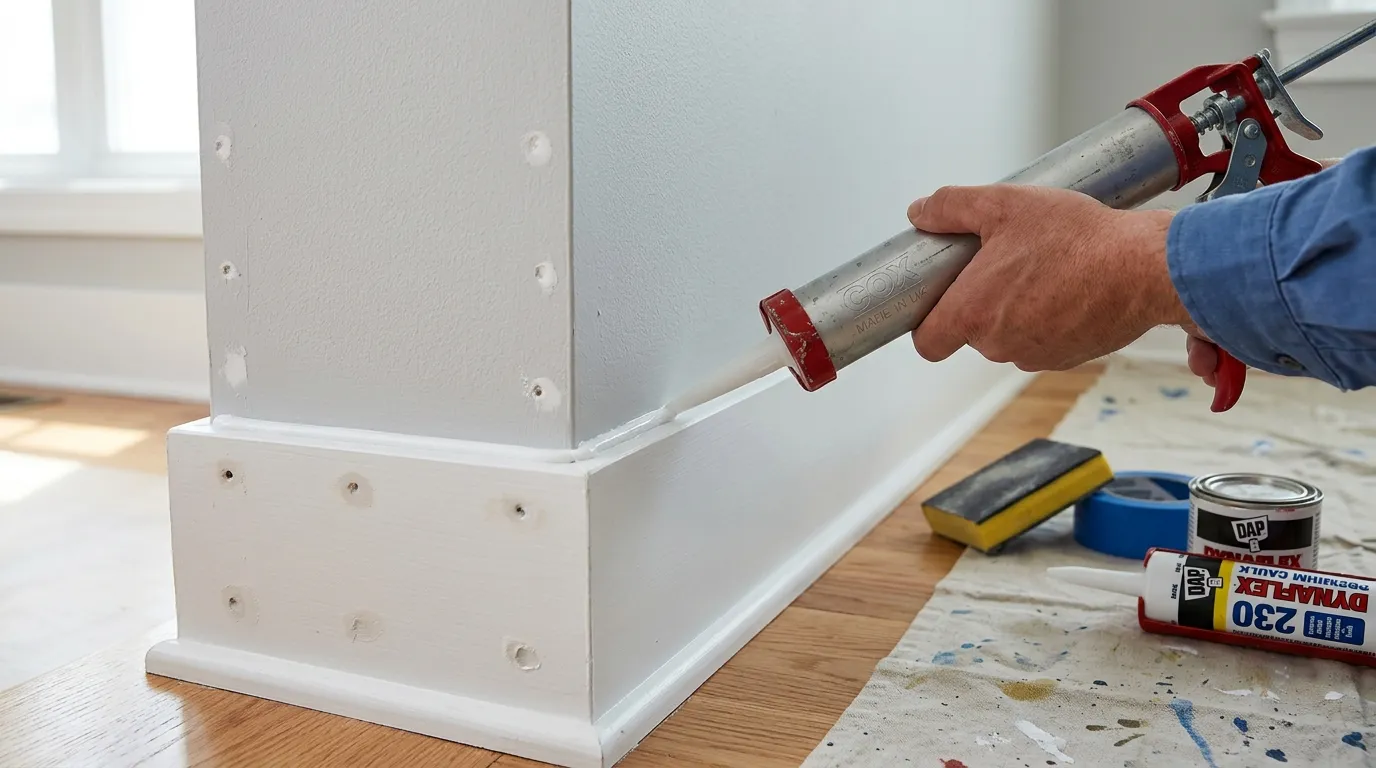
2. Finishing touches: Caulk and Fillers
Seal the top edge of the baseboard where it meets the wall with caulk for a smooth, finished line. Fill nail holes with wood filler, then sand once dry. These small steps differ between amateur and professional results.
VII. Finishing Your Custom Trim: The Polished Look
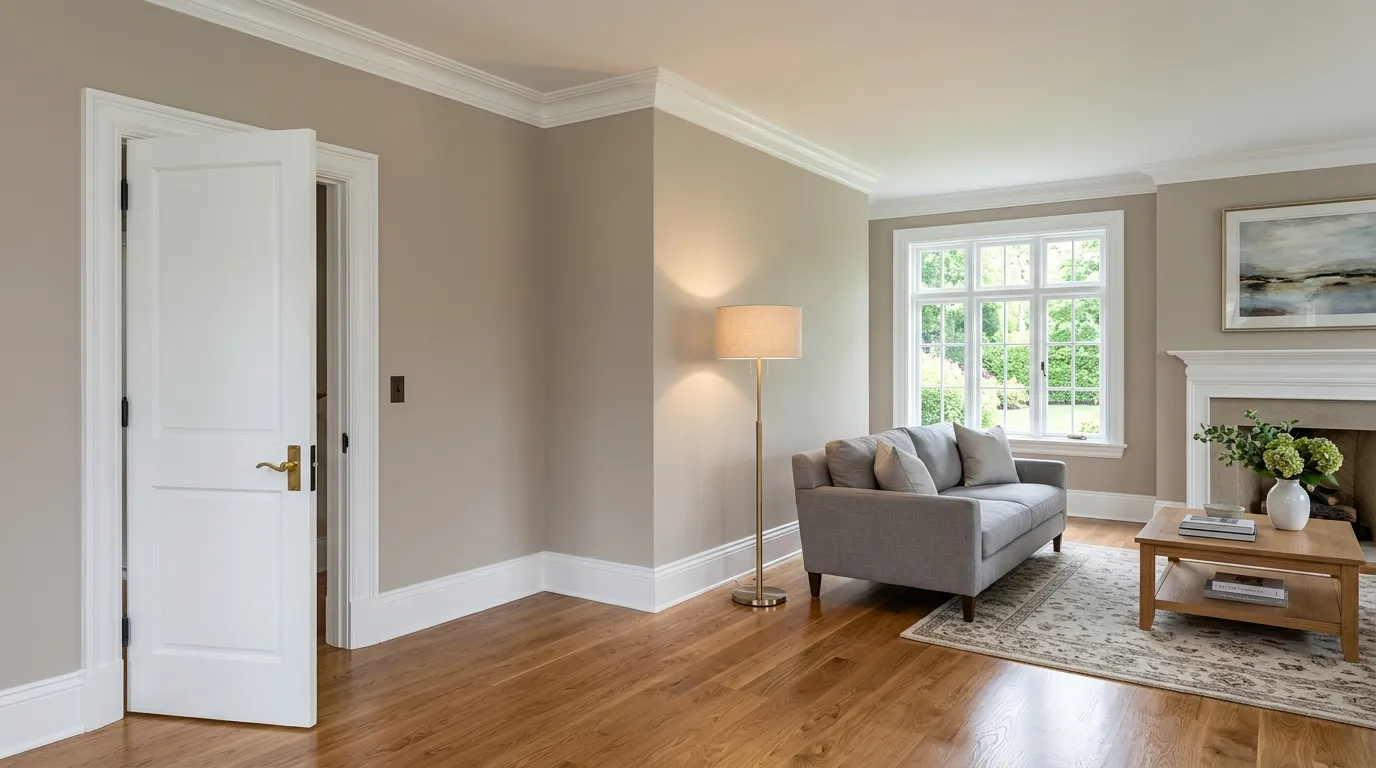
The finishing stage brings everything together. Paint, caulk, and filler turn raw, nailed-up trim into a flawless, custom feature. Don’t skip these steps; they’re what make your work shine.
A. Priming and Painting Your New Trim
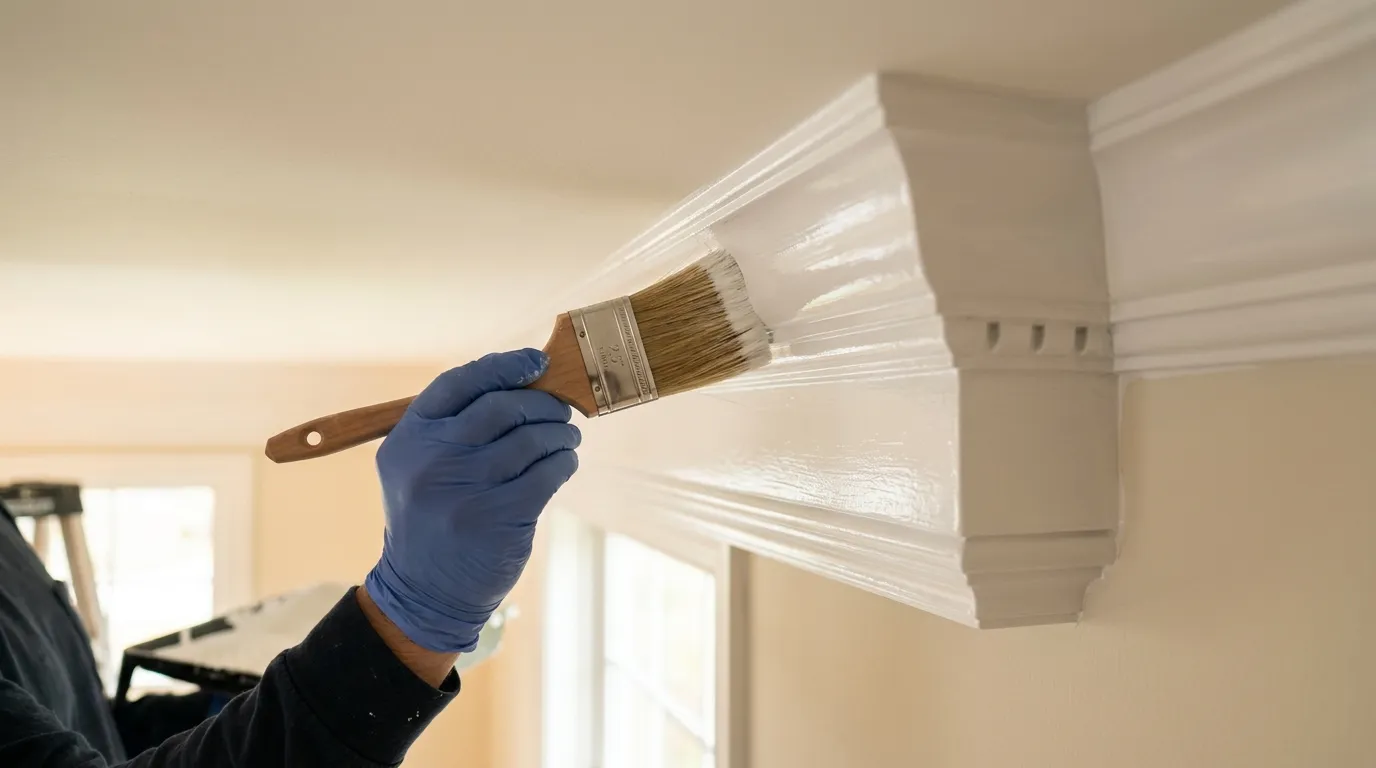
A well-done paint job protects your trim and gives it that crisp, clean look. Even primed trim needs a topcoat or two. Take your time for smooth, even coverage.
1. Choosing the Right Paint Finish
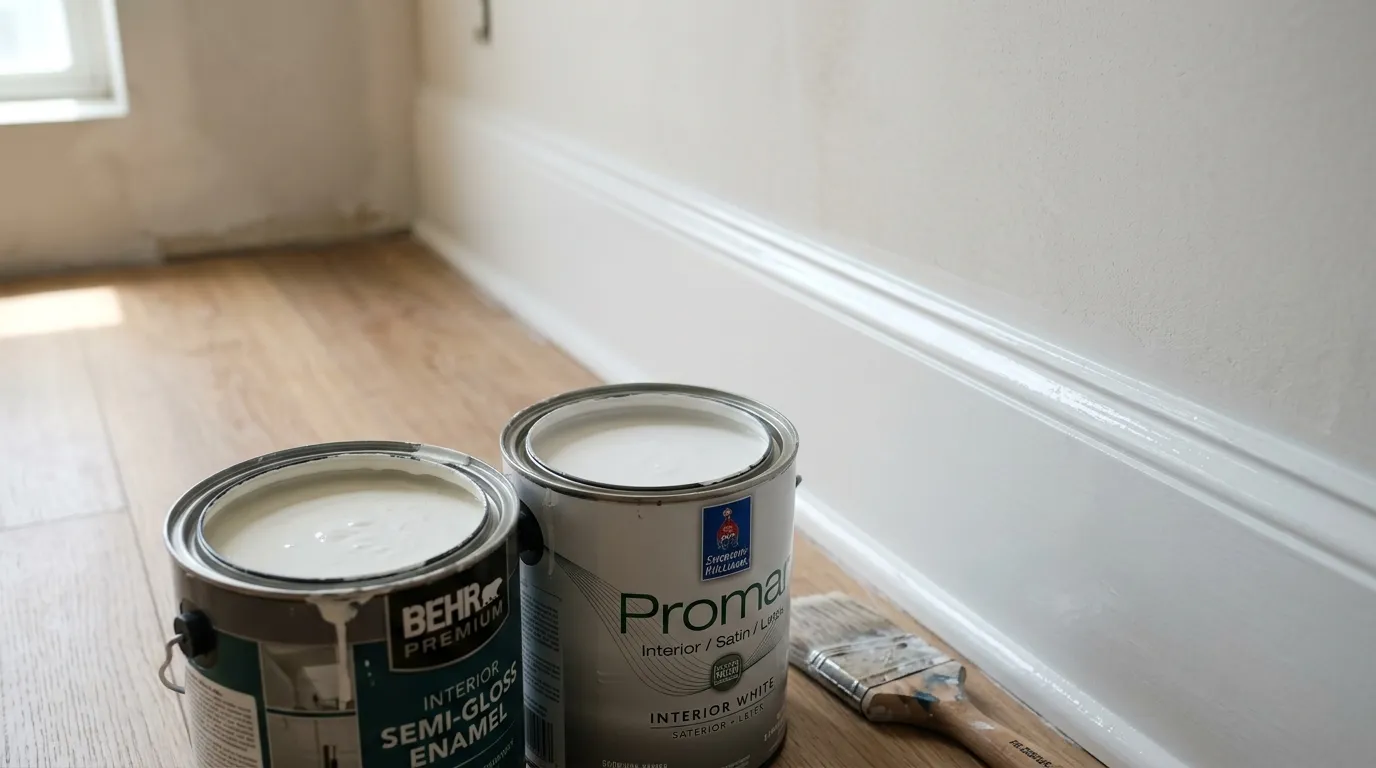
Trim usually looks stunning in semi-gloss or satin finish. These finishes resist scuffs, wipe clean easily, and reflect light for a polished feel. Flat finishes show dirt and damage more, so they’re less ideal for trim.
Quick tip: Semi-gloss is the classic choice for durable, easy-to-clean trim.
2. Techniques for a smooth finish
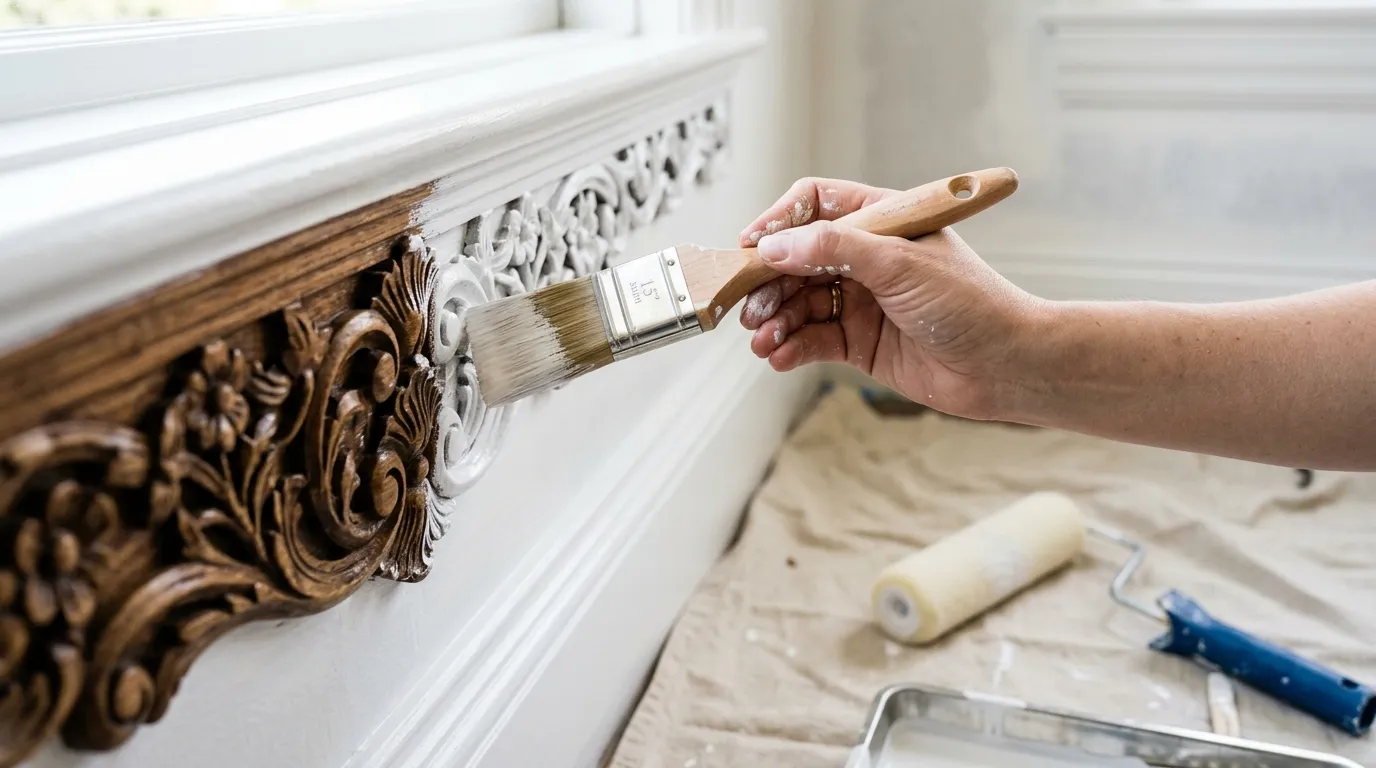
Use a high-quality angled brush for detailed areas and a small foam roller for flat sections. Apply thin coats and let each dry fully. Light sanding between coats removes brush marks and leaves a silky surface.
B. Caulk and Putty: The Secret to Perfection
Caulk and Putty are the unsung heroes of trim work. They hide gaps, holes, and imperfections that would otherwise reveal a DIY job. This step fakes a custom, built-in look.
1. Sealing Gaps for Professional Appearance
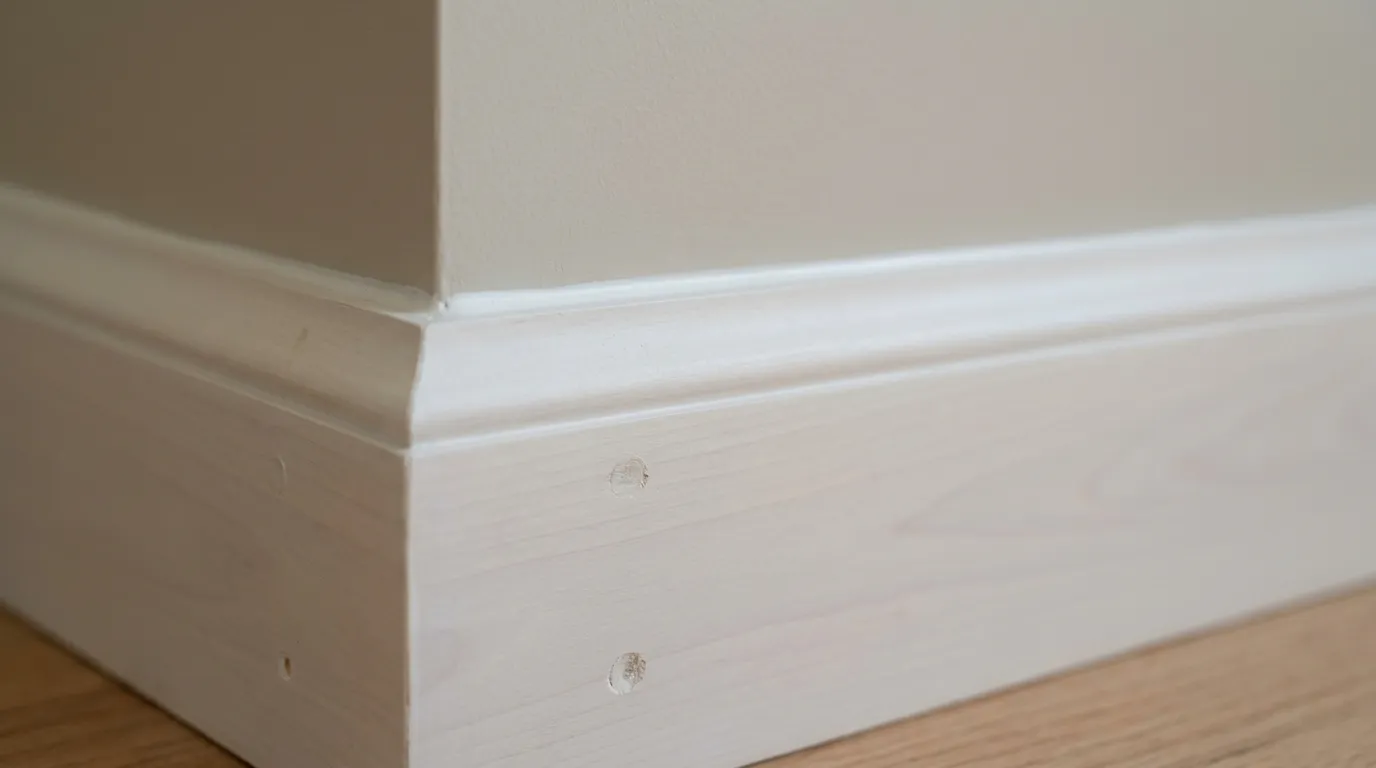
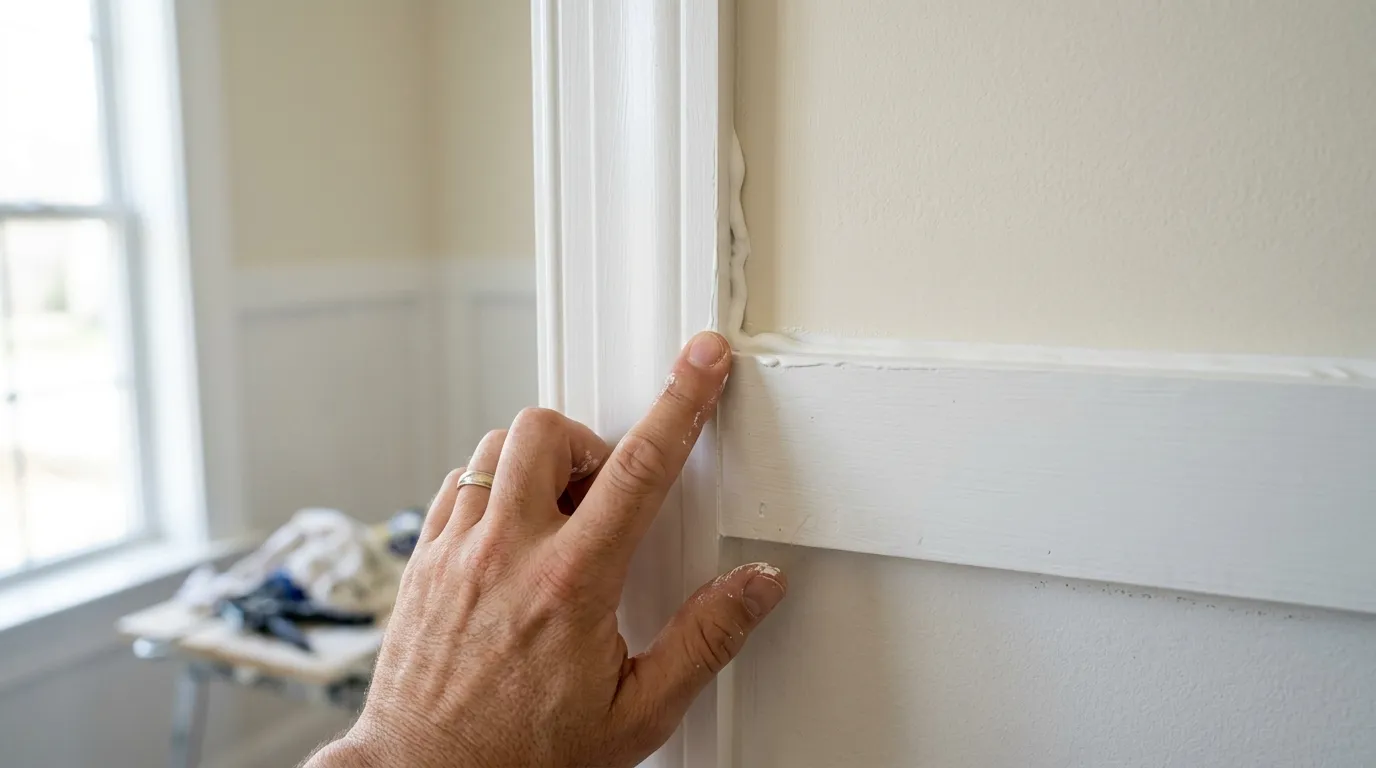
Walls are rarely perfectly straight, so small gaps between trim and wall are normal. Run a thin bead of paintable caulk along these seams, then smooth it with a wet finger. The gap vanishes, and the trim looks built right into the wall.
2. Filling Nail Holes for Flawless Surfaces
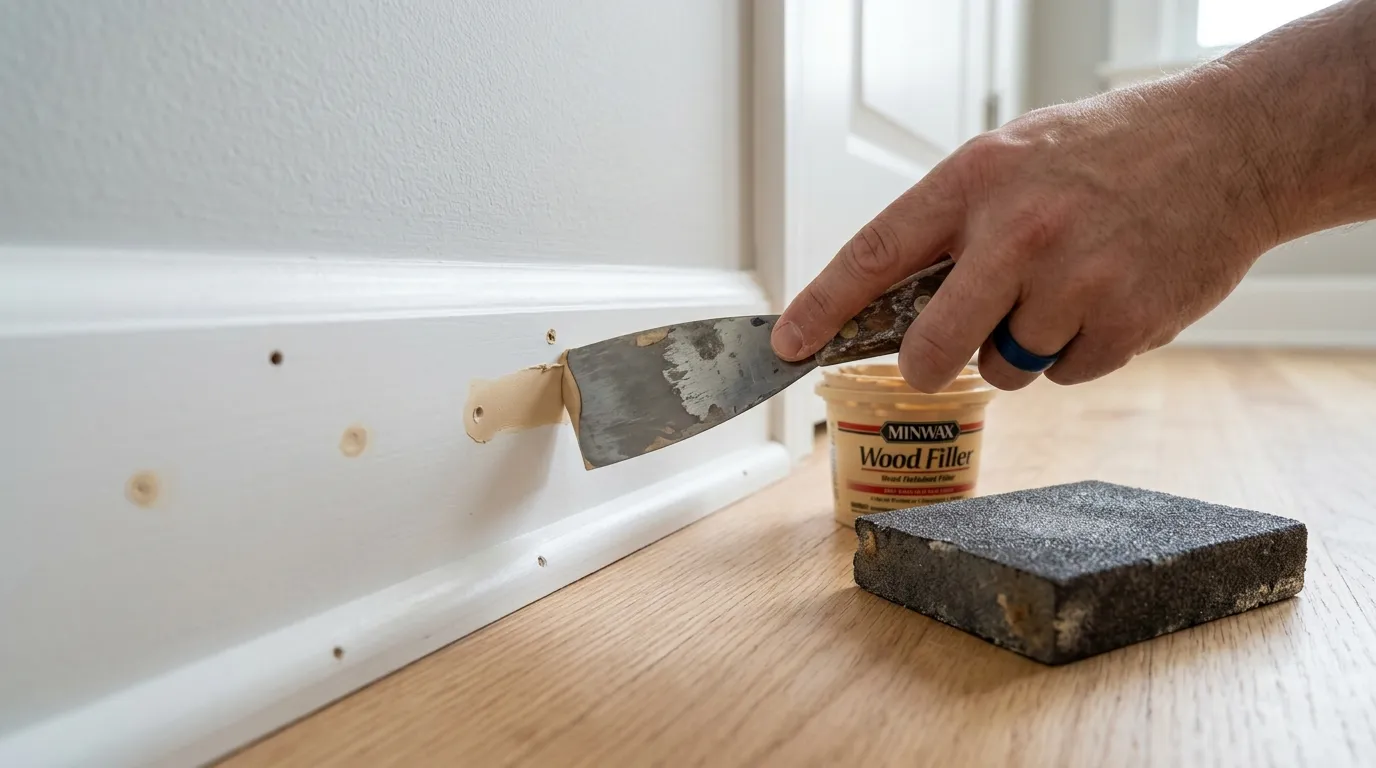
Every nail leaves a tiny hole. Press wood filler or putty into each one, wipe away the excess, and let it dry. The spot disappears completely with a quick sanding. Once painted, no one will ever know where the nails disappeared.
VIII. Advanced Techniques and Creative Ideas
Once you’ve mastered the basics, you can branch out. Trim isn’t just for ceilings and floors. With some creativity, it can transform doors, windows, and even whole walls These ideas will take your home to the next level.

A. Added trim to Doors and Windows
Doors and windows look richer with custom trim around them. Casings frame the opening and tie it into your room’s style. This upgrade is easier than crown molding and adds visual impact.
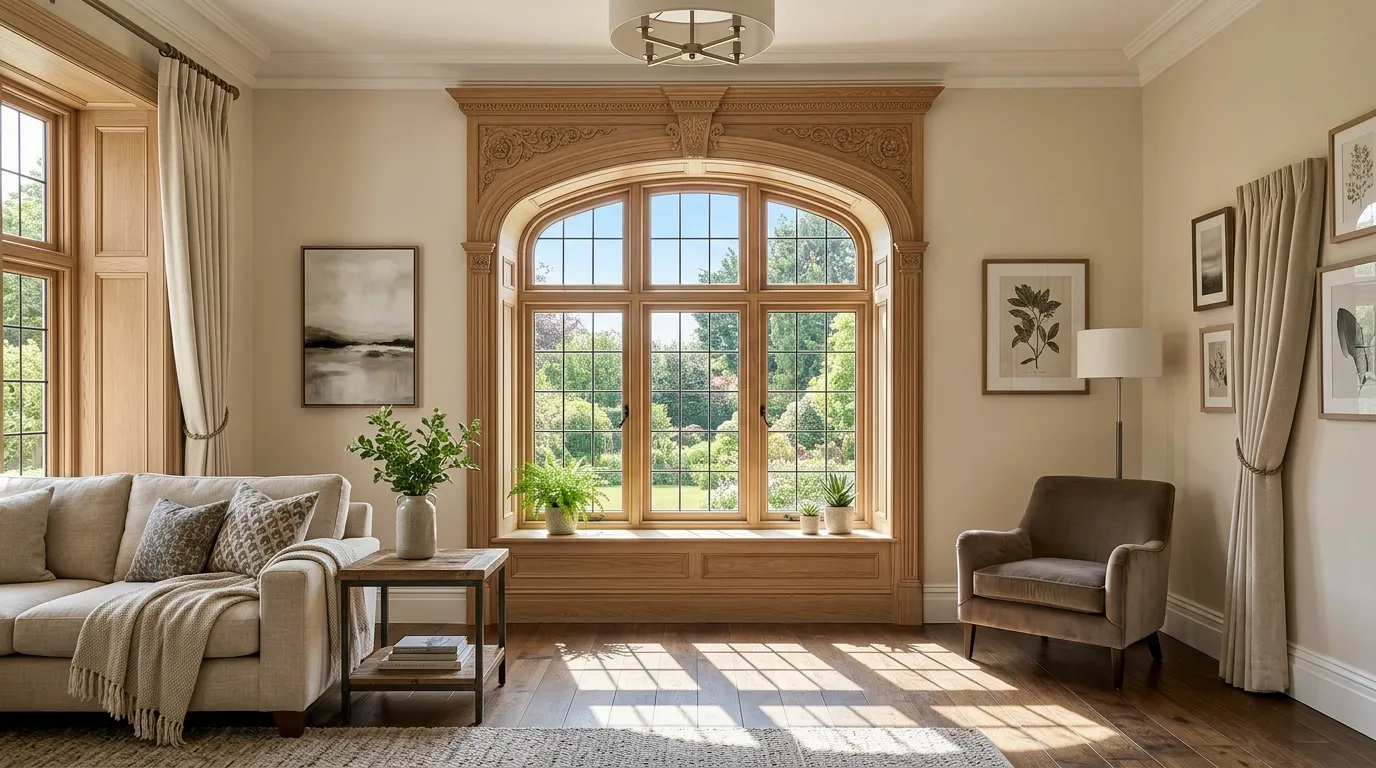
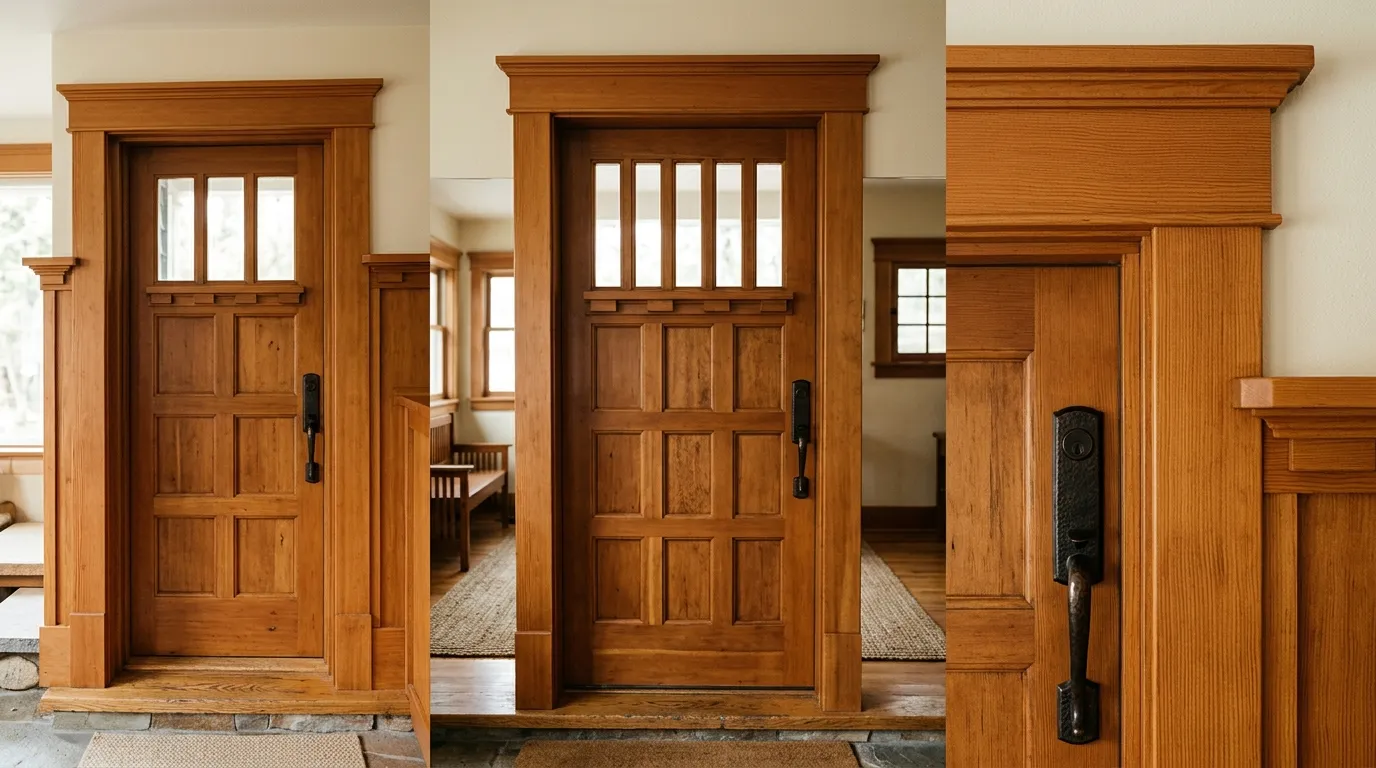
1. Casings and Headers
Casings are trim pieces that frame doors or windows. A header is a bold piece across the top that adds grandeur. Together, they make ordinary openings feel custom and substantial.
Real-world example: Adding a flat header above an interior door instantly upgrades a plain hallway.
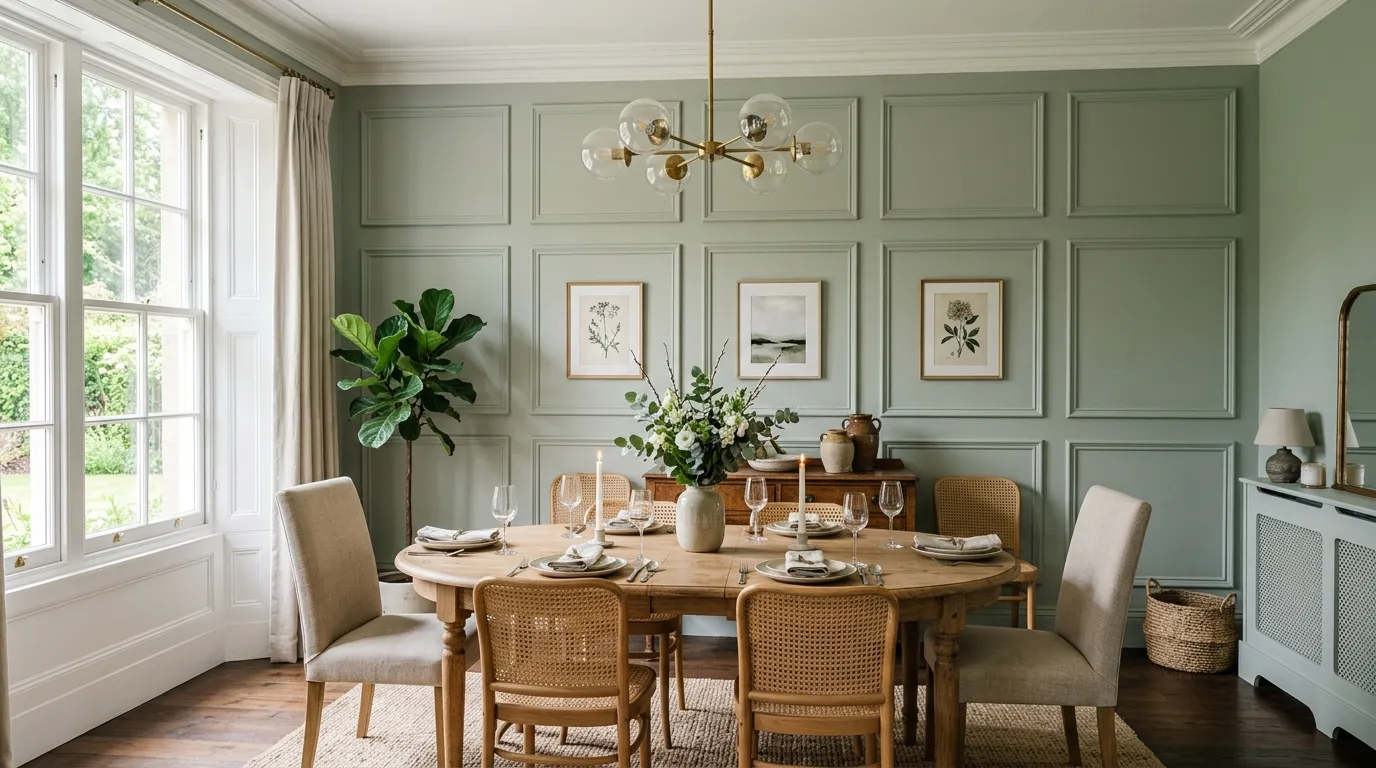
2. Picture Frame Molding
Picture frame molding uses small trim pieces arranged into rectangles on a wall. These framed boxes add classic elegance without cost. They’re favorites in dining rooms, hallways, and stairways.
B. Beyond Walls: Creative Trim Applications
Trim can do more than frame a room. Used creatively, it adds character to built-ins, nooks, and feature walls. These touches make your home feel thoughtfully designed and unique.
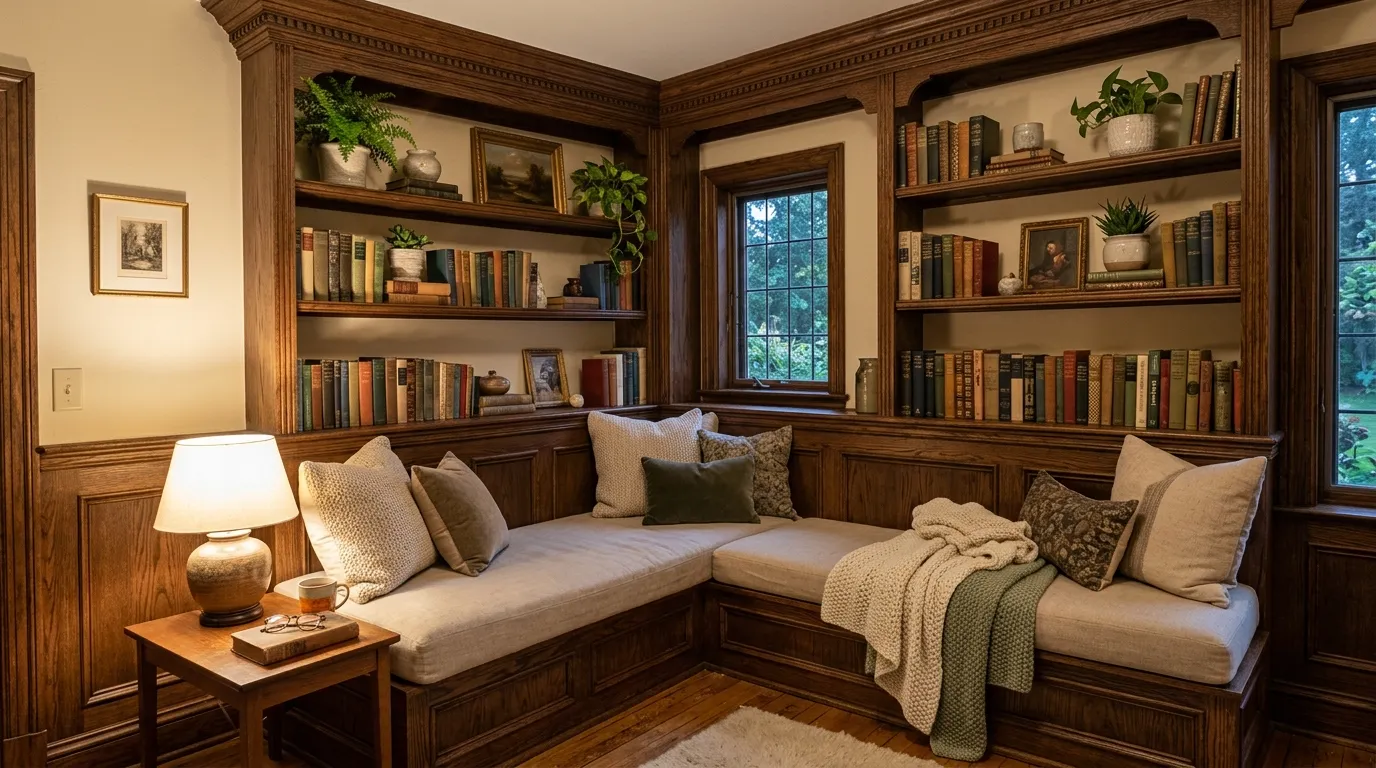
1. Built-in shelves and Nooks
Adding trim to built-in shelves or a reading nook makes them look permanent. A bit of molding around the edges hides rough seams and adds polish. The result feels like custom cabinetry.

Frequently Asked Questions
1. Crown molding aur baseboards upgrade karna itna important kyun hai custom look ke liye?
Crown molding aur baseboards ek room ke “finishing touches” hote hain jo bohot underrated hain lekin overall design par bohot bada impact dalte hain. Builder-grade homes mein usually thin, basic moldings hoti hain jo room ko generic aur mass-produced feel deti hain. Jab aap inhe wider, more detailed moldings se replace karte hain, to room instantly ek custom-built, high-end look achieve kar leta hai jaise koi professional architect ya designer involved raha ho. Yeh ek relatively affordable upgrade hai jo home ki overall value aur aesthetic dono ko significantly improve kar deta hai.
2. Apne room ke liye sahi molding size aur style kaise choose karein?
Molding ka size room ki ceiling height ke hisaab se choose karna chahiye standard 8-foot ceilings ke liye 3-5 inch crown molding sahi rehti hai, jabke 9-10 foot ya usse zyada high ceilings mein 5-7 inch ya usse bada molding use kiya ja sakta hai taake proportion sahi rahe. Style ke liye, agar ghar traditional ya vintage hai to ornate, multi-piece crown molding achhi lagti hai; agar ghar modern ya minimalist hai to simple, clean-lined coved ya square-profile molding better suit karti hai. Baseboards bhi crown molding se coordinate karni chahiye dono ek hi design language follow karein taake room cohesive lage.
3. Crown molding install karne ke liye kaunse materials best hote hain?
Sabse common materials hain: solid wood (jo premium aur most authentic lagta hai lekin expensive hota hai), MDF (medium-density fiberboard, jo affordable, paint-friendly aur most popular choice hai DIY projects ke liye), aur polyurethane foam moldings (jo lightweight, install karne mein easy, aur moisture-resistant hote hain, is liye bathrooms ya humid areas ke liye achhe hain). Beginners ke liye MDF ya polyurethane recommend kiya jaata hai kyunki yeh cut karna, install karna aur paint karna easier hota hai compared to solid wood, aur yeh warp ya crack bhi kam hote hain.
4. Kya crown molding aur baseboards khud (DIY) install kar sakte hain, ya professional zaroori hai?
Basic straight walls ke liye DIY install possible hai agar aapke paas sahi tools hon jaise miter saw (corner angles cut karne ke liye), stud finder, nail gun, aur caulk gun finishing ke liye. Corners cut karna (especially inside aur outside corners) sabse tricky part hota hai aur yahan beginners galtiyan karte hain. Agar room mein complex angles, curved walls, ya high ceilings hain jahan scaffolding ki zaroorat ho, to professional installer hire karna better hai taake clean, precise finish mile. Overall, average DIY-savvy homeowner ke liye yeh ek weekend project ho sakta hai agar room simple hai.
5. Installation process ke basic steps kya hain?
Sabse pehle room ki measurements lein aur molding ki required length calculate karein (thoda extra add karein waste ke liye). Phir molding pieces ko miter saw se sahi angles par cut karein corners ke liye typically 45-degree cuts use hote hain. Molding ko wall studs mein nail gun se secure karein, ya adhesive use karein lightweight materials ke liye. Har joint aur nail hole ko wood filler ya caulk se fill karein taake seamless finish mile. Aakhir mein, sab kuch sand karein aur paint ya stain karein usually semi-gloss ya satin white paint sabse popular choice hai crown molding aur baseboards dono ke liye kyunki yeh clean aur crisp lagta hai.
6. Baseboards ko upgrade karte waqt kin common mistakes se bachna chahiye?
Sabse common mistake hai wrong height ya proportion choose karna bohot thin baseboards bade rooms mein lost lag jaate hain, jabke bohot tall baseboards chhote rooms mein overwhelming lag sakte hain. Doosri mistake hai gaps aur seams ko properly caulk na karna, jisse finished look rough aur unprofessional lagta hai. Teesri mistake hai floor ke against tight fit na hona agar floor uneven hai to baseboard ke neeche gaps reh jaate hain jo baad mein dikhte hain. Aakhir mein, paint finish ka wrong choose karna bhi issue create karta hai matte finish dirt aur scuffs jaldi dikhata hai, is liye semi-gloss ya satin zyada practical hota hai high-traffic areas ke liye.
7. Budget mein crown molding aur baseboards kaise upgrade karein?
Poore ghar mein ek saath karne ke bajaye, ek time par ek room upgrade karein taake cost manageable rahe. Polyurethane ya MDF moldings solid wood ke comparison mein bohot affordable hote hain aur look mein bhi close hote hain jab paint kiya jaaye. Pre-primed moldings kharidna time aur paint dono save karta hai. Tools bhi agar ghar mein pehle se nahi hain, to hardware store se rent kiye ja sakte hain instead of kharidne ke, especially miter saw jo occasional use ke liye hi chahiye hota hai. DIY karna khud sabse bada cost-saving factor hai kyunki labor charges professional installation ka bohot bada portion hota hai.