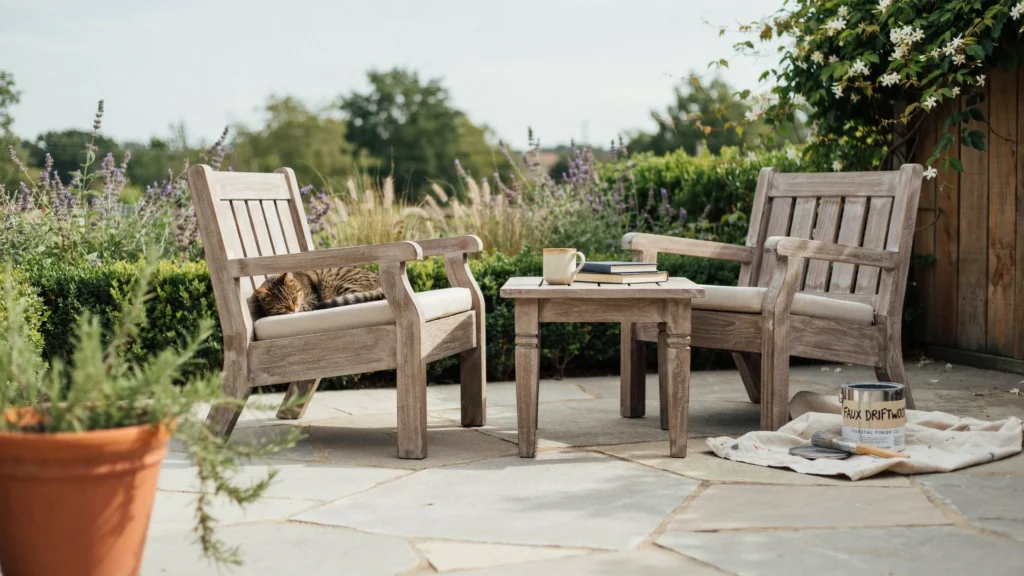
An easy DIY faux driftwood finish for outdoor furniture is a painting technique that mimics the weathered, silvery gray look of natural driftwood. To achieve it, clean and sand your furniture, apply a gray base coat, dry brush layers of white and brown, add texture with a wire brush, then seal it with an outdoor protectant. The whole project takes a weekend and costs under $50.
Old patio chairs and tired wooden tables don’t have to head to the landfill. With a few cans of paint and an afternoon of effort, you can transform them into pieces that look like they washed up on a beach after years at sea. The faux driftwood finish is one of the easiest and most forgiving DIY furniture techniques out there, which makes it perfect for beginners.
This guide walks you through everything you need from the exact materials to buy, to the step-by-step layering process, to the small tricks that make the finish look believable instead of obviously painted. You’ll also learn how to maintain your furniture, dodge common mistakes, and understand why upcycling beats buying new.
By the end, you’ll have the confidence to grab a sad looking bench and turn it into a coastal showpiece. Let’s get into it.
What Is a Faux Driftwood Finish?
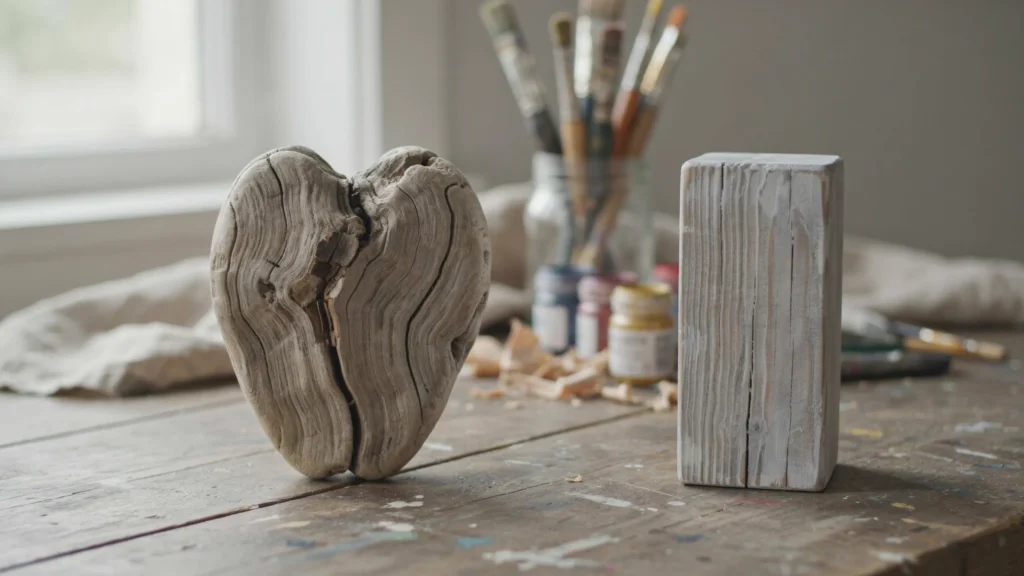
A faux driftwood finish is a decorative paint technique that recreates the appearance of natural driftwood wood that has been bleached by the sun, smoothed by water, and worn into soft gray and silver tones. Instead of waiting years for nature to do the work, you layer paint and use simple tools to fake that aged, beachy character in a single weekend.
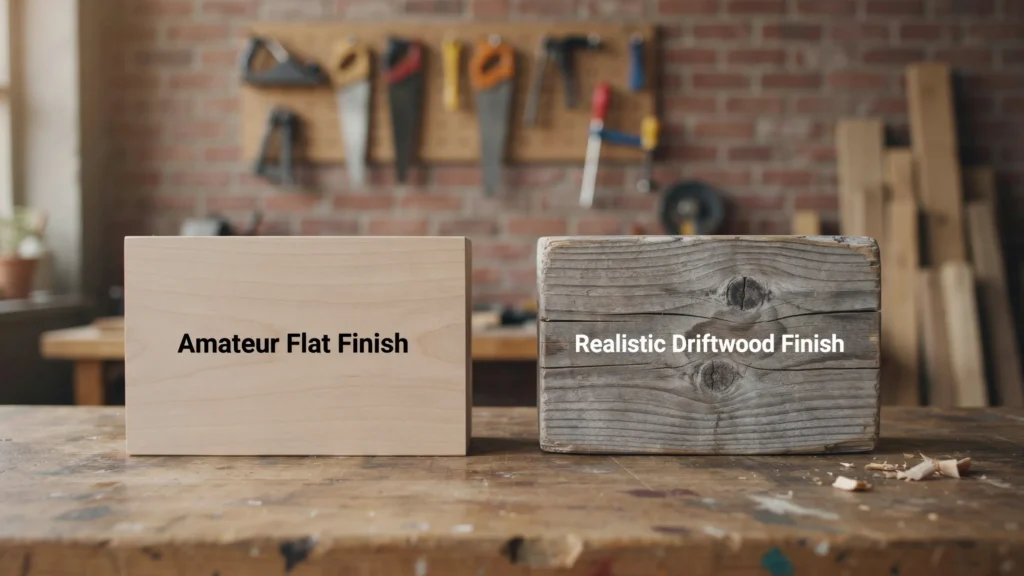
The look is defined by a few key features: a muted gray brown color palette, visible wood grain, subtle streaks of white and tan, and a slightly rough, textured surface. When done well, people will assume your furniture has spent a decade by the ocean.
Why Choose Faux Driftwood for Outdoor Furniture?
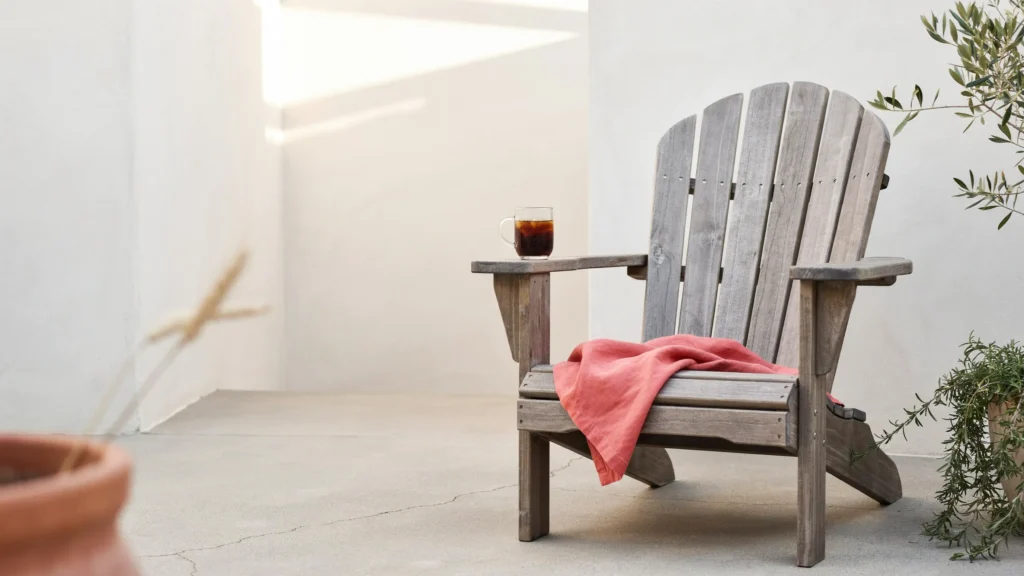
Faux driftwood works beautifully outdoors for practical and visual reasons. The gray, weathered tones hide dirt, sun fading, and minor wear far better than bold or glossy paint. Choose this finish if you want furniture that looks intentionally rustic and ages gracefully rather than showing every scratch.
It also fits almost any setting. A faux driftwood Adirondack chair looks at home on a beach house deck, a country porch, or a modern minimalist patio. The neutral palette pairs with greenery, bright cushions, and stone or concrete surfaces without clashing.
Best of all, it’s budget friendly. You can refresh an entire patio set for the price of one new chair.
What Materials and Tools Do You Need?
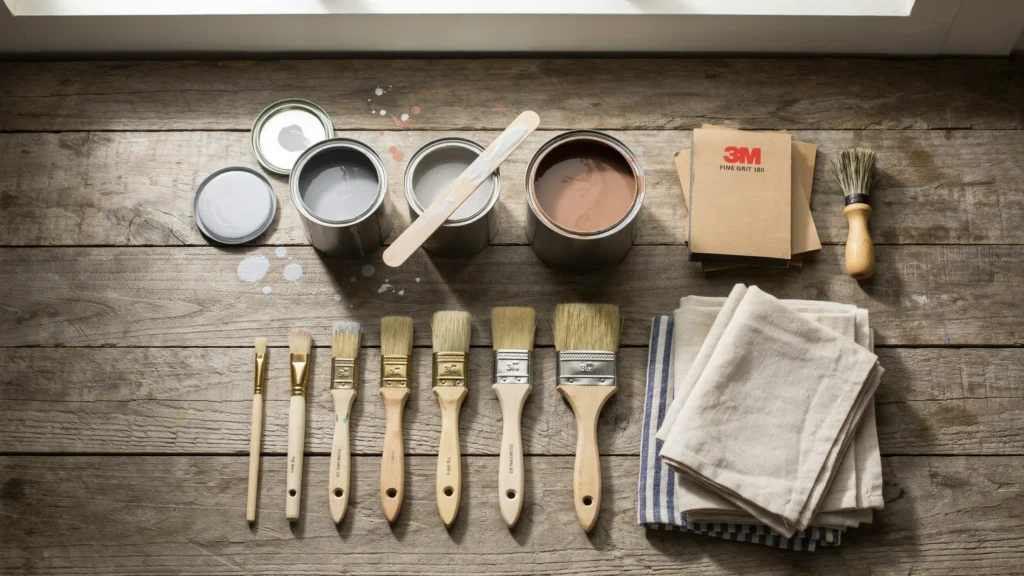
Before you start, gather everything in one place. Running to the hardware store mid project is the fastest way to lose momentum. Here’s what to collect, sorted into clear categories.
Paints and Finishes
- Gray base paint (exterior latex, flat or matte finish)
- White paint (for dry brushing highlights)
- Brown or taupe paint (for warm undertones and depth)
- Exterior sealer or polyurethane (water based, UV resistant)
Brushes and Applicators
- A wide, flat brush for the base coat
- A stiff bristle or chip brush for dry brushing
- A foam brush for the sealer
- Clean rags for wiping and blending
Prep and Texture Tools
- Medium grit sandpaper (120) and fine grit (220)
- A wire brush (for adding grain texture)
- A bucket of soapy water and a sponge
- Painter’s tape and a drop cloth
For best results, use exterior grade products on every layer. Indoor paints break down quickly in the sun and rain, which defeats the purpose of all your hard work.
Step-by-Step Guide to Achieving a Faux Driftwood Finish
Follow these five steps in order. Each one builds on the last, so don’t skip ahead especially the prep work.
Step 1: Prepare Your Furniture
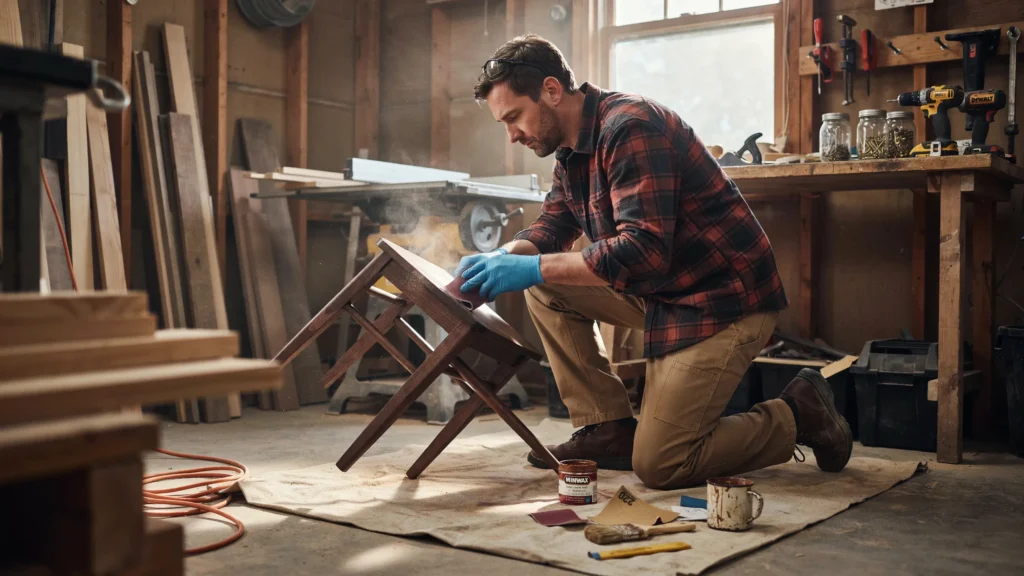
Start by cleaning the piece thoroughly. Wipe it down with soapy water to remove dirt, grime, and old residue, then let it dry completely. Next, sand the entire surface with 120 grit sandpaper to remove any old finish and rough up the wood so paint sticks better. Wipe away the dust with a dry rag before moving on.
Good prep is the difference between a finish that lasts years and one that peels by next summer.
Step 2: Apply the Base Coat
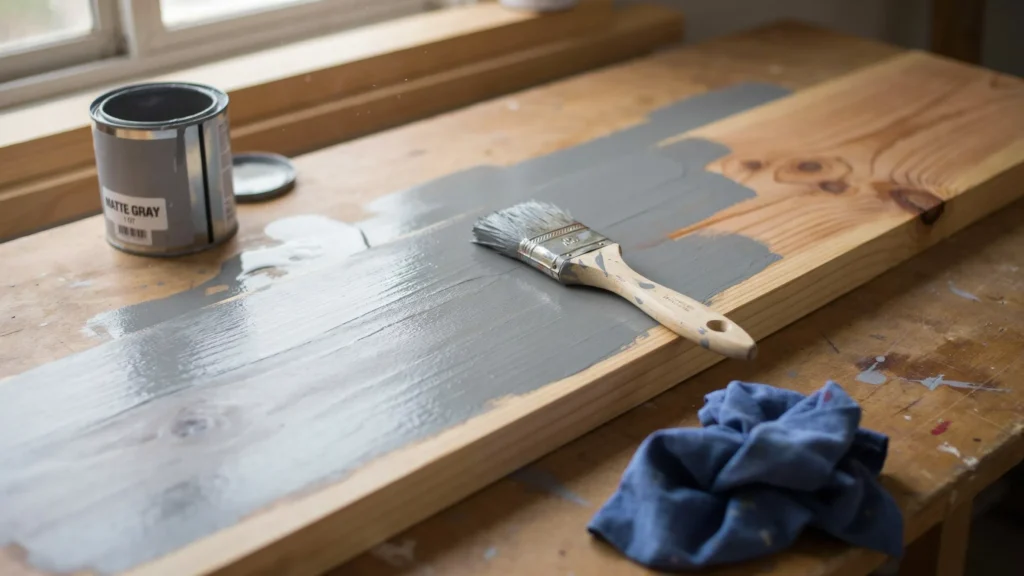
Brush on an even layer of gray paint across the whole piece. This is your foundation, so cover every spot, but don’t worry about perfection. Let it dry fully usually two to four hours, depending on humidity. If the wood grain still shows through, that’s fine; it adds to the natural look.
For a more weathered base, water down the gray paint slightly so it soaks into the grain like a stain.
Step 3: Layer Colors for the Driftwood Effect
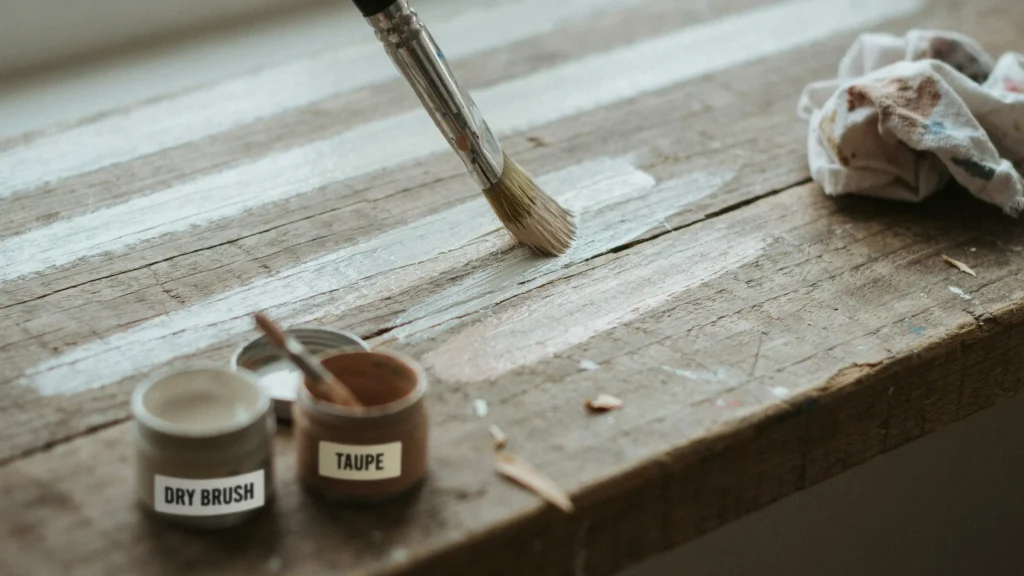
This is where the magic happens. Dip a dry chip brush lightly into white paint, then wipe most of it off on a rag you want very little paint on the bristles. Drag the nearly dry brush along the wood grain in long strokes. This technique, called dry brushing, leaves faint white streaks that mimic sun bleaching.
Repeat the process with brown or taupe paint in a few areas to add warmth and variation. Keep your strokes following the direction of the grain. Step back often to check the balance.
Step 4: Add Texture and Depth
To make the finish look truly aged, run a wire brush along the grain. This carves shallow grooves that catch light and shadow, exactly like real driftwood. You can also dab on tiny amounts of a darker gray in cracks and corners to suggest years of weathering.
Blend any harsh lines with a dry rag while the paint is still slightly wet.
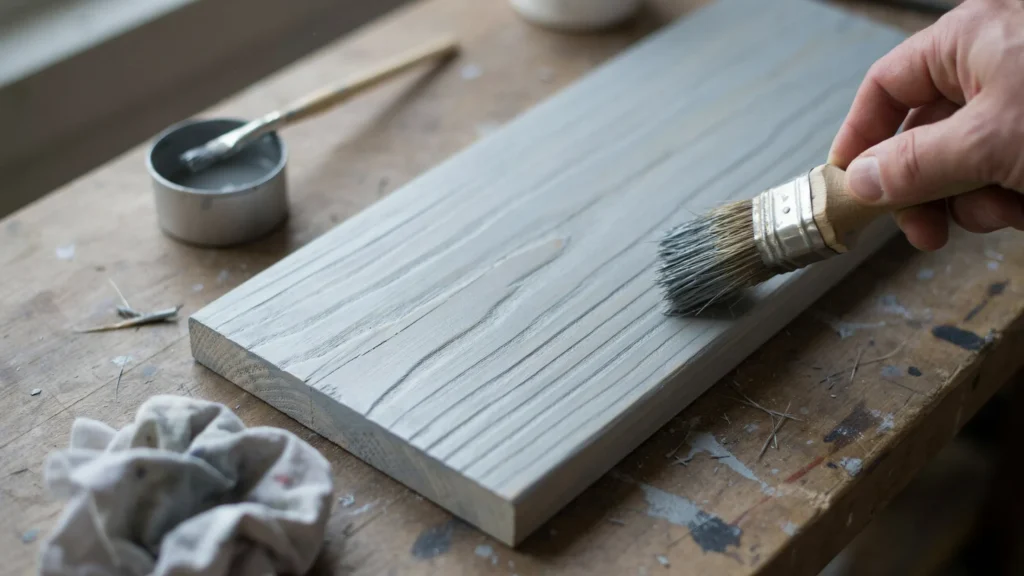
Step 5: Seal and Protect Your Finish
Once everything is dry, apply a water based exterior sealer with a foam brush. This locks in your work and shields it from rain, UV rays, and daily wear. Apply two thin coats rather than one thick one, letting each dry completely. Choose a matte sealer a glossy one will ruin the natural, chalky driftwood effect.
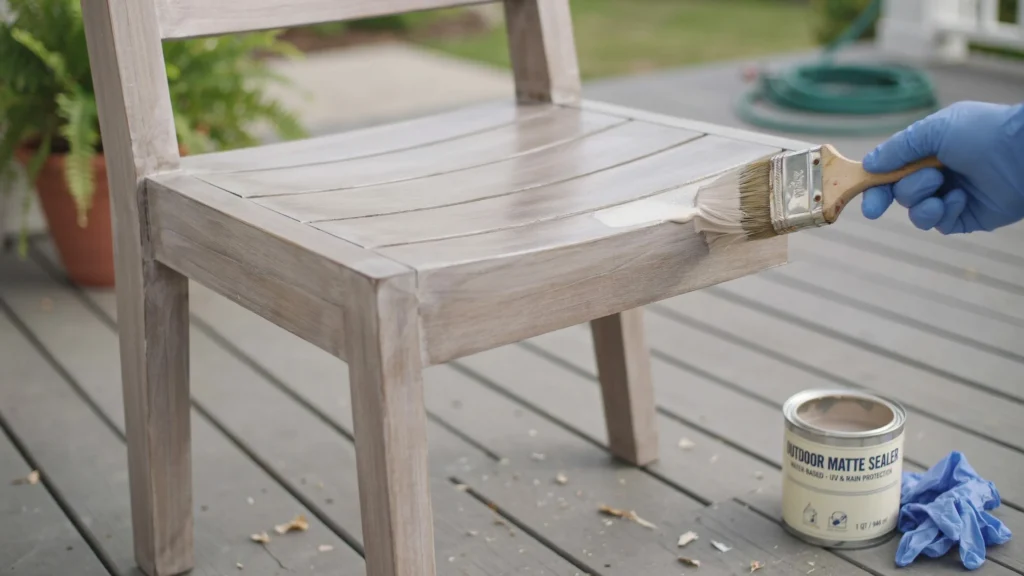
Tips and Tricks for a Realistic Finish
Small choices separate a believable driftwood finish from an obvious paint job. Use these quick tips to sell the effect.
- Pick the right colors. Real driftwood leans cool and muted. Avoid bright whites and warm yellows; stick to soft grays, taupes, and dirty whites.
- Less paint, more passes. Build color gradually with light layers. You can always add more, but removing it means starting over.
- Always follow the grain. Every brush stroke and wire brush pass should run in the same direction as the wood grain.
- Distress naturally. Lightly sand the edges and high spots after painting to expose hints of the base coat, mimicking real wear.
- Test first. Practice your dry brushing on a scrap board or the underside of the furniture before committing.
How Do You Maintain Faux Driftwood Furniture?
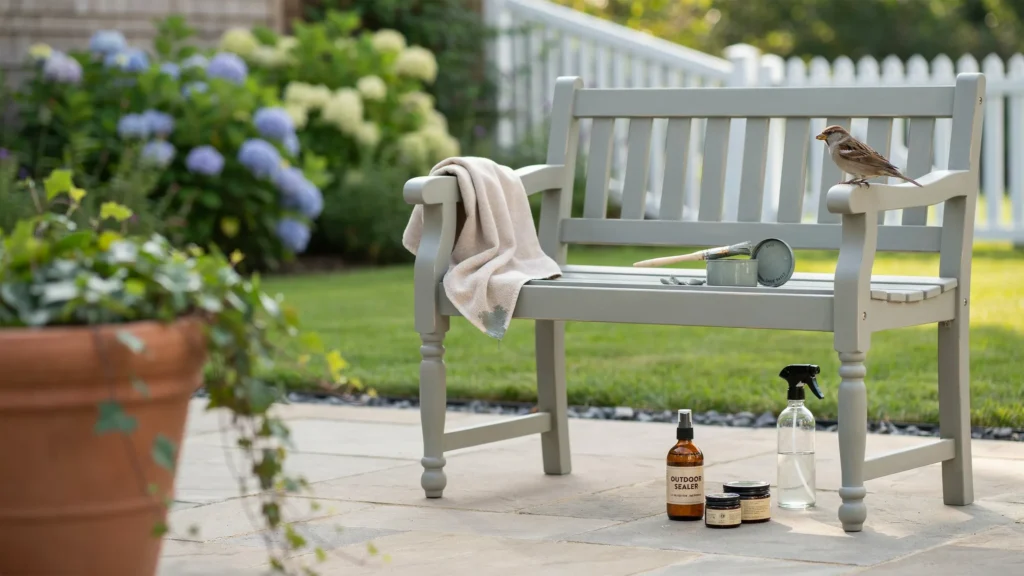
Maintaining your finished furniture is simple and keeps it looking great for years. Wipe the surface with a soft, damp cloth every few weeks to remove dust and pollen. Avoid harsh chemical cleaners, which can strip the sealer and dull the finish.
For touch ups, keep a little of each paint color on hand. If a spot chips or fades, dab on a thin layer of the matching color, dry brush to blend it, and reseal just that area. Reapply a full coat of exterior sealer once a year if the furniture lives in direct sun or harsh weather.
These small habits protect your work and prevent bigger repairs down the line.
Alternative Method: Chalk Paint and Wax Driftwood Finish
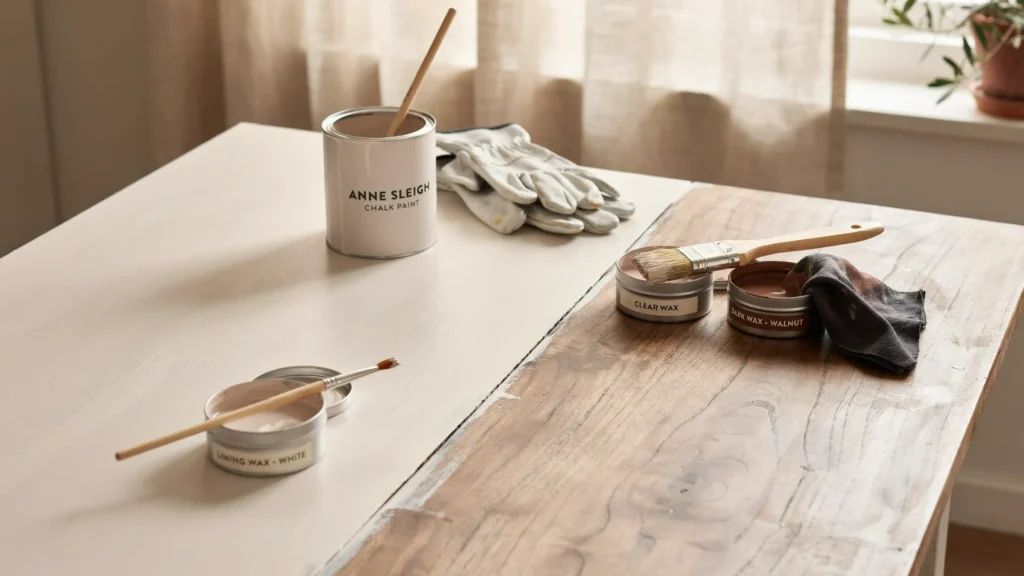
If you want a softer, more indoor-friendly driftwood look, chalk paint and wax is a popular alternative to the spray or latex paint method. Brush on a coat of off-white or muted gray chalk paint, then seal it with a clear chalk paint wax before adding a dark wax to bring out texture in the wood grain. A final touch of white liming wax settles into the grooves and enhances the grain even further. This method takes a bit more patience since you’re building color in layers, but it gives you finer control over depth and works especially well on tabletops, cabinets, and smaller indoor furniture pieces where you want a refined, hand-finished look.
Alternative Method: Spray Paint Driftwood Finish
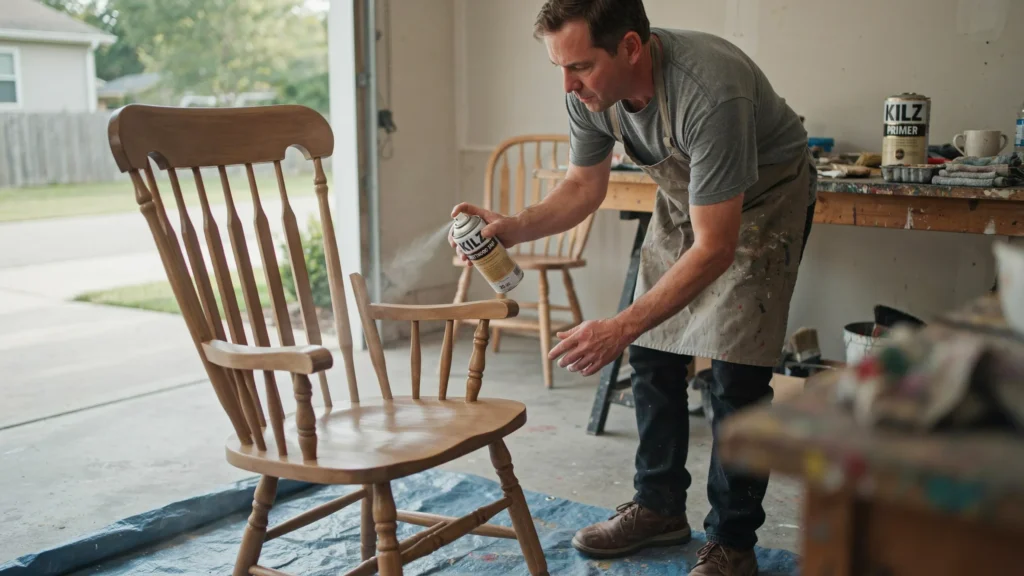
For a faster approach, especially on furniture with lots of spindles or detailed edges, spray paint can achieve a convincing driftwood look with far less brushwork. Start with a primer like Kilz to block old stains, then apply two light coats of a base khaki or tan spray paint. Once dry, hold a slightly lighter shade about 20 inches from the surface and lightly dust it over the base coat for variation, then repeat with a warmer nutmeg or brown tone for depth. Spraying in sweeping motions and keeping coats thin prevents drips and gives the layered, weathered look without ever picking up a brush.
Best Paint and Wax Brands for a Driftwood Finish
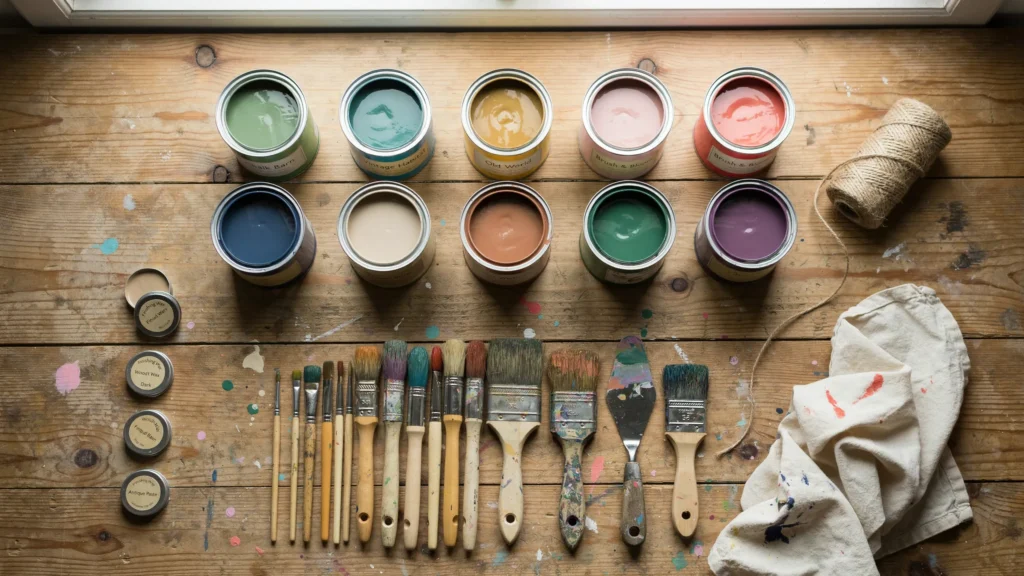
The right products make this project easier and longer lasting. For chalk paint and wax work, Annie Sloan’s clear and dark wax are go-to choices among furniture painters. For an outdoor spray approach, Rustoleum’s Ultra Flat line in shades like Khaki and Sand Camouflage blends well for a natural driftwood variation, and Kilz Original spray primer is a reliable choice for blocking stains before you paint. If you prefer a brush-on exterior paint, Valspar Duramax is thick enough to cover in a single coat and holds up well against sun and rain.
Driftwood Finish by Furniture Type
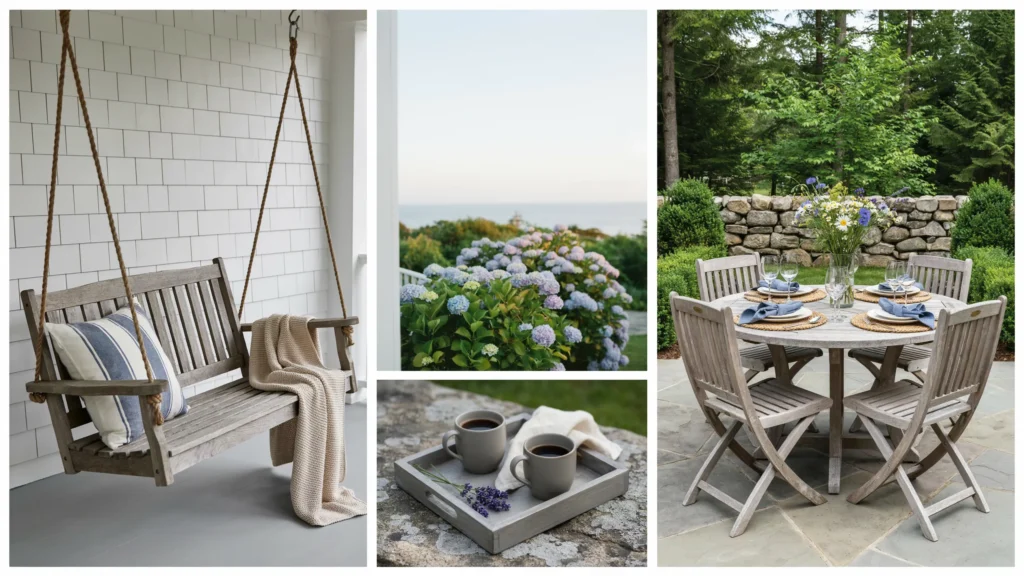
The driftwood technique adapts easily depending on what you’re painting. A porch swing or bench holds up well to a brush-and-glaze method since flat surfaces make dry brushing easy to control. Outdoor dining tables often look best with the spray paint approach, since it’s faster to cover a large tabletop evenly. Smaller accent pieces like planters, trays, or picture frames are perfect for practicing the chalk paint and wax method before committing to a bigger piece. Whichever furniture type you start with, apply the same core principles: clean and sand first, layer your colors thin, and always follow the direction of the wood grain.
Faux Driftwood Inspiration: Where to Use the Finish
The technique works on far more than chairs. Once you’re comfortable, try it on a range of pieces to tie your outdoor space together.
- Dining sets: A weathered table and chairs create an effortless coastal gathering spot.
- Planters and boxes: Driftwood finished wooden planters make greenery pop.
- Benches and side tables: Smaller pieces are great for practicing before tackling big items.
- Decor accents: Picture frames, trays, and lanterns extend the look beyond furniture.
Mix matte driftwood pieces with natural fiber textures jute, rope, and linen for a relaxed, beachy vibe.

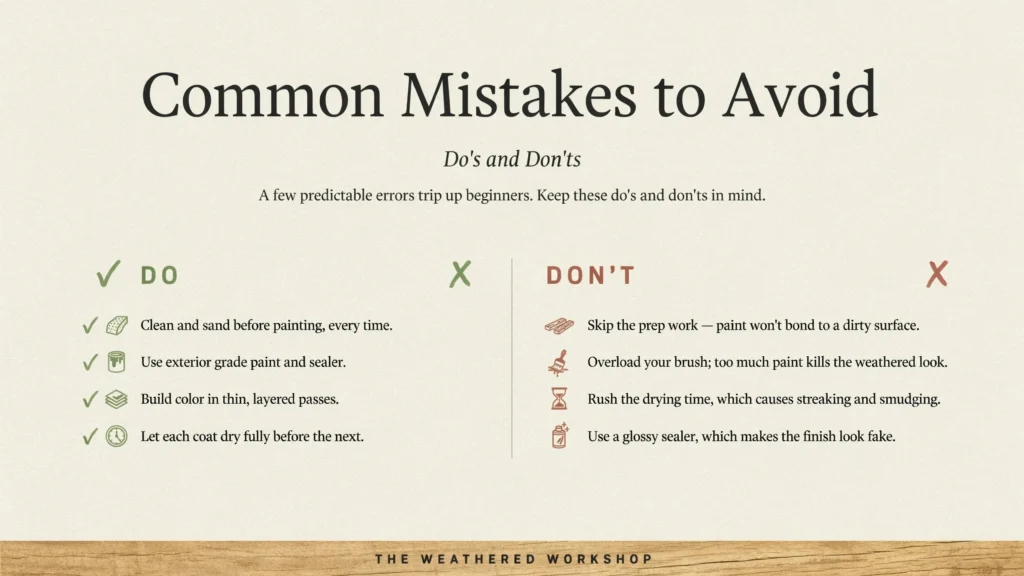
Common Mistakes to Avoid: Do’s and Don’ts
A few predictable errors trip up beginners. Keep these do’s and don’ts in mind.
Do:
- Clean and sand before painting, every time.
- Use exterior grade paint and sealer.
- Build color in thin, layered passes.
- Let each coat dry fully before the next.
Don’t:
- Skip the prep work paint won’t bond to a dirty surface.
- Overload your brush; too much paint kills the weathered look.
- Rush the drying time, which causes streaking and smudging.
- Use a glossy sealer, which makes the finish look fake.
Why DIY Upcycling Is Good for the Planet
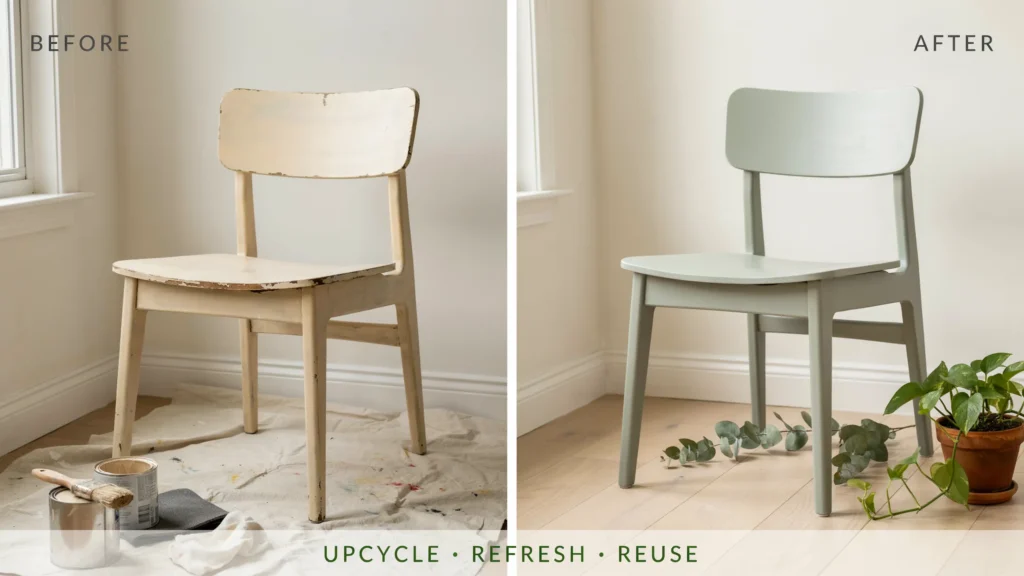
Refinishing furniture isn’t just easier on your wallet it’s better for the environment. Every piece you upcycle is one less item sent to a landfill and one less new product that needs to be manufactured, packaged, and shipped.
Furniture production consumes raw wood, water, and energy, and contributes to deforestation when sourced irresponsibly. By giving an old chair a second life, you reduce that demand and shrink your footprint. Choosing low VOC, water based paints and sealers makes the project even greener by limiting harmful fumes.
Small projects like this add up. A weekend of refinishing is a real, hands on way to practice sustainability at home.
Start Your Faux Driftwood Project This Weekend
A faux driftwood finish proves you don’t need expensive new furniture to refresh your outdoor space. With a handful of supplies, a free afternoon, and the five simple steps above, you can turn worn out pieces into coastal inspired favorites that hold up to the elements.
Remember the essentials: prep thoroughly, layer your colors gently, follow the grain, and seal for protection. Those four habits carry every successful project. Start with a small piece to build your confidence, then work your way up to a full patio set.
Grab that tired old chair, pick up some paint, and give it a story worth telling. Your weekend project is waiting.

Frequently Asked Questions
How long does a faux driftwood finish last?
With proper sealing and yearly maintenance, a faux driftwood finish on outdoor furniture typically lasts three to five years before needing a refresh. Furniture kept under cover or in mild climates can last even longer. Re applying exterior sealer once a year is the single best way to extend its life.
Can I use a faux driftwood finish on indoor furniture?
Yes. The technique works just as well indoors, and you can even use interior paints since the piece won’t face the sun or rain. Indoor faux driftwood furniture also needs less frequent resealing, making it an easy way to bring coastal style into a living room or bedroom.
What kind of wood is best for a faux driftwood finish?
Unfinished or lightly finished softwoods like pine, cedar, and fir work best because their open grain absorbs paint and shows texture clearly. That said, the finish works on nearly any wooden furniture including older sealed pieces as long as you sand the surface first so the paint can grip.
How much does a faux driftwood project cost?
A typical project costs under $50 if you buy small quantities of gray, white, and brown exterior paint plus a sealer. If you already own brushes, sandpaper, and a wire brush, your only expense is paint, which makes this one of the most affordable furniture makeovers available.
Do I need painting experience to try this?
No. The faux driftwood finish is forgiving by design its imperfect, weathered look means mistakes often blend right in. Beginners can get great results by practicing dry brushing on a scrap board first and building color slowly in thin layers.