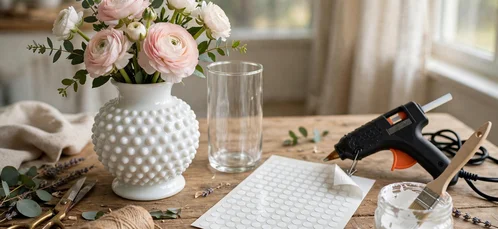
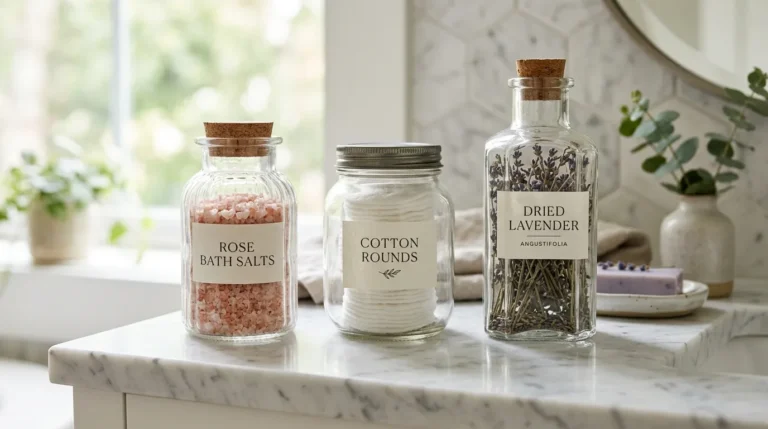
Yes, you can turn a plain vase into a painted ceramic vase with a soft bloom floral finish, and you do not need to be a trained painter to do it. The trick is a simple layering method: a warm cream base, loose petals painted in two or three shades of one colour, then a few sage leaves and a clear sealer to lock it all in.
This ceramic vase makeover takes one relaxed afternoon and a handful of cheap supplies. The result looks like the designer vase dupe you keep seeing in homeware shops, a hand painted vase with soft, open blooms that feels collected rather than crafty. Read on for the paint choices, the brushwork and the sealing steps that make the finish last.
Why a Bloom Finish Makes a Painted Ceramic Vase Look Designer Made
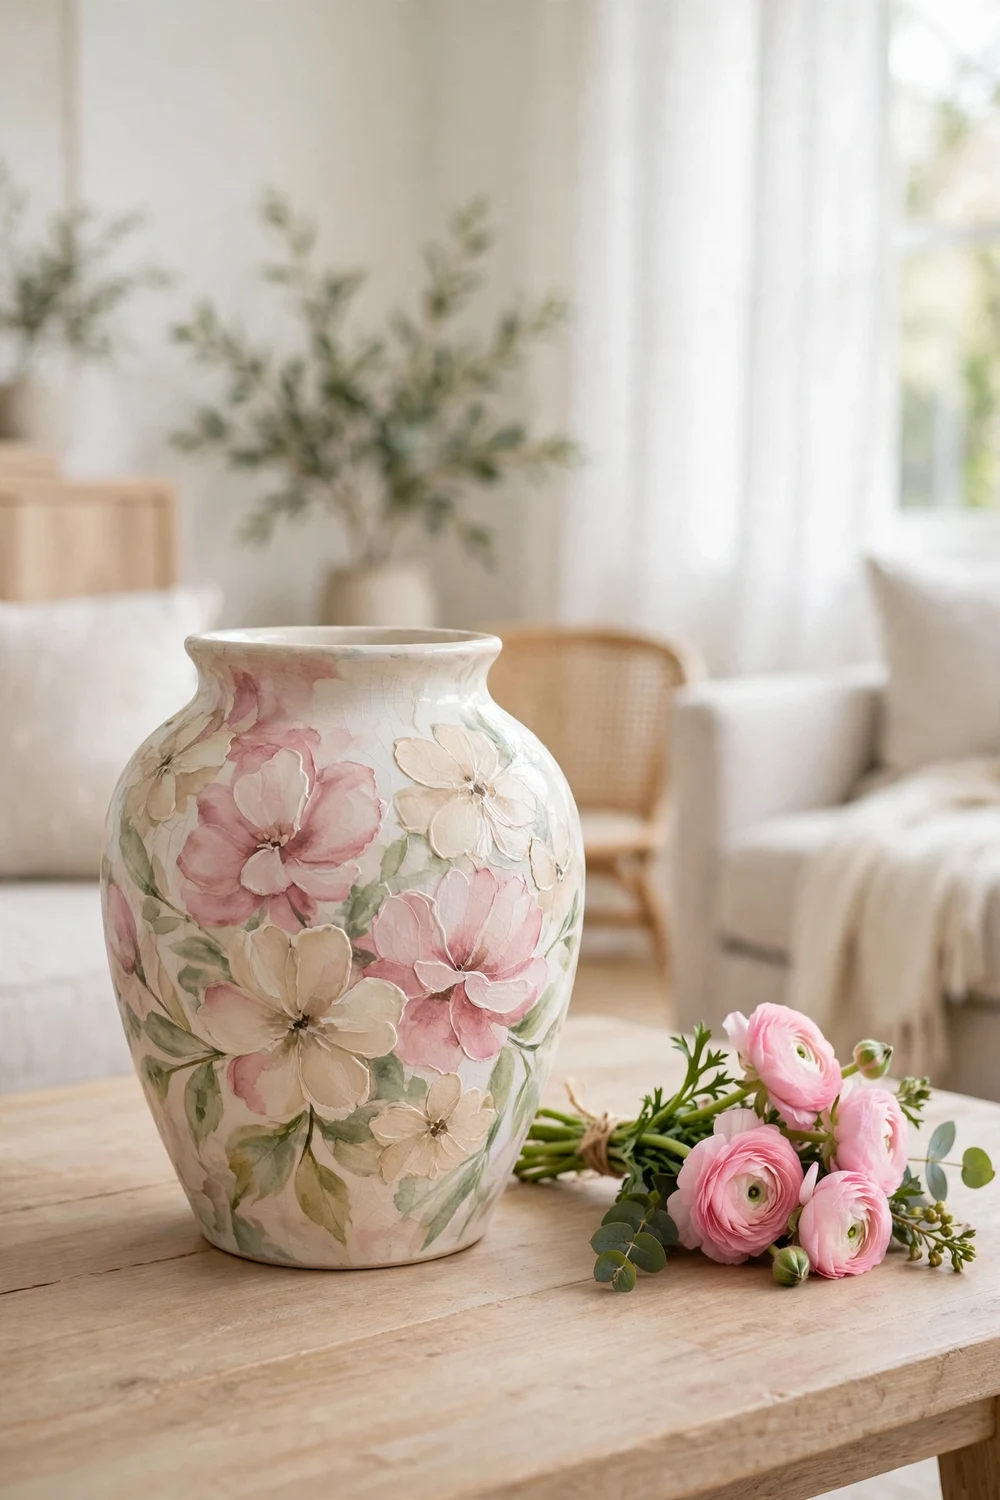
Walk through any homeware shop and you will spot the vase this project copies. It sits on a styled shelf, cream or blush, covered in loose painted flowers that look as though someone brushed them on in a pottery studio. The price tag is often the only thing that stops you picking it up. The look is expensive, the method is forgiving, and the vase underneath can cost next to nothing.
A bloom finish works where a flat coat of paint often fails. A single solid colour shows every brush mark, every drip and every uneven patch. Loose petals hide all of that. The petals are meant to vary. One is a little wider, one leans left, one carries more colour than the next, and that variation is what makes the vase look hand made in the good sense. Your eye reads the differences as intention, not as mistakes.
I painted my first bloom vase after buying a plain white one at a charity shop for less than the cost of a coffee. I had no plan beyond covering the dull glaze with something prettier, and I expected a wobbly result I would hide at the back of a shelf. It ended up on the dining table instead, and guests kept asking where it came from. That is the honest appeal of this hand painted vase DIY. It asks very little of you and gives back a piece that looks far more considered than the effort suggests.
Choosing the Right Vase for Your Ceramic Vase Makeover
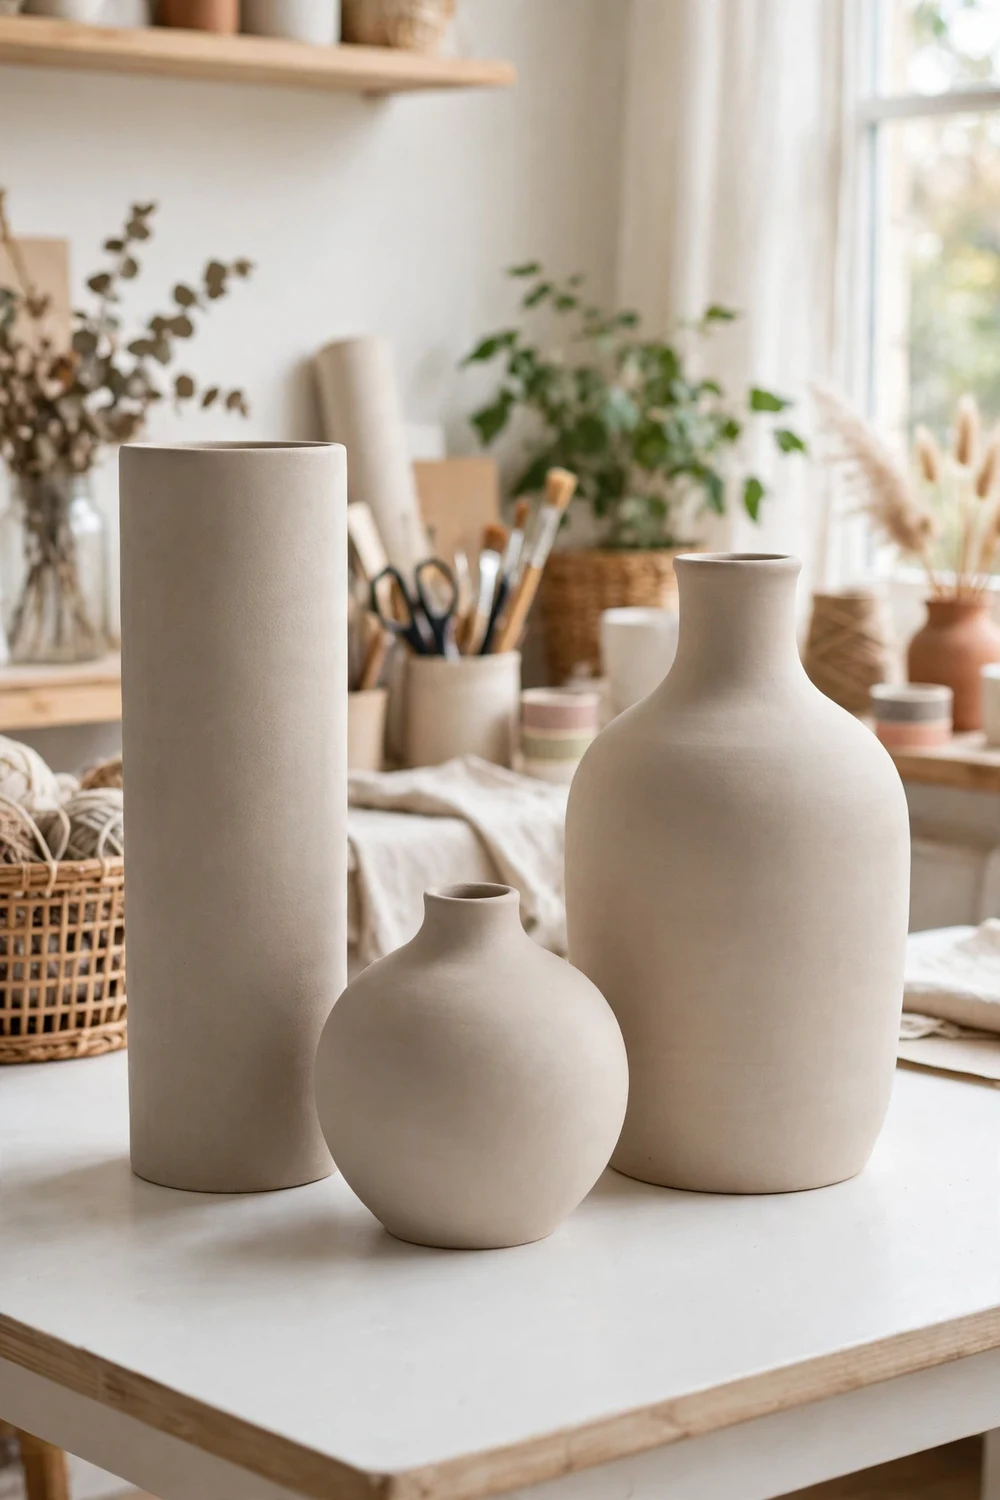
The vase you pick decides how easy the painting feels and how good the finished piece looks. Shape matters more than size, and the glaze matters more than the price. A smooth, gently curved vase is the kindest surface for a first bloom finish. Your brush can travel around it without catching on sharp corners, and the petals sit naturally on the curve. A tall cylinder works well too, because it gives you a long, even field to arrange the blooms across. What you want to avoid for a first attempt is a heavily ribbed vase, a faceted one or anything with deep grooves. The paint pools in the grooves and the petals lose their shape.
Glazed ceramic is the best starting point. The smooth surface takes primer and acrylic paint well once it has been lightly sanded and cleaned. Unglazed terracotta and bisque ceramic also work, though they drink up the first coat and need an extra layer of base paint. Glass can be painted too, but the paint grips less willingly and the finish chips more easily, so save glass for a later project. If you are thrifting, look for vases with a clean shape and no cracks. A chip on the rim can be painted over if it is small, but a crack through the body will keep growing once the vase holds water.
Use the table below as a quick guide when you are choosing. It pairs vase height with the stem lengths that suit it, because a painted vase still has a job to do once it is finished. The stems should rise above the rim by roughly half the height of the vase again, so the arrangement looks balanced rather than top heavy or hidden.
| Vase height | Best for | Stem length above the rim | Bloom scale on the vase |
|---|---|---|---|
| 15 to 20 cm | Bud vase, bedside table, shelf | 10 to 15 cm | Small, 3 to 5 cm petals |
| 20 to 30 cm | Dining table, mantel, console | 15 to 20 cm | Medium, 5 to 8 cm blooms |
| 30 to 40 cm | Sideboard, entry table, floor corner | 20 to 30 cm | Large, 8 to 12 cm blooms |
| Over 40 cm | Floor vase, tall branches | 30 to 45 cm | Large blooms with wide spacing |
Which Paint Actually Sticks to Ceramic
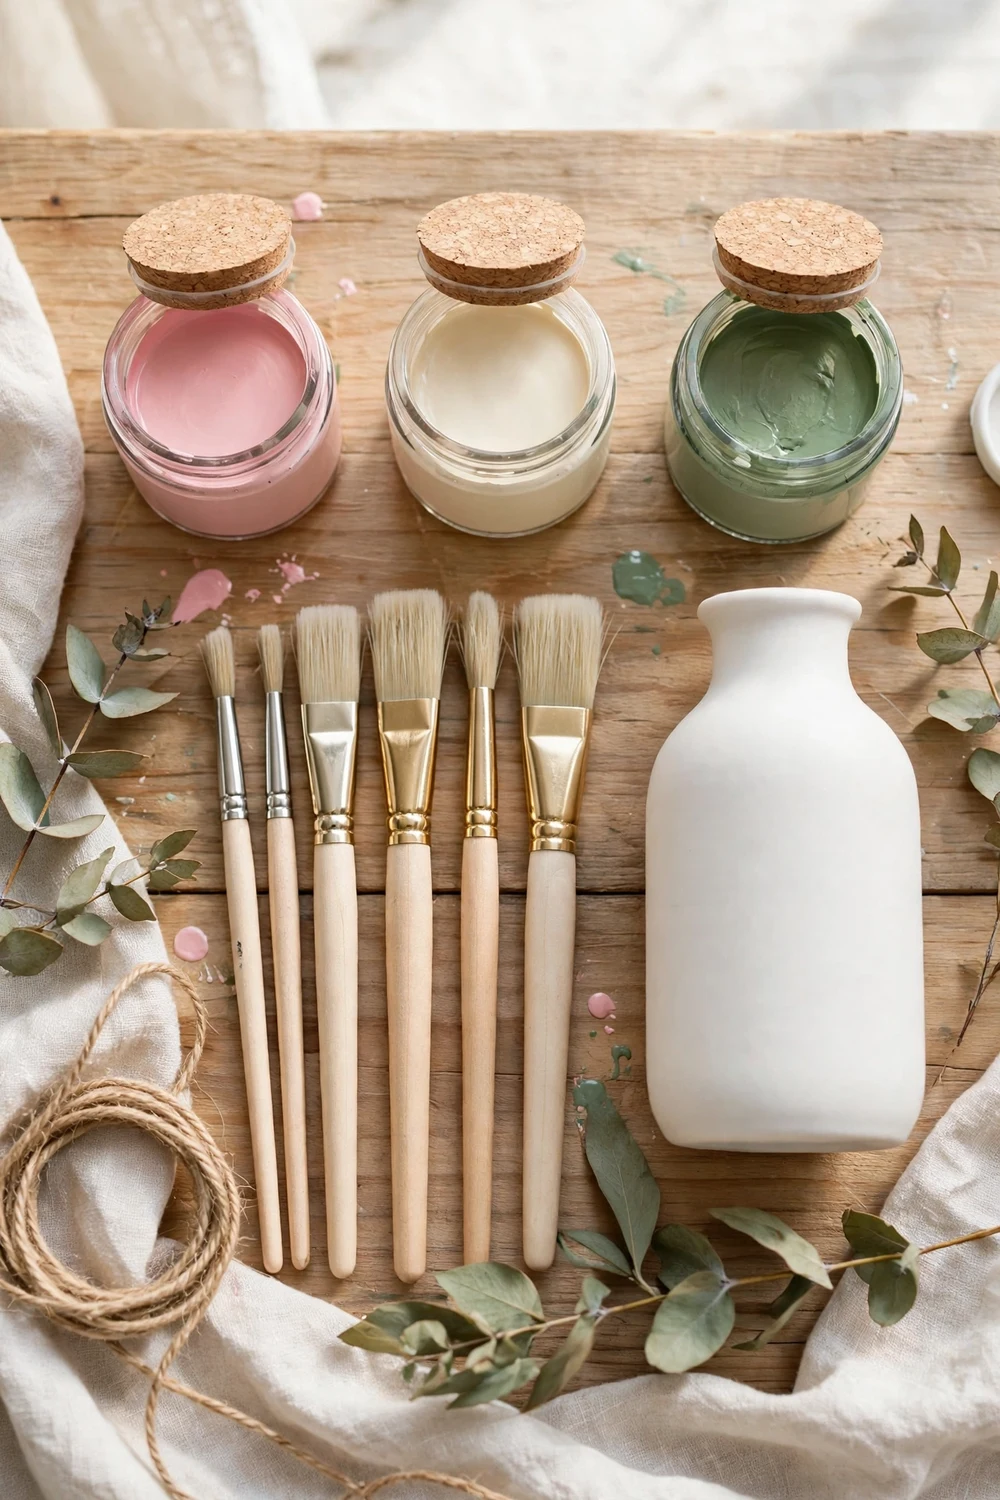
Paint choice is where most painted vases succeed or fail, and it is the question I get asked most often. The short answer is that acrylic paint on ceramic vase projects works beautifully, as long as the surface is prepped and the paint is sealed afterwards. Acrylic is cheap, it comes in every colour you could want, it cleans up with water, and it dries fast enough that you can layer petals in a single afternoon. For a decorative indoor vase, it is the sensible default.
That said, not all acrylics behave the same on a slick glazed surface. Thin craft acrylic, the kind sold in small squeeze bottles, is fine for petals and detail work, but it can look streaky as a base coat. A thicker multi surface acrylic or a small pot of chalk paint covers better in one or two coats and gives the petals something to grip. If you already own a set of craft paints, use them. There is no need to buy a whole new range for one vase. Just expect to add an extra base coat.
| Paint type | Best for | Drying time | Finish | Watch out for |
|---|---|---|---|---|
| Multi surface acrylic | Base coat and petals | 30 to 60 minutes | Satin to matte | Thin coats can streak |
| Craft acrylic | Petals and fine detail | 20 to 30 minutes | Matte to satin | Needs a sealed base |
| Chalk paint | Base coat on slick glaze | 30 minutes | Chalky matte | Dulls colours laid over it |
| Ceramic enamel | Hard wearing finish | Several hours | Glossy and tough | Slow to dry, hard to fix |
| Spray paint and primer | Fast, even base coat | 20 to 30 minutes | Even matte or satin | Overspray and fumes, use outdoors |
Your colour palette is what turns a painted vase into a designer vase dupe rather than a school art project. Pick one main bloom colour, one lighter tint of it and one deeper shade, then add a single leaf green and a warm cream for the base. My favourite combination is soft blush pink, pale rose, a deeper dusty rose for the centres, sage green leaves and a warm ivory base. It reads as calm and expensive. If pink is not your style, the same method works in dusty blue with cream, or in soft lavender with grey green leaves. The rule is restraint. Three bloom colours plus green plus base is enough. A fourth bloom colour usually makes the vase look busy. If you like a matte, stone like base under the blooms, the baking soda texture paint method gives the vase a lovely hand made surface to paint on.
Prep Work: The Boring Step That Decides Everything
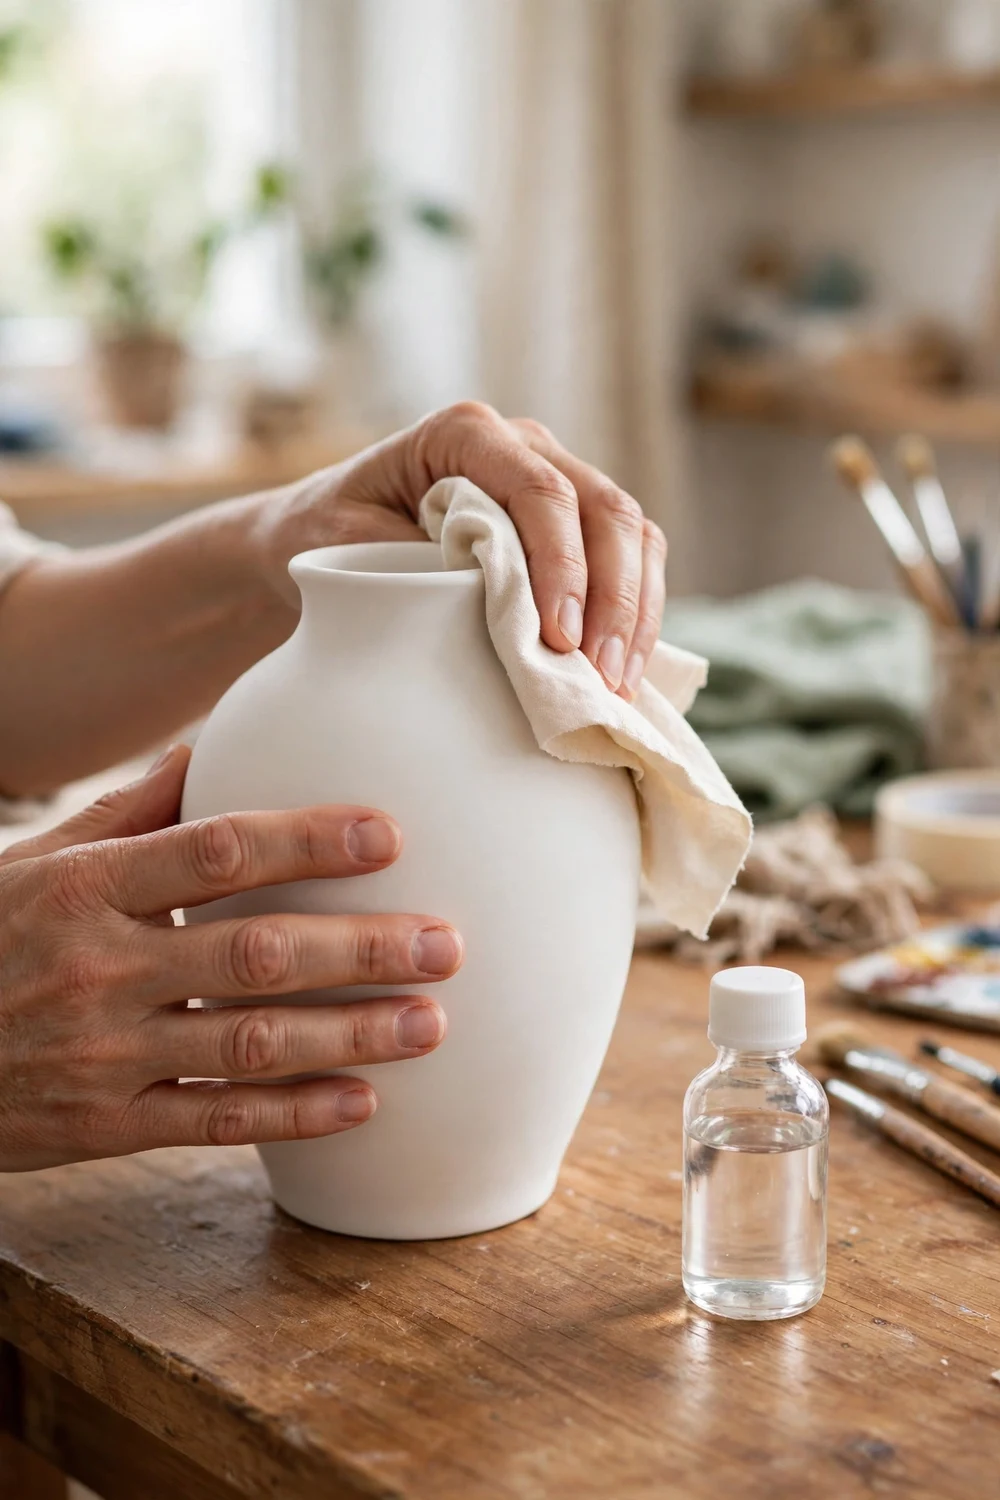
Nobody enjoys prep work, and that is exactly why so many painted vases peel. Paint sticks to a clean, slightly roughened surface. It slides off a glossy, greasy one. The whole prep stage takes about fifteen minutes, and it decides whether your bloom finish lasts for years or starts flaking by the first wash. Do not skip it.
Start by washing the vase in warm soapy water. Use an ordinary washing up liquid and a soft cloth, and rinse well. Pay attention to the inside of the rim, where dust and old water marks collect. Dry the vase completely with a clean towel, then leave it upside down on a cloth for ten minutes so the last of the moisture inside the neck evaporates. Paint will not grip a damp surface, and trapped moisture under the base coat is a common cause of bubbling.
Next, wipe the outside with rubbing alcohol on a lint free cloth. This removes the invisible film of oils from handling, which soap sometimes leaves behind. You will be surprised how much grime comes off a vase that looked clean. Let the alcohol dry for a few minutes. The surface should look dull and feel squeaky, not slick.
Now the step people argue about: sanding. A glazed vase needs a light scuff so the primer or base coat has something to hold. Use very fine sandpaper, around 220 grit, and rub the whole outside gently in small circles. You are not trying to remove the glaze, only to take the shine off it. The surface should look faintly cloudy when you are done. Wipe away the dust with a damp cloth, let it dry, and give it one more wipe with rubbing alcohol. Unglazed ceramic and terracotta do not need sanding. Just wash, dry and wipe.
Finally, protect your table and decide how you will hold the vase while you paint. A sheet of newspaper or an old plastic bag under the vase catches drips, and a rolled towel ring stops a round vase from rolling. Some people paint with the vase sitting on a small turntable, even a lazy Susan from the kitchen, so they can rotate it without touching wet paint. That is a good trick if you have one. Otherwise, hold the vase by the inside of the neck with two fingers and turn it slowly as you work. Your fingers stay clean and the paint stays untouched.
Painting the Bloom, One Petal at a Time
Here is where the project turns from a chore into something genuinely enjoyable. Start with the base coat. Load your flat brush with warm ivory or cream paint and work in long, even strokes from the neck down to the base. Keep the coat thin. A thick base coat drips at the rim and dries with ridges that show through the petals. Two thin coats always look better than one thick one. Let the first coat dry for at least an hour, then add the second. On a dark vase you may need a third. Wait until the base feels completely dry to the touch and looks even before you move on.
While the base dries, plan your bloom layout. This is the part that separates a thoughtful design from a random scatter of flowers. A bloom finish looks best when the flowers cluster in one or two groups with breathing space between them, rather than covering every centimetre. Picture the vase divided into a front and a back. The front gets the main cluster: one large bloom near the centre, one medium bloom above or beside it, and a small bud lower down. The back gets a smaller echo of the same cluster so the vase looks finished from every angle. The sides stay mostly bare, which gives the eye somewhere to rest.
Sketch the layout lightly on the vase with a soft pencil. Draw a small circle where each bloom centre will sit, then a few loose arcs to mark the petal spread. These lines are only a guide. They will disappear under the paint, and they stop you from painting a bloom too high, too low or squashed against the rim. If you are nervous, sketch the same layout on paper first. Ten minutes of planning saves an hour of repainting.
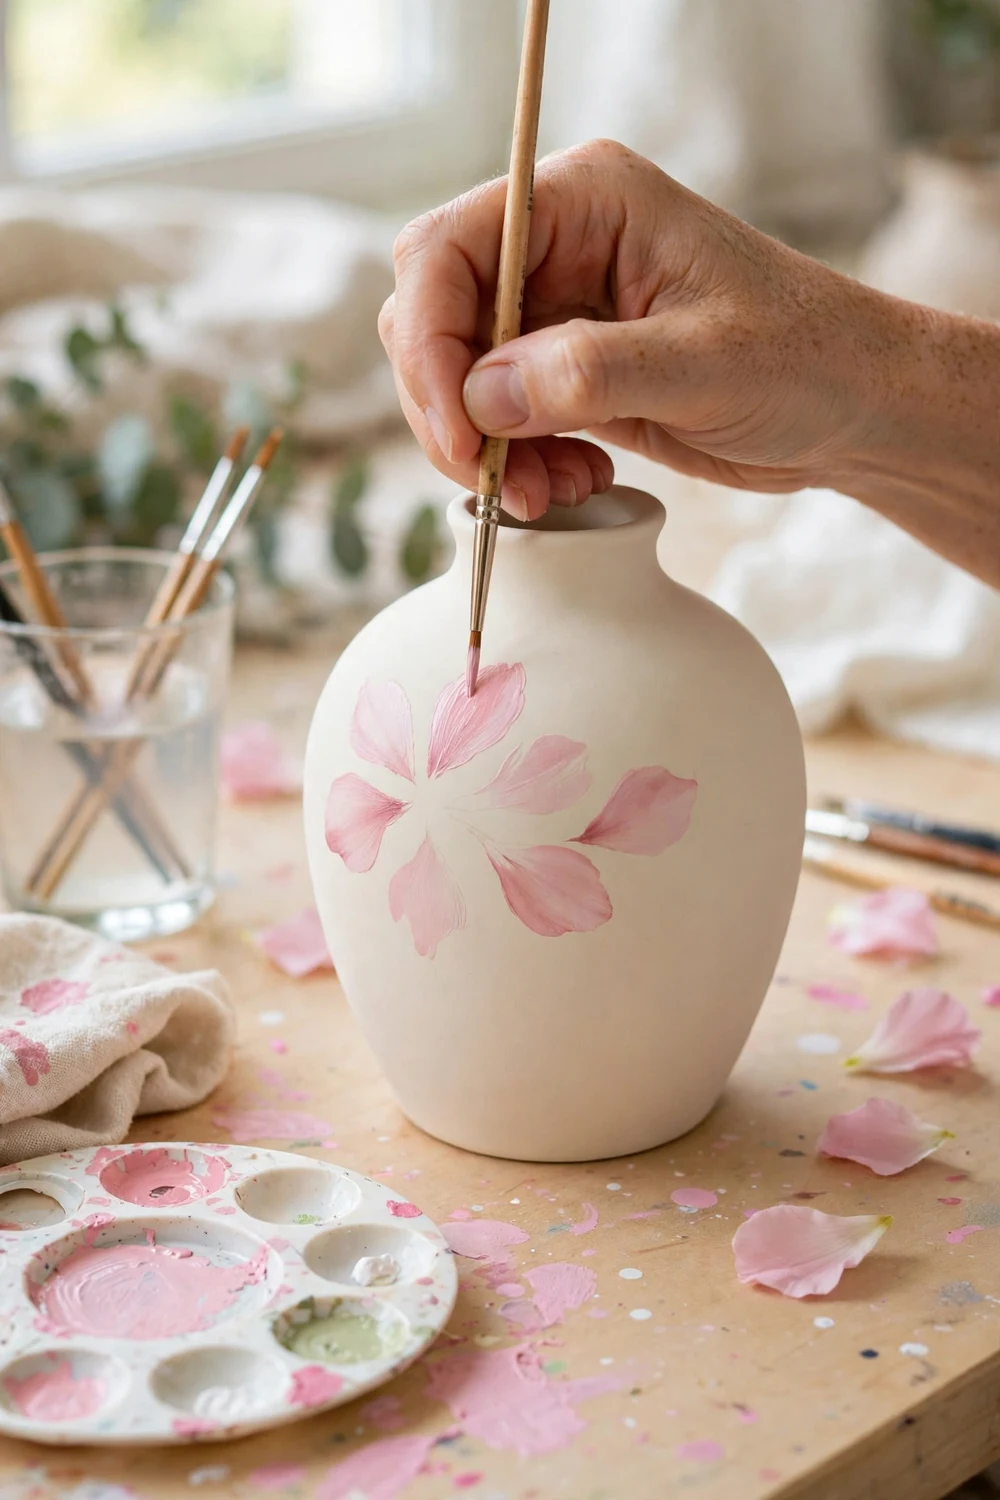
Paint the largest bloom first. Load your round or filbert brush with the lightest petal colour and press the brush down near the centre mark, then pull it outwards and lift. That single press and lift makes one petal. Work around the centre, overlapping the petals slightly, until you have five or six. Do not aim for symmetry. Real blooms are lopsided, and a slightly uneven ring of petals looks more natural than a perfect star. If a petal goes wrong, wipe it off quickly with a damp cloth while the paint is wet. Acrylic forgives fast.
Once the first layer of petals is dry, add the second layer in the mid tone colour. These petals sit slightly inside the first ring, smaller and a little deeper in colour. Then, when that layer is dry, touch the very centre with the deepest shade and a dot of warm gold or cream for the heart of the flower. Each layer should be smaller than the one beneath it, which builds a sense of depth. The bloom starts to look like it opens towards you instead of sitting flat on the surface.
When the main blooms are done, step back and look at the vase from a distance. Add a bud or two where the design feels empty, but resist the urge to fill every space. The bare cream between the blooms is part of the design. The same restraint applies to other painted projects, and our guide to painting modern pumpkins shows how leaving space around a motif makes the whole piece look more expensive.
Layering Petals and Leaves So the Flowers Feel Alive
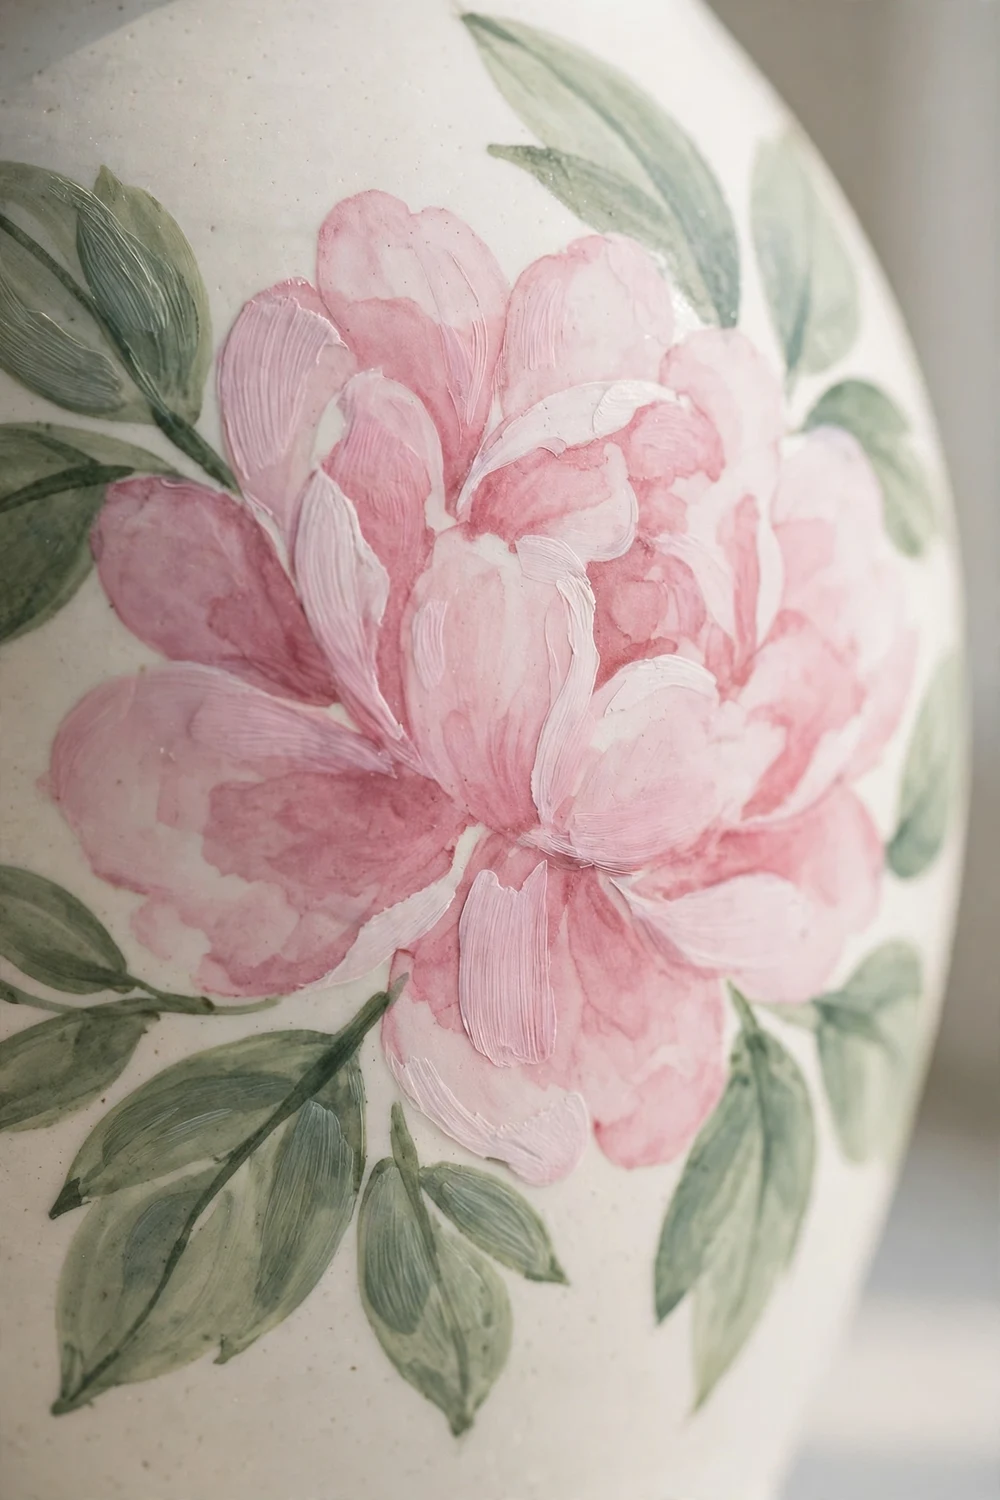
Petals alone make a pretty vase. Petals plus leaves make a believable one. Leaves give the blooms a setting, they connect separate flowers into one arrangement, and they add the touch of green that stops a pink and cream vase from looking too sweet. The trick is to paint the leaves after the blooms, not before, so they tuck neatly behind and between the petals instead of competing with them.
Mix two greens before you start: a soft sage for most leaves and a deeper olive green for shadow. Paint each leaf with a single stroke. Press the brush down at the base of the leaf, pull towards the tip and lift, just like a petal. The leaf should be narrow, pointed and slightly curved, as though it bends towards the light. Place leaves in small groups of two or three at the base of each bloom, with one leaf reaching out along a stem towards the next flower. A thin stem in the deeper green, painted with your liner brush, ties the group together.
Depth comes from layering, and the order matters. Paint the palest petals first and let them dry. Add the mid tone petals, then the deep centres. Only then add the leaves, and only then add the smallest details: a few dots of cream in the flower centres, a fine line of gold along one petal edge, a tiny bud on a short stem in a gap. Each new layer sits on top of dry paint, so the colours stay clean and the edges stay sharp. This is the same layering idea behind good textured finishes, and our textured paint guide explains how thin layers build a richer surface than one heavy coat ever can.
Highlights finish the job. A tiny dab of warm white on the upper edge of two or three petals per bloom catches the light and lifts the flower off the surface. Add the same highlight to the top edge of a few leaves. Less is more here. Three highlights per bloom is plenty. If every petal shines, none of them does.
Sealing and Curing: How to Keep the Paint On
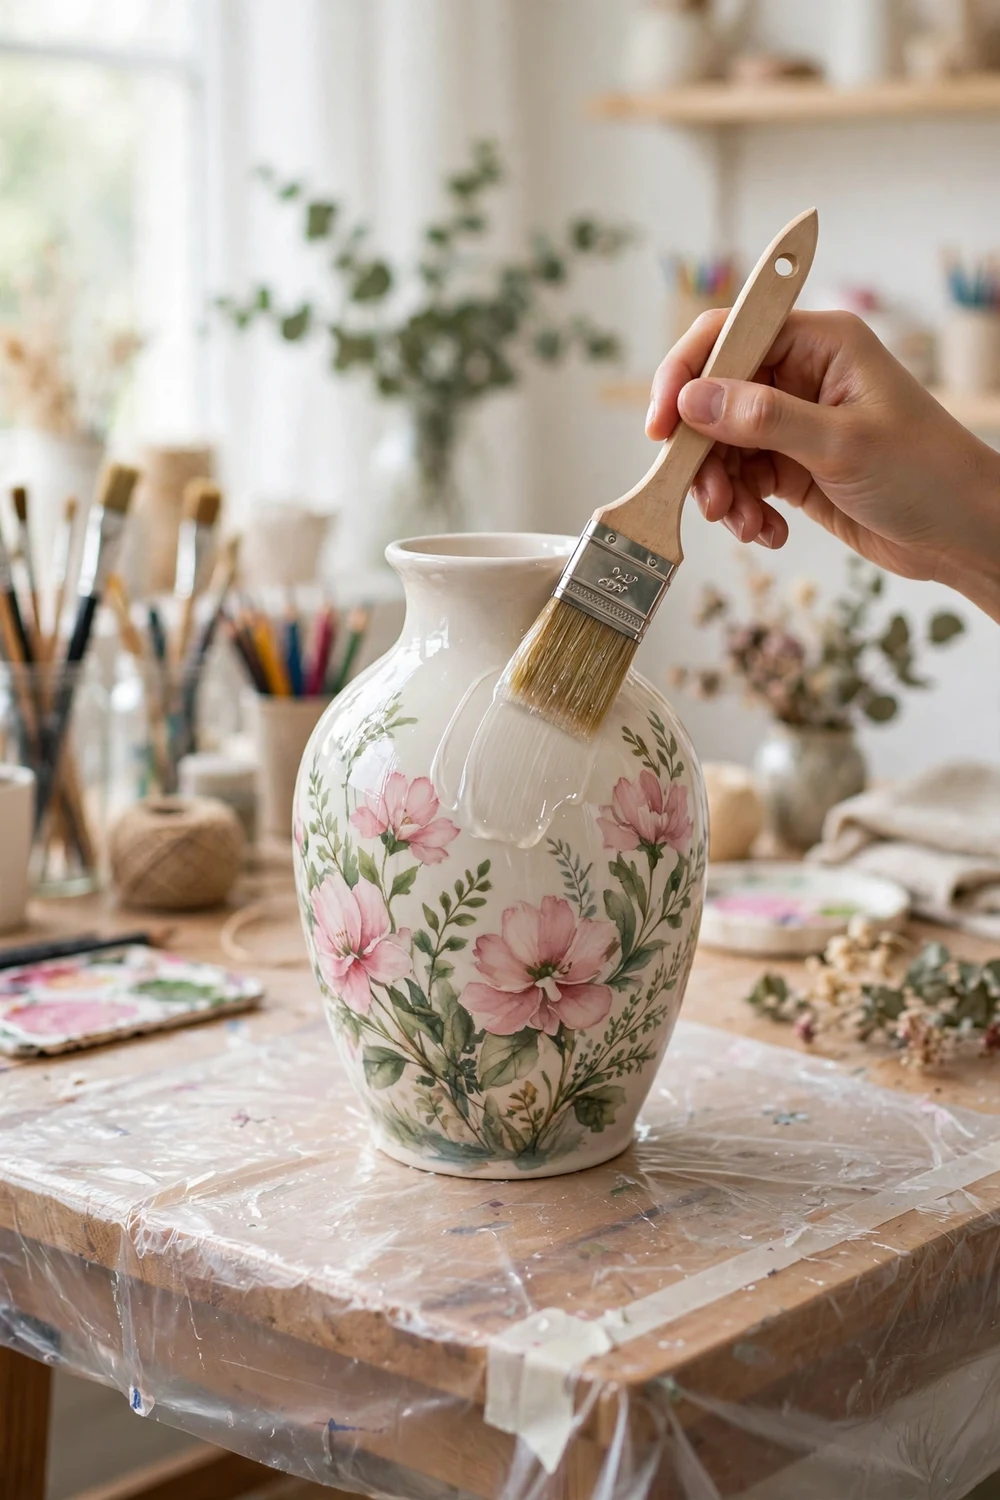
A painted ceramic vase without a sealer is a temporary decoration. With a sealer, it is a lasting one. The sealer does two jobs: it protects the paint from water, dust and gentle handling, and it gives the surface a soft sheen that looks much closer to a real glaze. Choose a water based sealer so it does not yellow over time, and pick a satin finish unless you specifically want a high gloss shine.
Apply the sealer in thin, even coats. If you are using a brush on sealer, load the brush lightly and work in long strokes from the neck to the base, overlapping slightly. If you are using a spray sealer, hold the can about 25 centimetres away and move in steady sweeps. Two thin coats are better than one thick coat, which can drip and dry cloudy. Let the first coat dry for at least two hours before the second. Three coats is the sweet spot for a vase that will hold water. More than that adds little and risks a plastic look.
Curing is different from drying, and it is the step most people rush. The sealer feels dry in a few hours, but it needs time to harden fully. Leave the vase untouched for at least 48 hours, and ideally a full week, before you fill it with water. During that time the paint and sealer bond properly to the ceramic. Fill the vase too soon and water can creep under the sealer at the rim, which is the most common cause of peeling. Mark the date on a sticky note if you think you will forget. The wait is dull, but it is what separates a vase that lasts a season from one that lasts for years.
Water safety deserves a plain explanation. Even a well sealed vase should not be soaked or scrubbed. When you want to use it with fresh flowers, fill it carefully, keep the water level below the painted rim if your paint reaches that high, and empty it after a few days rather than leaving stems to rot in it. Change the water instead of topping it up. If the inside of the vase is unpainted, which is the usual case, the water never touches the paint at all, and that is the safest setup of all. Dried flowers and faux stems are even kinder to the finish, and they suit a bloom vase beautifully.
Styling Your Painted Ceramic Vase and the Mistakes to Skip
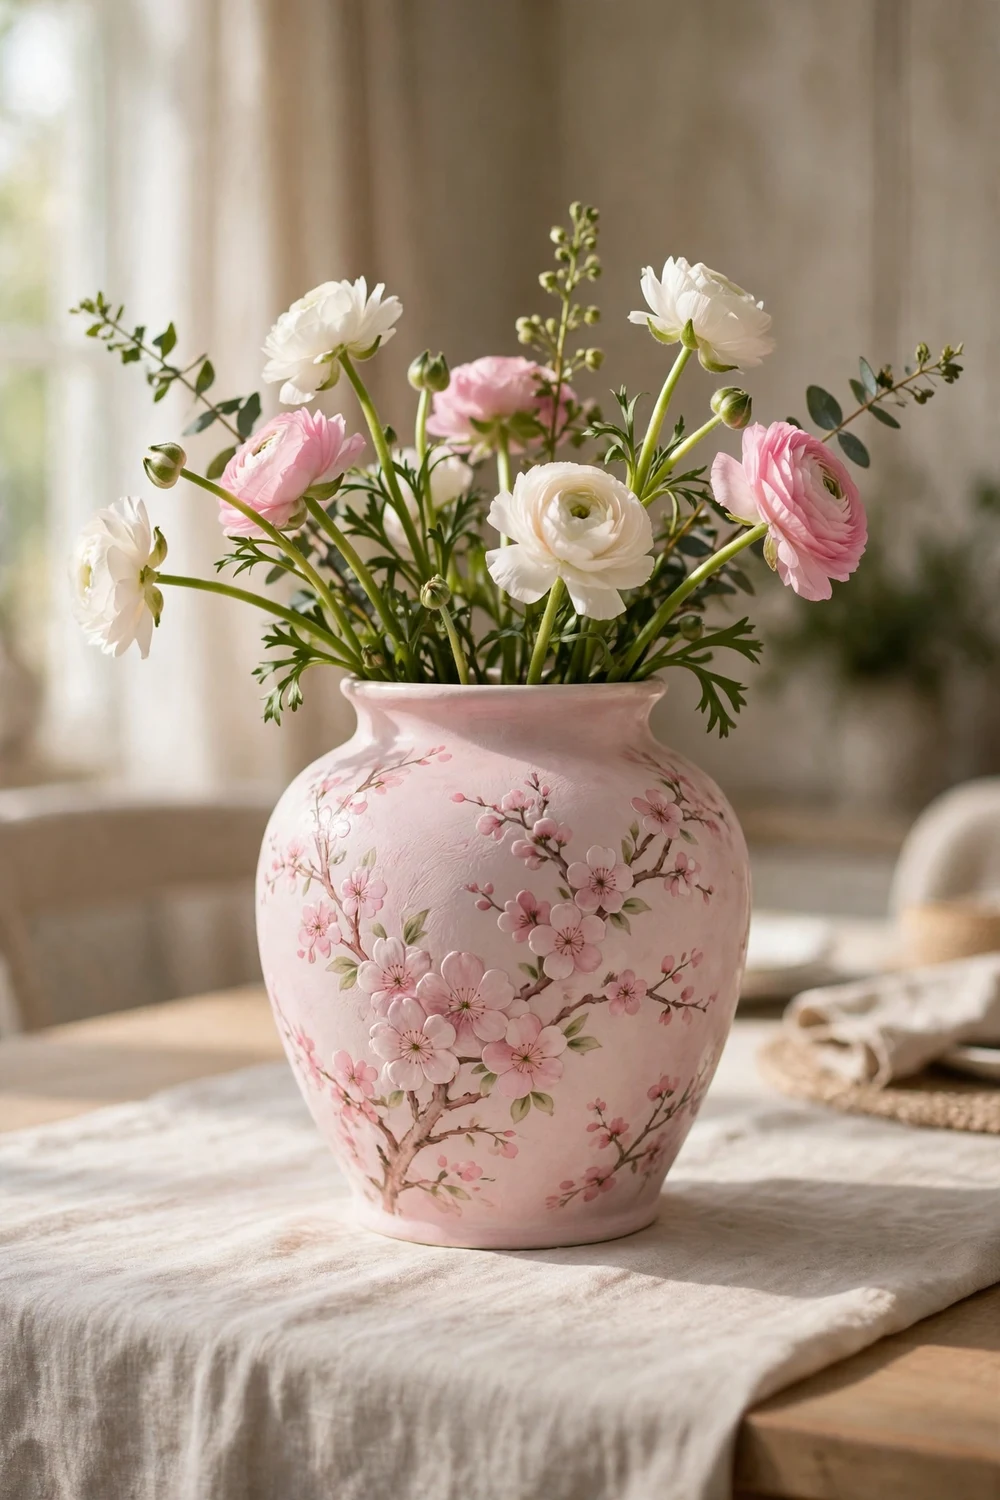
A finished bloom vase is easy to style, and that is part of its charm. It looks good with very little help. Fresh stems are the obvious choice: ranunculus, garden roses, tulips or even a few sprigs of eucalyptus. Keep the arrangement loose and a little wild rather than stiff and symmetrical. Three to five stems are enough for a medium vase. Let one stem lean out to the side and one stand tall. The vase is the star here, so the flowers should frame it rather than hide it.
Placement matters as much as the stems. A bloom vase looks best where it gets a little daylight, because the light moves across the painted petals and shows off the layering. A dining table centre, a console in the entryway or a mantel are all good spots. On a dining table, pair it with a simple linen runner and plain plates so the vase stays the focal point. If you want more centrepiece ideas around it, our dining table centrepiece ideas show how one strong piece can anchor a whole table without clutter.
There are a few mistakes worth naming plainly, because they are the ones I see again and again. Painting on a greasy or dusty vase, which makes the paint peel in sheets. Using a thick base coat, which drips and cracks. Rushing the layers, which turns the petals to mud. Filling the vase with water before the sealer cures, which lifts the paint at the rim. And overfilling the design, which is the most common fault of all. If your vase starts to look crowded, stop. Put the brush down and look at it tomorrow. Fresh eyes will tell you whether it needs one more bud or nothing at all. And if you enjoy the process, our gold leaf sculpture guide is a good next project for a weekend when you want to try a different finish on a thrifted find.
Frequently Asked Questions
Will acrylic paint stay on a ceramic vase?
Yes, when the surface is cleaned, lightly sanded and sealed. Wash the vase, wipe it with rubbing alcohol, scuff the glaze with fine sandpaper, paint in thin layers, then seal with two or three coats of a water based sealer and let it cure for at least 48 hours. A sealed vase handled gently and never soaked will keep its finish for years.
Can I put water and fresh flowers in a painted ceramic vase?
You can, as long as the paint is fully cured and the inside of the vase is left unpainted. Fill it carefully, keep the water below any painted area near the rim, and change the water every few days. Dried flowers and faux stems are the safest option.
Do I need to prime a ceramic vase before painting it?
A separate primer helps on very slick glaze, but it is not always essential. Light sanding plus a base coat of multi surface acrylic usually gives enough grip. If your vase is glossy and smooth, use a bonding primer or a spray primer for the base coat.
What is the best paint for a floral vase painting project?
Multi surface acrylic is the best all round choice. It covers well, dries in under an hour, blends while wet and cleans up with water. Use craft acrylic for fine petal detail and a water based satin sealer on top. Ceramic enamel is tougher but slower to dry and harder to correct.
How do I paint flowers on a vase without being good at drawing?
Use the press and lift petal method in this guide. Press a round or filbert brush down near the centre, pull outwards and lift. One stroke makes one petal, and five or six petals make a bloom. Sketch the bloom centres lightly in pencil first, paint in pale layers, and let each layer dry before adding the next. Loose blooms are forgiving by design, and uneven petals look more natural than perfect ones.
How long does a painted ceramic vase take to make?
The active painting takes about two to three hours spread across an afternoon, with drying time between coats. Prep takes around fifteen minutes, the base coat needs an hour to dry, and the blooms need a full day to dry before sealing. Add 48 hours of curing after the final sealer coat before you fill the vase with water.
A Small Afternoon Project With a Big Payoff
A painted ceramic vase is one of those rare projects that asks for very little and gives back far more than you expect. A plain vase from a charity shop, a few small pots of paint, three brushes and a quiet afternoon are all it takes. The method is simple: clean the surface, lay down a warm base, build the blooms in pale layers, add leaves and shadows, seal it and wait. Nothing in that list needs talent you do not already have. It needs patience, and only in short bursts between drying times.
What you end up with is a designer vase dupe that fits your room, your colours and your shelf. It holds fresh stems in spring, dried grasses in autumn and nothing at all in between, and it looks right in every season. Paint one for the dining table, then paint a smaller one for a shelf. Once you have the rhythm of the petals, the second vase takes half the time and looks twice as confident.