Patterned vinyl tile usually lasts 5 to 10 years in ordinary residential use. A thicker wear layer can stretch that toward 15 years in a low traffic room, while a thin tile in a busy kitchen or entryway can start to look tired in 3 to 5 years.
The pattern itself rarely fails first. What fails is the surface protection, the adhesive bond, or the floor underneath. Choose a tile with a wear layer of 12 mil or more, prepare the subfloor properly, and clean it gently, and you get most of the lifespan this material can offer.
What Patterned Vinyl Tile Actually Is
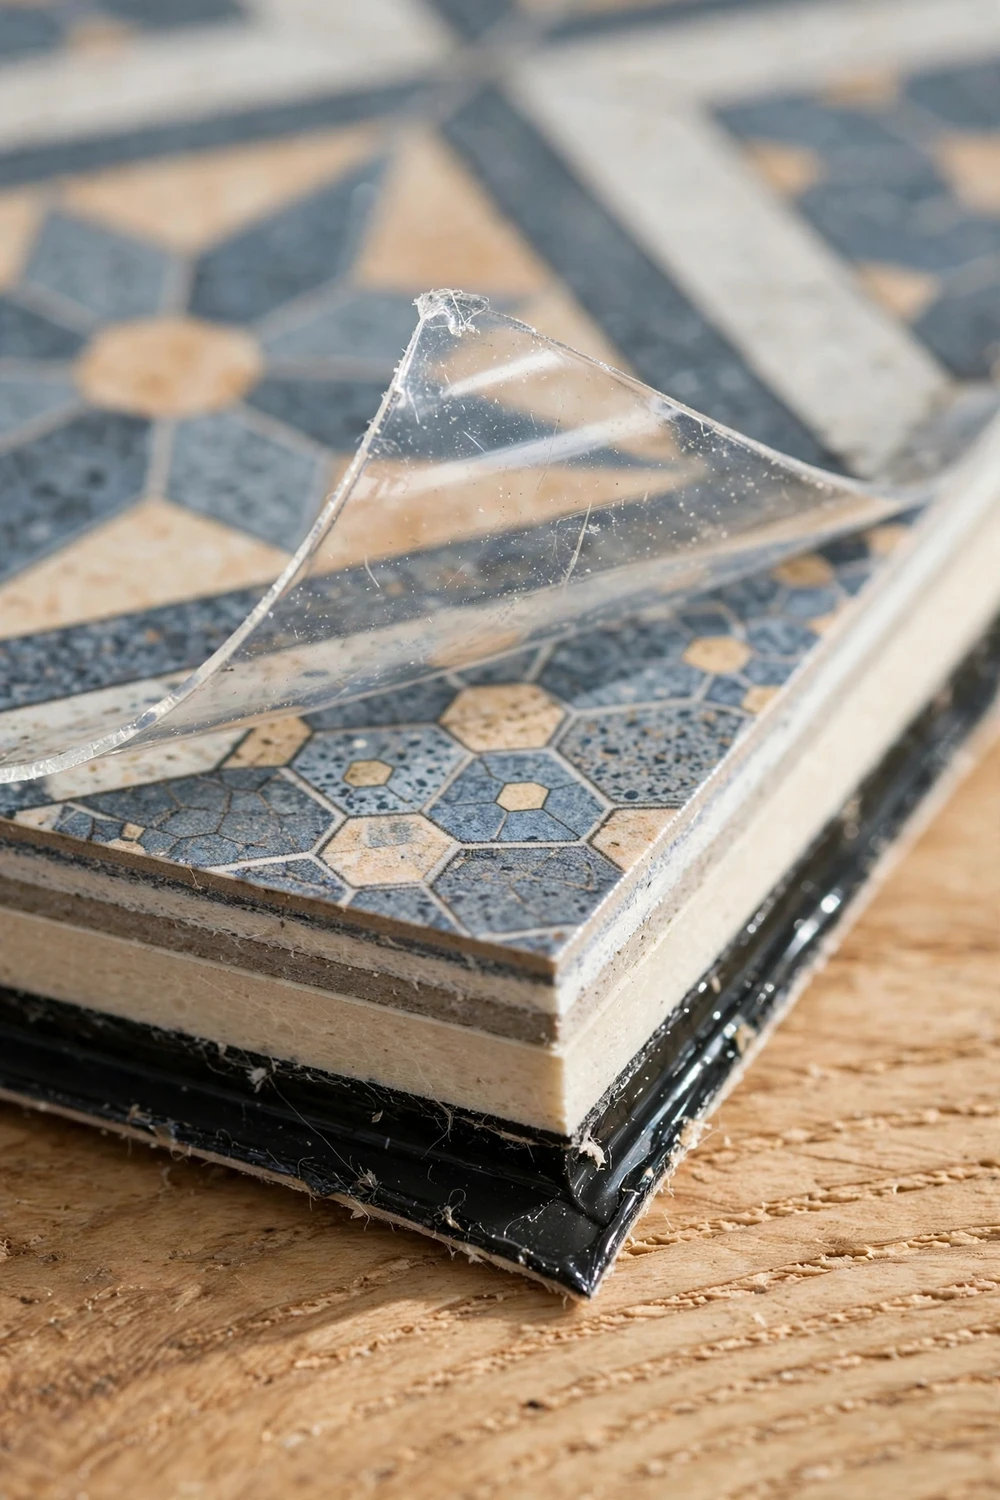
Patterned vinyl tile looks like ceramic, cement or encaustic tile, but it is built very differently. Most peel and stick versions have three main layers. The base is a flexible vinyl body that gives the tile its shape and a little cushion. On top sits a printed film, which is the pattern you see. Over the print is a clear wear layer, a tough transparent coating that takes the foot traffic, the chair legs and the cleaning. Underneath is a pressure sensitive adhesive, covered by a paper backing you peel away before you stick the tile down.
That layered build explains both the appeal and the limits. The print can copy almost any pattern, from Moroccan stars to checkerboard to vintage florals, at a fraction of the price of real tile. The wear layer is what stands between that print and your shoes. Once it thins or scratches through, the print underneath has no protection left, and the pattern starts to fade or scuff. This is why two tiles that look identical in the shop can age very differently.
Tiles are usually 1.2 to 3 mm thick, and most are sold in 12 by 12 inch squares. Thicker does not automatically mean tougher. A thick tile with a thin wear layer will still scratch early, while a thinner tile with a strong wear layer can outlast it in daily use. When you compare products, look for the wear layer rating first, then the overall thickness, then the adhesive quality. If a listing does not state the wear layer at all, treat that as a warning sign and keep looking.
One honest point up front. Patterned vinyl tile is a decorative surface, not a structural floor. It follows whatever is underneath it. A bump, a dip or a crack in the subfloor will show through, sometimes within weeks.
How Long Does Peel and Stick Vinyl Tile Last?
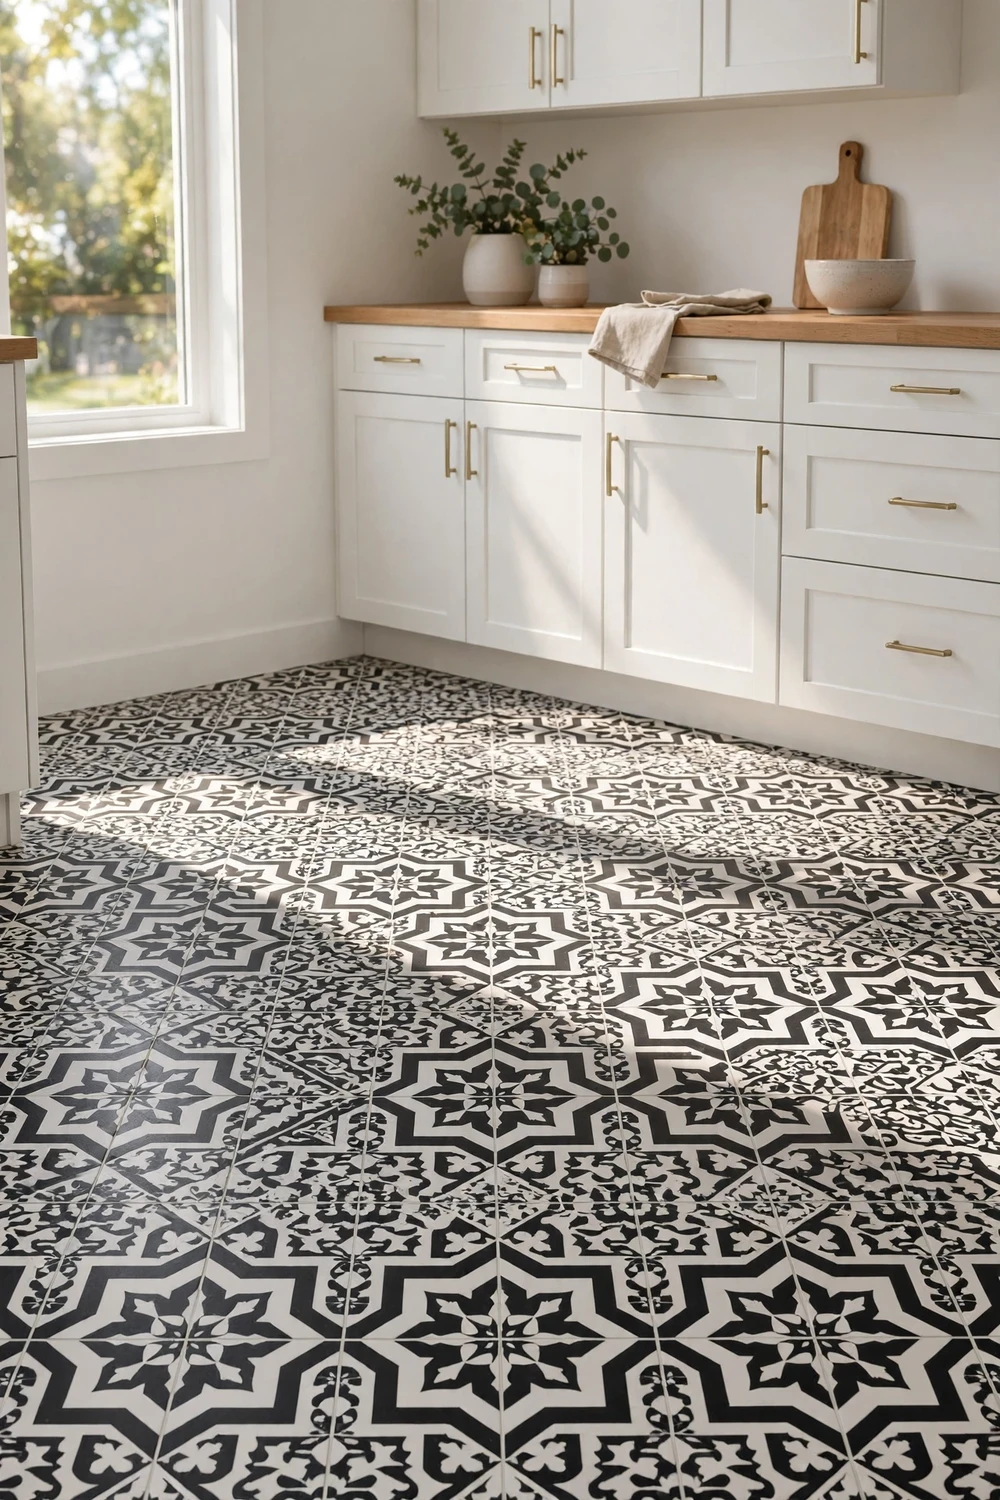
People searching for “peel and stick vinyl tile how long does it last” usually want one number, but the honest answer is a range tied to the room. A guest bathroom that sees a few pairs of feet a day is a very different test from a kitchen where a family cooks, eats and walks through a hundred times a day. Pets, office chairs with hard casters and direct sun all shorten the number.
The table below gives a realistic expectation for each common spot in the house, assuming a tile with at least a 12 mil wear layer and a properly prepared subfloor. Thin tiles with a 6 mil wear layer will sit at the low end of each range, or below it in busy rooms.
| Room | Traffic level | Typical lifespan | Main risk |
|---|---|---|---|
| Guest bathroom | Low | 8 to 12 years | Moisture at seams |
| Main bathroom | Medium | 6 to 10 years | Water splashes, steam |
| Kitchen | High | 5 to 8 years | Scratches, spills, dropped items |
| Entryway and hallway | Very high | 4 to 7 years | Grit, edge curling, wear paths |
| Laundry room | Medium | 6 to 10 years | Water leaks, detergent drips |
| Bedroom or spare room | Low | 10 to 15 years | Sun fading near windows |
Notice how much the room matters. The same tile can last twice as long in a bedroom as it does in an entryway. Buy for the hardest room you plan to cover. If you are tiling a kitchen and a bedroom from the same box, choose the tile that can survive the kitchen.
There is also a difference between looking worn and actually failing. A tile can still be stuck down firmly at year seven while the pattern looks dull in the main walking path. That is wear, and it is normal. Failure means edges lifting, tiles sliding, water getting under the surface, or the print wearing away to the base vinyl.
Where It Wears First
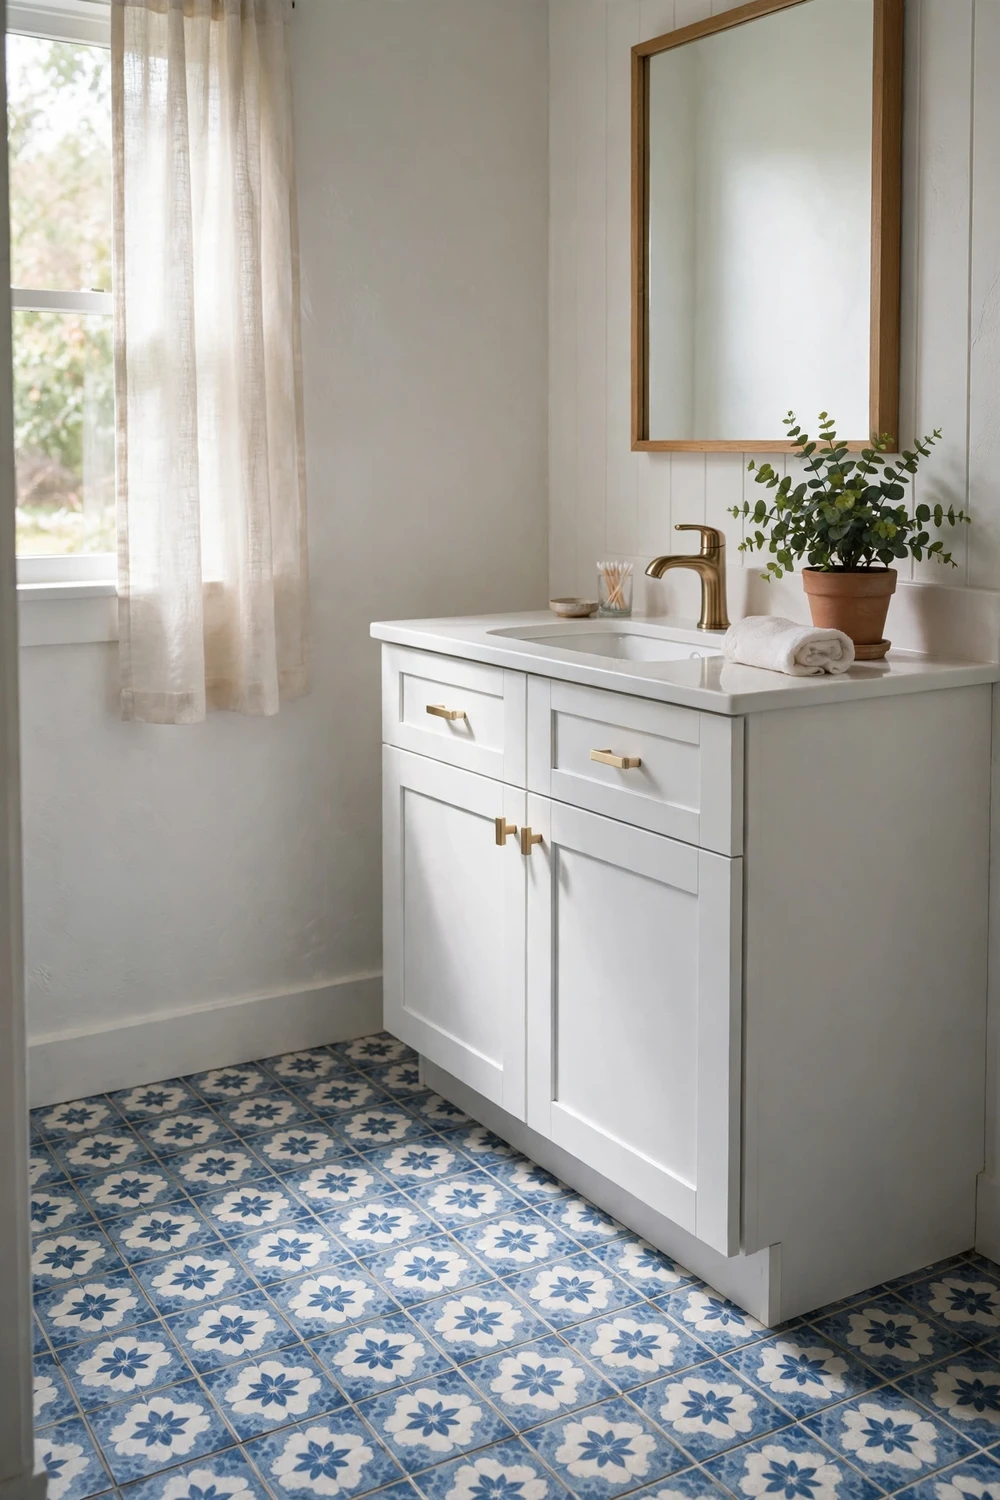
Vinyl tile does not wear evenly. It wears where life happens. The first place to show age is almost always the main walking path. In a kitchen, that is the strip between the sink, the cooker and the fridge, so a clear layout helps, as our step by step kitchen organisation guide shows. In a hallway, it is the centre line where every trip through the house passes. The pattern in that strip goes dull first, then the fine lines of the print start to soften.
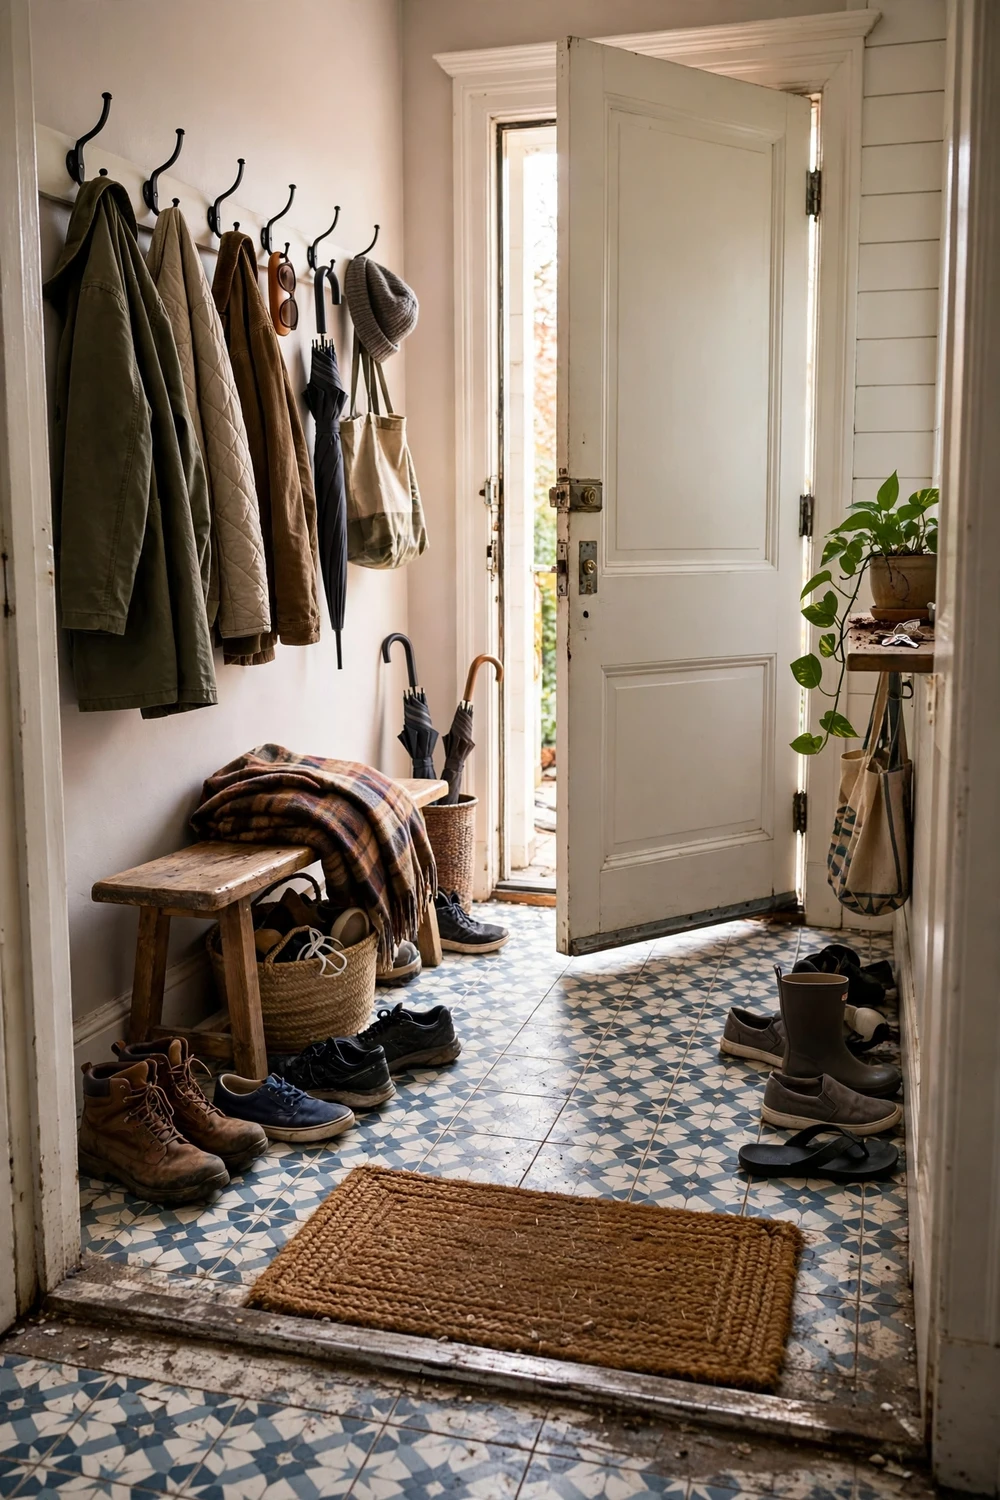
Entries take the hardest punishment. Grit from shoes acts like sandpaper, and every step grinds it into the wear layer. Wet shoes add moisture at the same time, which works at the seams. If your front door opens straight onto vinyl tile, a good doormat is not decoration. It is the cheapest wear layer protection you can buy. A mat outside the door catches the worst grit, and a washable rug inside catches what is left. Shake both out weekly, or the grit they collect becomes part of the problem. Our ideas for entryway decoration for small spaces show how a hardworking entrance can still look welcoming.
Seams and edges are the second weak point. Each tile has four edges, and each edge is a place where water, dirt and lifting can start. In kitchens and bathrooms, water finds seams. A splash that sits on a seam will work its way under the tile edge over time, softening the adhesive. In sunny rooms, the edge nearest the window can dry and curl slightly as heat and UV work on the vinyl. Curling usually starts as a tiny lifted corner you catch with a bare foot. Left alone, it catches dirt, then more water, then it lifts further.
Under chairs and furniture, the wear looks different. Dining chairs dragged across the floor leave fine scratches and small pressure marks. An office chair with hard wheels can leave a worn track in months if it rolls over the same spot every day. Felt pads under chair and table legs are a small job that pays back for years. Heavy appliances should never be dragged across vinyl tile. Lift them, or slide them on a sheet of hardboard.
The Wear Layer Matters More Than Thickness
If you remember one technical detail from this guide, make it this one. The vinyl tile wear layer decides how long the pattern survives. Total thickness is mostly about feel underfoot and about hiding small subfloor flaws. The wear layer is the shield. A tile can be 3 mm thick and still scratch in a year if its wear layer is only 6 mil. A 2 mm tile with a 20 mil wear layer will usually look better at year five.
Wear layers for peel and stick tile commonly run from 6 to 20 mil. A mil is a thousandth of an inch, a standard way to measure thin coatings. For a low traffic room, 6 to 8 mil can be enough. For a kitchen, hallway or family bathroom, aim for 12 mil or more. For a busy entryway or a home with large dogs, 20 mil is worth the extra cost if you can find it in the pattern you want. The price difference between a thin and a thick wear layer is usually small compared with the cost of replacing a floor early.
Manufacturers sometimes describe the wear layer in vague words like heavy duty or commercial grade instead of giving a number. Vague words are not a measurement. Ask for the number, check the specification sheet, or choose a different tile.
UV resistance is part of the same story. Sunlight fades printed patterns over time, and the wear layer often carries the UV protection. A floor that gets strong afternoon sun will fade faster than the same tile in a shaded room, so choose a tile that lists UV resistance and use curtains or blinds during the brightest hours. Heat is the other quiet enemy. Sustained temperatures above about 150F can distort tiles or weaken adhesive, so check the maker’s temperature limits before laying vinyl over a heated floor.
Prep Mistakes That Shorten Its Life
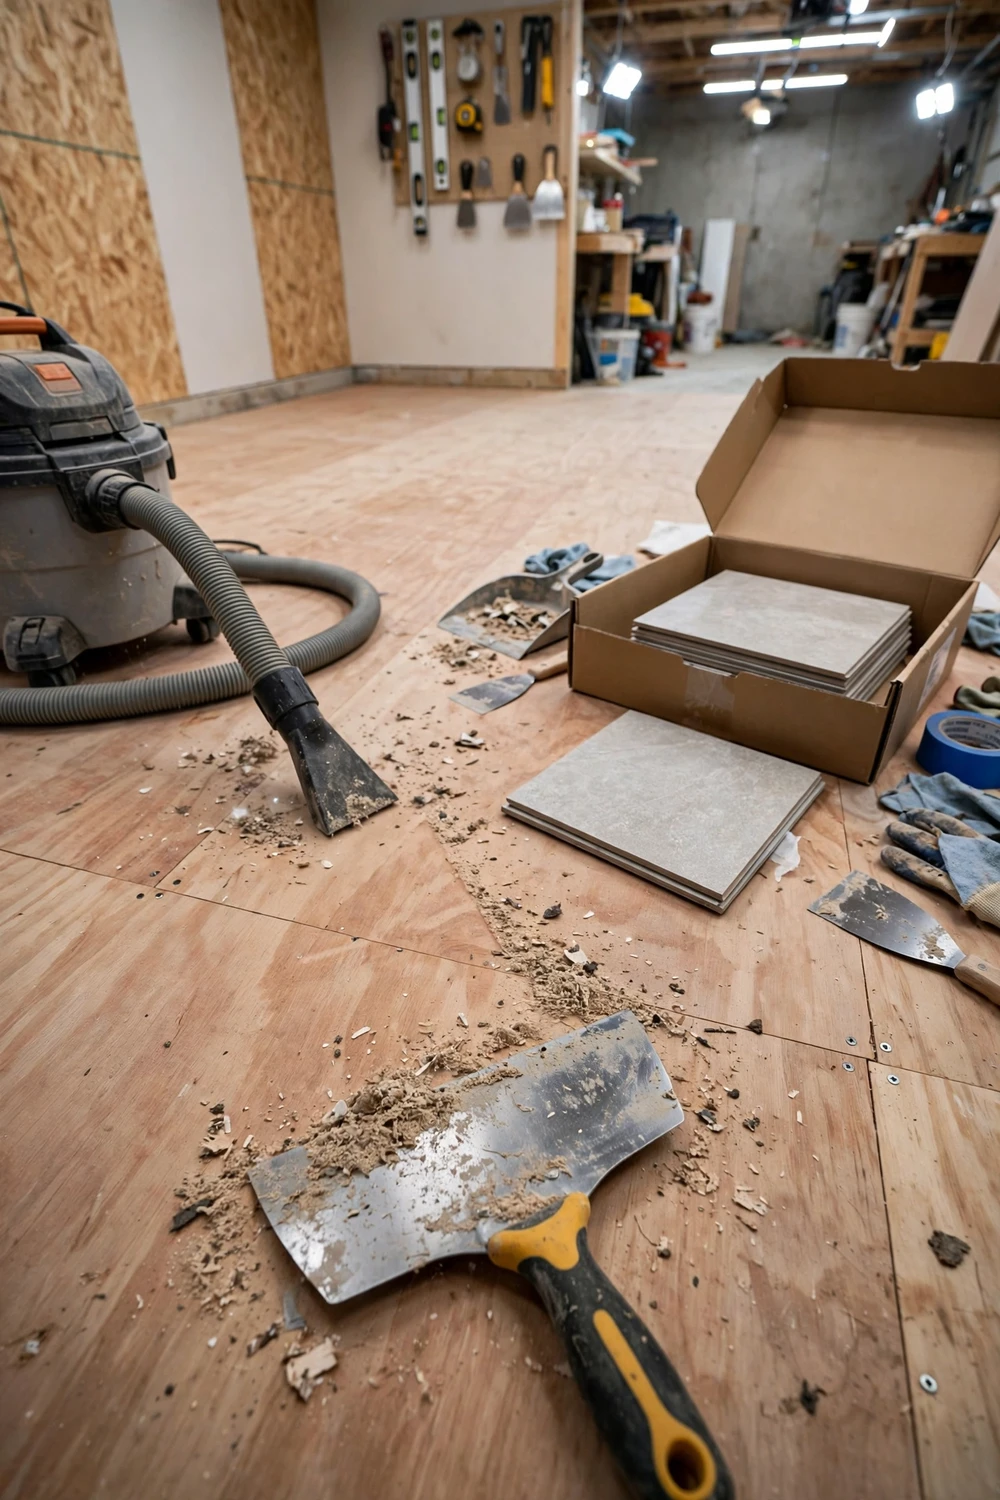
Most early failures of patterned vinyl tile are prep failures, not tile failures. The adhesive on a peel and stick tile is strong, but it needs a clean, dry, smooth and stable surface to grip. Give it dust, damp or grease, and the bond will be weak from the first day, even if the tile looks fine when you press it down.
Dust is the most common culprit. A subfloor that looks clean can still carry a fine layer of dust that stops the adhesive from bonding fully. Sweep, then vacuum with a hard floor head, then wipe with a damp cloth and let the surface dry completely. If you sanded the subfloor, vacuum twice.
Moisture is the second culprit, and it is harder to see. A concrete subfloor can feel dry on top while still holding moisture underneath, especially in a ground floor room or a bathroom. Tape a square of clear plastic to the floor, seal all four edges, and leave it for 24 hours. If condensation forms under the plastic or the concrete darkens, the floor is too damp to tile yet. Let it dry longer, improve ventilation, or fix the moisture source first.
Uneven surfaces cause a different kind of failure. Vinyl tile is flexible, so it follows every dip and ridge. A dip becomes a hollow spot where the tile is not fully supported, and foot traffic flexes it until the adhesive gives way. Fill low spots with a suitable levelling compound, sand down high spots, and check the floor with a long straight edge before you start. The extra hour of levelling is worth more than any premium tile.
Old flooring underneath needs thought too. Peel and stick tile can go over smooth existing vinyl or sealed concrete, but it does not stick well to textured surfaces, loose tiles, or floors with wax and polish residue. Grout lines in old ceramic tile will show through thin vinyl within weeks, a problem often called grout line ghosting. A skim of levelling compound over old tile solves it, but it adds a day to the job. If the old floor is damaged, loose or damp, remove it rather than covering it. Let new tiles sit in the room for at least 24 hours before you lay them, at a room temperature between about 65F and 85F, so they stop expanding or shrinking after installation.
Cleaning Routine That Protects the Wear Layer
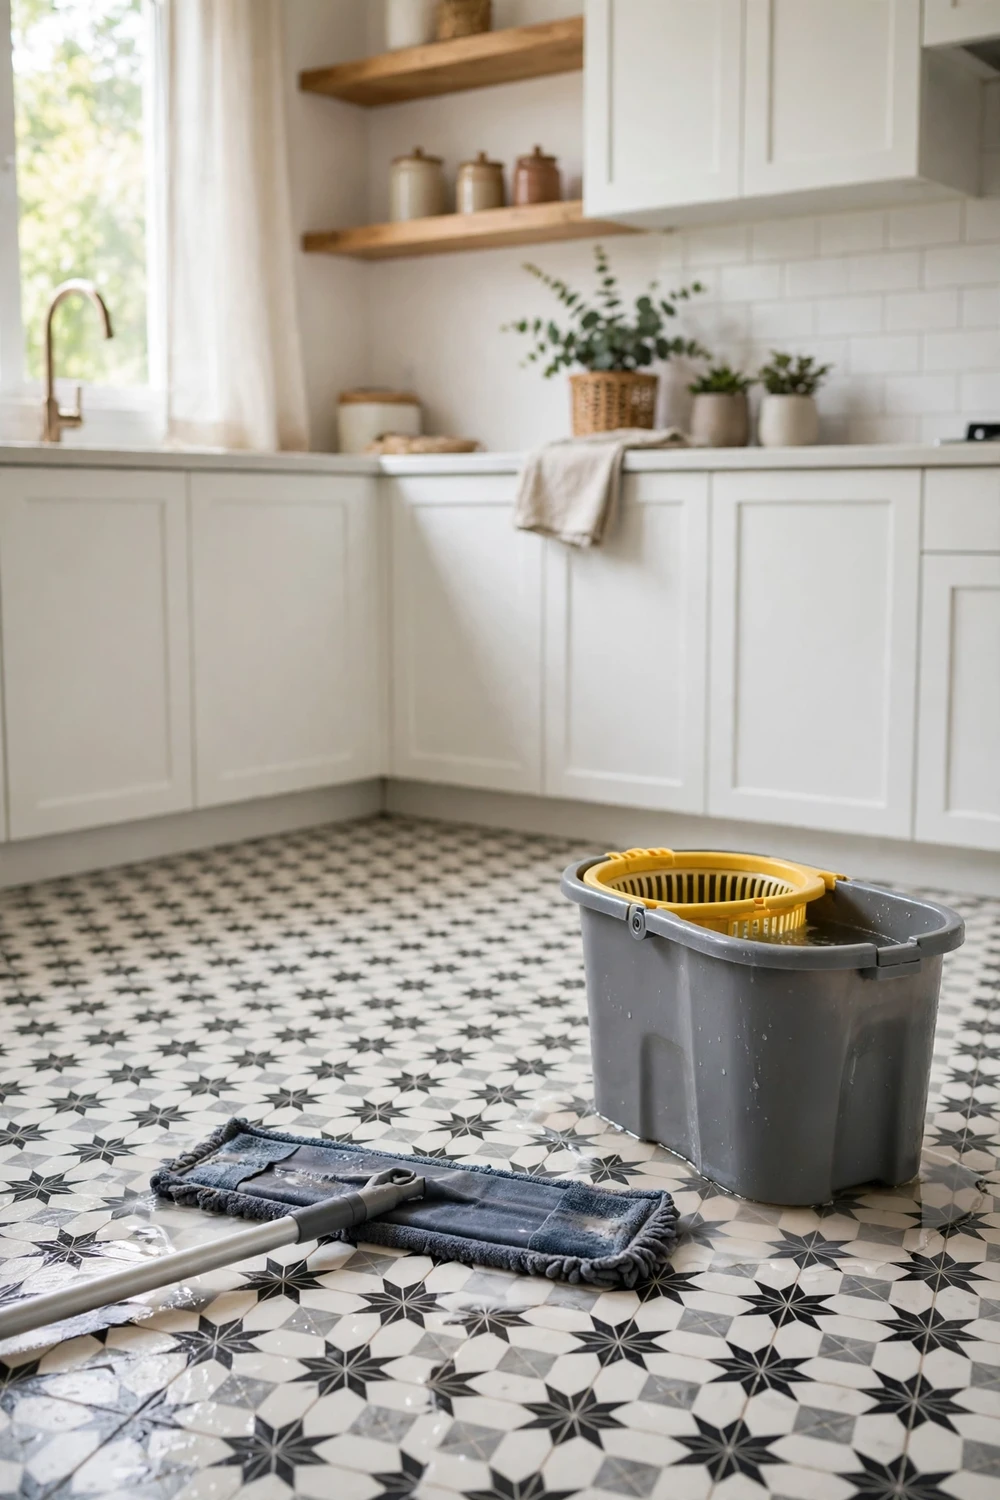
Cleaning is where many vinyl tile floors lose years of life without anyone noticing. The wear layer is tough, but it is not invincible, and the wrong cleaner or the wrong tool wears it down a little every time. The good news is that the right routine is simple, cheap and quick. Gentle cleaning done often beats harsh cleaning done rarely.
Start with dry cleaning. Sweep or vacuum two or three times a week in busy rooms, once a week in quiet ones. Use a soft broom or a vacuum with a hard floor setting and the beater bar switched off. A rotating brush bar can scratch vinyl over time. A microfibre dust mop is a good option for daily use, because it traps fine dust that a broom leaves behind.
For damp mopping, less water is better. Wring the mop out until it is barely damp, then mop in sections and let each section dry before you walk on it. Standing water is the enemy, not because vinyl itself absorbs water, but because water sits on seams and works its way under the edges. A flat mop with a washable microfibre pad is ideal.
Use a pH neutral floor cleaner made for vinyl, or a small amount of mild dish soap in warm water. Avoid bleach, ammonia based cleaners, abrasive powders and scouring pads. They can cloud the wear layer, strip its finish, or leave a residue that makes the floor look dull. Avoid oil based cleaners and wax polishes too, because they leave a slippery film.
Deal with spills straight away, especially in the kitchen. Blot rather than scrub, and use a soft cloth. For scuff marks from shoes, a tennis ball or a soft eraser rubbed gently over the mark often lifts it without chemicals. Test any new cleaner on a spare tile or a hidden corner first. Keep steam mops away from vinyl. Their heat and moisture can soften the adhesive and push water into seams, and many tile makers specifically warn against them.
Repair or Replace: How to Decide
A single damaged tile is not a reason to replace a whole floor. One of the real strengths of patterned vinyl tile is that repairs are small, cheap and local. If you kept spare tiles from the same batch, a repair can take under half an hour and be almost invisible. Keep at least four or five spare tiles, plus a note of the brand, pattern name and batch number, in a dry place.
For a lifting corner, clean under the lifted edge first. Slide a thin card under the corner, brush out dust, and wipe with a damp cloth. Let it dry fully, then apply a small amount of vinyl floor adhesive or double sided vinyl tile tape made for this purpose, press the corner down firmly, and weigh it down with books or a heavy box for several hours. Do not use superglue or general purpose glue, because it can stain the tile and makes future removal much harder.
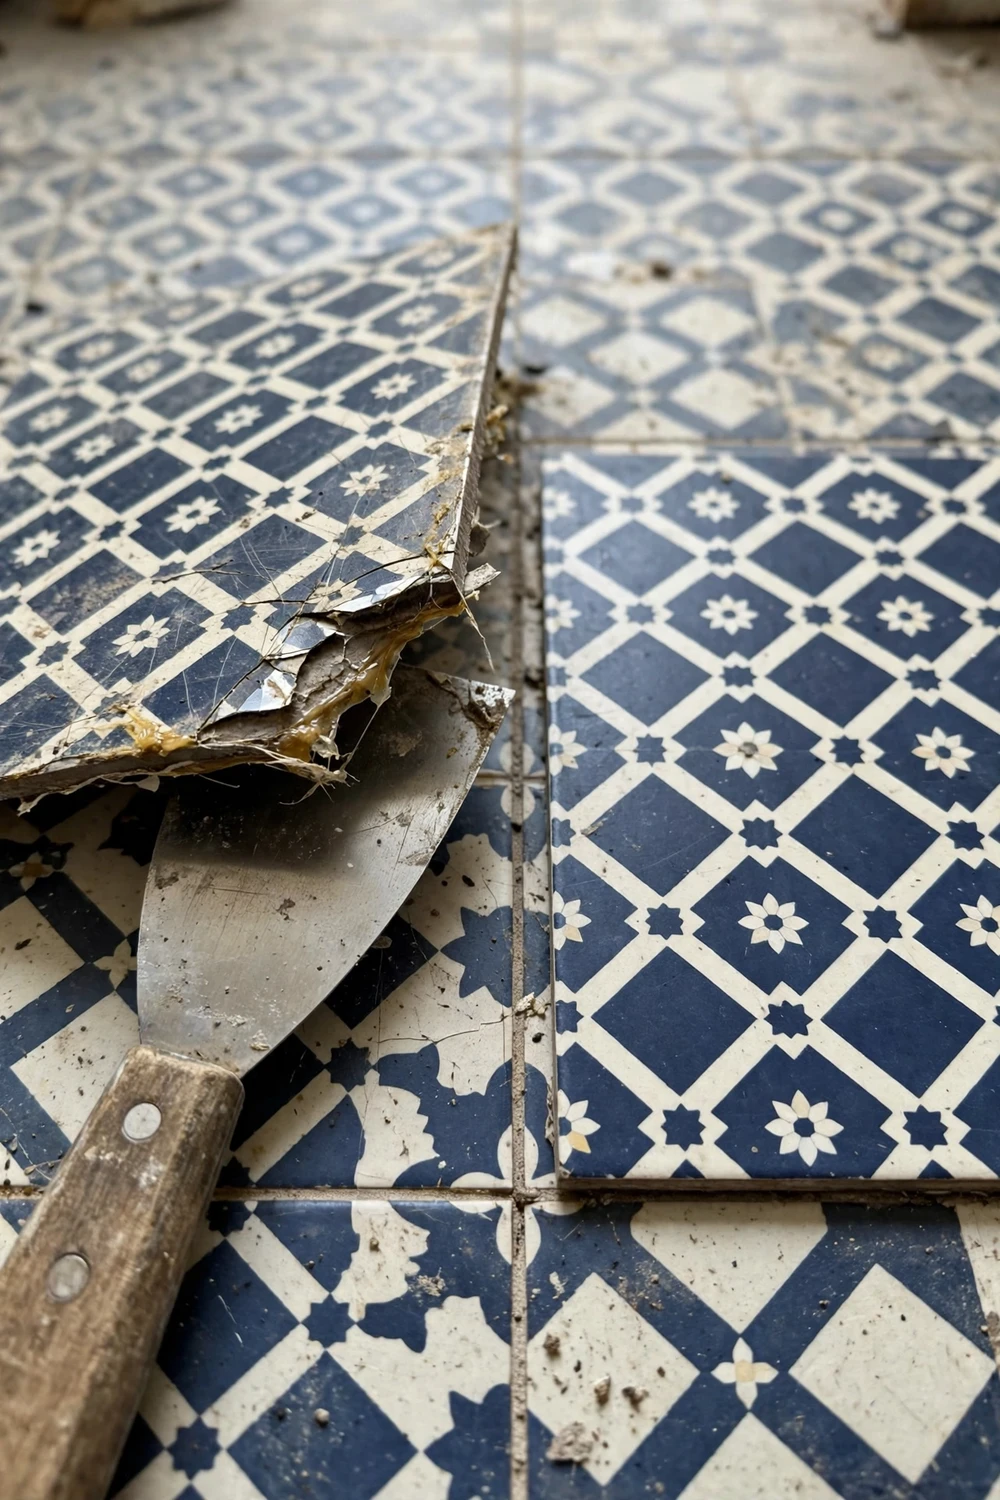
For a scratched or stained tile, try cleaning first. A gentle clean may remove what looks like a stain. If the wear layer itself is scratched through to the print, cleaning will not fix it, and replacement is the honest answer. To replace a tile, warm it gently with a hair dryer on a low setting to soften the adhesive, then work a putty knife under one corner and lift slowly. Clean the subfloor underneath, removing old adhesive and dust, and let it dry. Test fit the new tile, peel the backing, press it into place from the centre outward, and roll it firmly.
Replace rather than repair when the damage is widespread. If several tiles are lifting, if water has got under a whole section, or if the pattern is worn away across the main walking path, patching one tile at a time becomes a losing battle. Lift the worn section, check the subfloor for damp or damage, fix the cause, and re-tile the area. If more than about a third of the floor is affected, a full replacement is usually faster and looks better than a patchwork of old and new tiles. Also replace when the subfloor has failed. A soft spot, a swollen patch of plywood, or a concrete floor that stays damp will defeat any new tile you put on top of it, so fix the subfloor first.
Patterned Vinyl Tile vs Other Floors
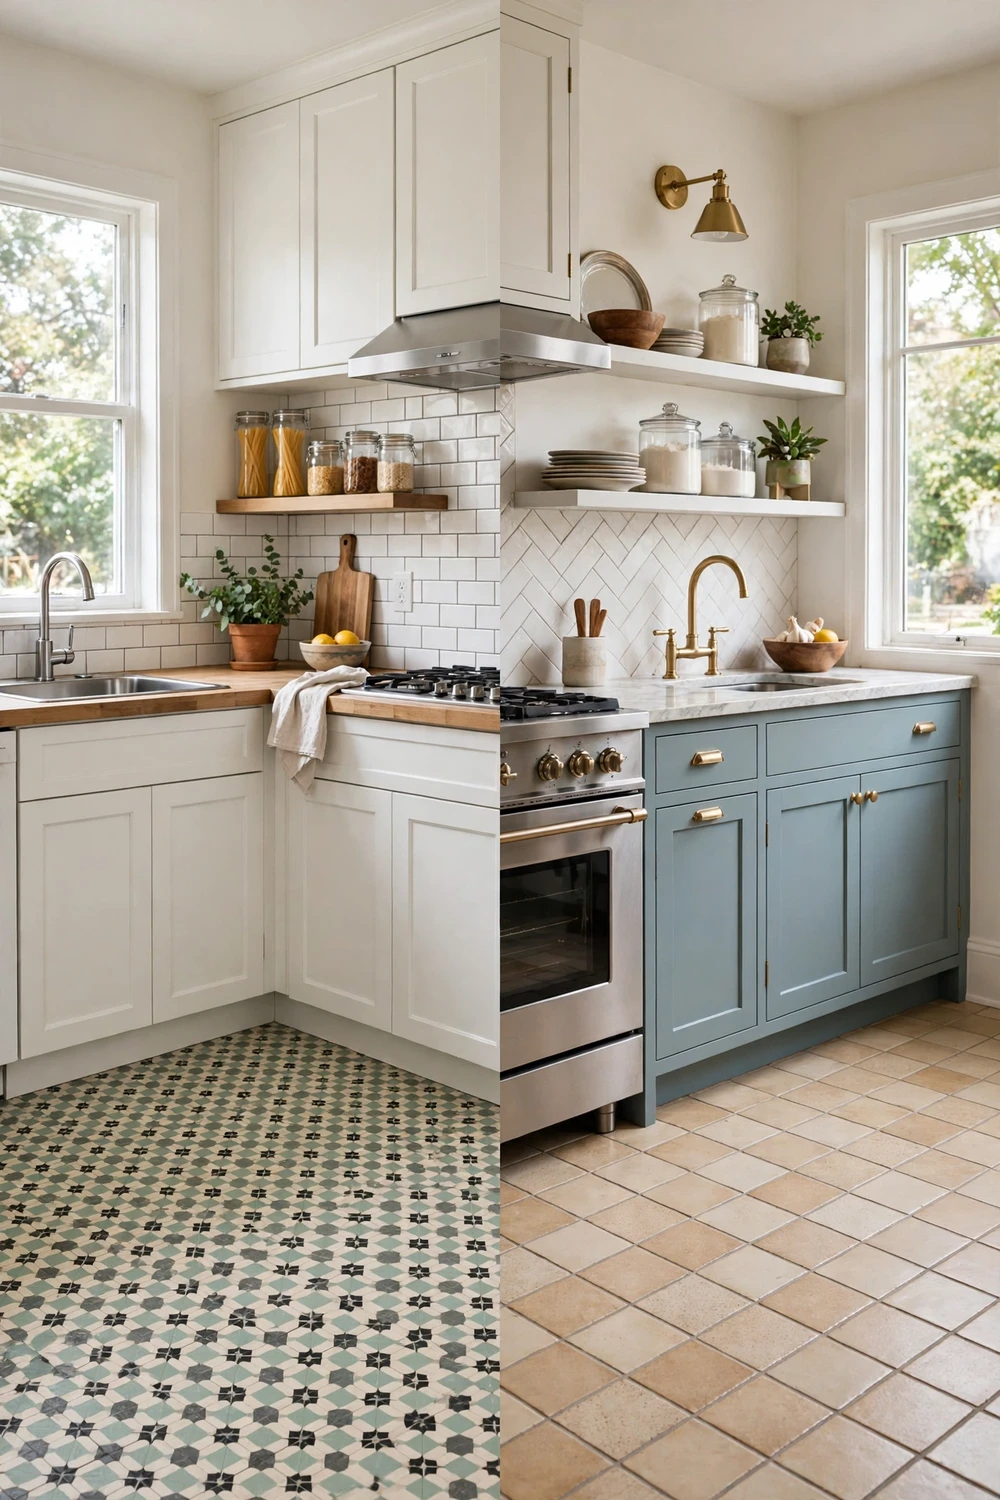
Cost is a big reason people choose patterned vinyl tile, but cost alone is a poor way to compare floors. A cheap floor that lasts four years can cost more per year than a pricier floor that lasts fifteen. The table below compares typical material prices and realistic lifespans. Prices are typical ranges for materials only, before labour, underlay or adhesive, and they vary by region and retailer.
| Floor type | Typical material cost per sq ft | Typical lifespan | Best for |
|---|---|---|---|
| Peel and stick vinyl tile | $0.80 to $3.50 | 5 to 10 years | Budget refresh, rentals, DIY |
| Luxury vinyl tile (click) | $2.50 to $7.00 | 15 to 25 years | Long term family homes |
| Sheet vinyl | $1.00 to $4.00 | 10 to 20 years | Bathrooms, fewer seams |
| Ceramic tile | $3.00 to $15.00 | 20 to 50 years | Permanent kitchens and baths |
| Porcelain tile | $4.00 to $20.00 | 25 to 50 years | High traffic, wet areas |
On a per year basis, peel and stick vinyl tile is still the cheapest way to get a patterned floor, especially if you install it yourself and skip labour costs. A kitchen of 100 square feet at $2 per square foot costs about $200 in materials. Spread over seven years, that is under $30 a year for a floor that changes the whole look of the room. Ceramic tile for the same kitchen could cost $800 or more in materials alone, plus labour, but it could last decades. Our comparison of marble vs marble effect tiles makes a similar point about looks versus longevity.
For renters, peel and stick vinyl tile has a clear edge, because it can often be removed without damaging the floor underneath, provided the original floor was sound and the tile was not glued down with extra adhesive. Check your tenancy agreement first, and test removal on one tile in a hidden spot before you commit to a whole room.
Mistakes to Avoid
Most regrets with patterned vinyl tile come from a short list of avoidable mistakes. Run through them before you buy. Finally, expect a budget material to behave like a budget material. Patterned vinyl tile is a wonderful tool for a fresh look on a modest budget, but it is not ceramic tile and it will not last like ceramic tile. Judge it on its own terms, care for it properly, and it will reward you with years of good service.
- Buying on pattern alone. A beautiful pattern with a 6 mil wear layer will disappoint in a kitchen. Check the wear layer rating before you fall in love with the print.
- Skipping subfloor prep. Clean, dry, level and smooth is not a suggestion. It is the foundation of the whole floor. Tile half the room properly rather than the whole room badly.
- Laying tiles straight from a cold delivery van or a hot car boot. Let the tiles acclimatise in the room for a day, or gaps can open at the seams as they settle.
- Butting tiles too tightly or leaving them too loose. Tiles should sit snugly with no visible gap and no overlap. Dry lay a few rows first to check the fit before you peel any backing.
- Using the wrong cleaner. Bleach, abrasive powders and steam mops all damage vinyl in different ways. Keep a pH neutral vinyl cleaner in the cupboard and use it.
- Dragging furniture and appliances. Lift, or slide on hardboard. A single drag can tear the wear layer on several tiles at once.
- Tiling over a problem and hoping it stays hidden. Damp, loose old flooring and swollen plywood do not improve under vinyl. Fix the problem first.
- Buying exactly the number of tiles you need. Always buy 10 percent extra, more for awkward corners. The extra tiles cover cutting waste, mistakes and future repairs.
Frequently Asked Questions
How long does peel and stick vinyl tile last?
In ordinary residential use, peel and stick vinyl tile typically lasts 5 to 10 years. Low traffic rooms can reach 10 to 15 years with a thicker wear layer, while a busy kitchen or entryway with a thin tile may show wear in 3 to 5 years.
What wear layer should I choose for a kitchen floor?
Choose 12 mil or more for a kitchen. A 6 to 8 mil wear layer is fine for a spare room or a guest bathroom, but a kitchen needs stronger protection against scratches, dropped items and constant foot traffic.
Can patterned vinyl tile go in a bathroom?
Yes, it can work well in a bathroom, provided the subfloor is dry and the seams are tight. Wipe up splashes promptly, keep water from sitting on seams, and use a bath mat outside the shower or tub. Avoid steam mops and harsh cleaners, and check edges regularly for lifting. Our budget bathroom remodel guide has more ideas for pairing a new floor with the rest of the room.
Why are my vinyl tiles curling at the edges?
Edge curling usually comes from weak adhesion, moisture under the tile, heat, or a dusty subfloor. Clean under the lifted edge, let it dry, and re-stick it with vinyl floor adhesive or tile tape. If several tiles are curling, check for damp in the subfloor or a heat source nearby.
Can I lay vinyl tile over old tile or old vinyl?
You can lay it over smooth, sound existing vinyl or sealed concrete, but grout lines in old ceramic tile will show through thin vinyl unless you level over them first. Do not lay over loose, damaged or damp flooring. Remove a failing floor and fix the subfloor before you start.
How do I clean patterned vinyl tile without damaging it?
Sweep or vacuum regularly with a hard floor setting, then damp mop with a well wrung microfibre mop and a pH neutral vinyl cleaner or a little mild dish soap. Avoid bleach, ammonia, abrasive cleaners and steam mops. Wipe spills up quickly and use felt pads under furniture.
Our Honest Take: Buy the Wear Layer, Not Just the Pattern
Patterned vinyl tile earns its place in a home when you buy it with open eyes. It is affordable, it is genuinely DIY friendly, and it can change a tired kitchen or bathroom in a weekend. It is not a lifetime floor. Five to ten good years from a floor that costs a few hundred pounds or dollars in materials is a fair deal.
If you take one practical step from this guide, make it the wear layer check. Before you order, find the number. If it is 12 mil or more, you are buying durability as well as pattern. If the seller cannot tell you the number, choose a different tile. Then give that tile a clean, dry, level floor to stick to, keep a few spares in a cupboard, and clean it gently and often.
Start small if you are unsure. Tile a bathroom or a laundry room first, live with it for a few months, and see how it handles your household. You will learn more from one small room than from any number of reviews. For more budget friendly ideas that pair well with a new floor, browse our DIY textured paint ideas and our renter friendly upgrades, both good next steps once the floor is down and looking its best.