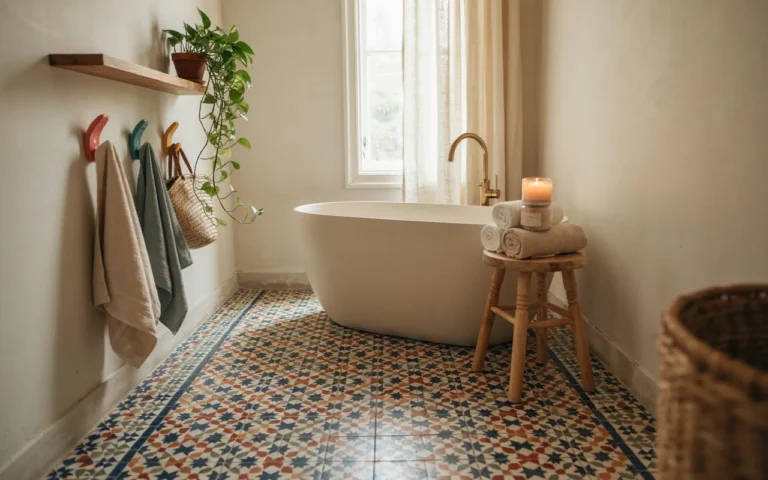
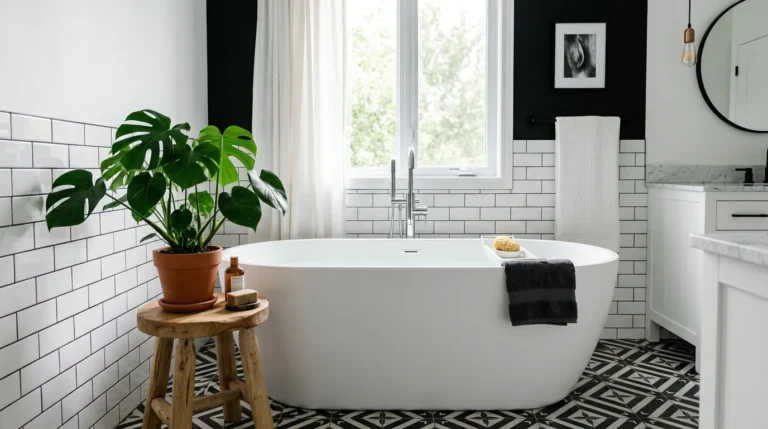
A DIY tub and tile paint job typically lasts 3 to 5 years when the prep is thorough and the paint is allowed to cure fully. Professional refinishing usually lasts longer, often 5 to 15 years, because the coating is harder and the preparation is more complete. The surface matters as much as the paint. A painted sink or a tub wall that only sees splashes will outlast a painted shower floor that stands in hot water every day.
If you are hoping for a permanent fix, painted fixtures are not that. They are a smart middle step, buying several good years for a fraction of replacement cost, and they work best on fixtures that are sound but dated or stained. They fail fastest where water pools, where the surface flexes, or where the prep was rushed.
Which Paints Actually Survive Water
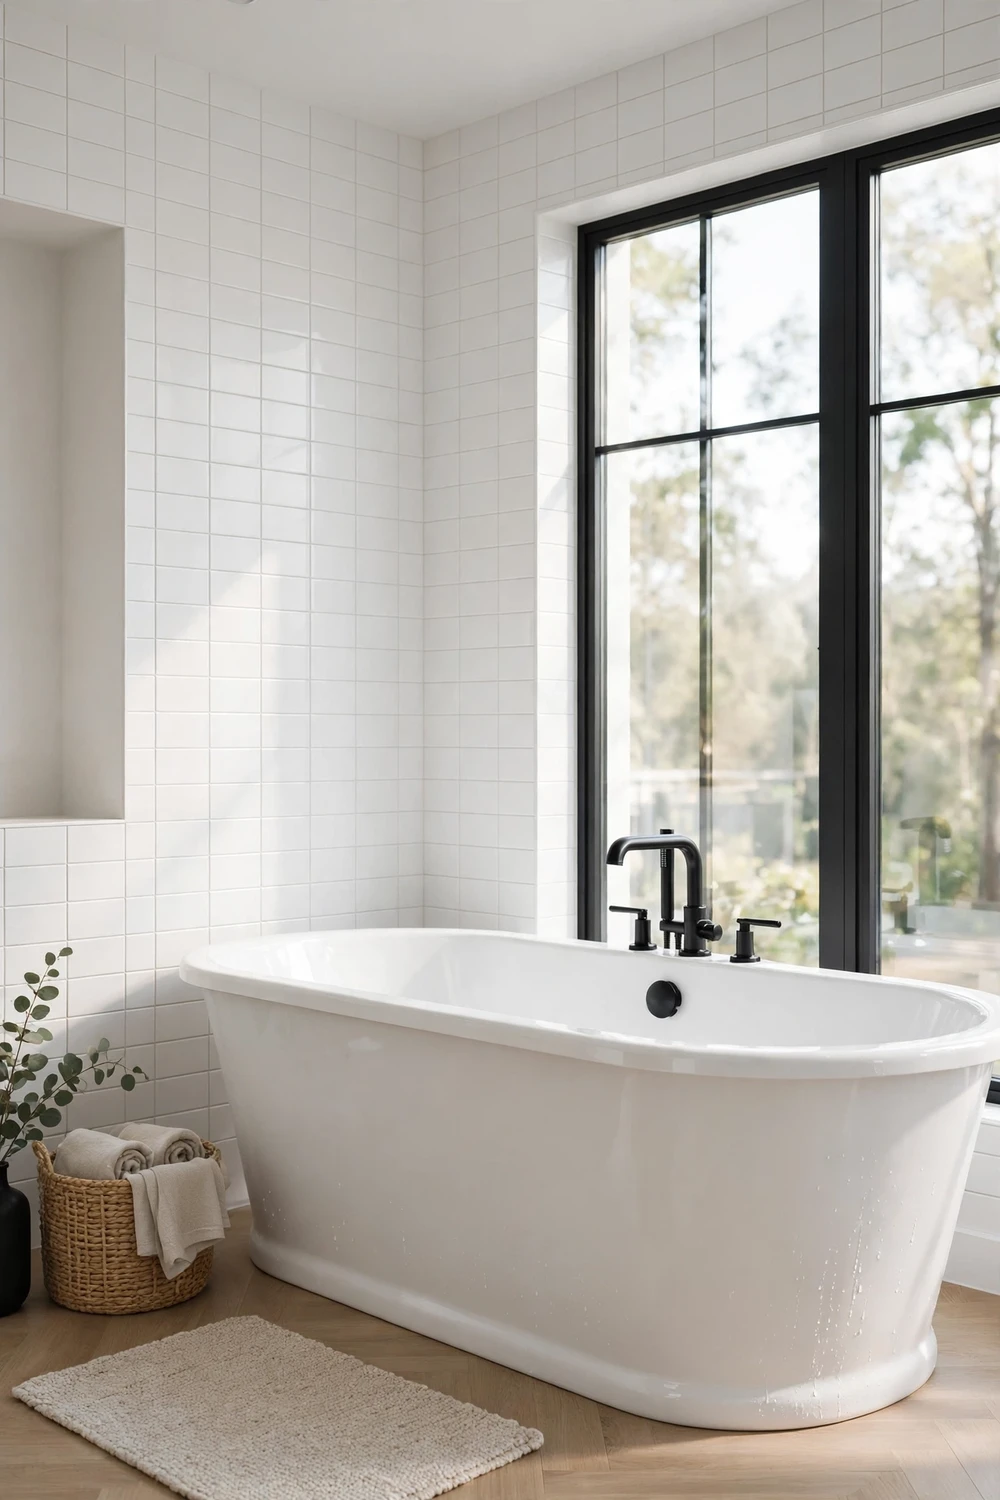
Not every paint sold for bathrooms can handle a tub or a sink. The label matters more than the brand name on the front of the tin. A paint that works well on a bathroom wall can soften and peel within weeks on a surface that sits under hot water.
Two-part epoxy coatings are the most durable option for fixtures. They come as two components that you mix together, and once they harden they form a tough, water-resistant skin. This is the type of coating professionals use, and it is the closest a DIY job gets to a professional result. The trade-off is that epoxy is less forgiving. It has a limited working time once mixed, the fumes are strong, and you need good ventilation and a respirator.
One-part acrylic or latex paints marketed as tub and tile paint are easier to use. They brush or roll on like ordinary paint, they smell less, and they clean up with water. But they are softer when cured, and hot water softens them further. On a sink backsplash or a decorative tile border they can do fine. On a tub floor or inside a shower they tend to peel sooner, sometimes within a year.
When you read a label, look for a few specific things. It should say it is made for tubs, tile or porcelain, and it should give a full cure time, not just a drying time. It should also name the primer to use with it, and that primer is not optional. If the label talks only about walls and ceilings, put it back on the shelf.
How Long Paint Lasts on Each Fixture
Asking how long painted bathroom fixtures last has no single answer, because a sink and a shower floor live very different lives. The table below gives typical ranges for a well-prepared DIY job using a suitable coating. Think of these as honest expectations, not promises. A lightly used guest bathroom will beat these numbers, while a busy family bathroom will test them.
| Surface | Typical DIY lifespan | What wears it down first |
|---|---|---|
| Bathroom sink basin | 3 to 5 years | Hot water, toothpaste, dropped items, harsh cleaners |
| Bathtub (walls and sides) | 3 to 5 years | Standing water, bath oils, suction-cup mats |
| Bathtub floor | 2 to 4 years | Foot traffic, hot water pooling, mats and scrubbing |
| Bathroom countertop | 3 to 5 years | Heat from styling tools, cosmetics, water rings |
| Shower wall tiles | 3 to 5 years | Constant moisture, soap residue, grout movement |
| Shower floor and tub surround base | 1 to 3 years | Standing hot water, foot traffic, flexible grout lines |
| Tile backsplash (dry areas) | 5 years or more | Very little wear, mainly cleaning and splashes |
Professional refinishing shifts these numbers upward, often to 5 to 15 years, because the coating is sprayed on and the surface is primed with industrial products. Even a professional finish will not last forever on a shower floor, though. Water always wins in the end.
Painted Sink Durability: What to Expect
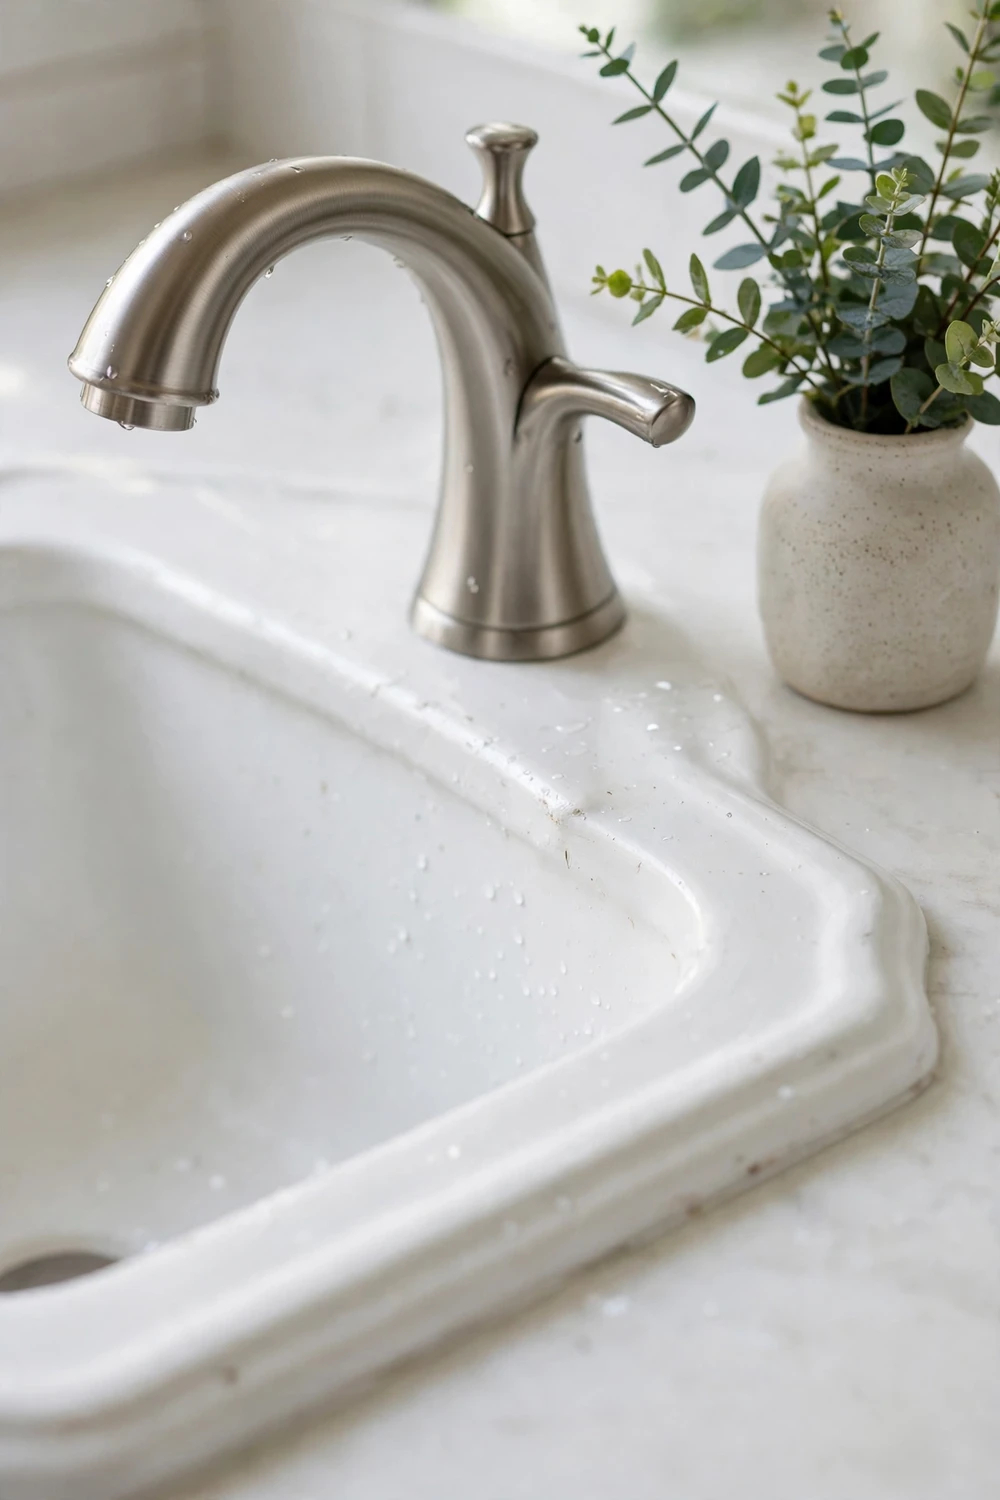
A painted sink is one of the better candidates for this project. The basin is small, the water drains away quickly, and the surface does not carry foot traffic. Most wear comes from daily habits rather than from the water itself.
Hot water is the first test. A sink sees short bursts of hot water for washing hands and brushing teeth, not the long soak a tub gets. That works in your favour. What hurts a painted sink is what sits in it and what gets dropped into it. Toothpaste and mouthwash leave residue that can dull the finish if left to dry, and a dropped hairdryer or a heavy soap dispenser can chip the paint at the rim.
The drain area is usually the first place to show wear. Water collects around the drain, and the metal fitting expands and contracts slightly with temperature changes. Tiny cracks can open at that joint, and water creeps underneath the paint. When you prep a sink, clean and sand the area around the drain and the overflow well, and make sure the primer reaches right up to the metal edge.
With gentle cleaning and a little care, a painted sink holds up well for 3 to 5 years. When it does start to wear, the damage is usually small and local, a chip at the rim or a dull patch near the drain. Those spots are easy to touch up, and a small repair can add another year or two.
If you are planning a wider refresh, it helps to think about the whole room at once. A painted sink looks its best when the rest of the bathroom feels considered too, and there are plenty of dream bathroom designs for small and large spaces that show how a simple basin can anchor a whole look. Small rooms benefit most, because one changed fixture shifts the feel of the entire space, as these apartment bathroom decorating ideas without drilling show for renters and small-space owners.
Painted Bathtubs: Where the Paint Holds and Where It Lets Go
The tub is the fixture most people paint, and it is also the one that asks the most of the paint. It holds hot water for long periods, it carries body weight, and its floor takes direct foot traffic.
The walls and the outer sides of a tub are the easy part. They get splashed, not soaked, and they rarely take a direct hit, so paint there often looks good for the full 3 to 5 year range. The floor is a different story. Every bath leaves hot water standing on it, and every person who steps in stands on the same few spots. That combination of heat, weight and water shortens the life of paint on a tub floor to around 2 to 4 years.
Suction-cup bath mats are the single biggest enemy of a painted tub floor. When you pull the mat up, the suction can lift the paint clean off, and even a mat that stays in place traps moisture underneath it, which softens the coating over time. If you need grip in a painted tub, use a mat that hangs over the side or a non-slip treatment made for refinished surfaces. Never stick suction cups to fresh paint.
Bath products matter too. Bath oils, bubble bath and bath salts leave a film that dulls the finish. Rinse the tub with clean water after every bath and wipe it down once a week. It takes two minutes and it makes a real difference to how long the finish stays bright.
Painted Bathroom Counters: The Everyday Test
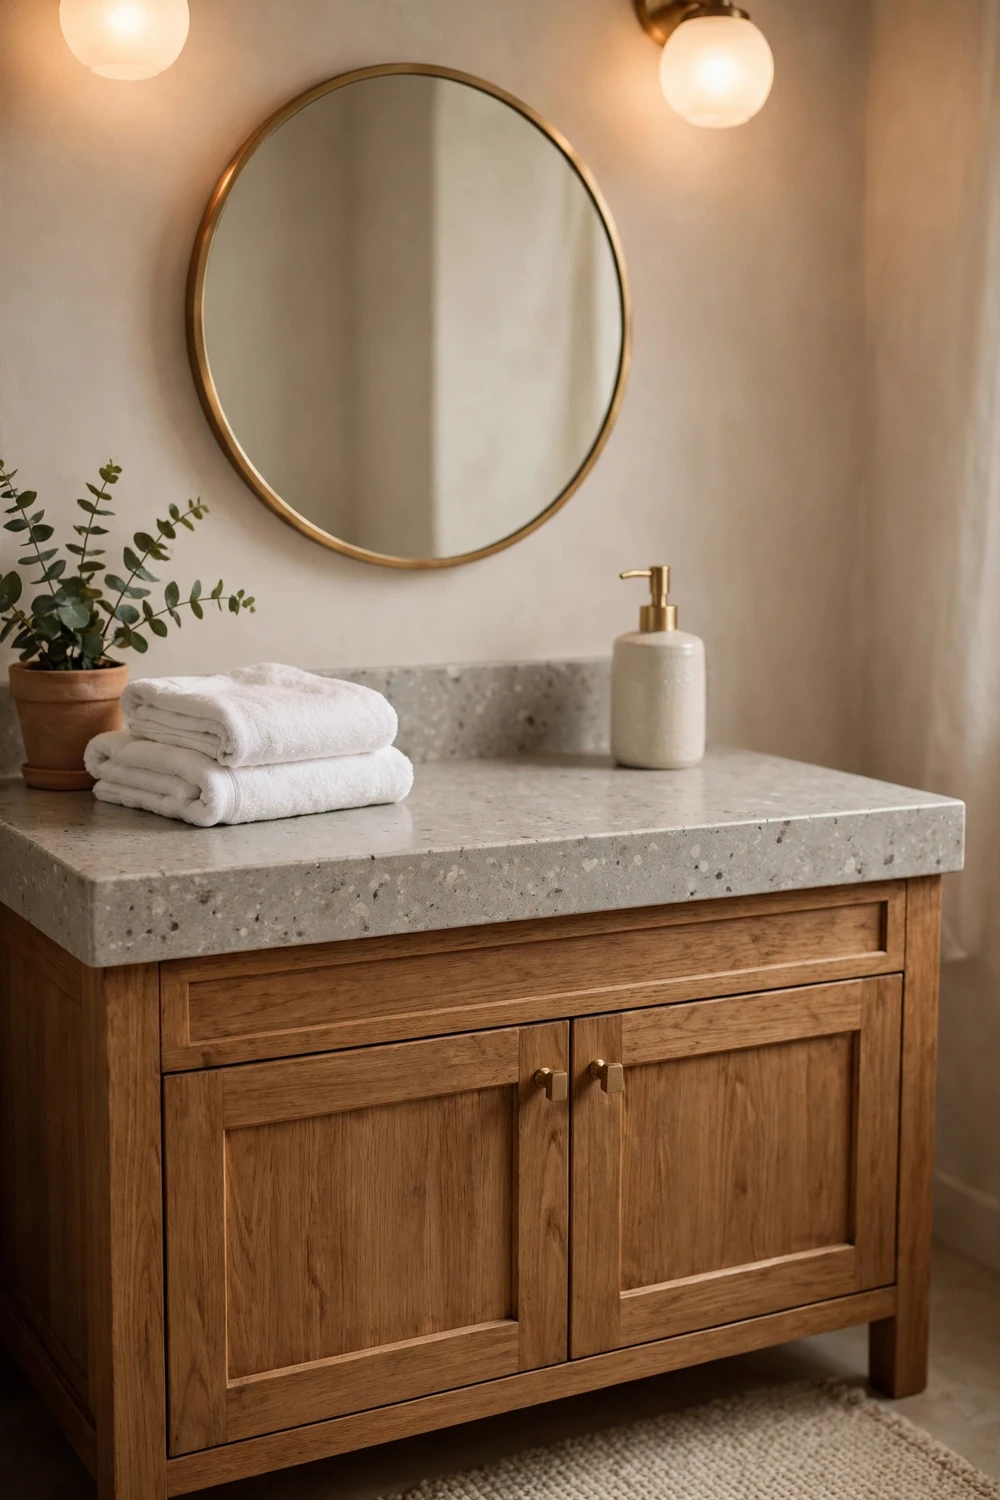
A painted bathroom countertop faces a different kind of wear from a tub. It does not sit under water, but it takes constant small knocks. Hairdryers, curling irons, perfume bottles, make-up and toothpaste all land on it daily.
Heat is the main risk. A hot styling tool left on a painted counter can scorch or soften the finish, even through a mat, so use a heat-proof rest and never set a hot iron directly on the paint. Water rings are the second risk. A wet glass or a damp soap dish left in the same spot will leave a pale ring over time, so wipe up standing water rather than letting it dry on the surface.
The front edge of the counter wears first, because it catches hips, belts and cleaning cloths. A small chip there is easy to live with and easy to repair, but it will probably be the first sign of age. The area around the tap is the second wear point. Water splashes there, and a slow drip keeps it wet.
Most painted countertops last 3 to 5 years with normal care. Laminate counters take paint particularly well, because the surface is stable and easy to sand. Cultured marble and solid surface counters also work, provided the surface is cleaned and sanded properly. A countertop with deep chips or a cracked edge is a weaker candidate, because paint will not fill structural damage.
Shower Walls, Shower Floors and Tile: The Honest Limits
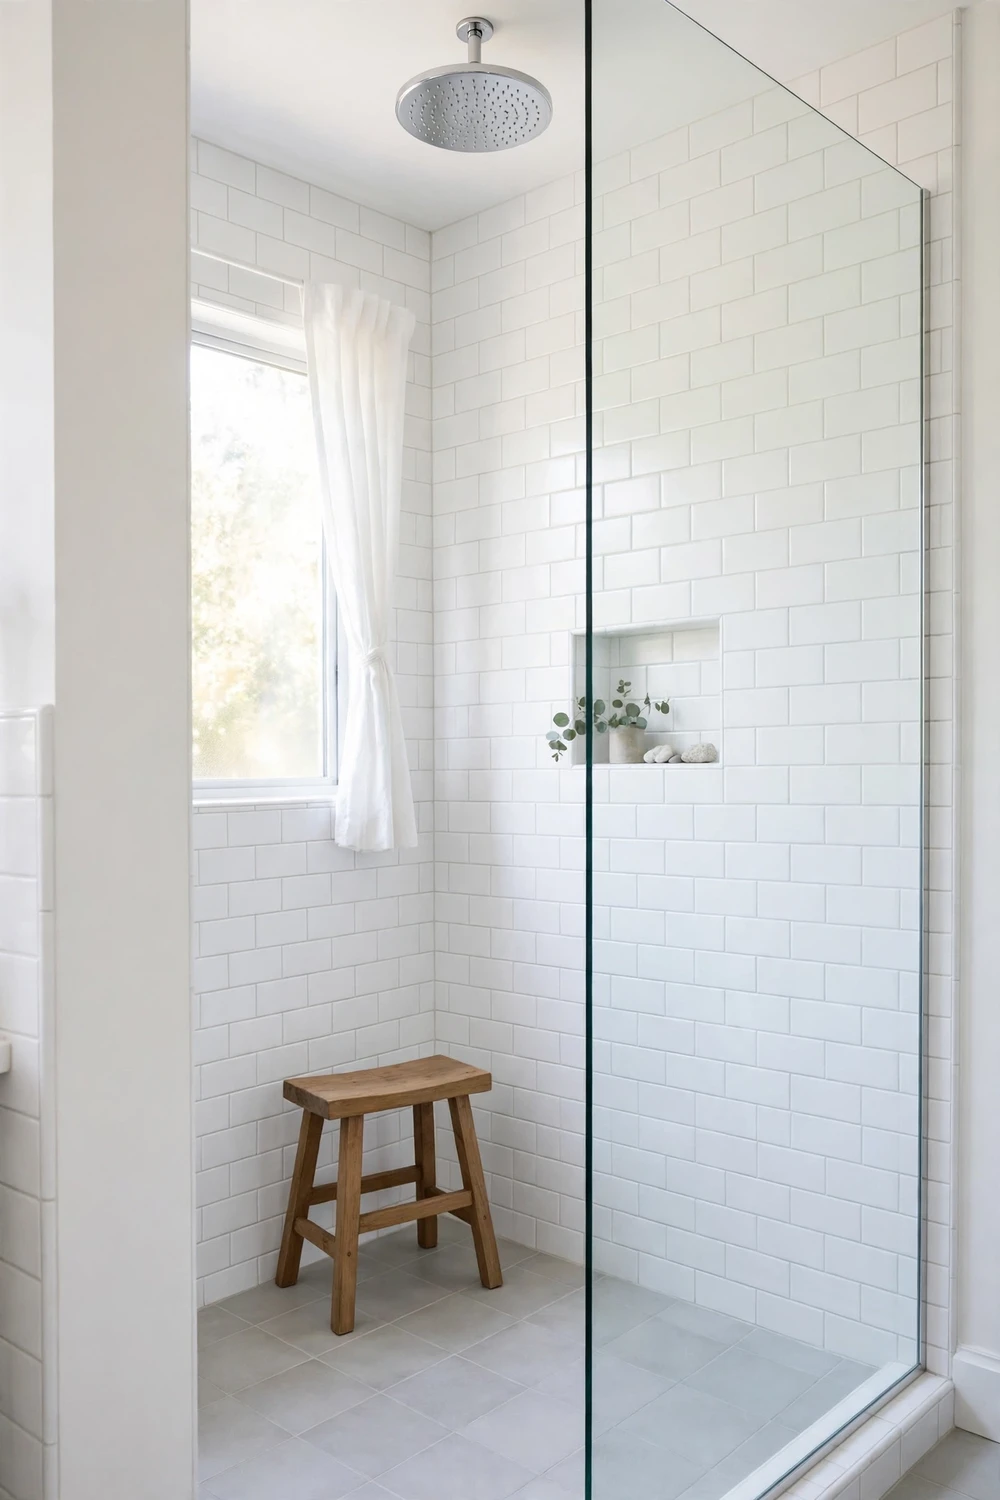
Painted tile is where expectations need the most care. Tile itself is a good surface for paint: hard, stable and easy to clean. Grout is the weak point. It is porous, it moves slightly with temperature and moisture, and paint does not bond to it as strongly as it bonds to glazed tile.
Shower walls are a reasonable project. They get wet every day, but the water runs off them and they dry between showers. With a good two-part epoxy and thorough prep, painted shower walls can last 3 to 5 years. The grout lines will show wear first, usually as small flakes or a dulling of the colour, but a grout touch-up is a simple repair that can keep the walls looking good well beyond the first few years.
Shower floors are the hardest surface in the whole bathroom to paint, and they are the one place where many experienced painters advise against it. The floor stands in hot water, it carries bare feet, and the grout lines flex under weight. Paint on a shower floor typically lasts 1 to 3 years, and it often fails in patches rather than wearing evenly. If your shower floor is the main problem, replacing the floor tile is usually a better use of your time and money.
Dry tile areas are the opposite story. A kitchen or bathroom backsplash that only sees splashes can hold paint for 5 years or more, and the same is true of a decorative tile border or a tiled wall that never gets directly wet. If you want to try painted tile for the first time, start with one of these low-risk areas. You will learn how the paint behaves before you commit to a shower.
Prep Is Most of the Job
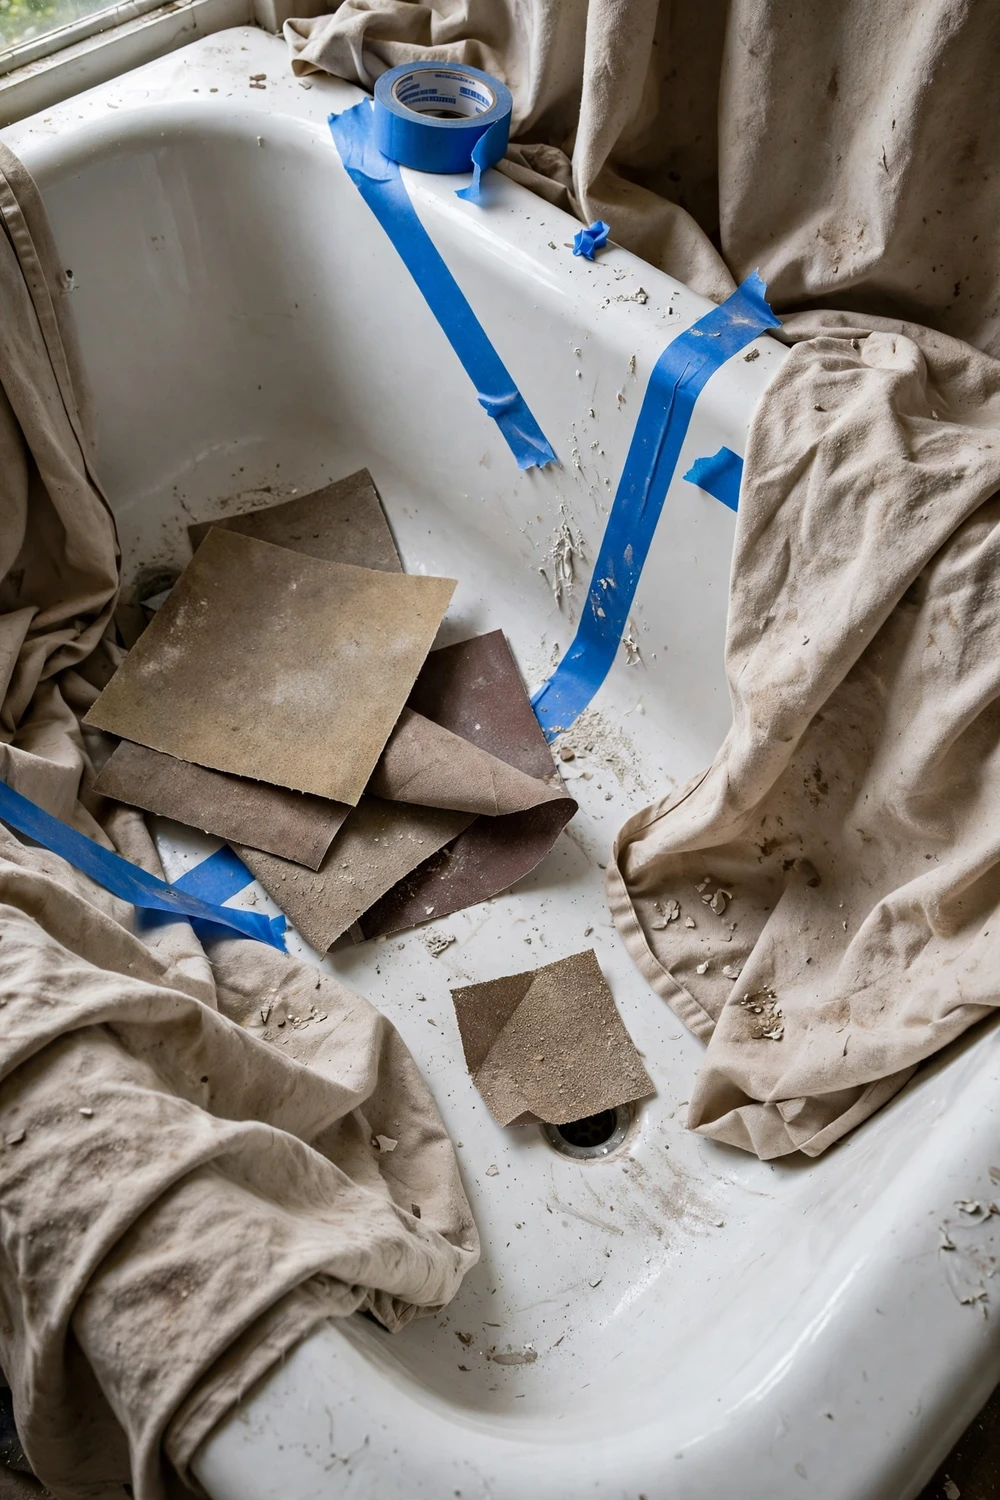
Every painter who works with tubs and tile says the same thing. Prep is most of the job. The paint itself takes a few hours, while the cleaning, sanding and priming take a full day. Skipping any of it is the most common reason a paint job fails early.
Start by cleaning the surface twice. First wash it with a bathroom cleaner to remove soap scum, body oils and everyday grime. Then clean it again with a degreaser, or a solution of trisodium phosphate if your product instructions recommend it. Rinse thoroughly and let it dry completely. Any residue left behind will sit between the paint and the surface, and the paint will peel from that spot first.
Next, sand the whole surface with a medium grit sandpaper, around 120 to 220 grit, until the shine is gone. You are not trying to remove the old finish. You are giving the new paint something to grip. Pay attention to corners, edges and the area around fittings, because those are the places people rush and the places that fail first. Wipe away the dust with a damp cloth and let the surface dry again.
Repair chips, cracks or holes before you prime. Use a filler made for the surface, let it harden fully, and sand it smooth. Paint will not hide a chip. It will highlight it.
Then apply a bonding primer, the layer that makes paint stick to smooth porcelain, tile and laminate. Use the primer your paint manufacturer recommends, apply it thinly and evenly, and let it dry for the full time on the label. Do not skip the primer to save time. On a slick surface like a tub, primer is the difference between a finish that lasts years and one that peels in months.
Finally, mask everything you do not want painted. Tape the edges, cover the taps and the drain, and protect the floor and walls around the fixture. Good masking takes twenty minutes and saves hours of cleanup.
Here is the prep order in short:
- Clean the surface twice and rinse well.
- Sand until the shine is gone, then remove all dust.
- Repair chips and cracks, then sand the repairs smooth.
- Apply bonding primer and let it dry fully.
- Mask taps, drains and surrounding surfaces.
- Apply thin coats of paint, with the recoat time from the label.
The 7-Day Cure Rule and What Happens If You Rush It
Dry to the touch is not the same as cured. Most tub and tile paints feel dry within 24 hours, and it is tempting to use the bathroom again the next day. The paint is still soft underneath that dry surface, and water will damage it.
Full cure takes up to 7 days for most products. During that week the coating hardens all the way through, and only then can it handle hot water, soap and scrubbing. Using the shower or bath before the cure is complete is the most common cause of early peeling. The paint looks fine on day two, then lifts in soft patches after the first hot shower.
Plan for the cure week before you start. If you have a second bathroom, use it. If you do not, plan the project for a week when you can shower elsewhere.
During the cure week, keep the surface dry and untouched. Do not put a bath mat down, do not hang anything on the painted surface, and do not clean it. After the week is up, start with gentle cleaning only, and treat the paint kindly for the first month.
Cleaning Rules That Keep Paint Alive
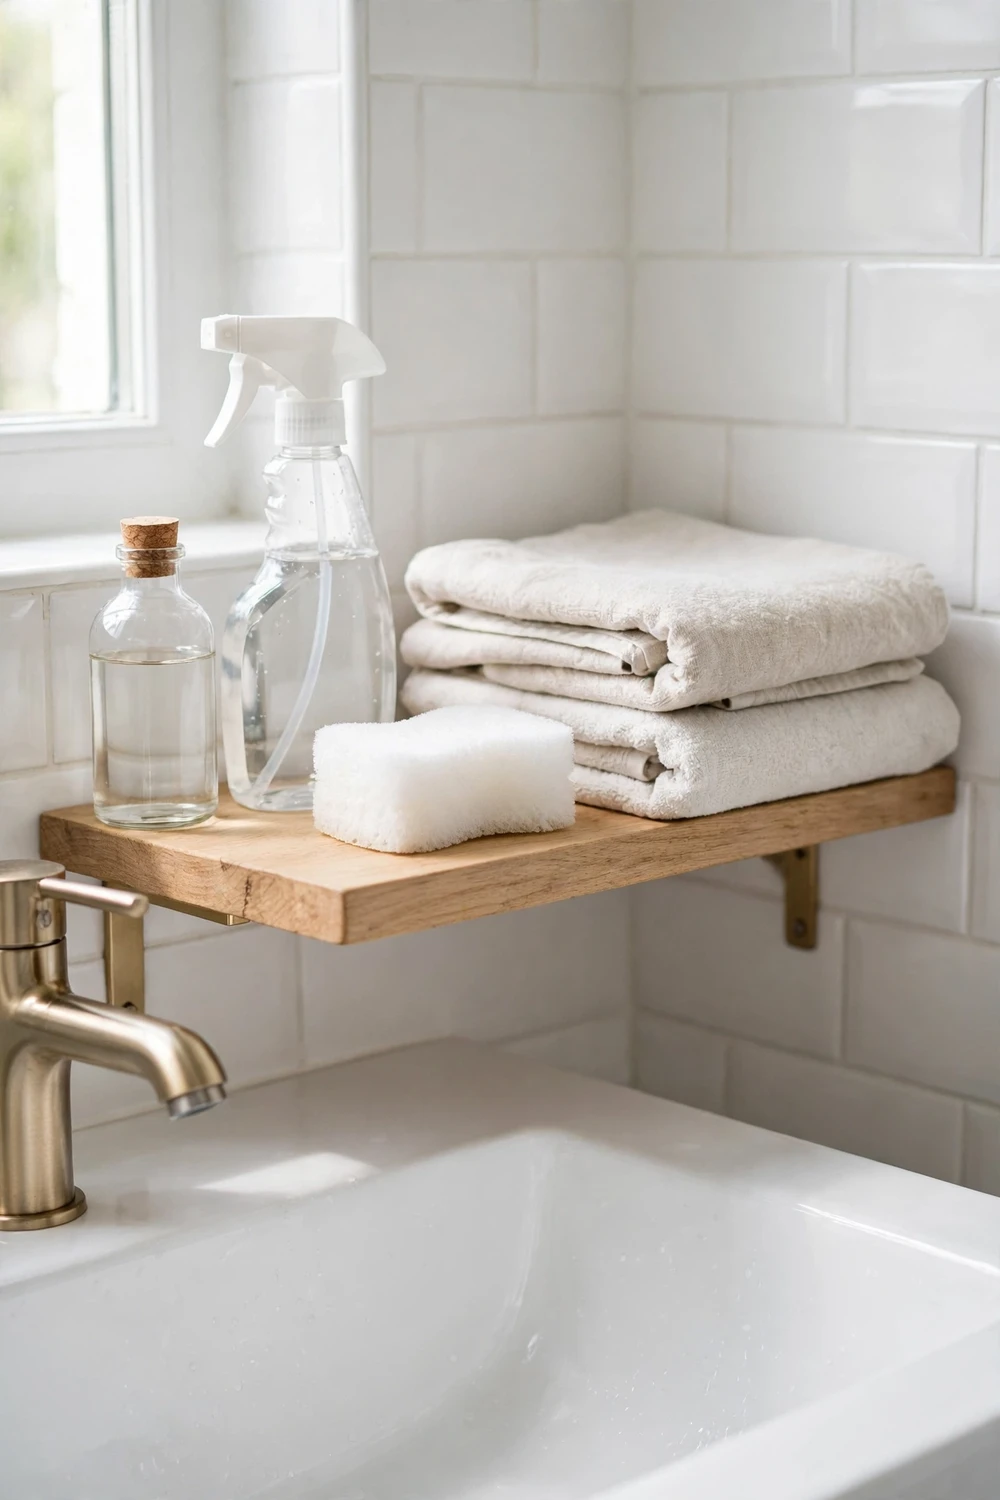
How you clean a painted fixture matters as much as how you painted it. The wrong cleaner can undo a good paint job in weeks, while the right routine can add years to it.
Use mild soap and a soft sponge or cloth. Washing-up liquid diluted in warm water is enough for most cleaning. Wipe the surface down, rinse with clean water, and dry it with a soft towel if you can. Drying matters, because water left sitting on the paint works its way under the edges.
Avoid abrasive cleaners and bleach. Scouring powders, cream cleansers with grit, and rough scrubbing pads will scratch the paint and wear it thin. Bleach can discolour the finish and weaken the coating. Avoid cleaners that contain acetone or strong solvents too, because they can soften epoxy and acrylic alike.
Deal with soap scum early. A thin film left for weeks hardens and needs scrubbing to remove, and that scrubbing damages the paint. A quick weekly wipe keeps the film thin and easy to remove.
Do not use suction-cup mats, and do not stick adhesive hooks or caddies to painted surfaces. The adhesive can pull paint off when it is removed, and moisture trapped behind it softens the coating. Use freestanding caddies or hooks fixed to the wall instead.
First Wear Signs and How to Touch Up
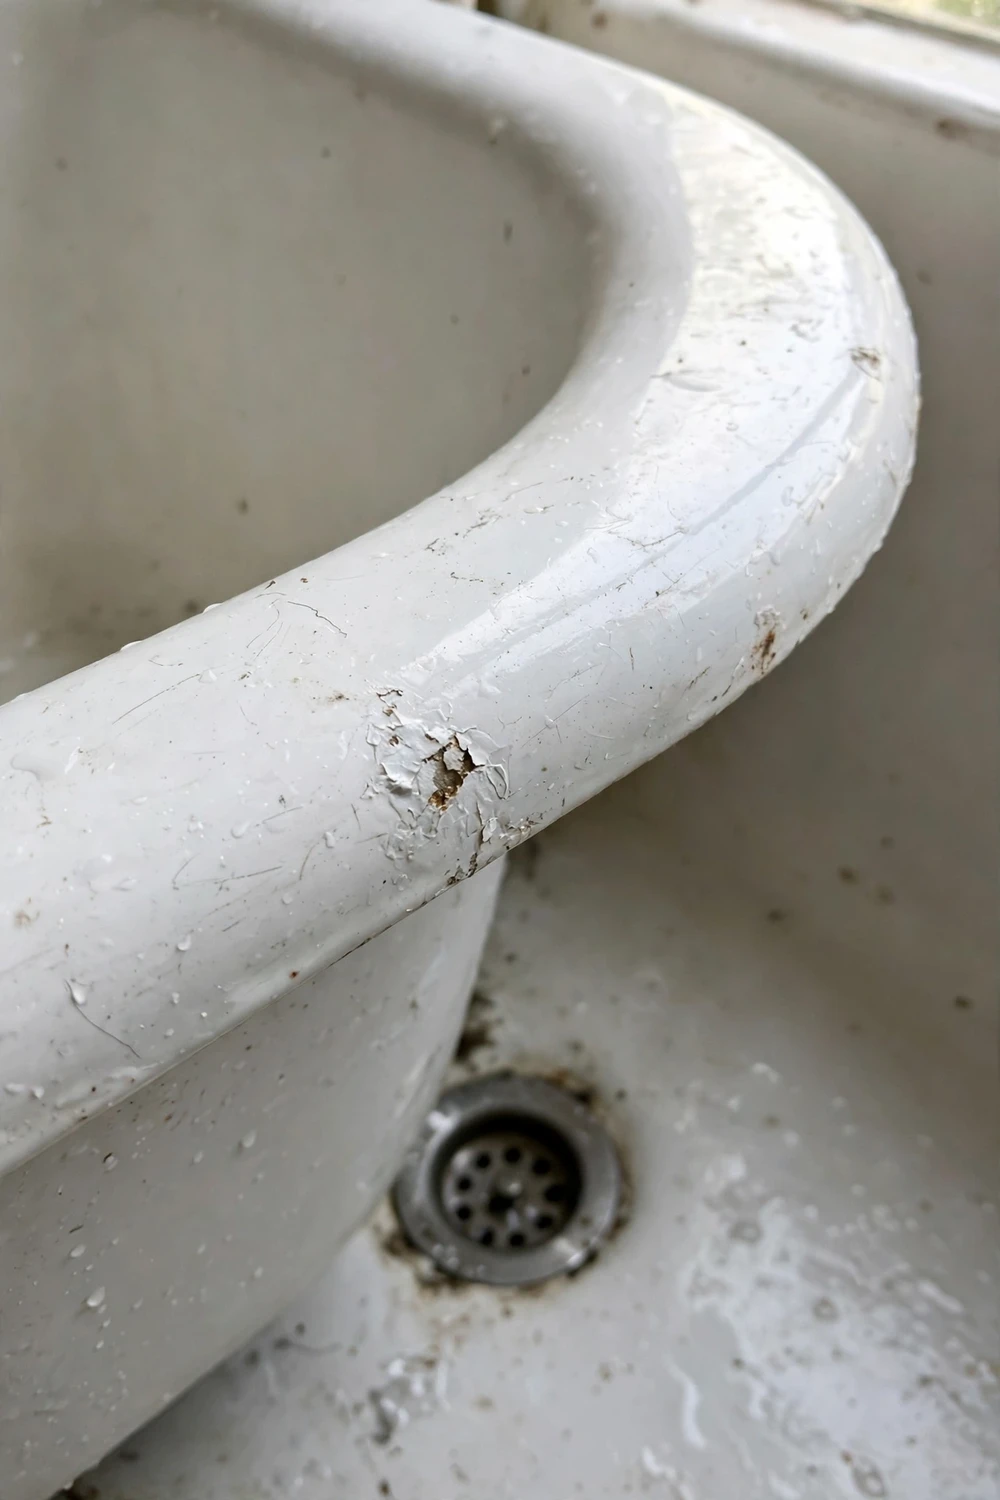
Painted fixtures rarely fail all at once. They show small signs first, and catching those signs early is what stretches a 3 year finish into a 5 year one. Look for chips, dull patches and hairline cracks.
The first sign is usually a small chip, often at the rim of a sink, the front edge of a counter or the drain of a tub. The second is a dull patch where the shine has gone, usually where water pools. The third is a hairline crack along a grout line or at the joint between the fixture and the wall. None of these mean the whole job has failed. They mean one spot needs attention.
To touch up a chip, clean the spot thoroughly and let it dry. Sand the edges of the chip lightly so there is no loose paint, then wipe away the dust. Apply a thin coat of the same paint with a small brush, feathering the edges so it blends. Let it dry for the time on the label, then leave it to cure for several days before using that area normally.
For a dull patch, a light clean and a thin fresh coat over the worn area is often enough. Sand only the worn spot and a small border around it, so the new paint has something to grip without disturbing the sound paint nearby.
If the paint is peeling in large sheets or bubbling across a wide area, a touch-up will not hold. That usually means the prep failed or the surface was used before it cured. Strip the loose paint, re-prep the surface properly and repaint.
When Painting Is the Wrong Choice
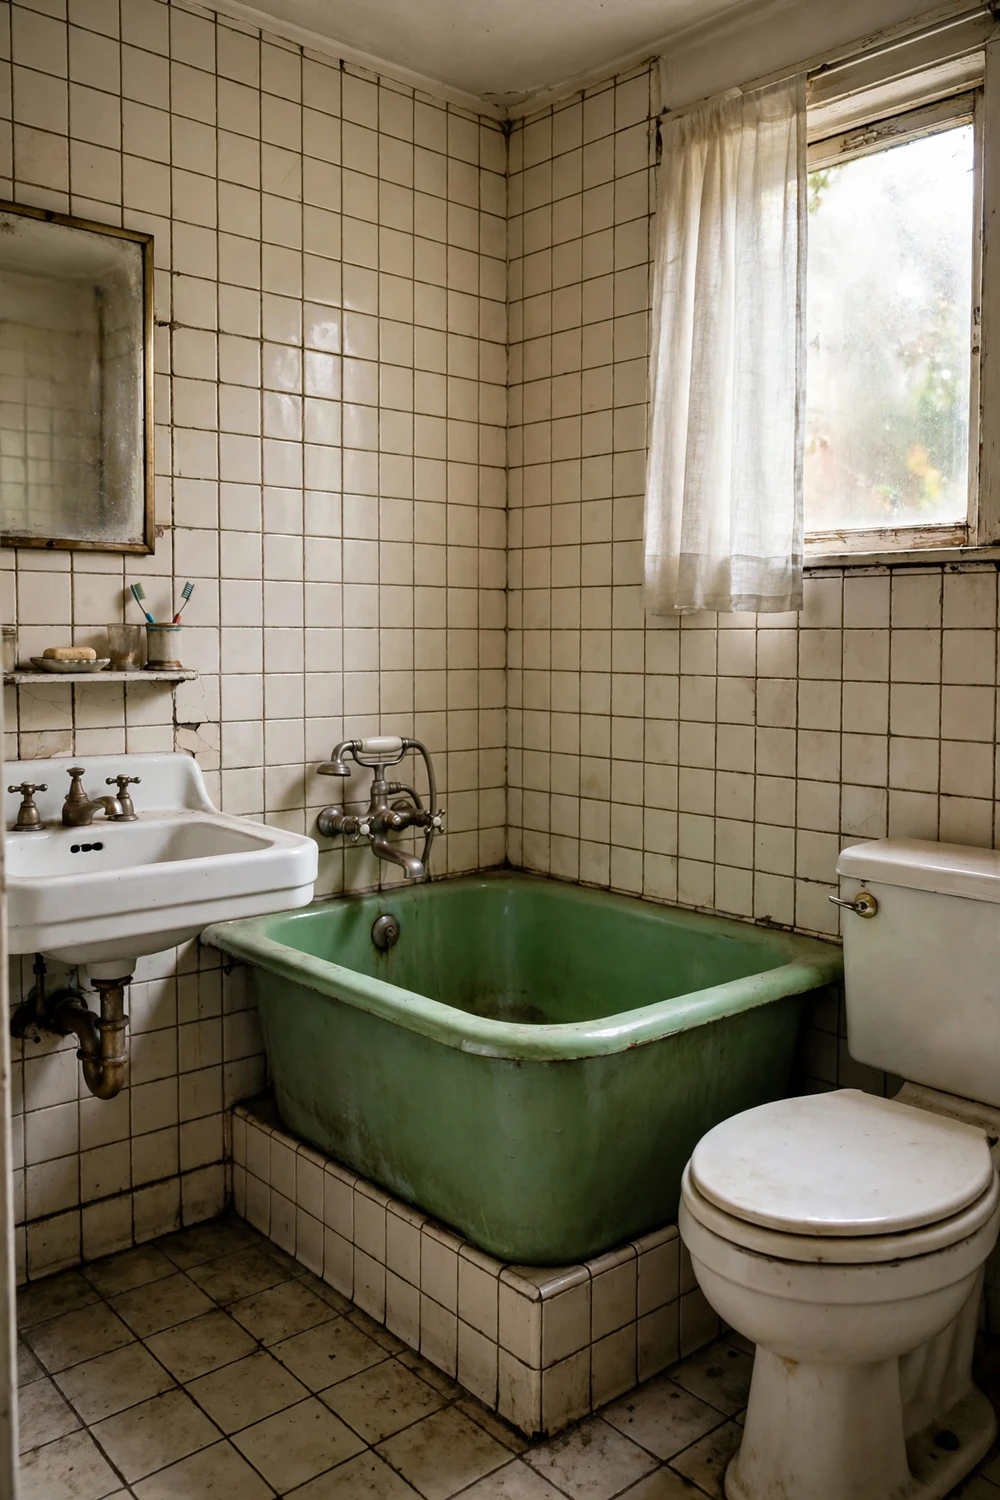
Painting is a good solution for a sound fixture that looks dated. It is a poor solution for a fixture that is damaged, leaking or structurally unsound. Paint covers colour and stains. It does not fix cracks, leaks or rust.
Do not paint a tub or sink that has a crack through the material, a soft spot in the base, or rust that has eaten through the metal. Water will get behind the paint through the crack, and the damage will spread underneath the new finish. Fix the structure first, or replace it.
Do not paint over mould growing through grout or behind tiles. The paint will trap moisture and the mould will keep growing underneath. Find and fix the source of the moisture first. The same applies to a leak.
Consider replacement instead of painting when the fixture is very old and the plumbing behind it is also failing, when the layout of the bathroom needs to change anyway, or when you plan to sell the house soon and buyers will value a new fixture more than a painted one. A painted tub can look excellent in photos, but a buyer who inspects it closely will see that it is painted.
| Situation | Paint it | Replace it |
|---|---|---|
| Sound fixture, dated colour or stains | Yes, a strong candidate | Only if you want a new style anyway |
| Small chips and surface wear | Yes, after proper repair and prep | No, unless the damage is widespread |
| Crack through the material or soft base | No | Yes |
| Rust through metal or active leak | No | Yes, after fixing the cause |
| Shower floor in daily use | Risky, expect a short life | Usually the better choice |
| Guest bathroom, light use | Yes, excellent value | Only if the fixture is failing |
| Selling soon, buyers will inspect closely | Maybe, for photos and first impressions | Often better for value |
If you are still deciding, it helps to look at the wider picture. A painted fixture is one part of a room, and a thoughtful plan for the rest of it makes the decision easier. These bold kitchen cabinet colour trends show how a confident colour choice can carry a whole room. For a rented home or a tight budget, renter-friendly upgrades offer the same low-commitment logic, small changes that make a real difference without a full renovation.
Frequently Asked Questions
How long does painted bathtub last?
A DIY painted bathtub typically lasts 3 to 5 years on the walls and sides, and 2 to 4 years on the floor where hot water pools and feet stand. Professional refinishing usually lasts 5 to 15 years. Good prep, a two-part epoxy coating and a full 7-day cure push a job toward the longer end of those ranges.
Is painted sink durability good enough for daily use?
Yes, for most households. A painted sink basin usually lasts 3 to 5 years with gentle cleaning and care. The drain area and the rim wear first, so fix dripping taps before you paint and avoid abrasive cleaners. Small chips near the rim are easy to touch up.
Can you use tub and tile paint on a shower floor?
You can, but expect a short life. A painted shower floor typically lasts 1 to 3 years because it stands in hot water every day and carries foot traffic, and paint bonds weakly to grout. Shower walls are a much better candidate, and a dry backsplash can last 5 years or more.
How long should painted fixtures cure before use?
Allow up to 7 days for a full cure, even if the paint feels dry to the touch within 24 hours. Using the tub or shower before the cure is complete is the most common cause of early peeling. Keep the surface dry and untouched during that week.
What cleaners are safe on painted bathroom fixtures?
Mild soap and a soft sponge or cloth are the safest choice. Avoid abrasive cleaners, bleach and strong solvents, and do not use scouring pads. Rinse after cleaning and wipe up standing water where you can.
Can I paint over a painted tub again?
Yes, if the existing paint is sound and well bonded. Clean it thoroughly, sand it lightly to give the new coat something to grip, and prime any bare spots. If the old paint is peeling in sheets or bubbling across a wide area, strip the loose paint and re-prep the surface properly before repainting.
Before You Open the Paint Tin: A Practical Closing
Painted bathroom fixtures are a trade, not a trick. You trade a perfect, permanent finish for several good years at a small cost and a weekend of work. That trade is worth making when the fixture is sound and you are willing to prep properly and wait out the cure.
Start with the surface that bothers you most, and start with the right product for it. A two-part epoxy for a tub or shower wall, a suitable coating for a sink or counter, and a bonding primer every time. Clean twice, sand until the shine is gone, repair the damage, and give the paint its full 7 days.
If the fixture is cracked, leaking or rusted through, put the paint tin down and fix the real problem first. Paint cannot do that job. But if the fixture is sound and simply tired, a careful paint job can give your bathroom a fresh, clean look that lasts for years.