Guest Bedroom Makeover Plan: Turn Your Spare Room Into a Guest-Ready Retreat
Most spare rooms end up the same way. A bed nobody chose, a dresser that lost its drawers years ago, and a slow drift of boxes that had nowhere else to go. Then a guest is coming on Friday, and suddenly the room matters. This guest bedroom makeover plan is for that moment, and for the calmer version of it, when you have a few weeks and want the room done properly instead of in a panic.
Yes, you can give a guest bedroom a full makeover in about four weeks without a renovation, and a simple refresh can be done in a single weekend. The work follows a fixed order: measure the room, set a budget tier, place the bed, paint, build the bed properly, solve storage, layer the lighting, then finish with a guest-night test. A light refresh typically costs a few hundred dollars, while a fuller reset with a new bed and furniture typically runs higher, so pick your tier before you buy anything.
The single most important choice is the bed. Guests forgive plain walls and a secondhand dresser. They do not forgive a thin mattress, one flat pillow, or a room so dark they cannot find the light switch at night. Spend on sleep first, then on paint and light, and let the small decor wait until the end.
A makeover plan is different from a list of ideas. Ideas tell you what looks nice. A plan tells you what to do first, what it will probably cost, and how long each part takes. That order matters more than any single purchase. Paint before bedding. Bed before art. Lighting before the finishing touches. Get the sequence right and even a modest budget goes a long way.
Step 1: Your Guest Bedroom Makeover Plan Starts With Measuring the Room
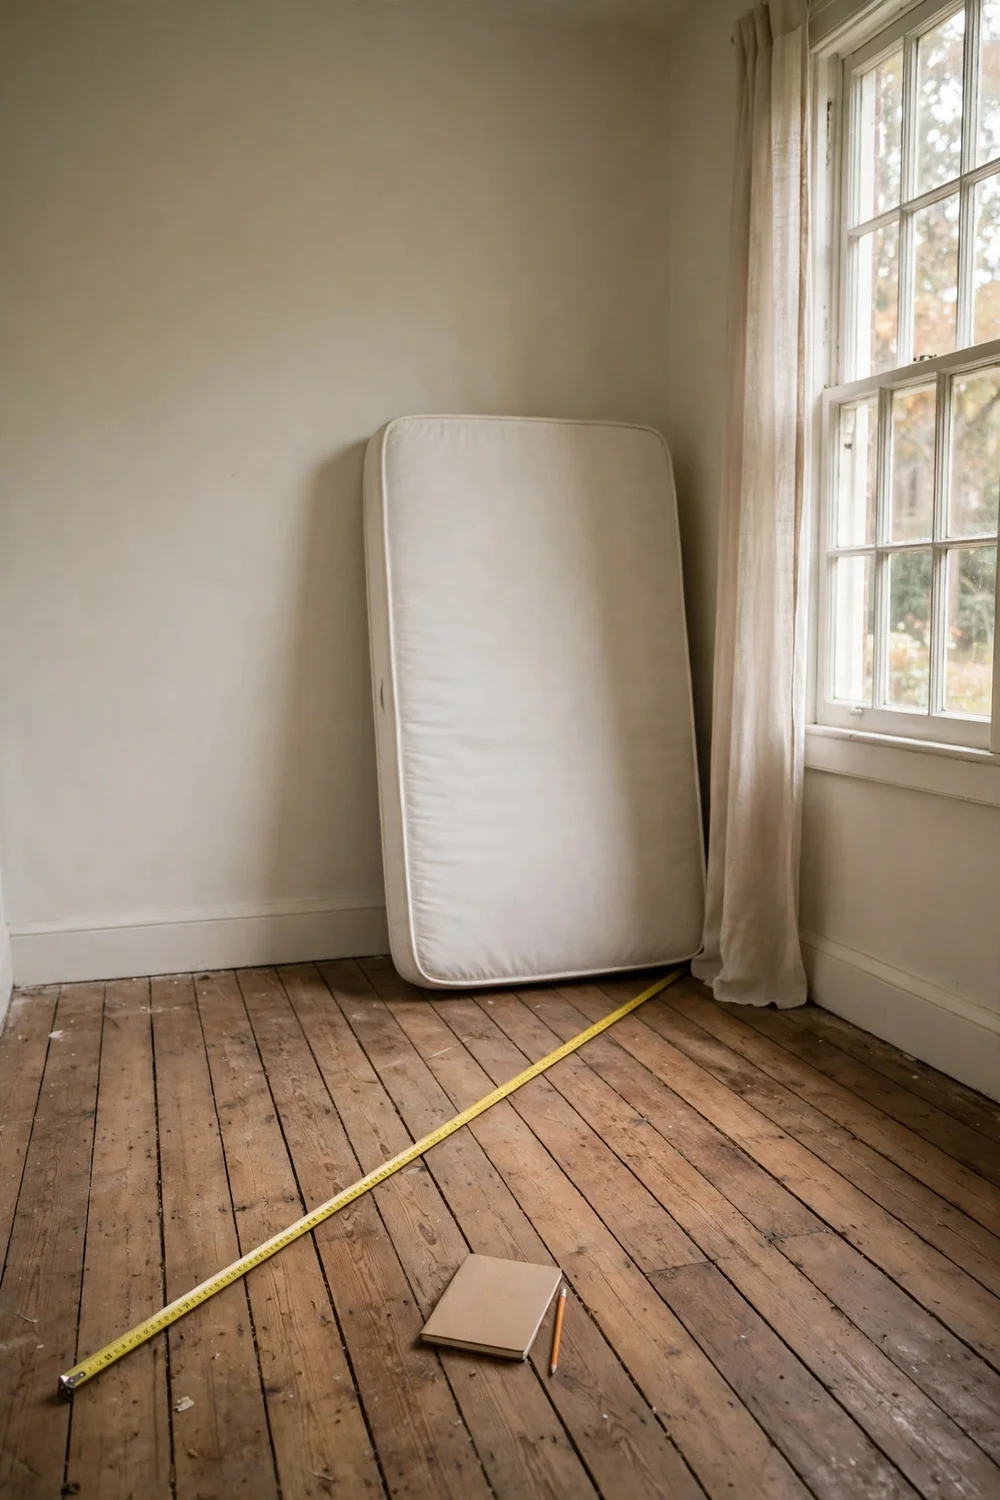
Every good makeover starts with a tape measure, not a shopping cart. It feels like the boring part, and it is the part that saves you from the most expensive mistakes. A bed that is two inches too wide for the wall. A rug that floats in the middle of the floor like an island. Curtains that stop halfway down the window. All of that comes from guessing.
Measure the room first: length, width, and ceiling height. Then measure the wall where the bed will go, the window width and height, and the door swing. Write the numbers down in one place, on paper or in your phone, and carry them with you whenever you shop. A photo of the empty room helps too, but numbers are what stop you buying the wrong size.
Next, clear the room completely. Take everything out, even the things you plan to keep. You cannot plan a room you cannot see, and you cannot measure a floor covered in boxes. Sort what comes out into three piles: keep for this room, move elsewhere, and let go. Be strict. A guest bedroom is not a storage room with a bed in it. If something has lived there for a year untouched, it does not belong in the finished room.
While the room is empty, look at it the way a guest would. Stand in the doorway at night with only the ceiling light on. Is it too bright, too dim, or full of shadows? Check the outlets. Is there one within reach of the bed for a phone charger? These small checks shape the whole plan, and they cost nothing. Then take a “before” photo from the doorway. You will want it later, partly for your own satisfaction, and partly because a guest room makeover before and after is the kind of change people love to see on Pinterest.
Step 2: Pick Your Budget Tier and Stick to It

Money is where most makeovers go wrong, and it is rarely because the budget was too small. It is because there was no budget at all, just a vague hope that it would not cost much. Pick a tier before you spend anything, write the number down, and let it decide what you buy and what you skip.
There are three tiers that work for most people. The refresh tier is for a room that already has a decent bed and furniture but looks tired. The reset tier is for a room that needs new bedding, lighting, and one or two pieces of furniture. The full makeover tier is for a room starting almost from scratch, or one where the bed itself needs replacing. The table below shows what each tier typically covers. These are typical ranges for a small bedroom, not fixed prices, and they will vary with where you shop and whether you buy new or secondhand.
| Budget tier | Typical range | What it usually covers | Best for |
|---|---|---|---|
| Refresh | A few hundred dollars | Paint, new bedding, curtains, lamps, hooks, small touches | A room with a good bed and furniture that looks tired |
| Reset | Mid range, roughly double the refresh tier | Everything in refresh, plus a rug, one furniture piece, better lighting | A room that needs new textiles, light, and one solid upgrade |
| Full makeover | Higher, set by the bed and furniture you choose | Everything in reset, plus a new bed or mattress and two or more furniture pieces | A room starting nearly empty, or with a bed past its best |
The refresh tier is the sweet spot for most guest rooms. Paint changes the room more than anything else for the money. Fresh bedding changes how the room feels. Good curtains and warm light change how it sleeps. None of those are big purchases, and together they read as a new room. Whatever tier you choose, keep ten percent aside for the things you forgot. There is always something: a curtain rod, a pack of picture hooks, a second tin of paint.
Buy in the order the plan gives you, not in the order things catch your eye. Paint and bedding first, then the rug and lighting, then furniture, then decor last. If you want more ideas for stretching a small budget, the guide to cheap room makeover ideas ranked by impact shows which changes matter most for the money. And do not buy the bed last. If it needs replacing, it is the biggest single cost, and delivery times are the part of the timeline you cannot control.
Step 3: Place the Bed First, Then Build the Room Around It
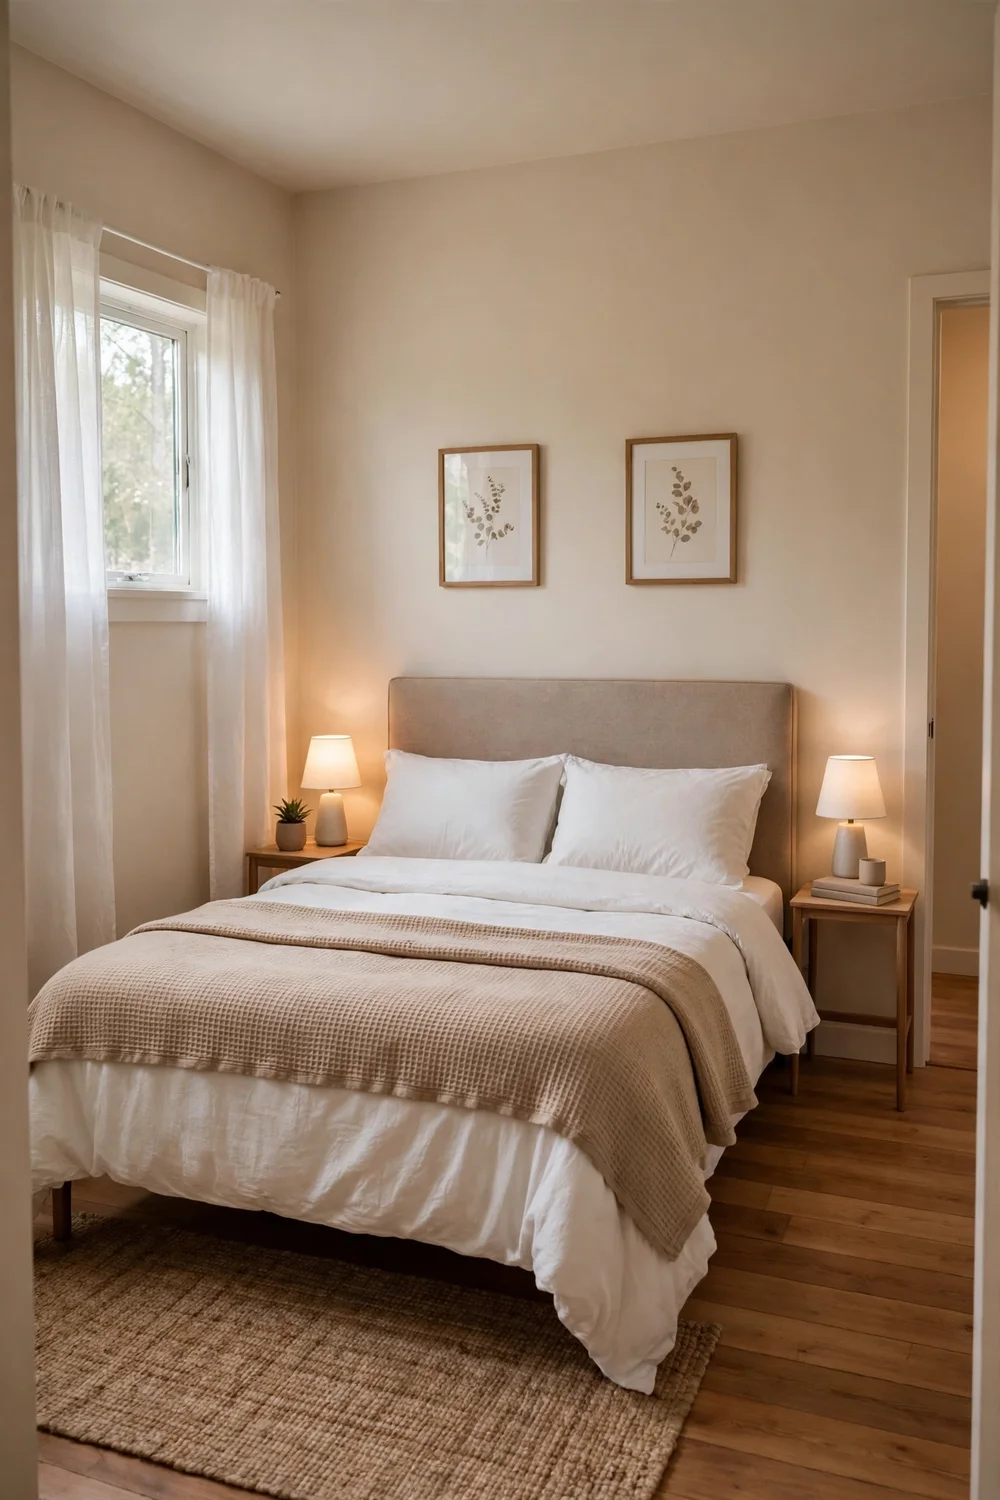
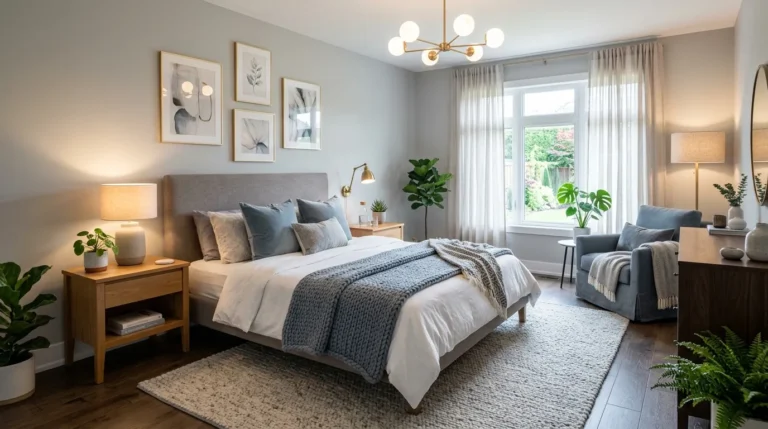
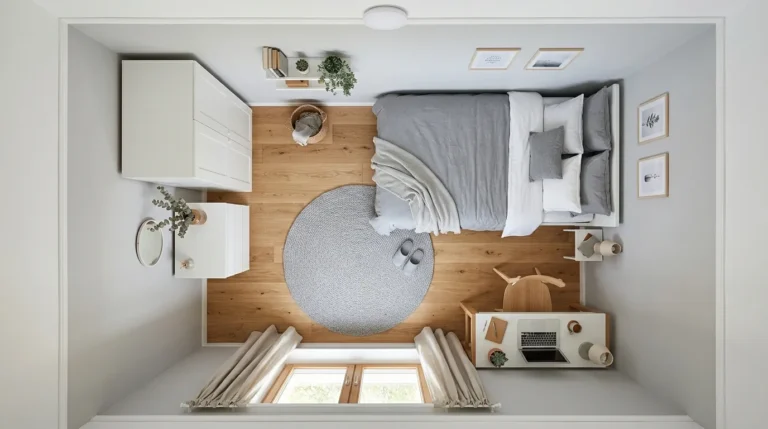
The bed is the room. Everything else is arranged around it, so place it before anything else goes in. In most guest rooms the best spot is the centre of the longest wall, with the headboard flat against it. That gives a clear path on both sides and makes the room feel balanced the moment you walk in. It also leaves the window wall free for light and the door wall free for movement.
What if the room is small? This is where small guest bedroom ideas earn their keep. A queen bed measures about 60 inches wide and 80 inches long. In a 10 by 12 foot room, that leaves roughly 30 inches of walking space on each side, which is enough. A king bed in the same room leaves about 18 inches on each side, which is not enough to walk comfortably or open a drawer. In a small room, a queen is the sensible choice, and a double works well for one guest or a couple who do not mind closeness.
Leave clear paths. A guest arrives with a suitcase, and they need a straight line from the door to the bed, and from the bed to the door in the dark. Keep at least 24 inches clear along those paths. That means no chair in the doorway line, no basket at the foot of the bed, and no rug edge that curls up where feet land at night. If you want more layout ideas for tight rooms, the guide to small bedroom layout ideas shows fifteen ways to place a bed and free up space.
Once the bed is placed, everything else finds its spot. Nightstands go beside the bed, one on each side if there is room, one if there is not. A dresser or wardrobe goes on the wall opposite the bed or beside the door, never blocking the window. A chair, if the room fits one, goes near the window where a guest can read in daylight. For very tight rooms, think in zones instead of furniture: one zone for sleeping, one narrow zone for dressing, and nothing else. The guide to tiny bedroom furniture layouts shows five room plans that fit a bed, storage, and a clear path into very little floor.
Step 4: Paint, Trim and Walls: The Cheapest Big Change
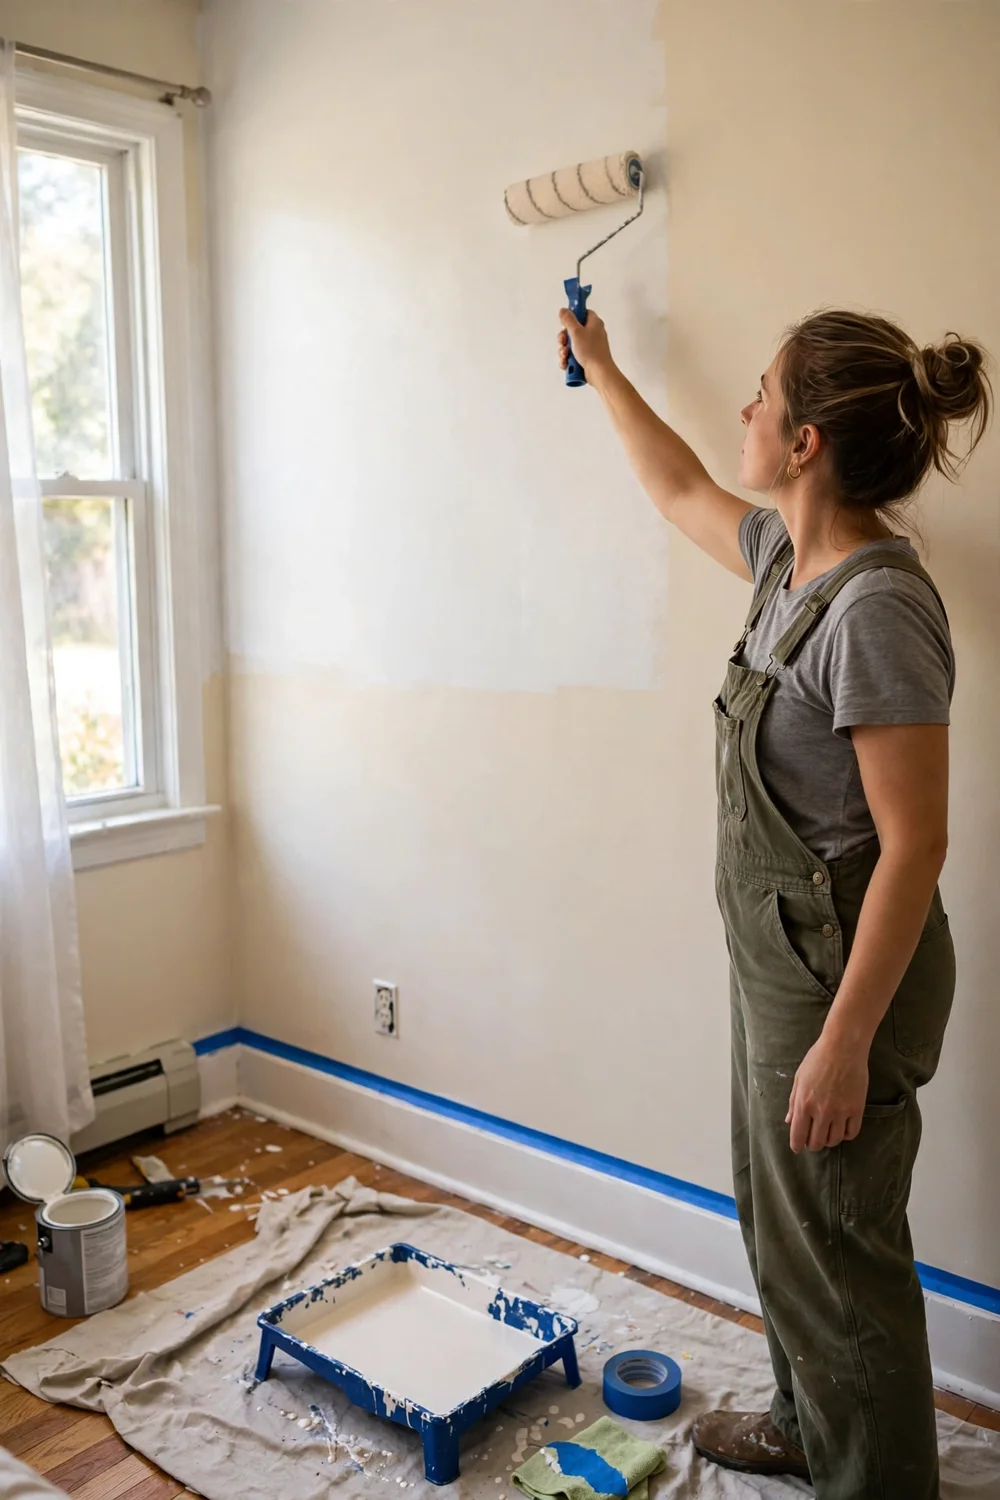
Paint is the highest impact change in any guest bedroom makeover, and it is also the cheapest. One room, two coats, one weekend. It covers scuffs, old colours, and the general tiredness that builds up over years. It also sets the tone for everything that follows, because bedding and curtains are chosen against the wall colour, not the other way round.
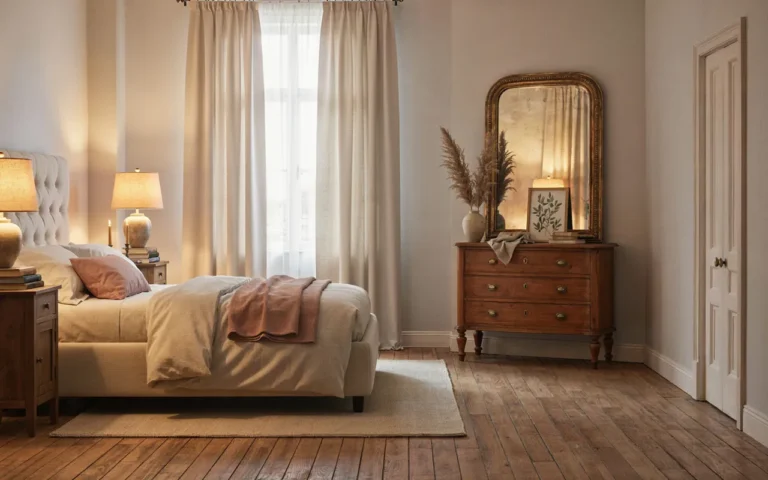
Pick a warm neutral and stop second guessing. Warm white, soft greige, pale sage, or a light warm grey all work in a guest room, because they suit any bedding and they photograph well. Cool bright white can feel clinical in a small room, especially under a ceiling light at night. If you want colour, put it on one wall behind the bed and keep the other three walls quiet. That single coloured wall becomes the headboard wall, and it costs one tin of paint instead of four.
Test before you commit. Paint a large patch, at least two feet square, on the wall behind the bed, and look at it in morning light, afternoon light, and lamplight. Colours change a lot between a paint chip and a wall, and they change again between day and night. Two days of looking at a test patch beats two days of repainting a whole room.
Do not forget the trim. Skirting boards, door frames, and window trim collect scuffs and yellowing, and fresh trim paint makes old walls look new even before the walls are touched. A bright, clean white on the trim against a warm wall colour is the simplest contrast in decorating, and it works every time. Our own small experiment with gray trim paint in the guest bedroom showed how one small paint update can change the whole feel of the room without touching the walls at all.
The order of work for painting is fixed: ceiling first, then walls, then trim. Tape the edges you want to protect, and use a drop cloth on the floor. Two thin coats beat one thick coat every time. Thick coats drip, dry unevenly, and show roller marks. Let the first coat dry fully before the second, even if you are impatient.
Step 5: Build a Bed Guests Actually Sleep Well In
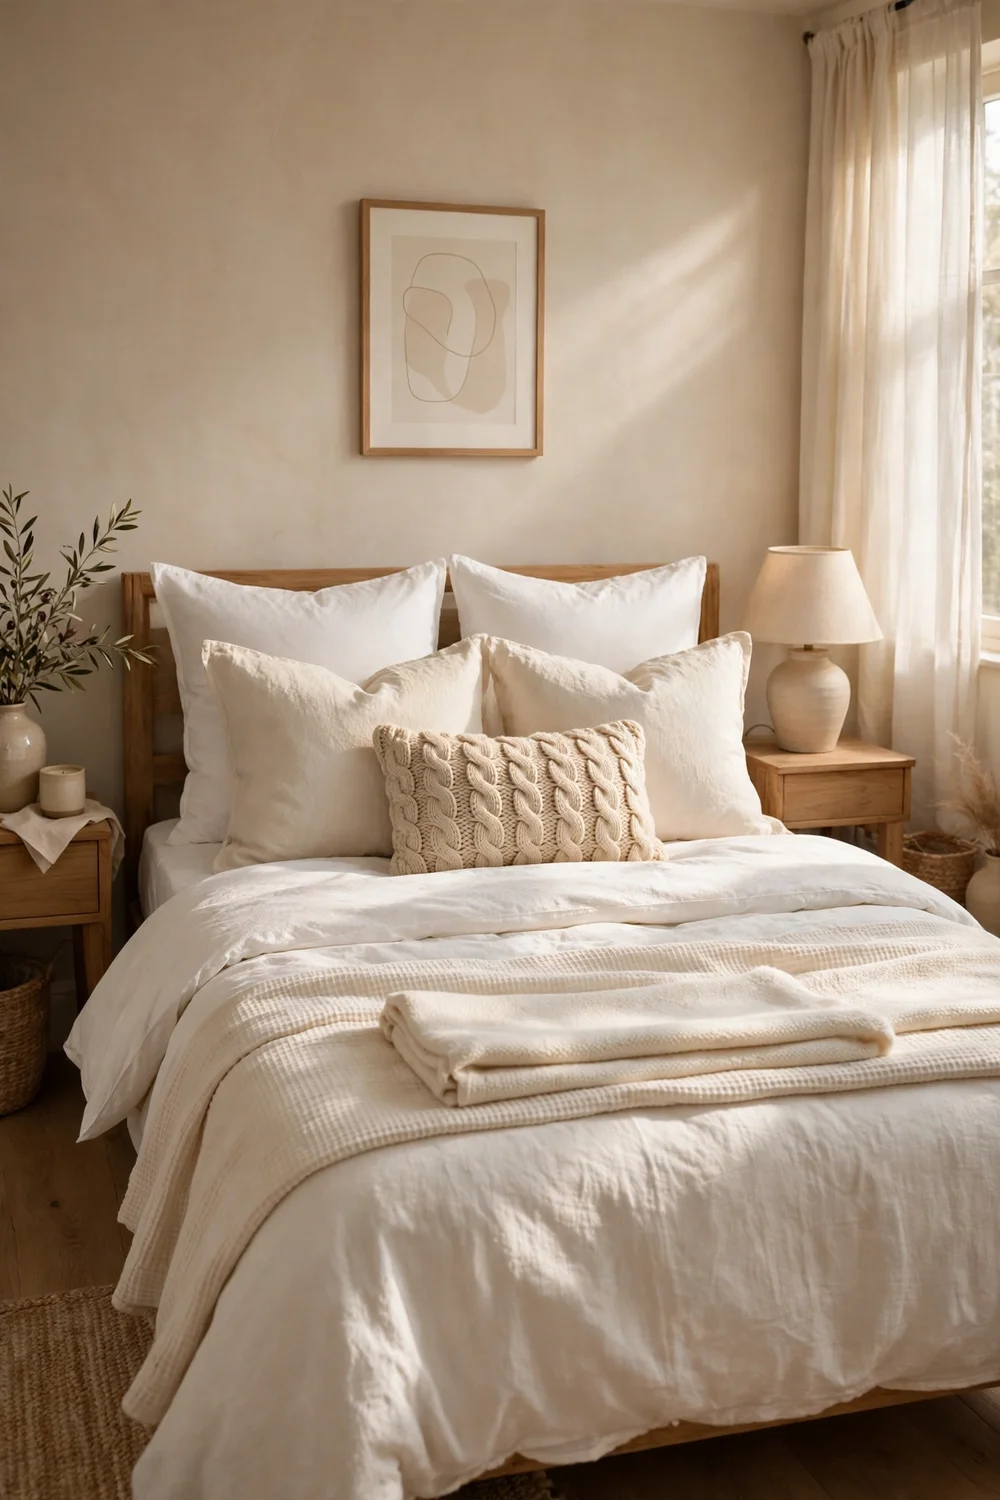
Here is the truth about guest rooms: nobody remembers your wall colour at breakfast, but everybody remembers a bad night’s sleep. The bed is where your budget should go first, and it is where cutting corners costs you the most. A good mattress, clean bedding, and two pillow choices will do more for your guests than any decor you could buy.
Start with the mattress. If the one in the room is more than eight years old, sags in the middle, or has a spring you can feel through the sheet, replace it. You do not need the most expensive mattress. You need one that is medium firm, because that suits the most sleepers, and one that is the right size for the room. A mattress protector goes on top before anything else. It keeps the mattress clean and tells your guest the bed is cared for.
Then build the bedding in layers. A fitted sheet, a flat sheet, a duvet or comforter, and a light extra blanket folded at the foot of the bed. The extra blanket matters more than people think. Some guests run hot, some run cold, and a folded blanket lets them choose without asking. White or cream bedding is the safest choice for a guest room. It looks clean, it suits any wall colour, and it signals that the bed was freshly made for them.
Pillows deserve the same thought. Two per guest is the minimum, and two firmnesses is better than two of the same. One medium firm pillow for sleeping, one softer pillow for reading or propping up. Stack them with the firm one at the back and the soft one in front, and add one cushion for looks if you like. More than that and the guest spends the first five minutes clearing pillows off the bed, which is not the welcome you want.
A simple wooden or upholstered frame with a headboard is enough. The headboard stops pillows sliding off the back of the bed, and it gives the room a finished look. If you want help choosing, the guide to bedding essentials for a cozy sleep covers the pieces that build a comfortable bed layer by layer, and the same principles apply to a guest bed.
Step 6: Solve Storage, Hooks and the Suitcase Problem
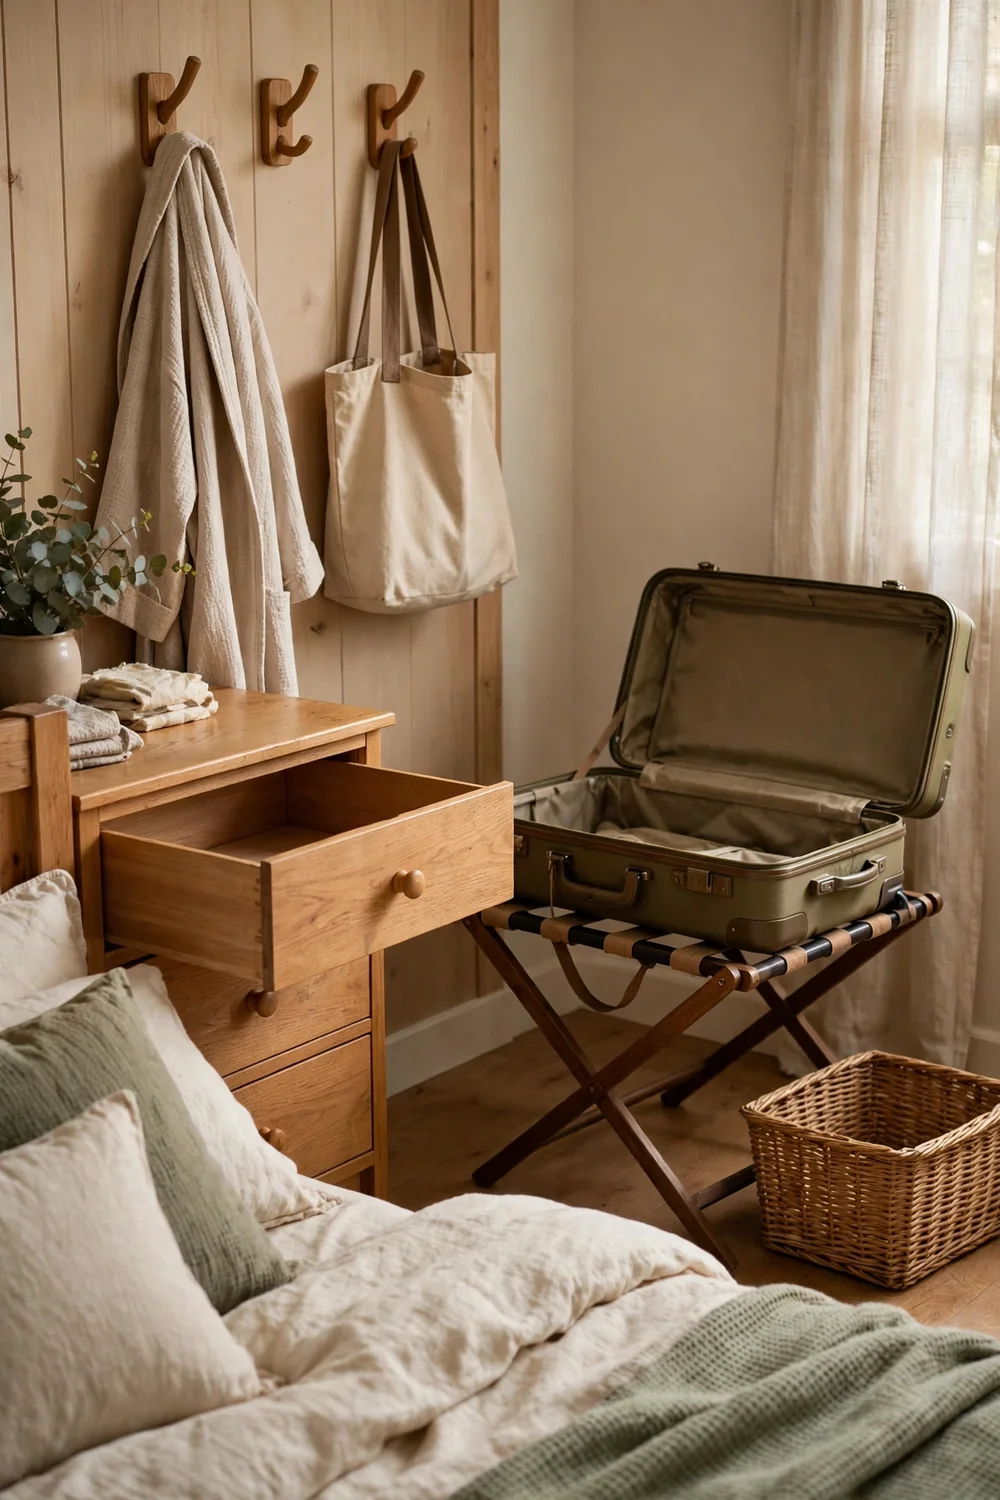
Guests arrive with a suitcase, and the first thing they need is somewhere to put it. Not on the bed, not on the floor in the doorway, and not balanced on a chair. A folding luggage rack costs little, folds flat when the room is empty, and solves the problem completely. If there is no room for a rack, leave a clear rectangle of floor beside the bed, about the size of an open suitcase, and keep it clear. That empty patch of floor is more useful than any decor you could put there.
Hooks are the smallest change with the biggest return in a guest room. Three hooks on the wall or the back of the door give a guest somewhere to hang a coat, a robe, and tomorrow’s clothes. Without hooks, clothes end up on the chair, the bed, and the floor, and the room looks messy within an hour. Put the hooks at a height a guest can reach easily, around 65 inches from the floor, and make sure they are fixed solidly. A hook that pulls out of the wall is worse than no hook at all.
Empty one drawer and clear one shelf. That is the rule, and it is non negotiable. A guest who opens a dresser to find your old cables and spare batteries will stop looking, and their clothes will live in the suitcase for the whole visit. One empty drawer, one clear shelf, and a little space in the wardrobe is all it takes. If the wardrobe is full of your things, move them. The guest room is not your overflow closet.
Storage in a small guest room works best when it is hidden or slim. Under bed boxes hold spare bedding without taking floor space. A slim dresser, about 16 inches deep, fits against a wall where a deep one would block the path. Baskets hold the things guests need, like extra blankets and towels, and they look tidy doing it.
Step 7: Layer the Light So the Room Feels Warm at Night
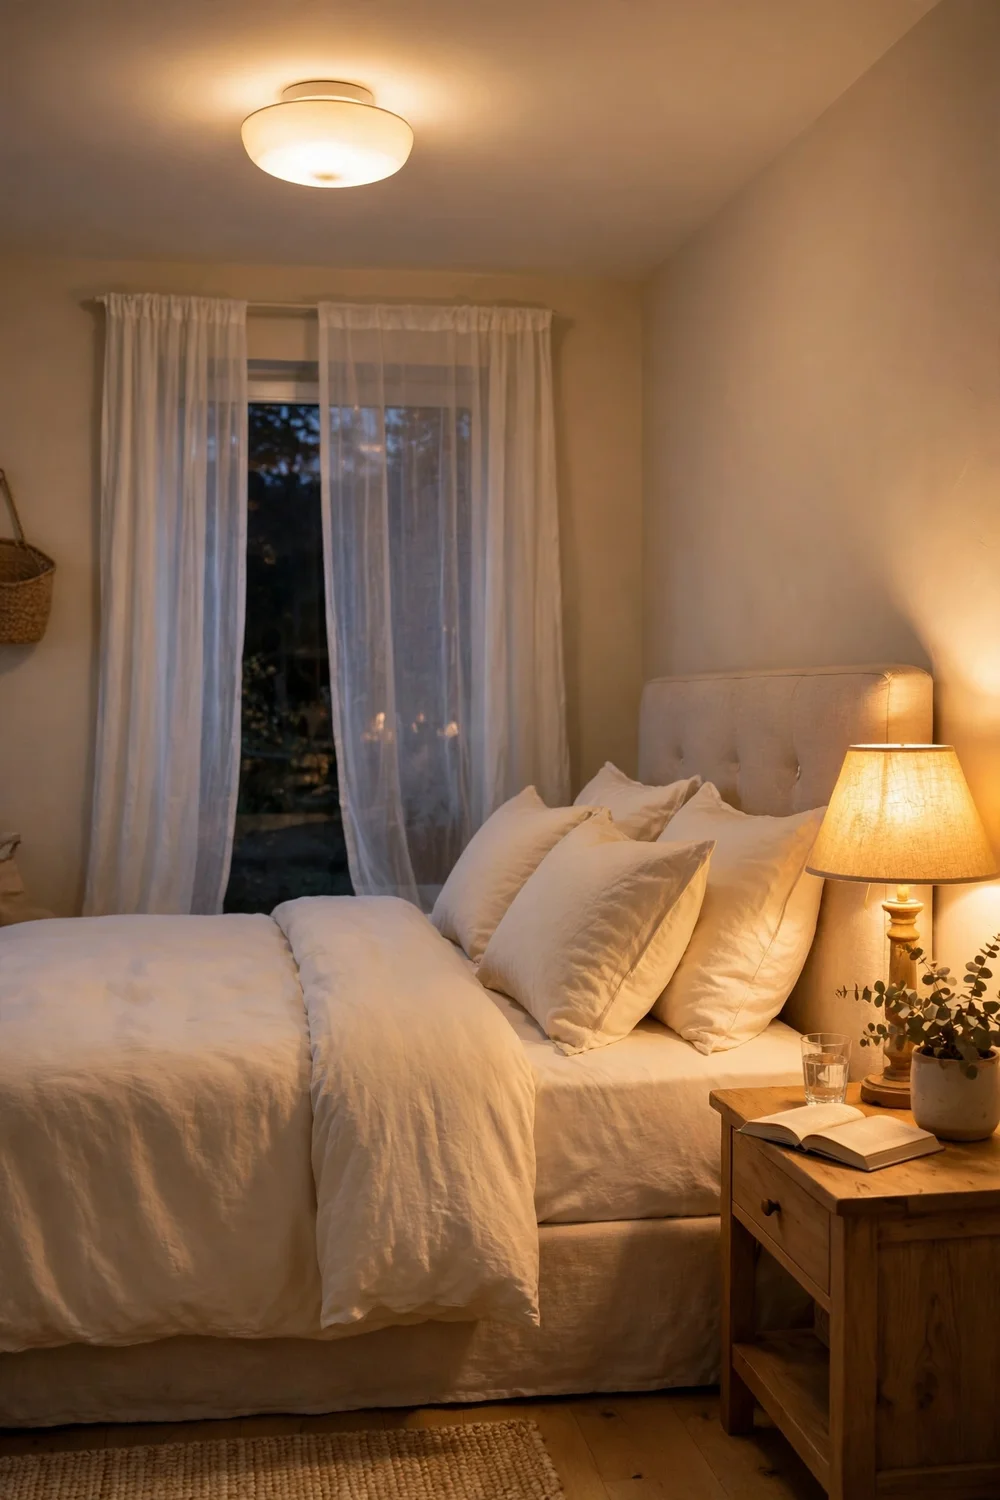
A guest bedroom needs three kinds of light, and most spare rooms have one. A single ceiling light is the reason so many guest rooms feel like waiting rooms at night. It is too bright for reading, too harsh for winding down, and it throws shadows in the corners. Fix the light and the whole room feels different, even if nothing else changes.
Start with the ceiling light, but keep it soft. A warm bulb, around 2700K, in a shade that spreads light instead of pointing it down, is the base layer. If the ceiling light is a bare bulb or a harsh fitting, change the shade or the fitting before you buy anything else. It is the light your guest will switch on when they walk in, and it sets the first impression of the room.
Then add bedside light. One lamp on each nightstand is ideal, one lamp on the single nightstand is enough. The lamp should be within reach of the pillow, so a guest can switch it off without getting up. A small lamp with a fabric shade gives a soft pool of light for reading. If you want to browse styles that work on a budget, the guide to industrial farmhouse lighting finds on a budget is a good place to start for lamps and fixtures that suit a small bedroom.
Curtains are part of the lighting plan too. A guest needs to sleep in the dark and wake in daylight, so the curtains have to actually close, and they have to block the street light. If the room faces a street lamp, add a blackout liner behind the curtains you already have. Hang the curtains high, a few inches above the window frame, and wide enough to clear the window completely when open.
Step 8: Finish Your Guest Bedroom Makeover Plan With a Guest-Night Trial
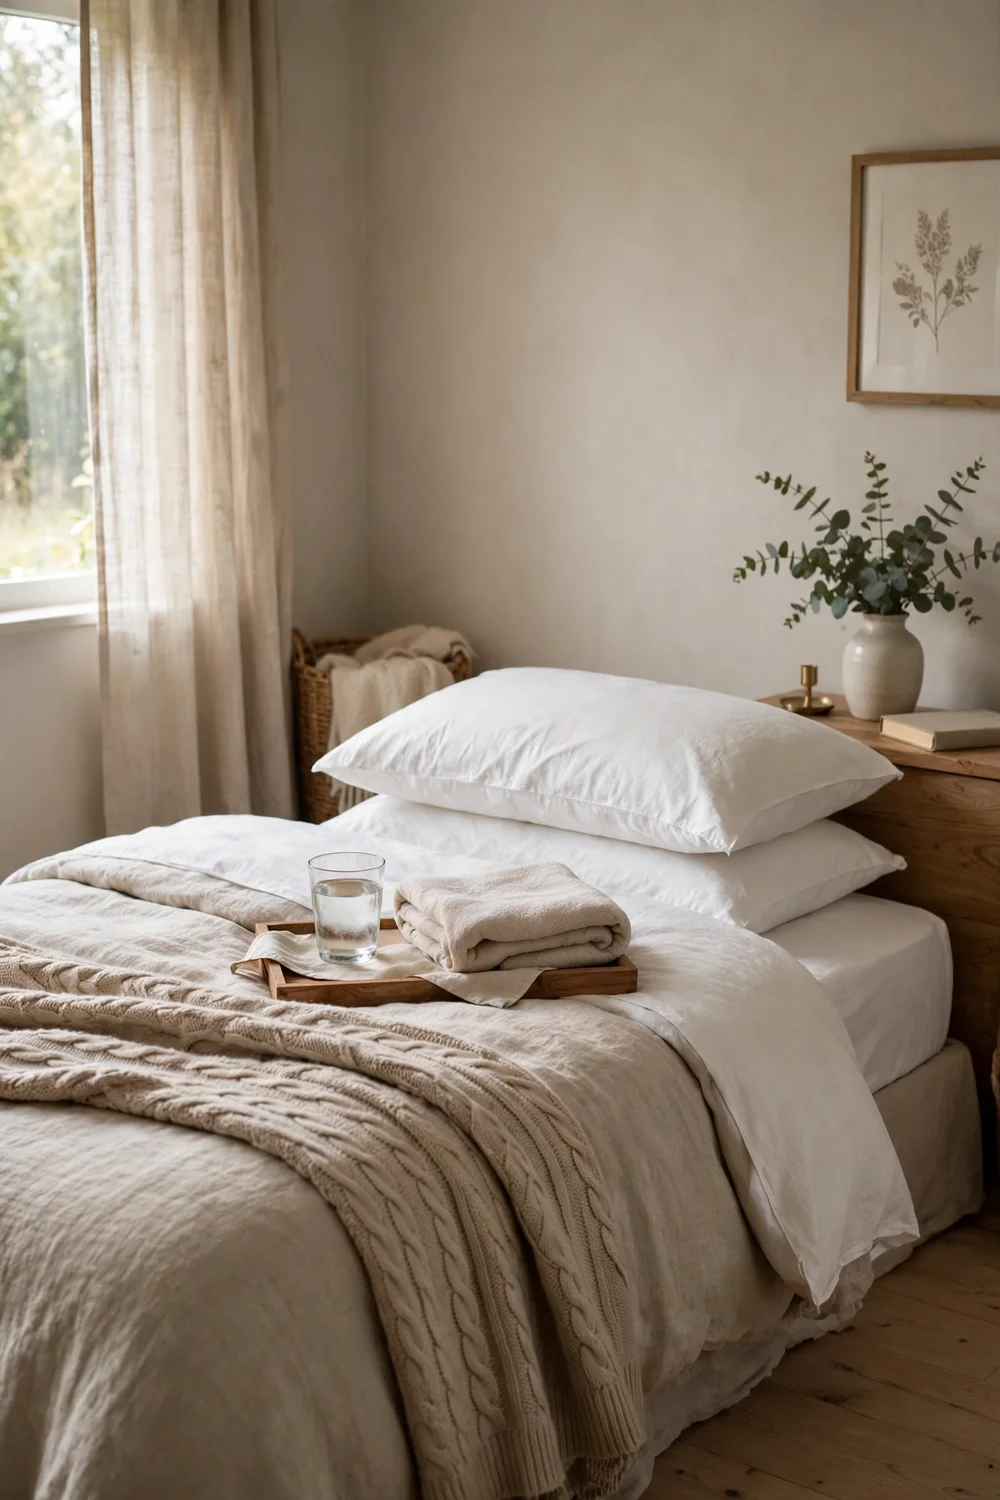
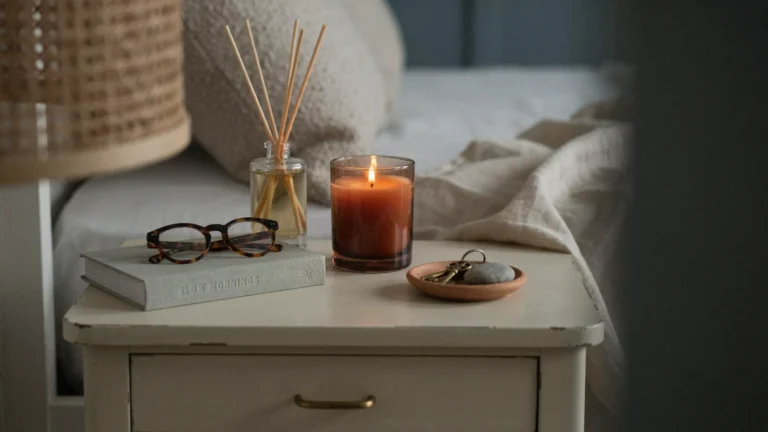
Finishing touches come last for a reason. Art, plants, books, and a welcome tray only work once the room itself works. Hang one or two pieces of art, not a gallery wall. A small plant on the dresser adds life, but pick one that survives a week without water. A few books on the nightstand, a carafe of water, and a small clock are enough. The room should look lived in, not staged.
Put together a small welcome tray for the bed or the dresser: a glass and a carafe of water, a folded towel, the Wi-Fi password on a small card, and a note with anything a guest might need to know, like how the shower works. Keep it simple. A tray with just the essentials feels like someone thought about you.
Now run the guest-night trial. This is the step most makeover guides skip, and it is the one that catches the most problems. Sleep in the room yourself for one night. Lie in the bed, read by the lamp, get up in the dark to use the bathroom, and have a shower in the morning. You will find things no checklist finds: a pillow that is too flat, a curtain that lets in street light, a door that creaks, a phone charger that does not reach the bed.
The table below pulls the whole project into a four week timeline. It assumes evenings and weekends, not full days, and it keeps the order of work fixed.
| Week | What to do | Time needed |
|---|---|---|
| Week 1 | Measure, clear the room, set the budget tier, order the bed and mattress | One evening, plus ordering time |
| Week 2 | Paint walls, ceiling and trim; fill holes and fix scuffs | One weekend |
| Week 3 | Place furniture, build the bed, hang curtains, add lighting | One weekend |
| Week 4 | Storage, hooks, finishing touches, then the guest-night trial and fixes | One evening, plus one night |
Guest Bedroom Makeover Questions, Answered
How much does a guest bedroom makeover cost?
It depends on your tier. A light refresh with paint, bedding, curtains, and lamps typically costs a few hundred dollars. A reset that adds a rug and one piece of furniture typically costs roughly double that. A full makeover with a new bed or mattress costs more, and the bed sets the total. Pick your tier first, keep ten percent aside for forgotten items, and buy in the order the plan gives you.
How long does a guest bedroom makeover take?
A simple refresh takes one weekend. A full makeover takes about four weeks if you work evenings and weekends, mostly because paint needs drying time and beds need delivery time. The fastest way to finish is to order the bed first and paint early. The slowest part of any makeover is waiting for deliveries, not doing the work.
What should every guest bedroom have?
The essentials are a comfortable bed with two pillow choices, a light extra blanket, blackout curtains or a liner, a bedside lamp within reach of the pillow, a phone charging point, three hooks, one empty drawer, somewhere for a suitcase, a small bin, and a glass of water. Everything else is a nice extra.
What size bed is best for a guest bedroom?
A queen bed suits most guest rooms and most couples. It measures about 60 inches wide and 80 inches long, and it fits a 10 by 12 foot room with walking space on both sides. A double works for one guest or a small room. A king only works in a larger room, because it leaves too little space to walk around in a small one. Measure the wall before you order, and tape the bed size on the floor first.
How do I make a small guest bedroom feel bigger?
Keep the bed on the longest wall, leave clear paths, and use slim furniture that does not block the window. Paint the walls a warm light neutral, hang curtains high and wide, and use one rug that sits partly under the bed instead of floating in the middle of the floor. Avoid tall, deep wardrobes and keep surfaces clear. A small room feels bigger when you can see the floor and the light reaches every corner.
Should I paint the guest bedroom before buying furniture?
Yes, always. Paint first, then choose bedding and curtains against the finished wall colour, then buy furniture to fit the room. Buying furniture before painting means guessing at colours and sizes, and guessing is how rooms end up with curtains that clash with the walls. Paint is also the cheapest change, so it makes sense to do it while the room is still empty.
Your Room Is Ready When a Guest Can Arrive Unannounced
That is the test I come back to every time. Not whether the room looks good in a photo, though it should, but whether a friend could ring the doorbell tonight and sleep well in it. Fresh bedding, a lamp that works, a place for their bag, and a room that is warm and quiet.
Start with the tape measure this weekend. Clear the room, write down the numbers, and pick your budget tier. Order the bed if it needs replacing, buy the paint, and work through the steps in order. Four weeks from now, the spare room will be the room guests ask about at breakfast, and you will wonder why it took so long to get round to it.