Yes, you can turn an old rug into beautiful DIY rug wall art, and the result can look like a piece you bought from a designer shop. Cut the best patterned section from a flatweave rug, mount it on a firm linen covered backing board, frame it in a deep shadow box or float frame, and hang it with hardware rated for its weight.
The whole project takes about two to three hours once you have the frame, and most of that time goes to choosing the right section and letting the glue set. Flatweave cotton and wool rugs work best because they are thin, lie flat and cut cleanly. Thick pile rugs, rubber backed rugs and rugs with a glued latex backing do not frame well, so leave those on the floor.
Every home seems to collect one. A rug that has faded in one spot, thinned at the edges, or simply stopped suiting the room. It feels wrong to throw it away, because the pattern is still beautiful. Hanging it on the wall solves both problems at once. The pattern moves up to eye level, where you actually see it, and the worn spots stop mattering, because you choose exactly which part of the rug becomes the art.
Which Rugs Work for Wall Art, and Which Ones to Leave on the Floor
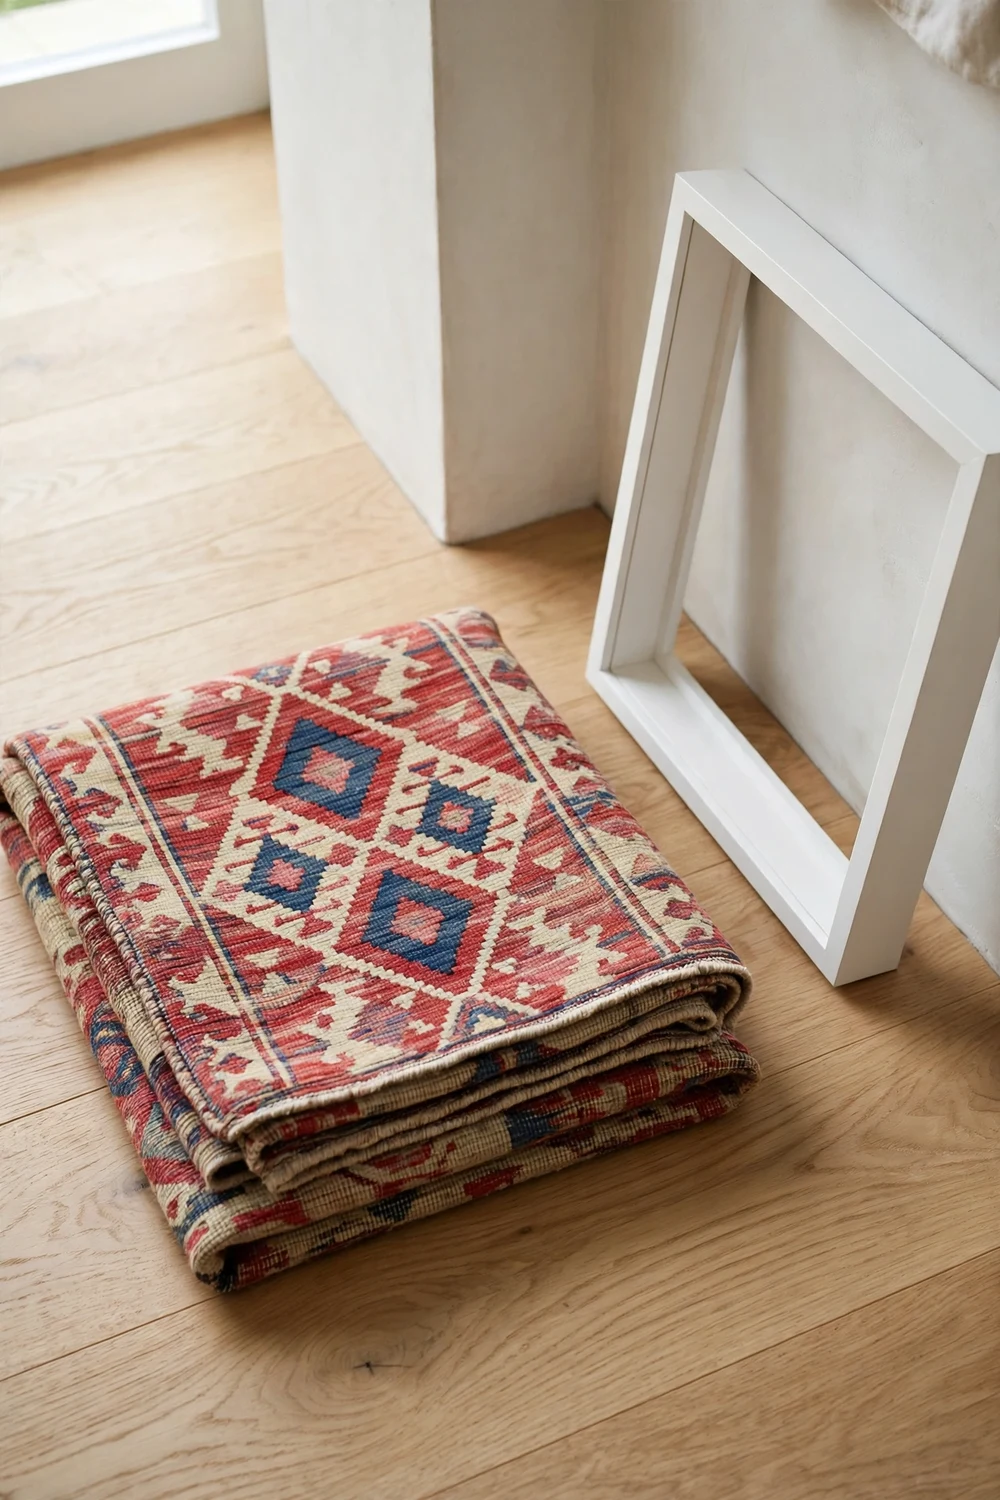
Not every rug wants to become wall art. The single most important quality is thickness. A rug that is thin and flexible will sit flat against a backing board, slide into a frame without bunching, and hang without pulling its fixings loose. A rug that is thick and stiff will fight you at every step. It will bulge at the corners, refuse to lie flat, and put constant strain on the glue and the frame.
Flatweave rugs are the clear winners. Kilims, dhurries and cotton flatweaves are woven without a pile, so they are usually only a few millimetres thick. They cut cleanly, they fold neatly around a backing board, and their patterns are bold enough to read well from across a room. Wool flatweaves are a little heavier but still frame beautifully, and their texture adds a warmth that printed fabric cannot match. If you have a small vintage kilim, a thrifted flatweave runner, or a cotton accent rug that has seen better days, you almost certainly have your art already.
Size is the last question, and it is easier than it sounds. You do not need a big rug. A 2 by 3 foot accent rug gives you enough pattern to choose from and fits a standard 20 by 30 inch shadow box with room to spare. A 3 by 5 foot rug gives you several good sections to choose between, and the offcuts can become a second, smaller piece. If you want a second opinion on the rug itself, our guide to choosing the perfect rug for your home covers sizes and placements room by room, and the same size logic helps you picture how your framed piece will sit on the wall.
| Rug type | Frames well? | Why |
|---|---|---|
| Kilim or flatweave cotton | Yes, best choice | Thin, flexible, bold pattern, cuts cleanly |
| Dhurrie | Yes | Lightweight, flat, often reversible |
| Low pile wool rug | Yes, with care | Heavier, needs strong backing and hardware |
| Vintage hand knotted rug | Yes, if sound | Rich pattern, but check for weak spots first |
| Shaggy or high pile rug | No | Will not lie flat, pattern lost in pile |
| Rubber or latex backed rug | No | Glue will not hold, backing crumbles |
Tools and Supplies: Everything You Need Before You Cut
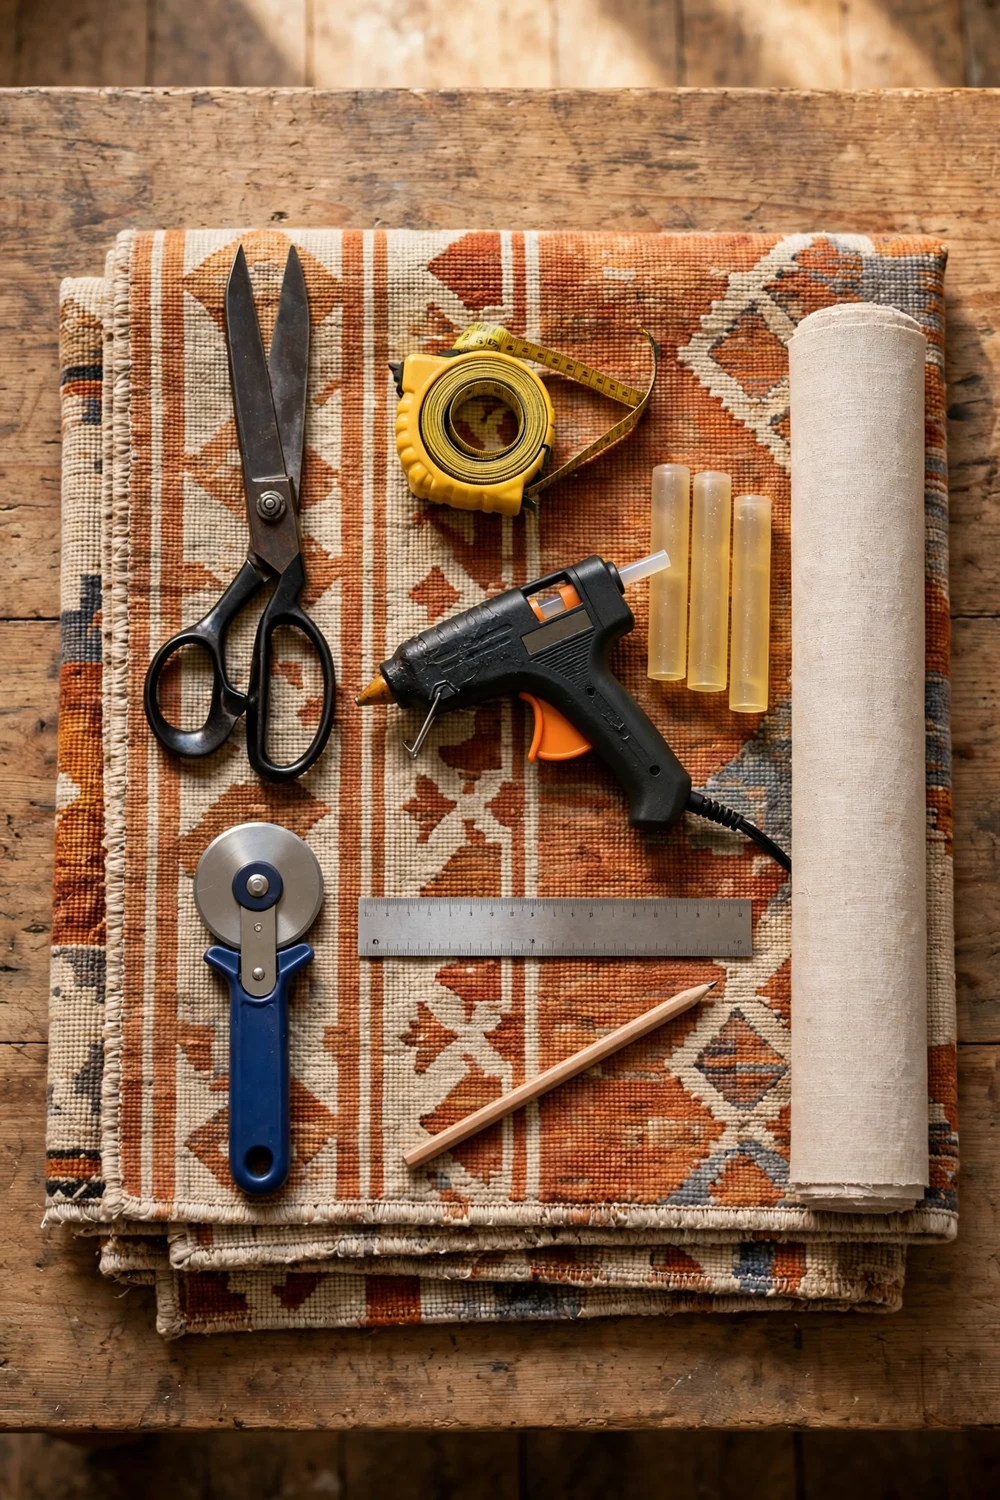
One of the best things about this project is how little it asks of your toolbox. You probably own most of what you need already. The few things worth buying are the ones that decide the quality of the result, so spend your money there and improvise the rest.
Start with the cutting tools. Heavy fabric scissors are the single most important purchase if you do not already own a pair. Ordinary household scissors will chew through a flatweave and leave a ragged edge that frays for weeks. Fabric scissors, with long sharp blades, cut in one smooth pass. A rotary cutter is a useful second tool for long straight cuts, but it is optional, and it only works well on thin flatweaves. Add a steel ruler at least 24 inches long, a tape measure, a pencil or a piece of tailor’s chalk for marking, and a pair of small sharp scissors for trimming threads at the end.
For adhesive, you need two kinds. Spray adhesive holds the linen or canvas covering smoothly to the backing board without lumps, and a hot glue gun fixes the rug itself to the covered board. Use a full sized hot glue gun, not a small craft one, because you will be laying long lines of glue and a small gun cools too fast. Buy a generous pack of glue sticks. You will use more than you expect. For a heavier rug, add a needle and strong upholstery thread, since a few hand stitches along the top edge give a safety net that glue alone cannot provide.
The frame is the one item worth choosing slowly. You need a deep frame, because a rug is thicker than a print. A shadow box frame, usually 1 to 2 inches deep, is the simplest choice and the one most craft shops stock in standard sizes. A float frame, where the rug sits between two sheets of glass or acrylic with a visible gap around it, gives a more modern gallery look. A simple wooden stretcher frame is a third option if you prefer the textile to sit proud of the wall with no glass at all. Whatever you choose, measure the inside depth before you buy. Lay a folded corner of your rug inside the frame in the shop if you can. If the rug presses hard against the glass, the frame is too shallow.
Finding the Best Part of the Pattern
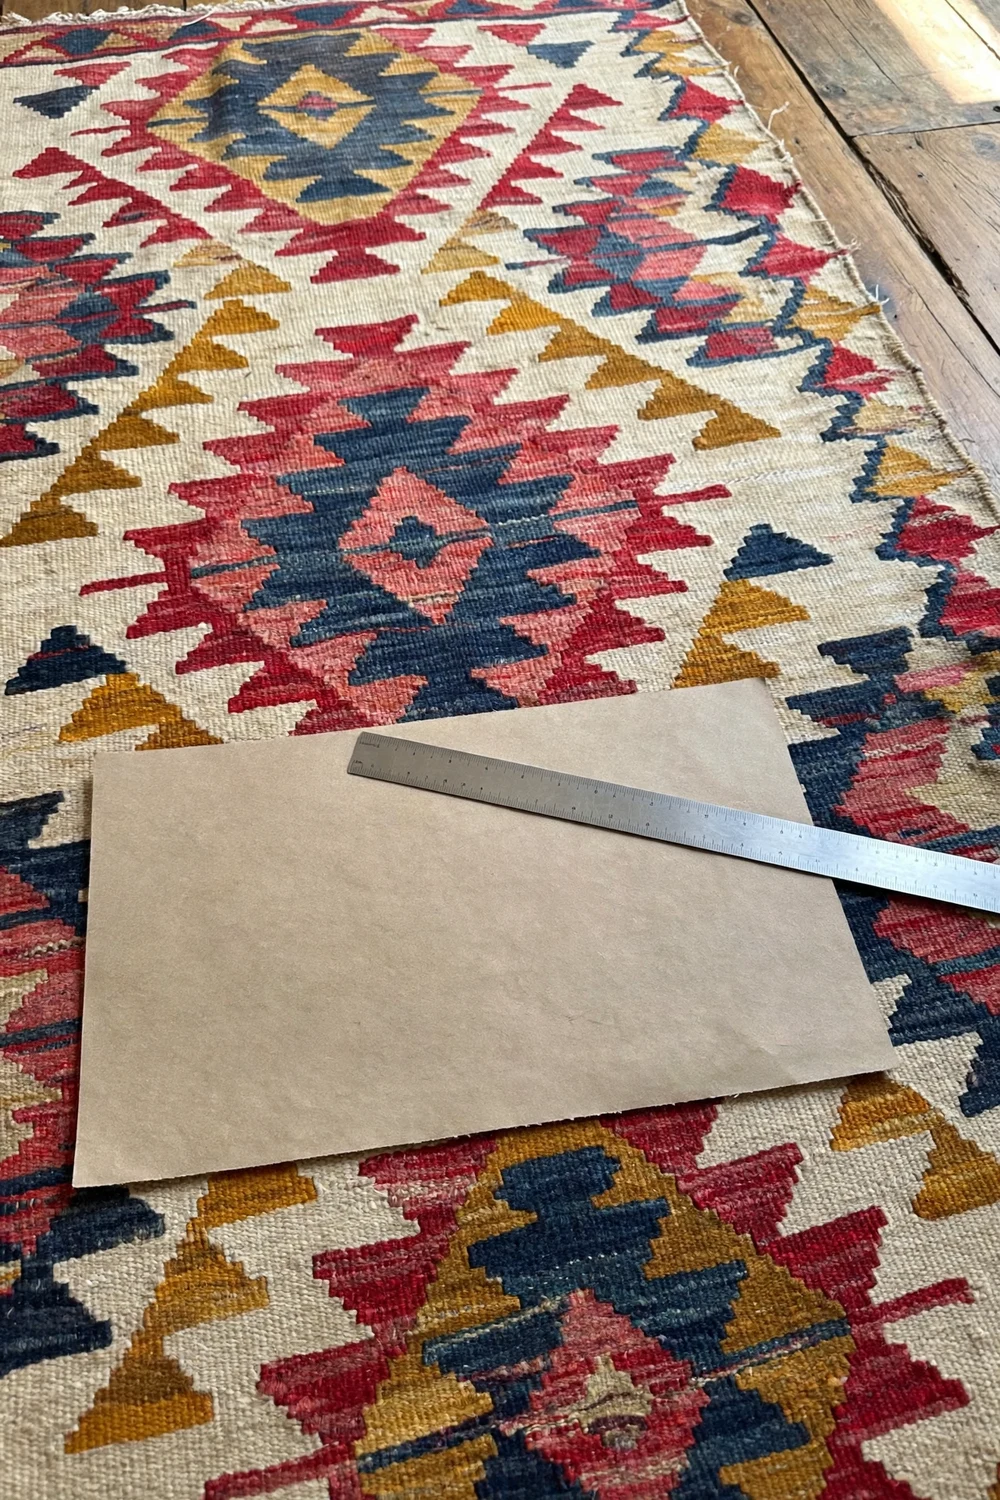
This is the step most quick tutorials skip, and it is the step that makes the difference between a piece that looks designed and a piece that looks like a random offcut. A rug is not a flat sheet of pattern. It has a centre, a border, a rhythm, and usually one or two motifs that are stronger than the rest. Your job is to find the section where those things come together, and to frame that section alone.
Lay the rug flat, pattern side up, and step back. Look at it from standing height, not from your knees, because that is how it will read on the wall. Walk around it and look at it from the doorway. Squint a little, which sounds odd, but it helps you see the big shapes instead of getting lost in the detail. You are looking for a section with a clear focal point: a central medallion, a strong diamond, a bold stripe, or a cluster of motifs that balance each other. That focal point wants to sit near the centre of your frame, not jammed against one edge.
Now make a paper template the exact size of your frame’s opening. Cut a sheet of newspaper or kraft paper to that size, and slide it around the rug. This is the moment to be slow and a little fussy. Move it an inch to the left and the border may line up beautifully. Move it an inch down and a motif may get cut in half at an awkward place. Try the template in both orientations. Many kilim patterns work better sideways than you expect, and a runner pattern that looks busy along its length can become a calm, strong composition when turned on its side. When you are happy with the placement, mark the cutting lines with tailor’s chalk on the back of the rug, about half an inch outside the template on every side, and draw a small arrow to show which way is up.
How to Cut a Rug Cleanly Without Fraying
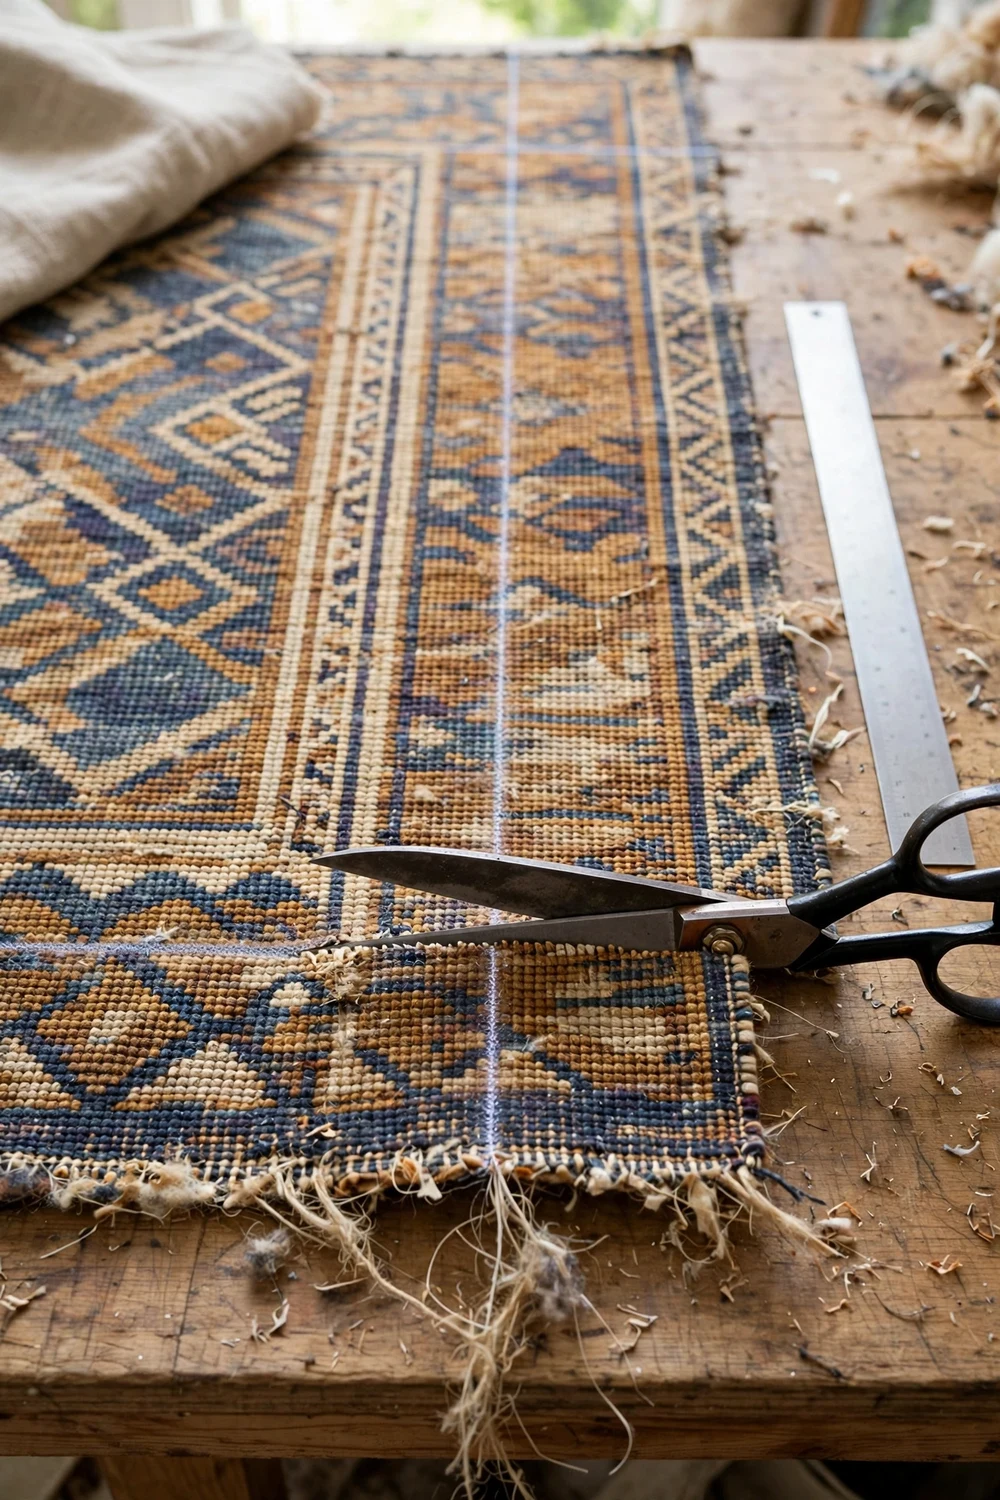
Cutting a rug feels dramatic, and that is the part that puts most people off. Take a breath. A rug is cloth, and cloth cuts. The trick is to cut once, cleanly, along a straight line, and then to seal the edge immediately so it cannot unravel.
Cut with long, smooth strokes, not short snips. Open the fabric scissors wide, slide the blades along the line, and close them in one steady motion. Let the weight of the scissors do the work. If you feel the blades catching, stop, open them, and start again from a clean point. Short choppy cuts leave a jagged edge that frays faster and looks untidy under the frame lip. If you are using a rotary cutter, press firmly and roll it along the steel ruler in one pass. A rotary cutter is faster on thin flatweaves, but it needs a cutting mat underneath, and it will not cope with a thick wool rug. For anything heavier than a flatweave, the scissors are the better tool.
Now seal the edges. This is the step that keeps your art looking neat for years. The simplest method is a line of hot glue along the raw edge on the back of the rug, pressed flat with a piece of scrap fabric while it is still warm. The glue binds the cut threads together and stops them from working loose. For a finer finish, fold the edge over by a quarter of an inch and glue the fold down, which gives a clean hem with no raw edge showing at all. If you enjoy hand sewing, a simple whip stitch along each edge does the same job and looks beautiful on the back, though nobody will see it once the piece is framed.
Backing the Rug So It Stays Flat for Years
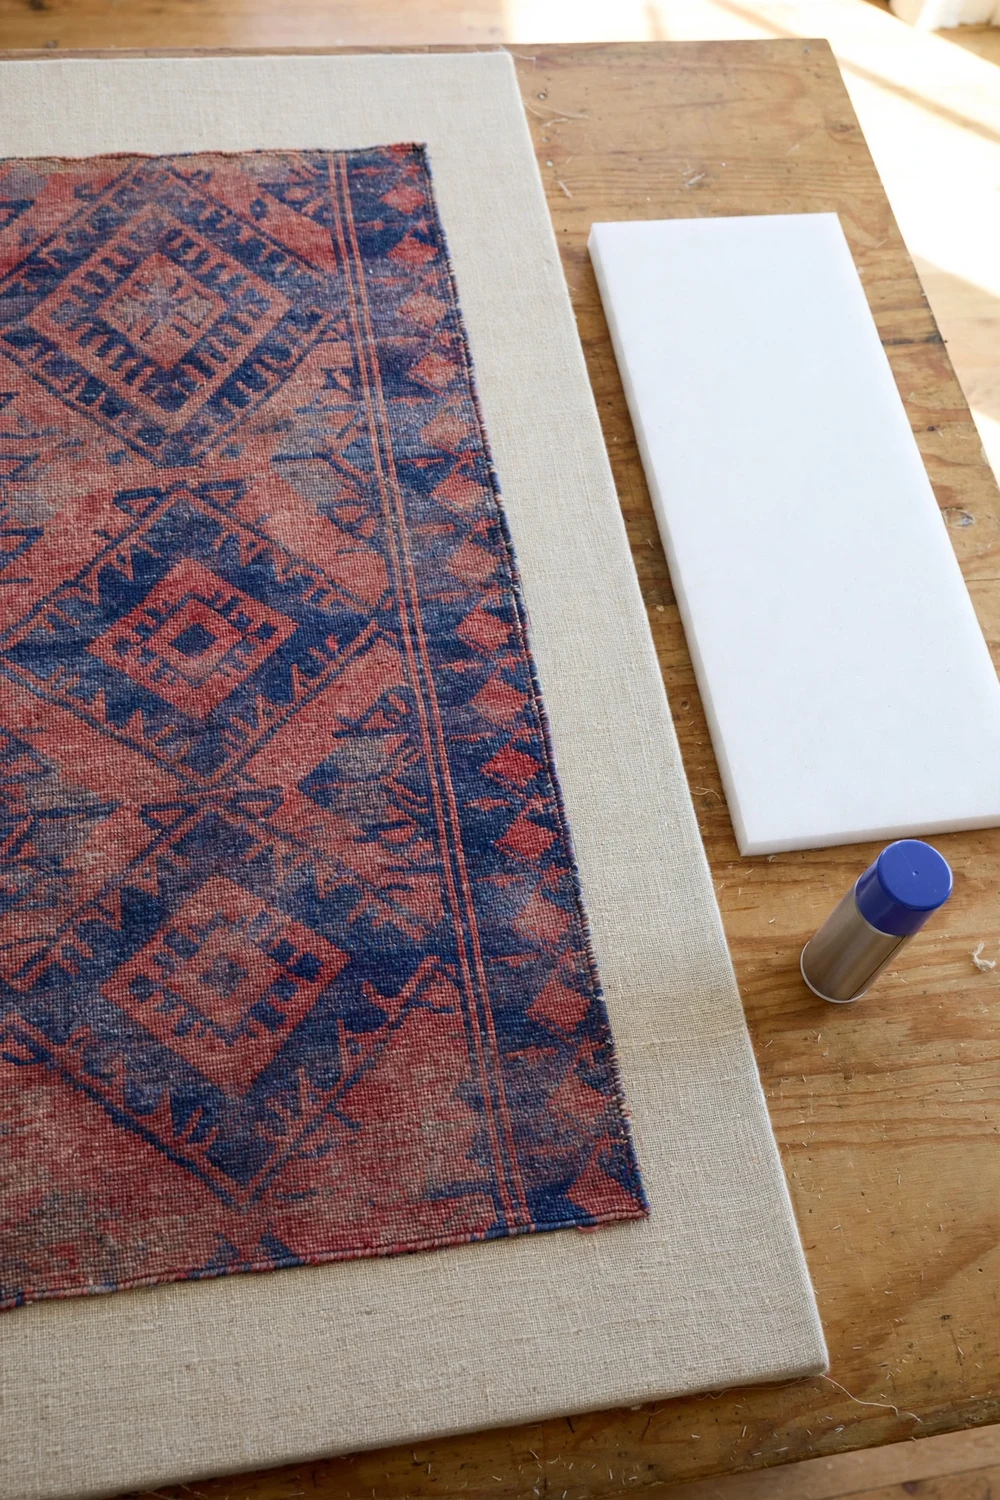
Start by cutting your backing board to the inside size of your frame. Measure the inside of the frame, not the outside, and cut the board a fraction smaller, about an eighth of an inch on each side, so it slides in without forcing. Foam core board cuts easily with a craft knife and a steel ruler. Score it lightly first, then cut through in a second pass. Thin plywood or MDF needs a saw, so if you do not have one, ask the timber counter at a hardware shop to cut it for you. They usually do it for free, and their cut will be straighter than a hand sawn one.
Cover the board with your linen or canvas. Lay the fabric face down on the table, place the board on top, and fold the fabric around the edges like wrapping a present. Spray adhesive on the front of the board first, smooth the fabric over it from the centre outward, and press out any bubbles with the flat of your hand. Then fold the edges to the back and fix them with spray adhesive or hot glue. Pull the fabric taut as you fold, but not so tight that it warps the board. The front should look smooth and even, with no wrinkles and no loose spots.
Fix the rug with hot glue. Lift one edge of the rug, run a line of hot glue along the backing, and press the rug down firmly. Work in sections, one edge at a time, and smooth the rug flat as you go. Start at the top edge, then the bottom, then the sides, so the rug stays centred. Press each section for a few seconds with a clean cloth to help the glue grip. For a heavier wool rug, add a few hand stitches through the rug and the backing board along the top edge. The stitches carry the weight, the glue keeps the surface flat, and together they will hold for years.
Choosing the Frame: Shadow Box, Float Frame or Stretcher
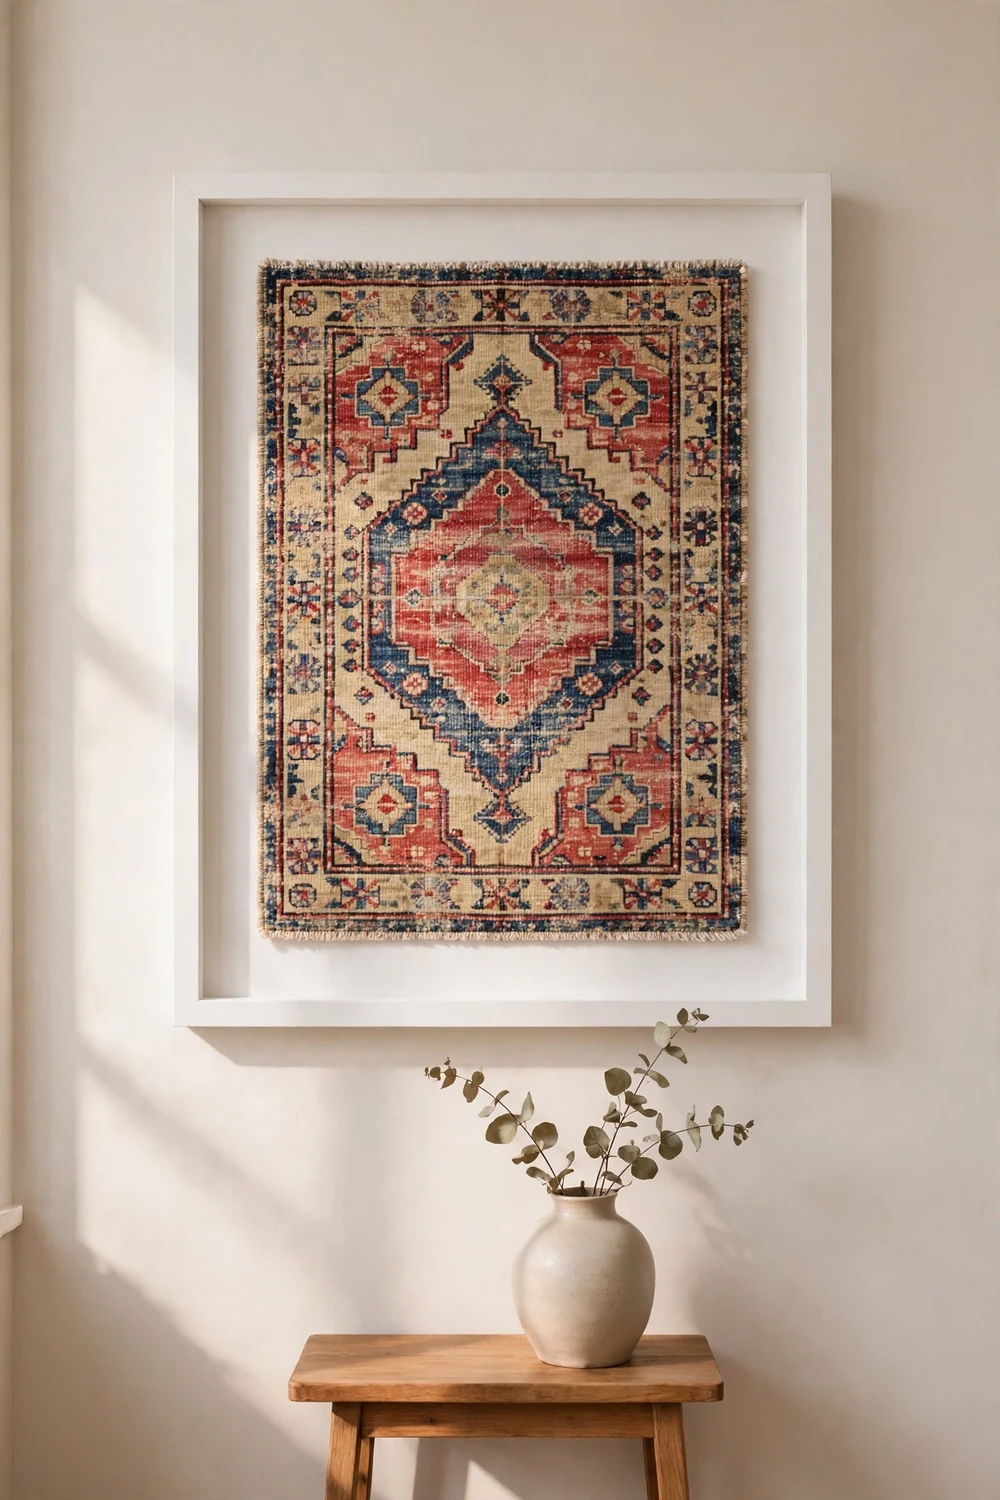
The shadow box is the easiest and the most forgiving. It is a deep frame with space between the rug and the glass, so the texture of the weave stays visible and the rug never presses against the glass. White and natural wood shadow boxes suit almost every rug, because they stay quiet and let the pattern do the talking. Black shadow boxes look striking with bold geometric kilims, but they can feel heavy in a small room, so save black for larger pieces and paler walls. Choose a shadow box that is at least an inch and a half deep. Anything shallower will squash the rug and flatten the texture you worked to preserve.
The float frame gives a more modern, gallery style result. The rug sits between two sheets of glass or acrylic, with a gap of plain space around it, so it appears to float inside the frame. This style suits bold patterns with strong shapes, because the empty space around the rug becomes part of the composition. The catch is that a float frame shows both sides of the piece, so the back must be neat, and the rug must be thin enough to sit flat between the sheets. Flatweaves are ideal here. Thick wool rugs are not, since they will not close properly and the frame will bow. Acrylic is lighter and safer than glass for larger float frames, and it is worth the small extra cost if the piece will hang above a sofa or a bed.
The stretcher frame is the third option, and it is the one I reach for when I want the textile itself to be the star. A stretcher is a simple wooden frame, the kind used for canvas painting. You wrap the rug around it and fix it to the back with staples or tacks, so the pattern sits proud of the wall with no glass in front of it. The result feels warm and tactile, and you can touch the weave, which is part of the pleasure of a rug. The downside is that the rug is open to dust and sunlight, so it needs a room that is not too sunny and a quick vacuum with a brush attachment now and then. It is also the cheapest of the three options.
| Frame size | Rug piece size | Best room |
|---|---|---|
| 12 by 16 inches | 11 by 15 inches | Hallway, small bedroom |
| 16 by 20 inches | 15 by 19 inches | Bedroom, study, entryway |
| 20 by 30 inches | 19 by 29 inches | Living room, above a console |
| 24 by 36 inches | 23 by 35 inches | Above a sofa, dining room |
| 30 by 40 inches | 29 by 39 inches | Large living room wall, stairwell |
Hanging It Safely: Weight, Anchors and the Right Height
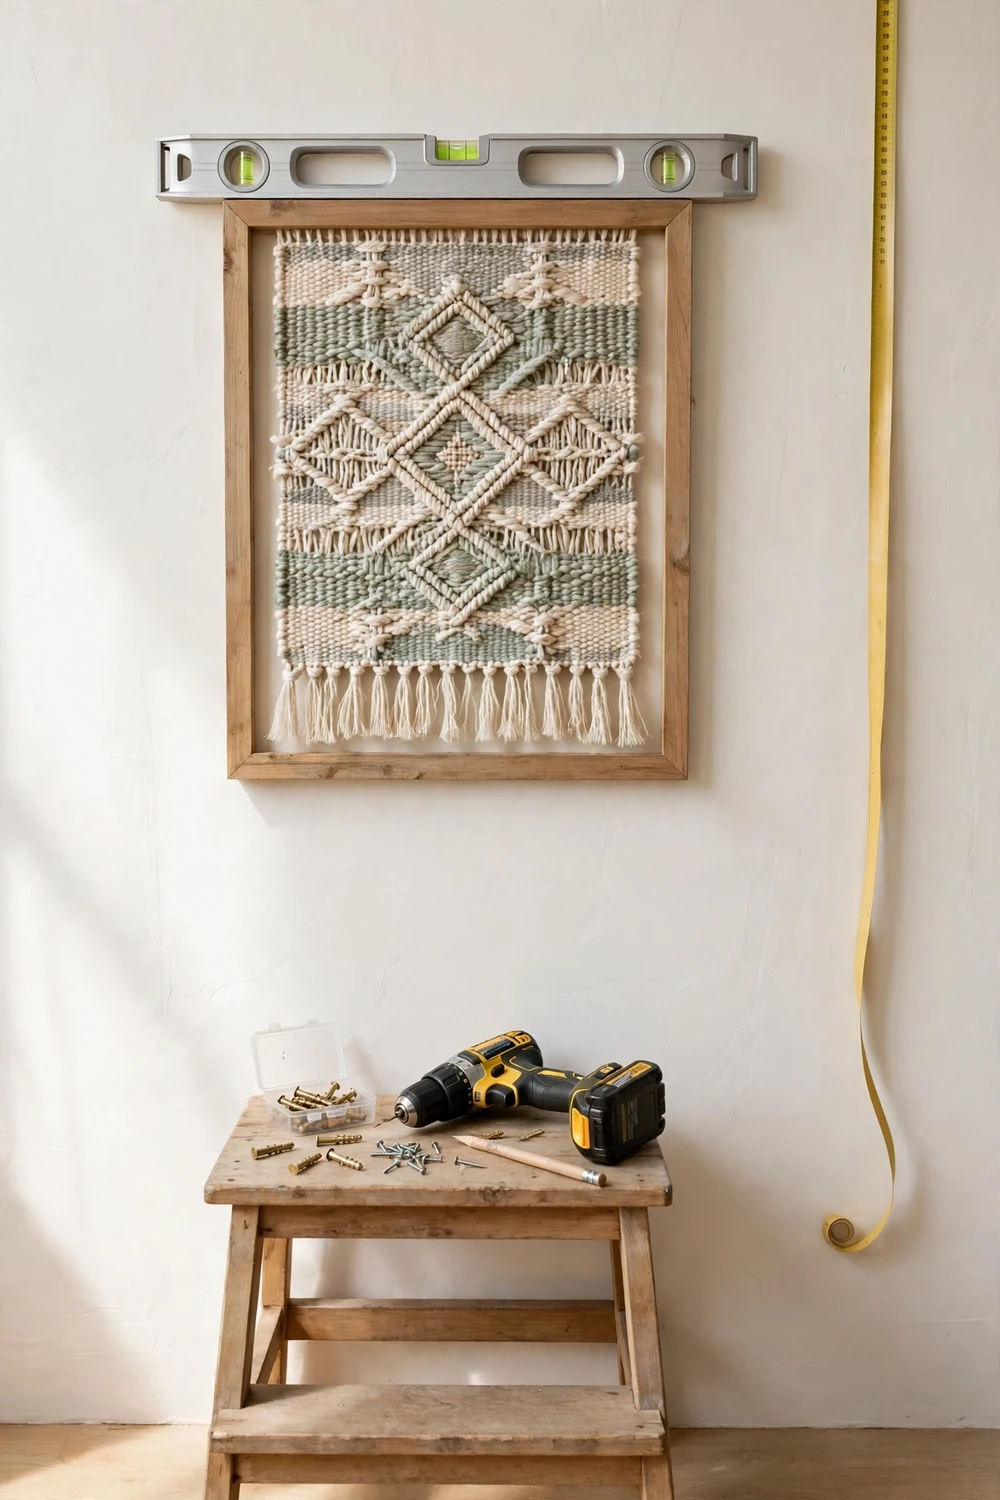
A framed rug is heavier than a framed print, and that weight is the one thing you must respect. A small flatweave in a 16 by 20 inch frame might weigh two or three pounds, which is no trouble at all. A wool rug in a 24 by 36 inch shadow box can weigh eight to twelve pounds, which is enough to pull a picture hook out of plasterboard if the fixing is wrong. Weigh your finished piece on a bathroom scale before you hang it. Hold it, note your own weight, then step on the scale holding the piece and subtract. It takes thirty seconds, and it tells you exactly what your wall needs to hold.
Match the fixing to the weight and to the wall. For a piece under five pounds on a solid wall, a single good picture hook or a sturdy nail into a stud is enough. For anything heavier, or for any piece on a plasterboard wall, use proper wall anchors. Toggle bolts and heavy duty plasterboard anchors are made for this, and they spread the load across a wider area of the wall. Use two fixings, one on each side, rather than a single central hook, because two points share the weight and stop the frame from tilting over time. If you can find a stud, use it. A screw driven into a stud will hold far more than any anchor.
Height matters as much as strength. The centre of the artwork should sit at about eye level, which for most people is around 57 to 60 inches from the floor to the centre of the piece. That is the gallery standard, and it works because it puts the pattern where your eyes naturally rest. Above a sofa, the rule changes a little. Hang the piece so the bottom of the frame sits six to eight inches above the back of the sofa. Any higher and the art floats away from the furniture. Any lower and it crowds the people sitting below it. Above a console table or a chest of drawers, the same six to eight inch gap applies. Our guide to above couch wall decor ideas shows these measurements in real rooms, and the same sizing logic applies to a framed rug, since a textile follows the same rules as any other art once it is on the wall.
Styling Your Finished Piece
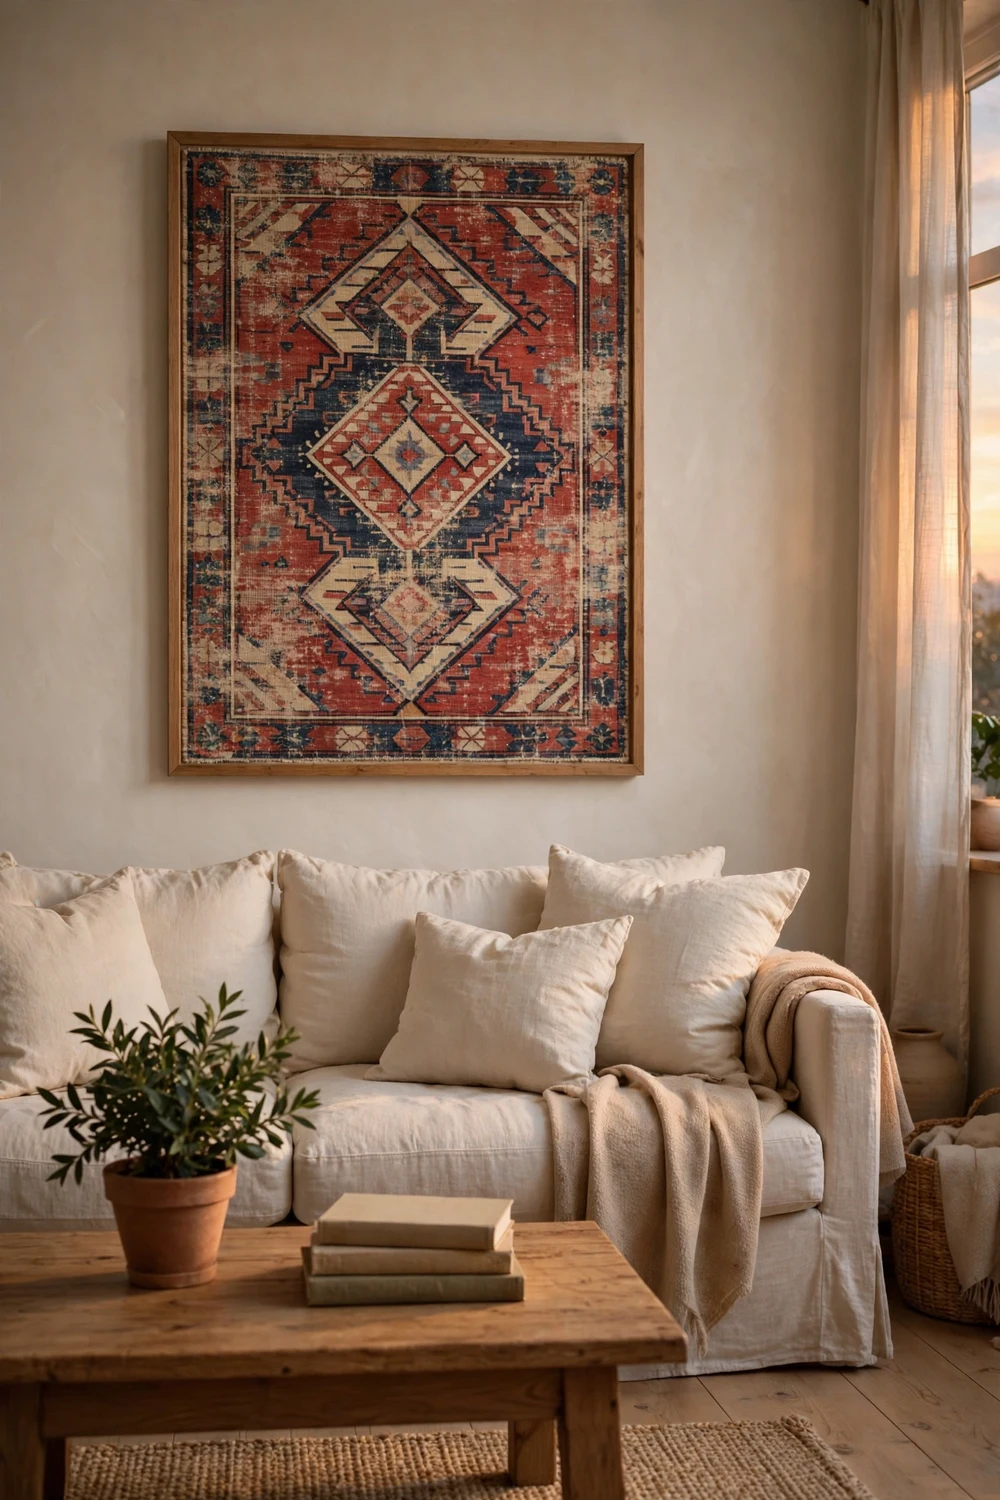
Your framed rug is on the wall. Now comes the part that turns a finished project into a finished room. A textile brings warmth and pattern, and it changes how everything around it looks. The trick is to let it be the star without letting it shout over the rest of the room.
Start with the wall itself. A framed rug looks best on a plain wall in a calm colour. Warm white, soft plaster, pale sage or a gentle greige all let the pattern breathe. A busy wallpaper behind a patterned rug is too much for the eye, and the two patterns will argue with each other. If your wall is a strong colour, choose a rug with a quieter pattern, or pick a frame in a colour that ties the rug to the wall. A white frame on a white wall can disappear, which is sometimes exactly what you want, because the rug seems to float.
Grouping works well too. A framed rug beside a framed print can be a beautiful pairing, as long as the two pieces share something, a colour, a frame style, or a similar size. Our Audubon bird gallery wall guide shows how to build a collected looking arrangement, and the same principles apply here. Keep the gaps between frames even, keep the centre line level, and let the rug be the largest piece in the group. A small rug piece also sits happily on a shelf, leaned against the wall between books and vases. If you enjoy styling shelves, our shelf decor ideas will help you layer it in without clutter.
My own opinion, for what it is worth, is that a framed rug belongs in the room you actually live in, not in a guest room or a hallway nobody uses. I hung my first one in our living room, above the sofa where we sit every evening, and it changed the room more than any piece of furniture we have bought. There is something about a handmade textile on the wall that makes a room feel settled, as if the house has been lived in properly. Put your piece where you will see it every day. That is the whole point.
If this project has given you a taste for working with old textiles, there is plenty more to try. A vintage landscape print can sit beautifully beside a framed rug, and our vintage landscape printable art guide will help you choose one that prints sharply. Start small, though. One framed rug, hung well, in a room you love, is a better result than five half finished projects. Let this one settle, enjoy it, and then decide what comes next.
Frequently Asked Questions
Can you frame any rug as wall art?
Almost any flatweave rug can be framed, and that includes kilims, dhurries and cotton flatweaves of any age. Low pile wool rugs frame well too, as long as the pile is short and even. Avoid shaggy rugs, high pile rugs and any rug with a rubber or latex backing, since those will not lie flat and the glue will not hold. Check the back of the rug first. A woven back is a good sign, a crumbly rubber back is not.
How do you stop a cut rug from fraying?
Seal the cut edge as soon as you have cut it. Run a line of hot glue along the raw edge on the back of the rug and press it flat, or fold the edge over by a quarter of an inch and glue the fold down. A whip stitch along the edge works well for delicate vintage rugs. Never pull loose threads, since pulling can unravel a whole row of weave. Trim them with small scissors instead.
What is the best frame for a rug?
A deep shadow box frame is the best choice for most rugs, because the gap between the rug and the glass protects the textile and shows off its texture. A float frame suits bold geometric patterns and modern rooms, but it needs a thin flatweave. A wooden stretcher frame suits anyone who wants the textile open to the room with no glass in front of it. Whichever style you choose, make sure the frame is at least an inch and a half deep.
How heavy is a framed rug, and how do I hang it safely?
A small flatweave in a 16 by 20 inch frame usually weighs two to three pounds. A wool rug in a 24 by 36 inch shadow box can weigh eight to twelve pounds. Weigh your finished piece on a bathroom scale, then choose fixings rated above that weight. Use two fixings rather than one, screw into a stud where you can, and use proper plasterboard anchors on hollow walls. Never rely on adhesive strips for a heavy textile.
Do I need to put glass over a framed rug?
Glass is not essential, but it protects the rug from dust, fingers and cooking grease, which makes it a good choice for hallways, dining rooms and homes with small children. If you use glass, keep a gap between the glass and the rug, since glass pressed directly onto a textile can trap moisture and stain the fibres. An open stretcher mounted rug needs no glass, but it should hang away from direct sun and steam, and it will need a light dusting now and then.
Your First Step
Go and look at the rugs in your home with fresh eyes. Open the cupboard, unfold the runner you replaced, and lay it flat on the floor. Look at the pattern the way you would look at a painting in a shop, and ask yourself which section you would choose. If a section makes you smile, you have found your art. Measure your favourite frame size, make a paper template, and slide it around the rug until the pattern sings. That is the whole project in miniature, and it takes ten minutes.