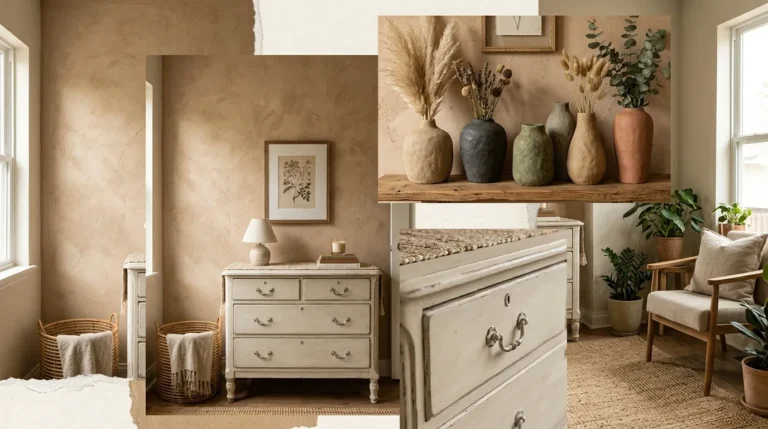
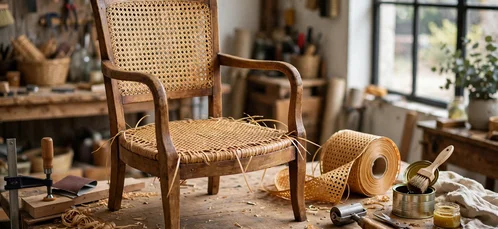
Yes, you can turn a thrifted glass-door nightstand into a cane nightstand in a weekend, and a DIY cane nightstand makeover is one of the most satisfying small furniture projects you can try. You remove the glass, paint the frame, cut cane webbing to fit the opening, press it into the groove with a spline, stain it warm, and finish with new hardware.
The change is bigger than it sounds. Glass shows every messy shelf inside the cabinet. Cane hides the clutter, lets air move, and adds texture that paint alone cannot give. This guide walks through the whole job in order, with the measuring maths and the drying times included, so you do not have to guess at any step.
Is This Nightstand Worth a DIY Cane Nightstand Makeover?
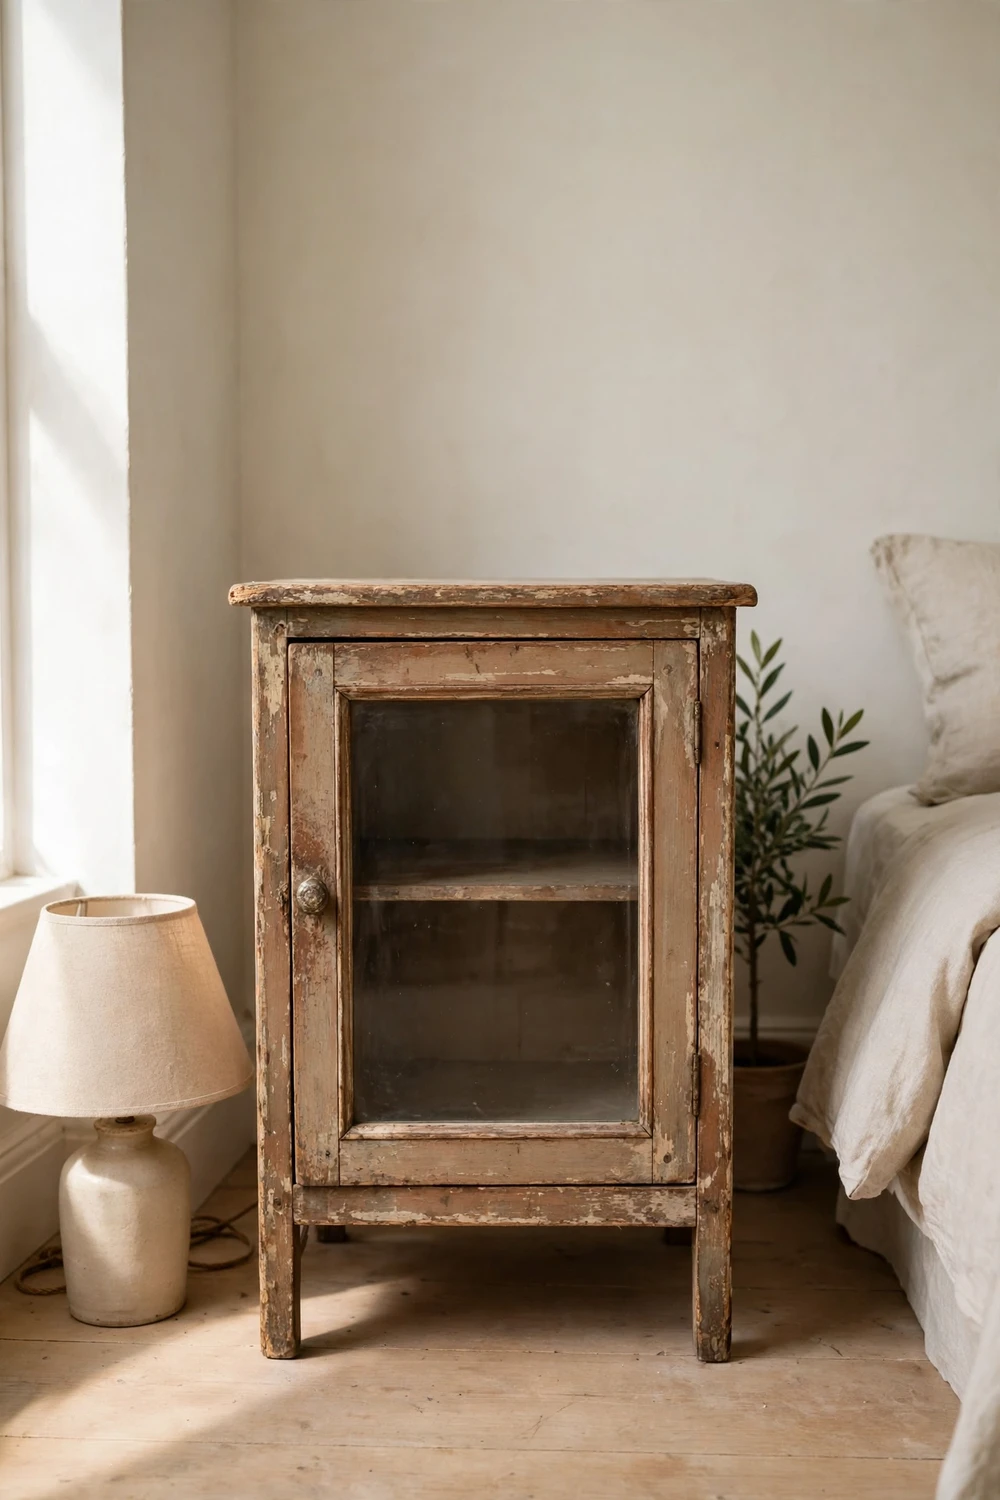
Start at the thrift shop and look at the bones before you look at the finish. A good candidate has a solid frame, a door that still sits square in its opening, and hinges that hold the door level when you let go. Wobble in the legs can be fixed with glue and a clamp. A door that drops when you open it is a harder job, and a frame that twists out of square will fight you at every step.
Check the door first. The best doors have a removable glass panel held by small clips, glazing beads, or thin wooden trim on the inside. If you can see a groove around the inside edge of the door, you have found the real prize. That groove is where the cane spline will sit later. Doors with glass glued straight into a solid frame are still possible, but you will need to cut a rebate or use a staple and trim method instead, and that adds work and risk.
Look at the size too. A nightstand between 45 and 60 cm wide and 55 to 70 cm tall suits most beds. Measure the height of your mattress top before you buy. The top of the nightstand should sit within about 5 cm of the top of your mattress. A gap of 15 cm or more will feel wrong every night when you reach for a glass of water. Leave at least 5 cm between the nightstand and the bed frame so the door can open without catching the bedding.
Here is my honest view. I would rather buy a plain, slightly ugly nightstand with a square door and a solid frame than a pretty one with a twisted door. Paint and cane can fix the look. They cannot fix a door that will not close. Spend your money on structure and let the makeover do the rest.
One distinction matters. This post is a makeover project, about changing how a piece looks, from glass to cane, from tired paint to a fresh colour, from old hardware to something that suits the new style. If your cane is already fitted and it sags or tears, that is a different job, and our guide to how to restore cane furniture covers that repair in detail. Before you leave the shop, measure the door opening in three places, top, middle, and bottom, and write the smallest number down. That number will matter when you cut the cane.
What You Need Before You Start a Cane Webbing Nightstand
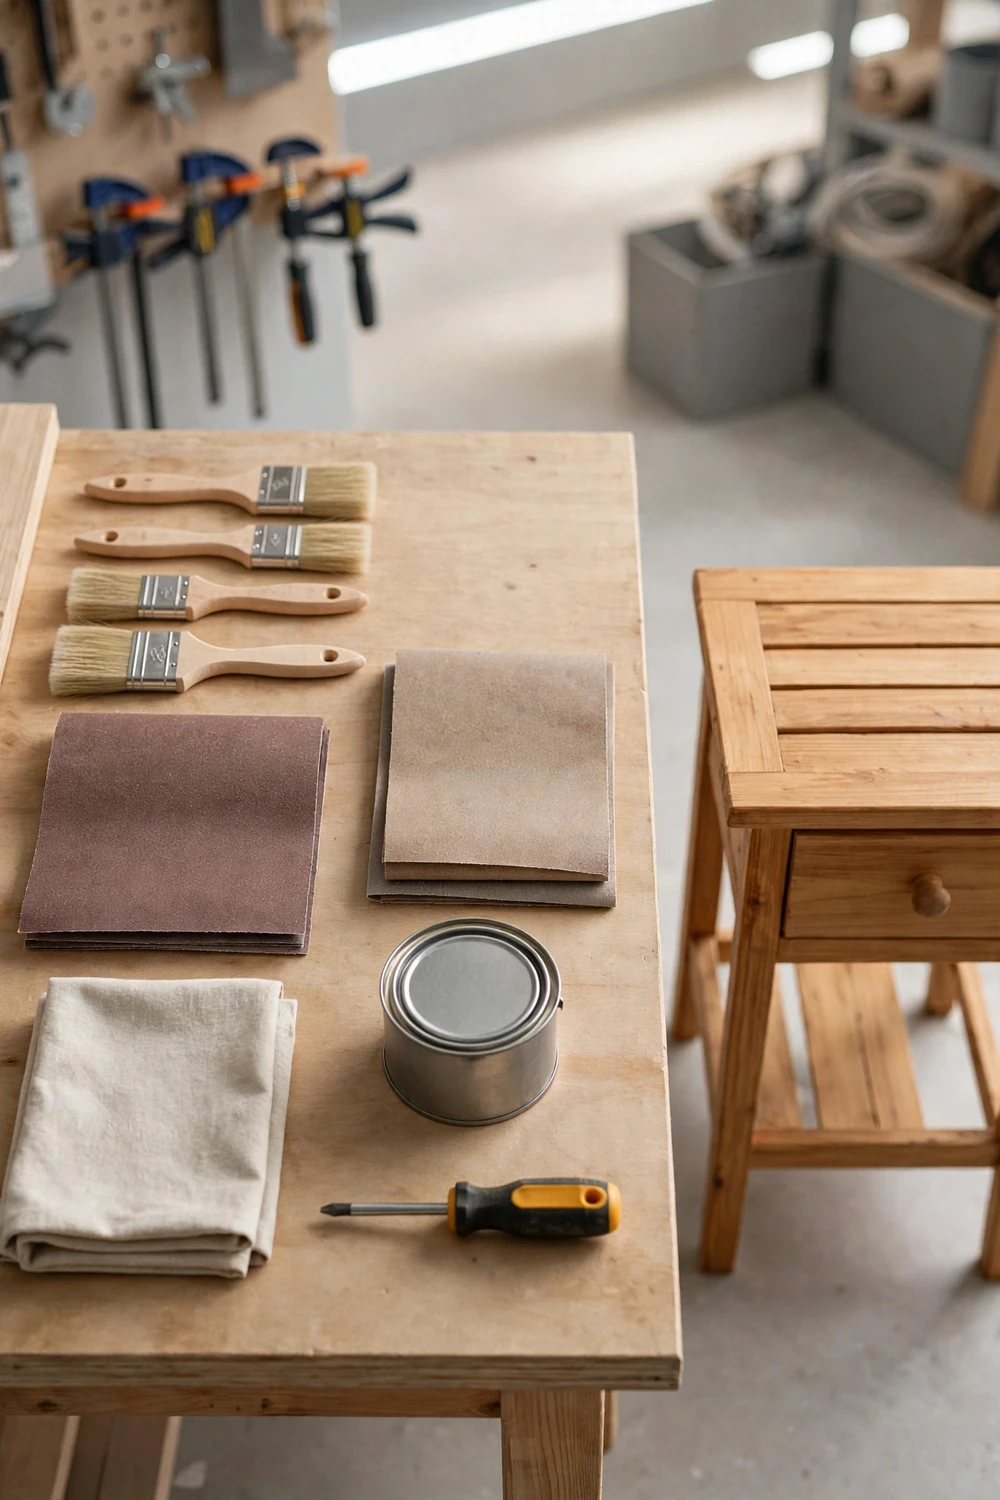
A cane webbing nightstand project goes smoothly when everything is on the table before the first screw comes out. Gather the tools and materials in one place, then work through the steps without stopping to hunt for a missing brush. You need fewer tools than most people expect, and most of them are useful for other furniture jobs later. If you have never painted furniture before, our guide to an unfinished furniture makeover to customize a work table uses the same prep steps on a bigger piece.
For the frame you need sugar soap or warm soapy water, a cloth, 120 grit and 220 grit sandpaper, a sanding block, a bonding primer, furniture paint in your chosen colour, a 5 cm synthetic brush, a small foam roller for flat panels, and a clear topcoat in a satin or matt finish. Painter’s tape, a dust sheet, and a pencil complete the painting kit. Choose a paint made for furniture or cabinets, not wall paint. Wall paint stays soft on furniture and marks easily when a book or a phone slides across it.
For the cane you need cane webbing, a spline to match the groove in your door, a spline roller or a blunt butter knife, sharp scissors or a craft knife, a spray bottle with clean water, and a tape measure. Buy the spline in the same order as the webbing if you can. Spline comes in different widths, usually from about 4 mm to 8 mm, and the wrong size will either fall out or split the groove. Measure the groove width with a ruler before you order.
How to Paint a Laminate Nightstand So the Finish Lasts
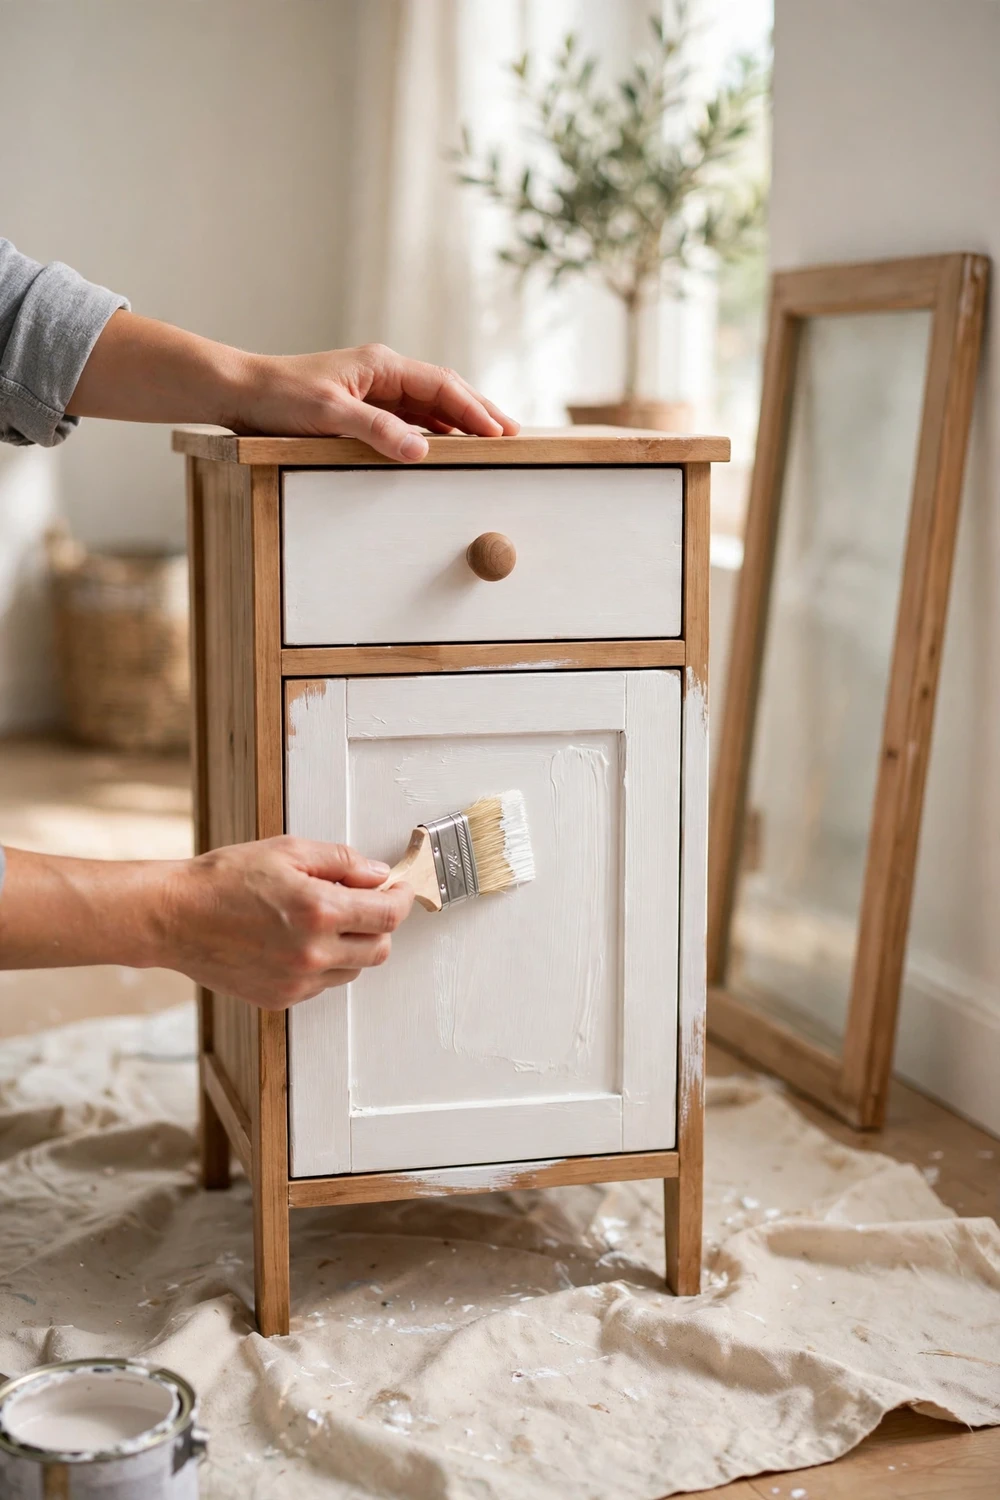
Painting a laminate nightstand is the step that worries most beginners, and it is also the step where a little prep saves the whole project. Laminate is smooth and shiny, so paint slides off it unless you give the surface something to grip. The fix is simple. Clean it well, scuff it lightly, and use a bonding primer. Skip any one of those steps and the paint may look fine on day one and peel in sheets by month three.
Start by taking the piece apart. Remove the door, the hinges, the knob, and any drawer. Put the screws in a labelled bag for each part. Wash the whole piece with sugar soap or warm water with a small amount of washing-up liquid. Rinse with clean water and let it dry fully. Grease from hands and polish from the shop will stop paint sticking, even under primer, so do not rush this wash.
Sand with 120 grit paper on a sanding block. You are not trying to remove the laminate. You are only dulling the shine so the primer can grip. Work in straight lines, not circles, and keep the pressure light. On laminate a heavy hand will cut through the thin surface and show the board below. Wipe the dust off with a damp cloth, then let the piece dry again. It should feel matt and slightly rough, not glossy.
Apply the bonding primer in a thin, even coat. Use a brush for the edges and a small foam roller for the flat panels. Thin coats dry faster and leave fewer brush marks than one thick coat. Let the primer dry for two to four hours, then sand it very lightly with 220 grit paper. This light sanding helps the paint grip the primer. Wipe the dust off and you are ready to paint.
Paint in two thin coats of furniture paint. Use the brush for the corners and the roller for the flat areas, and work in the same direction on each panel. Keep a wet edge as you move across a panel so you do not leave a dry line in the middle. Let the first coat dry fully before you start the second. In a warm room this is usually four to six hours, but in a cool or damp room it can take longer. If the paint feels cool or tacky, it is not ready. Wait.
| Step | What to use | Typical drying time | Tip |
|---|---|---|---|
| Clean and sand | Sugar soap, 120 grit paper | 30 minutes to dry | Do not skip the wash, even on a clean-looking piece |
| Primer | Bonding primer | 2 to 4 hours | One thin coat, then a light 220 grit sand |
| First paint coat | Furniture paint | 4 to 6 hours | Thin coat, keep a wet edge across each panel |
| Second paint coat | Furniture paint | 4 to 6 hours | Check for missed spots in bright light |
| Topcoat | Clear satin topcoat | 24 hours before handling | Two thin coats protect better than one thick coat |
| Cane stain | Water-based stain | 24 hours to cure | Test on a scrap piece of cane first |
Measuring and Cutting Cane Webbing Without Waste
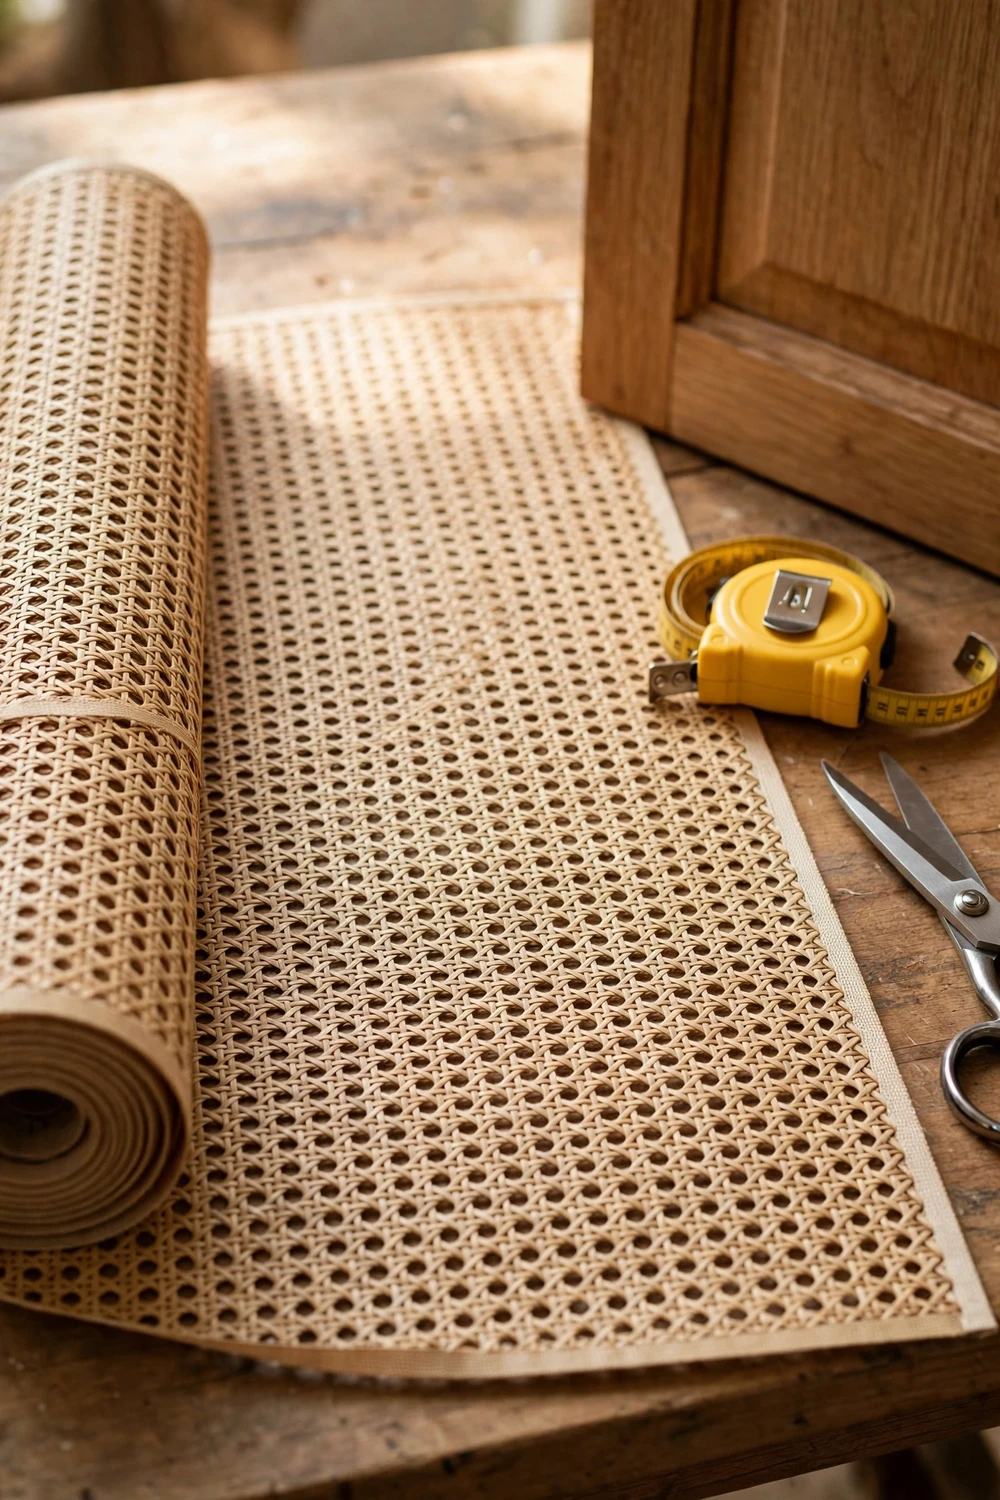
Measuring cane webbing is where most first-timers lose money, because they order too little or cut too close to the edge. The maths is simple once you know it, and it is worth doing on paper before you touch the roll. Cane webbing shrinks a little as it dries, so you need extra material at every edge. Cut it too small and it will pull tight, then pull out of the groove.
Start by measuring the door opening, not the door. Measure the width at the top, the middle, and the bottom, and the height on the left, the middle, and the right. Use the largest number in each direction. Old doors are rarely perfect rectangles, and the largest number is the one that will leave a gap if you ignore it. Write both numbers down and keep the note beside you while you work.
Now add the margin. Add 5 cm to the width and 5 cm to the height. That gives you about 2.5 cm of extra cane on each side, which is enough to grip while you fit the spline and enough to trim cleanly after. If your door is larger than 60 cm in either direction, add 7 cm instead, because a bigger panel moves more as it dries. Never add less than 5 cm. Cane that is cut to the exact size of the opening is almost impossible to fit well, and it will sag within weeks.
Cut with sharp scissors or a craft knife and a straight edge. Follow the weave, not the edge of the roll, so the pattern stays straight across the door. A cut that follows the weave looks neat from the front and it will not fray as fast. If your scissors are blunt, they will crush the strands instead of cutting them. Check the pattern direction before you fit it. Most cane webbing has a clear hexagonal or octagonal weave, and it should run straight across the door, not at an angle.
The table below gives you a quick check for common door openings. Use it to see if your numbers look right, then trust your own measurements for the final cut. If your opening falls between two rows, use the larger row. It is better to trim a little extra cane than to find you are short by a centimetre after soaking. Buy a little more cane than the table suggests if you are new to this. One extra piece, about 30 cm long, gives you a test strip for stain and a spare if you cut the first piece wrong.
| Door opening | Cane to cut | Spline length needed | Notes |
|---|---|---|---|
| 30 cm wide by 40 cm tall | 35 cm by 45 cm | About 150 cm | Small door, easy first project |
| 35 cm wide by 50 cm tall | 40 cm by 55 cm | About 180 cm | Common nightstand size |
| 40 cm wide by 55 cm tall | 45 cm by 60 cm | About 200 cm | Check the groove width first |
| 45 cm wide by 60 cm tall | 52 cm by 67 cm | About 220 cm | Use the larger margin for this size |
| 50 cm wide by 65 cm tall | 57 cm by 72 cm | About 240 cm | Work with a helper to hold the cane flat |
If you are working on an IKEA Rast chest instead of a thrifted nightstand, the same maths applies. The IKEA Rast cane hack is popular for a reason. The drawers are simple, the frame is square, and the flat drawer fronts take cane well with a staple and trim method. Measure each drawer front, add the same 5 cm margin, and work one drawer at a time.
Fitting Cane With a Spline: The Step That Stops Sagging
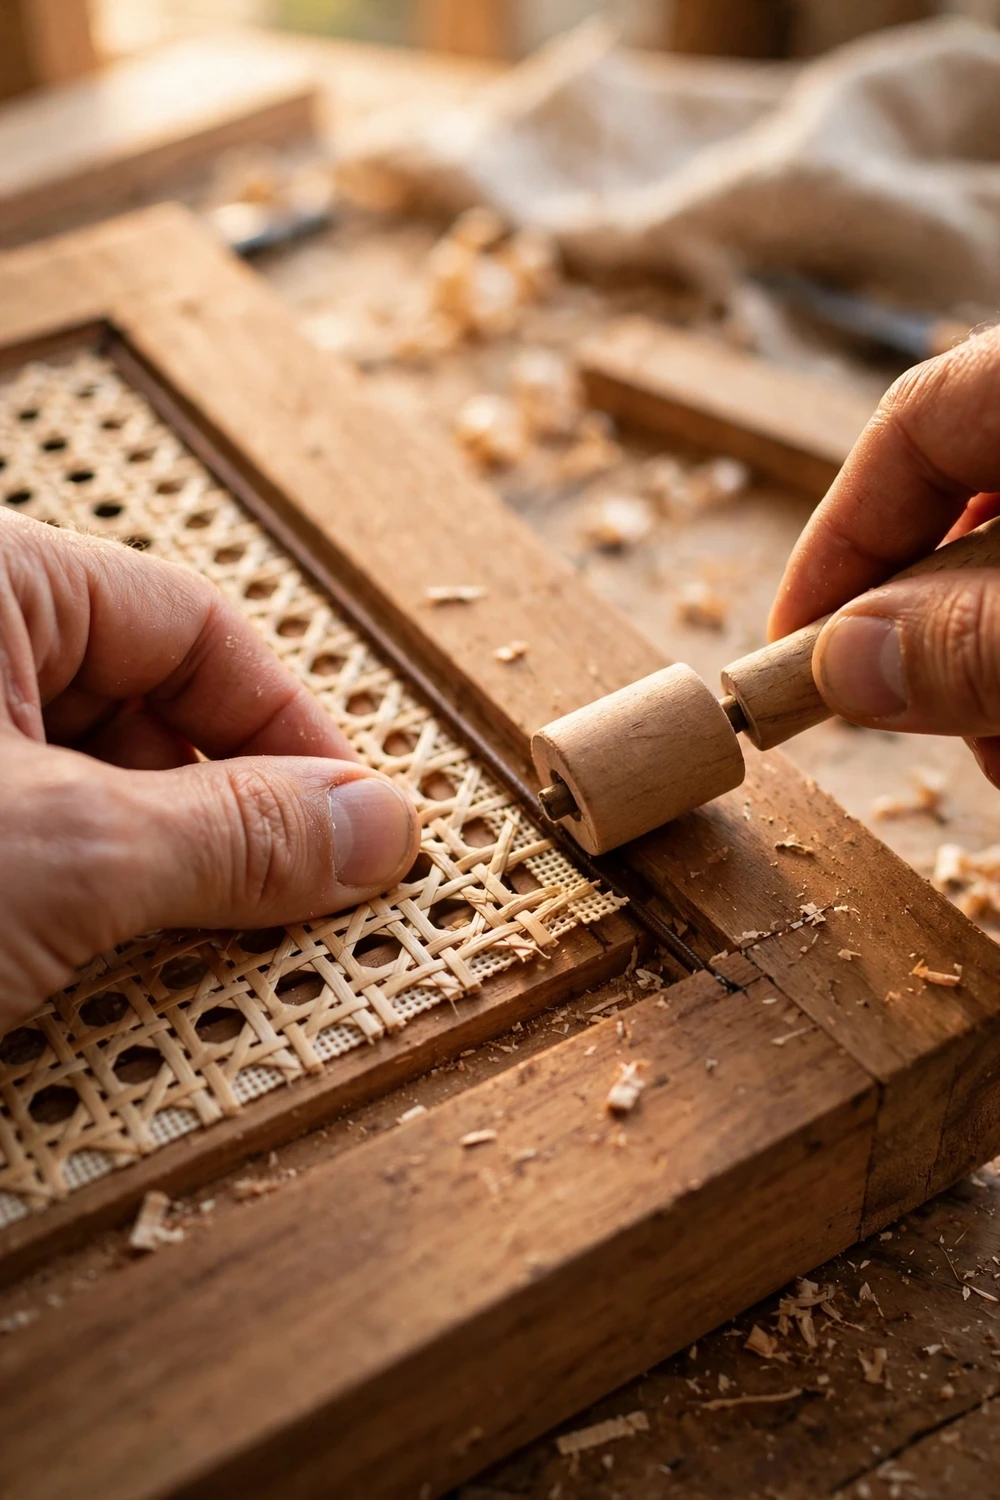
The spline step is the part that makes a DIY cane nightstand makeover last. A spline is a thin cord that presses the cane into the groove around the door frame and holds it tight. When it is done well, the cane dries drum-tight and stays that way. When it is done badly, the cane sags in the middle and the door looks tired within a few months. Take your time here. This step is worth an extra half hour.
Start with the door lying flat on the table, groove side up. Lay the wet cane over the opening, pattern side up, and centre it so the extra margin is even on all four sides. Smooth the cane with your hands from the centre outwards, so there are no folds or air pockets under it. The cane should lie flat, not stretched. If you pull it tight now, it will shrink as it dries and pull out of the groove. Let it sit loose and flat. The drying will do the tightening for you.
Press the spline into the groove with the roller, starting at the middle of one long side, not at a corner. Push the cane down into the groove ahead of the roller, then roll the spline in on top of it. Work slowly along the side, then around the corner, then along the next side. Keep the cane flat with your other hand as you go. If the cane starts to bunch up, lift the spline back a little, smooth the cane flat, and roll again. Do not force the roller. Firm, steady pressure is enough.
At the corners, take extra care. The cane needs to sit flat into the corner without folding. Use the blunt end of a butter knife to push the cane gently into the corner before you roll the spline in. A fold at the corner will show from the front and it will weaken the panel. If a corner does fold, lift the spline out of that short section, smooth the cane, and try again. It is better to redo a corner now than to live with it later.
Let the cane dry flat for at least 24 hours before you move the door. As the cane dries, it will shrink and pull tight. You will hear a faint creak as it tightens. That is normal. Do not press the centre of the panel while it is drying, and do not lean the door against a wall. Keep it flat on the table, away from direct heat. A radiator or a sunny window can dry the cane too fast and cause it to crack or pull out of the groove. Once it is dry, trim the extra cane around the outside of the groove with a sharp craft knife, holding the blade flat against the frame and cutting in short strokes.
How to Stain Cane Webbing for a Warm Driftwood Look
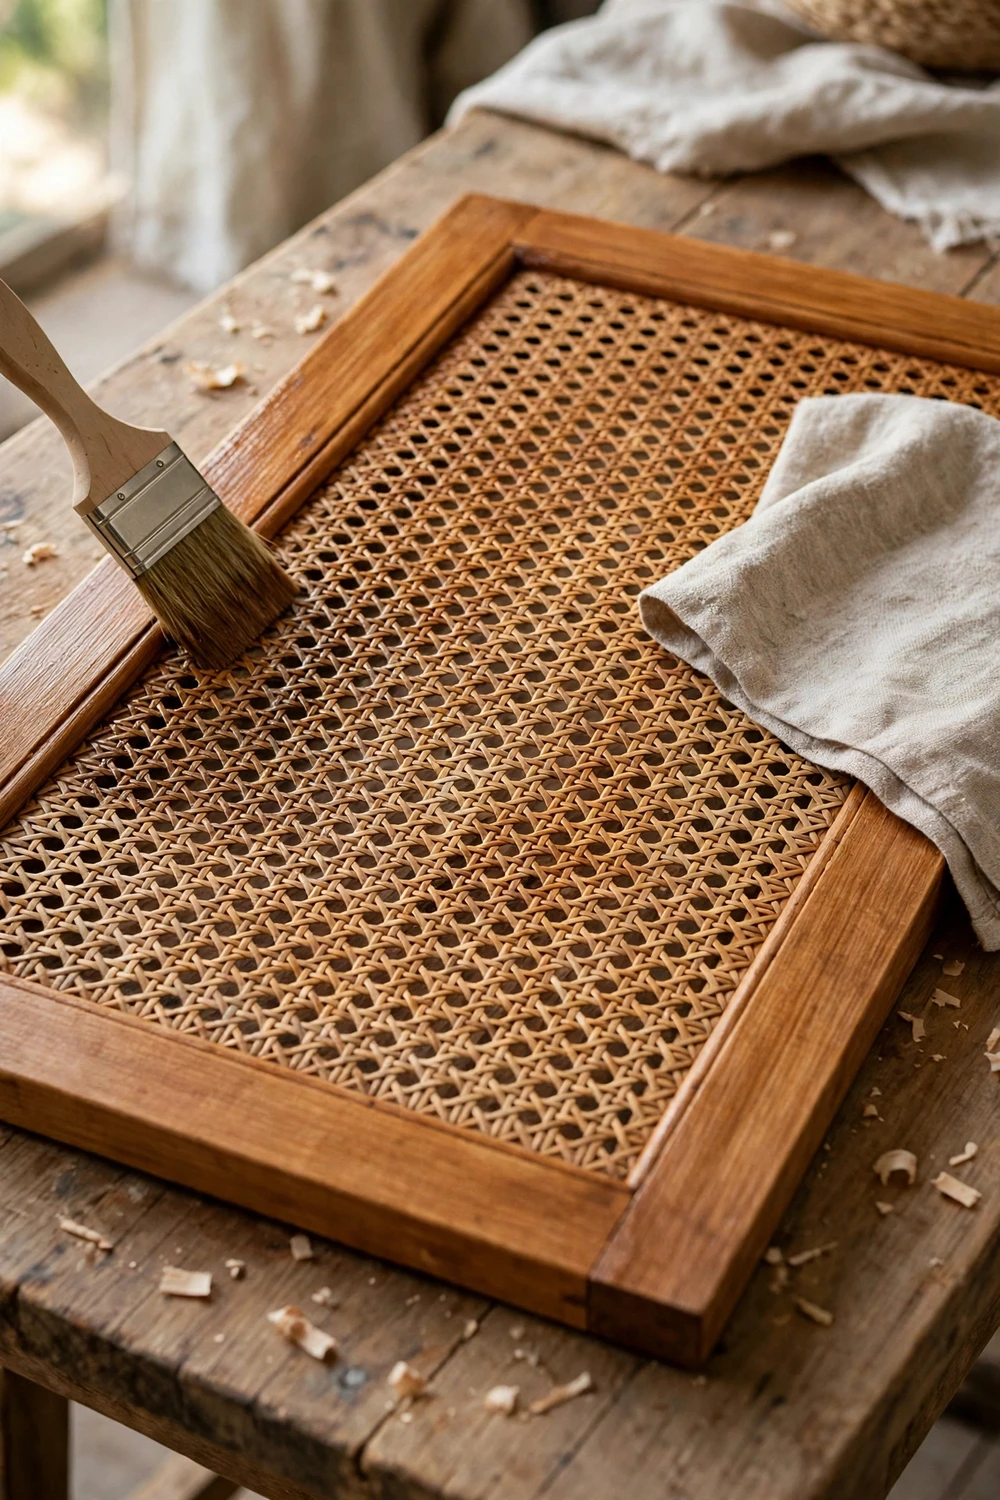
Staining cane webbing is where the makeover gets its warmth. Natural cane is pale and a little flat on its own. A light driftwood stain brings out the weave, adds depth, and ties the cane to the paint colour you chose. The key is to go light. You can always add a second coat. You cannot easily take stain off cane once it has soaked in.
Test first, on a scrap piece of cane, not on the door. Brush the stain on, wipe it off after a minute, and let it dry for an hour. Look at it in daylight, next to your painted frame. If it is too dark, wipe the next test sooner, after 30 seconds. If it is too light, leave it on for two minutes before you wipe. Write down the timing that gives you the colour you like. That note is your recipe for the real panel.
Wipe the stain off with a clean, lint-free cloth after 30 seconds to two minutes, depending on your test. Wipe in the same direction as the weave, and change to a clean part of the cloth often. The cloth will pick up the extra stain and leave a thin, even colour behind. Check the panel in daylight before you decide if you need a second coat. Stain looks darker when it is wet, so wait until it is dry before you judge it.
Hardware, Doors and the Final Details That Sell the Makeover
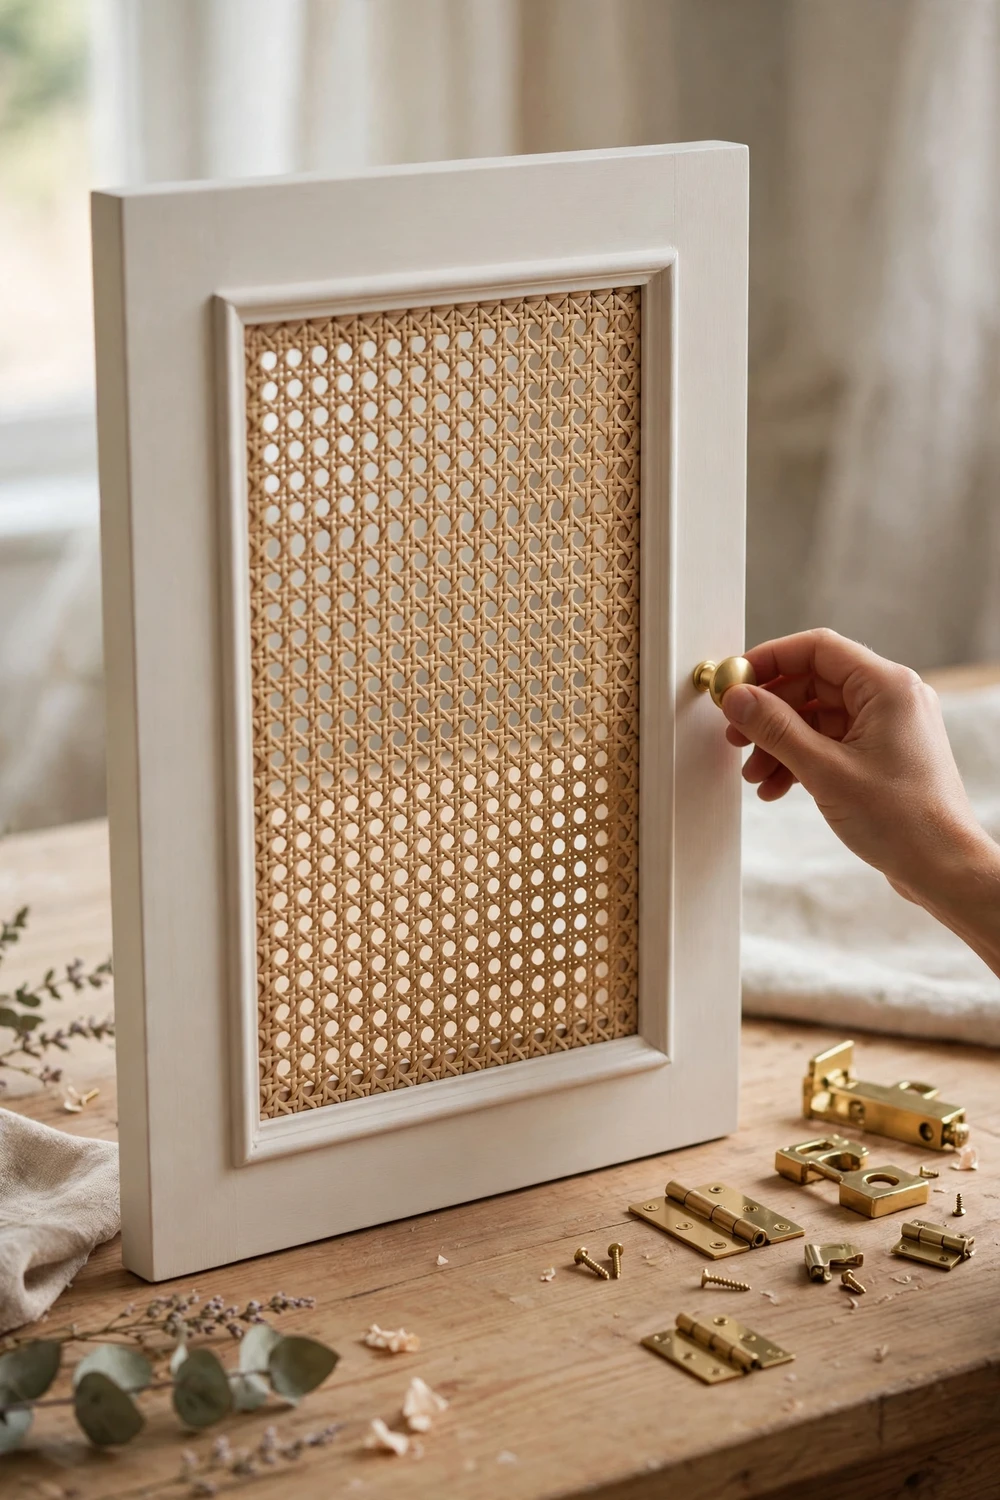
Hardware is the smallest part of a cane nightstand makeover, and it is the part that most people notice first. A good knob or pull can make a simple painted door look considered and finished. A poor one can undo a lot of careful paint and cane work. Choose hardware that suits the cane, not hardware that fights it. Warm brass, brushed gold, and matt black all work well. Chrome can look too cold against warm cane, and plastic knobs will cheapen the whole piece.
Fit the hinges before you fit the knob. Hang the door on the frame and check that it opens and closes without catching. If the door catches at the top or the bottom, loosen the hinge screws a little, move the door a fraction, and tighten them again. A door that catches will rub the paint off the edge within weeks. If the hinges are old and rusty, replace them. New hinges cost little and they make the door feel solid. Match the hinge size and the screw spacing to the old ones.
Now check the whole piece. Open and close the door ten times. Does it move smoothly? Does it stay shut? Does the cane feel tight when you tap it lightly? A well-fitted cane panel gives a soft, drum-like sound when you tap it. A loose panel sounds dull and it moves when you press it. If a short section of spline has lifted, press it back in with the roller. Clean the door with a soft cloth, and dust the cane gently with a dry brush. For more ideas on how a finished nightstand can sit in a larger bedroom scheme, look at our beautiful master bedroom designs to inspire your makeover.
Styling Your Finished Cane Nightstand in a Real Bedroom
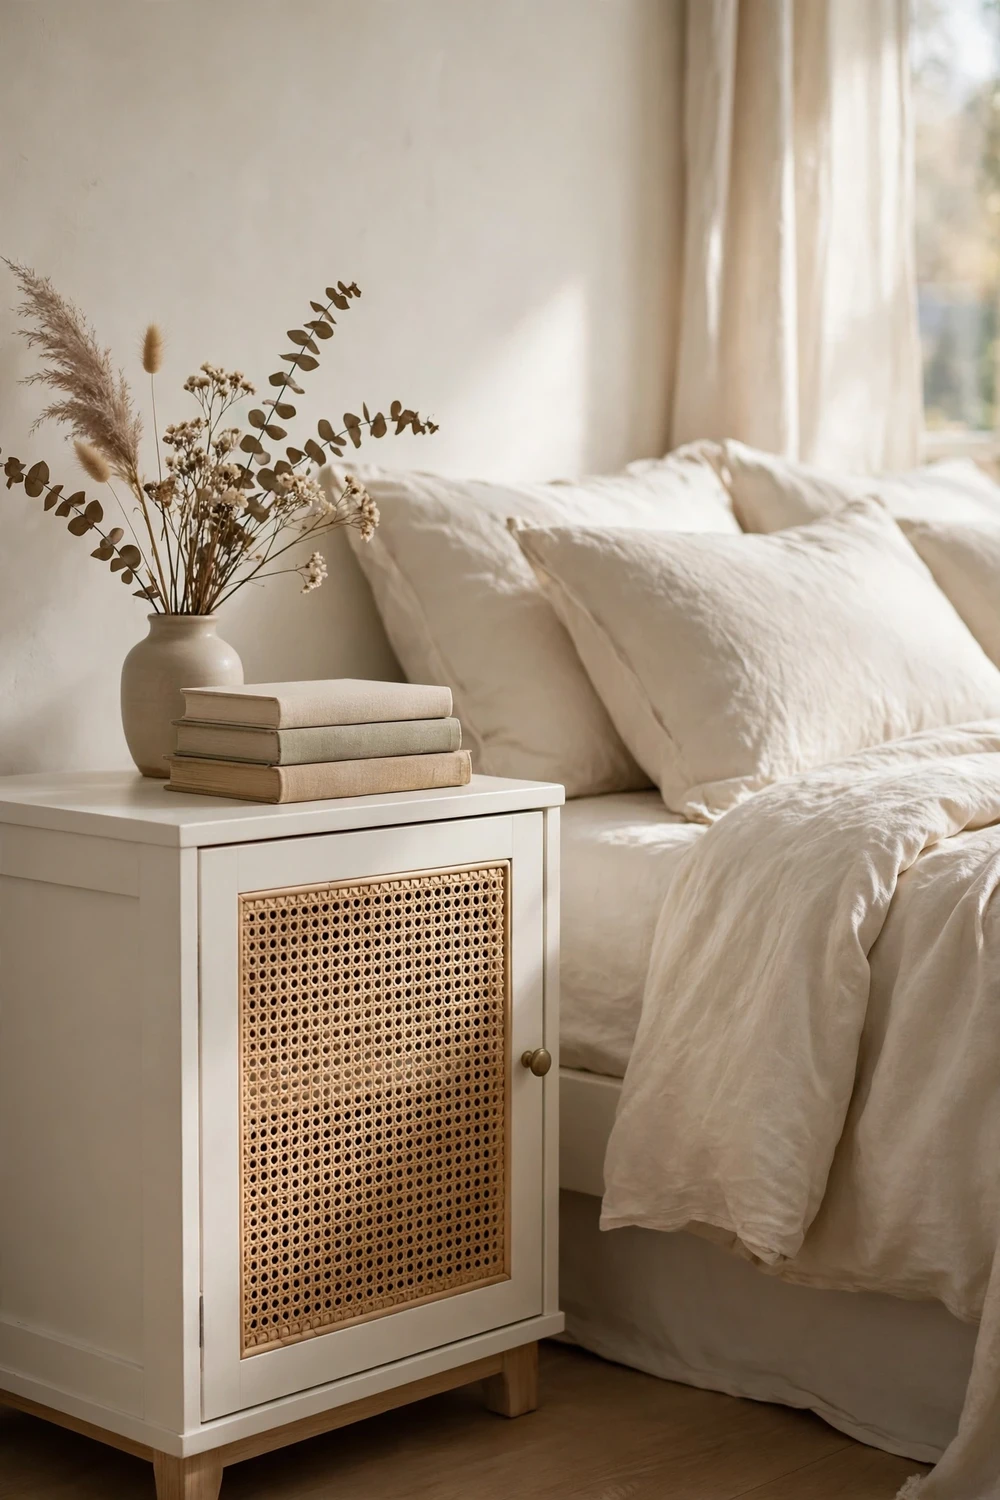
A finished cane nightstand does not need much styling. The cane is the feature, and the top should stay calm enough to let it show. Start with one useful thing, one soft thing, and one personal thing. A lamp, a small vase, and a book is a good mix. A lamp gives you light to read by. A vase adds height and a natural shape. A book adds colour. Three things is enough. Five things is too many on a small top.
Keep the top clear enough to use. You need space for a glass of water, a phone, and a book at night. If the top is full of ornaments, you will move them every night and put them back every morning, and that gets old fast. Leave at least a third of the top empty. The empty space is part of the styling. It lets the eye rest and it makes the piece feel useful, not just pretty.
Match the nightstand to the room, not to a shop display. If your bed has a fabric headboard, a cane nightstand will sit well beside it, because both bring soft texture to the room. Our guide to 7 upholstered combination beds for modern bedrooms shows how fabric and cane can work together without clashing. If your room is small, the light colour and the open weave of cane will help it feel less crowded. For more small-room ideas, see our small bedroom design ideas to maximize space and style and our 5 smart furniture layouts for tiny bedrooms.
Cane Nightstand Questions I Hear Most
Can I add cane webbing to any nightstand?
Most nightstands with a framed door will take cane, but the easiest ones have a groove around the inside of the door where the glass used to sit. That groove holds the spline and gives the cane a neat, lasting fit. A flat drawer front can also take cane with staples and a trim, but it needs more care to look tidy. Check the door first, and if there is no groove and no frame to staple into, choose a different piece.
How do I stop cane webbing from sagging?
Soak the cane before you fit it, cut it with a 5 cm margin, fit it loose and flat, and let it dry flat for 24 hours. The cane shrinks as it dries and pulls tight on its own. A spline pressed into a groove holds the edge all the way around, which spreads the tension and stops the centre from dropping. Staples alone do not spread the load as well, so the panel is more likely to sag over time.
Can I paint a laminate nightstand before I fit the cane?
Yes, and you should. Paint the frame first, let it dry fully, and then fit the cane. Tape the groove before you prime so paint does not build up inside it. Fitting the cane after painting also means you do not have to paint around a delicate cane panel, which is much harder and it risks getting paint on the weave.
Should I stain cane webbing before or after fitting it?
Stain it after fitting, once the cane is dry and tight. Staining before fitting can make the cane stiffer and harder to press into the groove, and the stain can crack at the edges when the cane moves. After fitting, the cane is already in place, so the stain only needs to colour the surface. Test the stain on a scrap piece first, and use one light coat before you decide if you need a second.
What is the best paint colour for a cane nightstand?
Warm white is the safest choice for a first project, because it lets the cane show and it suits most bedrooms. Soft sage, pale blue, and warm greige also work well. A deep green or navy can look smart, but it makes the cane look darker, so test a small area first. Hold a painted test card and a stained cane strip together in the bedroom light before you commit to a full tin of paint.
Can I use this method on an IKEA Rast chest?
Yes. The IKEA Rast cane hack follows the same steps, with one change. The Rast has flat drawer fronts, not a grooved door, so most makers staple the cane to the back of the drawer front and cover the edge with a thin trim. Measure each drawer front, add the same 5 cm margin, soak the cane, and work one drawer at a time. The paint, stain, and hardware steps in this guide all apply in the same way.
Your Turn to Hunt for the Next Glass Door
A DIY cane nightstand makeover is a small project with a big return. You start with a plain glass-door nightstand that most people would walk past, and you finish with a piece that looks made for your bedroom. The work is not hard. It is patient work, and patience is the skill that matters most here. Clean well, paint thin, measure twice, fit the spline slowly, and let everything dry.
Now go and look for the next glass door. Check the charity shops, the marketplace listings, and the back of a friend’s garage. Look for a square door, a solid frame, and a groove that will take a spline. The finish does not matter. The shape does. Bring it home, wash it, paint it, and give it a cane front. Your bedroom will feel warmer for it, and you will have a piece that no one else owns.