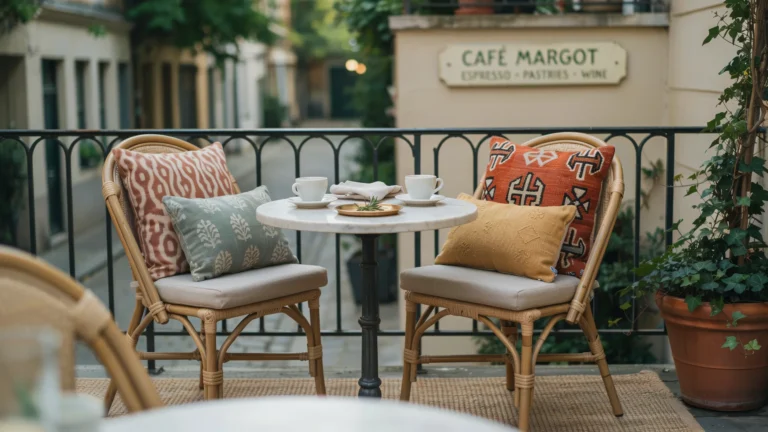
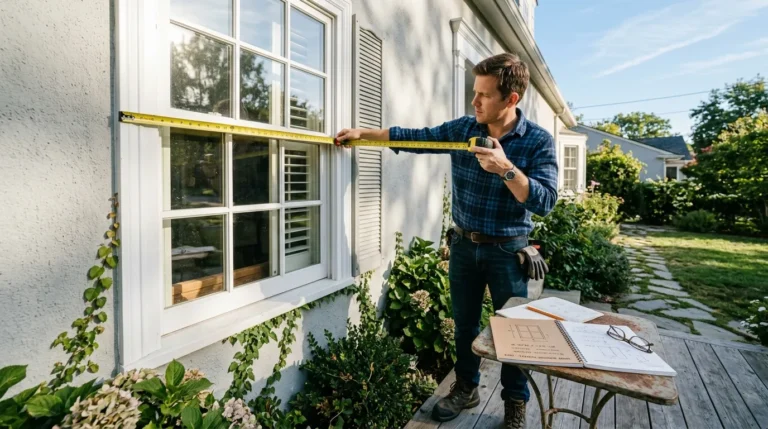
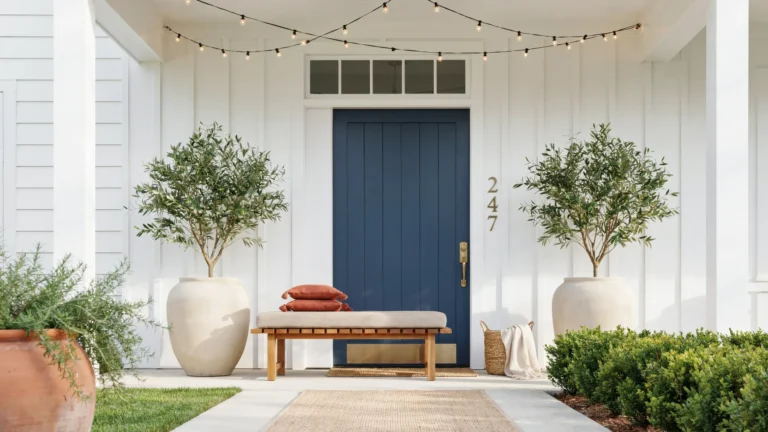
Yes, a stencil painted porch floor can last, and it can look like real tile from the street, but only if you make the right choice before you open a can. The pattern is the fun part. The coating underneath it is what decides whether the floor still looks good next summer or starts peeling by the first rainy month.
The difference comes down to three things: the coating you choose, how well you clean and prepare the slab, and whether you seal the finished pattern. Get those three right and a stencil painted porch floor will handle daily foot traffic, scraping chairs and wet shoes for a few years.
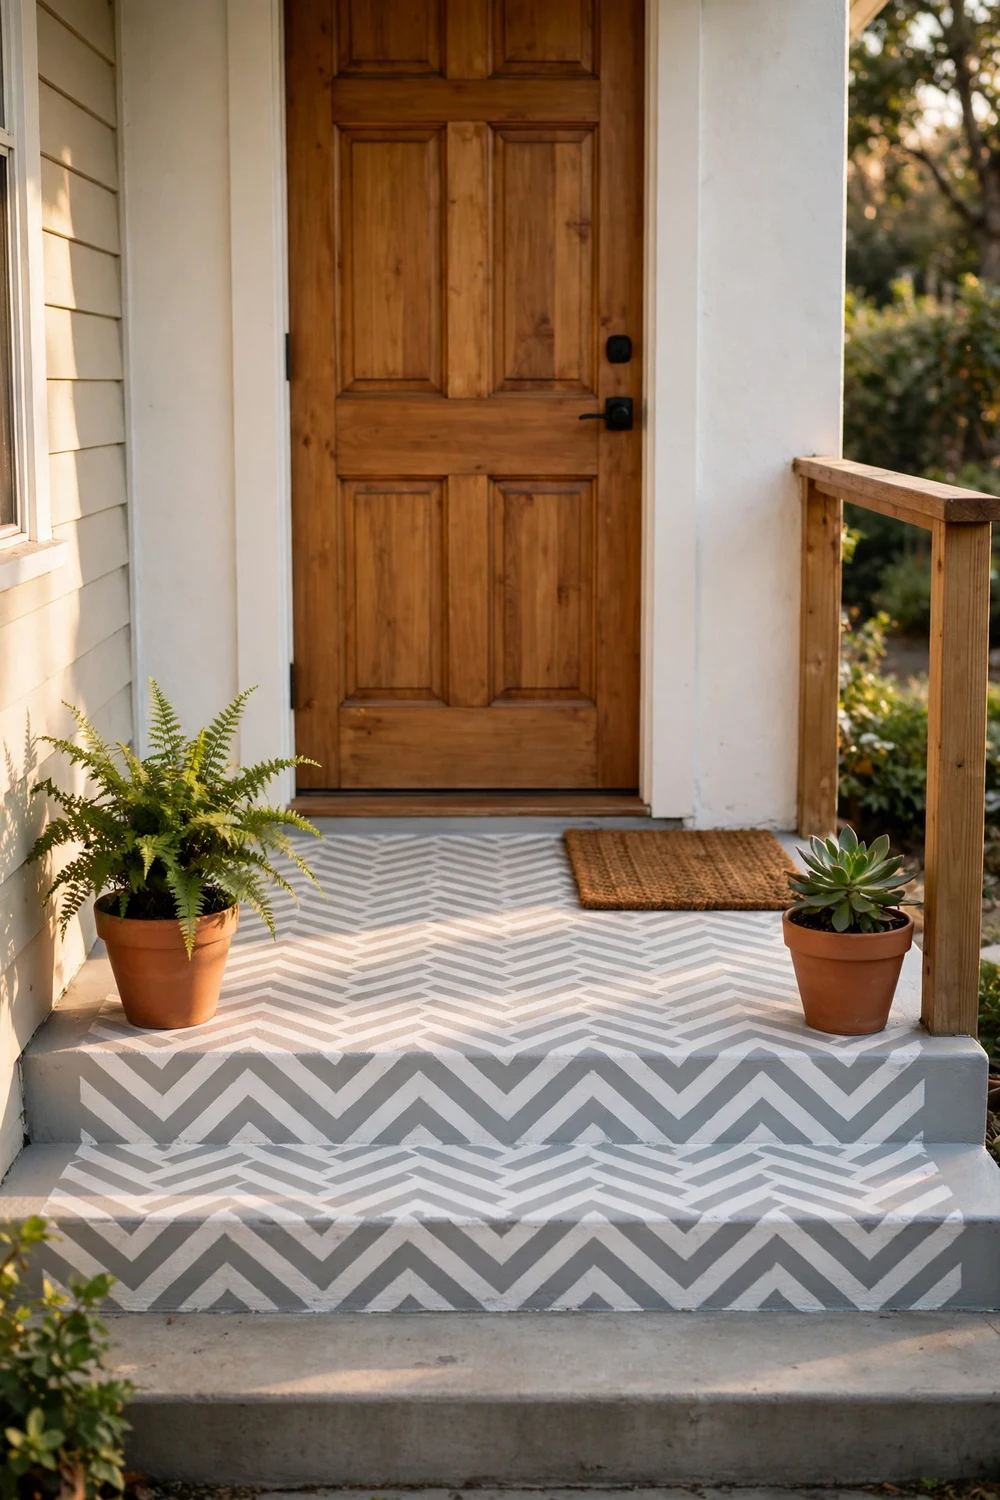
I painted my first porch floor because the concrete was sound but ugly. It had stains from a decade of plant pots, scuffs from moving furniture and a grey tone that made the entrance feel tired. Replacing it was out of the question. Stenciling took a weekend, and three years later the pattern still reads clearly from the sidewalk. It is not perfect. There is a worn patch by the door where everyone pivots, and I touch it up every spring.
That is the honest deal with painted concrete porch ideas like this one: a beautiful, affordable finish, not a permanent installation. Before you buy anything, remember what a porch floor endures. It gets rain, sun, grit from shoes, planters that trap moisture and temperature swings. Every choice in this guide is built around that reality.
Stencil Painted Porch Floor: Start With the Stain vs Paint Decision
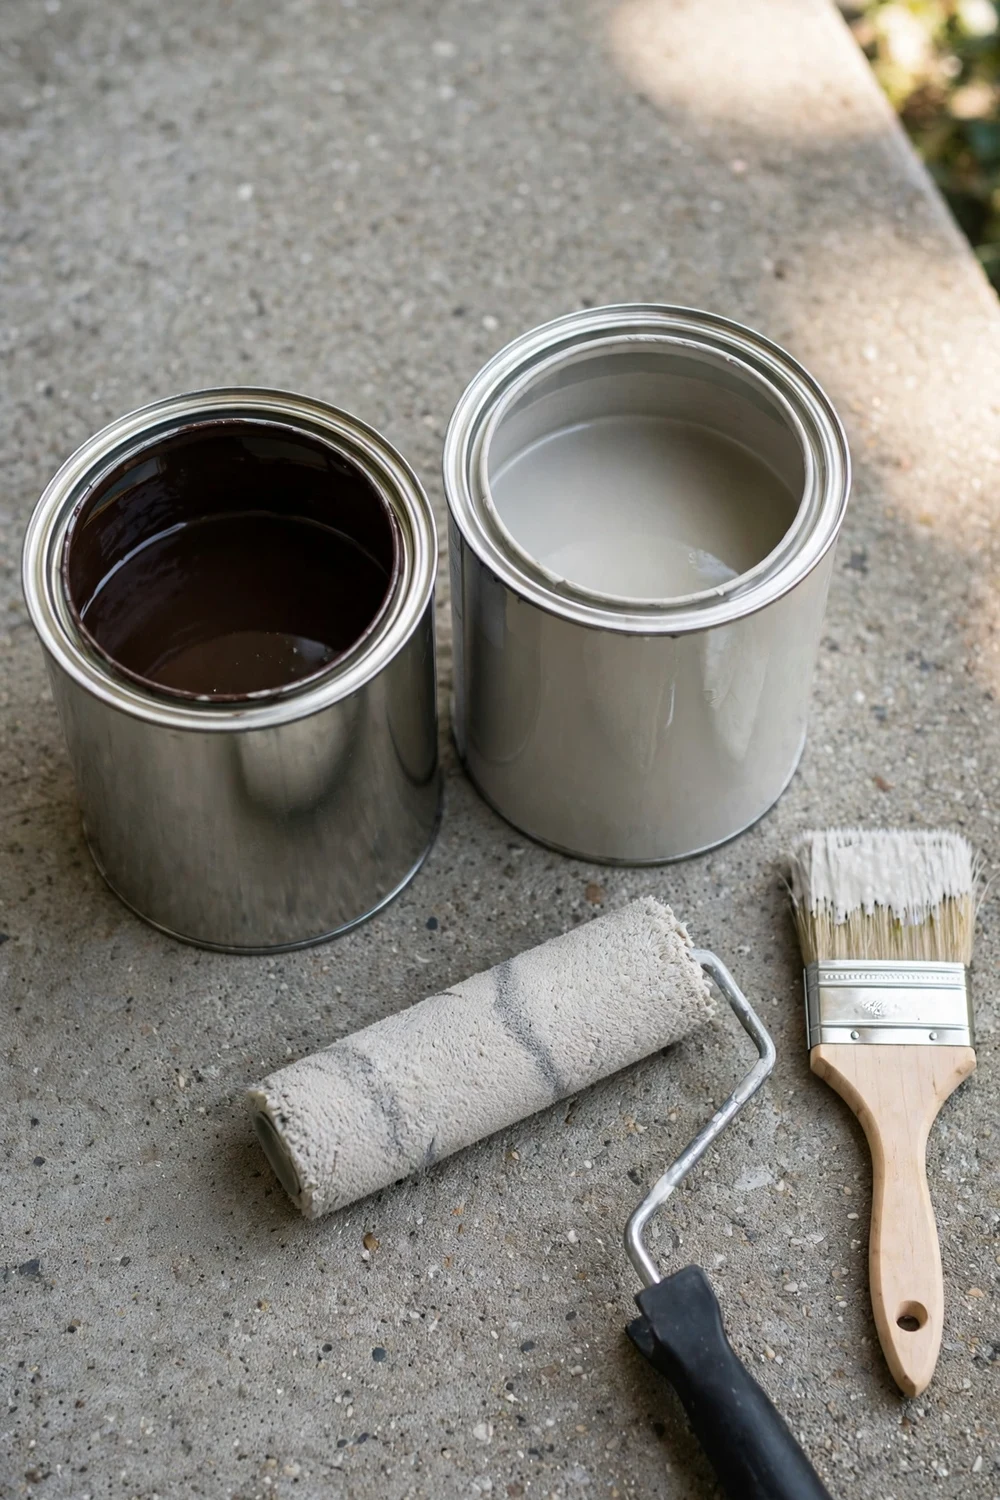
The first decision is the one most posts rush past. A stencil painted porch floor can be built on either porch and floor paint or solid color concrete stain, and they behave very differently once they are down. Paint sits on top of the concrete like a skin, while stain soaks in and colors the concrete itself. That single difference explains almost everything about how each one wears.
Porch and floor paint gives a thick, even base color and a smooth surface for crisp stencil lines. It hides stains and old patch marks better than anything else, and it comes in a wide range of colors, which suits a bold pattern or a pale base with a dark stencil. The trade off is that a film on top of concrete can peel. Water gets under it through a tiny chip, and sun and foot traffic work at the edges until a section lifts. On a covered porch it can last several years. On an uncovered slab, expect a shorter life.
Solid color concrete stain is the quieter, tougher option. Because it penetrates the surface instead of sitting on it, there is no film to peel. It wears gradually rather than flaking off in sheets, which looks far better over time. The catch is coverage: stain will not hide a blotchy slab the way paint does. Old stains, patch marks and color differences will still show through. Stain also comes in a narrower range of colors, mostly earthy and muted tones, and it needs bare concrete to bond. It will not soak into a slab that already has paint or sealer on it.
If the slab is bare, sound and fairly even in color, and you like muted tones, stain is the longer lasting base. If the slab is stained, patched or already painted, or you want a bright white base with a navy pattern, porch and floor paint over masonry primer is the practical choice. Check the label for exterior floor use before you buy. Interior wall paint, chalk paint and craft paint will peel within weeks on a porch, so note the drying and recoat times on the can.
| Feature | Porch and floor paint | Solid color concrete stain |
|---|---|---|
| How it bonds | Forms a film on top of the concrete | Soaks into the surface and colors it |
| Hides old stains | Yes, with primer | No, blotches show through |
| How it wears | Can chip and peel at edges | Fades gradually, no peeling sheets |
| Color range | Wide | Narrower, muted tones |
| Needs bare concrete | No, works over primer | Yes |
| Best for | Stained slabs and bold patterns | Bare slabs, natural look |
Is Your Slab a Good Candidate for a Stenciled Floor?
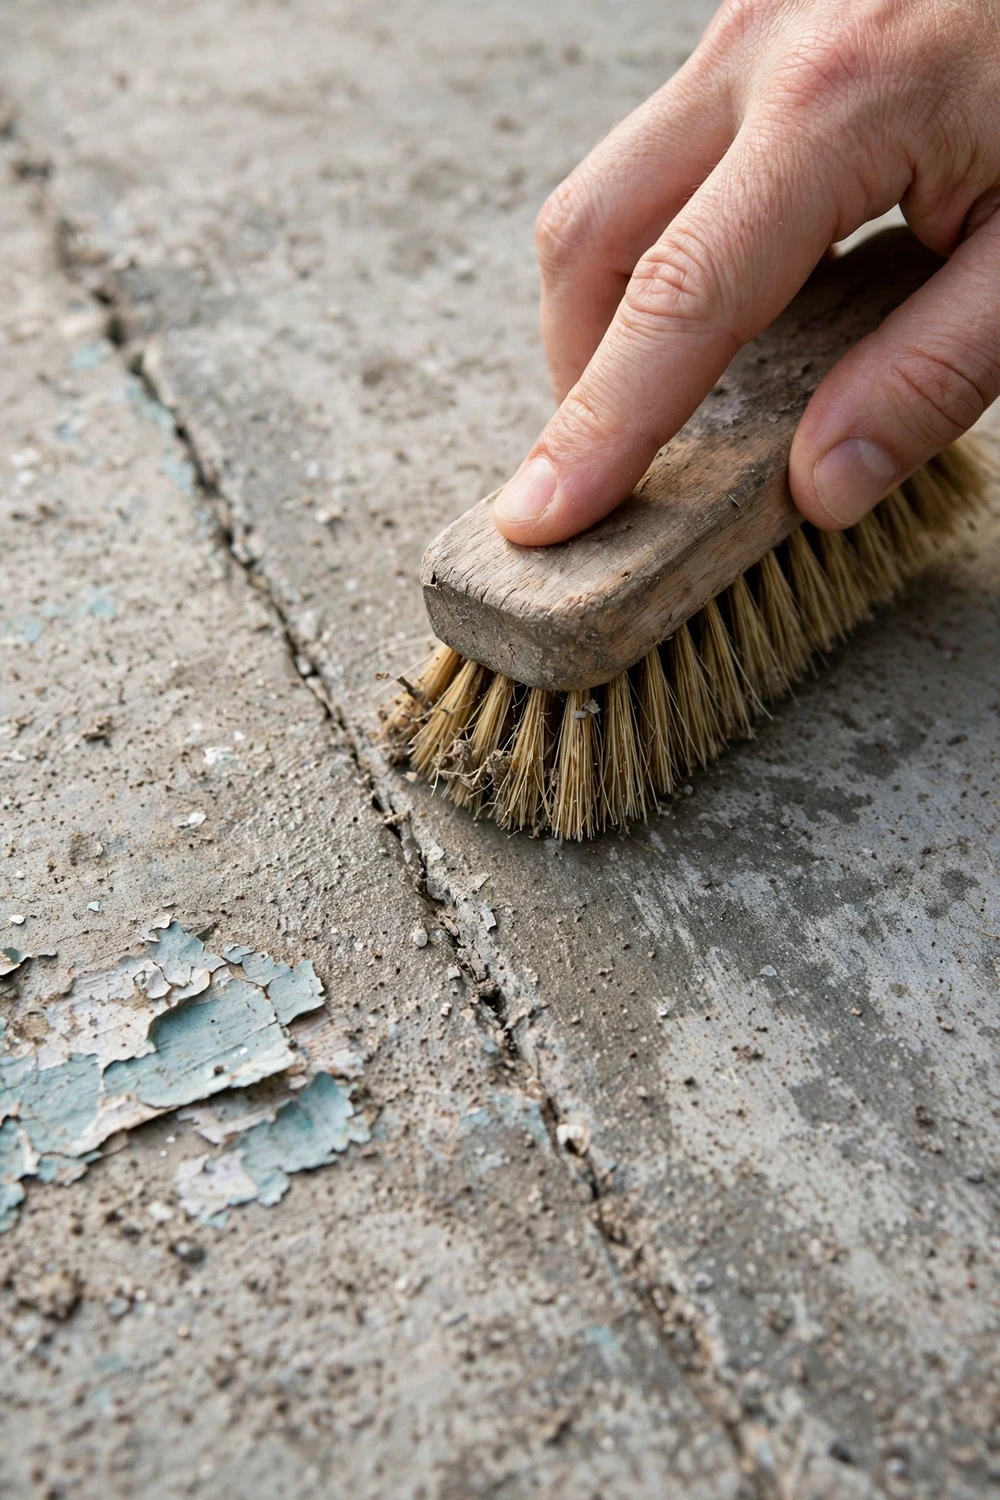
Paint cannot fix a bad slab. If the concrete underneath is moving, crumbling or holding water, the paint will fail with it. Spend twenty minutes judging your concrete before you paint it. This is the step I see skipped most often, and the reason most stenciled floors fail early.
Start with the cracks. Hairline cracks are normal and easy to fill with a concrete crack filler. Wide cracks, cracks that run across the whole slab, or cracks where one side sits higher than the other mean the slab is still settling or shifting, and paint will crack right along with it. Fill the small ones, but wide or stepped cracks mean fixing the cause first.
Next, look for spalling: the flaking surface where the top layer of concrete comes away in thin chips, often after winters of freeze and thaw. Paint will not stick to a spalling surface because the surface itself is coming off. If chunks keep coming away when you scrape a suspicious patch with a stiff brush, the slab needs repair or resurfacing before any paint goes near it. A small spalled patch can be fixed with a concrete repair product and left to cure fully, but a slab that spalls across most of its surface is not a candidate for stenciling.
Then check for moisture. Tape a square of clear plastic to the slab, seal all four edges, and leave it for a day. If the underside is damp or beaded with water when you lift it, moisture is rising through the concrete, and paint over a damp slab will bubble and peel, sometimes within weeks. If it fails, look for the source first, often a downspout dumping water beside the porch or soil piled against the slab. Fix the drainage, let the slab dry, and test again.
Finally, test the old finish. If the slab already has paint on it, scrape a small area with a putty knife. If the old paint comes off in sheets, your new paint will come off with it, so remove the loose paint, then prime the bare spots. If the old paint is firmly stuck, you can paint over it after cleaning and a light scuff. Sprinkle water on the slab to check for old sealer. If it beads up, a sealer is still present and stain will not penetrate, so you need to know which finish you are dealing with before you choose. My rule is simple. A flat, stable slab with hairline cracks and no moisture problem is a great candidate, while a slab with wide cracks, spalling or rising damp is a repair job first and a paint job second.
Picking a Pattern: Faux Brick, Herringbone, Tile or Checkerboard
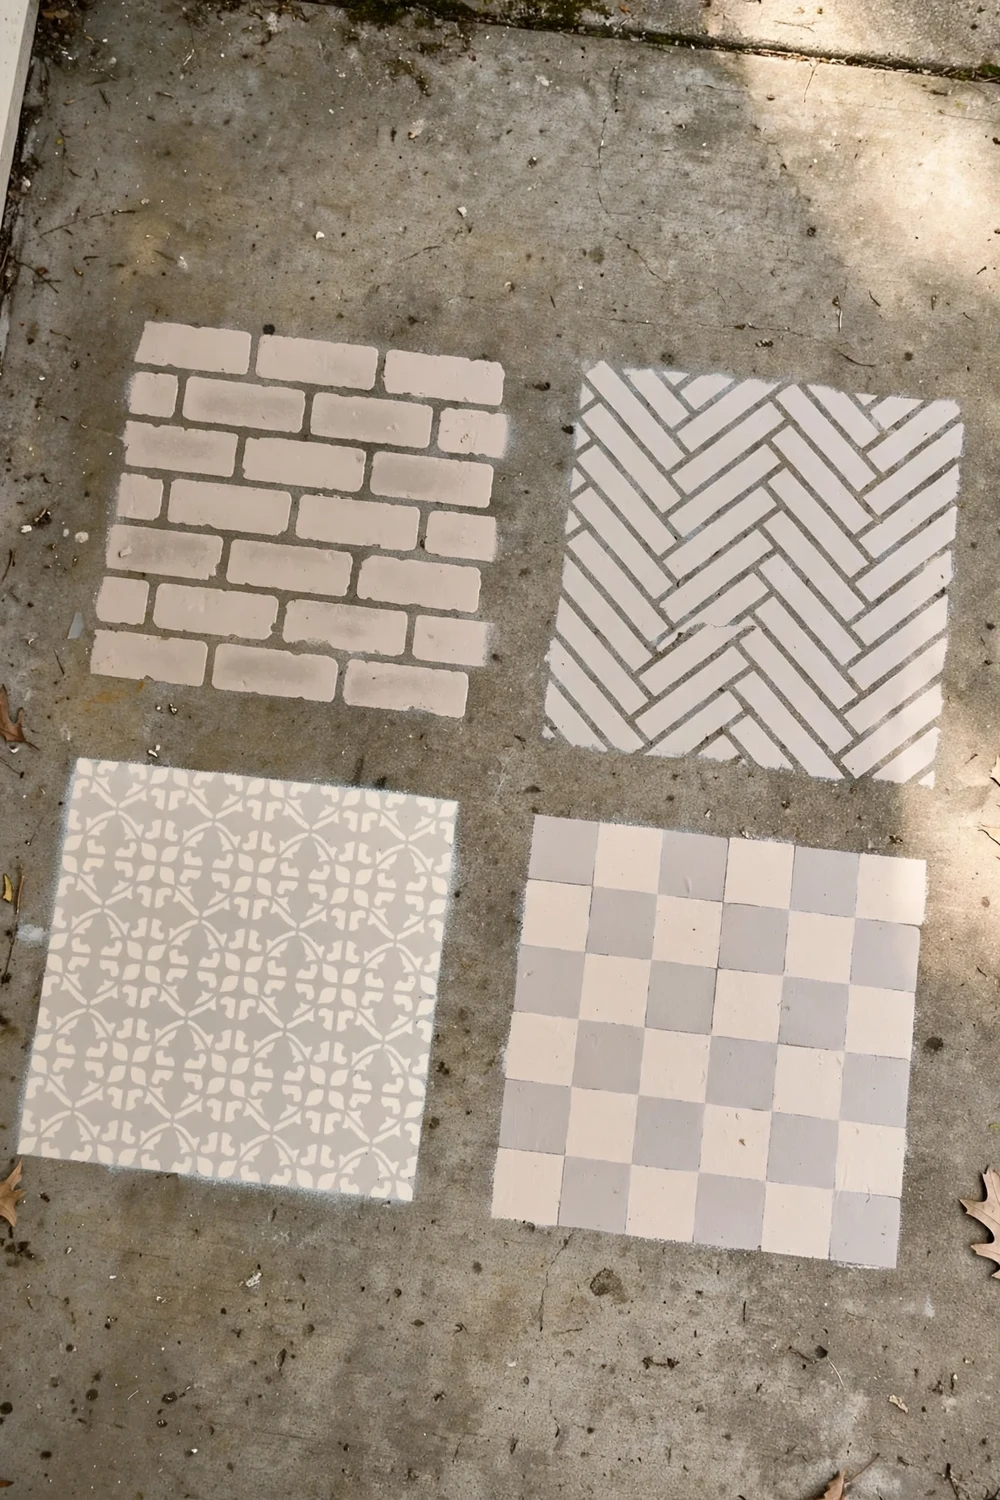
Once the slab passes its check, the fun starts. The pattern sets the mood of the entrance and the difficulty of the weekend. Most stencil concrete porch projects fail on pattern choice, not on painting skill, so plan it before you buy.
Faux brick is the warmest of the four and the most forgiving. The brick shapes are large, the grout lines are wide, and a small wobble reads as handmade charm rather than a mistake. It suits a cottage, farmhouse or brick house, especially a porch that already has brick steps or a chimney nearby. The work is steady: lay the stencil, roll, lift, shift and repeat, and the pattern covers ground quickly. Keep your rows level, because a brick pattern that drifts uphill is obvious from the door.
Herringbone is the showstopper. It reads as expensive and custom, and it suits a modern or classic porch. It is the hardest of the four. The angles have to meet cleanly, and a small error at the start grows across the whole floor. It suits a square or near square porch, so buy a stencil with clear registration marks and practice a few repeats on cardboard first.
Patterned tile stencils are the most popular for a reason. They give you the look of encaustic or cement tile for a fraction of the cost, in endless designs, from Moroccan stars to simple quatrefoils. They suit almost any style of house, and you can change the whole feeling of the porch with color. A blue and white tile reads coastal, and a charcoal and cream tile reads classic. The stencil squares are usually 12 inches, so they are easy to count and plan. Light bases show dirt faster, dark bases show dust, and mid tones are the easiest to live with, so test both colors on a hidden corner first.
Checkerboard is the simplest and the boldest: two colors, straight lines, no fussy detail. It suits a small porch where a busy pattern would overwhelm the space, and it is the best choice for a first timer because the geometry is forgiving. A black and white checkerboard feels classic and a little formal, while soft grey and cream feels calmer and works with almost any house color. The one thing checkerboard punishes is a slab that is not square, so measure both ends before you commit and start from the center line rather than an edge.
| Pattern | Skill level | Best slab size | Suits |
|---|---|---|---|
| Faux brick | Easy | Any size | Cottage and farmhouse |
| Herringbone | Hard | Square or near square | Modern or classic |
| Patterned tile | Medium | Small to medium | Almost any style |
| Checkerboard | Easy | Small porches | Classic entrances |
Supplies and Prep: The Work That Makes the Paint Last
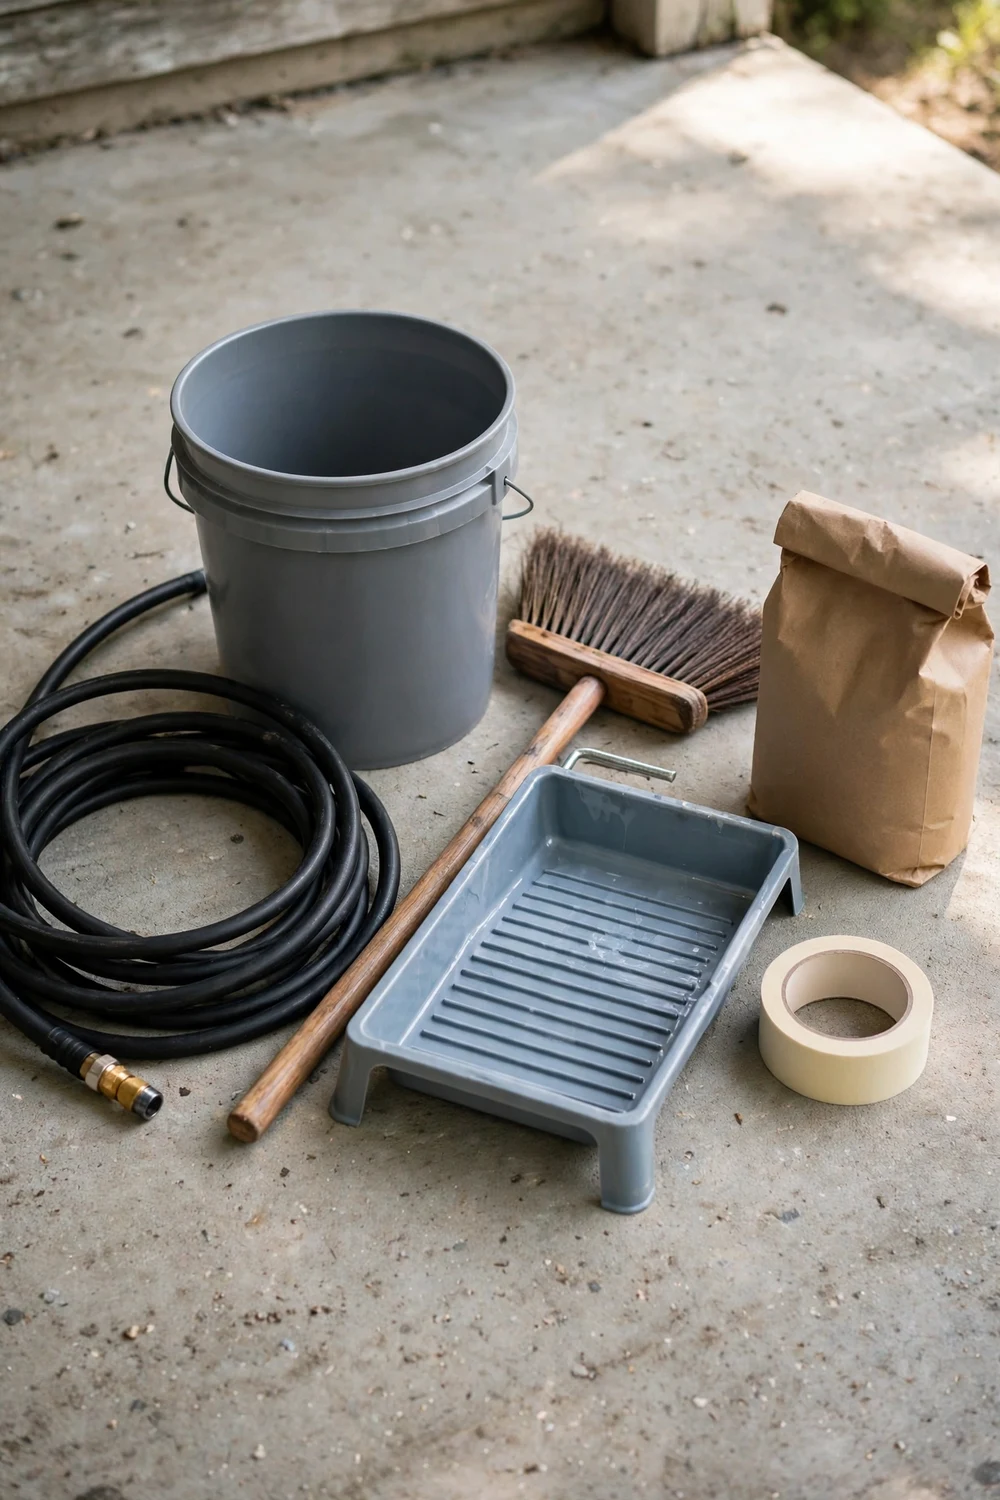
Clear the porch completely, then sweep off loose dirt and pressure wash the slab if you can. A pressure washer lifts ground in grime, algae and loose paint that a broom never will. If you do not have one, a stiff brush, a bucket of warm water and a concrete cleaner will do the job, it just takes longer. Rinse twice, since any cleaner residue left on the slab will stop paint from bonding, and let the surface dry fully.
While the slab dries, deal with the cracks. Fill hairline cracks with a concrete crack filler, pressing it in with a putty knife. Small chips and shallow holes take a concrete patching product, applied in thin layers and left to cure. Filler that has not cured will shrink and crack under the paint, and you will see every dip in the finished pattern. Give it at least a day if you can, and sand any raised edges smooth once it is hard.
Next comes etching, the step people most often skip. Smooth concrete, especially newer slabs, can be too slick for paint to grip. A concrete etcher opens up the surface so the primer can bite. Follow the label carefully, wear gloves and eye protection, and rinse thoroughly. After etching, sprinkle water on the slab. It should soak in and darken the concrete within a minute.
Once the slab is clean, dry and etched, prime it. A masonry primer made for exterior concrete is the right product, and it is worth the extra step even if your paint claims to be self priming. Roll it on in a thin, even coat, and cut in the edges with a brush. Let it dry for the full time on the label, usually a few hours, before you touch it. Primer is the glue between your slab and everything that follows.
While the primer dries, plan your layout. Find the center of the porch and mark it with a chalk line. Your pattern starts from the center, not from a wall, because walls are rarely square. Lay the stencil dry a few times to see how the repeats fall at the edges. You will almost always end with a partial repeat at one or two edges, and a painted border around the edge hides those neatly. Mark the border line with painter’s tape and step back to look at it from the street. This dry run takes twenty minutes and saves you from discovering a crooked layout when the paint is already down.
How to Stencil a Concrete Porch Floor, Step by Step
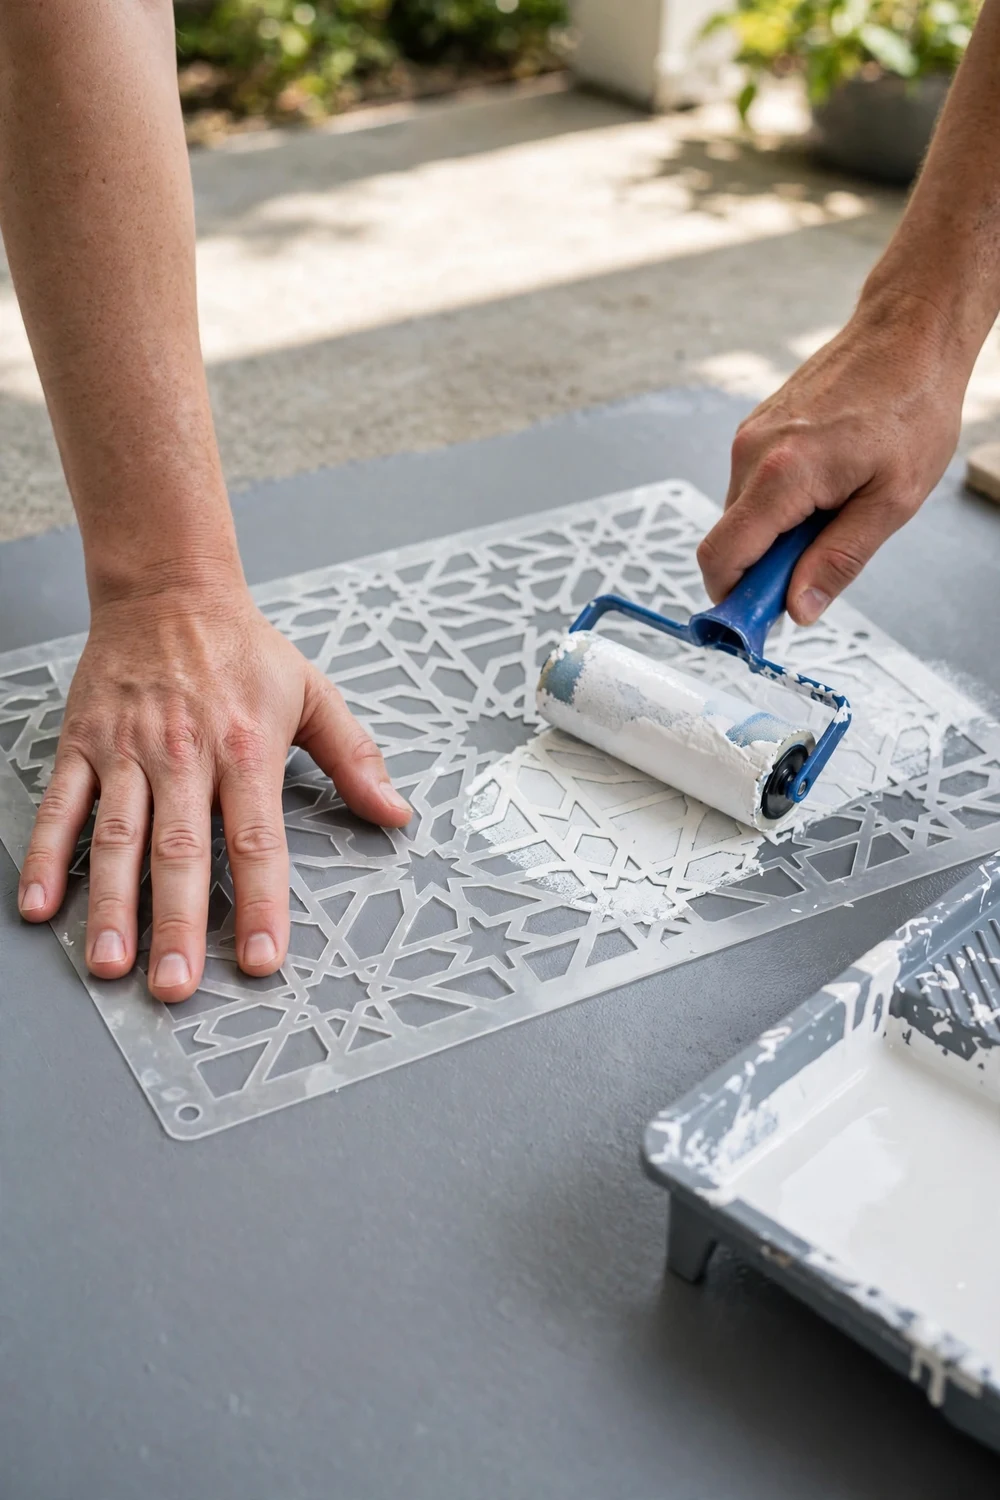
Paint the base coat first. Two thin coats of your chosen base color will give you a smooth, even ground for the stencil. Cut in the edges with a brush. Let the first coat dry fully before the second, and let the second coat dry a full day before you stencil over it. A base that is still soft will lift when you press the stencil down or pull the tape off, and there is no quick fix for that. When the base is dry, tape and paint a border one stencil width wide, and let it dry before you stencil, or you will smudge it with the stencil edges.
Now set your starting point. Lay the stencil at the center mark you chalked during prep, and fix it with a little painter’s tape at the corners, or a light spray of repositionable adhesive on the back. The stencil must not move while you roll. Load a small foam roller with your stencil color, then roll most of the paint off on a tray or a piece of cardboard. A stencil needs very little paint. Too much seeps under the edges and blurs the design, and that is the most common beginner mistake. Two light passes beat one heavy one.
Roll with light, even pressure, working from the center of the stencil outward. Do not press hard at the edges, where paint is most likely to creep underneath. When the design is covered, lift the stencil straight up, slowly, without dragging it sideways. Set it down on the next position, lining up the registration marks, and check the alignment before you roll.
Work in rows across the porch, moving away from the house toward the steps. A drip wiped away while the paint is wet leaves no trace, but the same drip left to dry will need sanding. When you reach an edge or a corner, the stencil will not fit flat. Fold it gently or use a smaller section of the pattern, and finish the tight spots with a small brush. Do not force a full stencil into a corner, or it will buckle and the paint will bleed.
Let the whole floor dry for at least a day before you seal it. If you are using two stencil colors, do the first color across the whole floor, let it dry, and then go back for the second. Doing both colors in one pass means handling a wet stencil, and wet stencils smear. When the stenciling is done, peel off the border tape slowly so it does not lift the paint underneath. Stand back and look at the floor from the street before you seal it. Small gaps can be touched up with a fine brush, and a repeat that is slightly off can be corrected with a dab of base color.
Sealing and Slip Safety: The Step Most Posts Skip
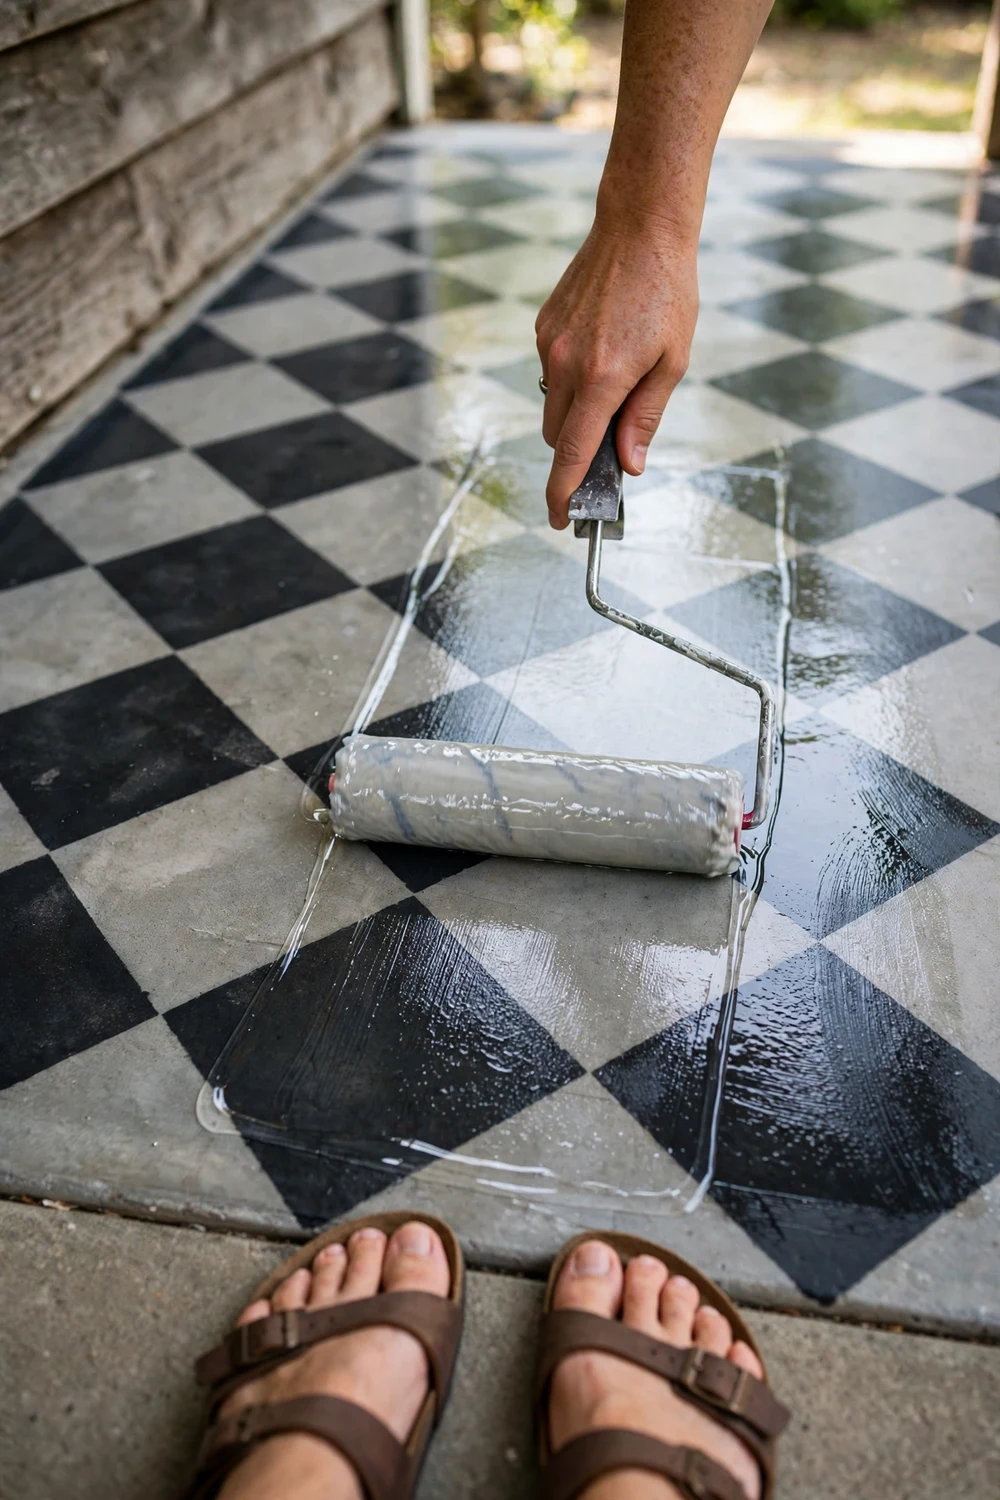
Here is the part that separates a stencil painted porch floor that lasts from one that peels by spring: the sealer. Paint on an outdoor floor needs a clear protective coat. Without one, rain, sun and grit wear the pattern down fast. And here is the part almost nobody mentions: a sealed painted floor gets slippery when wet. Skip the slip safety step and you are building a beautiful hazard at your own front door.
Choose a clear exterior concrete sealer made for floors. A satin or matte finish looks natural and shows fewer scuffs than a high gloss. Check the label to make sure it is compatible with your paint. Most water based sealers suit water based porch paint, while a solvent based sealer over the wrong paint can soften it. When in doubt, test a small patch in a corner and leave it overnight.
Apply two thin coats with a clean roller, letting the first dry fully before the second. Thin coats cure harder than one thick coat. Keep the roller moving in one direction to avoid lap marks. Let the final coat cure at least 48 hours before furniture goes back or you walk on it in shoes, and a full 72 hours before you drag anything heavy across it.
Sealer makes a smooth painted surface slick, especially in rain or with wet shoes. The fix is simple and cheap: a non skid additive. It is a fine grit stirred into the final coat of sealer, and it gives the surface just enough grip to feel safe underfoot without changing how the floor looks. You can barely see it once it dries, but you can feel the difference immediately. Stir it well and keep stirring as you work, because the grit settles fast. If you would rather not mix an additive, look for an anti slip sealer, which has the grit built in. Test the grip yourself. Wet a small area with a hose and walk across it before you call the job done.
Pay special attention to the steps and the threshold, where the foot lands at an angle and the weight shifts. Extra additive on the steps is worth it, and a doormat by the door catches grit that would otherwise grind the sealer down. If your porch gets icy in winter, be extra careful. No painted floor is as grippy as bare concrete in ice. Sealer wears, especially in the path everyone walks and where chairs scrape, so plan to reseal every year or two. A fresh coat over a clean floor takes an afternoon and keeps the pattern looking sharp for years.
Care, Cleaning and Touch Ups
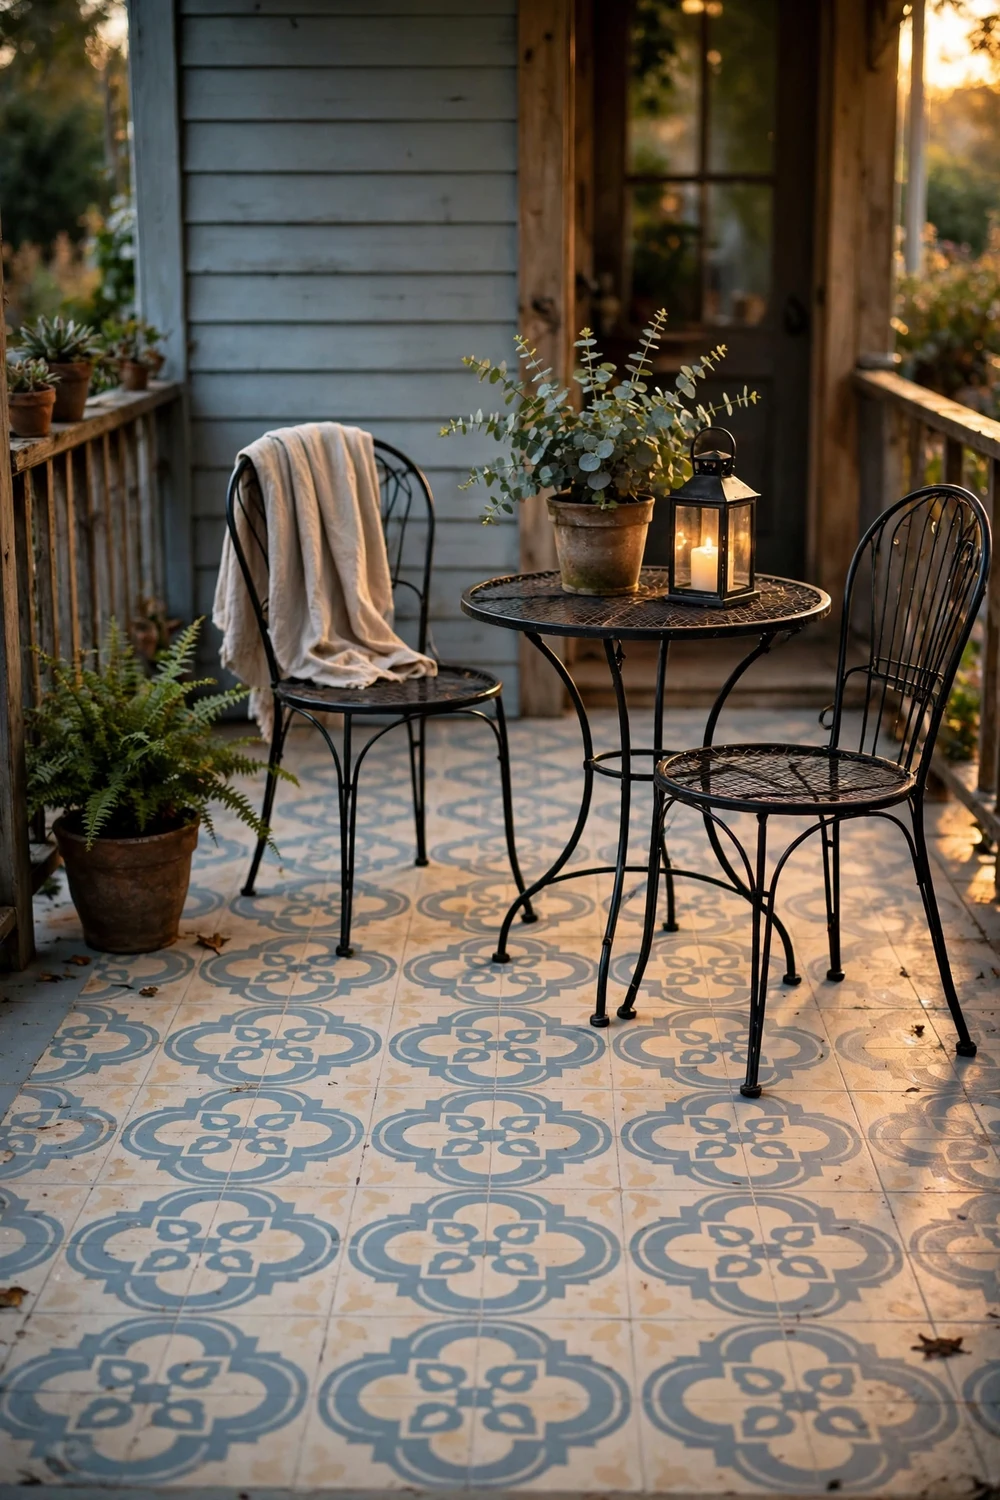
A stenciled floor is easy to look after once you know what hurts it. Harsh cleaning and heavy dragging wear a painted floor down fastest, and both are easy to avoid.
Sweep regularly and wash with warm water and a mild soap. A soft brush or a mop is all you need. Rinse well and let it dry. Avoid harsh chemicals, bleach and strong solvents. A pressure washer is useful during prep, but for routine cleaning it is too aggressive. If you do use one, keep it on a low setting and hold it well back from the surface. High pressure can lift paint at the edges of the stencil, and you will not notice until the pattern starts to flake.
Put felt pads under chair and table legs, and lift furniture rather than dragging it. Dragging a metal chair leg across a sealed floor leaves a scratch through the sealer and into the paint, and every scratch lets water in. Planters deserve the same care. Lift planters to clean underneath, and use pot feet or a saucer so water does not sit trapped between the pot and the paint. A planter that sits in the same spot all year will leave a ring, and a ring that stays damp will soften the finish underneath.
Expect wear in the busiest spots: the patch by the door where everyone turns, the path to the steps and the area under the chairs. That is normal, and it is not a failure. Once a year, in spring, wash the floor, let it dry, and touch up the worn spots with leftover paint. Touch up the stencil color first, let it dry, and then seal the patched area.
A painted porch floor is a finish with a lifespan, not a permanent surface. It will need repainting one day, and that is fine. It costs far less than tile, it takes a weekend instead of a week, and you can change it whenever your taste changes. Keep up with the sealing and the touch ups, and the floor will pay you back with years of good looks for very little money. If you are still deciding how the finished porch should feel, these warm and inviting outdoor space essentials are a good place to start, and this front porch guide has plenty of ideas for styling around the new floor.
Stencil Painted Porch Floor FAQs
How long does a stencil painted porch floor last?
On a covered porch with good prep and two coats of sealer, expect a few good years before touch ups. An uncovered slab will wear faster. The coating, the prep and the sealer matter more than the pattern, and a floor resealed every year or two lasts noticeably longer than one left alone.
Can I stencil over an already painted porch floor?
Yes, if the old paint is firmly stuck. Scrape off anything loose, clean the slab well, scuff the surface lightly, and prime any bare patches. If the old paint peels off in sheets, strip the loose areas first.
Do I need to seal a stencil painted porch floor?
Yes. Sealer protects the pattern from rain, sun and foot traffic, and it is the difference between a floor that lasts years and one that fades in a season. Use a clear exterior concrete sealer, apply two thin coats, and add a non skid additive to the final coat.
Why is my painted porch floor slippery when wet?
Paint and sealer fill the tiny texture of bare concrete, so the surface gets smooth and slick with water. This is easy to fix. Stir a non skid additive into the final coat of sealer, or use an anti slip sealer. Test the grip by wetting a small area and walking across it.
What size stencil should I use on a porch floor?
Most floor stencils are 12 inches square, a good size for a porch. Larger stencils cover ground faster but are harder to keep flat. Measure your porch and work out how many repeats fit across it before you buy, and choose a stencil with clear registration marks.
Can I stencil a porch floor in cold or damp weather?
It is best not to. Paint and sealer need dry weather and mild temperatures to cure properly. A cold, damp weekend will leave coats soft or poorly bonded, and rain on a fresh coat can ruin the finish. Wait for a dry stretch of two or three days with temperatures comfortably above freezing.
A Porch Floor Worth Walking On
A stencil painted porch floor pays you back every time you come home. It turns a plain slab into the first thing guests notice, it costs far less than tile, and you can finish it in a weekend. The secret is the order of the work: choose the right coating, check the slab honestly, prep it properly, stencil slowly and seal it with grip in mind.
Clear the porch Saturday morning, prep and prime by the afternoon, paint the base Sunday morning and stencil in the afternoon. By Monday you will have a floor that looks like tile, feels safe underfoot and makes the entrance feel considered. If you want more ideas for the space around it, this backyard makeover plan covers the wider garden, while a faux driftwood finish for outdoor furniture pairs beautifully with a stenciled floor. These patriotic porch decorating ideas show how a patterned floor can carry a whole theme. If you like the painting side of this project, these DIY textured paint techniques are a natural next step.