Plan your 4th of July outdoor decorating in four zones and the whole day falls into place. Give the porch one clear welcome, make the table the prettiest spot in the yard, set up one play corner for photos and games, and finish with warm light for the evening. Pick one strong idea from each zone and you will have a party that looks planned, not piled on.
The four zones are the porch and front door, the table and food area, the yard and play corner, and the evening light and send-off. Work through them in that order and you will know exactly what to buy, what to make, and what to skip.
Most 4th of July decorating goes wrong in the same quiet way. People buy a little of everything, scatter it across the yard, and end up with red, white, and blue in every corner and no place for the eye to rest. A zone plan fixes that before you spend a dollar. Each zone gets one job, one focal point, and one or two supporting pieces. The porch says welcome. The table says sit down and stay a while. The yard says play. The evening light says the party is not over yet.
Zone one: the porch and the front door
The porch is the first thing guests see and the last thing they remember on the way out, so it deserves the clearest welcome in the yard. Keep it simple here. One line of bunting, one sign or planter pair, and one moving piece is plenty. Anything more starts to block the steps, crowd the door, or fight with the house itself.
1. Patriotic bunting along the porch railing
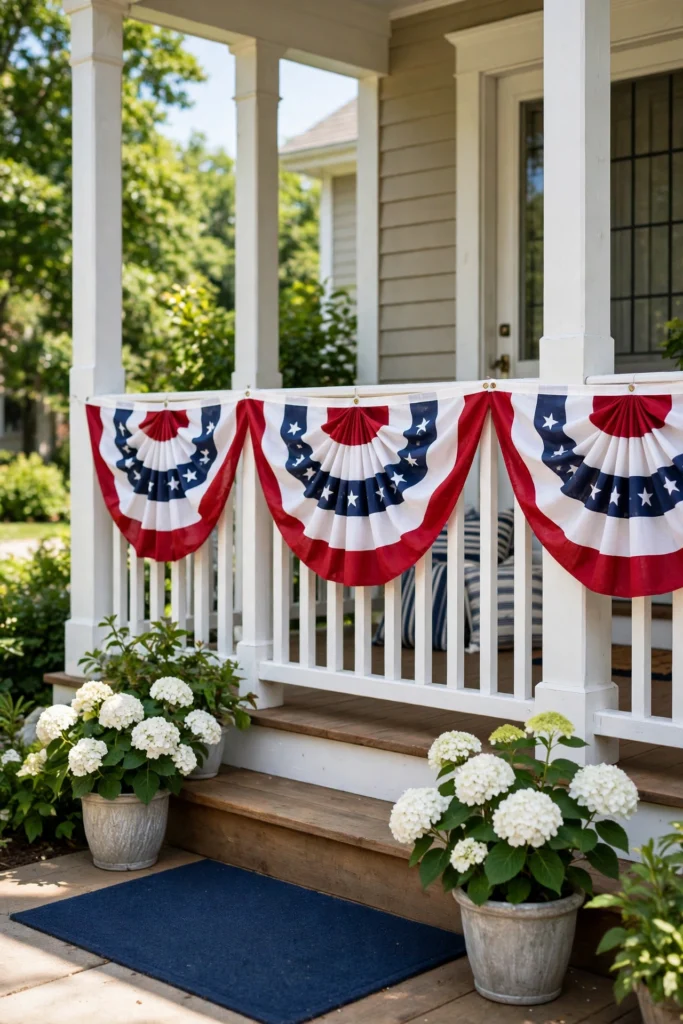
Bunting is the fastest way to say celebration from the street, and it works on almost any porch. Choose fabric bunting if you plan to leave it up for a few days, because paper bunting sags and tears in humidity and fades fast in strong sun. A standard strand runs about 6 to 12 feet long, which fits most porch railings in one or two strands. Measure your railing first, then buy the length that matches, with a little extra for the dip between posts.
Hang it with small removable hooks or ties rather than staples, and let it dip about 4 to 6 inches between posts for a soft scalloped look. A straight, tight line looks stiff, while a deep sag looks droopy, so aim for a gentle curve. Keep the bottom of the swag at least a few inches above the steps so nobody catches a foot on it. If your railing is metal, use zip ties in a matching color and trim the ends short so they disappear.
Pair the bunting with one solid anchor at ground level, such as a navy welcome mat or a pair of white planters flanking the steps. The mat grounds the whole look and gives the red and white above it something to sit against. If your door is already painted a strong color, keep the bunting to two colors, red and white or navy and white, so the door and the decor are not shouting at each other. Dressing the windows beside the door matters too, and if you want the whole entry to feel finished, take a look at these window treatment ideas for every room before you pick a curtain or shade for the porch windows.
2. Flag-inspired pallet wood sign
A pallet wood flag sign is the kind of project that looks far more expensive than it is, and it gives a plain wall or fence something to anchor the whole porch. A finished sign usually measures about 24 by 36 inches, which reads well from the sidewalk without overwhelming a standard front door. Bigger than that, and it starts to compete with the door itself. Smaller than that, and it disappears from the street.
Start with a clean, dry pallet and sand every face smooth, because rough wood catches paint unevenly and snags hands. Paint alternating red and white stripes, about 3 to 4 inches wide each, and leave a navy block in the top corner for the stars. Stenciled stars look cleaner than freehand ones, so use a stencil and a small foam brush, and let each color dry fully before you tape the next section. Two thin coats beat one thick coat, which is where most homemade signs start to look streaky.
Hang the sign with two sturdy hooks or lean it against the wall at a slight angle, with the bottom resting on a brick or a low stand so it does not sit in a puddle if it rains. Keep it away from the grill and the walkway, and never hang it where it blocks a light fixture or a house number. If you lean it on the porch, place a small planter or a lantern at its base so it looks settled rather than propped up as an afterthought.
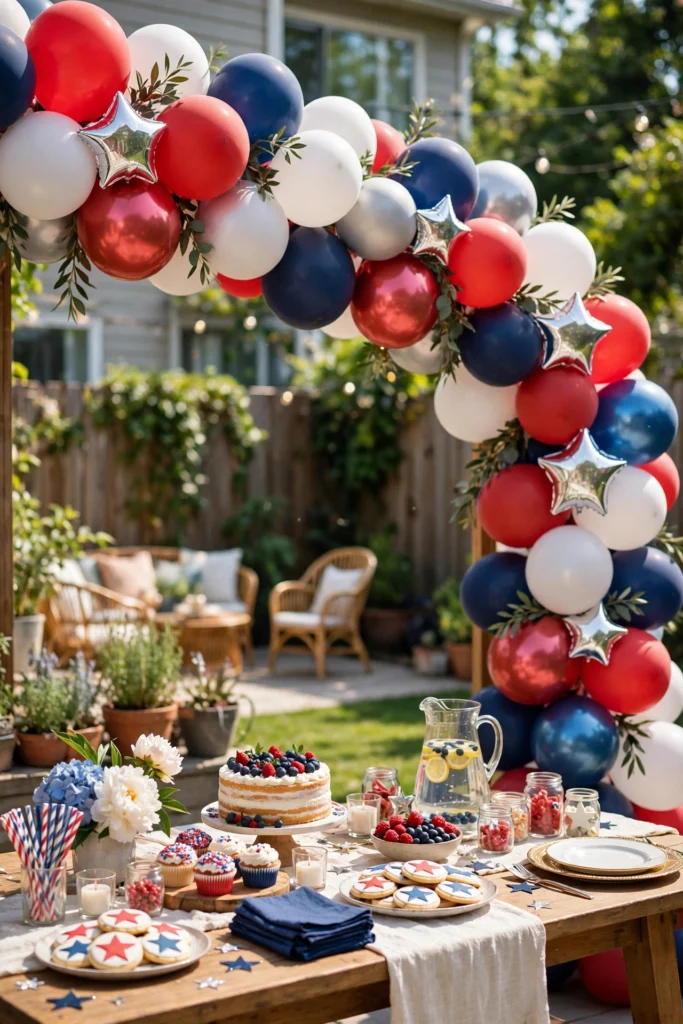
3. Patriotic planters and flower arrangements
Planters are the easiest patriotic decor you will ever own, because the flowers do the work and they keep working all summer. Fill a 12 to 14 inch pot with red geraniums, white petunias, and blue salvia or lobelia, and you have a naturally patriotic palette with no assembly at all. Taller plants go in the center or at the back, trailing petunias spill over the front edge, and the pot itself can stay a plain terracotta or navy so the flowers carry the color.
Place planters in pairs flanking the front steps or the door, and keep them far enough from the walkway that nobody brushes past them. One large planter reads better than three small ones crowded together, and it is easier to water too. If your porch gets full afternoon sun, choose geraniums and salvia, which handle heat well. In a shady spot, white impatiens and blue lobelia will hold their color longer.
Water the pots the morning of the party, not the night before, so the soil is damp and the flowers look fresh when guests arrive. If you are buying flowers a few days early, keep them in a spot with morning sun and afternoon shade until party day, and pinch off any spent blooms the morning of.

4. DIY firework-themed wind socks
Wind socks are the playful piece in this zone, and kids love them because they actually move. Make each one from a cardboard tube or an embroidery hoop about 6 to 8 inches across, with strips of red, white, and blue tissue paper or ribbon hanging 12 to 18 inches below it. The strips should be narrow, about half an inch wide, so they flutter instead of clumping together in a heavy sheet.
Hang wind socks from a porch eave, a sturdy tree branch, or a shepherd’s hook, at a height where they catch the breeze but stay above head height. A shepherd’s hook about 4 feet tall works well near the steps or along the walkway, and two or three spaced a few feet apart look better than one lonely sock. Use fishing line or thin twine for hanging, because thick rope looks heavy next to the light paper strips.
Tissue paper is the weak point here, so treat wind socks as same-day decor. A sudden shower will turn tissue strips into a soggy mess, and strong wind can tear them. Hang them in the morning, enjoy them all day, and bring them inside if the sky turns dark. Crepe paper streamers hold up a little better, and thin fabric ribbon holds up best of all, so if you want to reuse them, ribbon is worth the small extra cost.

Zone two: the table and the food area
The table is where guests spend most of the party, so decorate it like a room, not like a display. Everything on it should earn its place by being useful, pretty, or both. A runner, a low centerpiece, and cloth napkins do more than a dozen small flags scattered across the surface, and they leave room for the food, which is the real star.
5. Star-spangled outdoor tablescape
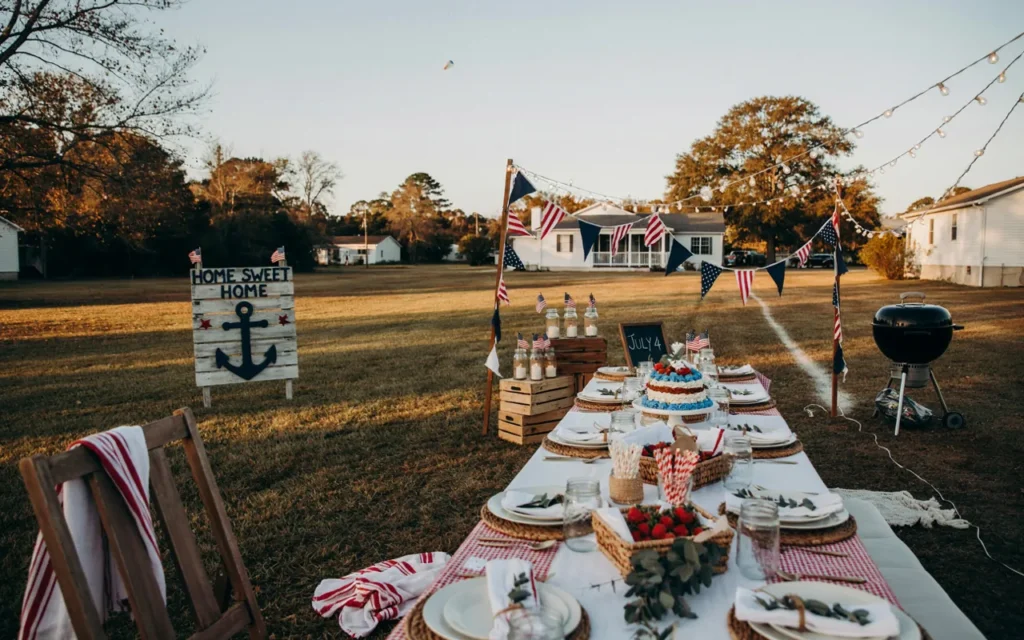
Start with a navy tablecloth, which hides stains and makes white dishes pop, then layer a white runner with a subtle star print down the center. The runner should hang about 6 to 12 inches over each end of the table, no more, or it starts to catch on chairs and knees. Add red gingham napkins, either folded neatly at each place or tucked into a mason jar at the center of each setting, and use mismatched mason jar drinkware for a relaxed, collected feel.
The centerpiece should stay low, no taller than about 10 to 12 inches, so guests can see each other across the table. A galvanized bucket or a long wooden box filled with white and red flowers works well, and a few sprigs of greenery keep it from looking flat. If you use candles, choose short, sturdy ones in glass holders and keep them away from the napkins and the runner. Battery candles are a safer choice when kids are running around the table.
Set the table the way you would set a dining room, with the same care, and it will photograph beautifully. If you want more ideas for the centerpiece itself, these simple dining table centerpiece ideas that look expensive will help you build a table that feels special without buying a whole new set of dishes.

6. Cooler station decorated with patriotic stickers and ribbons
The cooler is the most used and least loved piece of party furniture, which is exactly why it deserves a little attention. Wrap a strip of red and white striped ribbon around the base, add a few star stickers, and tuck a small flag into the handle. Set the cooler on a wooden crate or a low stand, about 12 to 18 inches off the ground, so guests do not have to bend all the way down to reach a drink.
Place the cooler station at the edge of the dining area, not in the middle of it, and keep it within a few steps of the table so guests can grab a drink without crossing the whole yard. Put a small trash bin or a bucket for empty bottles right beside it, because a cooler without a bin nearby is how bottle caps and cans end up scattered across the lawn. A hand towel draped over the crate handle is a small touch guests will notice and use.
Keep the drinks simple. Fill the cooler with ice in the morning, add the drinks, and top up the ice once in the afternoon. Label the cooler if you have a second one for kids, so little hands reach for the right one. And keep the decorated cooler in the shade if you can, because ice lasts far longer out of direct sun and the stickers stay put instead of peeling in the heat.

Zone three: the yard and the play corner
The yard is where the party spreads out, so give it one clear play corner instead of scattering games and photo spots across the whole lawn. A balloon arch, a photo booth, and a pinwheel border all belong in the same general area, near the food table but not blocking the path to it. Guests should drift from eating to playing without crossing a maze of decor.
Keep the middle of the lawn open so kids have room to run and adults have room to stand in small groups. If you are planning a bigger backyard refresh around the party, these backyard makeover ideas every homeowner should know are a good place to start once the bunting comes down.
7. Red, white, and blue balloon garland arch
A balloon garland arch turns a plain backyard entrance or food table into the photo spot of the day. Build it on a flexible balloon tape strip or a wire frame, mixing matte and metallic balloons in red, white, and navy, with a few silver star shaped balloons for texture. Use balloons in two sizes, mostly 11 to 12 inch balloons with a scattering of 5 inch ones to fill the gaps, and cluster them in groups of four or five for a full, lush look.
An arch about 7 to 8 feet wide and 7 feet tall fits a standard backyard gate or the end of a food table, and it frames people nicely in photos without dwarfing them. Anchor it with sandbags, water weights, or bricks hidden under a cloth at each base, because a freestanding arch catches wind like a sail.
Build the arch the morning of the party, not the day before, because balloons lose their shine and start to shrink in heat. Keep the arch in the shade while you build it, and move it into place once it is finished. Latex balloons are the usual choice, but foil star balloons hold their shape longer in the sun, so use foil for the feature pieces and latex for the filler.

8. Backyard photo booth with stars and stripes backdrop
A photo booth gives guests something to do between the meal and the fireworks, and it gives you a stack of photos that are far better than posed group shots. Hang a striped red and white fabric backdrop about 6 to 8 feet wide on a fence, a clothesline, or a simple PVC frame, and scatter star cutouts or a few small balloons along the edges. The backdrop should reach close to the ground so feet and shoes do not ruin the shot.
Set a small prop table beside the backdrop, not in front of it, with sunglasses, small flags, star wands, and a few fun hats. Keep the props to six or eight items so the table stays tidy and guests are not digging through a pile. Place a basket for used props at the end of the table so things get put back instead of wandering off across the yard. If you have a pool in the yard, a shaded seating spot nearby makes the photo corner feel like part of the day, and these pool cabana ideas for your backyard show how a little shade changes the whole feel of a sunny yard.
Light matters more than props. Put the booth where the light is soft, facing away from the harsh afternoon sun, so faces are lit evenly and nobody squints. Late afternoon light, with the sun behind the photographer, is the sweet spot. If the booth faces the sun, guests will have shadows across their faces in every shot, and no amount of props fixes that.
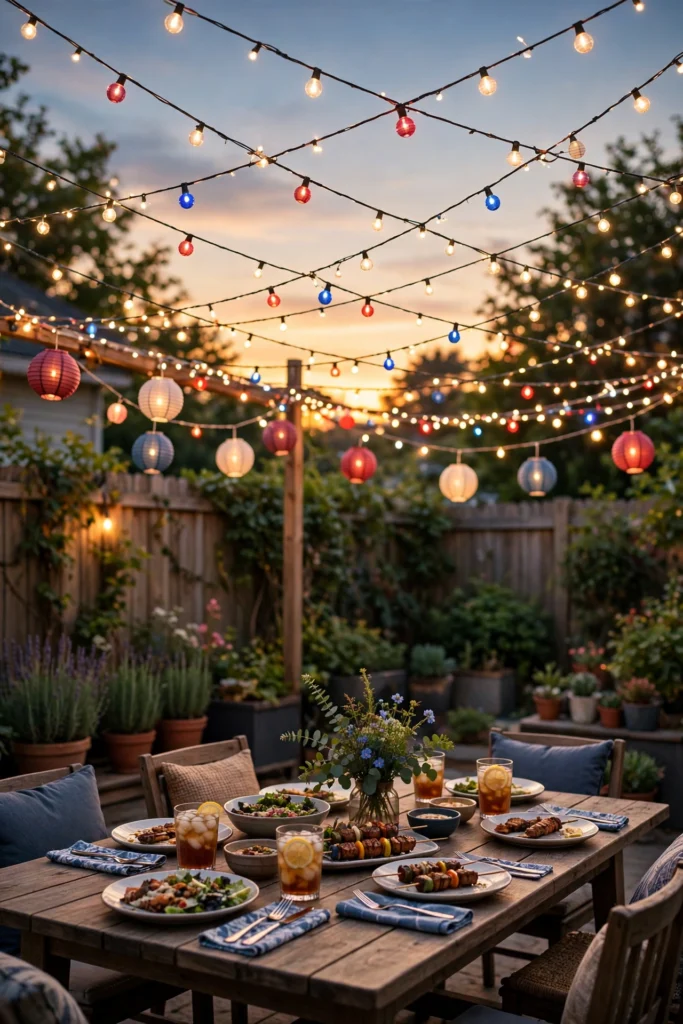
9. Pinwheel garden border
Pinwheels are the quietest idea in this guide, and that is their charm. Line a garden bed, a walkway, or a fence with red, white, and blue pinwheels and you get color and movement with almost no work. Space them about 12 to 18 inches apart so each one has room to spin, and push the sticks about 6 inches into the soil so they stand straight and do not lean after the first breeze.
Choose pinwheels about 8 to 10 inches across for a garden border. Smaller ones disappear in a big yard, and larger ones look top heavy on thin sticks. If you are making them yourself, use card stock or thin craft paper in solid colors, not tissue, because tissue tears in the first strong gust. A small bead or button at the center lets the pinwheel spin freely, and a dab of glue keeps it from sliding off the pin.
Pinwheels work best along a border where they frame the yard rather than filling it. A line along the fence, a curve around a flower bed, or a row beside the walkway all work. Avoid scattering them randomly across the lawn, where they look like litter instead of a border, and keep them away from the sprinkler line so they do not get soaked.
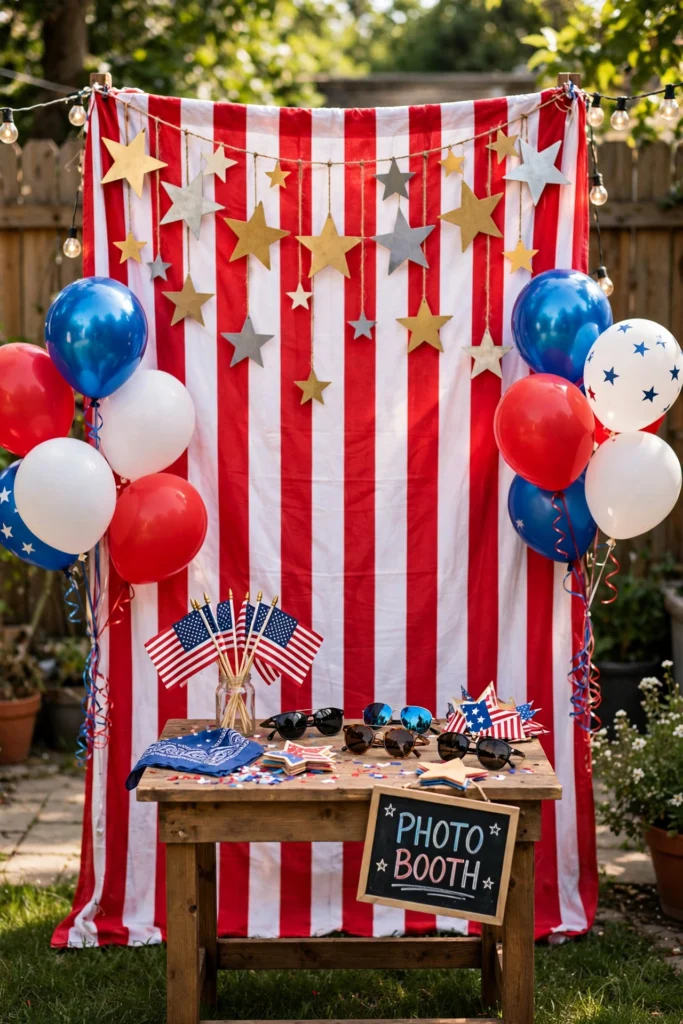
Zone four: evening light and the send-off
Daytime decor disappears at dusk, which is why the evening zone needs its own plan. String lights, lanterns, and a sparkler station carry the party from dinner into the fireworks, and they are what guests will remember when they talk about the night. Plan the light before the party starts, because once the sun goes down you cannot hang a canopy in the dark.
Walk the yard at dusk the night before and notice where it goes dark first. Those dark corners are where your lights need to go. A well lit path from the table to the house and one bright focal point are enough. Getting the lighting right indoors follows the same thinking, and these mudroom lighting ideas to brighten your entryway show how a little light in the right spot changes how a space feels.
10. Mason jar lanterns with fairy lights
Mason jar lanterns are the most forgiving evening decor you can make. Wrap each jar with red and white ribbon or thin rope, tuck a strand of battery operated fairy lights inside, and set them along a walkway, on the table, or beside the seating area. A standard pint jar holds one short strand comfortably, and three to five jars spaced about 2 to 3 feet apart will light a short path without looking like a runway.
Use warm white fairy lights, not cool white, because warm light flatters skin tones and makes food look appetizing, while cool light can feel harsh outdoors. Battery packs tuck neatly behind the jar or under a cloth, and a set of fresh batteries will run a short strand for the whole evening. If you use real candles instead, keep the jars on a stable surface away from table edges, and never place a lit jar where a child or a pet can knock it over.
Space the jars where they guide people, not where they decorate a shelf nobody walks past. A line of jars along the walkway to the house, a cluster of three on the table, and one or two beside the seating area is a good spread for a medium yard. If you want them to glow earlier in the evening, set them in shaded spots where the light shows up sooner.
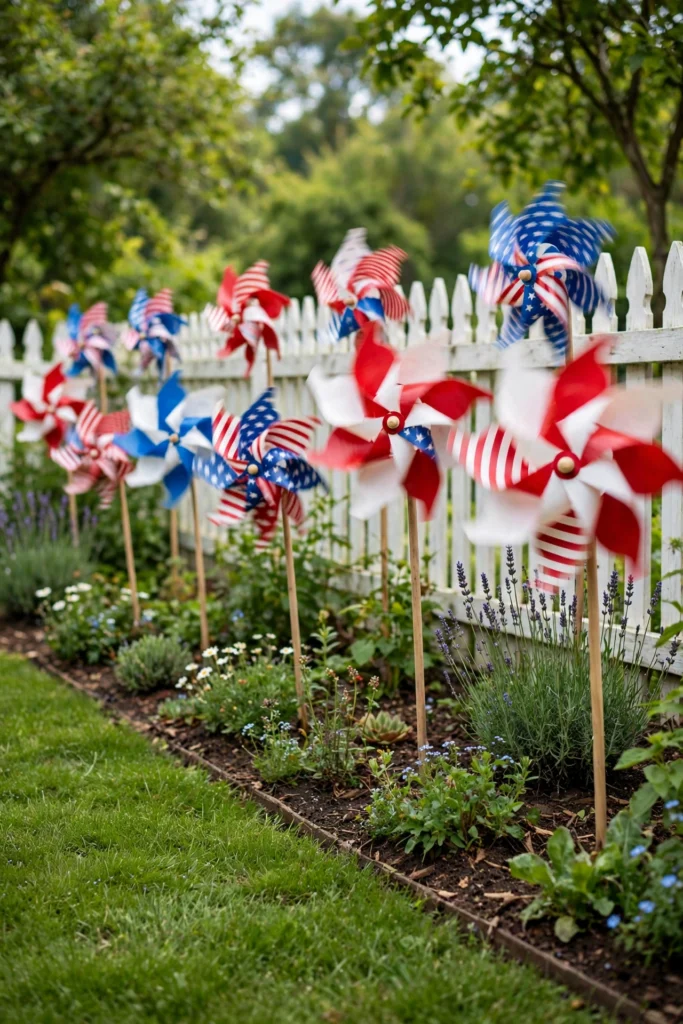
11. String light canopy in red, white, and blue
A string light canopy is the single most dramatic thing you can do to a backyard after dark, and it is simpler than it looks. Crisscross strands of warm white string lights overhead, then weave in a few red and blue lights or small paper lanterns for color. Standard outdoor strands run 25 to 50 feet long, with bulbs spaced about 12 inches apart, and two or three strands are usually enough to cover a dining area or a lounge corner.
Hang the lights with guide wires strung between two sturdy points, such as the house and a tall pole, a fence post, or a tree. The wire carries the weight, the lights hang from it, and the whole canopy stays level instead of sagging. Keep the lowest point of the canopy at least 7 feet above the ground so tall guests can walk under it comfortably, and keep the strands clear of the grill and any tree branches that could rub against the bulbs.
Plug the lights into an outdoor rated extension cord and a ground fault protected outlet, and keep the connection off the ground in case of rain. Test the whole canopy the night before, because a dead strand discovered at dusk is a problem you do not want.

12. Sparkler send-off station
The sparkler station is the closing ceremony of the party, and it deserves a tidy, safe setup of its own. Set a small table with a red and white checkered cloth near the seating area but well away from the grill, the fire pit, and the string light canopy. On it, place a basket of unlit sparklers, a galvanized bucket of sand for used sparklers, a lighter, and a simple handwritten sign with the safety rules in large, clear letters.
Keep the station small and supervised. One adult should hand out the sparklers, light them one at a time, and collect the spent ones in the sand bucket. Kids should hold sparklers at arm’s length, away from faces and clothes, and nobody should wave a lit sparkler near another person’s hair or clothing. Have a bucket of water nearby as well, because sand handles the hot ends but water is the safer way to cool a finished sparkler completely.
Choose sparklers about 10 to 12 inches long, which burn for roughly 30 to 45 seconds, long enough for a photo and a wave but short enough to manage safely. Buy one box per handful of guests, and keep the unopened boxes in a dry spot until you need them. Damp sparklers sputter and fail, so a sealed container or a zip bag is worth it if the evening turns humid.

Weather-proofing rules: what survives wind and rain, what comes inside
July weather is the one guest you cannot control, so build your plan around it. The rule is simple. Anything heavy, fabric, or sealed stays out. Anything paper, tissue, or battery powered in an open container comes inside at the first sign of rain.
Wind is usually the bigger problem. A gust will take a balloon arch, a paper lantern, or a loose tablecloth before rain ever arrives. Anchor everything that can move. Weigh down the tablecloth with clips or a heavy centerpiece, tie the bunting at every post, and weight the balloon arch at both bases.
Rain changes the plan in a different way. Fabric bunting, planters, pallet signs, and pinwheels handle a shower fine, and they dry out quickly. Paper bunting, tissue wind socks, and cardboard props do not, so bring those inside the moment the sky darkens. Balloon arches survive light rain but look tired after a soaking, so build them as late as you can if rain is likely. String lights are built for outdoor use, but keep the plug connections off the ground and under cover, because a plug sitting in a puddle is a hazard even if the lights themselves are rated for rain.
| Decor piece | Leave out in wind and rain | Bring inside |
|---|---|---|
| Fabric bunting | Yes, if tied at every post | Only in a heavy storm |
| Paper bunting and tissue wind socks | No | At the first dark cloud |
| Balloon garland arch | Light rain only, if well anchored | Heavy wind or a downpour |
| Mason jar lanterns | Yes, if the jars are covered or sheltered | Open jars in steady rain |
| String light canopy | Yes, keep plugs off the ground | Only if the cord connection gets wet |
| Pallet sign and planters | Yes | Only in a heavy storm |
| Pinwheels | Light rain, yes | Strong wind, they will bend |
| Sparkler station | No, sparklers must stay dry | Keep sparklers sealed indoors until use |
DIY or buy? A quick cost and effort guide
Not every idea needs to be handmade, and not every idea is worth buying ready made. The table below gives typical costs and time for each idea, so you can decide where your effort pays off. Prices vary by store and region, so treat these as rough guides, not quotes.
| Idea | Make it yourself, typical cost | Buy it ready made, typical cost | Time needed |
|---|---|---|---|
| Porch bunting | Low, fabric and hooks | Low to moderate, pre-strung sets | 15 to 30 minutes |
| Pallet wood sign | Low, paint and a reclaimed pallet | Moderate, finished signs cost more | One afternoon, plus drying time |
| Patriotic planters | Low to moderate, pots and flowers | Moderate, pre-planted pots | 30 minutes to plant |
| Wind socks | Very low, paper and ribbon | Low, ready made sets | 30 to 45 minutes |
| Tablescape | Low, use what you own | Moderate, new linens and dishes | 30 to 45 minutes |
| Cooler station | Very low, ribbon and stickers | Low, a decorated cooler | 10 minutes |
| Balloon garland arch | Moderate, balloons and tape | Moderate to high, professional arches | One to two hours |
| Photo booth | Low, fabric and props | Moderate, backdrop kits | 30 to 45 minutes |
| Pinwheel border | Very low, paper and sticks | Low, ready made pinwheels | 30 minutes |
| Mason jar lanterns | Low, jars and fairy lights | Low to moderate, finished lanterns | 20 to 30 minutes |
| String light canopy | Moderate, lights and guide wire | Moderate, installation kits | One to two hours |
| Sparkler station | Low, sparklers and a bucket | Low, ready made kits | 15 minutes |
The smartest split is usually this. Make the wind socks, the lanterns, the cooler station, and the pinwheels, because handmade versions of those look better and cost almost nothing. Buy the bunting and the string lights, because good quality versions of those are hard to make and last for years.
4th of July decorating questions, answered before the party
What are the easiest last minute 4th of July outdoor decorating ideas?
Mason jar lanterns, patriotic planters, and porch bunting are the fastest options, and most of them take under 30 minutes with items from a craft or party store. If you only have an hour, do the bunting and the planters, because those two pieces make the biggest visual difference for the least effort.
How do I decorate a small porch or balcony for the 4th of July?
Pick one or two lightweight pieces, such as a short strand of bunting and a single planter, and leave the rest out. A small space only needs a hint of the theme, and one strong piece reads better than five small ones crowded together. Keep the walkway clear and let the door and the railing do the work.
What colors work besides bright red, white, and blue?
A softer palette of navy, cream, and dusty red gives a more modern look while still reading as patriotic, and it works especially well for tablescapes and planters. You can also lean on natural textures, such as wood, rope, and galvanized metal, to soften the bright colors and keep the whole setup from looking like a party store display.
How do I make my 4th of July decorations weather resistant?
Choose outdoor rated fabric bunting, UV treated balloons, and battery or solar lights instead of indoor paper decorations, and secure or weight down anything lightweight. Check the weather-proofing table above before the party, and know in advance which pieces come inside at the first sign of rain so you are not deciding in a downpour.
Do I need string lights for a 4th of July backyard party?
If your party runs into the evening, string lights or lanterns are worth it, because most decor becomes hard to see once the sun goes down. Even one strand over the table and a few lanterns along the walkway will carry the whole evening.
How far in advance should I set up outdoor 4th of July decorations?
Durable pieces such as planters, pallet signs, and pinwheels can go up a day or two early. Delicate pieces such as balloons and fresh flower arrangements look best when set up the morning of the party. Paper and tissue pieces should go up the same day too, because humidity and sun wear them out fast.
Can I reuse 4th of July decorations for other summer parties?
Yes, and you should. Mason jar lanterns, string lights, pinwheels, and neutral bunting work for barbecues, birthdays, and general summer evenings long after the holiday. Store them clean and dry, and they will come out next summer looking just as good.
What is the best way to photograph 4th of July decorations?
Golden hour, roughly an hour before sunset, gives the warmest light for outdoor decor photos. For evening setups, wait until the sky has just started to dim rather than shooting in full darkness, because a little ambient light helps the lights stand out.
Your 4th of July morning, hour by hour
A party day runs smoothly when the work is spread across the morning instead of crammed into the last hour. Here is the timeline I use, and it works whether you are hosting ten people or thirty.
Early morning, first light. Water the planters, hang the bunting, and put the pallet sign in place. Check the weather once, and decide now which paper pieces stay inside if rain is coming.
Mid morning. Set up the yard zone. Build the balloon arch in the shade, hang the photo booth backdrop, and push the pinwheels into the garden border. Put the cooler station in place, fill it with ice, and string the light canopy while you can still see what you are doing.
Late morning. Set the table. Lay the cloth and runner, place the centerpiece, and fold the napkins. Set out the mason jar lanterns along the walkway and on the table, but do not switch them on yet. Walk the whole yard once and move anything that blocks a path.
Early afternoon. Hang the wind socks, put the sparklers in their sealed container at the station, and do a final check of the arch and the bunting. Top up the cooler ice and put out the trash bin. Take your photos now, in the afternoon light, before guests arrive.
Evening, as the light fades. Switch on the string lights and the lanterns, light the table candles if you are using them, and open the sparkler station. Stand back and look at the yard the way your guests will see it. The porch glows, the table is lit, and the evening has a clear ending waiting at the sparkler table.