A studio apartment gives you one room and asks it to be four. Bedroom, living room, office and dining room all share the same walls, and when the layout is wrong, the whole place feels like a single bed with a kitchen attached. The good news is that layout, not square footage, is what decides whether a studio feels cramped or calm. A well planned 300 square foot studio lives better than a careless 600 square foot one.
This guide walks through 25 studio apartment layout ideas, grouped by the job they do. Some divide the room without walls. Some hide the bed in plain sight. Others squeeze in a desk, a dining spot and real storage. Every idea comes with the measurements and placement details that make it work in a real room, not just in a photo. If you are collecting broader inspiration first, our roundup of apartment design ideas for modern living pairs well with the layout strategies below.
The Short Answer: How a Studio Layout Actually Works
A studio layout works when the room is arranged in zones, in a fixed order. The living zone goes nearest the door, because that is where guests and daytime life belong. The work or dining zone sits in the middle. The sleeping zone goes farthest from the door, out of the first sightline when anyone walks in. You do not need walls between these zones. A sofa back, a rug edge, an open shelf or a curtain does the separating, and one clear walking path of about 30 inches (roughly 75 cm) ties the whole room together.
Everything in this guide follows that one principle. Pick the ideas that match your room shape and the way you actually spend your day.
Plan the Four Zones Before You Move a Single Chair
Most studio layouts fail for one simple reason. The furniture went in first and the zones were expected to appear on their own. Start the other way around. Decide where sleeping, sitting, working and eating will happen, give each zone one anchor piece and its own light, and the room begins to behave like a small apartment instead of a big bedroom.
| Zone | Anchor piece | Best position | What it needs |
|---|---|---|---|
| Sleeping | Bed or daybed | Farthest corner from the door | Bedside light, a small surface for phone and water, blackout curtain if the window is close |
| Living | Sofa or loveseat | Nearest the entry, facing a wall or console | Rug under the front legs, warm lamp light, a surface for drinks |
| Working | Desk 36 to 48 inches wide | Near the window for daylight | Task lamp, one reachable outlet, a chair you can sit in for hours |
| Dining | Small table or banquette | Between the kitchen and the living zone | Pendant or wall light, chairs that tuck fully underneath |
Two measurements protect the whole plan. Keep the main walking path at least 30 inches wide from door to window, and leave 18 to 24 inches between the sofa and the coffee table so your legs and a serving tray both fit. Measure the room before buying anything, and sketch the fixed points first: door swing, windows, radiators and the kitchen run. Those cannot move, so the zones have to fit around them.
Which Layout Strategy Fits Your Studio Size?
The right strategy changes with the size of the room. A divider that looks brilliant in a 500 square foot studio will swallow a 280 square foot one. Use this table to pick your approach before you fall in love with any single idea below.
| Studio size | Best strategy | Dividers that fit | Avoid |
|---|---|---|---|
| Under 300 sq ft | One shared living and sleeping zone, furniture against the walls | Curtain, rug edges, a daybed that works as the sofa | Tall bookcases in the middle of the room, a separate dining set |
| 300 to 450 sq ft | Two or three zones with one real divider | Sofa back, open bookshelf, partial partition | More than one tall divider, oversized sofas over 84 inches |
| 450 to 600 sq ft | Full four zones, bed properly screened | Glass divider, raised sleeping platform, banquette dining | Pushing everything to the walls and leaving a dead empty middle |
Dividers That Create Separate Rooms Without Walls
Six of the 25 ideas do the heaviest lifting in a studio, because they manufacture the feeling of separate rooms. None of them needs a landlord’s permission or a construction crew, and most of them add storage or seating while they divide.
1. Divide the Apartment With a Sofa
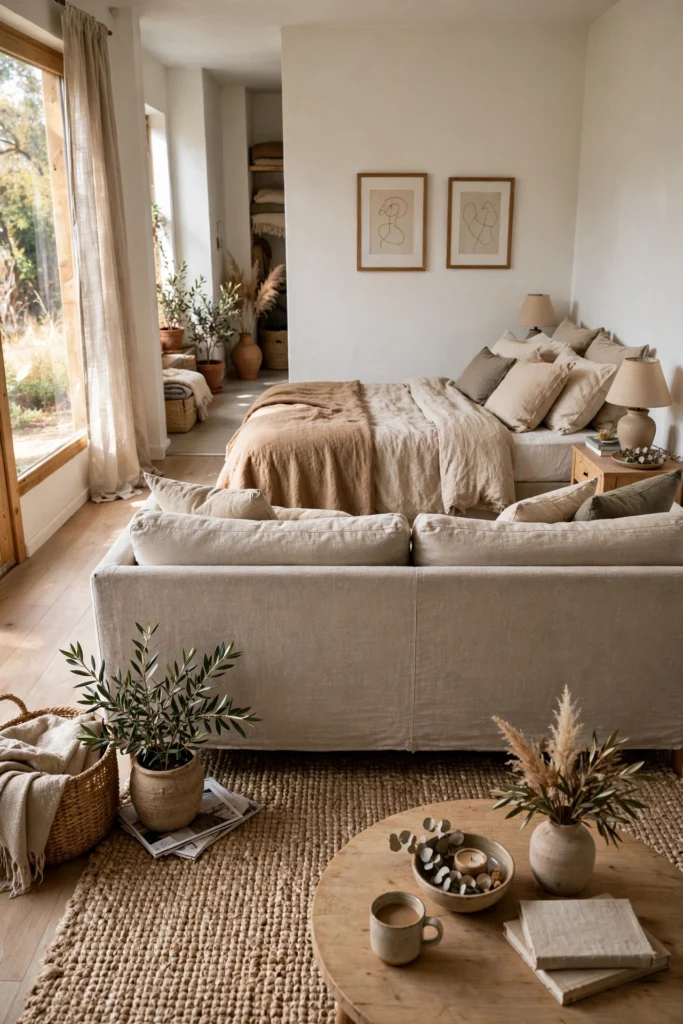
Float the sofa in the middle of the room with its back turned to the bed. That one move creates a living room on one side and a bedroom on the other, using a piece you already own. Keep the sofa low, ideally with a back height under 36 inches, so light and sightlines still pass over it. Push a narrow console table or a low bench against the sofa back and the boundary looks designed rather than accidental. Leave at least 30 inches of walkway behind the sofa if the room allows it. In a very narrow studio, place the sofa against the long wall instead and let a rug do the dividing on its own.
2. Install a Partial Partition

A partial partition, sometimes called a pony wall when it is built in, screens the bed without closing the room off. Renters can copy the effect with a wide, stable bookcase or a slatted wood screen that stops at two thirds of the ceiling height. The gap at the top matters. It keeps air and light moving, so neither side feels like a cupboard. A partition works best when it runs at right angles to the longest wall, carving a sleeping rectangle out of one end of the room. Anchor anything tall to the wall with an anti-tip strap, especially in homes with children or large dogs.
3. Try an Open Bookshelf Divider
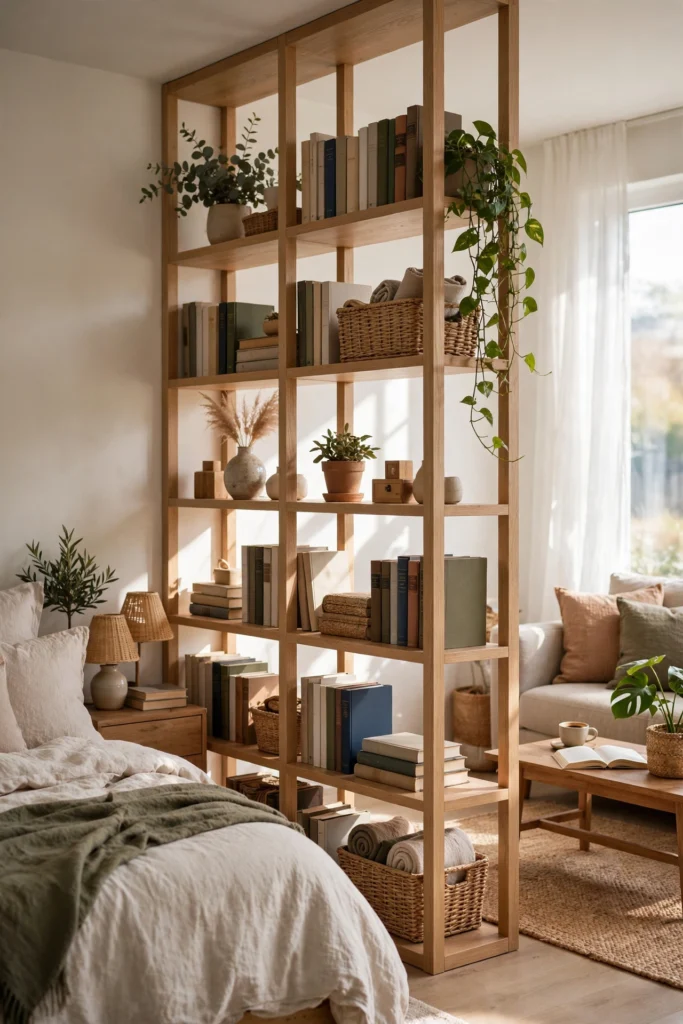
An open bookcase placed at right angles to the wall is the hardest working divider in studio living. It screens the bed, holds books and baskets from both sides, and lets daylight filter through the open cubes. A unit around 48 to 60 inches tall divides without darkening. Fill the lower shelves with closed baskets for the messy categories, chargers, paperwork and spare bedding, and keep the top shelves light with books and one or two plants. Measure the depth honestly. A 12 to 14 inch deep shelf takes that much floor from both zones, so this idea suits studios from about 300 square feet upward.
4. Use a Glass Divider
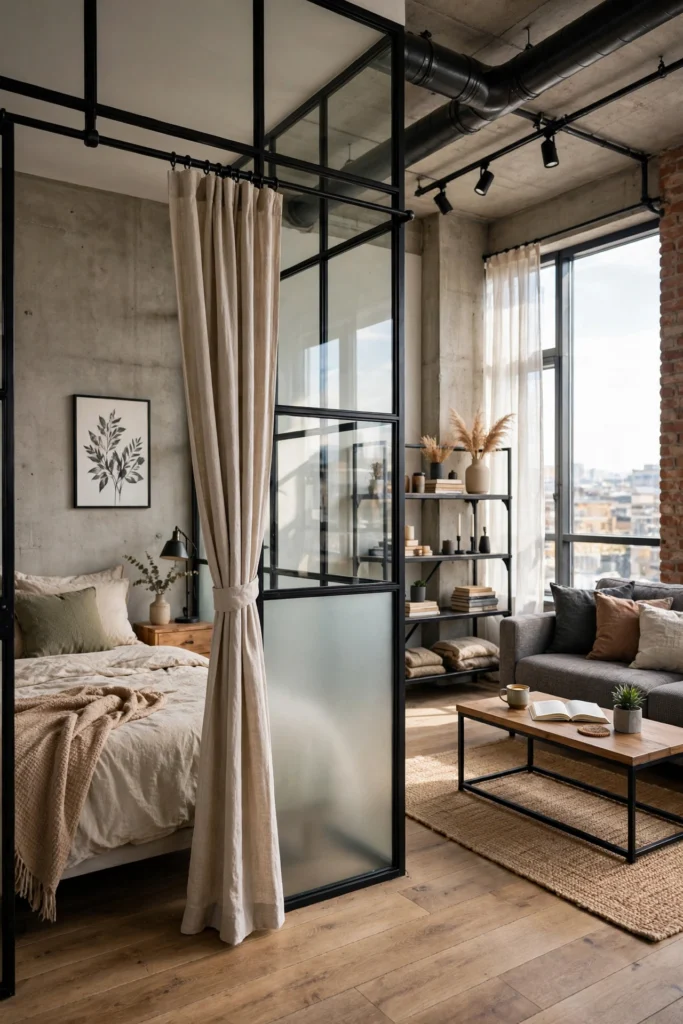
A steel framed glass partition gives a studio the most grown up version of separate rooms. The bed disappears as a visual distraction but the daylight does not, which is why this style shows up in so many city studios with one big window. It is the most expensive option in this list and usually a decision for owners rather than renters. Frosted or fluted glass on the lower half adds privacy where it counts while the clear top keeps the room bright. If a fixed partition is out of reach, a glass fronted bookcase or even a large mirror leaning at the zone boundary borrows a little of the same light bouncing effect.
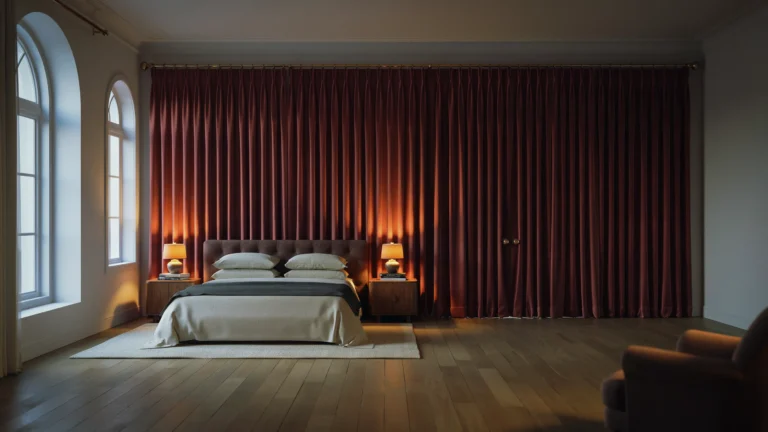
5. Use a Curtain as a Flexible Wall

A ceiling mounted curtain track is the cheapest real divider you can install, and the most flexible. Close the curtain at night and the bed becomes a private cocoon. Open it in the morning and the room is one bright space again. Choose a fabric with some weight, like linen look polyester or a light blackout panel, so it hangs in clean folds instead of floating. The track should extend 8 to 12 inches past the bed on each side, otherwise light leaks around the edges wake you up. Renters can use a tension system or adhesive ceiling hooks where drilling is banned, though a screwed track always runs smoother.
6. Put the Bed Behind a Console
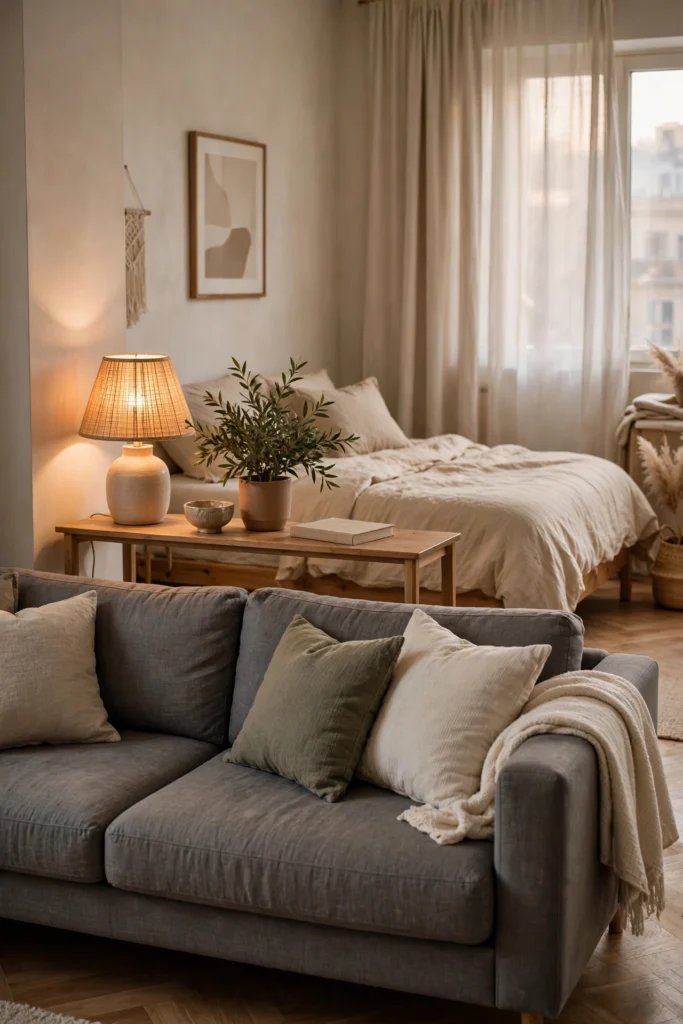
If a full divider feels like too much, slide a long, low console or dresser behind the headboard zone so the bed sits in its own shallow bay. The console gives you a surface for lamps, books and morning coffee on the living side, and it hides the pillows from the door. This works particularly well in long rectangular studios where the bed sits at the far short end. Keep the console at or just below mattress height, around 24 to 30 inches, so the bed still reads as the main piece in its zone and the room keeps one calm horizontal line.
Beds and Sleeping Corners That Stay Out of the Way
The bed is the largest object in a studio and the one most likely to dominate it. These four ideas either shrink its footprint, hide it, or give it a corner where it stops apologizing for existing. Anyone planning the sleep zone in depth will also find our guide to small bedroom design ideas useful, because most of those storage and color principles apply at studio scale too.
7. Create a Cozy Bedroom Nook

Many studios have an alcove, a bay or the short leg of an L shaped plan. That awkward corner is a gift. Put the bed in it and the room gains a natural bedroom without any divider at all. Dress the nook like a real bedroom in miniature: a headboard or cushioned wall panel, a small shelf instead of a nightstand if the width is tight, and a warm lamp rather than a ceiling light. A rug under the bed that stops at the nook’s edge underlines the boundary. If the alcove is wider than the bed by a foot or more, that leftover strip is perfect for a slim wardrobe or a rail of everyday clothes.
8. Choose a Daybed for Double Duty

A daybed is a sofa by day and a bed by night, with a frame that keeps it looking like furniture instead of bedding. In a studio under 300 square feet it can be the single smartest purchase, because it replaces two large pieces with one. Style it as a sofa properly during the day: a fitted cover or tailored throw, and firm bolster cushions along the back so sitting feels supported. Keep the actual duvet and pillows in a storage box or a large basket nearby, so the changeover takes two minutes. A trundle underneath turns it into guest space without touching the layout at all.
9. Use a Murphy Bed

A Murphy bed folds into a cabinet and hands you back 35 to 40 square feet of floor every morning. That reclaimed space is where the dining table, the yoga mat or the proper desk chair lives. Modern mechanisms are light enough for one person to operate, and many units include a sofa or a desk that stays level as the bed folds down. The honest drawbacks are the price and the daily habit it demands. If you know you will not fold a bed away every morning, a good daybed serves you better. Owners gain the most here, since the cabinet should be fixed securely to wall studs.
10. Raise the Sleeping Area
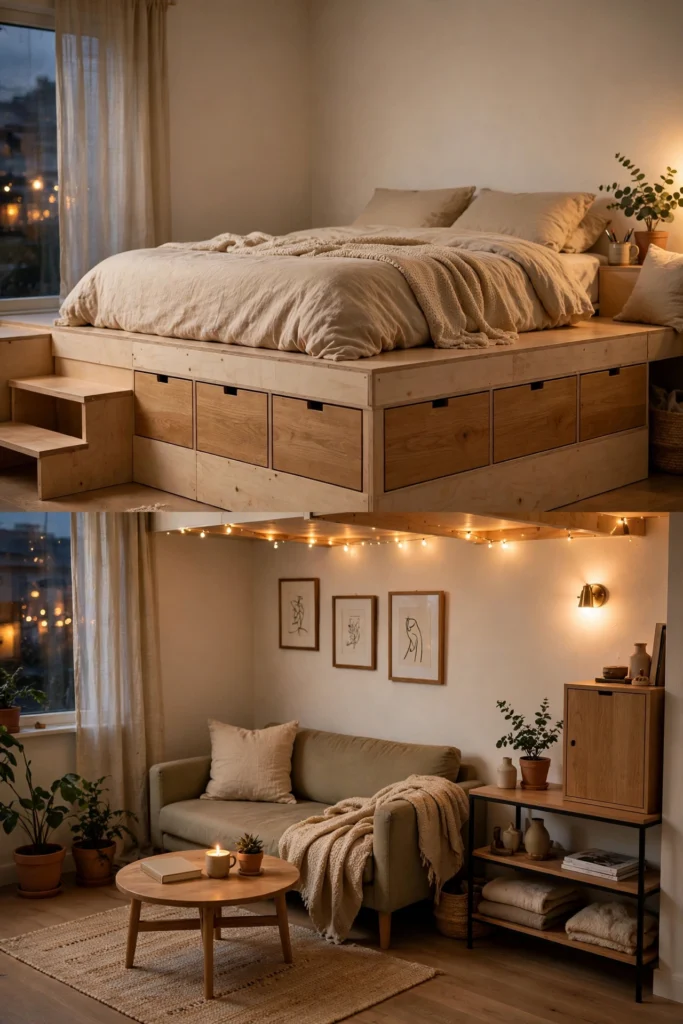
Lifting the bed onto a low platform of 12 to 18 inches separates the sleeping zone by height instead of by walls, and the platform itself becomes storage. Drawers built into the base swallow spare bedding, towels and off season clothes, which is storage a small studio desperately needs. In a room with ceilings of nine feet or more, a higher loft with storage or a desk beneath is possible, though it suits younger renters better than anyone who dislikes ladders at 3 a.m. Keep one clear step or a wide ledge for getting down safely, and run a strip of warm light under the platform edge so the level change is visible at night.
Living, Working and Eating in the Same Square Footage
Once the bed is settled, the daytime zones have to be arranged so they do not fight each other. The pattern that works is simple. Anchor the living area with a rug, borrow the window for work, and let dining share a surface with something else. These nine ideas handle that side of the room.
11. Build a Living Room Around a Rug

A rug is the fastest zone marker there is. Place a rug of at least 5 by 8 feet under the sofa’s front legs and the coffee table, and the floor inside it reads as a separate room. The common mistake is a rug that is too small, floating under the coffee table alone, which makes the seating look lost. Every front leg of every seat in the zone should touch the rug. Beside the bed, a runner or a smaller rug in a related but not identical pattern marks the sleeping zone, so the two areas feel connected without being dressed as twins.
12. Use One Large Rug Throughout
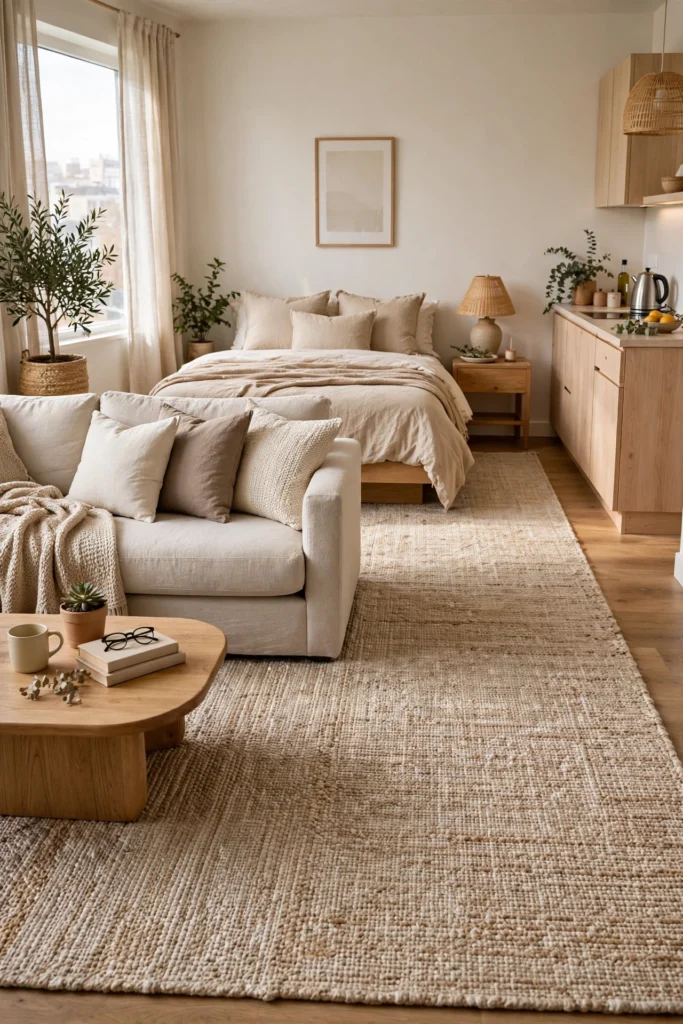
The opposite approach also works. One oversized rug running under most of the room unifies a studio that would otherwise look chopped into scraps. This suits open, squarish studios and anyone who finds multiple rugs visually noisy. Choose a low pile in a forgiving mid tone, because a rug this size is a commitment to vacuum. The zones then get defined by furniture direction and lighting instead of floor borders. Keep at least the bed partly on the rug so the sleeping corner feels included, and let the kitchen run stay bare for practical cleaning.
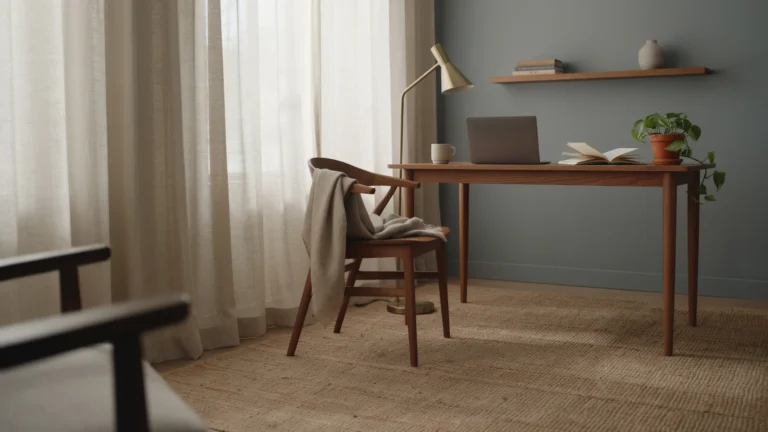
13. Create a Dedicated Work Nook
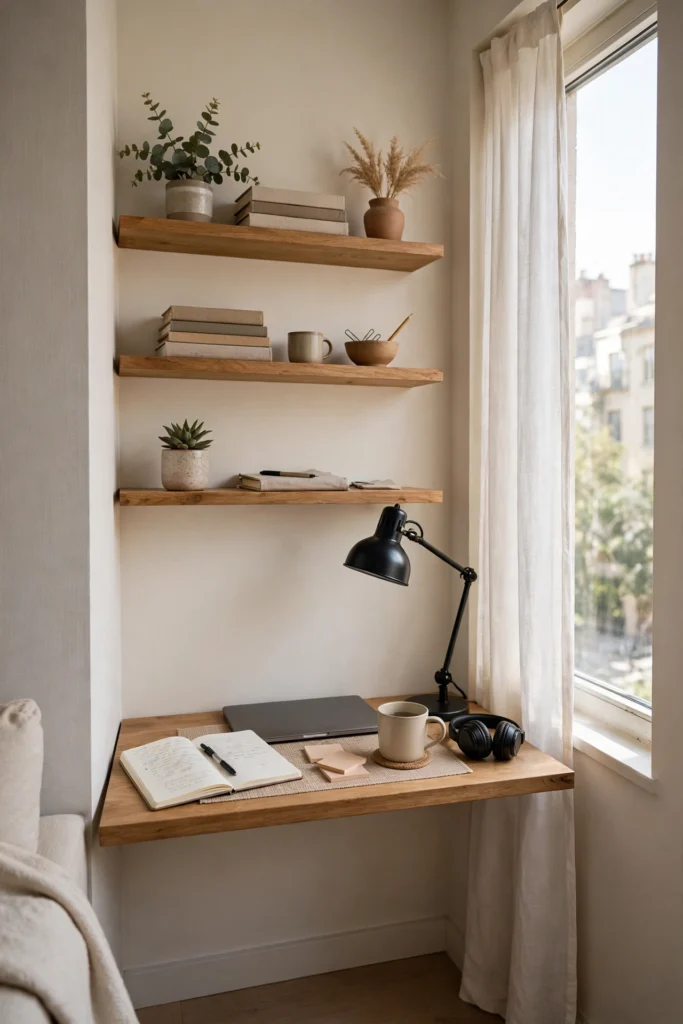
Working from the bed destroys both the work and the bed. A dedicated desk, even a small one at 36 inches wide, protects your sleep and your posture. The best spot is near the window, where daylight does the heavy lifting and your eyes get a long view during calls. A wall mounted drop leaf desk or a slim console behind the sofa can serve in tight rooms. Give the nook its own task lamp and keep the charger cable permanently plugged there, so sitting down to work takes seconds. If video calls matter, check what sits behind your chair. A bookshelf or a plain wall beats an unmade bed.
14. Combine the Dining Table and Desk
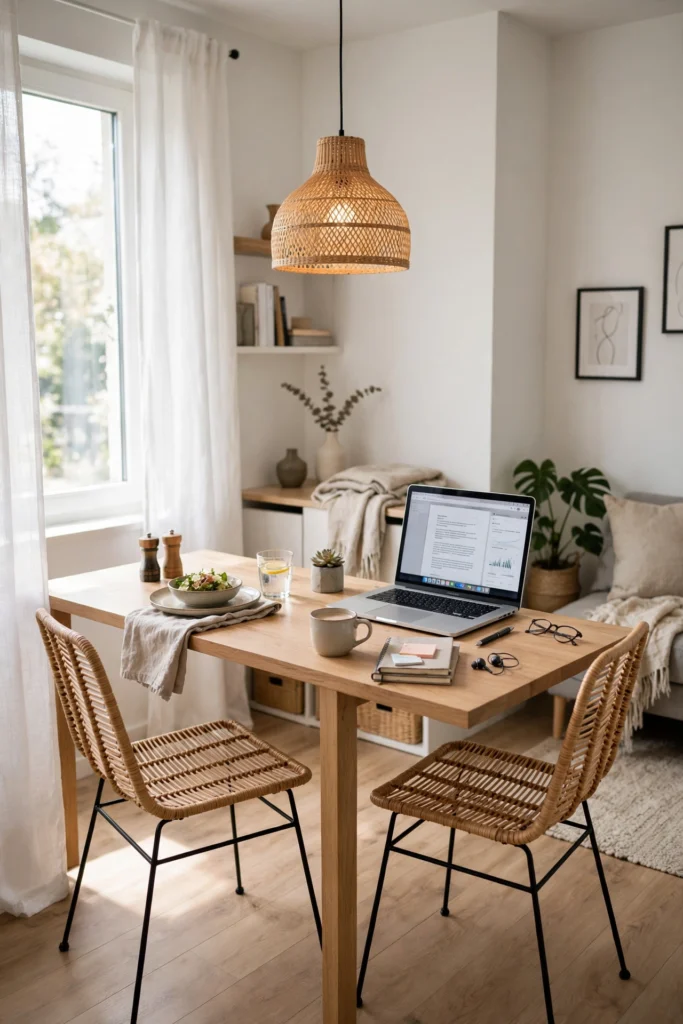
In many studios, one honest table does two jobs. A rectangular table of about 47 by 28 inches seats two for dinner and holds a laptop and notebook during the day, placed where the kitchen and living zones meet. The trick is a two minute reset ritual: a tray or a lidded box that swallows the work kit at dinner time, and a placemat that swallows the crumbs afterward. Chairs that tuck completely under the table keep the walkway clear. This pairing pairs naturally with a small drinks or breakfast corner, and our coffee station ideas for small apartments show how much function fits into a single spare corner.
15. Add a Fold-Down Dining Table
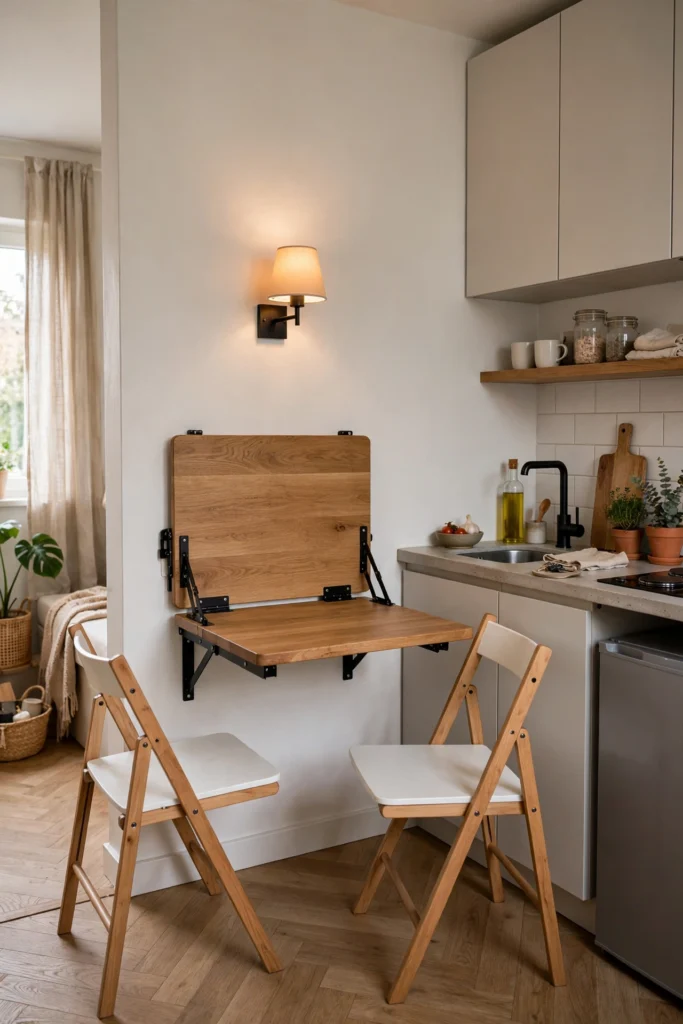
When floor space is too precious for a permanent table, mount one on the wall. A fold down table gives you a dining surface for two and a generous desk, then disappears to a depth of a few inches. It works beautifully under a window or along the kitchen wall, with two folding chairs hanging on hooks nearby. Check the wall type before buying, because the hinges carry real weight when the table is loaded with dishes. Solid walls or studs are fine. Thin partition walls need a different solution, such as a gateleg table that folds to console width instead.
16. Use a Banquette for Dining

A banquette turns an awkward corner into the dining zone and smuggles in storage at the same time. The bench seat, ideally with a hinged lid, holds the bulky rarely used things: the spare duvet, board games, the big serving bowls. Bench seating also fits more people than chairs in the same footprint, because nobody needs pull back space on the wall side. A bench depth of 16 to 18 inches and a table that overhangs it slightly keeps sitting comfortable. Add two movable chairs on the open side and the corner seats four in the space chairs alone would seat two.
17. Choose Furniture With Visible Legs
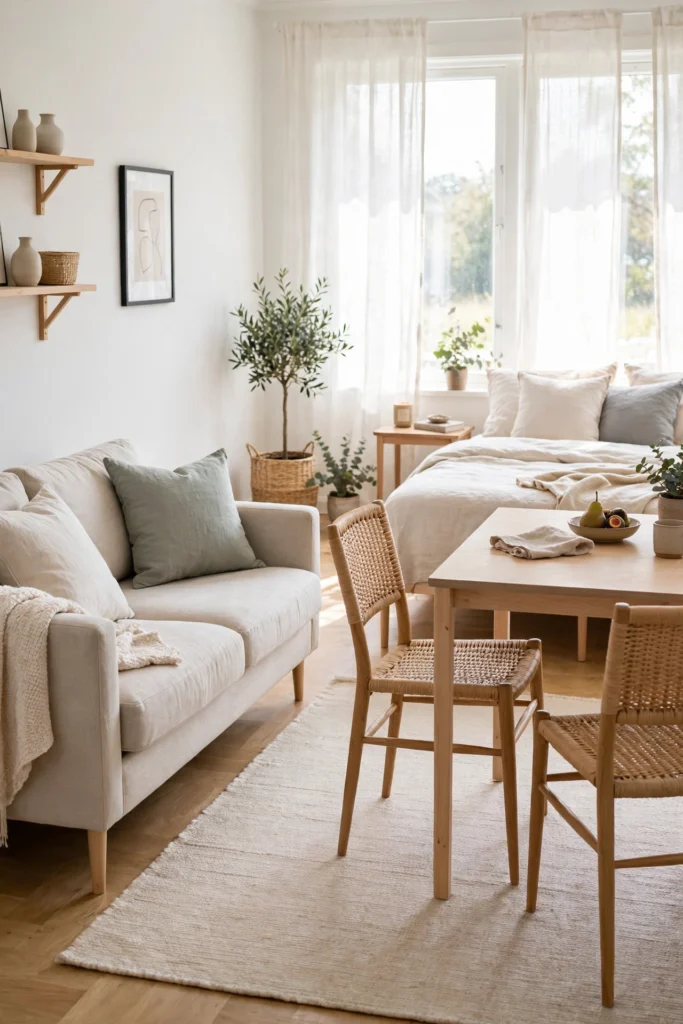
Furniture raised on legs lets you see the floor running underneath it, and visible floor is what makes a small room read as spacious. A sofa on 6 inch legs, a bed frame with clearance beneath, and a media console that floats or stands tall all open up sightlines. The bonus is practical: a robot vacuum can pass under, and the space can hold flat storage boxes. Skirted, floor hugging pieces do the opposite and can make even a good layout feel heavy. You do not need to replace everything. Start with the largest piece, usually the sofa. Guidance on picking a comfortable one is in our roundup of comfortable sofa ideas for the living room.
18. Take Advantage of Vertical Space
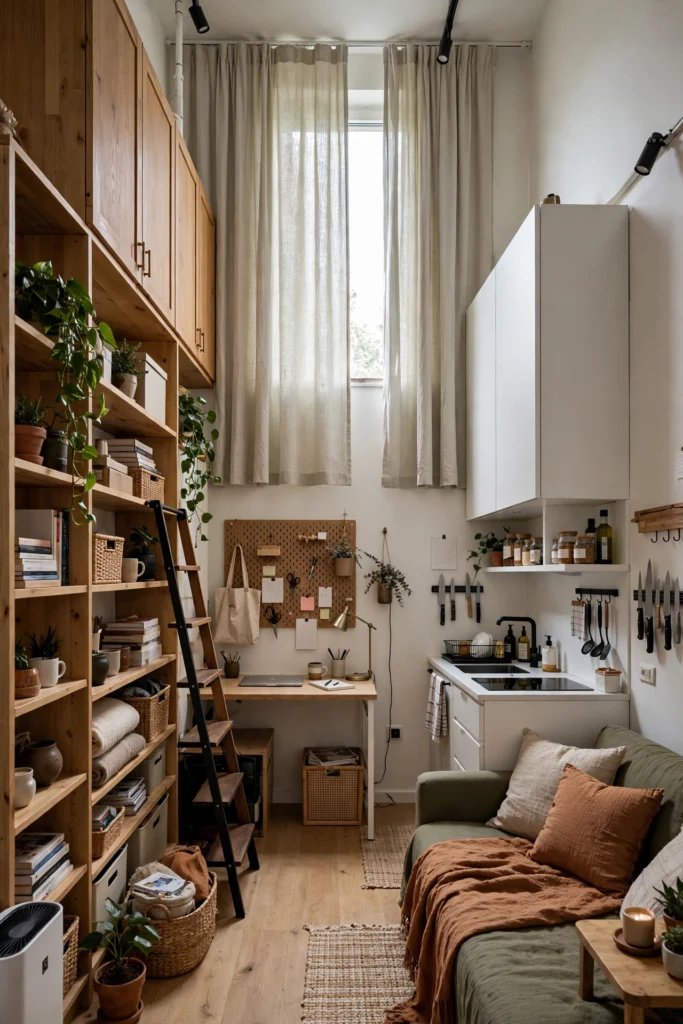
When the floor runs out, the walls are still empty. Shelving carried up to within a foot of the ceiling, hooks and rails on the kitchen wall, and a tall narrow wardrobe all store things without touching your zones. Vertical storage also draws the eye upward, which makes ceilings feel higher. Keep the heaviest and ugliest categories low and closed, and the light, good looking things high and open. One warning from experience: do not ring the whole room with high shelves. One wall of vertical storage is a feature. Four walls of it is a warehouse.
19. Make Every Piece Work Twice
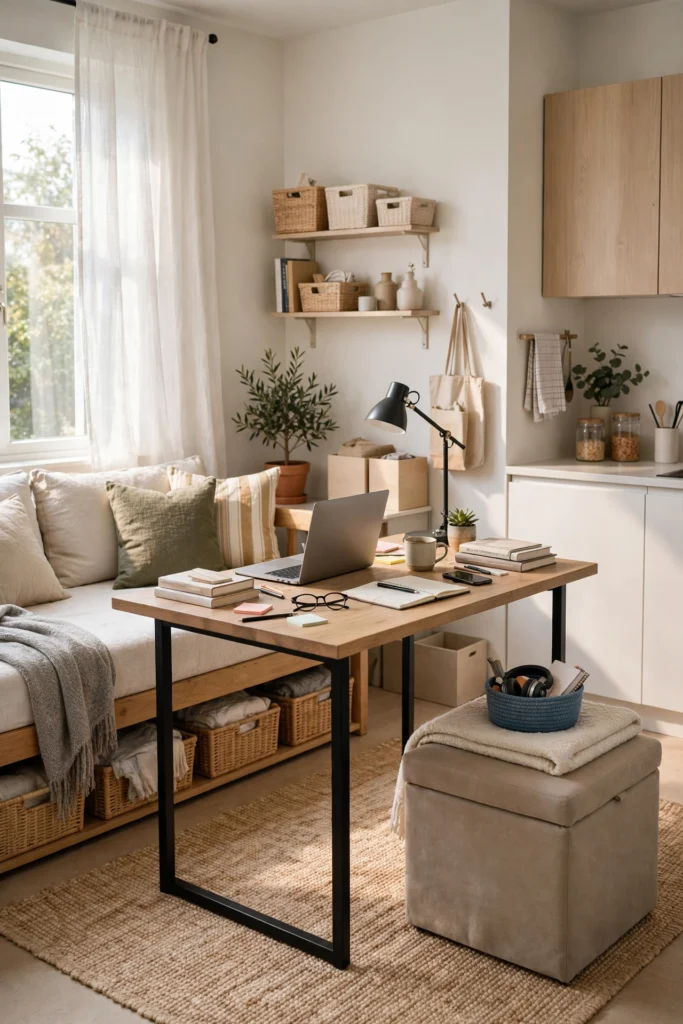
The rule underneath this whole guide deserves its own entry. In a studio, a piece that does one job is a luxury and a piece that does two is a plan. A storage ottoman is a coffee table, a footrest and a linen cupboard. A bench at the foot of the bed is seating, a dressing surface and blanket storage. A bookshelf is a divider that happens to hold books. Before anything new enters a small studio, ask what second job it will do, and what it replaces. Readers building this habit across the whole home may enjoy our tested list of home organization products that actually work.
Whole-Room Styles That Keep a Studio Cohesive
Zones divide a studio, but style is what stitches it back together. Because every function is visible at once, a single clear style direction does more for a studio than for any other home. These six approaches are the ones that survive contact with real studio life.
20. Design a Minimalist Studio
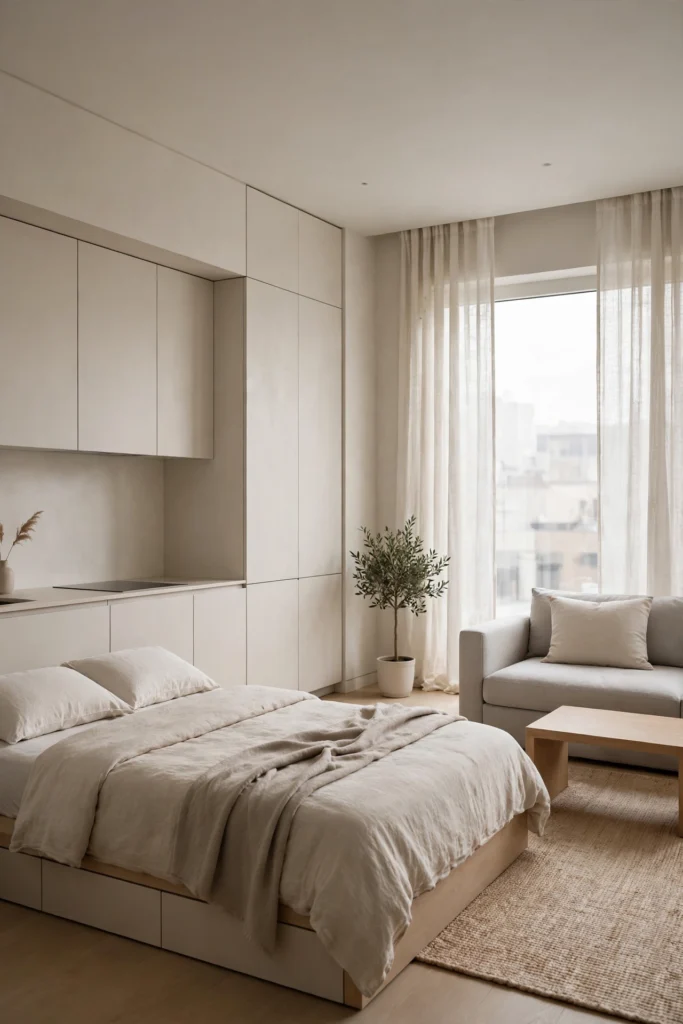
Minimalism suits studios because visual quiet reads as space. A tight palette of two or three colors, furniture with clean lines, and surfaces that stay mostly clear make one room feel deliberate. The risk is sterility, so warm it with texture rather than objects: a wool throw, a linen curtain, one piece of real wood. Minimalism in a studio is really an editing habit. Everything on display has to earn its place weekly, not once. If your studio keeps sliding into clutter, the honest fix is less storage furniture and fewer things, in that order.
21. Make a Bold Maximalist Studio
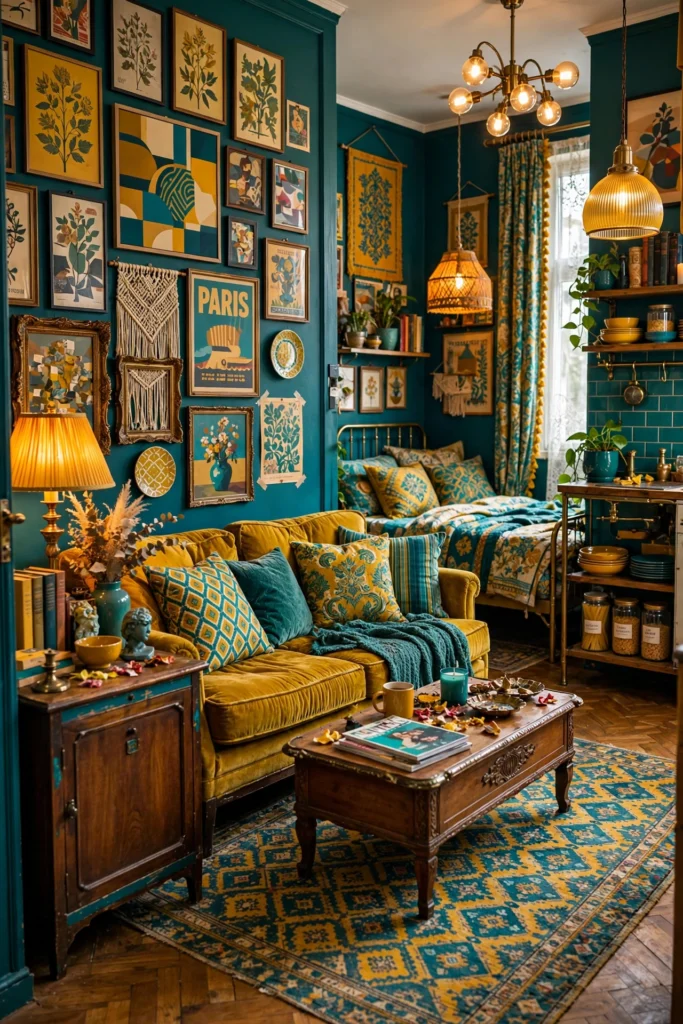
Maximalism can work in a studio, and it hides the room’s odd proportions better than pale emptiness does. The secret is discipline underneath the abundance. Keep the big pieces in one color family, then layer pattern and collections inside the zones, so the eye reads chapters rather than chaos. A gallery wall above the sofa, saturated color on the bedding, and shelves styled in clusters give that collected feeling. Maximalist studios fail when every zone shouts in a different language. Pick one palette and one era to collect from, and let everything else be quieter.
22. Create a Soft Boho Studio
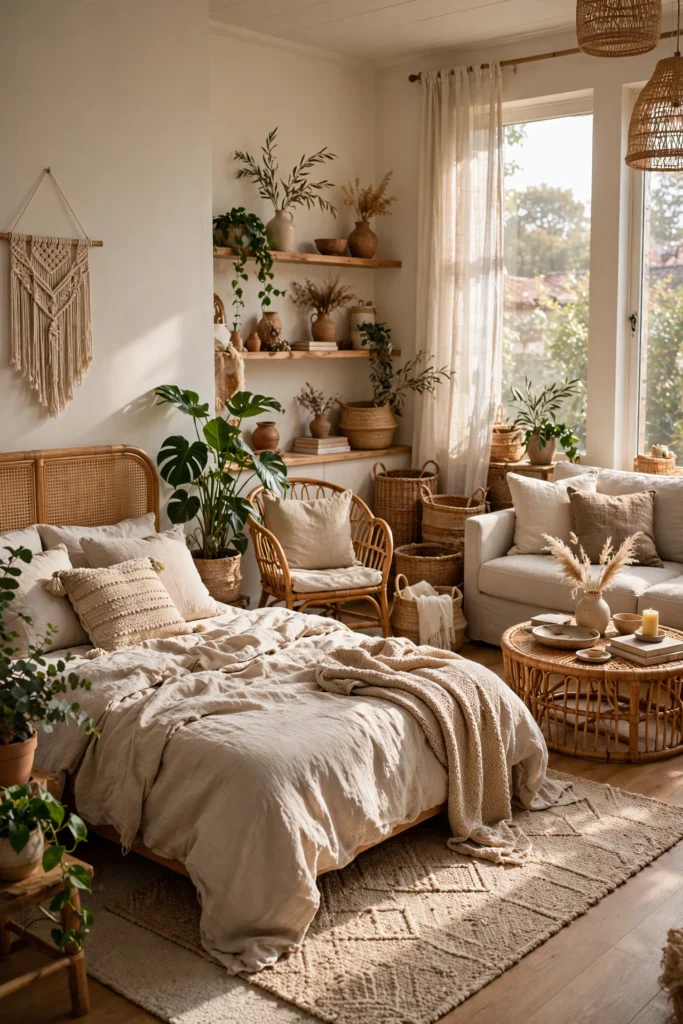
Boho style forgives the mismatched furniture that studio budgets often produce. Natural fibers, rattan, woven baskets and trailing plants soften hard rental edges, and layered textiles make a sleeping corner feel like a retreat. Baskets do double duty as the closed storage that keeps the look relaxed instead of messy. Keep the base calm, warm white walls and a jute or wool rug, then let cushions and throws carry the pattern. Plants belong high in a studio, on shelves and in hanging planters, where they add life without eating floor space.
23. Create a Scandinavian-Inspired Layout
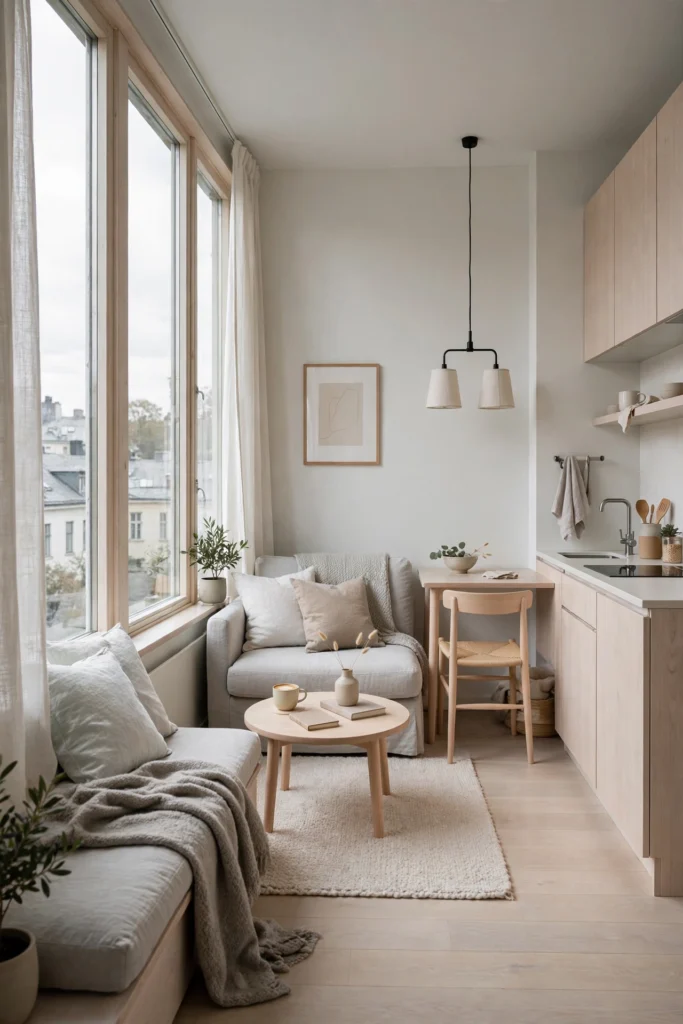
Scandinavian layouts were practically designed for small northern apartments, so the fit with studio living is natural. Pale wood, white and soft grey surfaces bounce the available light, furniture stays low and leggy, and every object tends to be both plain and useful. The style also encourages the habits studios need: few pieces, each chosen slowly, with storage built into benches and beds. Add black only as punctuation, a lamp base or picture frames, so the room stays bright. If your studio faces away from the sun, this is the safest style on the list.
24. Try a Sophisticated Industrial Style
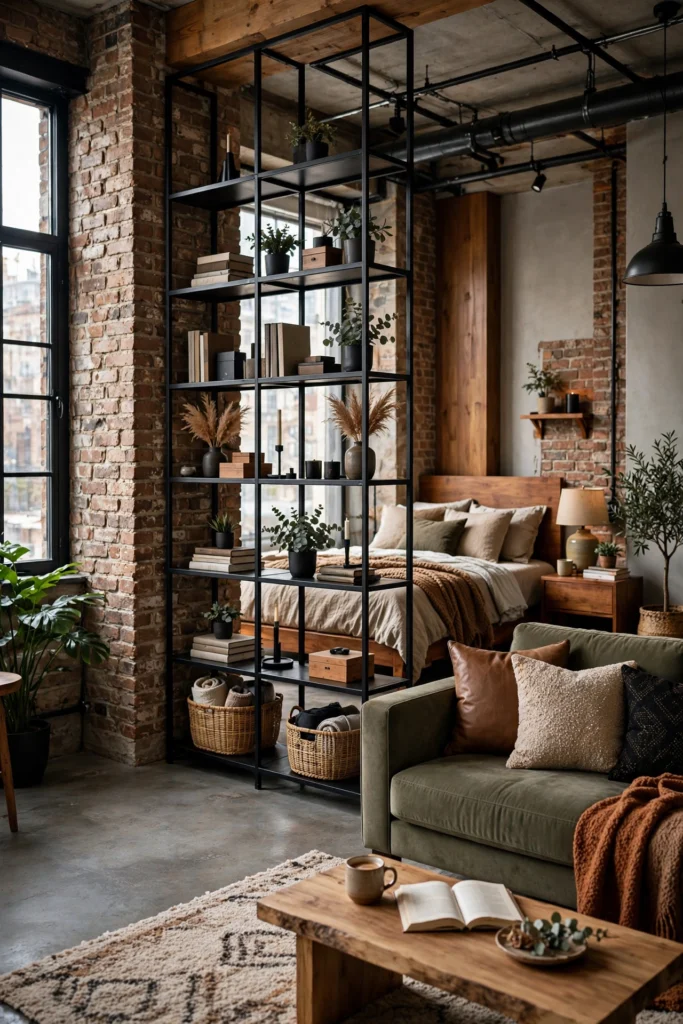
Industrial style turns a studio’s weaknesses, exposed pipes, concrete, one big open volume, into the design itself. Black metal frames, leather, reclaimed wood and a glass and steel divider all speak the same language, and open metal shelving divides zones while staying visually light. Keep the palette tight: black, warm wood, white or grey, with one softer textile layer so the room does not feel like a workshop. This style suits loft studios with high ceilings best, but the furniture choices alone can borrow its clarity in an ordinary room.
25. Build a Calm Neutral Oasis
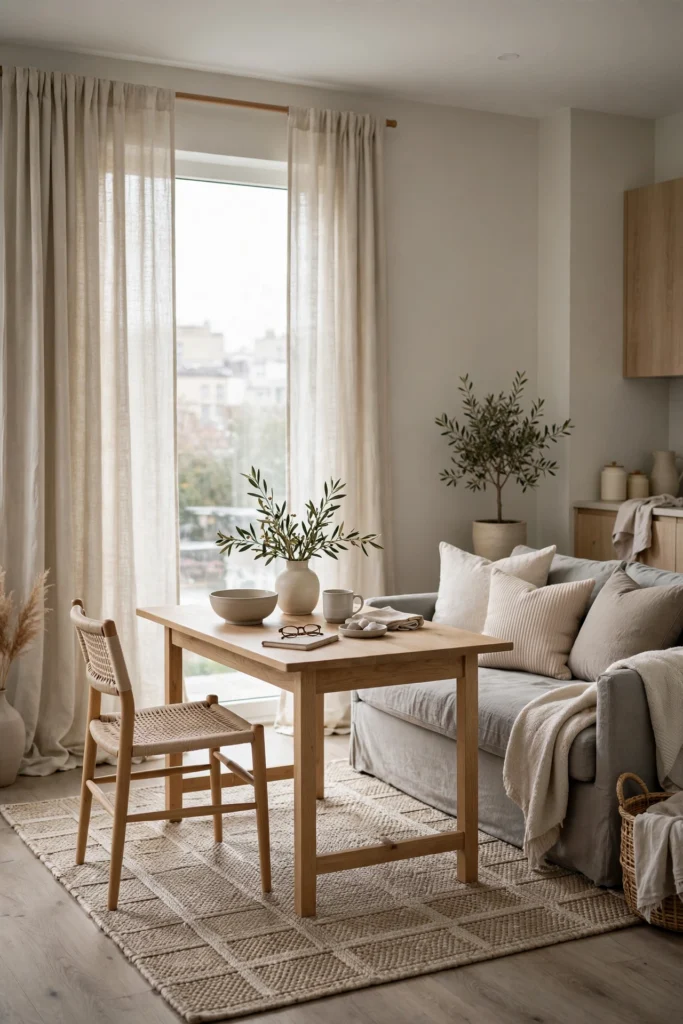
A neutral studio is the easiest to live with long term, because nothing in it tires the eye. Layer warm whites, beige, taupe and soft grey across the zones, changing texture instead of color as you move from bed to sofa to desk. The zones stay readable through rugs, lighting and furniture direction, while the palette keeps the whole room serene. This approach is also renter safe, since the color lives in textiles and art rather than paint. When it starts to feel flat, add one disciplined accent, olive, clay or ink blue, repeated exactly three times across the room.
Studio Layout Mistakes That Make a Small Room Feel Smaller
Five mistakes undo good layouts more often than any lack of space:
- The bed in the first sightline. If the bed is the first thing seen from the door, the whole studio reads as a bedroom. Screen it, move it to the far end, or turn the sofa to block the view.
- All furniture pushed to the walls. It feels logical and it backfires, leaving a dead empty center and zones with no definition. Floating the sofa even a foot changes the room.
- A walkway you have to squeeze through. Anything under about 24 inches of clear path makes daily life irritating. Tape the path on the floor before committing to a layout.
- One ceiling light for everything. A single harsh source flattens every zone into one. Each zone needs its own lamp, warm for rest, focused for work.
- Storage added before editing. More boxes for too many things just relocates the clutter. Edit first, then store what survives, ideally inside furniture that already exists.
Frequently Asked Questions
What is the best layout for a studio apartment?
The best studio layout places the living zone nearest the door, work or dining in the middle, and the bed farthest from the entry, separated by a sofa back, shelf or curtain rather than walls. Keep one walking path of about 30 inches clear from the door to the window. That arrangement fits most room shapes and sizes from 300 square feet upward. Smaller studios merge the living and sleeping zones around a daybed instead.
How do I separate my bedroom from my living room in a studio?
The most effective separators are a floated sofa with its back to the bed, an open bookshelf set at right angles to the wall, a ceiling mounted curtain, or a partial or glass partition if the budget allows. Each creates privacy while letting light through. The right choice depends on size: curtains and sofa backs suit small studios, while shelves and partitions need roughly 300 square feet or more to avoid crowding.
How can I make a small studio apartment look bigger?
Use furniture raised on visible legs so the floor shows through, keep one consistent palette across all zones, hang curtains close to the ceiling, and give every zone its own lamp instead of relying on one ceiling light. Mirrors opposite the window genuinely help. The biggest gains, though, come from editing. A studio with fewer, better pieces always looks larger than a fuller one.
Is a Murphy bed good for a studio apartment?
A Murphy bed is excellent if you will actually fold it away daily, because it returns 35 to 40 square feet of usable floor. It suits owners and long term renters who work from home and need the daytime space. If the daily folding habit sounds unlikely, a quality daybed gives most of the benefit with none of the routine.
Should I use one rug or several rugs in a studio?
Both approaches work. Separate rugs define zones clearly and suit larger or long rectangular studios. One large rug unifies a small or square studio and lets furniture direction and lighting draw the boundaries. The only real mistake is a rug that is too small for its zone. The front legs of the seating should always rest on it.
What furniture should I avoid in a studio apartment?
Avoid oversized sectionals, skirted floor hugging sofas, a full separate dining set in a small room, and any single purpose piece that cannot store, fold, separate or convert. Deep furniture over 40 inches eats walkways. If a piece does only one job and takes serious floor space, it has to be the piece you love most in the room.
Can a studio apartment have a dining area and home office?
Yes, and most studios over 300 square feet can hold both. The usual solution is one table doing both jobs, placed between the kitchen and living zones, or a small desk near the window plus a fold down or banquette dining corner. Keep a lidded box for the work kit so the table can reset for dinner in two minutes.
Where to Start This Weekend
You do not need to buy anything to improve a studio layout. Start by taping the zones on the floor with painter’s tape and living with the outline for a day. Then float the sofa or turn it so its back screens the bed, and move one lamp to the zone that has been borrowing light. Those two changes cost nothing and reveal whether your plan works. If your studio opens onto a balcony, treat it as a bonus room rather than storage; our balcony kitchenette ideas for small homes show how much living fits out there. Add pieces slowly after that, one dual purpose piece at a time, and the room will keep the calm you just created.