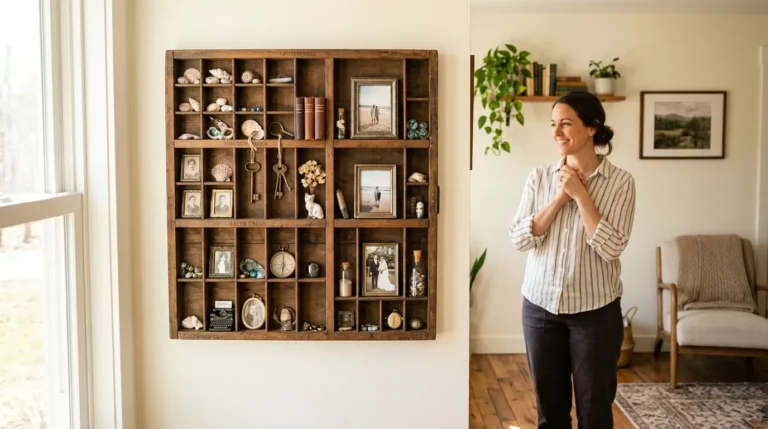
The best sentimental wall art ideas do not start with a shopping trip. They start with the photos, keepsakes and drawings you already own, then give each one a frame, a size and a place on the wall where it can actually be seen.
This guide gives you eight ideas that mix family photos, keepsakes and handmade art. Each one comes with real sizes, frame choices and hanging heights, plus the small mistakes that turn a memory wall into clutter. Pick one wall, pick one idea, and start there.
Meaningful home decor works when it is specific. A single wedding photo printed large says more than twenty small snapshots squeezed into one corner. A baby shoe in a deep frame tells a story that a shelf full of trinkets never will. The difference is not money. It is editing, spacing and giving each piece enough room to breathe.
Before you hang anything, keep three ground rules in mind. First, one wall holds one story, so a hallway of baby photos and a living room of wedding photos will always look calmer than both stories fighting on the same wall. Second, leave breathing room, because a two inch gap between frames reads as a collection and a half inch gap reads as a pile. Third, repeat one thing, whether that is the same frame colour, the same mat colour or the same wood tone, and let everything else vary.
Sentimental Wall Art Ideas That Begin With One Treasured Photo
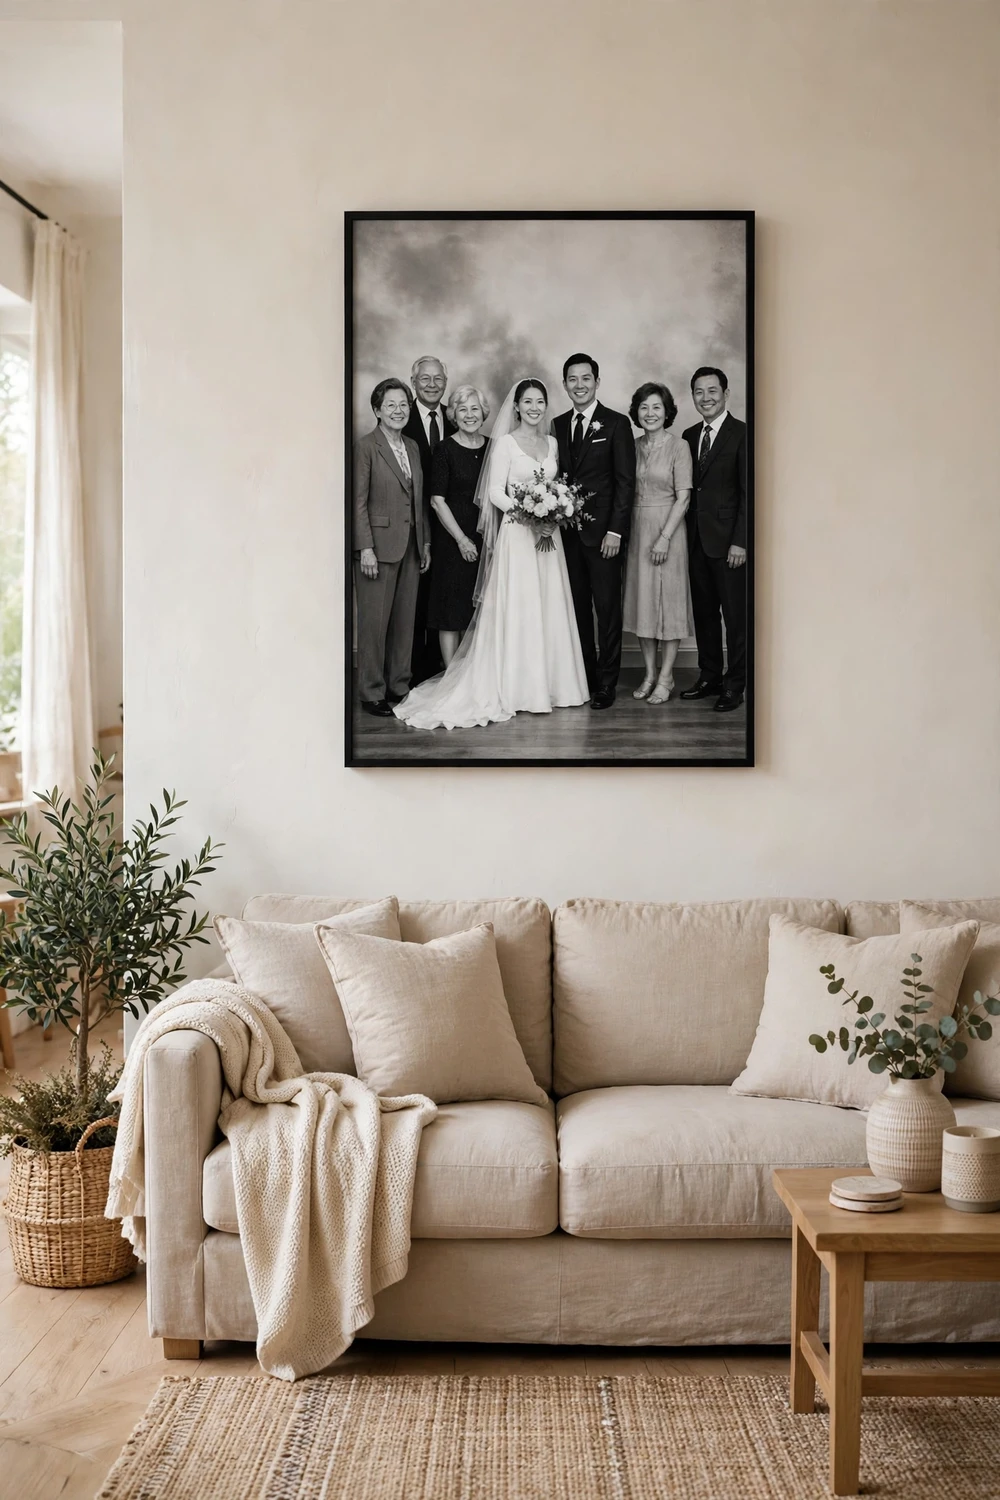
One large photo does the work of a whole gallery, and it asks for almost no decisions. Choose the single image that stops you every time you see it, the wedding portrait, the grandparents on their porch, the baby laughing at the camera, and print it big enough to fill the wall it hangs on. A print that is too small is the most common mistake here, and it makes even a beautiful photo look like an afterthought.
Size it to the wall, not to the frame you happen to own. Over a standard three seater sofa, a canvas or framed print around 36 by 24 inches fills the space without crowding it, and a 30 by 40 inch print suits a wide blank wall in a hallway or bedroom. Leave at least six inches of empty wall on each side of the frame so the photo has air around it. Hang the centre of the piece at about 57 inches from the floor, which is eye level for most adults standing in the room, and a little lower over a sofa, where people look at it while sitting down.
Frame choice matters more than most people expect. A thin black or natural wood frame keeps the focus on the faces, while a thick ornate frame starts competing with them. Canvas prints work well in relaxed rooms and need no glass, which means no glare from a window opposite.
When you are deciding which wall deserves the big photo, look at the wall you face while you eat, read or watch television, not the wall behind you. The best spot is often above the sofa, and these above couch wall decor ideas show how to size a single piece so it anchors the whole seating area instead of floating above it.
A Family Photo Gallery Wall That Grows With You
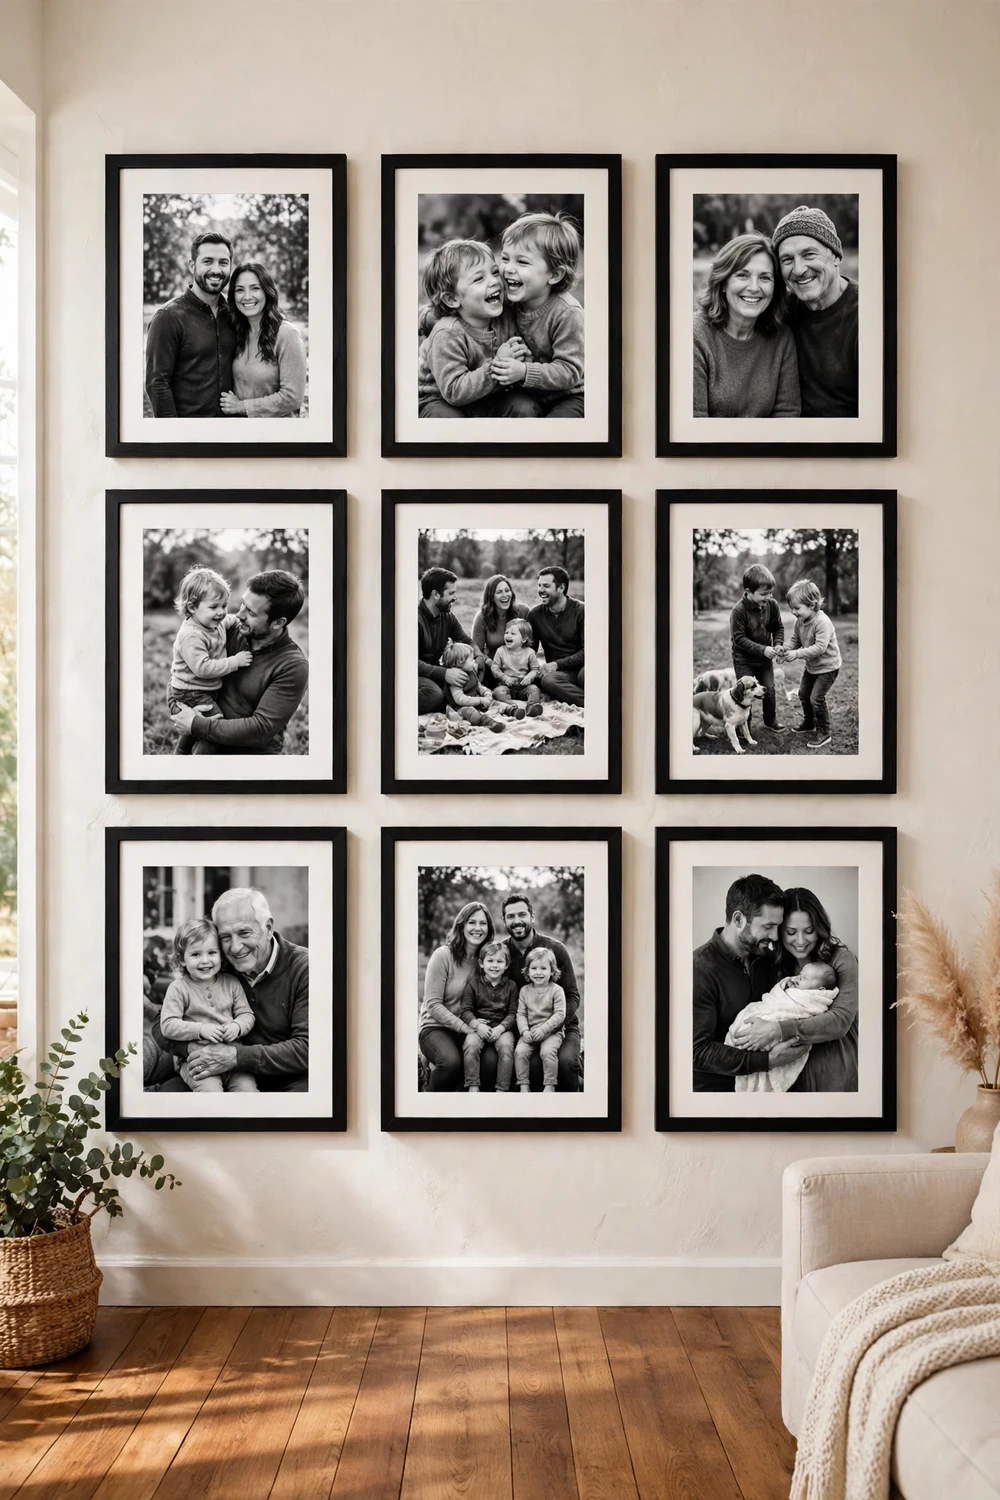
A family photo gallery wall is the classic for a reason. It holds a whole story in one place, and it grows as your family does. The trick is to plan it on paper before a single nail goes into the wall, because a gallery that is laid out by eye, one frame at a time, almost always drifts off centre and ends up looking lopsided.
Start with the layout. A strict grid suits calm, modern rooms, with identical frames in rows and columns and the same two to three inch gap everywhere. An organic layout suits relaxed, collected rooms, with different frame sizes arranged around one anchor piece in the middle, usually the largest frame. Lay the frames on the floor first, then trace each one onto paper, cut the shapes out and tape them to the wall.
Keep one element constant so the mix feels deliberate. That can be the same frame colour in different sizes, the same white mat around every photo, or the same wood tone across all the frames. Vary the rest. Mix black and white with colour if you like, but keep the ratio roughly two thirds black and white to one third colour, or the colour shots will shout over the quiet ones. Include a mix of group shots, close ups and candid moments, because a wall of nine posed portraits reads like a studio brochure, while one laughing candid in the middle makes the whole wall feel alive.
Size the frames to the wall. On a living room wall, nine frames around 8 by 10 inches with a couple of 11 by 14 inch anchors fill the space nicely. In a hallway, smaller frames around 5 by 7 inches work better, because people walk past close up and large frames overwhelm a narrow space. Keep the centre of the whole arrangement at about 57 to 60 inches from the floor. If you want a full walkthrough of layouts, sizes and spacing, this gallery wall guide covers the measuring and hanging steps in detail, and the same rules apply whether the prints are birds or your own family.
A Keepsake Shadow Box That Holds the Real Thing
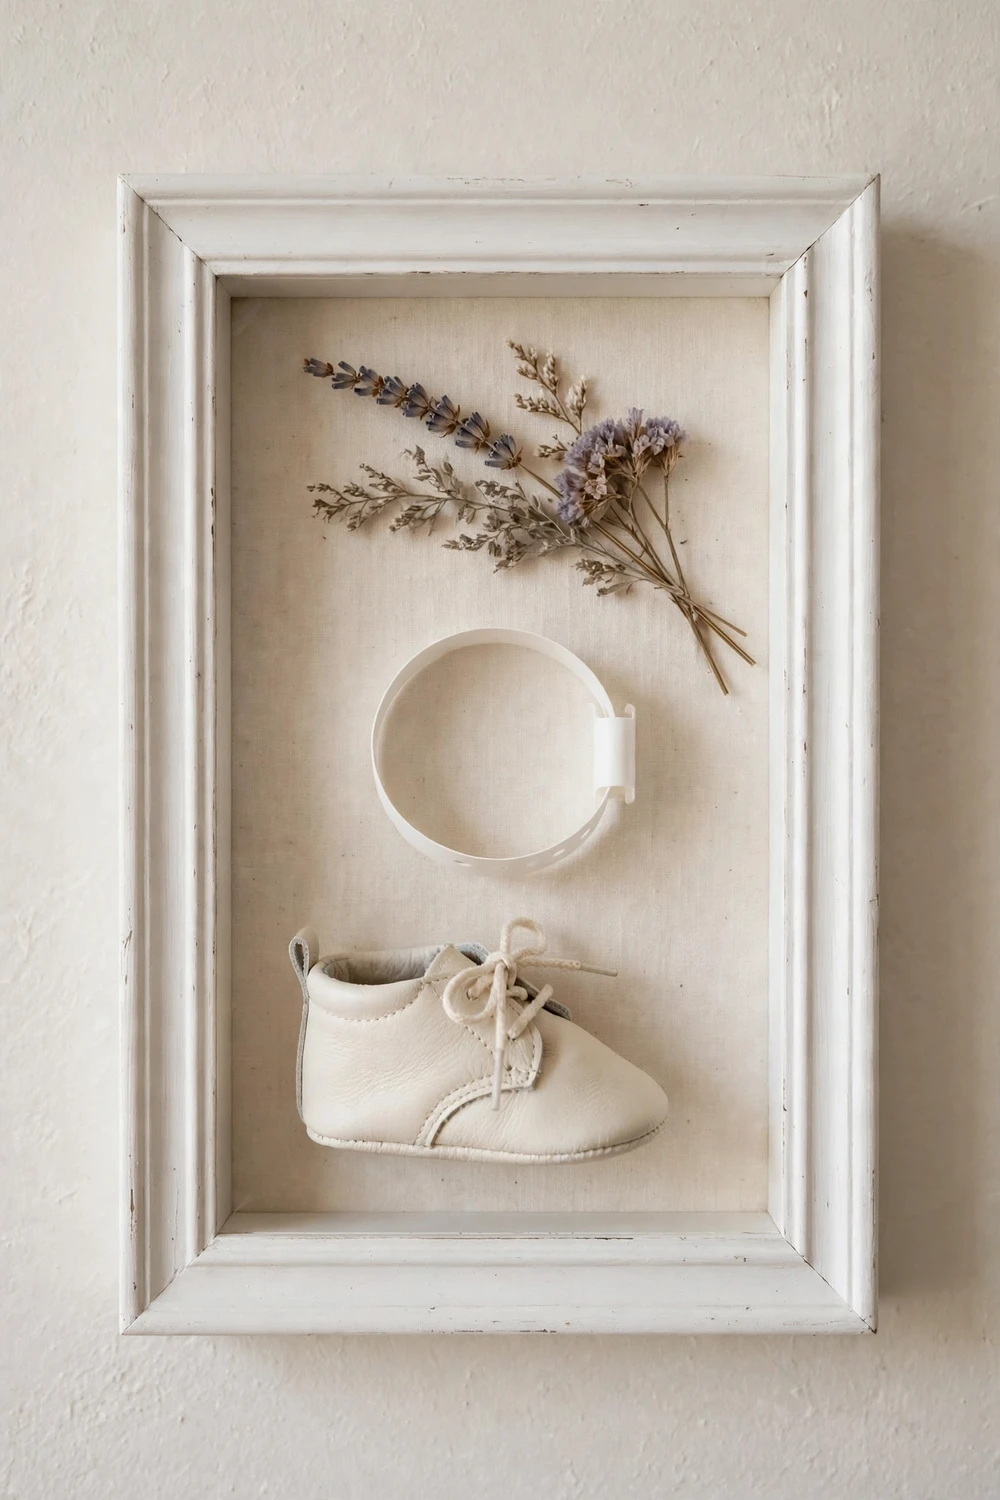
Some memories are objects, not pictures, and a keepsake shadow box is the honest way to display them. A hospital bracelet, a wedding invitation, a pair of baby shoes, a ticket stub from a first date, a medal, a dried flower from a bouquet: these things carry meaning because they were actually there, and a deep frame lets you keep them visible instead of shut in a drawer.
Depth is the first decision. A shadow box around two inches deep holds flat things like invitations, letters and dried flowers. Three to four inches of depth holds bulkier pieces like baby shoes, a small toy or a folded christening gown. Measure the thickest object before you buy the box, because a shoe pressed flat against the glass looks cramped and a little sad.
Give each box one theme. A wedding box holds the invitation, a dried flower and a copy of the vows. A baby box holds the bracelet, the first hat and the hospital name card. A travel box holds the ticket, a postcard and a small map. When everything in the box belongs to the same day or the same story, visitors understand it in one glance. When five unrelated objects share a box, nobody knows where to look first. Use acid free backing behind the objects, because ordinary card yellows over time.
Hang shadow boxes where people can stand close and look properly, which usually means a hallway, a bedroom wall or the wall beside a reading chair. They do not work well high above a sofa, where the detail is too far away to enjoy. Keep them out of direct sun, and check the glass every few months for condensation if the room gets damp. If you are choosing between a shadow box and a divided tray display, this printer’s tray versus shadow box guide compares depth, size and what each one suits, and it will save you buying the wrong display for the objects you actually own.
Framed Kids Artwork, Hung Like It Belongs in a Gallery
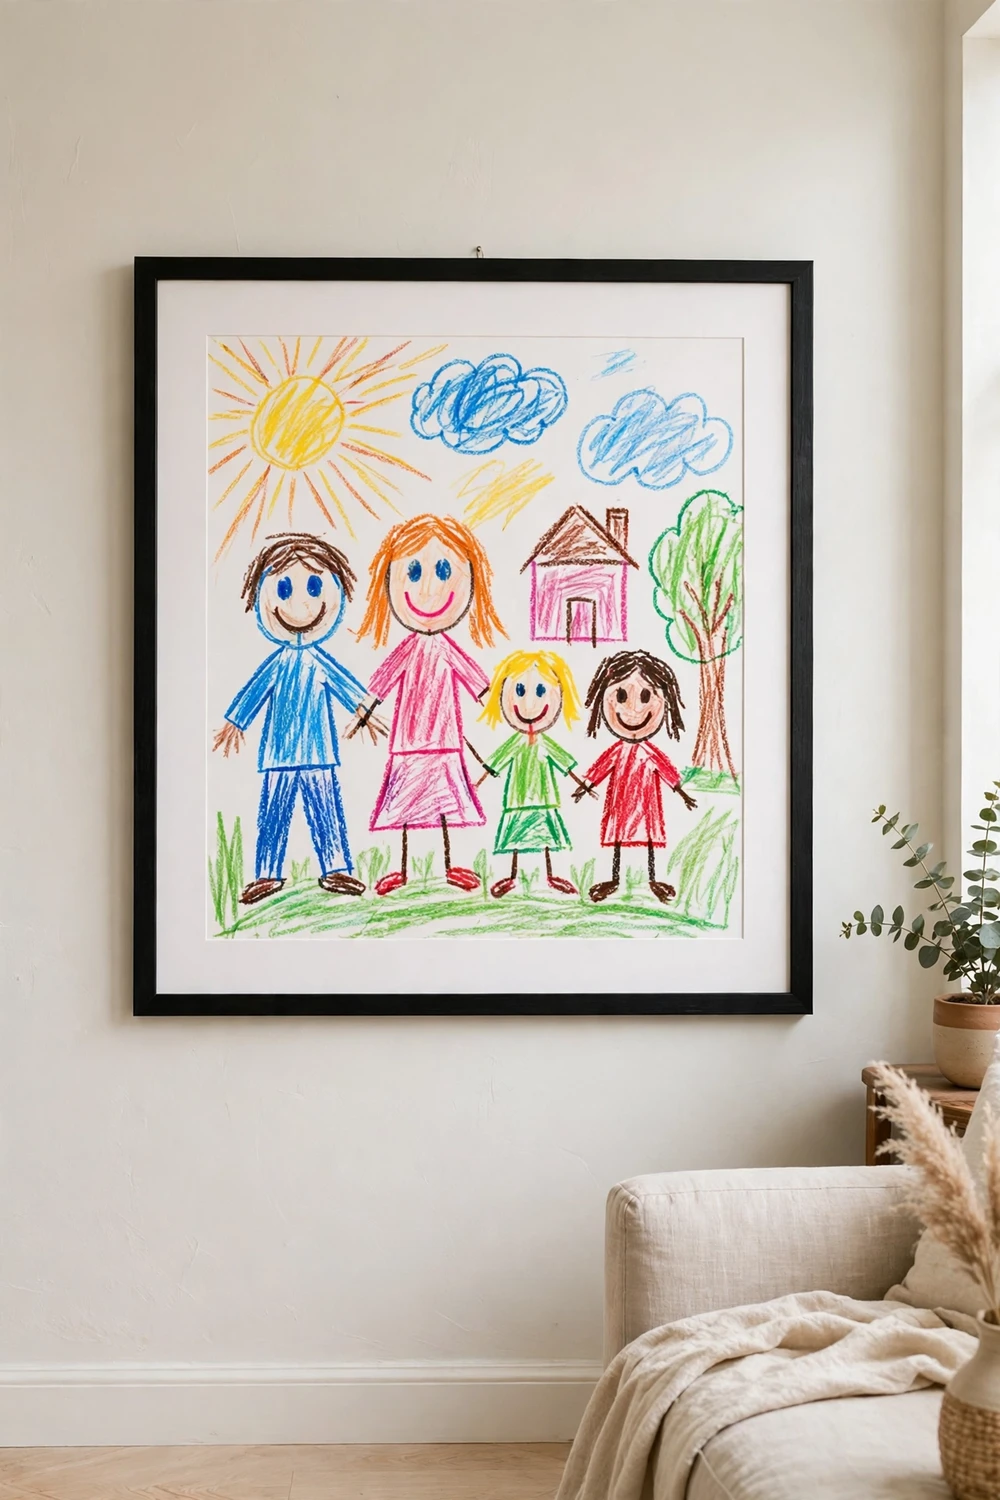
A child’s drawing in a proper frame is, in my opinion, the most honest art a home can hold. It is not there to impress anyone. It is there because someone small made it with complete seriousness, and a real frame says you noticed. The mistake is treating kids art as clutter to be stuck on the fridge, when a single framed piece on a wall gives it the same respect you would give any print you bought.
Choose one or two pieces at a time and frame them well. The same frame size for every piece, usually A4 or 11 by 14 inches, makes a mixed set of drawings look like a real collection instead of a random pile. A wide white mat inside each frame helps a lot, because it gives a busy crayon drawing some calm space around it and lets a small picture fill a larger frame. Clip frames and hinged front frames are worth the small extra cost, because they open in seconds and you will actually swap the art instead of leaving the same drawing up for three years.
Rotate the display on a simple schedule, such as the start of each school term or the first weekend of every season. Photograph everything that comes down before you store it, and keep the photos in one album on your phone or in a printed book at the end of the year. The child keeps the memory of making it, you keep the record, and the wall stays fresh.
Placement depends on whose room it is. In a child’s own bedroom, hang the frames at the child’s eye level, around 40 to 48 inches from the floor for a young child, so they can actually see their own work. In a living room or hallway, use the normal 57 inch centre height and treat the piece like any other art. One wall is enough. When every wall holds kids art, none of it stands out, and the house starts to feel like a classroom rather than a home.
Family Tree Wall Art Built From Heirlooms and Old Photos
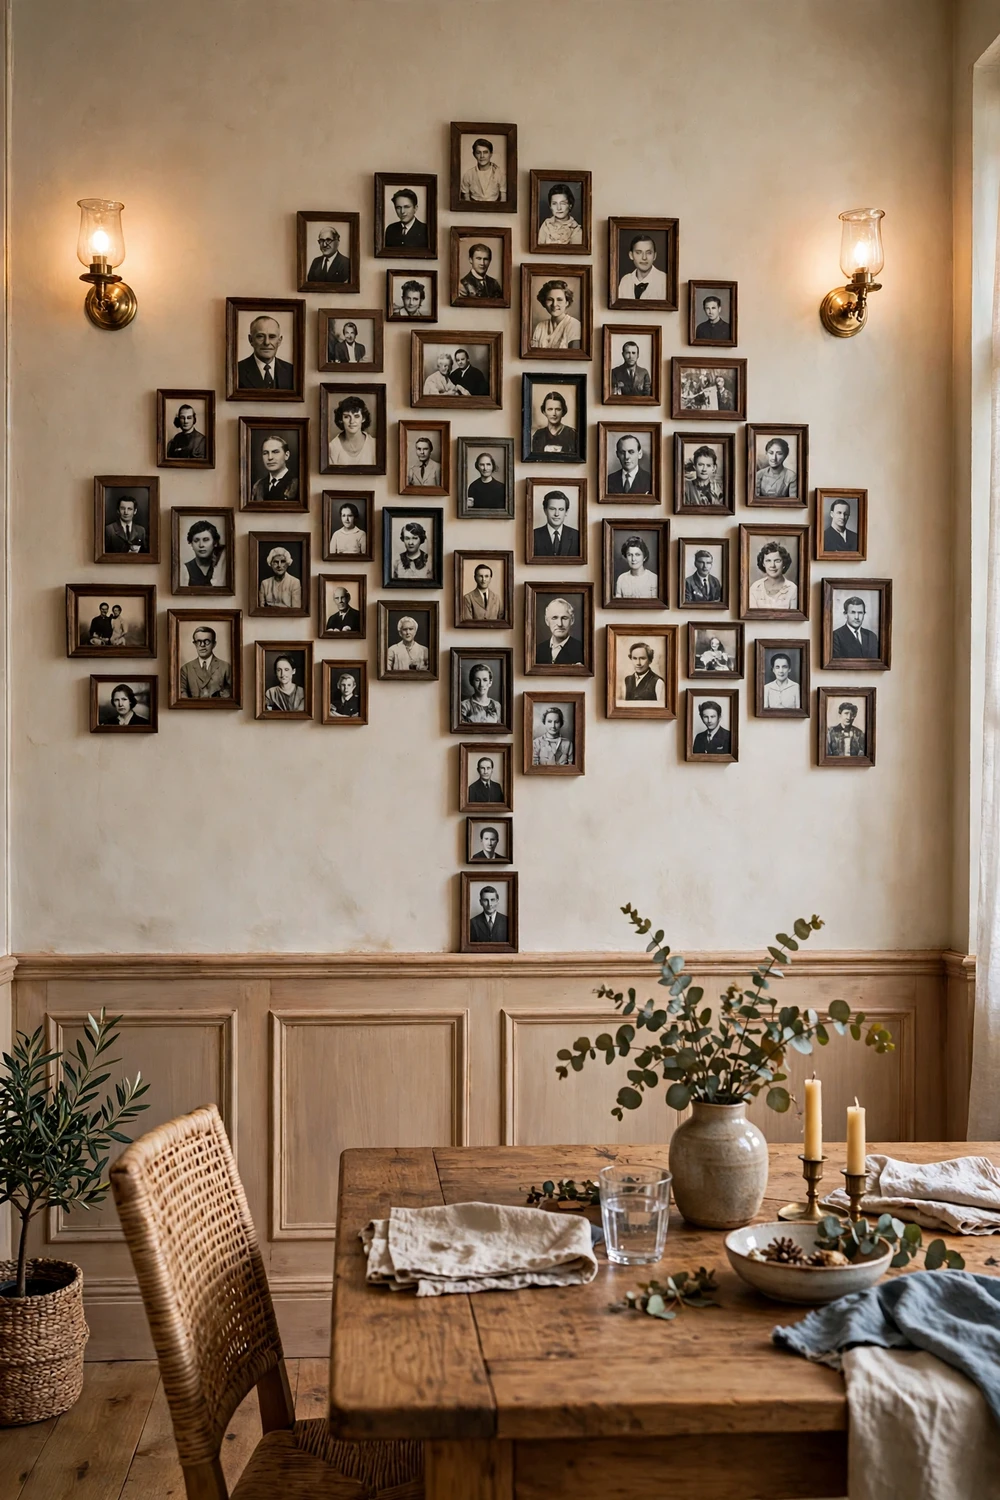
A family tree wall turns names and faces into a piece of art, and it is the one idea on this list that nobody else can copy, because nobody else has your family. The best versions mix old photos with simple names and years, and they leave room to grow, because a family tree that is finished is a family tree that has stopped.
Start with the format. A large framed print with a printed tree design suits a dining room or hallway, where people stop and read it. A wall decal tree with small framed photos on its branches suits a living room, because the photos are the art and the tree is just the structure. A row of small frames arranged in a simple tree shape, parents at the base and children branching upward, suits a narrow wall where a wide print would not fit. Pick the format that fits your wall first, then fit the family into it, not the other way round.
Keep the information simple. First names and years are enough. Full dates, middle names and long captions turn the wall into a document, and nobody reads a document from across a room. Use the oldest photos you can find for the top of the tree, even if they are faded or scratched, because a worn wedding portrait from fifty years ago carries more feeling than a perfect reprint.
Size the photos so they can be recognised from a normal standing distance. Faces smaller than two inches across turn into dots, so use frames around 4 by 6 inches for the smallest portraits and 5 by 7 inches for the key people, such as grandparents or the couple at the base of the tree. Space the frames two to three inches apart, and keep the whole arrangement centred at eye level.
Handprint and Fingerprint Art You Make Together
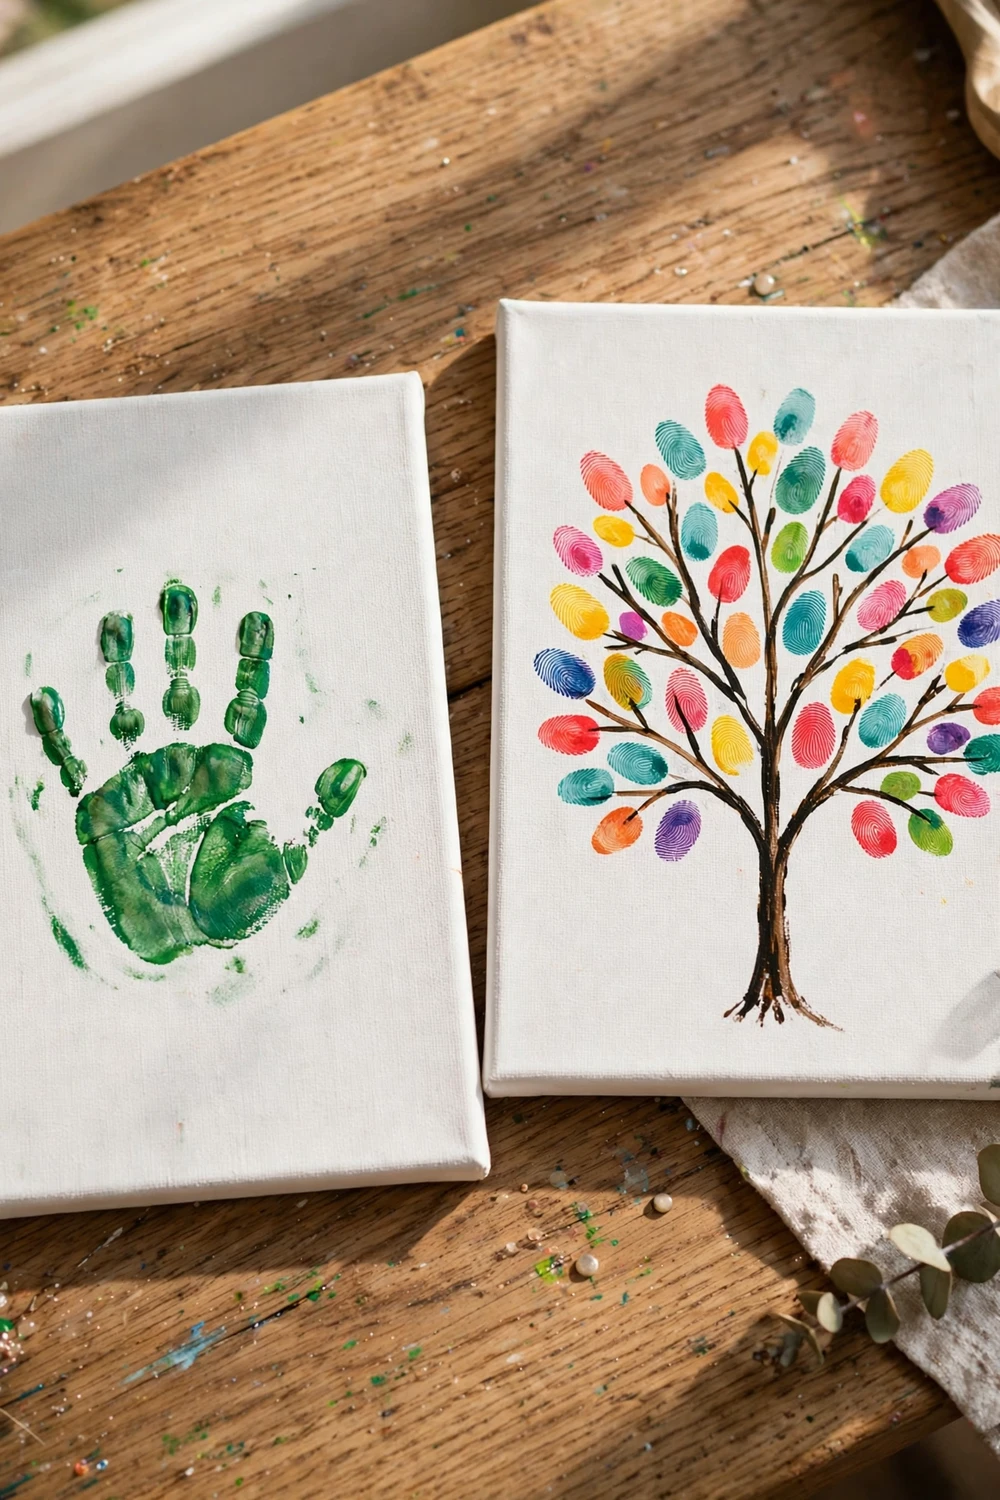
Handprint art is the one sentimental display that is made, not bought, and that is exactly why it works. A small hand pressed in paint on a canvas records a size that will never exist again, and a row of three canvases from three different years shows growth more clearly than any photograph. It is simple, it is cheap, and children love making it, which is more than you can say for most decorating projects.
Keep the method simple so the result looks good. Use washable, non toxic paint on a plain canvas or thick watercolour paper, and press the hand once, firmly, then lift it straight up without wiggling. A fingerprint tree is the easiest version that still looks like real art: paint or draw a bare tree trunk and branches, then let each family member add leaves with their fingertips in greens, oranges and reds.
Make it a yearly habit rather than a one off project. Do the prints on the same weekend every year, perhaps a birthday or the start of a school year, and write the child’s name and age on the back of the canvas, not the front, so the art stays clean and the record stays safe. Frame the best one each year and hang the set in a row, three small frames side by side, so the shrinking and growing of those hands is visible at a glance.
A Layered Shelf Display for Pieces That Change Often
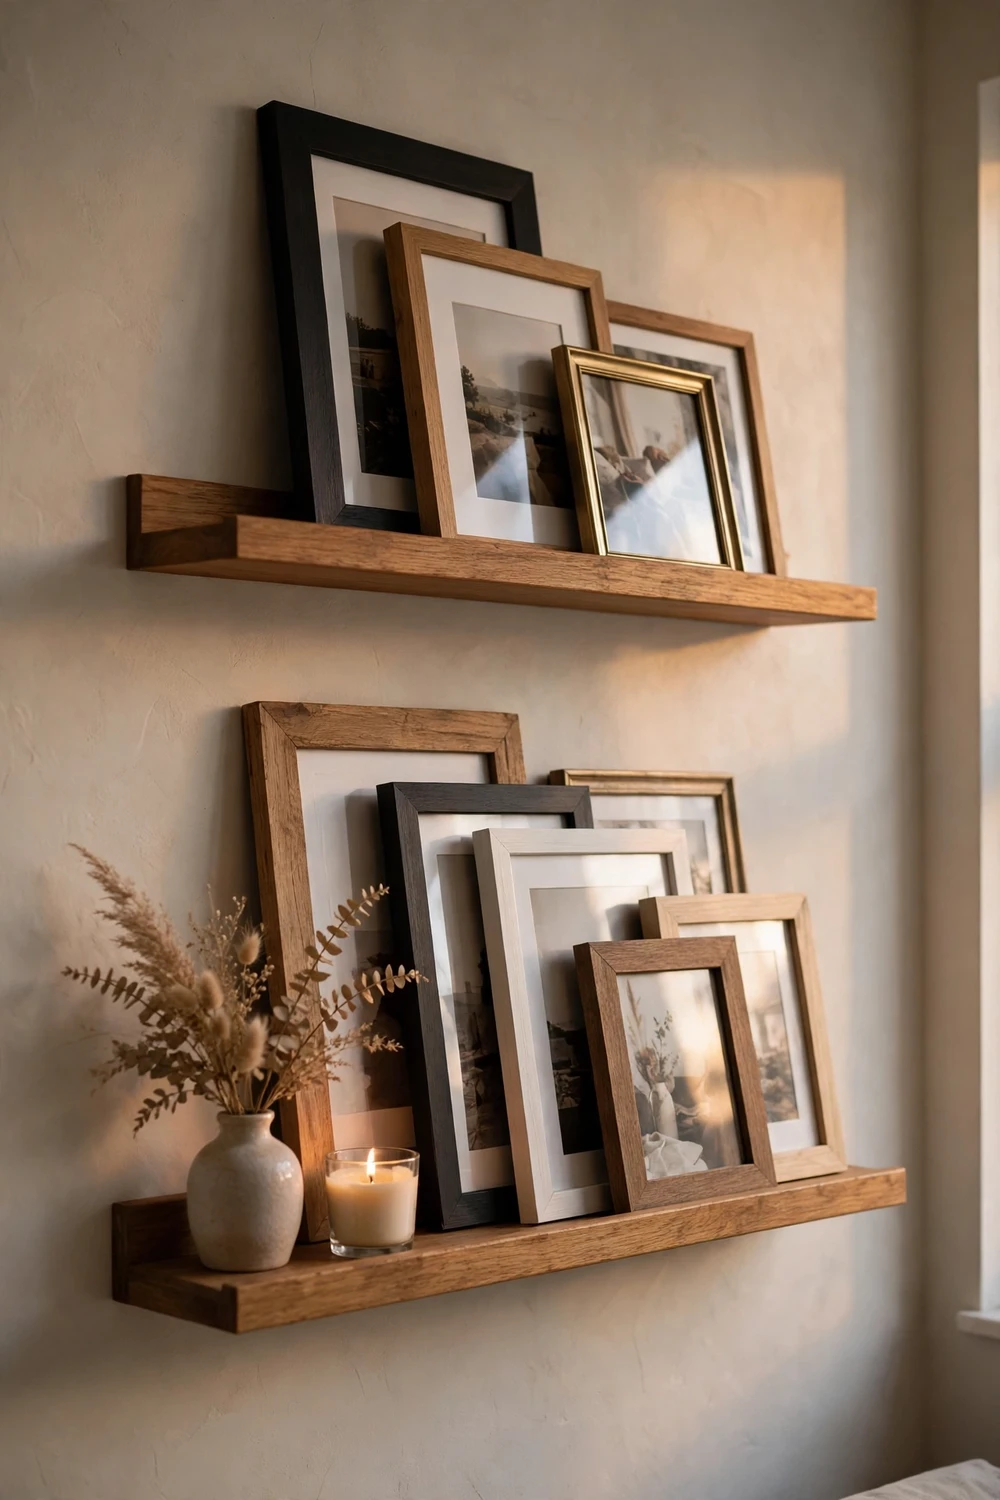
Not every sentimental piece belongs behind glass, and not every memory is permanent. A layered picture shelf, sometimes called a picture ledge, is the answer for the pieces that change: the latest school photo, a postcard from a trip, a small framed quote, a souvenir that only matters for a season. You can swap the whole display in five minutes, with no new holes in the wall.
Choose a ledge with a small lip at the front, around three to four inches deep, so frames lean safely without sliding off. A single ledge between 24 and 36 inches long suits a small wall or a bedroom, while two ledges hung one above the other, staggered so the top one starts further along the wall, fill a living room wall nicely. Hang the lower ledge with its centre around 57 inches from the floor, the same eye level rule as framed art.
Layer the pieces rather than lining them up. Lean a large frame at the back, a medium frame in front of it and slightly to one side, and a small object, such as a tiny vase, a candle or a small keepsake, in front of that. The overlap is what makes a shelf look styled instead of stored, but keep the overlap small, with each frame still mostly visible. Mix one photo, one piece of art or a quote, and one object on each ledge, and repeat that mix on the second ledge with different pieces, so the two shelves feel related without matching exactly.
Change the display with the seasons or with family events, and keep a small box of spare pieces nearby so the swap is easy. A shelf that changes four times a year stays alive, and it gives you a reason to look at your photos again instead of forgetting they exist. For more on getting the layering right, these shelf decor ideas explain height, spacing and balance in detail, and the same principles work whether the shelf holds vases or your family photos.
A Staircase Wall That Follows Your Family Upstairs
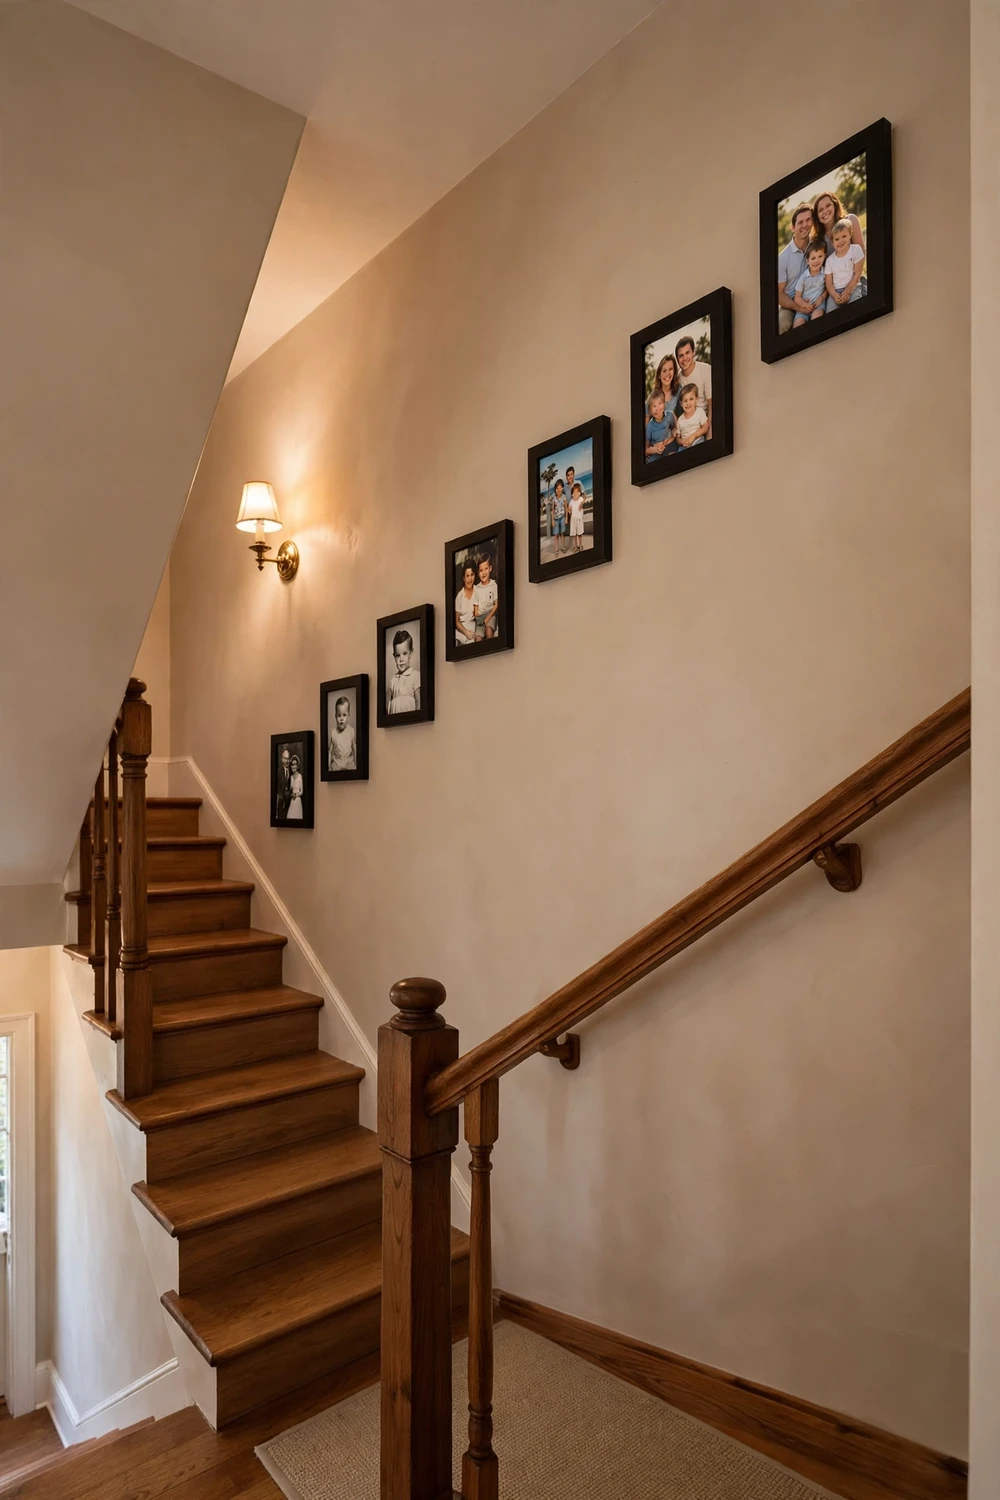
A staircase wall is the most overlooked spot in the house for sentimental art, and it is often the best one. You walk past it every day, guests climb it on their way to the bathroom, and the slope of the stairs gives you a natural line to follow. A family story told in chronological order, from the bottom step to the top, feels like walking through the years.
Follow the slope with a steady centre line. Imagine a line running parallel to the staircase, about 60 inches above each step, and keep the centre of every frame on that line. That single rule keeps the whole display tidy even when the frames are different sizes. Space the frames two to three inches apart, and hang them in chronological order from the bottom, with the oldest photos low and the newest ones high, so the story rises as you climb.
Small frames work best here, because you view them from close up on a narrow stair. Frames around 5 by 7 inches and 8 by 10 inches are the right scale, with one slightly larger frame, perhaps 11 by 14 inches, as an anchor near the middle landing if you have one. Keep the frames light, because stair walls are often plasterboard, and use proper picture hooks rated for the weight rather than a single small nail.
Light the display properly, or the top half of the wall will sit in shadow. A single picture light over the middle of the run, or a row of small wall lights, makes the photos readable after dark. Leave a little space at the top for the next chapter, because a staircase gallery that runs out of wall is a good problem to have.
Which Display Suits Which Wall
If you are still choosing between the eight ideas, this table matches each display to the wall and the memories it suits best. Start with the wall you have, then pick the idea that fits it, rather than forcing a display onto a wall that fights it.
| Display | Best wall | Best for | Watch out for |
|---|---|---|---|
| One large photo | Above a sofa or a wide blank wall | A single treasured portrait | A print too small for the wall |
| Family photo gallery wall | Living room or hallway | A growing collection of photos | Mixed layouts and uneven gaps |
| Keepsake shadow box | Hallway or bedroom, at close range | Objects like baby shoes and invitations | Too many objects in one box |
| Framed kids artwork | Child’s bedroom or hallway | Drawings you rotate each term | Framing everything instead of choosing |
| Family tree wall | Dining room or hallway | Old photos and family names | Faces too small to recognise |
| Handprint and fingerprint art | Bedroom wall or a gift for grandparents | Yearly prints that show growth | Paint that dries darker than expected |
| Layered shelf display | Any wall you want to change often | Photos, quotes and small keepsakes | Frames lined up in a soldier row |
| Staircase wall | Along the stairs | A chronological family story | Heavy frames on a plasterboard wall |
The table also shows why most memory walls fail. The display is usually fine, but the wall is wrong, the size is wrong, or too much has been squeezed into one place. Fix those three things and almost any sentimental piece will look like it belongs. If you want the same thinking applied to the wall above your fireplace, these above fireplace decor ideas show how to size and centre a display on a focal wall, and the entryway gets the same treatment in these mudroom wall decor ideas, which work just as well for a family hallway as for a mudroom.
Frequently Asked Questions About Sentimental Wall Art
How high should I hang sentimental wall art?
Hang the centre of a single piece or a whole gallery at about 57 inches from the floor, which is eye level for most adults. Over a sofa, hang it a little lower, with the bottom of the frame six to eight inches above the back of the sofa. On a staircase, keep the centre of each frame about 60 inches above the step below it, following the slope of the stairs.
How do I stop a photo wall from looking cluttered?
Limit the wall to one story, keep two to three inches of space between every frame, and repeat one element such as the same frame colour or the same mat colour.
What size frames work best for a gallery wall?
Frames around 8 by 10 inches with a couple of 11 by 14 inch anchors suit a living room wall, while 5 by 7 inch frames suit a hallway or staircase, where people view them from close up. A single large piece over a sofa should be around 36 by 24 inches or 30 by 40 inches, depending on the width of the wall and the furniture below it.
Can I mix colour and black and white photos on one wall?
Yes, and it usually looks better than all colour or all black and white. Keep roughly two thirds of the photos in black and white and one third in colour, so the colour shots feel like accents rather than interruptions. If a colour photo clashes with the room, print it in black and white and keep the colour version in an album.
How do I protect kids artwork and keepsakes from fading?
Keep framed pieces out of direct sunlight, and choose frames with UV protective glass for anything you cannot replace, such as an original drawing or an old photograph. Scan old photos and print copies for the wall, storing the originals in a cool, dry place.
Start With the Wall You Walk Past Every Day
You do not need eight displays, and you do not need to buy anything to begin. Walk through your home tonight and notice the wall you pass most often without really seeing it. That is the wall for your first piece of sentimental art, because it is the wall that will give the memory back to you every single day.
Pick one idea from this guide, gather the photos or keepsakes it needs, and give yourself one weekend to hang it properly. Measure twice, use a paper template, and leave the breathing room the piece deserves. Then live with it for a month before you add anything else. A memory wall that grows slowly, one honest piece at a time, will always look better than one that is filled in a single afternoon.
When the first wall is done, the next one gets easier, because you will already know your frame size, your hanging height and your one repeated element. The photos are already in your phone and the keepsakes are already in a drawer. All they need is a frame, a nail and a wall that lets them be seen.