A successful kids‘ bathroom makeover combines smart planning, ruthless decluttering, and child-height storage solutions. Start by assessing your needs and budget, then add kid-friendly fixtures, fun décor, and simple daily habits. The result is a safe, organized space your children can actually use and keep tidy on their own.
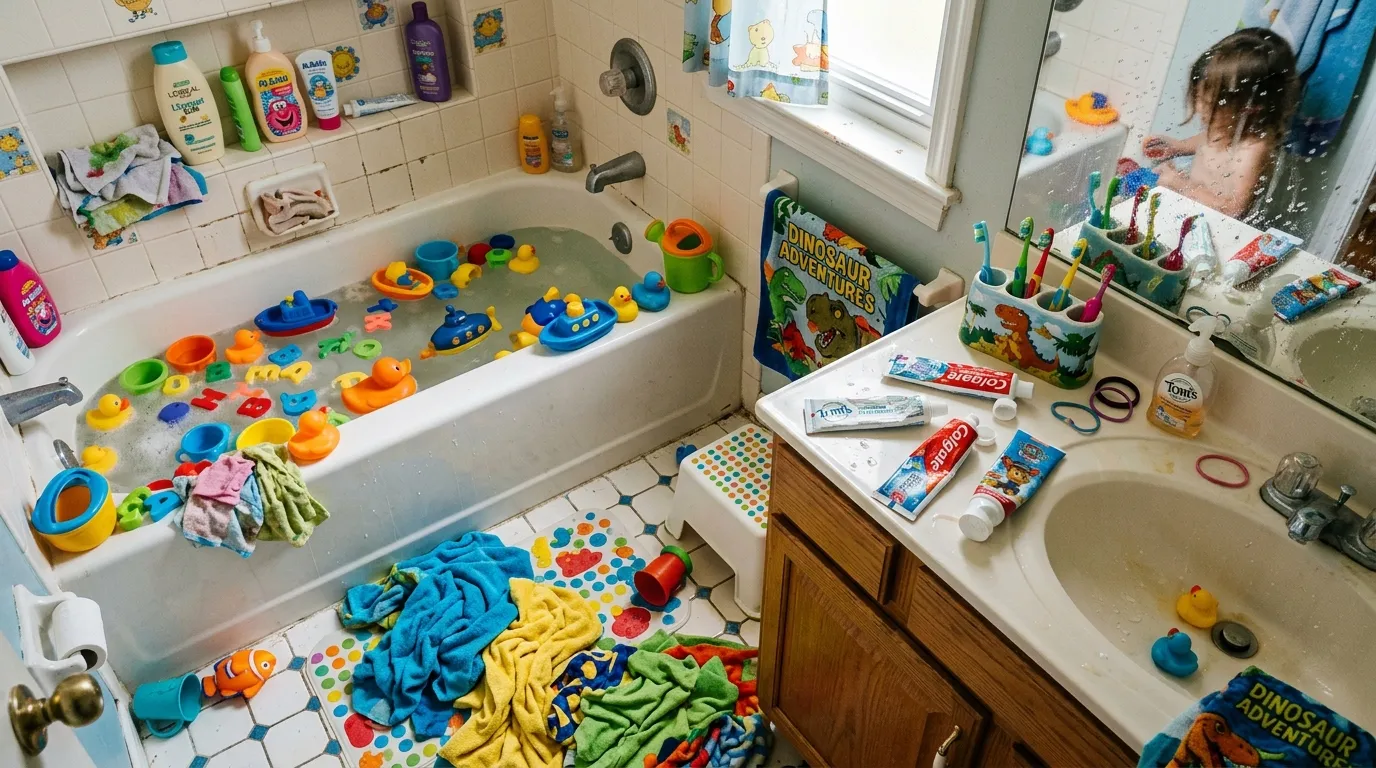
Kids Bathroom Makeover & Organization: A Parent’s Guide provides practical ideas to transform a messy family bathroom into a functional, child-friendly space. Toothpaste smeared across the counter, wet towels in a heap on the floor, and a small army of bath toys taking over the tub are challenges many parents face. With the right organization systems, clever storage solutions, and easy-to-maintain routines, you can create a bathroom that’s safe, organized, and enjoyable for both kids and parents.
But here’s the good news: a well-planned makeover can flip the script. With the right storage, kid-friendly fixtures, and a few clever habits, you can turn that disaster zone into a space that’s functional, fun, and genuinely easy to keep clean.
This guide walks you through the entire process from the first planning steps to the finishing touches. You’ll learn how to declutter without tears (yours or theirs), choose storage that works for small hands, pick fixtures built for kids, and set up routines that keep the space tidy long after the makeover is done. Let’s get started.
Why do kids’ bathrooms become disaster zones so fast?
Kids‘ bathrooms get messy because they’re built for adults, not children. The counter is too high, the towel bar is out of reach, and storage sits behind doors that little hands struggle to open. When a space doesn’t fit the people using it, mess is the natural result.
Add in short attention spans, a love of splashing, and a growing collection of character toothbrushes and toy boats, and you have a recipe for daily disorder. The fix isn’t nagging it’s redesigning the space so kids can succeed. When everything has a reachable, obvious home, tidiness becomes the easy choice.
This guide covers six phases: planning, decluttering, storage, fixtures, decor, and maintenance. We’ll finish with real-world examples and budget hacks you can copy right away.
Phase 1: How do you plan a kids’ bathroom makeover?
Good makeovers start with a plan, not a shopping spree. Spend time here, and you’ll avoid costly mistakes later.
Assess your needs and existing problems.
Walk into the bathroom and watch how your kids use it. Where do towels land? What can’t they reach? Which drawers jam? Jot down every pain point. A 5-year-old who can’t reach the sink needs a sturdy step stool. A shared bathroom for siblings needs double the hooks and labeled zones to prevent squabbles.
Set a realistic budget.
Decide what you can spend before you fall in love with a $400 vanity. A simple refresh paint, new hardware, and storage bins can cost under $200. A full renovation with new fixtures and flooring climbs into the thousands. Knowing your number keeps your choices grounded.
Gather inspiration
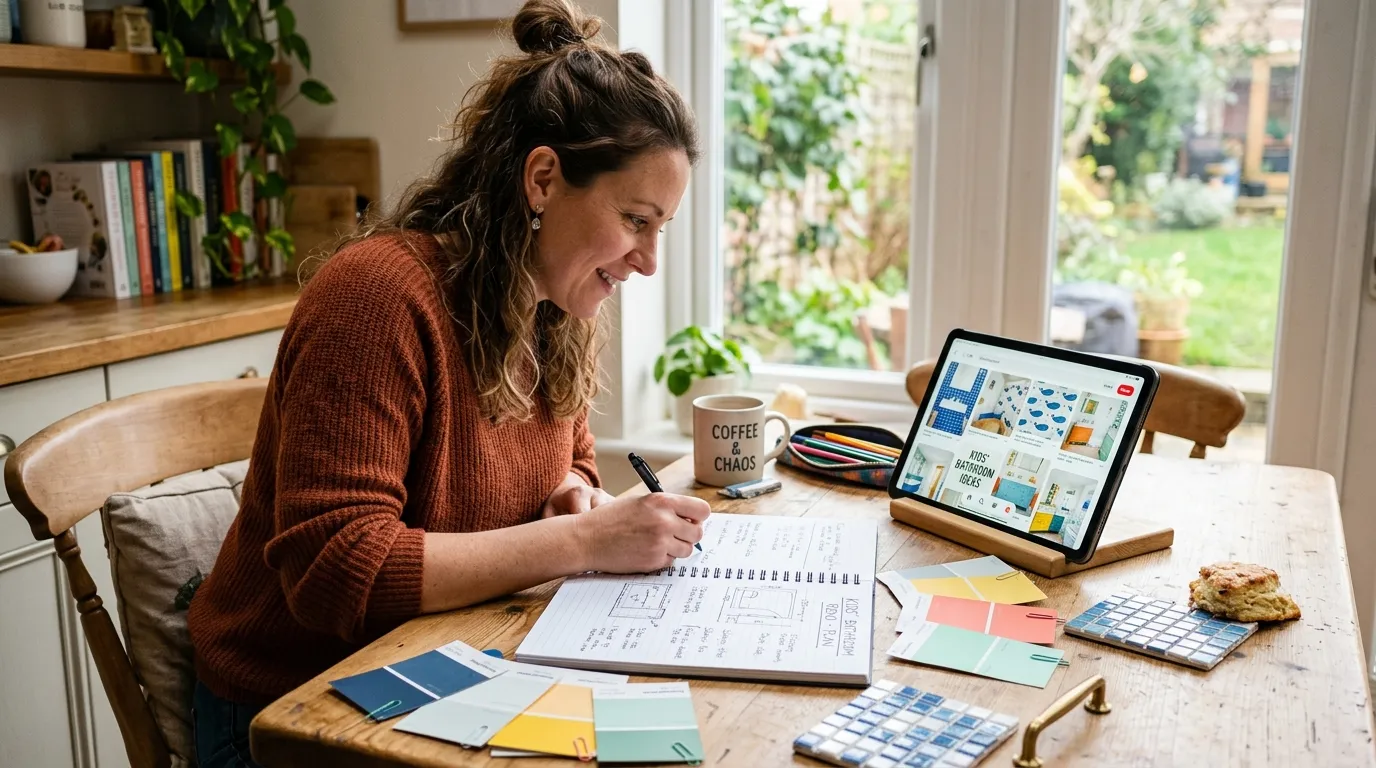
Save photos from Pinterest, Instagram, and home design sites. Look for ideas that solve your specific problems, not just pretty pictures. Create a folder or board so you can spot patterns in what you like.
Put safety, accessibility, and fun first.
For kids, design priorities shift. Slip-resistant flooring beats high-gloss tile. Rounded counter edges prevent bumps. Faucets that little hands can turn matter more than designer finishes. Build the space around how children actually move and play.
Phase 2: What’s the best way to declutter a kids’ bathroom?
You can’t organize clutter you can only move it around. Clear the decks before you add storage.
Decide what stays and what goes.
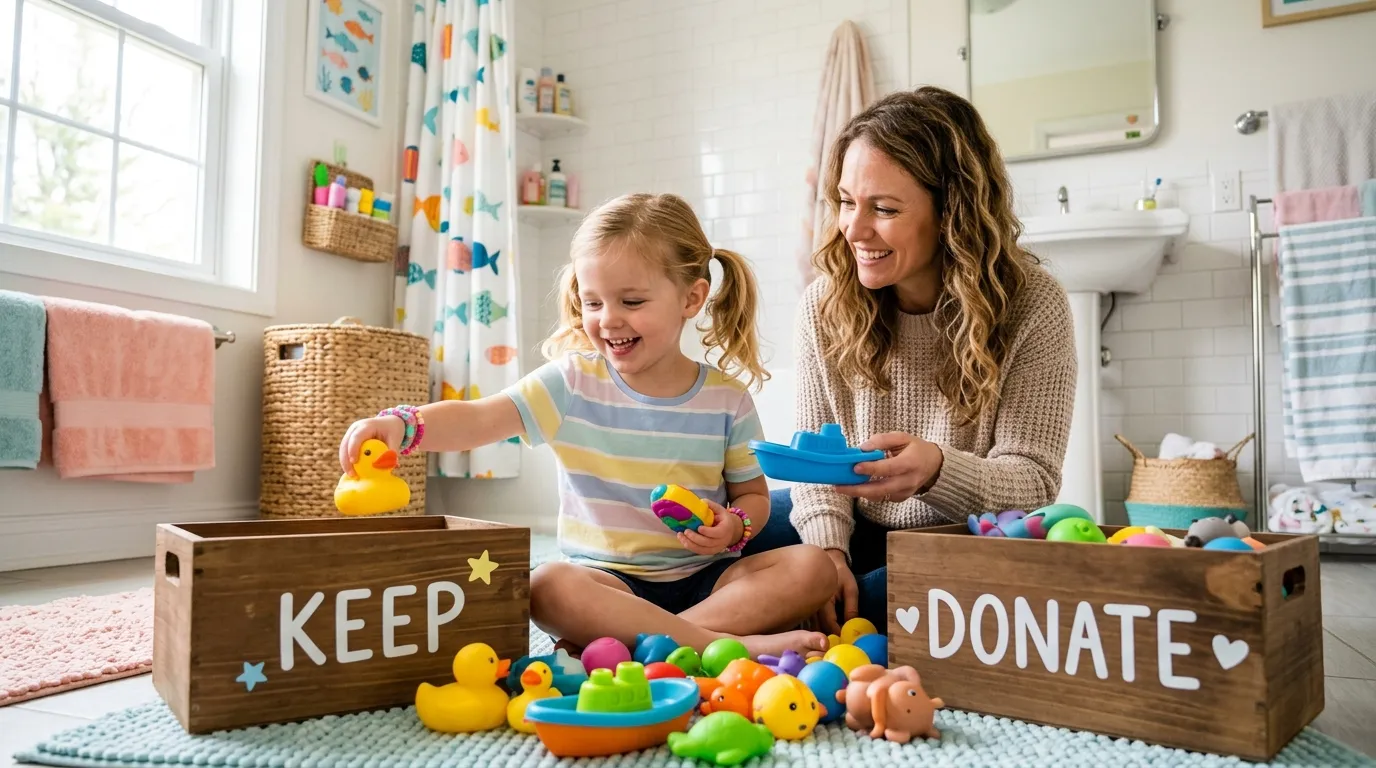
Pull everything out of the bathroom and sort it into three piles: keep, toss, and donate. Toss dried-up toothpaste, expired sunscreen, and broken toys. Be honest about the bath toys, too if a toy hasn’t seen water in months, it’s time to let it go.
Group similar items together
Once you’ve trimmed the excess, sort what’s left by category: bath toys, hair tools, dental supplies, first aid, and so on. Grouping shows you exactly how much of each thing you own and how much storage each category needs.
Make decluttering a game.
Get the kids involved. Set a timer and challenge them to find five toys they’ve outgrown. Turn sorting into a “keep or donate” race. When children help decide what goes, they feel ownership over the space and they’re far more likely to keep it tidy afterward.
Phase 3: What are the best storage solutions for a kids’ bathroom?
Storage makes or breaks a kid’s bathroom. The goal is simple: give every item a home that a child can reach.
Maximize under-sink storage
The cabinet under the sink is prime real estate that’s usually wasted. Add stackable bins, pull-out drawers, or a small tension rod to hang spray bottles. Tiered organizers turn one shelf into three.
Use wall space with shelves and hooks.
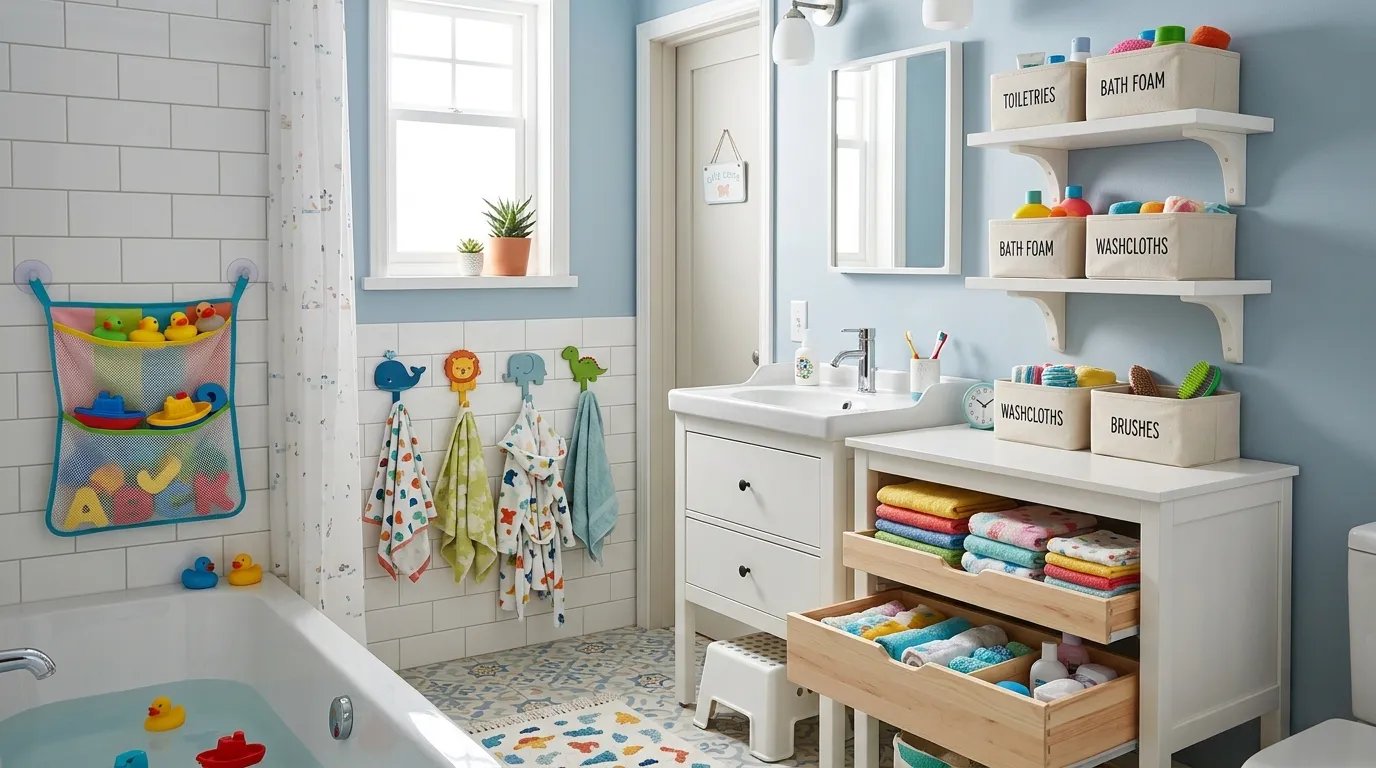
Walls offer storage you don’t have to clean around. Mount low hooks at kid height for towels and robes children won’t use a bar they can’t reach. Floating shelves hold cups, bins, and a few favorite decorations.
Tame small items with drawer dividers
Hair ties, clips, toothbrushes, and travel-size bottles vanish into messy drawers. Adjustable dividers create dedicated slots so everything stays visible and in place. A glance shows you what’s running low.
Manage bath toys and shower clutter.
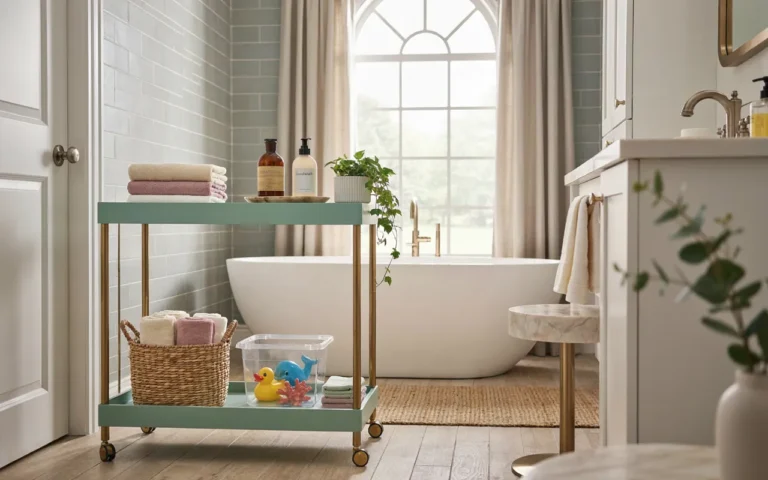
Bath toys breed mold when they sit in standing water. Use a mesh bag or a suction caddy with drainage holes so toys dry between baths. Give each child a labeled basket to limit how many toys live in the tub.
Store and display towels creatively
If you’re short on bar space, try a wall-mounted ladder rack or a row of large hooks. Roll spare towels into a basket on the floor for an easy, grab-and-go supply.
Phase 4: Which fixtures and finishes work best for kids?
The right fixtures make a bathroom safer and easier for children to use on their own.
Choose easy-to-use faucets and sinks.
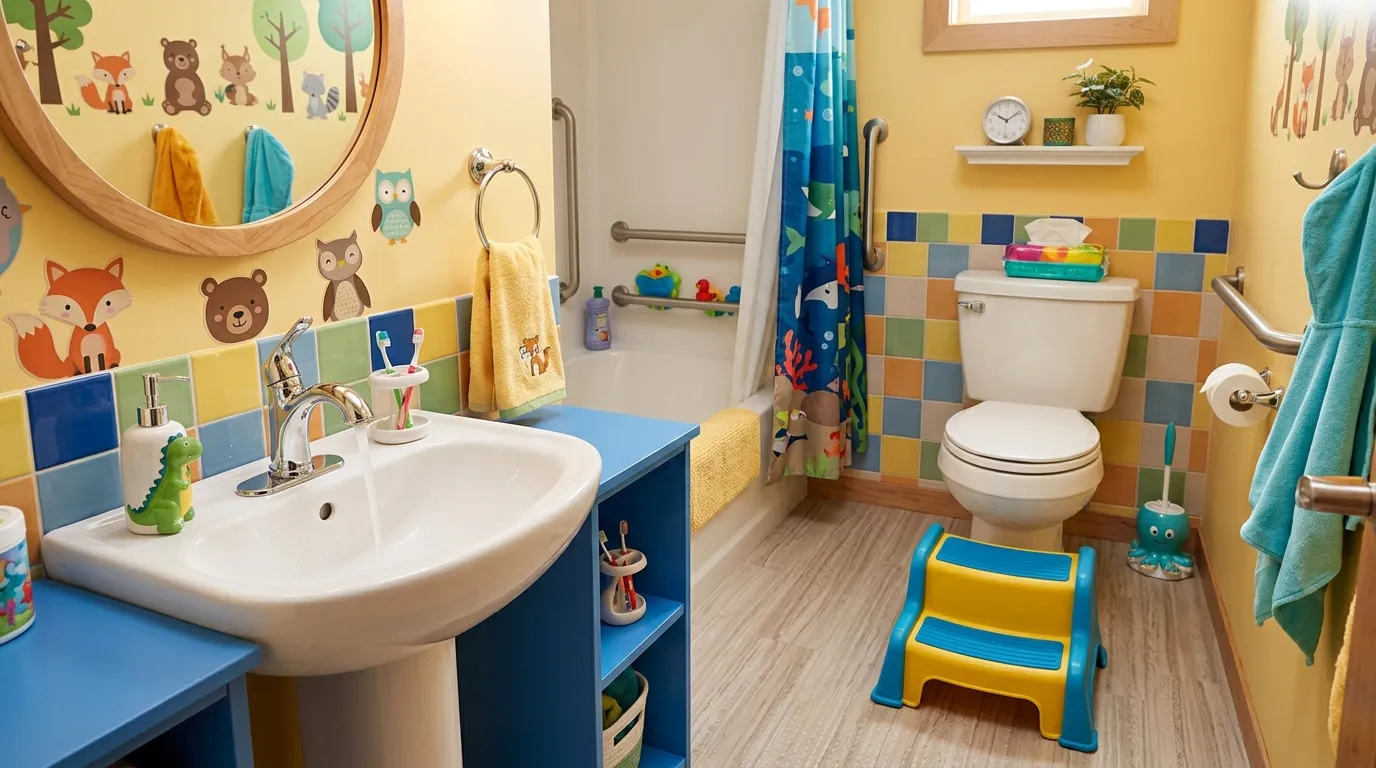
Look for single-handle or lever faucets that small hands can operate without twisting. Some models include temperature limiters that prevent scalding a smart safety feature for young kids.
Pick the right toilet.
A standard toilet can be too tall for little legs. Consider a comfort-height toilet with a sturdy step stool, or add a child-friendly toilet seat with a built-in trainer ring for younger children.
Select durable, slip-resistant flooring.
Water and kids go together, so flooring needs to handle splashes safely. Luxury vinyl tile and textured porcelain resist slips, clean up easily, and stand up to years of wear. Skip glossy surfaces that turn slick when wet.
Get the lighting right.
Bright, even lighting helps kids see what they’re doing and reduces nighttime fear. Add a soft night-light for after-dark trips, and choose covered fixtures that keep curious fingers away from bulbs.
Phase 5: How do you make a kids’ bathroom fun without sacrificing function?
Decor brings the space to life. The trick is balancing personality with practicality.
Choose a color palette that pops and calms.
Bright colors energize a space, while soft tones soothe. A mix works well think a calming blue or green base with cheerful accents in towels and art. Let your kids weigh in on the colors so the room feels like theirs.
Pick a theme they’ll love
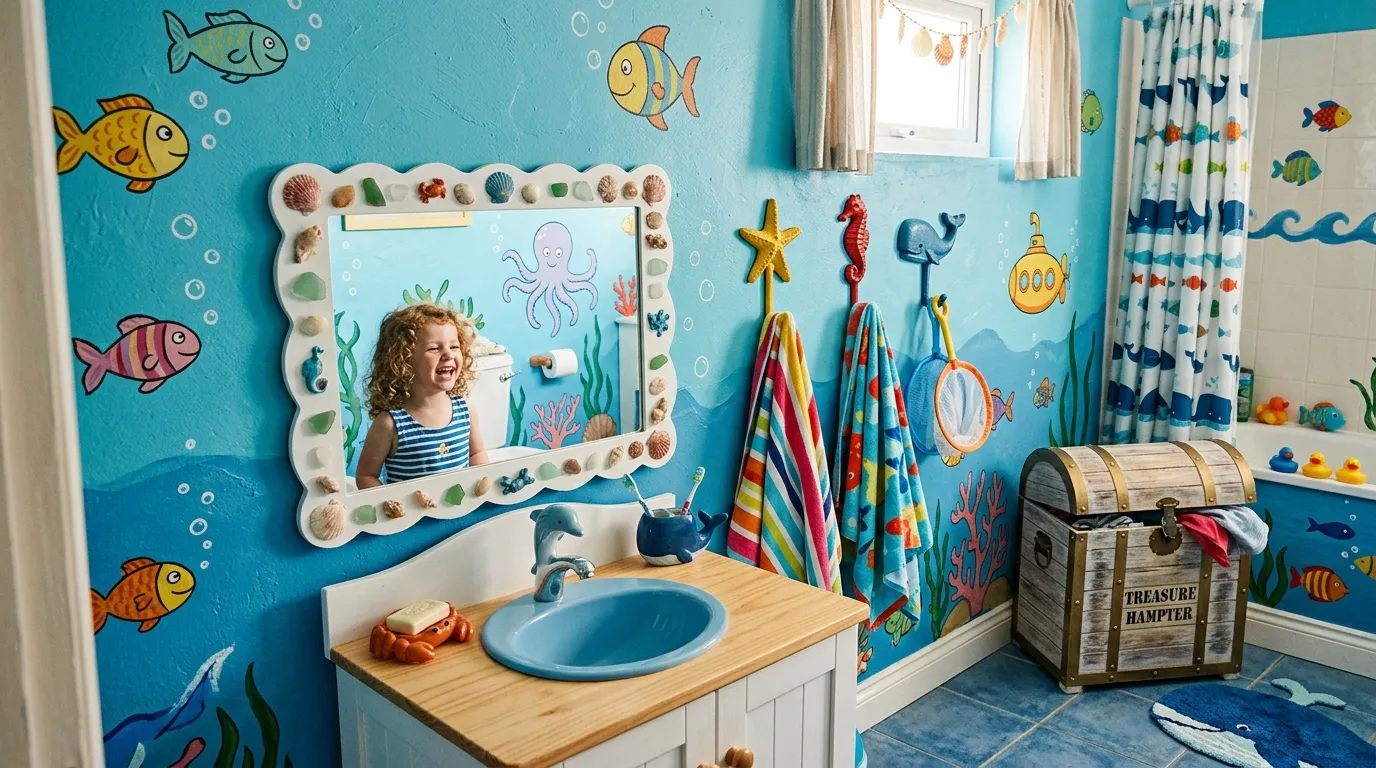
A theme turns a plain bathroom into an adventure. Ocean, jungle, space, or favorite characters all work. Keep big-ticket items (like flooring and fixtures) neutral, and bring the theme in through swappable pieces like shower curtains, art, and rugs. That way, you can update the look as tastes change.
Add personal touches
Let each child pick their own towel color or hook. Display their artwork in waterproof frames. Small personal details make kids feel proud of the space and more invested in keeping it clean.
Install a kid-height mirror.
A mirror placed at a child’s eye level encourages independence with brushing teeth and washing faces. Some mirrors double as storage cabinets, hiding clutter behind the glass.
Solve the laundry problem.
Wet towels and dirty clothes need a landing spot. A small, lidded hamper or a wall-mounted laundry bag keeps the floor clear. Make it easy to reach so kids actually use it.
Phase 6: How do you keep a kids’ bathroom organized long-term?
A makeover is only worth it if the order lasts. Simple, repeatable habits keep the space looking great.
Do a five-minute daily tidy.
Build a quick reset into the bedtime routine. Wipe the counter, hang the towels, and toss toys back in their basket. Five minutes a day prevents the slow slide back into chaos.
Schedule a weekly reset.
Once a week, go a little deeper. Wipe down surfaces, refill empty bottles, and return stray items to their zones. This is also a good time to spot anything that’s not working and tweak it.
Teach kids to keep it tidy.
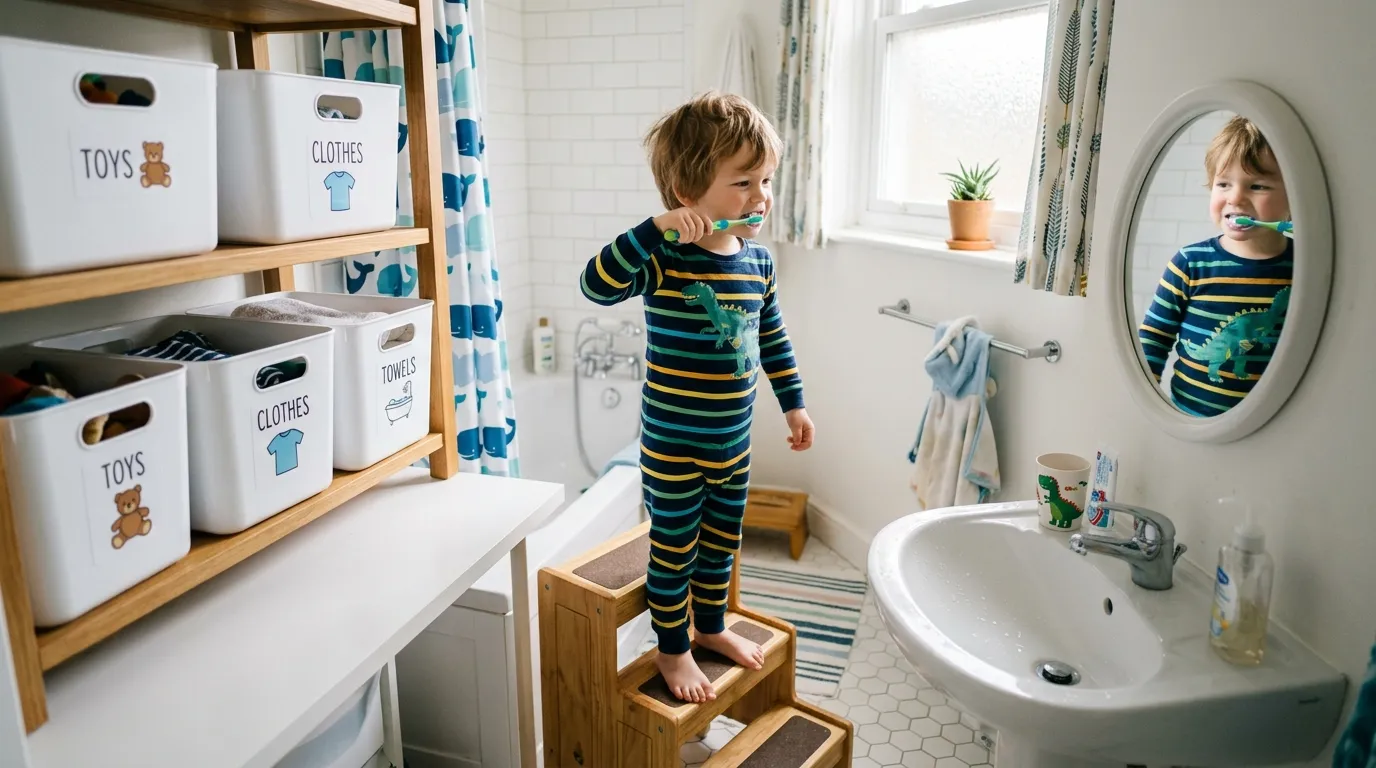
Independence is the real goal. Use labels with pictures for younger kids who can’t read yet. Praise effort, keep expectations age-appropriate, and let kids own their routines. A 4-year-old can put toys away; a 9-year-old can wipe a counter.
Adjust as they grow.
A toddler’s bathroom needs differ from a tween’s. Revisit your setup every year or so. Swap the step stool when it’s no longer needed, update the theme, and raise hooks and shelves as your kids get taller.
Kids bathroom organization tour: real-world examples and takeaways
Seeing how others solve the same problems makes your own makeover easier.
Before and after transformations
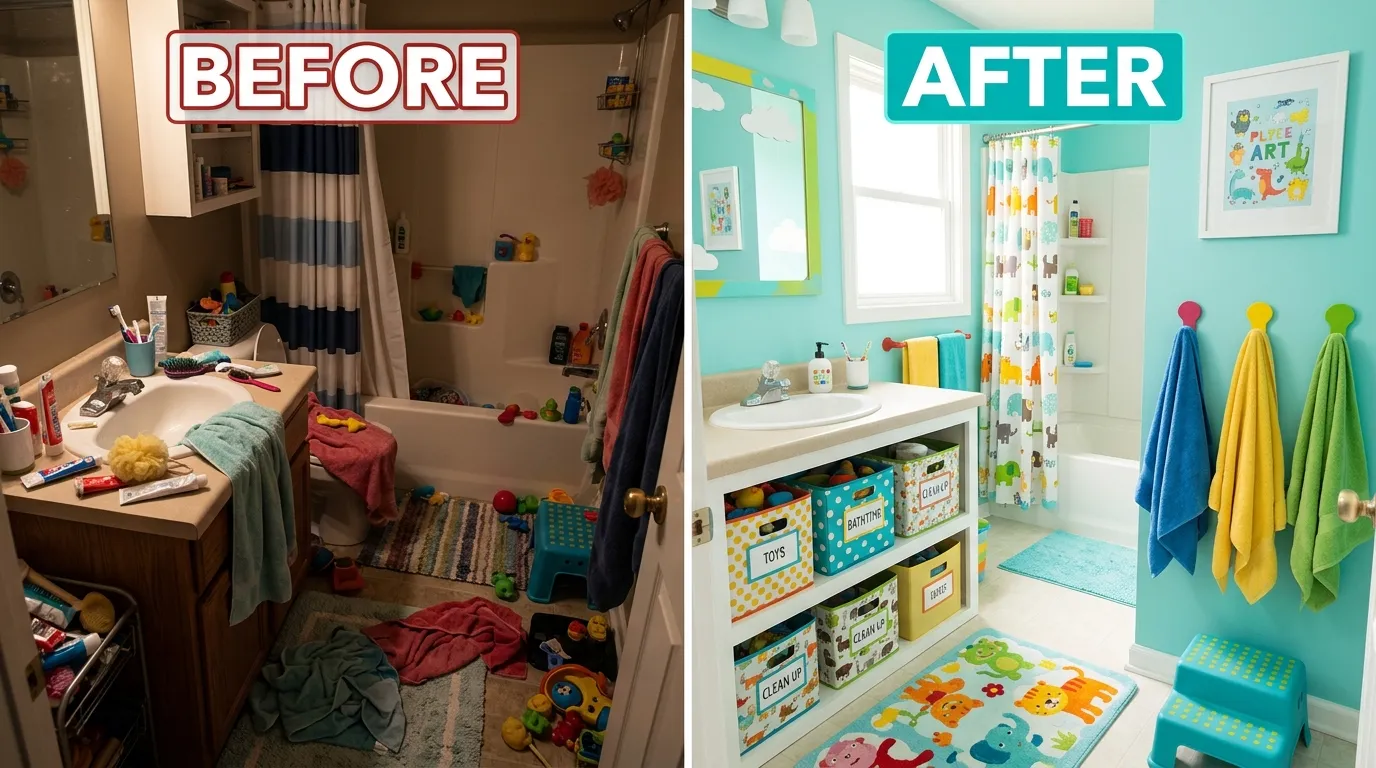
The most dramatic transformations rarely involve knocking down walls. One common before-and-after: a cramped bathroom with a single high towel bar and an overflowing under-sink cabinet becomes a tidy, functional space with low hooks, labeled bins, and a clear counter. The change comes from systems, not square footage.
Budget-friendly hacks
You don’t need a big budget to make a big difference. A few favorites:
- Use a tension rod under the sink to hang spray bottles and free up shelf space.
- Repurpose a shoe organizer on the back of the door for hair tools and supplies.
- Turn mason jars or cleaned-out containers into cup and toothbrush holders.
- Add adhesive hooks at kid height no drilling required.
Common pitfalls to avoid
Learn from the mistakes others have made. The biggest one: placing storage at adult height, which guarantees kids won’t use it. Other common slip-ups include buying too many bins before decluttering, choosing slippery flooring, and picking a permanent theme your child will outgrow in a year. Plan for change, and your space will stay useful far longer.
Your sanctuary for splashes and smiles
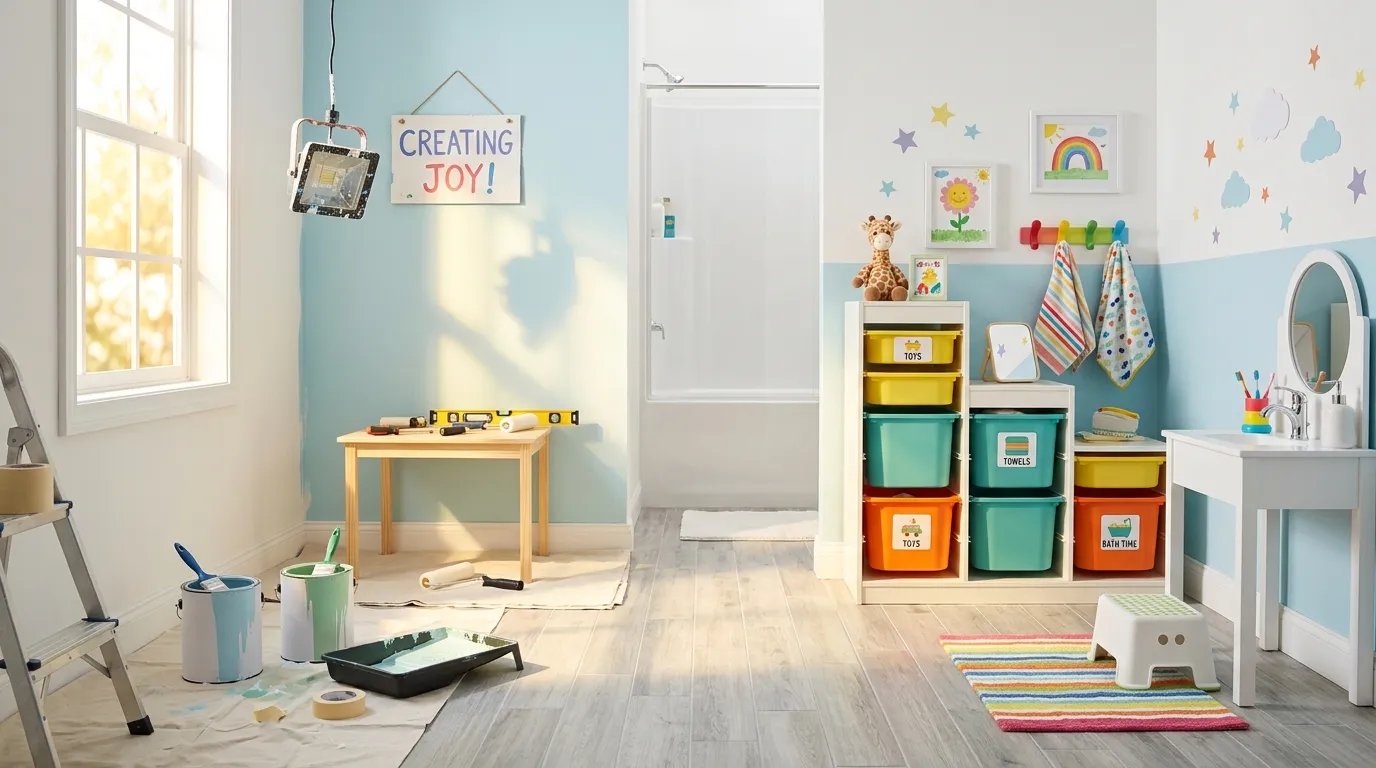
A kids‘ bathroom makeover isn’t about chasing a magazine-perfect look. It’s about building a space that fits your children one where they can reach what they need, find a home for everything, and take pride in keeping it tidy.
The strategy is straightforward: plan around real needs, declutter before you organize, choose storage and fixtures built for small hands, and add fun touches that grow with your kids. Back it all up with quick daily habits, and the order will stick.
The payoff goes beyond a cleaner room. An organized, kid-friendly bathroom teaches independence, cuts down on morning stress, and gives your children a small space they can truly call their own. Start with one phase this weekend even a simple round of decluttering and a few low hooks can change how your family’s mornings feel.
Frequently asked questions
How much does a kids’ bathroom makeover cost?
Costs vary widely based on scope. A budget refresh paint, hardware, and storage bins can come in under $200. A mid-range update with new fixtures, a mirror, and lighting typically runs $500 to $1,500. A full renovation with new flooring, vanity, and plumbing can reach several thousand dollars. Set your budget before shopping to keep spending in check.
How long does it take to organize a kids’ bathroom?
A basic declutter and organize session takes a single afternoon about three to four hours. A full makeover with painting and new fixtures usually spans a weekend or two, depending on how much you do yourself. The maintenance habits, once set up, take just five minutes a day.
What’s the best storage for a small kids’ bathroom?
In tight spaces, go vertical and use hidden areas. Wall hooks at kid height, floating shelves, over-the-door organizers, and under-sink tiered bins all add storage without taking floor space. Labeled bins keep small items contained and easy for kids to find.
How do I get my kids to keep the bathroom clean?
Make tidiness easy and age-appropriate. Place storage within their reach, use picture labels for pre-readers, and build a five-minute cleanup into the bedtime routine. Praise their effort, and match tasks to their age toddlers can put toys away, while older kids can wipe counters and refill supplies.
What flooring is safest for a kids’ bathroom?
Slip-resistant options are safest. Luxury vinyl tile and textured porcelain resist slips when wet, clean up easily, and hold up to heavy use. Avoid glossy tiles and polished stone, which become slick with water. Adding a non-slip bath mat offers extra protection.