You can create stunning gold leaf sculptures at home for under $50 using imitation gold leaf (also called composition leaf), adhesive size, a soft brush, and a clear sealant. The process involves prepping your surface, applying adhesive, laying the leaf, and then sealing it for a durable, luxurious finish no expensive real gold required.
DIY Gold Leaf Sculpture on a Budget: Full Guide shows you how to achieve a high-end decorative look with affordable materials and simple techniques. Gold has dazzled artists for thousands of years, from ancient Egyptian tombs to Renaissance altarpieces, where its warm metallic shimmer became a symbol of luxury, craftsmanship, and timeless beauty. The best part is that you don’t need a royal budget to bring that elegant golden glow into your own home with a creative DIY project.
This guide walks you through every step of creating a gold leaf sculpture without spending a fortune. You’ll learn which affordable materials to buy, how to prep and gild your piece, and how to fix common mistakes along the way. By the end, you’ll have the skills to transform plain objects a thrift-store statue, a ceramic vase, even a foam form into eye-catching art.
Whether you’re a complete beginner or a hobbyist looking to level up, the techniques here are simple, forgiving, and budget-friendly. Let’s get started.
What Is Budget-Friendly Gold Leaf Sculpture?
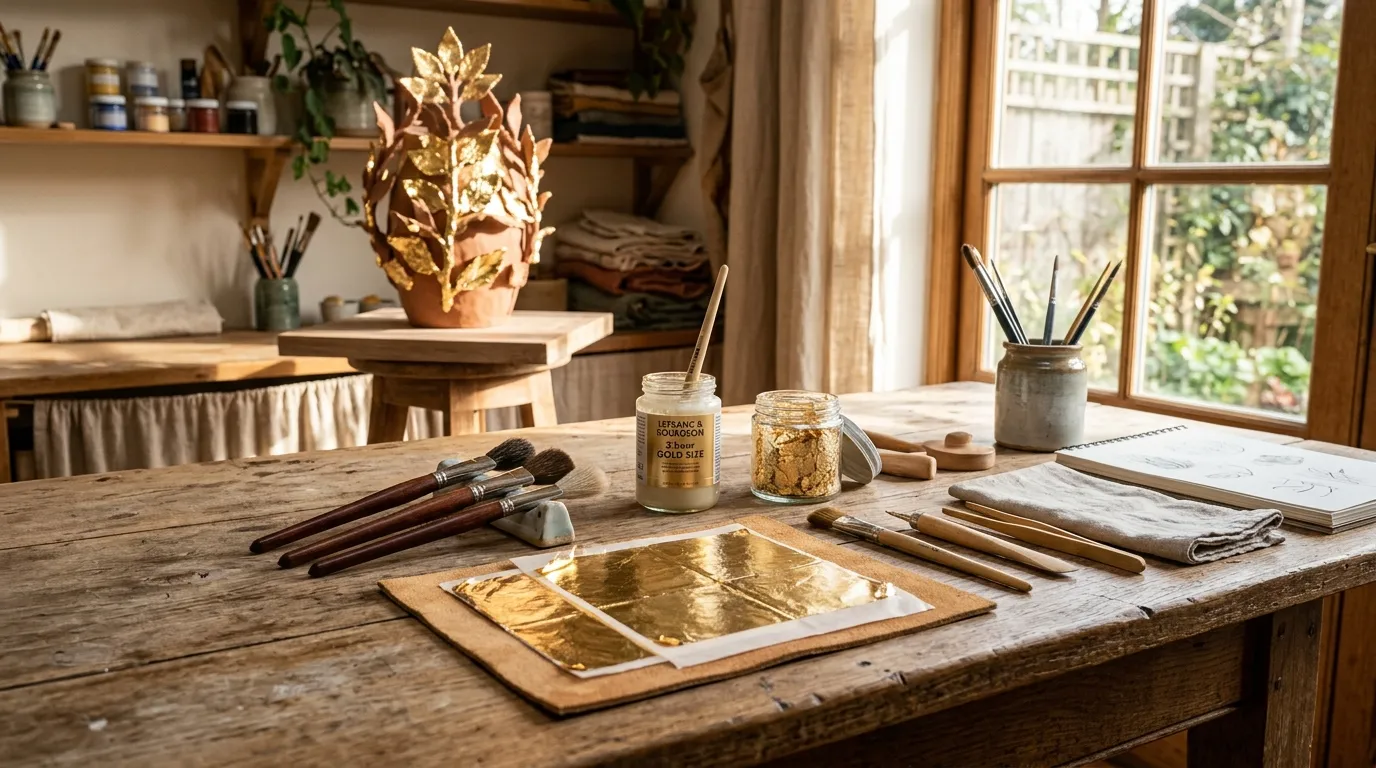
Gold leafing, or gilding, is the craft of applying ultra-thin sheets of metal to a surface. Traditional gilding uses real gold, which can cost hundreds of dollars for a small booklet of sheets. Budget gilding swaps that out for imitation gold leaf a blend of copper and zinc that looks nearly identical to the real thing at a fraction of the price.
A pack of 100 imitation gold leaf sheets often costs less than $15. That’s enough to cover several small to medium sculptures. Pair it with a few basic supplies, and your total starting cost can stay under $50.
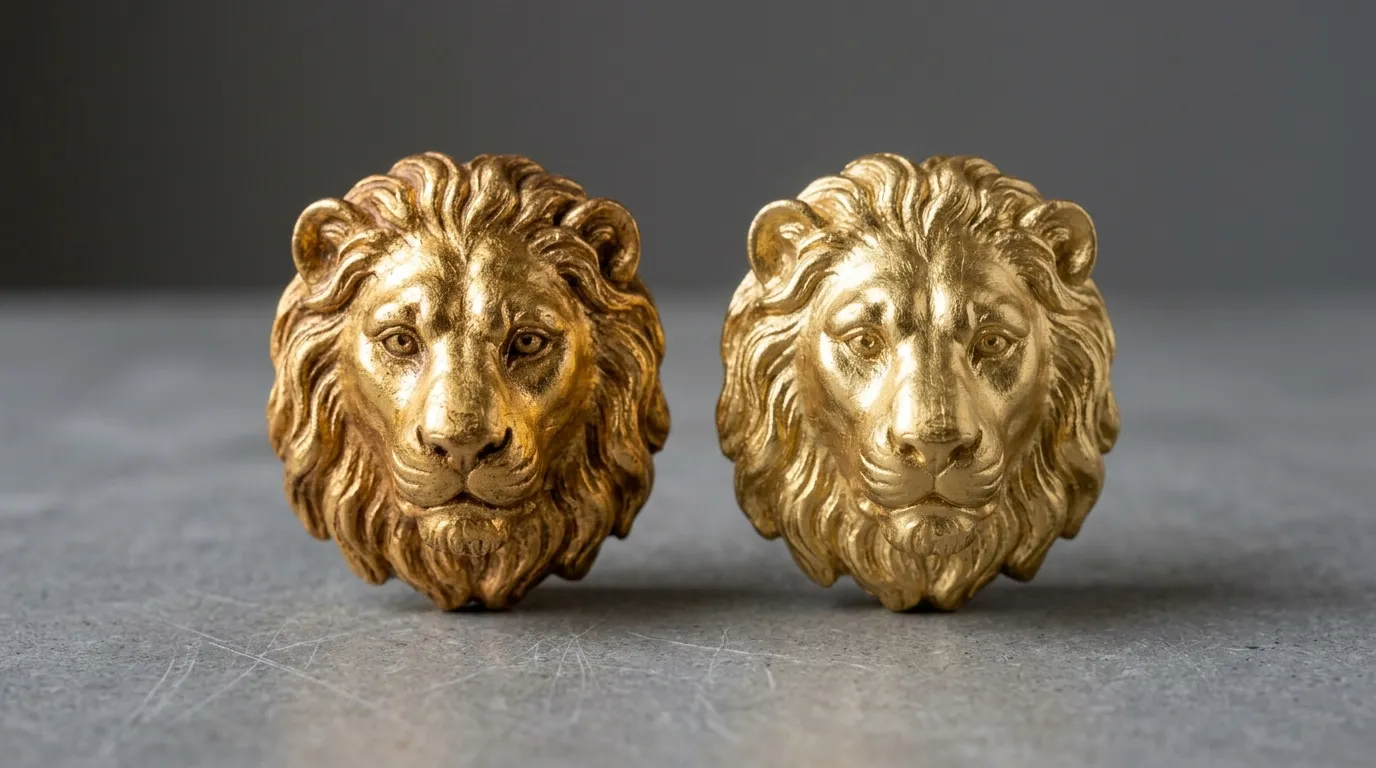
The result is a sculpture with a rich, reflective surface that catches light beautifully. Unless someone runs a chemical test, most people can’t tell imitation leaf from genuine gold.
Why Choose Gold Leaf? The Allure and Affordability
Gold leaf turns ordinary objects into statement pieces. The reflective surface adds depth and warmth that paint alone can’t match. It works on almost any material wood, plaster, ceramic, metal, foam, and resin all take gold leaf well.
Cost is the biggest draw for DIY artists. Real gilding is a luxury, but imitation leaf delivers the same visual punch for very little money. You can experiment freely, make mistakes, and start over without stressing about wasted materials.
Choose gold leaf if you want maximum visual impact for minimal cost. It’s especially worth it for decorative pieces, gifts, and home accents where that high-end look matters but a high-end budget doesn’t exist. If you need a piece to survive heavy outdoor weather or constant handling, you’ll want extra sealing steps more on that later.

Essential Tools and Materials: Your DIY Gold Leaf Toolkit
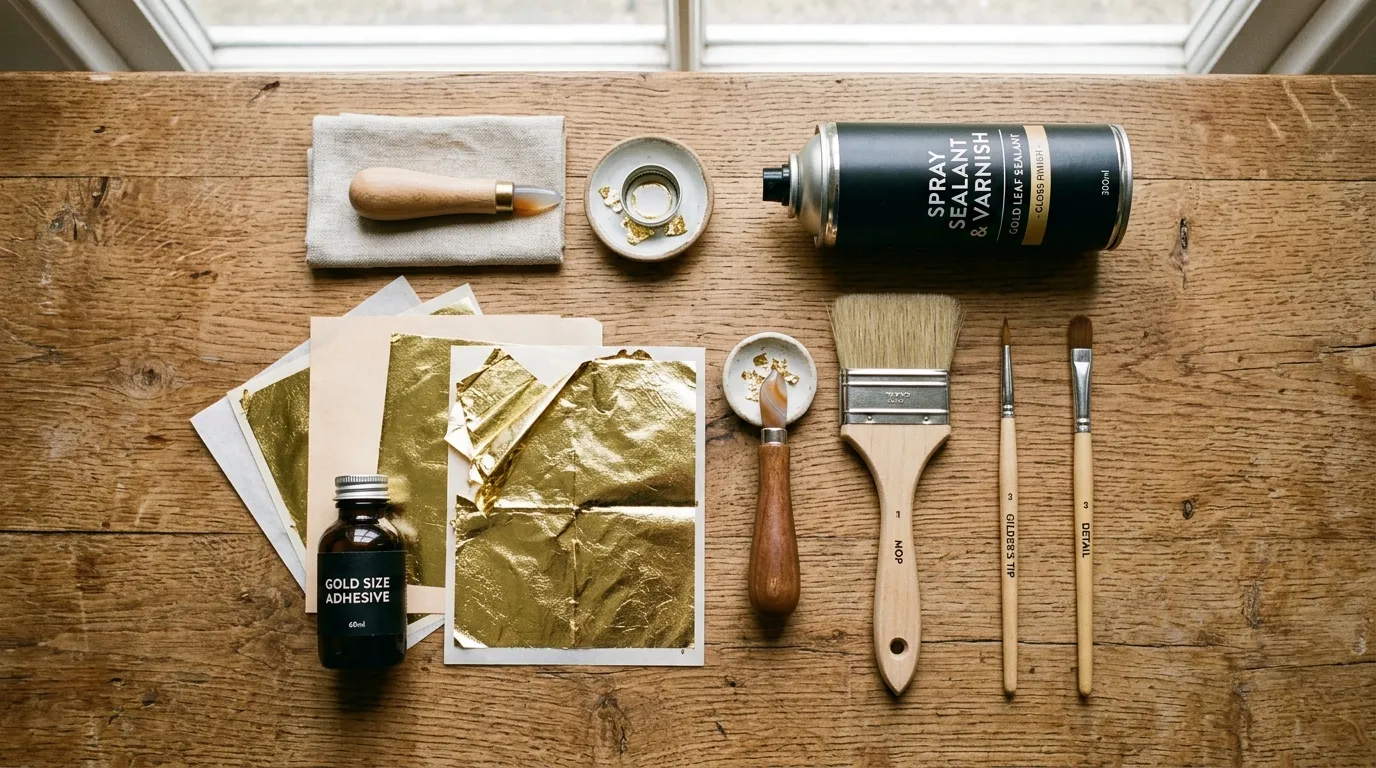
Before you start, gather your supplies. Most are cheap and available at craft stores or online. Here’s what you’ll need:
- Imitation gold leaf sheets (around $10–$15 for 100 sheets): The star of the show.
- Adhesive size (around $8): A special glue made for gilding. Water-based size is beginner-friendly and dries clear.
- Soft natural-bristle brush (around $5): For pressing the leaf onto the surface. A clean makeup brush works in a pinch.
- A stiffer brush (around $3): For brushing away loose flakes after application.
- Clear sealant or varnish (around $8): Protects the finish. Spray sealant is easiest for beginners.
- Your sculpture or base object: A thrift-store find, ceramic piece, or foam form all work.
- Sandpaper and primer (optional, around $5): For prepping rough or porous surfaces.
- Gloves and a drop cloth: Gold leaf sticks to skin oils, so gloves keep things clean.
The total cost for a starter kit usually lands between $35 and $50. Once you have these basics, you can build many projects before restocking.
How Do You Prepare a Sculpture for Gold Leaf Application?
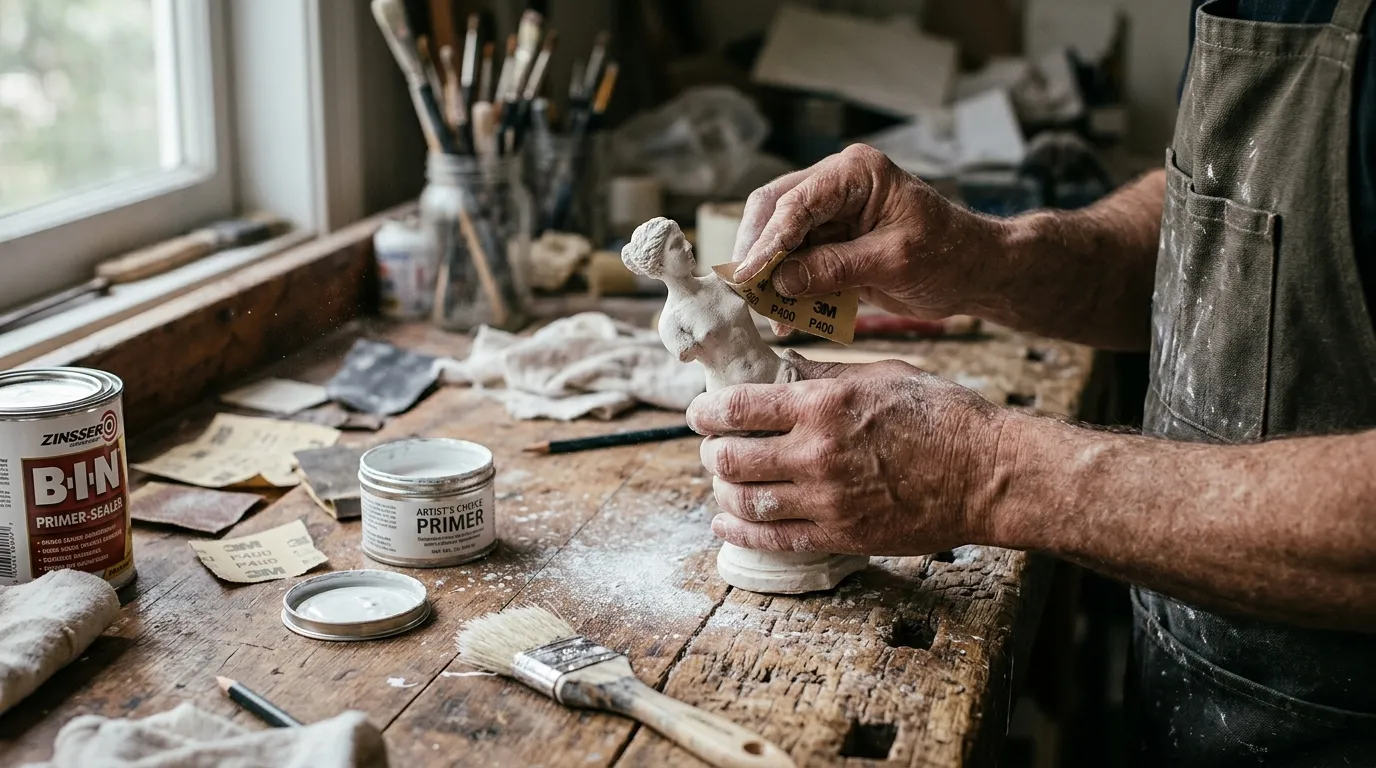
Good prep makes the difference between a smooth, gleaming finish and a patchy, peeling one. Start by cleaning your sculpture thoroughly. Wipe away dust, grease, and grime with a damp cloth, then let it dry completely.
If your surface is rough or porous like raw wood or unglazed ceramic sand it lightly until smooth. Then apply a thin coat of primer or base paint. Many artists use a red or yellow base color. Red gives the gold a warm, antique glow, while yellow hides any tiny gaps in the leaf.
Let the primer dry fully before moving on. A well-prepped surface helps the adhesive grip evenly and gives your final piece a professional look.
The Art of Applying Gold Leaf: A Step-by-Step Guide
This is where the magic happens. Take your time patience pays off with gilding.
Step 1: Apply the Adhesive Size
Brush a thin, even layer of adhesive size onto the area you want to gild. Avoid pooling or thick spots. Work in small sections so the glue doesn’t dry before you reach it.
Step 2: Wait for the Tack
Water-based size needs time to become tacky. Most reach the right stickiness in 15 to 30 minutes. Touch it gently with a knuckle if it feels sticky but doesn’t transfer to your skin, it’s ready.
Step 3: Lay the Gold Leaf
Carefully pick up a sheet of gold leaf. The sheets are delicate and tear easily, so handle them by the backing paper if your leaf has it. Lay the sheet over the tacky surface and let it settle.
Step 4: Press It Down
Use your soft brush to press the leaf onto the surface gently. Work from the center outward to push out air pockets. Don’t rub too hard, or you’ll tear the leaf.
Step 5: Brush Away the Excess
Once the leaf is set, use your stiffer brush to sweep away loose flakes. Save these scraps they’re perfect for patching small gaps later.
Repeat these steps, overlapping each new sheet slightly, until your whole piece is covered.

How Do You Seal and Finish a Gold Leaf Sculpture?
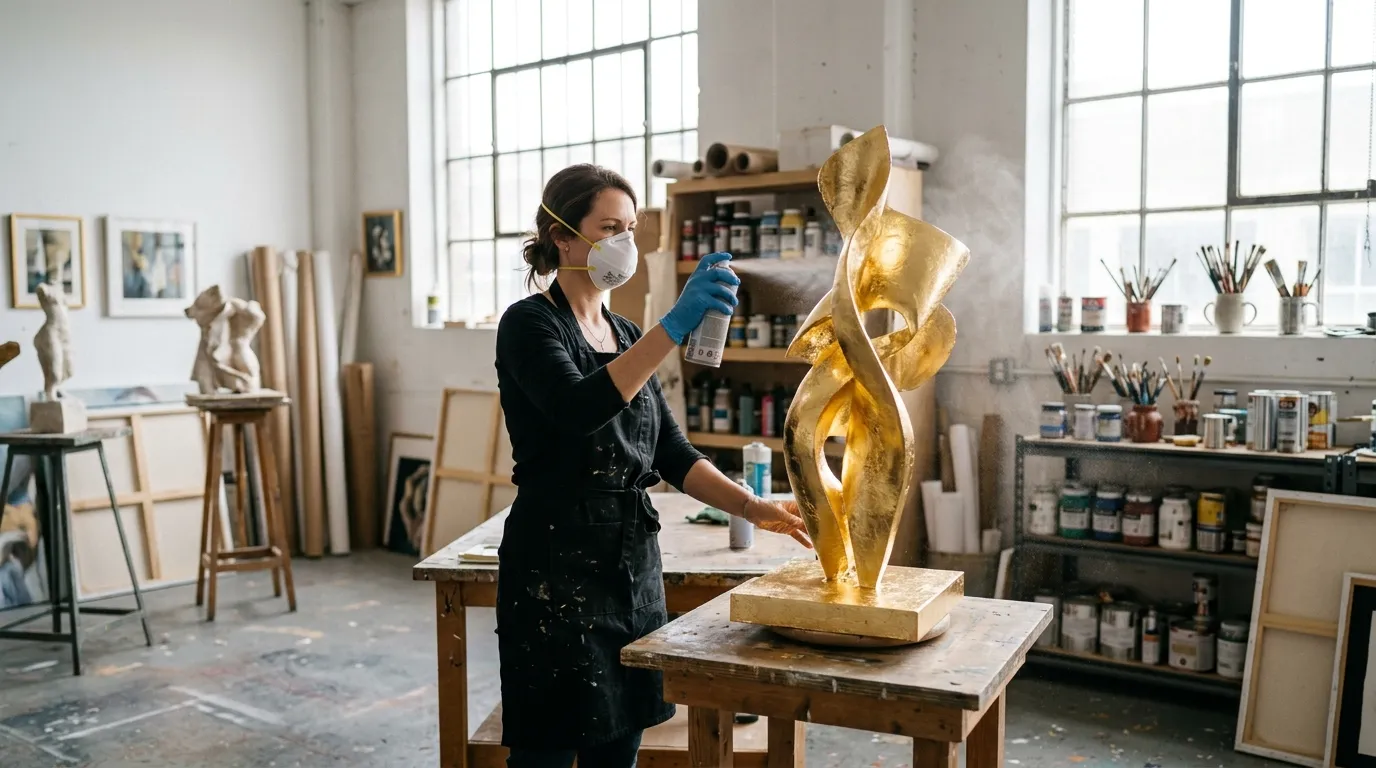
Imitation gold leaf contains copper, which can tarnish over time if left exposed to air. Sealing locks in that fresh shine and protects your work.
Wait at least 24 hours after gilding so the adhesive cures fully. Then apply a clear sealant. Spray varnish gives even coverage and is the easiest option for beginners. Brush-on varnish works too, but apply it gently to avoid disturbing the leaf.
Use two or three thin coats rather than one thick coat. Let each layer dry before adding the next. For a matte look, choose a matte sealant; for extra sparkle, go glossy.
Sealing matters most if your piece will be handled often or displayed near moisture. Skipping this step risks tarnish and flaking within months.
Troubleshooting Common Gold Leafing Issues
Even experienced gilders hit snags. Here are quick fixes for the most common problems:
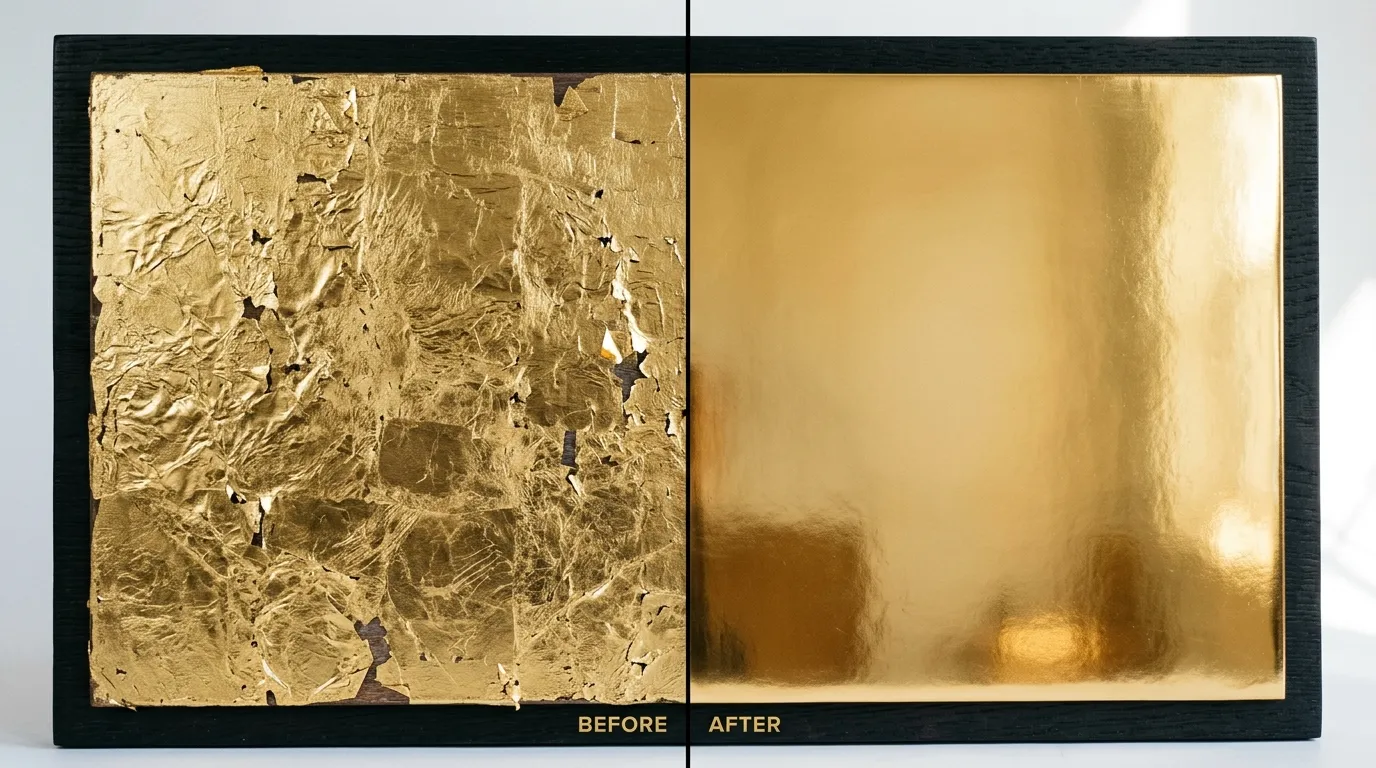
- Cracks and gaps: Brush a little adhesive into the gap, wait for tack, and press a small leaf scrap over it.
- Wrinkles: These often happen when the leaf lands on a size. Smooth them gently with your brush, or leave them for a textured, antique look.
- Leaf won’t stick: Your size may be too dry. Apply a fresh thin layer and try again.
- Dull patches: This usually means the surface wasn’t clean. Reseal and, if needed, re-gild the area.
- Tarnishing: Caused by skipping the sealant. Wipe gently, then apply a protective varnish.
Most mistakes are easy to repair, which is one reason gold leafing is so beginner-friendly.
Creative Ideas for Your Gold Leaf Sculptures
Once you’ve mastered the basics, the possibilities open up. Here are some ideas to spark your imagination:
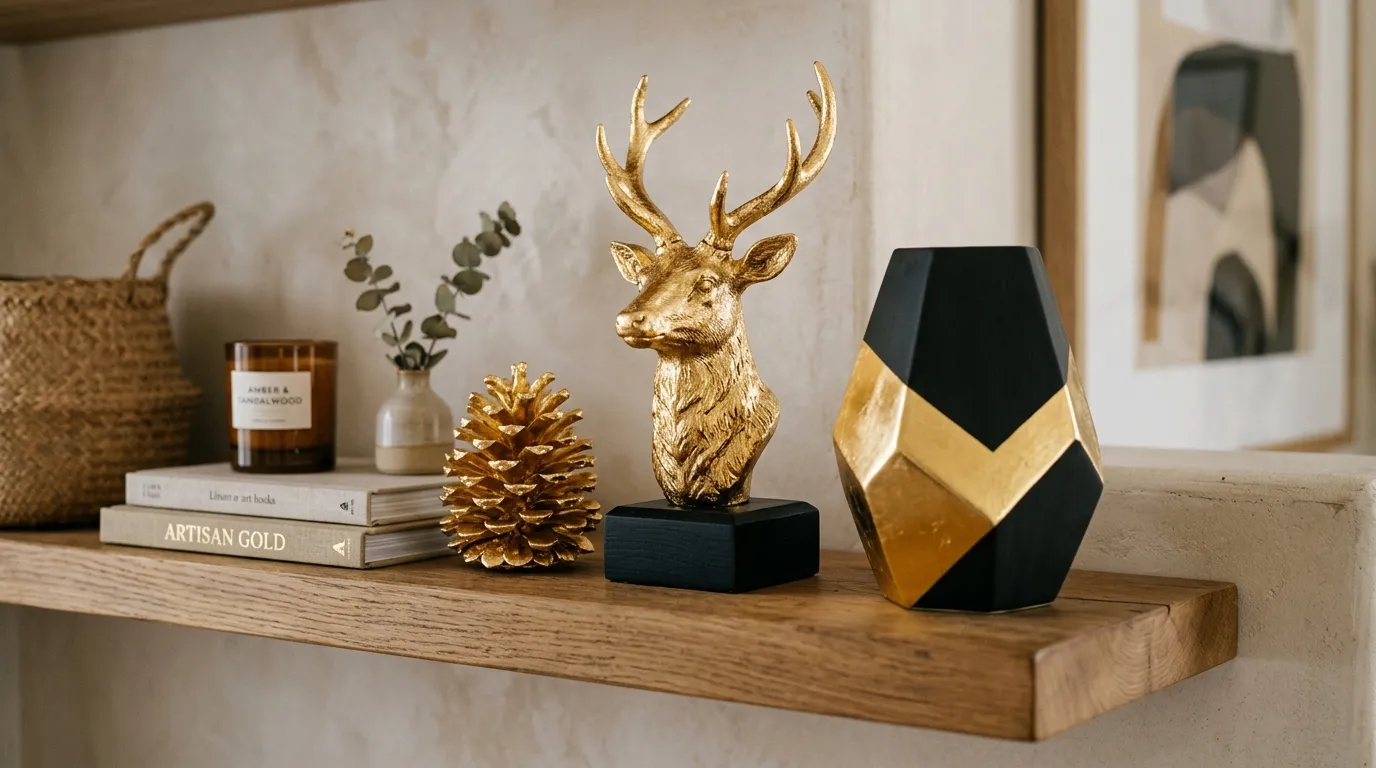
- Thrift-store makeovers: Transform a cheap ceramic figurine into a designer-style accent piece.
- Partial gilding: Leave part of the sculpture bare and gild only the top, edges, or details for a modern two-tone effect.
- Animal figures: Gold-leafed animal busts like a fox, deer, or bird make striking shelf décor.
- Geometric forms: Gild foam or cardboard shapes to create affordable abstract art.
- Found objects: Pinecones, branches, and seashells gain a luxe new life with a coat of gold.
- Gifts: A small gold-leafed piece makes a thoughtful, handmade present.
Mixing gold leaf with bold paint colors creates eye-catching contrast. Try a deep navy or emerald base with gold accents for a high-end look.
How Do You Maintain and Protect Gold Leaf Art?
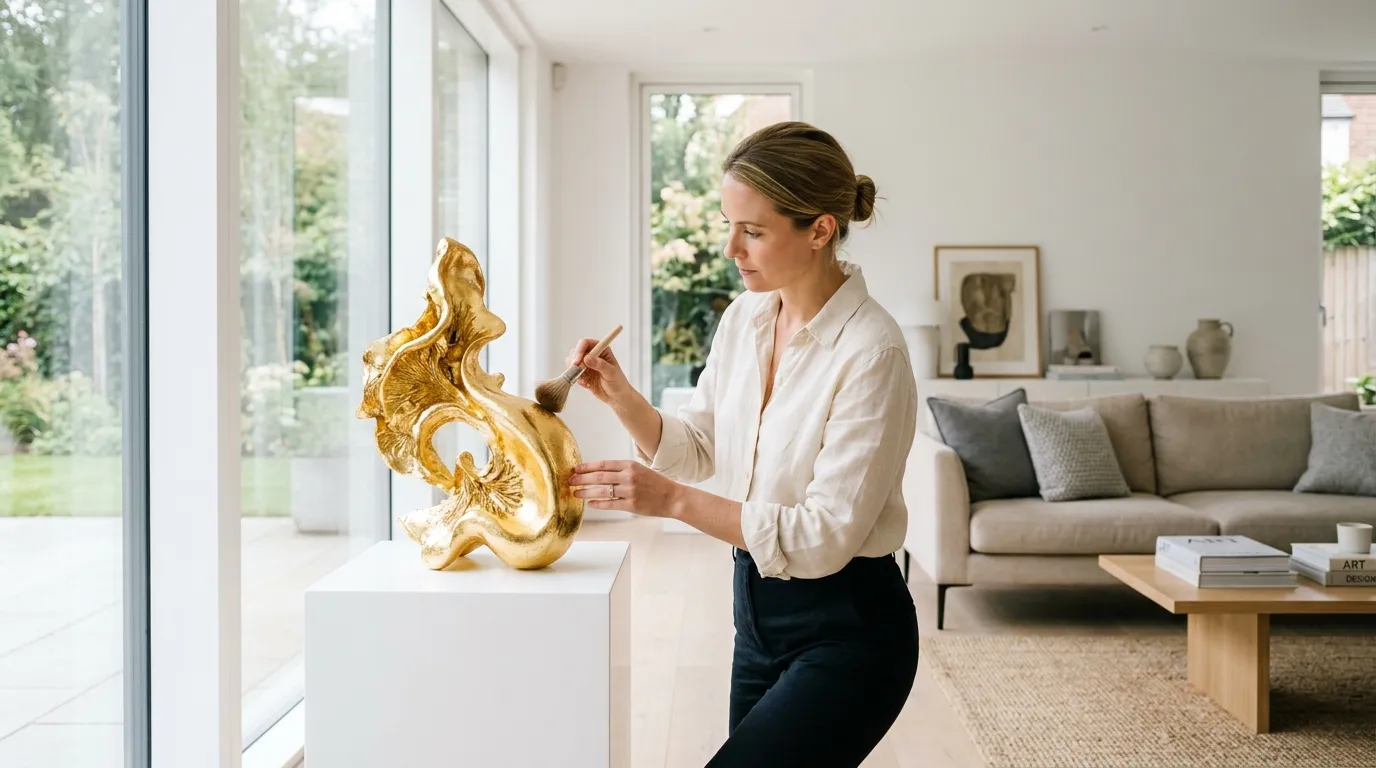
With a little care, your gold leaf sculpture will stay beautiful for years. Dust it gently with a soft, dry cloth or a clean makeup brush. Avoid water and harsh cleaners, which can damage both the leaf and the sealant.
Keep your piece out of direct sunlight when possible, since strong UV rays can fade colored bases over time. For sculptures displayed in bathrooms or kitchens, an extra coat of sealant adds protection against moisture.
If you notice a small chip or tarnish spot down the road, you can touch it up using your leftover leaf scraps and a dab of adhesive. Quick repairs keep the piece looking fresh.
Unleash Your Inner Artist with Gold Leaf
Creating a gold leaf sculpture doesn’t require deep pockets or years of training. With imitation gold leaf, a few cheap brushes, and a little patience, you can craft pieces that look like they belong in a gallery or a high-end boutique.
The best way to learn is to start. Grab an inexpensive object, gather your supplies, and give it a try. Your first piece won’t be perfect, and that’s part of the fun. Each project teaches you something new about timing, pressure, and finishing.
Ready to begin? Pick up a pack of imitation gold leaf this week and turn a plain object into your first golden masterpiece.

Frequently Asked Questions
How much does it cost to make a gold leaf sculpture at home?
A starter kit with imitation gold leaf, adhesive size, brushes, and sealant usually costs between $35 and $50. Imitation leaf is the key to saving—a pack of 100 sheets runs about $10 to $15, compared to hundreds of dollars for real gold leaf.
Is imitation gold leaf as good as real gold leaf?
For most decorative projects, yes. Imitation gold leaf looks nearly identical to real gold and costs far less. The main difference is that imitation leaves can tarnish over time, so they must be sealed. Real gold leaf never tarnishes but is far more expensive.
How long does it take to gild a sculpture?
It depends on the size, but expect a few hours of active work plus drying time. The adhesive needs 15 to 30 minutes to get tacky, and you should wait 24 hours before sealing. A small piece can be finished over a single weekend.
What surfaces can you apply gold leaf to?
Gold leaf works on wood, plaster, ceramic, metal, foam, resin, and even natural objects like pinecones and shells. The key is a clean, smooth, and properly primed surface for the best grip.
Do you have to seal gold leaf?
Yes, especially with imitation gold leaf. The copper content can tarnish when exposed to air and moisture. A clear sealant locks in the shine and protects the finish, particularly for pieces that will be handled or displayed in humid rooms.
Can beginners do gold leafing successfully?
Absolutely. Gold leafing is one of the most forgiving crafts because mistakes are easy to fix. Gaps, wrinkles, and dull spots can all be patched with leftover leaf scraps and a little adhesive, making it ideal for first-timers.