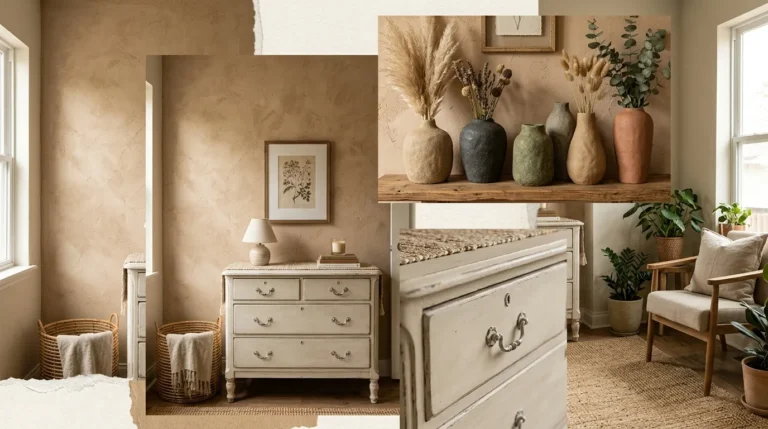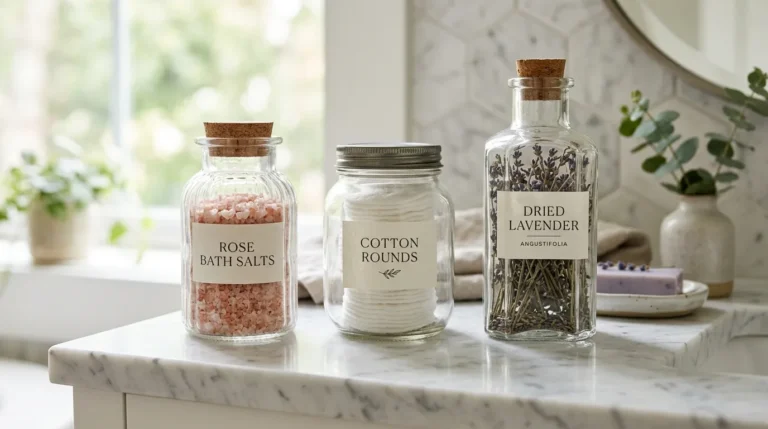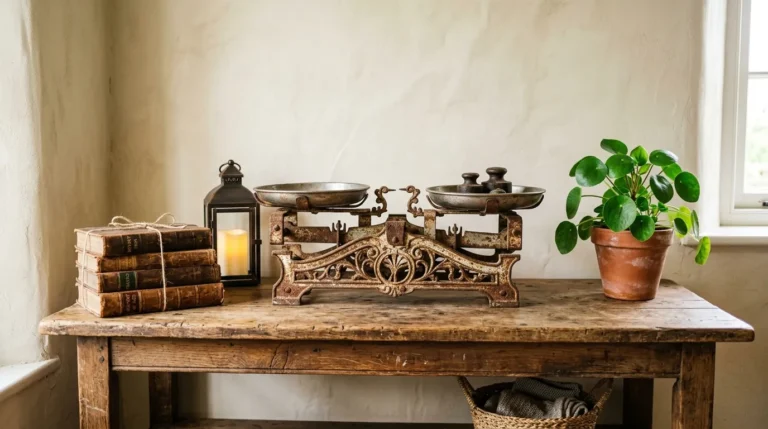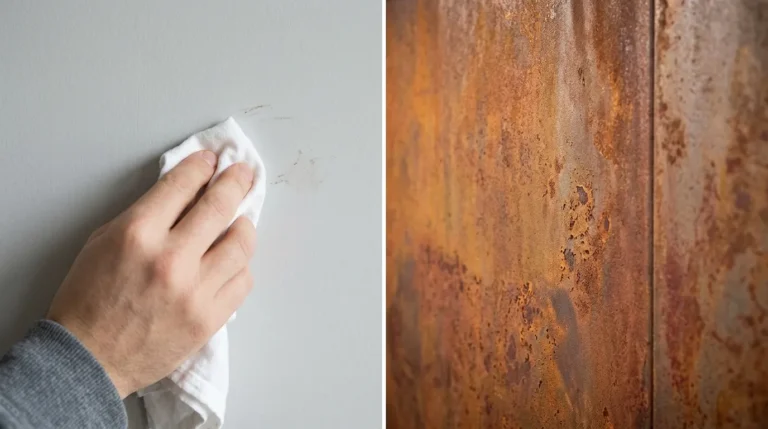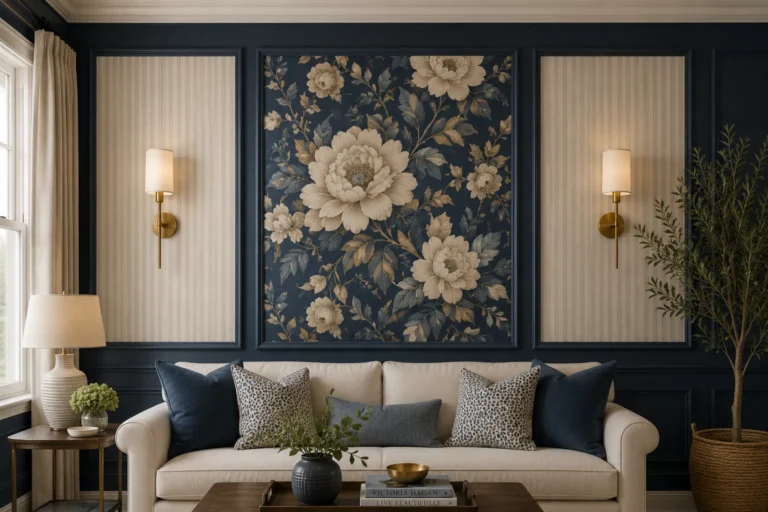
Mood Board Ideas for Room Design and Kitchen Renovations start with creating a visual collage of colors, textures, materials, and inspiration images that captures the look and feel of your design before you spend a dollar. Mood boards help you test ideas, avoid costly mistakes, and communicate your vision clearly whether you build them digitally with tools like Pinterest and Canva or physically with foam board and real samples.
Starting a room makeover or kitchen renovation can feel overwhelming. There are thousands of paint colors, dozens of countertop materials, and endless furniture styles to choose from. How do you know what will actually work together?
That’s where mood boards come in. A good mood board takes the guesswork out of design by letting you see your ideas side by side before you commit. You can spot clashing colors, test textures, and refine your vision all without lifting a paintbrush or swiping your card.
This guide walks you through everything you need to create effective mood boards for any room in your home. You’ll learn what goes into a great mood board, how to build one step by step for both living spaces and kitchens, and whether digital or physical boards are the better fit for your project. By the end, you’ll have the confidence to design a space that looks pulled-together and feels like home.
What is a mood board, and why does it matter for design?
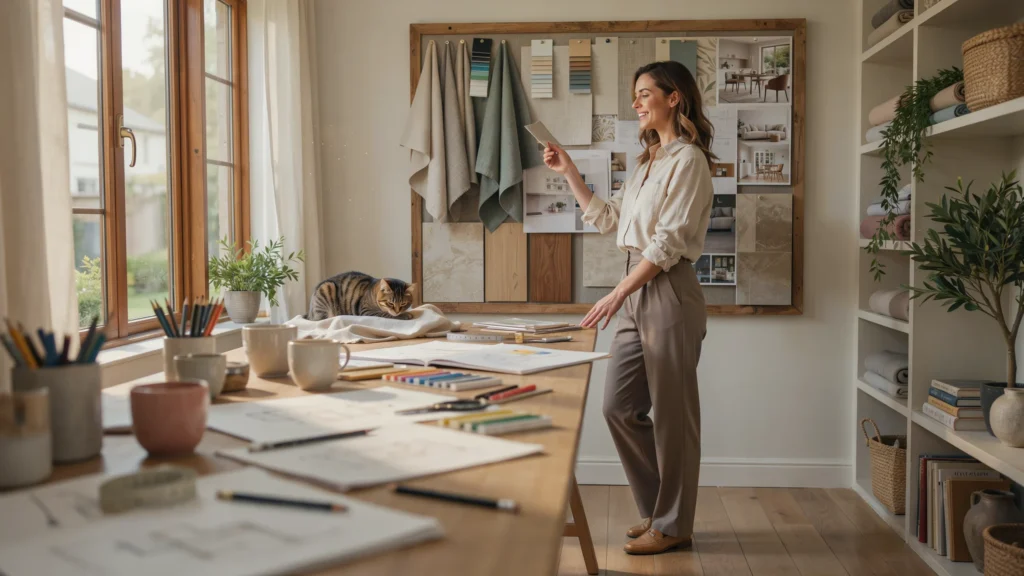
A mood board is a visual reference tool that collects all the elements of a design in one place. Think of it as a snapshot of your finished space before it exists. It pulls together colors, materials, textures, furniture, and inspiration images so you can see how everything works as a whole.
Mood boards matter because they turn abstract ideas into something you can actually evaluate. A color that looks great on its own might clash with your flooring. A trendy tile might clash with your cabinet finish. A mood board reveals these conflicts early, when changing course costs nothing.
For room design and kitchen renovations specifically, mood boards offer three big benefits:
- They save money. Spotting a design mismatch on a board is free. Spotting it after you’ve installed the countertops is expensive.
- They clarify your vision. When you can see your style in one place, decision-making gets faster and easier.
- They improve communication. If you’re working with a contractor, designer, or partner, a mood board shows exactly what you want no misunderstandings.
What goes into a mood board?
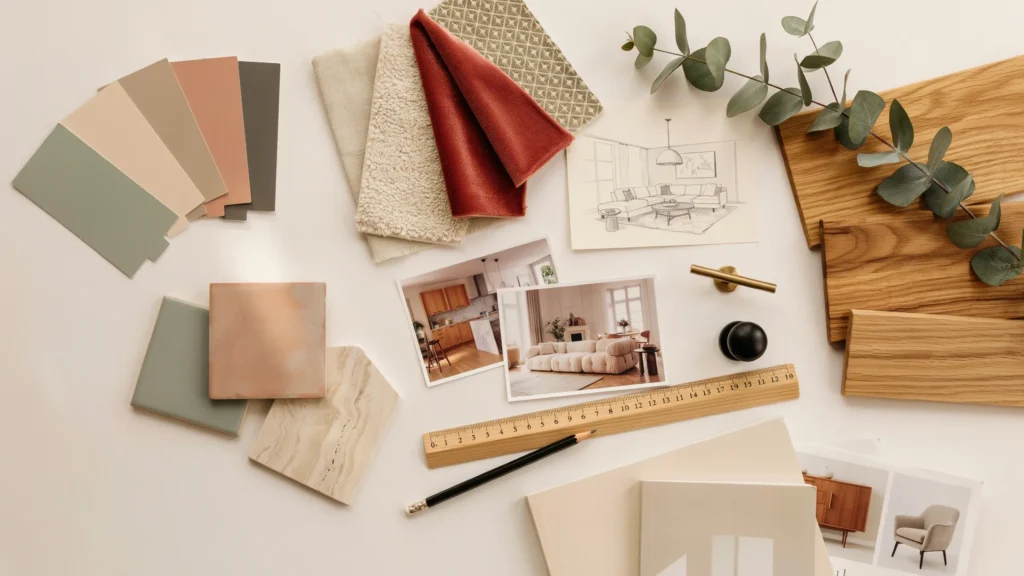
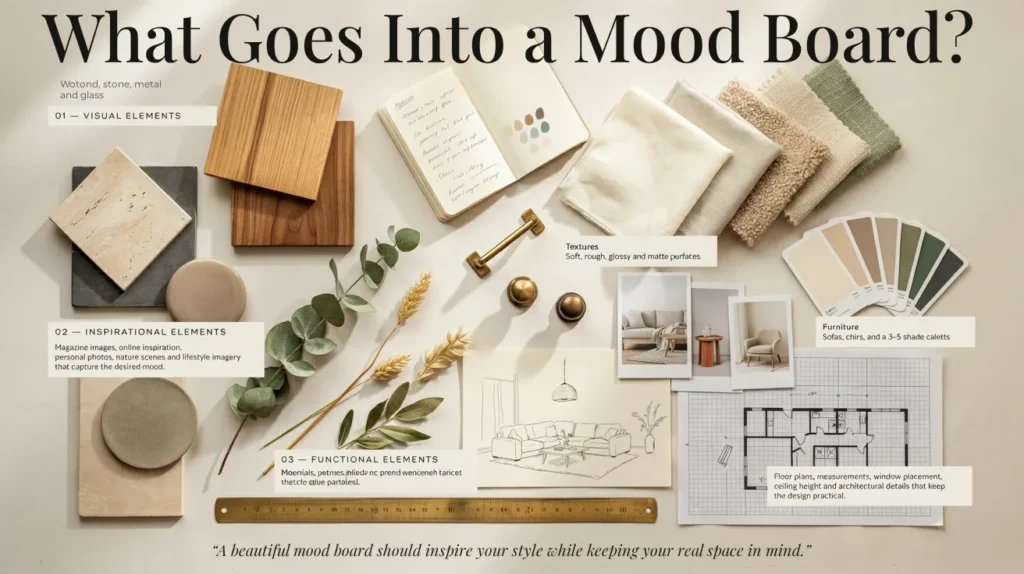
A strong mood board blends three types of elements. Get the balance right, and your board becomes a practical roadmap rather than just a pretty collage.
Visual elements
These are the building blocks of your design’s look. Include the following:
- Colors: Paint chips, fabric colors, and a defined palette of three to five shades.
- Textures: Samples or images that show whether surfaces are soft, rough, glossy, or matte.
- Materials: Wood tones, metal finishes, stone, glass, and other surfaces you plan to use.
- Furniture styles: Images of the chairs, sofas, tables, or cabinets you’re drawn to.
Inspirational elements
These set the mood and capture the feeling you want. Pull from magazine cutouts, online images, and even personal photos. A picture of a cozy café or a beach sunset can guide your palette just as well as a furniture catalog.
Functional elements
These keep your design grounded in reality. Add floor plans, room measurements, and architectural details like window placement or ceiling height. Functional elements remind you that a design has to fit the actual space not just look good on a board.
How do you build a mood board for room design?
Designing a room starts with knowing what you want from the space. A bedroom and a home office serve very different purposes, so your mood board should reflect that.
How do you define your room’s purpose and vibe?
Before gathering images, ask what the room needs to do. The purpose shapes every choice that follows:
- Bedroom: This is your retreat. Aim for relaxation and comfort with soft textures, calming colors, and personal touches.
- Living room: This is the social hub. Think durable, welcoming, and flexible a space for both family movie nights and guests.
- Home office: This is where you focus. Prioritize a clean, inspiring setup that keeps distractions low and energy up.
A step-by-step guide to building a room mood board
Once you know your room’s purpose, follow these four steps to build your board.
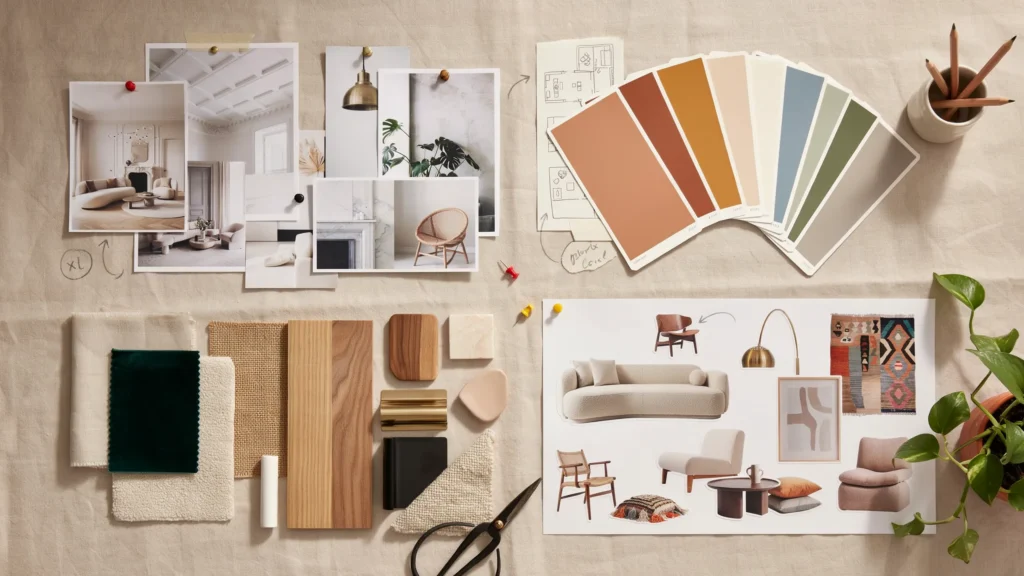
Step 1: Gather inspiration. Browse Pinterest, Houzz, and design blogs. Save anything that catches your eye, even if you’re not sure why yet. Patterns will emerge as your collection grows.
Step 2: Select a color palette. Choose a base of one or two main colors, then add accents. Warm tones (reds, oranges, yellows) feel cozy and energetic. Cool tones (blues, greens, grays) feel calm. Neutrals keep things flexible, while bold colors make a statement.
Step 3: Choose textures and materials. Mix textures to add depth. A room with only smooth surfaces can feel flat, so balance soft fabrics with rough wood or glossy metal.
Step 4: Add furniture and decor styles. Decide on a direction modern, rustic, bohemian, or minimalist and pull images that match. Keep your style consistent so the room feels intentional.
How do you build a mood board for a kitchen renovation?
Kitchen renovations carry higher stakes than most room makeovers. Materials are pricey, layouts are hard to change, and one mismatched finish can throw off the whole space. A detailed mood board is your best safeguard.
What should you consider before designing a kitchen?
Kitchens have to look good and work hard. Keep these three factors in front of your mind:
- Layout and functionality: Plan your workflow between the sink, stove, and fridge. Map out storage and appliance placement before anything else.
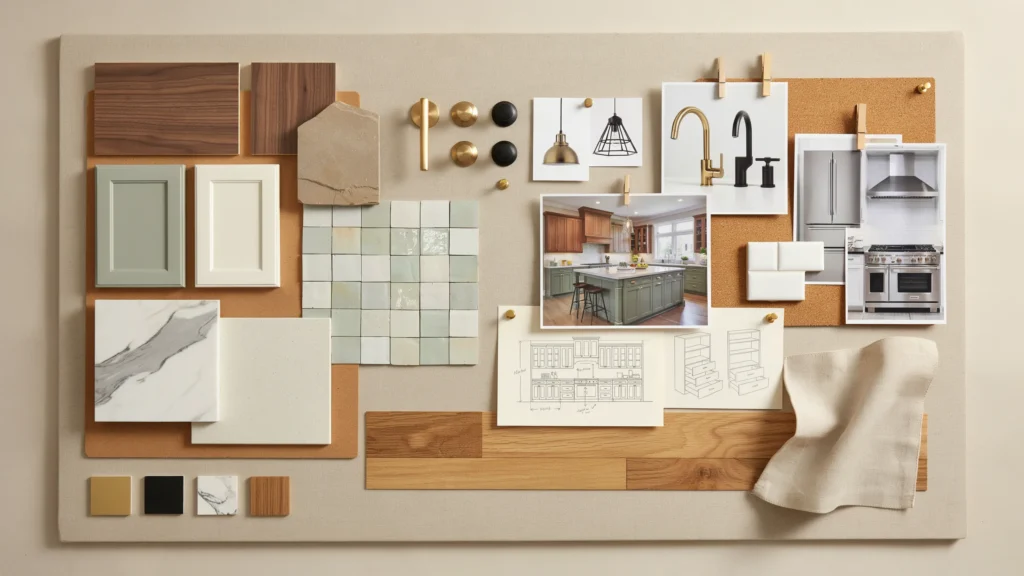
- Material choices: Countertops, cabinetry, flooring, and backsplash all need to coordinate. Gather real samples whenever possible, since photos can mislead on color and finish.
- Lighting: Layer your lighting. Combine ambient light for the whole room, task lighting over work areas, and accent lighting to highlight features.
A step-by-step guide to building a kitchen renovation mood board
Here’s how to assemble a kitchen board that balances beauty and function.
Step 1: Research kitchen styles. Explore contemporary, farmhouse, industrial, and traditional looks. Pin examples that fit both your taste and your home’s overall feel.
Step 2: Select fixtures and finishes. Choose faucets, cabinet hardware, and light fixtures that share a consistent finish brushed nickel, matte black, or brass, for example.
Step 3: Integrate appliances. Decide whether you want smart technology or energy-efficient models, and check that their style matches your design. Stainless steel reads differently from panel-ready appliances.
Step 4: Plan storage solutions. Add ideas for pantries, deep drawers, and open shelving. Good storage is the difference between a kitchen that looks great and one that actually functions.
Digital vs. physical mood boards: which one is right for you?
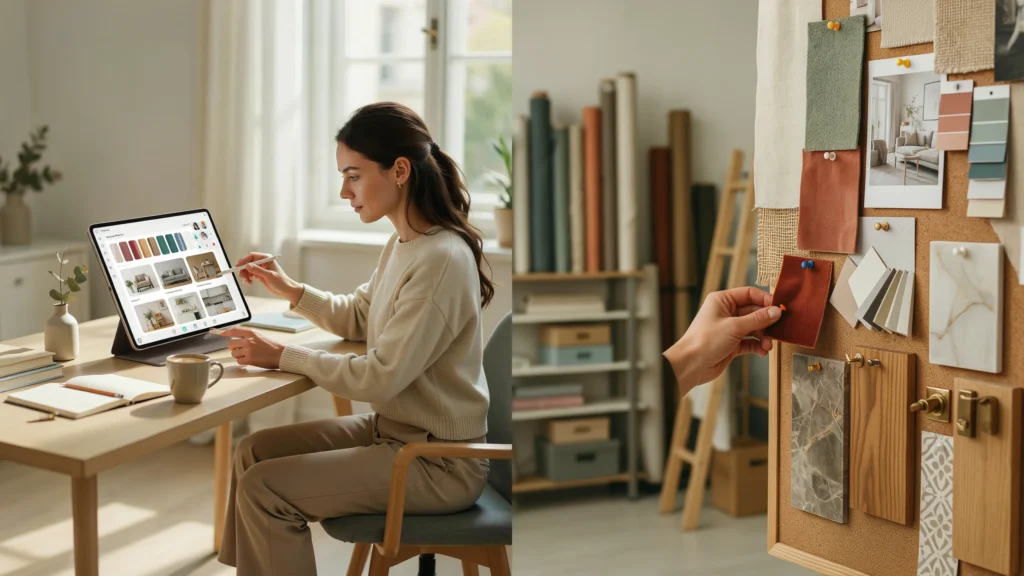
Both digital and physical mood boards get the job done. The right choice depends on how you like to work and what your project demands.
When should you use a digital mood board?
Digital boards live online and are built with platforms like Pinterest, Milanote, and Canva. They shine when convenience and sharing matter most.
Advantages:
- Easy to edit, rearrange, and update in seconds.
- Simple to share with contractors, designers, or family.
- Accessible from any device, anywhere.
Choose a digital board if you’re collaborating remotely, working across multiple devices, or planning to revise your ideas often.
When should you use a physical mood board?
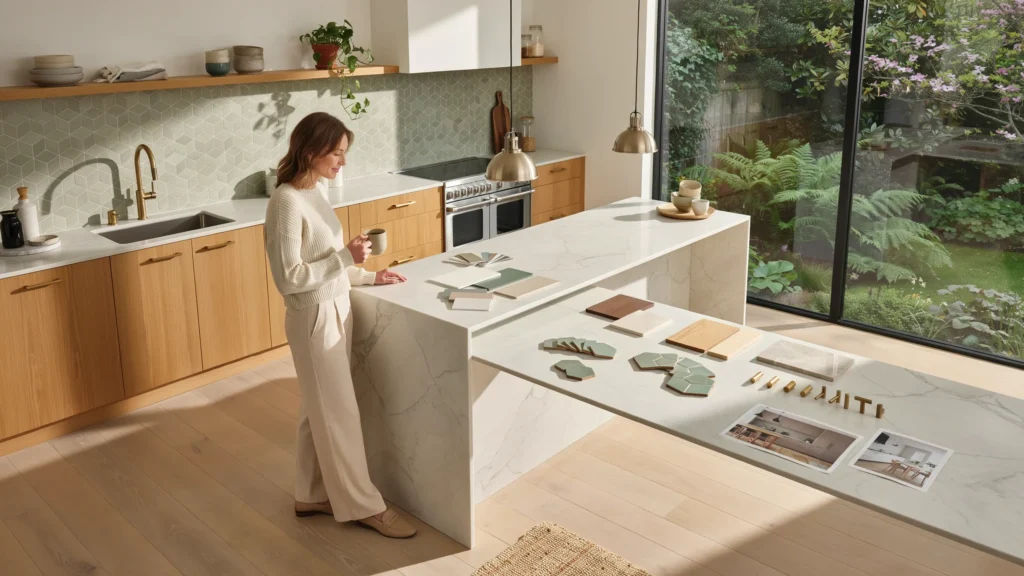
Physical boards use foam board or cork board along with real samples fabric swatches, paint chips, tile pieces, and wood. They win when texture and feel are part of the decision.
Advantages:
- You can touch and compare real materials.
- True colors and finishes show up accurately, unlike on screens.
- The hands-on process sparks creativity for many people.
Choose a physical board if your project hinges on material quality, such as a kitchen renovation where countertop and cabinet samples need to be seen in person.
Start designing your dream space.
A mood board is the cheapest, smartest first step in any room design or kitchen renovation. It lets you experiment freely, catch problems early, and walk into your project with a clear plan. Whether you sketch on a tablet or pin samples to a corkboard, the goal is the same: see your vision before you build it.
Ready to begin? Pick one room, open Pinterest, or grab a foam board, and start collecting what you love. Don’t overthink the first round gather, then refine. The patterns in your choices will point you toward a style that’s truly yours.
Frequently asked questions
How much does it cost to make a mood board?
A mood board can cost almost nothing. Digital boards on Pinterest, Milanote’s free plan, or Canva are free to start. Physical boards require basic supplies a foam or cork board and material samples which usually run $20 to $50. Many paint and tile stores give out samples for free or a small fee.
How long does it take to create a mood board?
A basic mood board takes one to two hours to pull together. A detailed board for a full kitchen renovation, complete with real samples and finishes, can take a few days as you gather materials and refine your choices. Rushing rarely pays off, so give yourself time to let ideas settle.
Do I need design experience to make a mood board?
No. Mood boards are made for beginners and pros alike. You don’t need to know design rules collect images and materials you like, then look for what they have in common. The process itself teaches you about your own style.
What’s the biggest mistake people make with mood boards?
The most common mistake is adding too much. A cluttered board with twenty colors and ten styles creates confusion instead of clarity. Stick to a focused palette of three to five colors and one clear style direction so your vision stays sharp.
Should I use a digital or physical mood board for a kitchen renovation?
For kitchen renovations, a physical mood board is often the better choice because material quality matters so much. Seeing and touching real countertop, cabinet, and tile samples prevents costly surprises. That said, many people use both a digital board for early inspiration and a physical one for final material decisions.