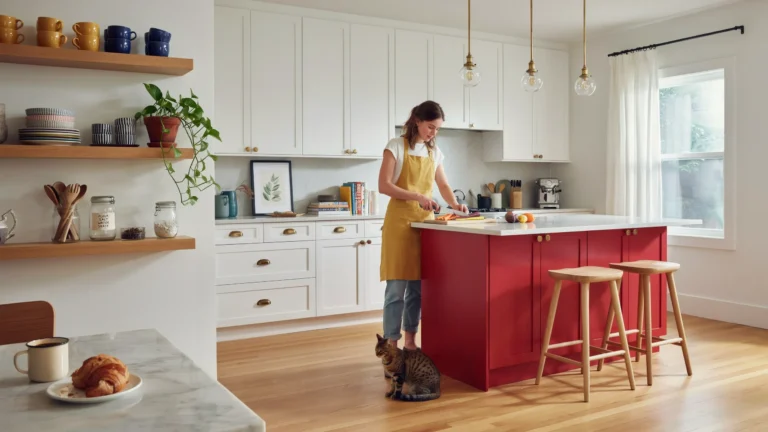
To completely organize a kitchen, start by emptying all cabinets and sorting items into keep, donate, or toss categories. Next, group your remaining items into functional zones, such as prep, cooking, and baking areas. Finally, implement strategic storage solutions like clear bins and drawer dividers, and establish daily maintenance habits.
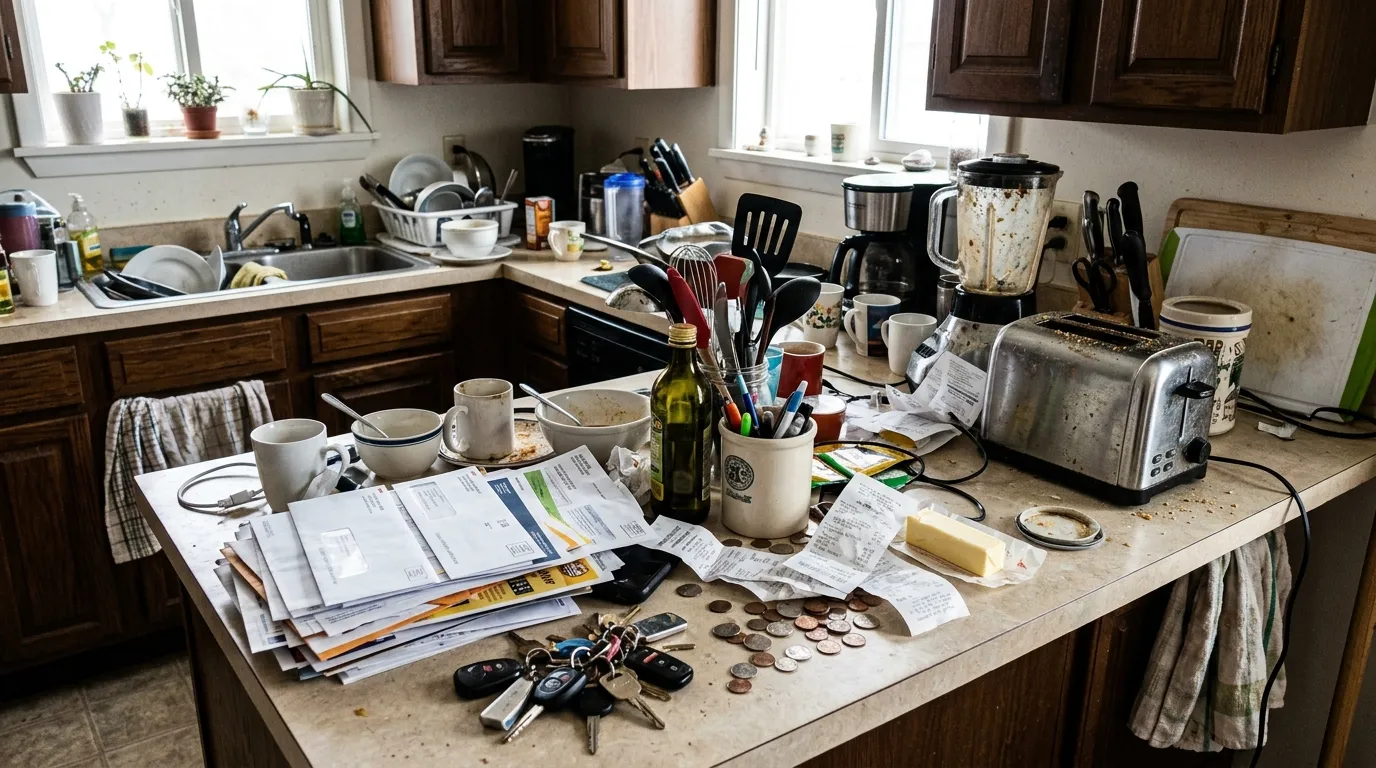
If you’re looking for a practical guide, How We Completely Organized Our Kitchen (Step-by-Step) shares the exact process we followed to transform our space into a clean, efficient, and easy-to-maintain kitchen. We all know the frustration of rummaging through a cluttered drawer to find a single measuring spoon. Before tackling this project, our kitchen countertops overflowed with mail, random small appliances, and mismatched Tupperware containers. Opening the pantry felt like playing a game of Jenga. We constantly bought duplicate spices because we could not find the ones we already owned.
We decided to completely overhaul the space to reduce our daily stress, speed up meal preparation, and make grocery shopping more efficient. A clean, structured space saves time and significantly reduces food waste. This guide breaks down exactly how we transformed our chaotic cooking area into a highly functional workspace. You can replicate this exact process to regain control of your own home.
What is the best way to start organizing a messy kitchen?
The first phase of our project required a massive decluttering session. You cannot organize clutter. You must reduce the volume of items before you even think about buying storage bins.
How do you effectively empty and sort kitchen items?
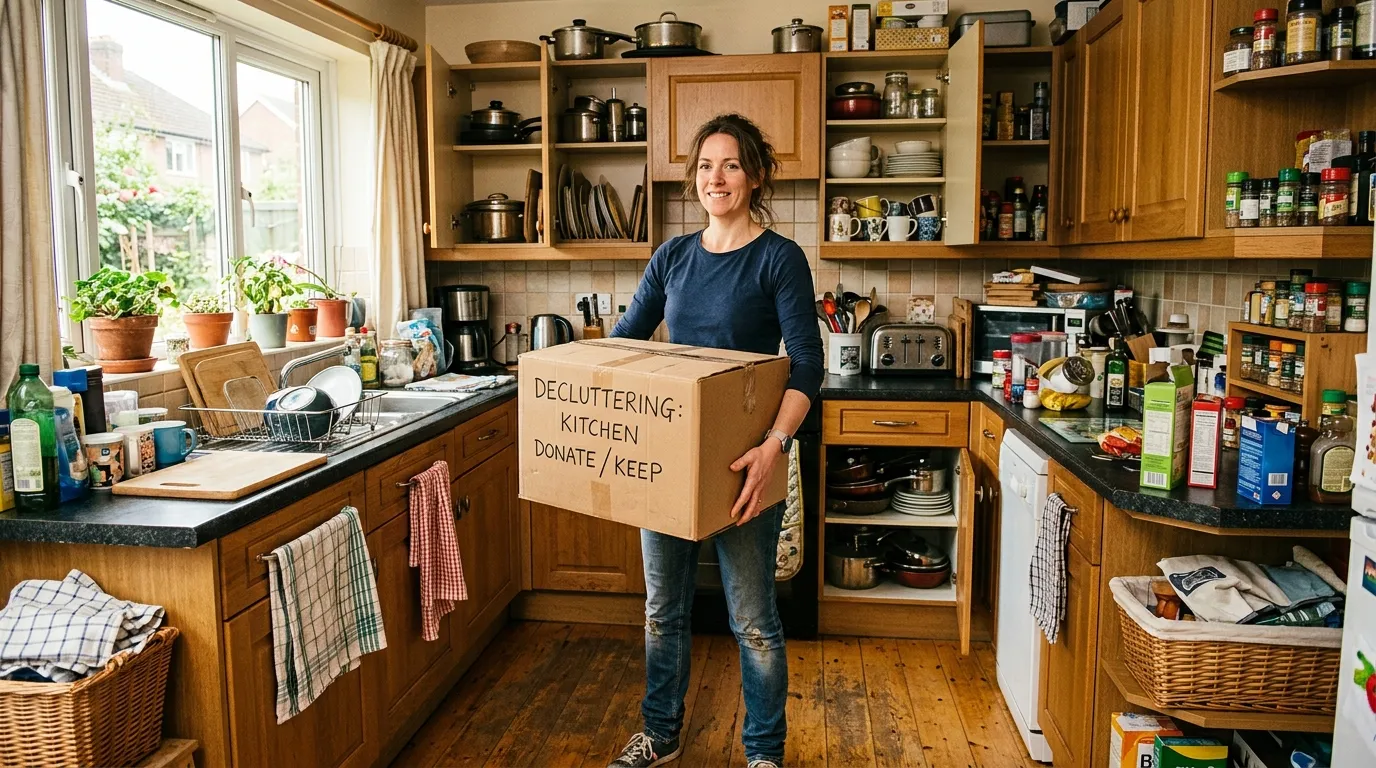
Begin by completely emptying every single cabinet, drawer, and pantry shelf. Start with a totally blank slate. Pulling everything out forces you to confront the sheer volume of items you own. Use your dining room table and countertops as temporary staging areas.
Once everything is out, grab three large cardboard boxes. Label them “Keep,” “Donate,” and “Toss.” Pick up every individual item and make a swift decision. If you have not used a gadget in the past twelve months, place it in the donate box. Throw away expired food, cracked plastic containers, and broken utensils. We had three identical garlic presses; we kept the best one and donated the other two. Be ruthless with sentimental items. A mug you never use takes up valuable real estate.

What is the best method to deep clean kitchen cabinets?
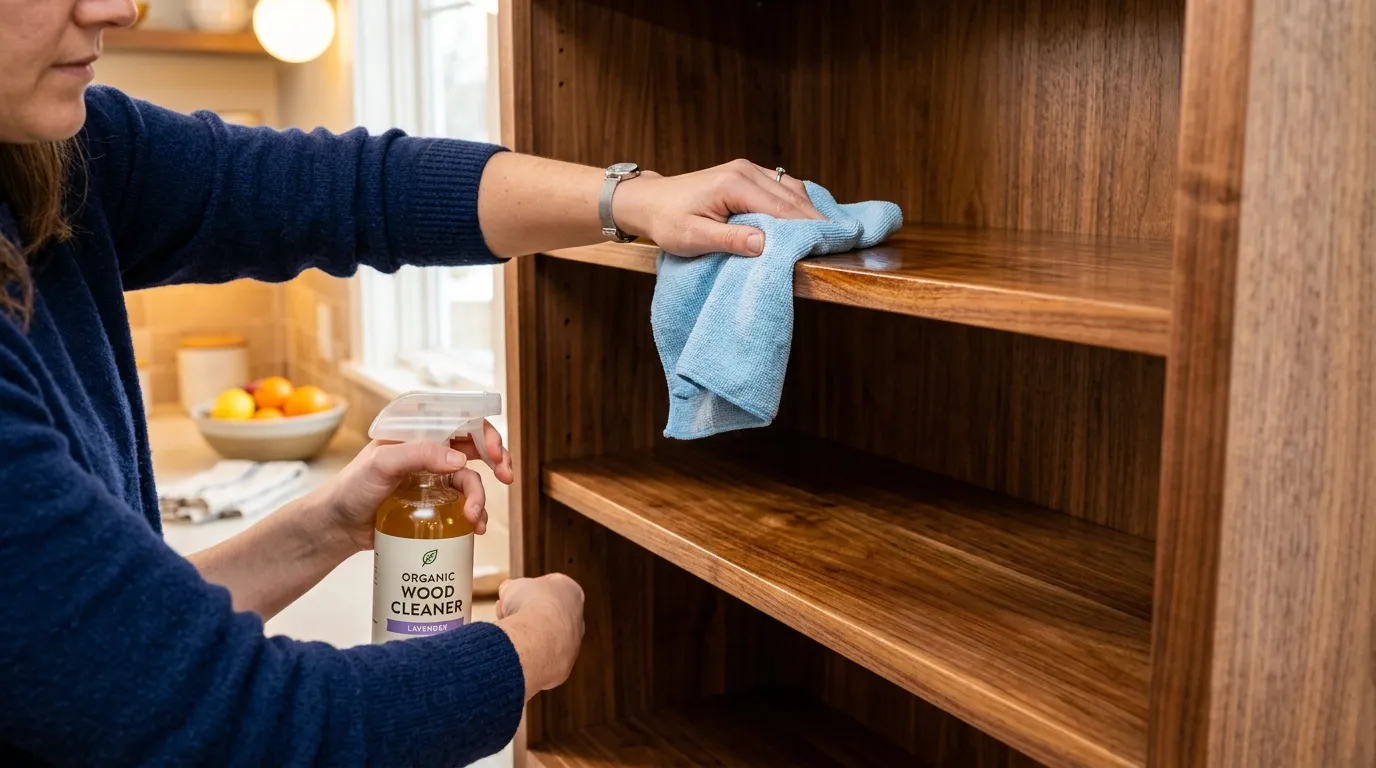
Before you put a single item back, clean the empty spaces thoroughly. Crumbs, spilled liquids, and dust accumulate in the dark corners of your pantry and drawers.
Use a vacuum attachment to suck up dry debris from the corners of your drawers. Next, wipe down all interior surfaces with a gentle all-purpose cleaner. A simple mixture of warm water and dish soap works perfectly for painted or sealed wood cabinets. For stubborn grease spots near the stove, use a baking soda paste. Let the shelves dry completely to prevent mold or moisture damage. Taking the time to deep clean ensures your newly organized kitchen feels genuinely fresh.
How can you create functional zones in a kitchen?
Once you have a curated collection of useful items and a clean kitchen, you need a strategy for putting things back. You must organize your kitchen based on how you actually use the space.
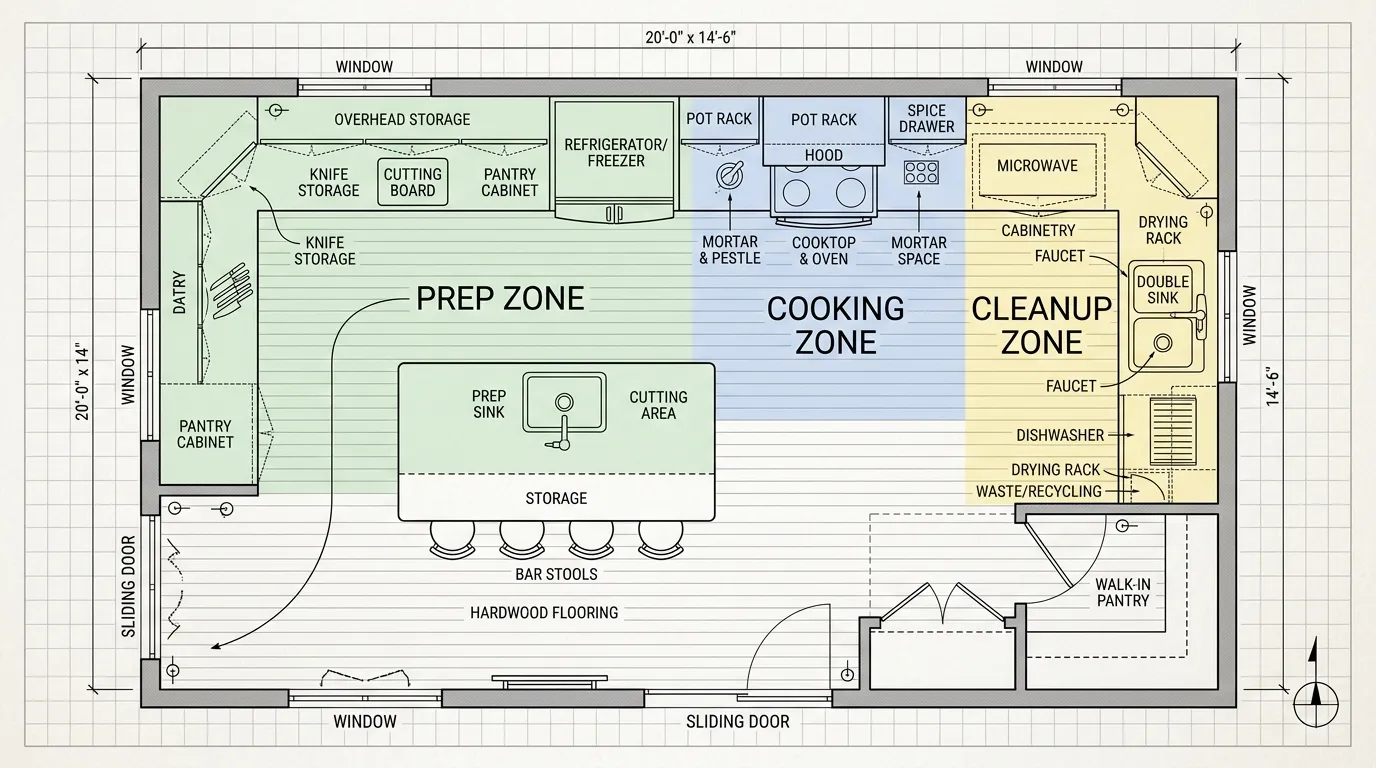
What are the primary kitchen zones you need to set up?
Think of your kitchen as a series of workstations. The most common functional areas include a food preparation zone, a cooking zone, a baking zone, a cleaning zone, and a food storage zone.
Assess your specific layout to determine where these zones make the most sense. Your prep zone should be located on the largest stretch of continuous countertop, ideally near the sink and the trash can. Your cooking zone naturally surrounds the stove and oven. Your cleaning zone sits directly under and around the sink. By assigning a specific purpose to each geographical area of your kitchen, you eliminate unnecessary walking back and forth while preparing meals.
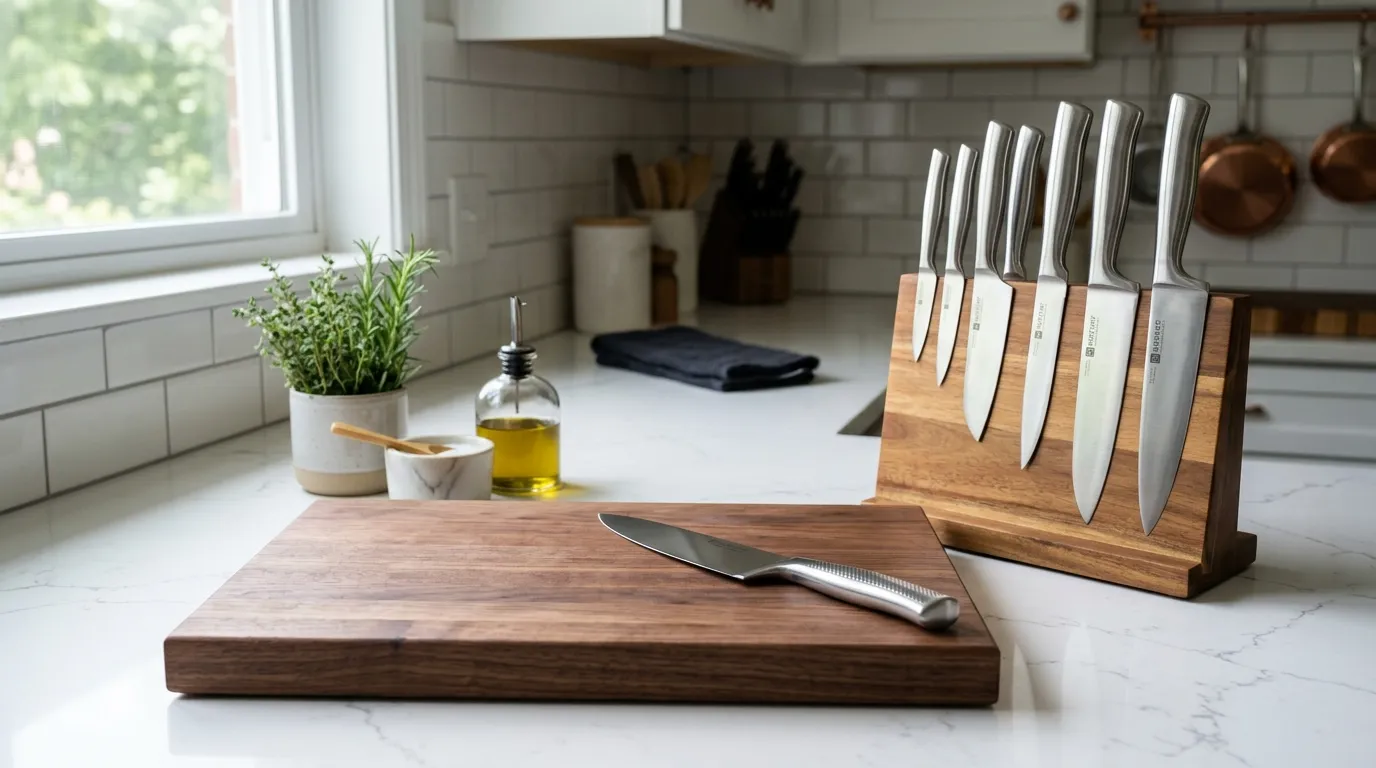
How should you group similar kitchen items for maximum efficiency?
Store items exactly where you use them first. Group all of your pots, pans, and wooden spoons in the cabinets immediately surrounding the stove. Keep your cutting boards, mixing bowls, and sharp knives in your designated prep zone.
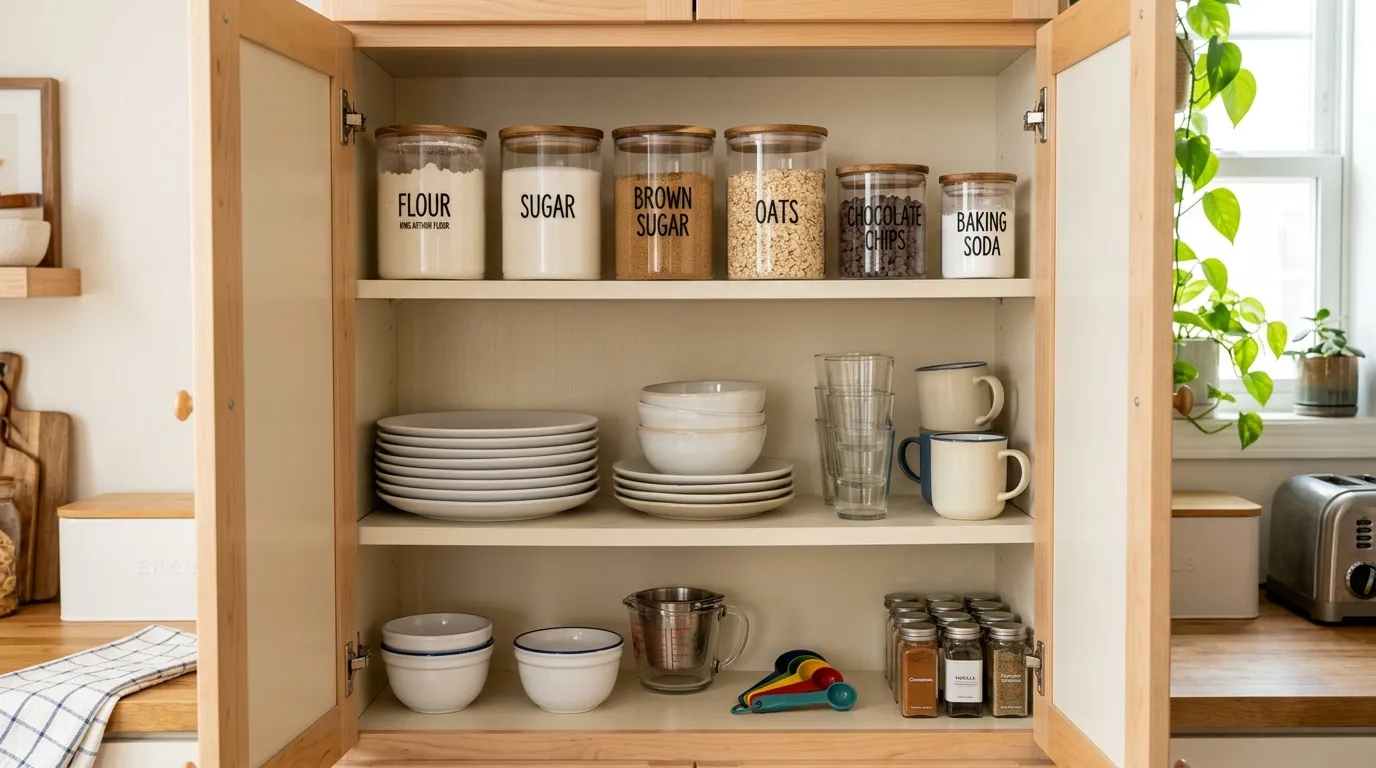
Consider the frequency of use when deciding the exact placement of items. Place your everyday plates, bowls, and coffee mugs on the lowest, most accessible shelves. Store holiday platters, turkey roasters, and specialty baking pans on the highest shelves or above the refrigerator. Group your baking staples flour, sugar, baking powder, and vanilla extract into one specific cabinet or pantry shelf. When you decide to bake cookies, you only need to access one location.
What are the best ways to maximize vertical space in a small kitchen?
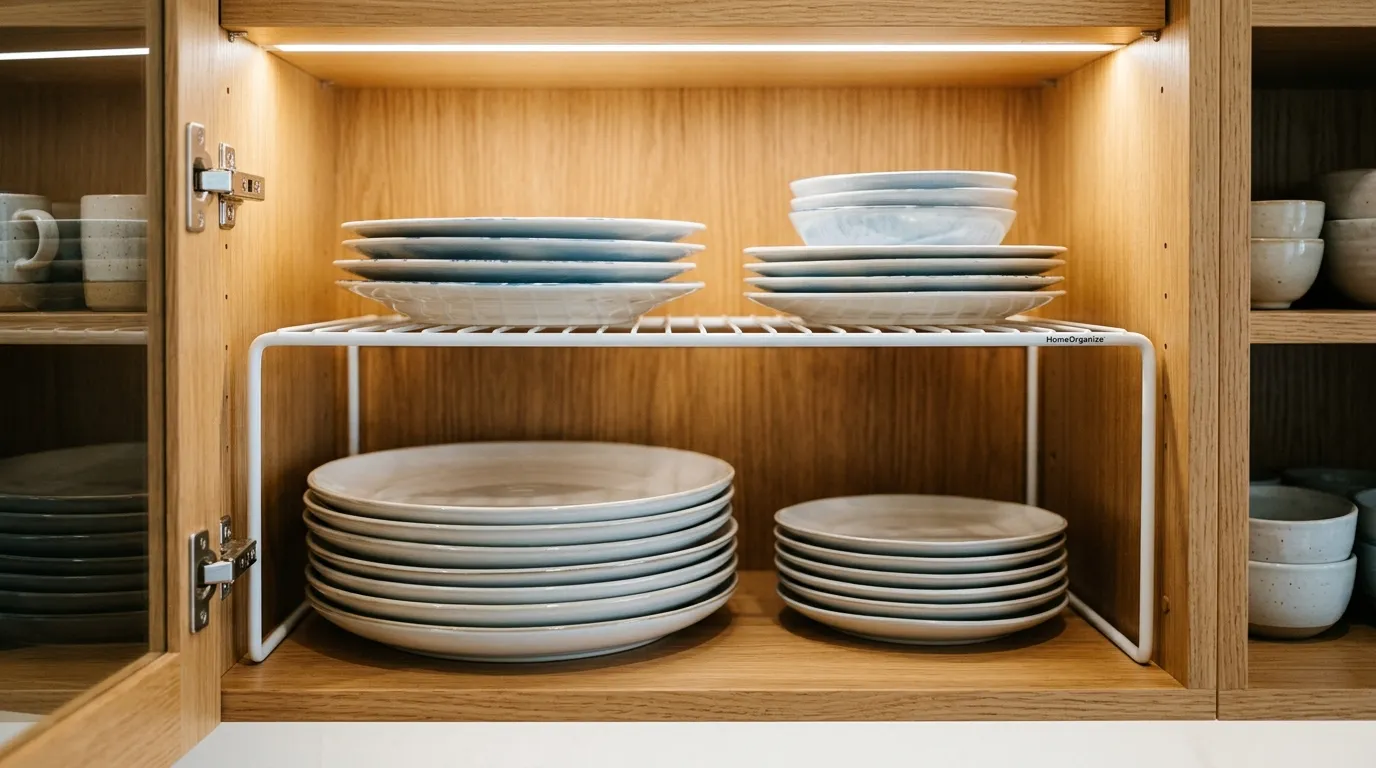
Many kitchens lack adequate drawer or cabinet space, leaving a large amount of vertical space entirely wasted. Standard upper kitchen cabinets measure 12 inches deep and often have large gaps between the shelves.
Use shelf risers to double your storage capacity for plates and bowls. Install under-shelf baskets to hold small items like boxes of tea or aluminum foil. If you have tall pantry shelves, use stackable, airtight containers for your dry goods. Mount adhesive hooks on the inside of cabinet doors to hang measuring spoons, pot holders, or lightweight lids. Utilize the vertical wall space above your stove by installing a magnetic knife strip or a hanging pot rack.
Which storage solutions work best for organizing a kitchen?
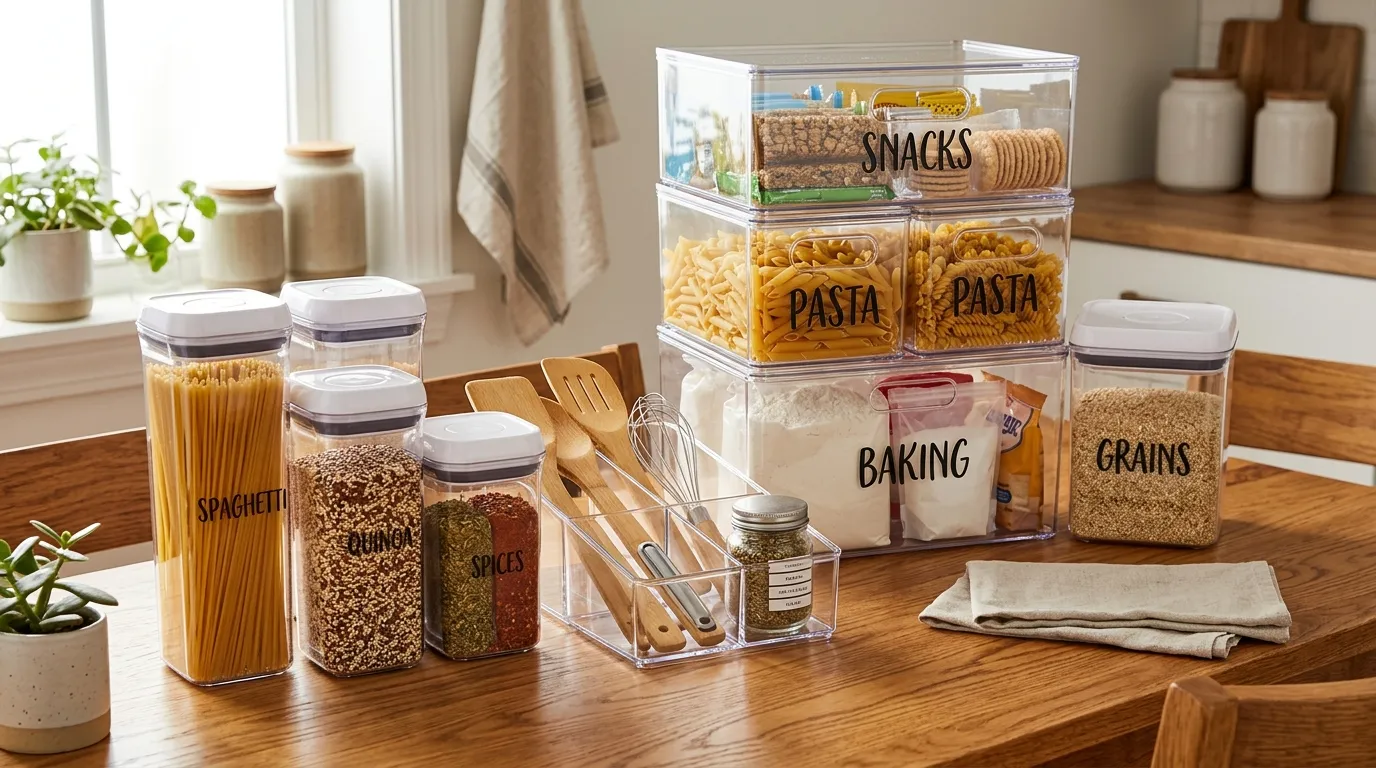
After mapping out your zones and grouping items, you need the right tools to keep everything contained. The right organizational products prevent items from shifting around and becoming a jumbled mess again.
How do you choose the right drawer organizers and dividers?
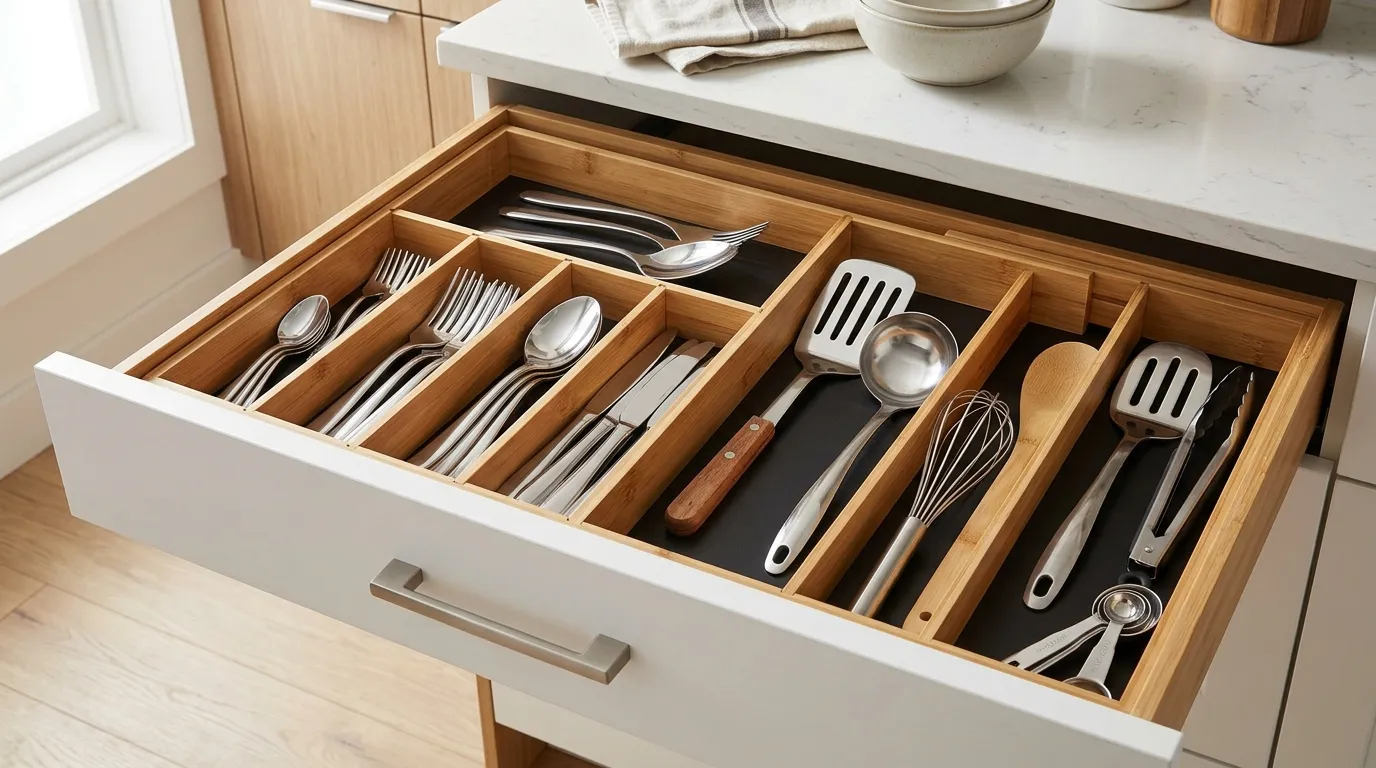
Drawers quickly become chaotic junk piles without physical boundaries. Drawer dividers are essential for maintaining order.
Choose adjustable bamboo dividers if aesthetic appeal matters more to you than price. Bamboo looks seamless inside wooden drawers. Choose modular plastic bins if you need a budget-friendly option that is easy to wash. Measure the exact length, width, and depth of your drawers before purchasing any inserts. Give every utensil a specific home. Separate your forks from your spoons, and designate a specific slot for your whisk and spatula. Use small, shallow bins to corral loose items like rubber bands, chip clips, and twist ties in your designated utility drawer.
What are the best containers for pantry organization?
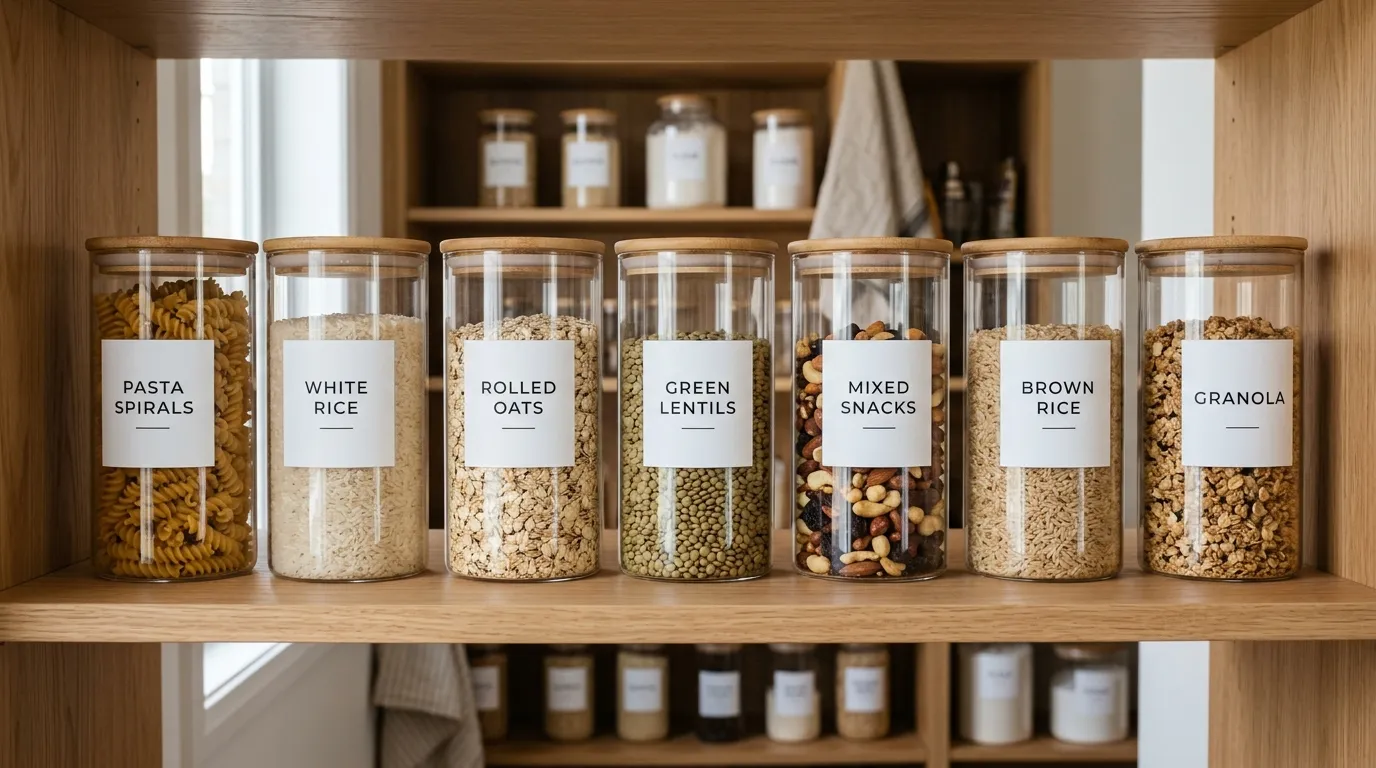
Pantry organization requires visibility. You need to see exactly how much pasta or cereal you have left before heading to the grocery store.
Decant bulky items into clear, airtight canisters. Removing cardboard boxes immediately reduces visual clutter and saves space. Label every single container clearly. Use a label maker or chalkboard stickers to identify the contents and note the expiration date on the bottom. For deep pantry shelves, lazy Susans are highly effective. Place your oils, vinegars, and condiments on a turntable so you can access the bottles in the back with a simple spin. Use large woven baskets on the floor of the pantry to hold heavy items like bags of potatoes or backup paper towels.
How can you organize deep kitchen cabinets and under-sink areas?
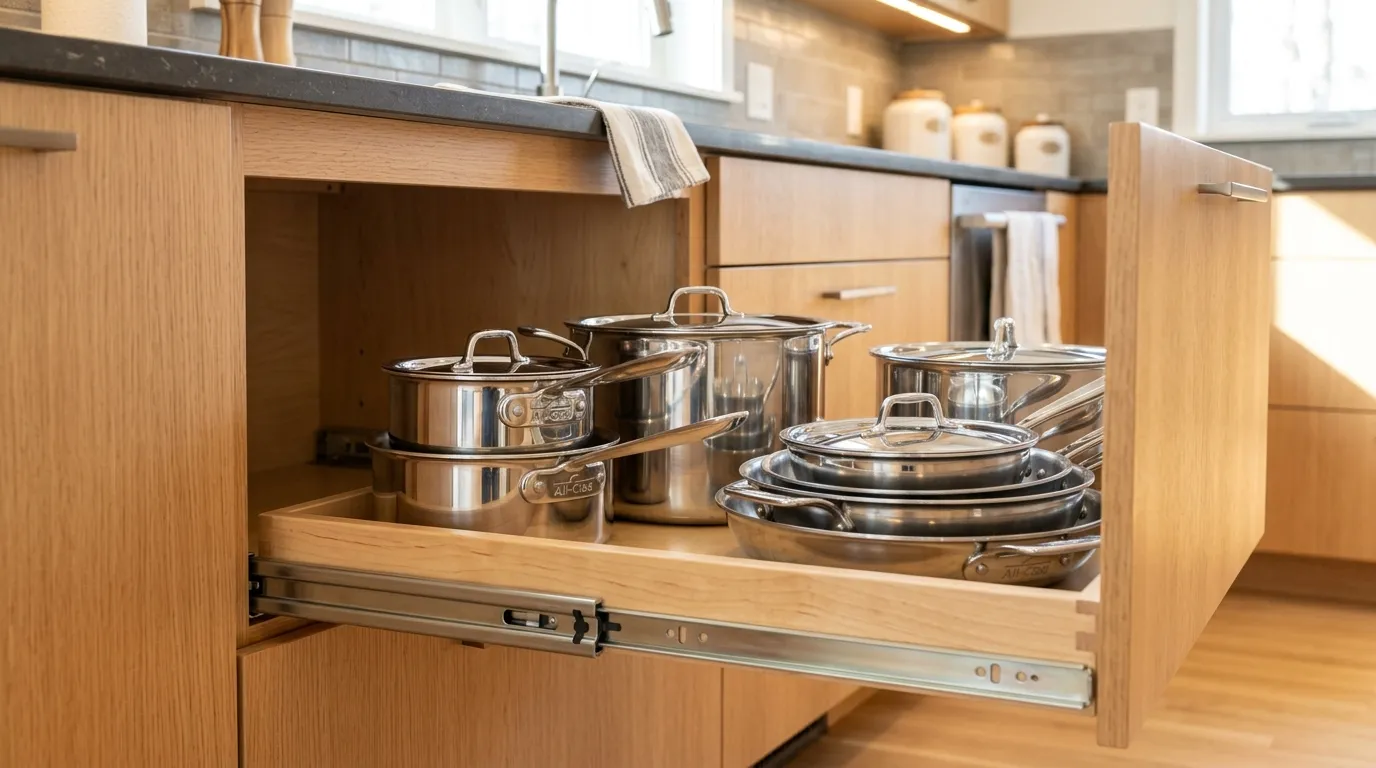
Deep lower cabinets often become black holes where Tupperware lids and specialized appliances disappear forever. Under-sink areas present a unique challenge due to awkward plumbing pipes.
Install pull-out sliding shelves in your lower cabinets. This allows you to pull the entire contents of the cabinet out into the light, eliminating the need to crawl on the floor to reach a blender. For the area under the kitchen sink, use expandable shelving units that fit around the pipes. Store your dish soap, dishwasher pods, and sponges in clear acrylic bins. Install a tension rod across the top of the under-sink cabinet to hang spray bottles by their triggers, freeing up valuable floor space below.
What is the most efficient way to organize a refrigerator and freezer?
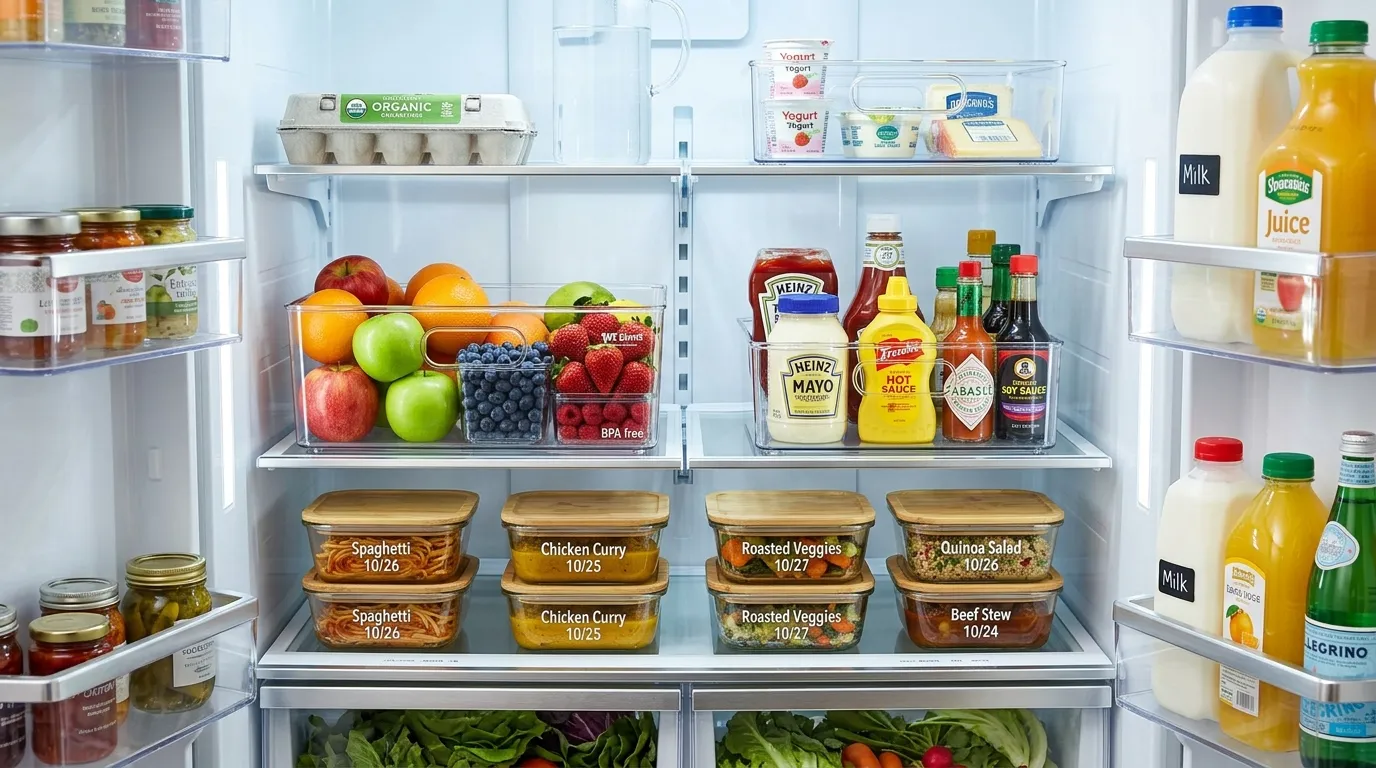
The refrigerator requires a dynamic organization system because the inventory changes on a weekly basis. A messy fridge leads directly to spoiled food and wasted money.
Utilize clear plastic bins to group similar items together. Create a specific bin for deli meats and cheeses, another for condiments, and a separate one for fresh fruit. This prevents items from getting pushed to the very back and forgotten. Implement the First-In, First-Out (FIFO) method. When you buy new groceries, place the new items behind the older items. Store your leftovers in square or rectangular glass containers. Square containers stack much more efficiently than round ones, maximizing your limited shelf space.
How do you maintain an organized kitchen long-term?
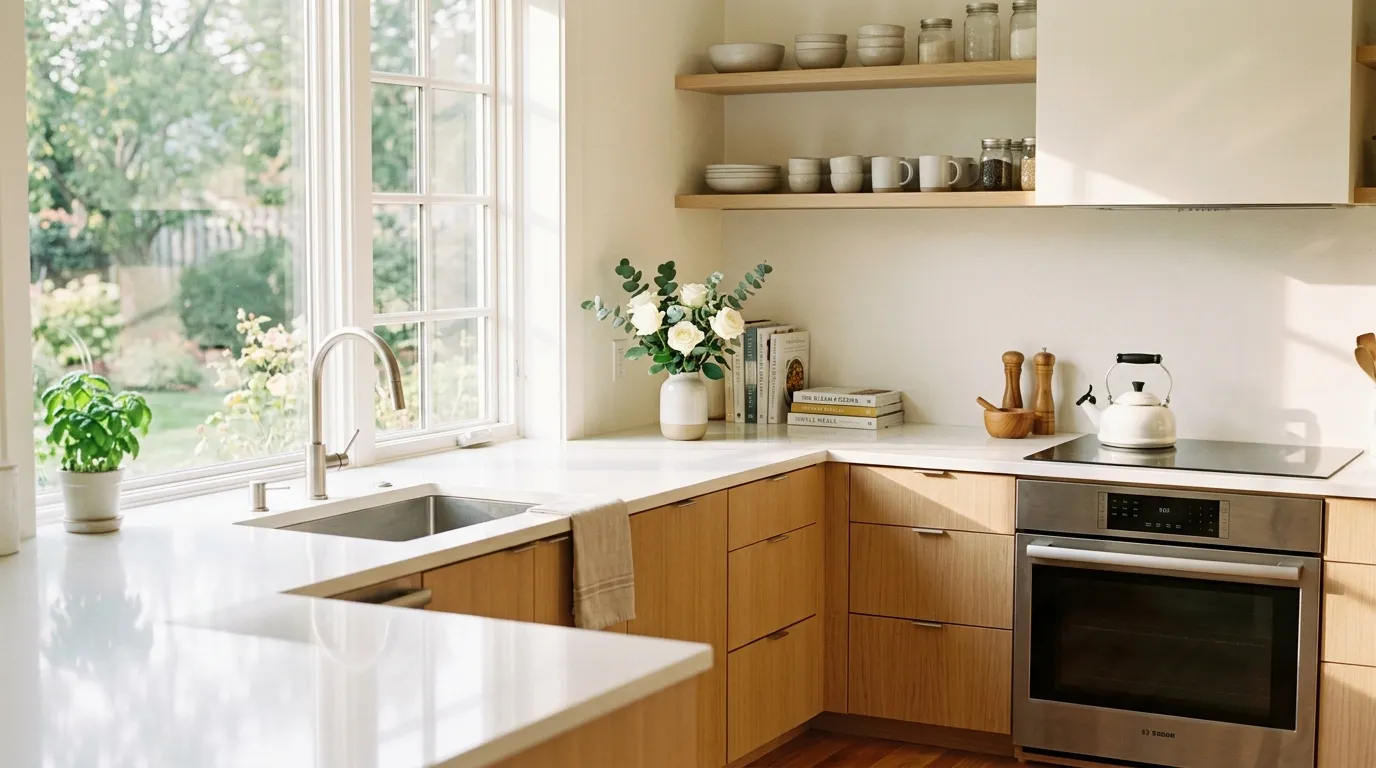
Organizing your kitchen is not a one-time event. It requires ongoing maintenance to ensure the clutter does not slowly creep back in. Building simple daily and weekly habits makes all the difference.
What daily habits keep a kitchen organized?
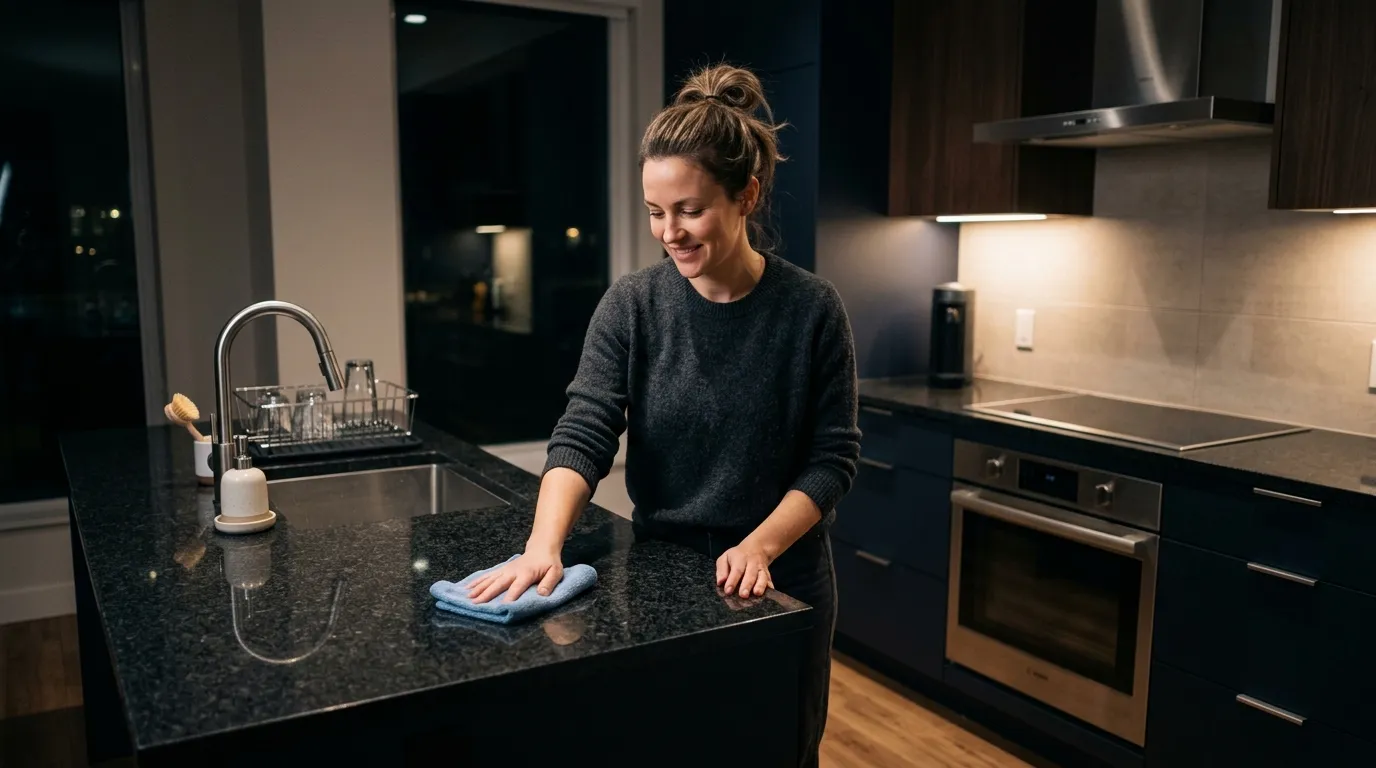
The most critical habit is the “daily reset.” Dedicate ten minutes every single evening to returning the kitchen to its baseline state.
Wash all the dishes, wipe down the countertops, and put away any lingering ingredients. Put your toaster back in its designated cabinet zone. Ensure the dishwasher is run at night and emptied first thing in the morning. When the dishwasher is empty, you can immediately load dirty dishes throughout the day, keeping your sink completely clear. Never go to sleep with a messy kitchen.
How often should you review and purge kitchen items?
Even with the best intentions, new items will enter your kitchen. You must schedule regular reviews of your inventory.
Perform a quick refrigerator audit once a week before taking out the trash. Throw away expired leftovers and wilting produce. Every three months, do a sweep of your pantry to check for expired canned goods or stale snacks. Once a year, revisit the grand purge process. Evaluate your gadgets and utensils. If a new specialized appliance has entered the kitchen, make sure you donate an older item to maintain your spatial balance.

What are your next steps for achieving kitchen zen?
Taking control of your kitchen transforms the way your entire household functions. Cooking becomes an enjoyable hobby rather than a stressful chore.
To get started, pick just one specific drawer or cabinet today. Empty it, sort the contents, and put back only what you truly need. By tackling the space in small, manageable chunks, you avoid feeling overwhelmed. Commit to the process, invest in a few strategic storage solutions, and enjoy the lasting benefits of a highly functional, peaceful kitchen environment.
Frequently Asked Questions about Kitchen Organization
How much does it cost to organize a kitchen completely?
The cost varies wildly depending on your approach. You can organize a kitchen for zero dollars by repurposing old shoeboxes and glass jars for storage. If you choose to invest in high-quality acrylic bins, bamboo drawer dividers, and custom pull-out cabinet shelves, you can expect to spend between $200 and $600.
How long does a full kitchen organization project take?
A complete kitchen overhaul typically takes a full weekend (12 to 16 hours of active work). Small tasks, like organizing a single cutlery drawer or the spice rack, take about 30 to 45 minutes. We highly recommend completing the initial decluttering phase in a single session to maintain momentum.
What are the risks of using plastic containers for food storage?
Some low-quality plastic containers can stain, hold lingering odors, or warp in the dishwasher. Choose glass storage containers if durability and microwave safety matter more to you than the weight of the container. If you prefer plastic, ensure you purchase BPA-free, airtight options designed specifically for long-term food storage.
What are good alternatives to expensive drawer dividers?
If you want to save money, use small cardboard boxes, clean plastic takeout containers, or inexpensive tension rods to create compartments inside your drawers. You can also line the bottom of your drawers with a non-slip silicone mat to prevent loose tools and gadgets from sliding around when the drawer opens and closes.
Who is this kitchen organization method best for?
This step-by-step method is ideal for homeowners or renters who feel overwhelmed by daily cooking tasks, frequently lose items in deep cabinets, or waste money buying duplicate groceries. It requires an upfront investment of time but provides long-lasting efficiency for families and individuals alike.