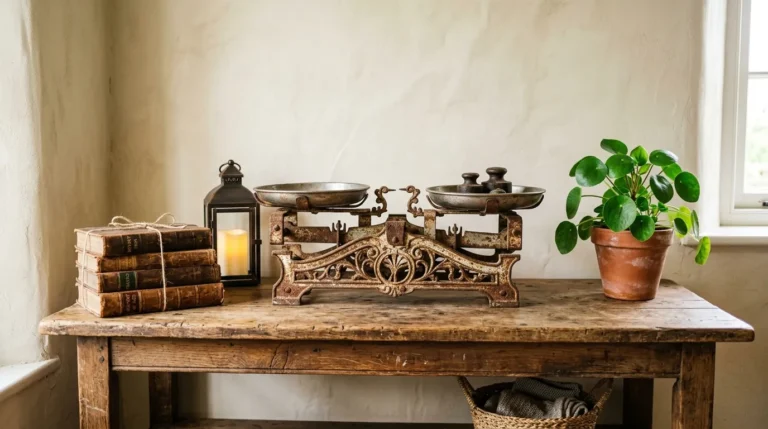
Somewhere between a boring flat wall and a full renovation budget, there’s textured paint quietly one of the most underrated upgrades in home decor. It costs a fraction of wallpaper, needs no contractor, and turns an ordinary Saturday afternoon into a wall that genuinely looks custom-made. What I love most about this project is how forgiving it is for beginners: even an “imperfect” texture usually still looks intentional, because texture by nature isn’t supposed to be flawless. This guide breaks things down room by room, so instead of just listing techniques, you’ll know exactly where each one actually belongs in a real home.
Why Every Room Doesn’t Need the Same Texture
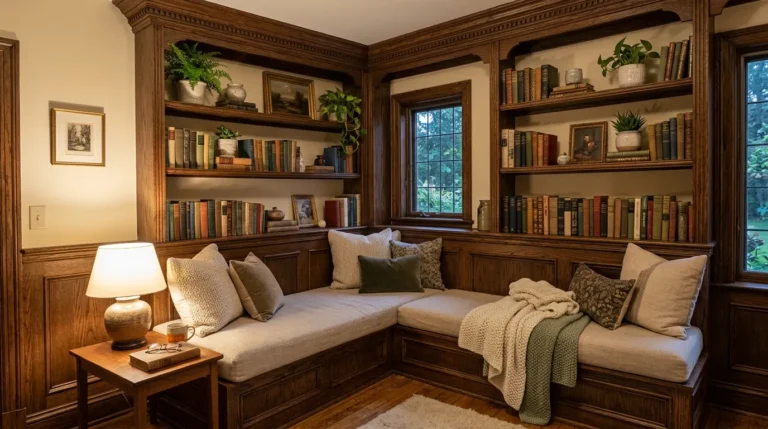
One of the biggest mistakes I made early on was choosing a technique because it looked good online, not because it suited the room I was painting. A bold, deeply grooved texture that looks stunning in a moody dining room can feel overwhelming in a small bedroom meant for winding down. Similarly, a soft, barely-there texture that’s perfect for a calm reading nook can look underwhelming as a dramatic entryway statement.
The trick is matching texture intensity to how a room is actually used. High-traffic, high-energy spaces entryways, dining rooms, home offices can handle bolder, more dimensional textures. Quiet, rest-oriented spaces bedrooms, reading corners, bathrooms usually benefit from subtler, softer finishes that don’t compete with the room’s purpose. Keeping this in mind before you even pick up a trowel saves you from redoing an entire wall because the vibe just felt “off.”
Entryway Texture: Making a Strong First Impression
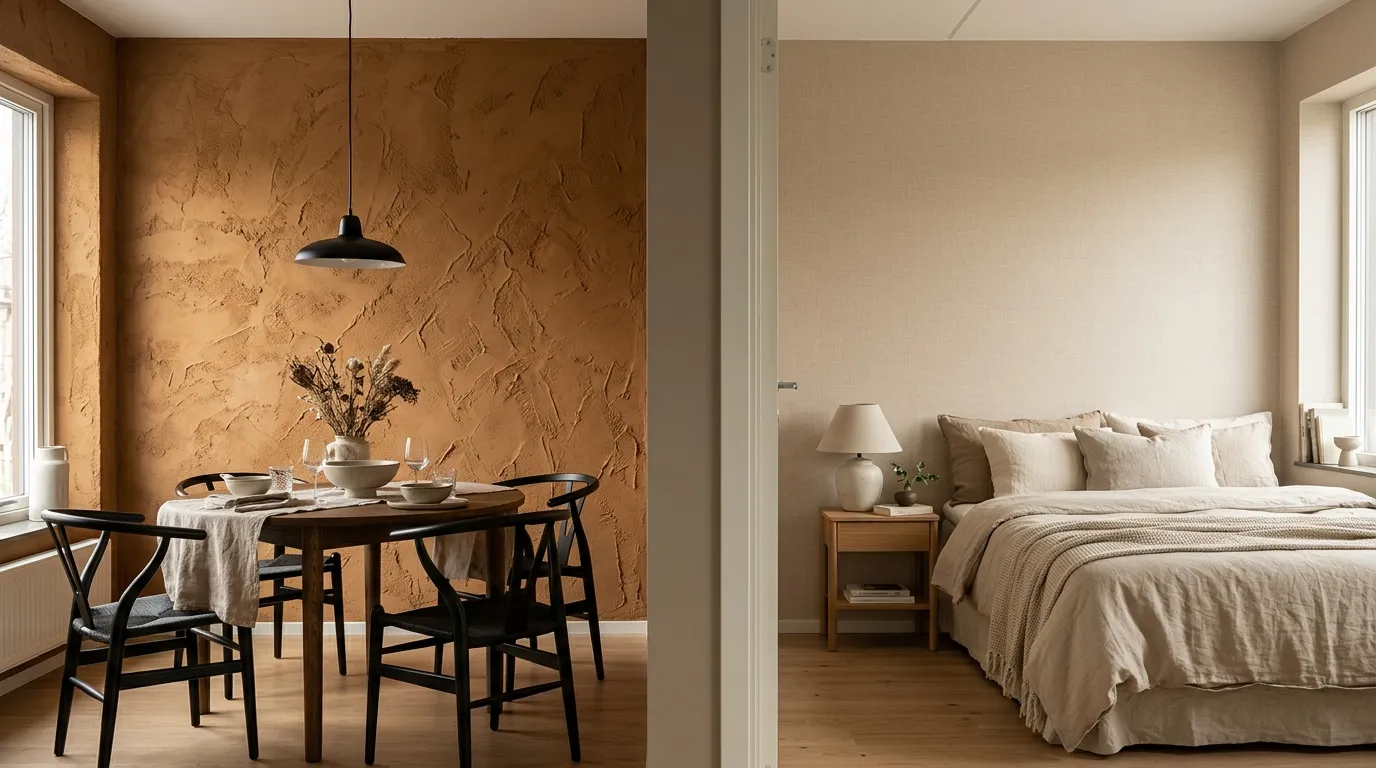
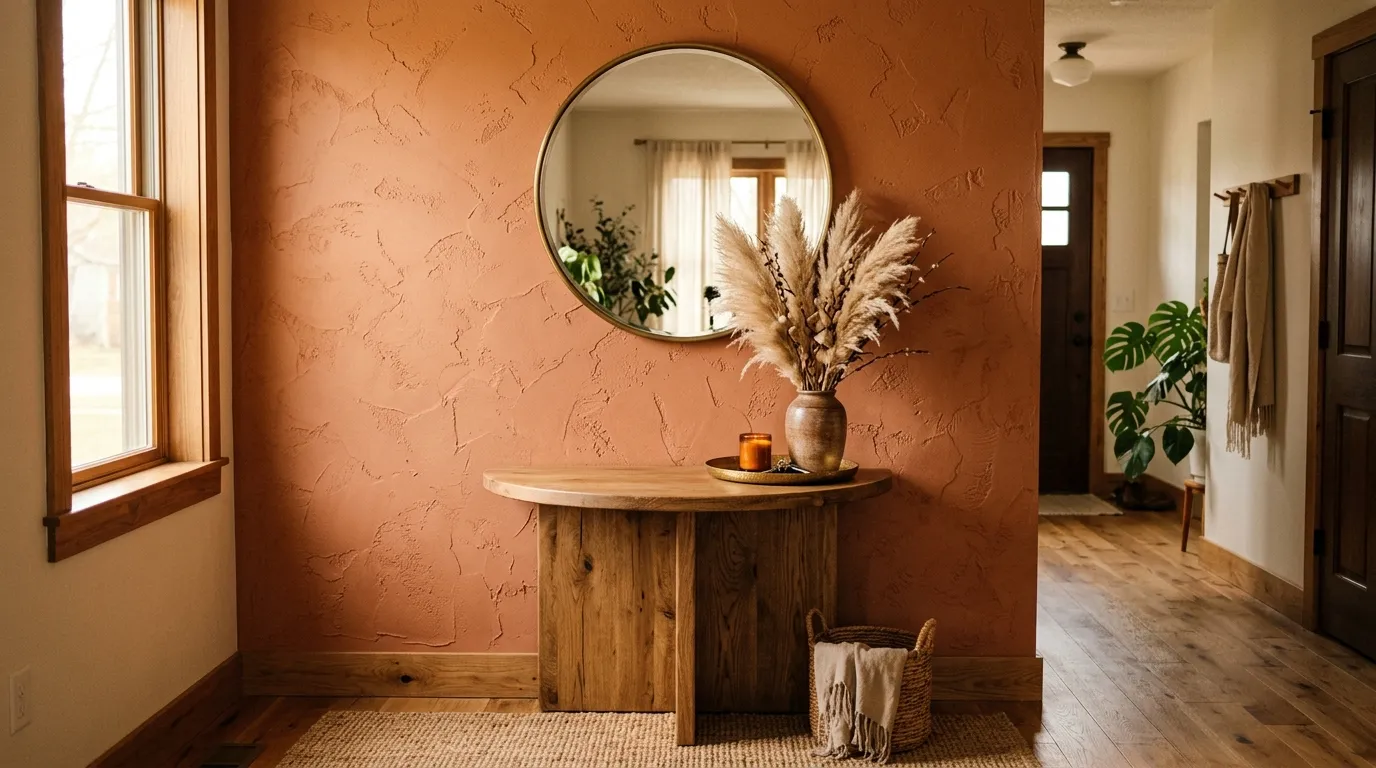
Your entryway sets the tone for the entire home, so it’s one of the best places to be a little bold with texture. A skip trowel plaster finish or a deep comb-textured wall works beautifully here, since guests only pass through briefly rather than staring at it for hours the way they would in a living room.
Warm clay, terracotta, or a rich warm white tend to work best in entryways because they read as welcoming rather than stark. Pairing the textured wall with a single statement mirror or a console table with dried florals lets the texture be the backdrop hero without cluttering the small space further.
Budget Hack: Make Your Own Texture Paste at Home
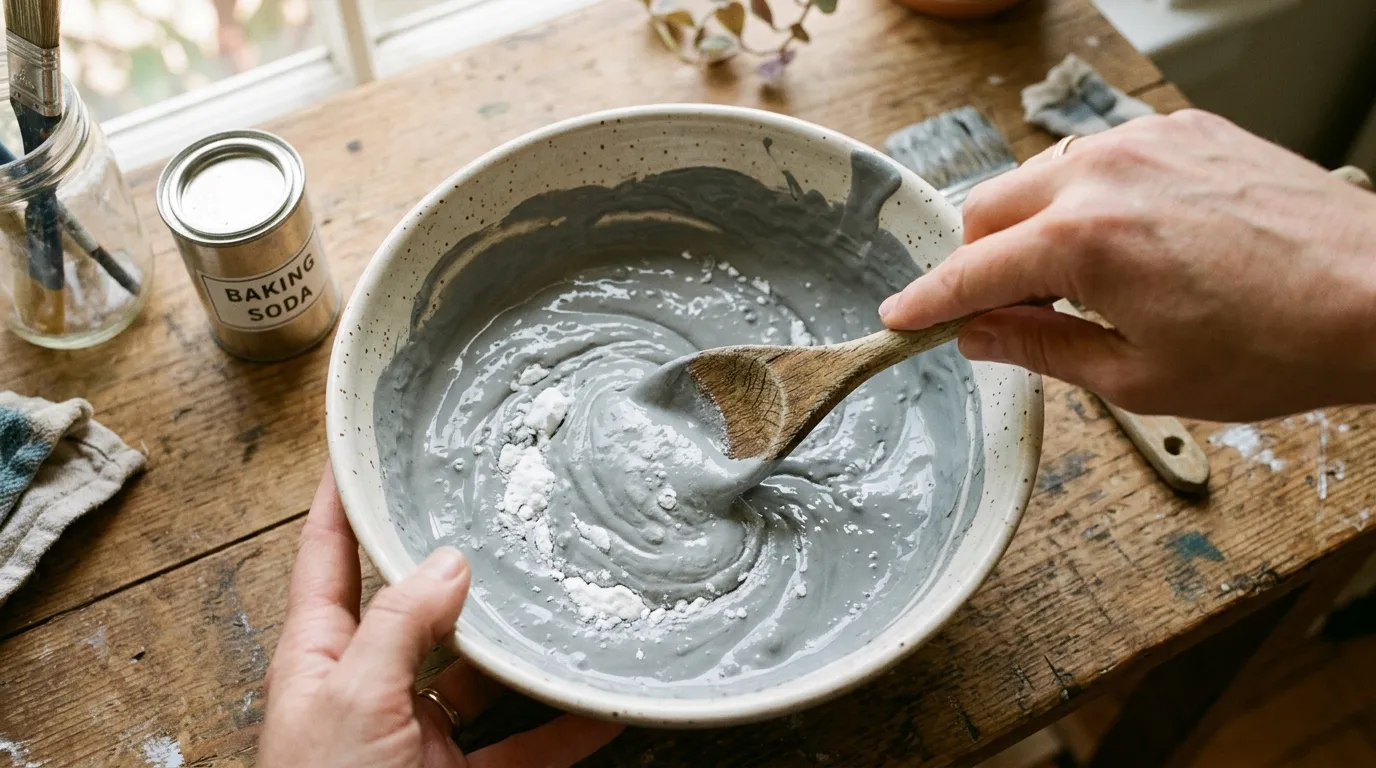
You don’t always need store-bought plaster or texture paste to get this look. If you’ve got leftover paint sitting in the garage, you can mix in a tablespoon of baking soda per cup of paint and stir until smooth the more you add, the thicker and chunkier the texture becomes. This works especially well for smaller accent areas or if you’re testing a technique before committing to a full wall. Flour, fine sand, or even leftover joint compound can be mixed in the same way depending on the finish you’re after, making this one of the cheapest ways to try texture before investing in proper plaster or trowels.
Living Room Texture: Balancing Boldness with Comfort
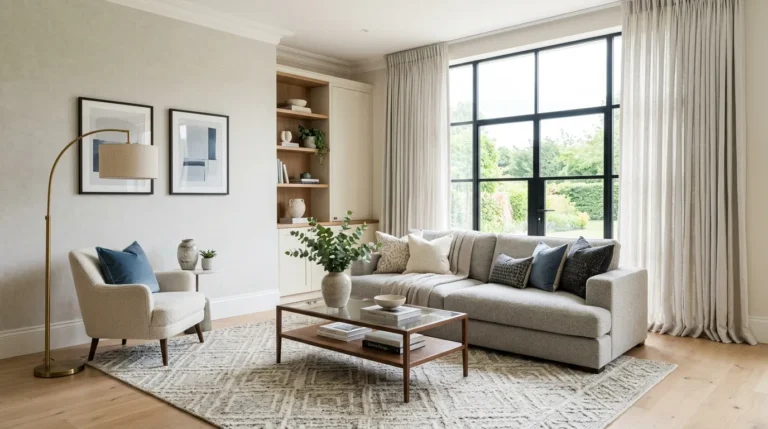
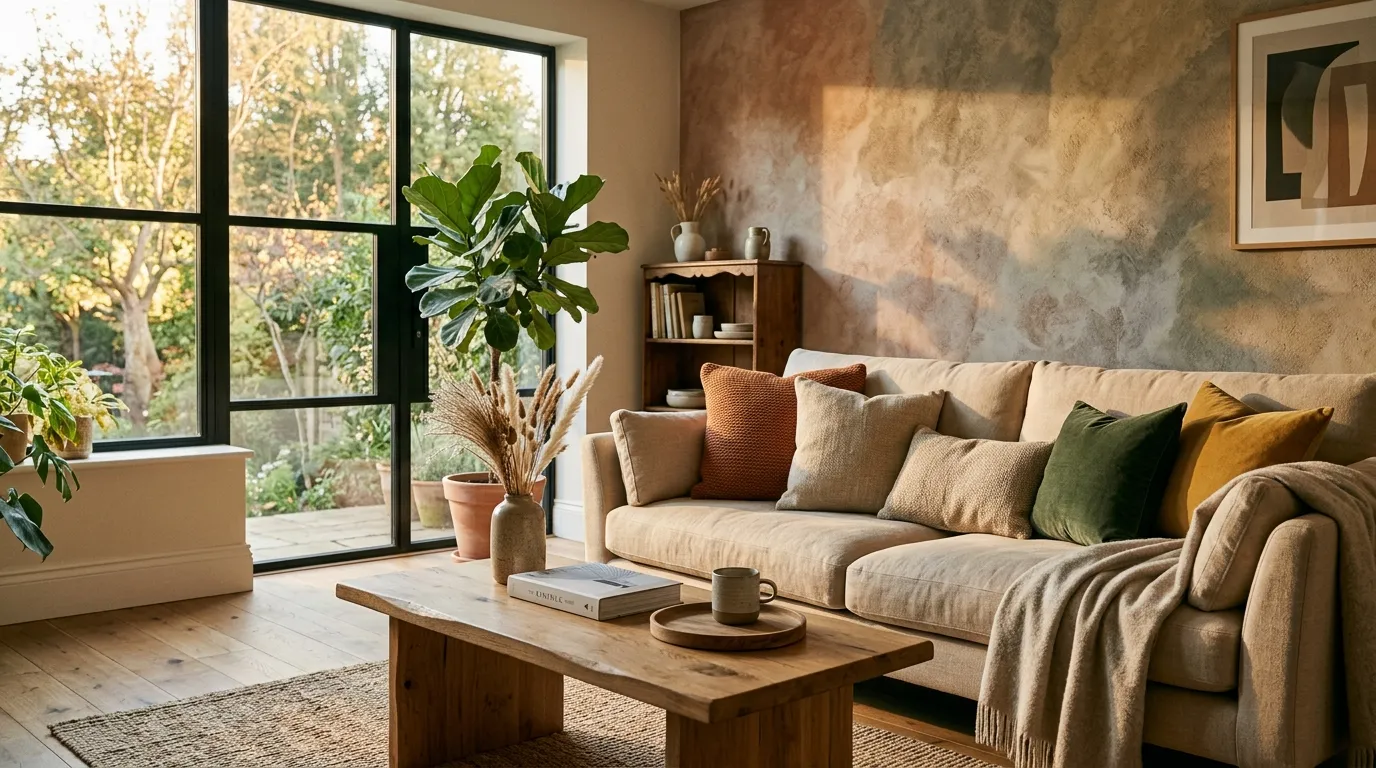
Living rooms are lived in constantly, so texture here needs to feel interesting without becoming visually exhausting over time. A single accent wall usually behind the sofa or around a fireplace is almost always the better choice over texturing the entire room. It gives the eye a focal point while letting the rest of the space stay calm and functional.
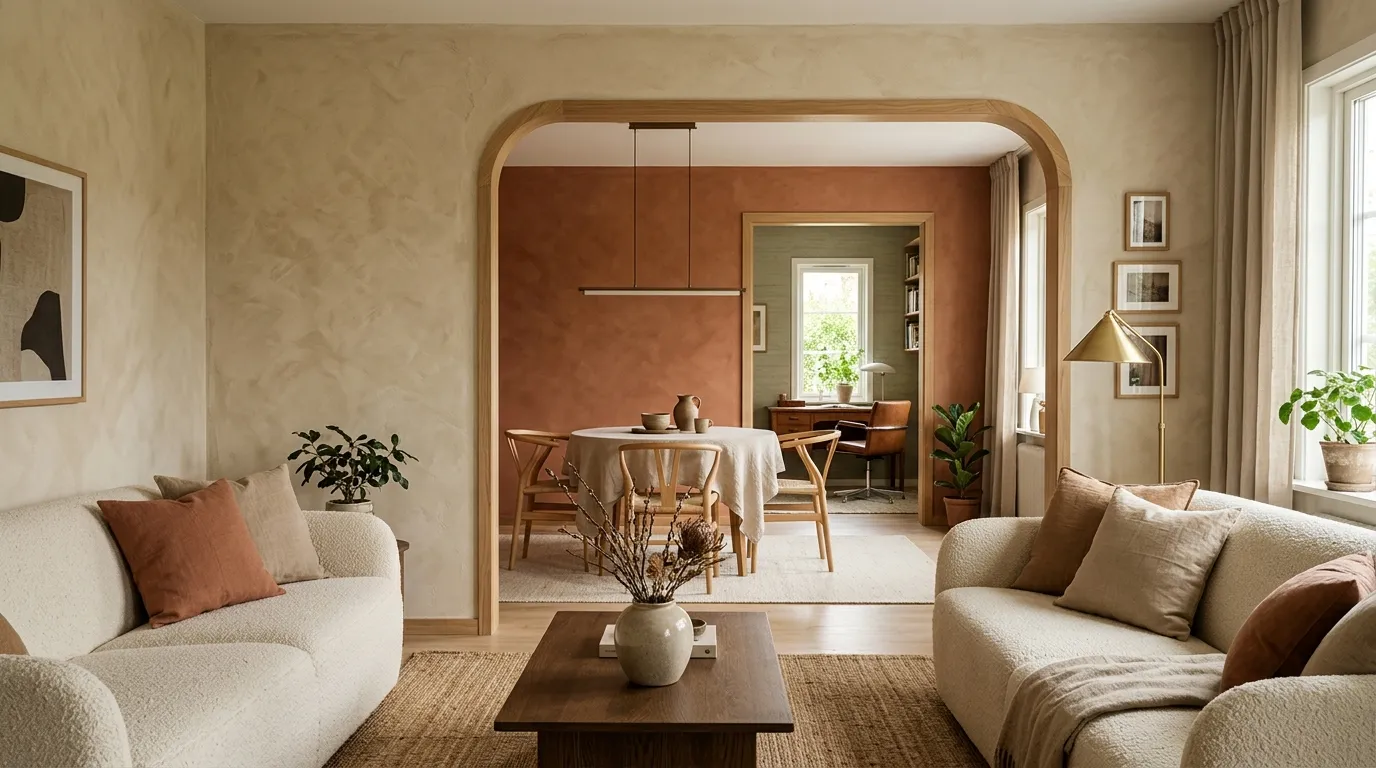
Sponge rolling or a subtle color-washed finish in warm, muted tones tends to age well in living rooms because it doesn’t shout for attention the way a heavily grooved texture might. If you do want something bolder, keep the color close to your existing palette so the texture reads as sophisticated rather than jarring against your furniture and decor.
Bedroom Texture: Designing for Calm
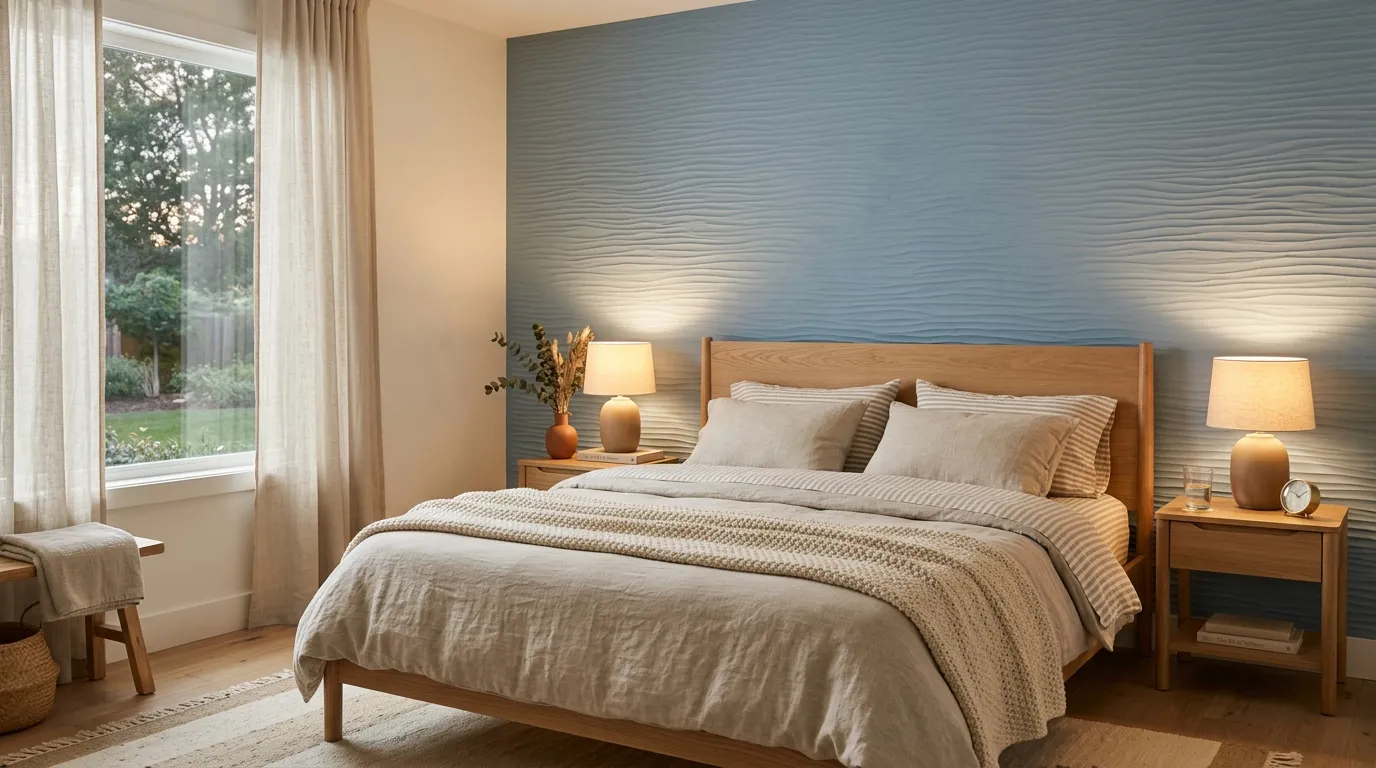
Bedrooms should feel like an exhale, which is exactly why bold, high-contrast textures rarely belong here. A gentle combed wave pattern behind the headboard, done in a soft sage, dusty blue, or warm greige, adds enough visual interest to feel curated without disrupting the calm the room is meant to provide.
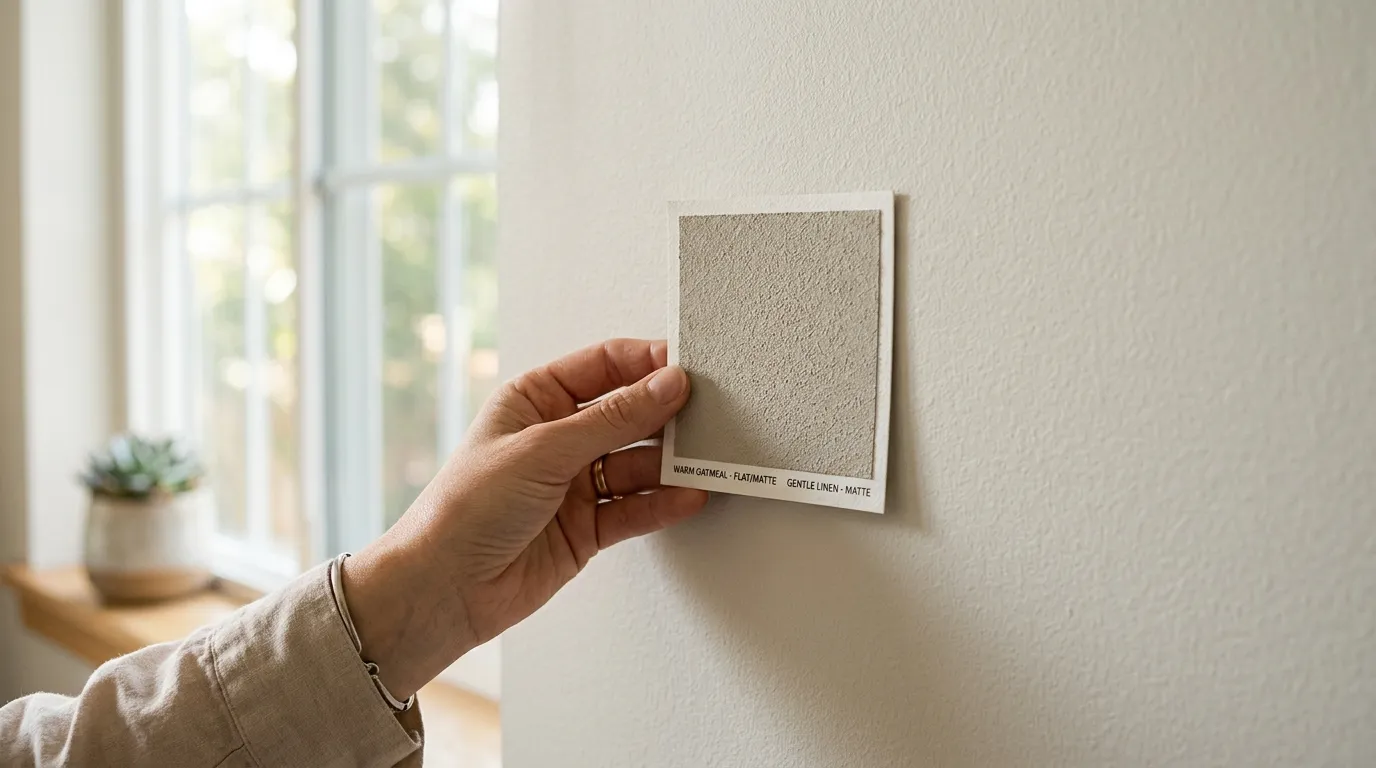
Lighting matters enormously in bedrooms specifically, since most of the time spent there happens in low, warm light rather than bright daylight. Test your texture under a bedside lamp before committing, because a pattern that looks subtle under natural daylight can suddenly look dramatic or disappear entirely once the sun goes down.
Bathroom Texture: Practical Meets Beautiful
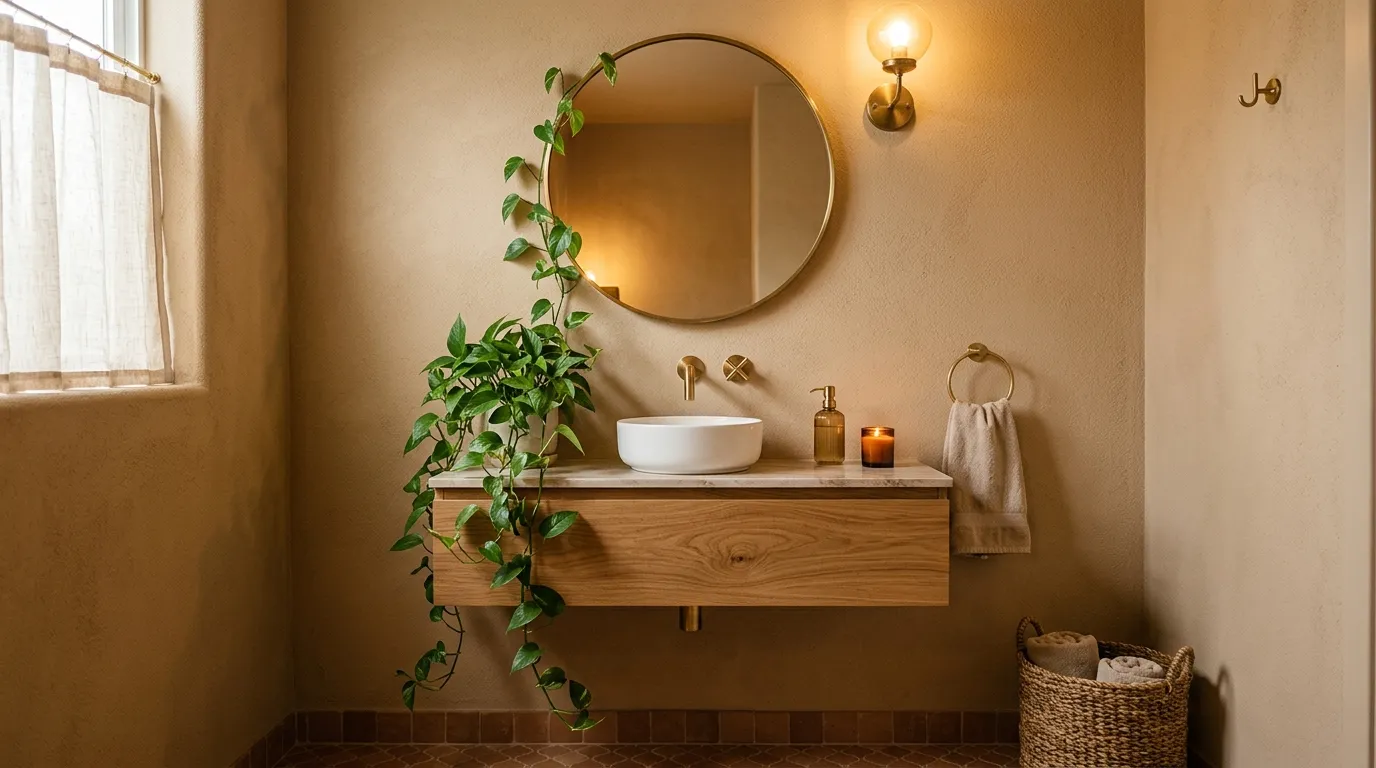
Bathrooms deal with humidity and constant use, so texture choices here need to be both beautiful and practical. Fine sand or grain-textured paint, sealed properly, holds up well in powder rooms and half-baths, adding warmth without the maintenance concerns of a heavily grooved plaster finish that could trap moisture in its ridges.
Smaller bathrooms actually benefit the most from texture, since the limited square footage means the added dimension reads clearly without overwhelming the eye. A sand-textured wall paired with brass fixtures and a single trailing plant can make a plain powder room feel like a boutique hotel bathroom.
Home Office Texture: Adding Character Without Distraction
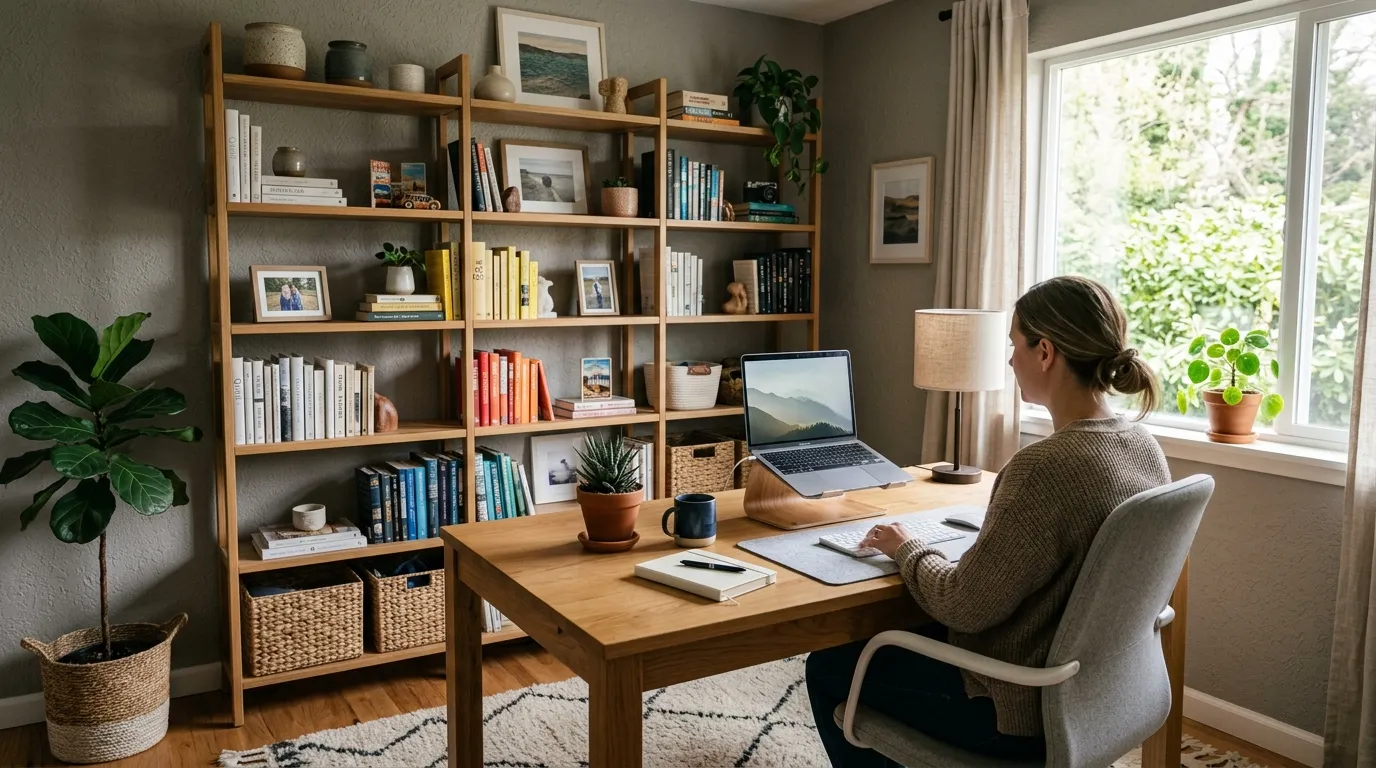
A home office needs enough visual interest to feel inspiring, but not so much that it becomes distracting during focused work. A stomp-and-knockdown texture, finished in a soft warm gray or muted sage, gives just enough depth and shadow play to feel intentional without pulling focus away from the desk itself.
Keeping the textured wall behind or beside the desk, rather than directly in the line of sight during video calls, is a small but practical consideration a lot of people overlook. That way the texture adds richness to the room’s atmosphere without becoming a visual distraction every time you glance up from your screen.
Dining Room Texture: Setting the Scene for Gatherings
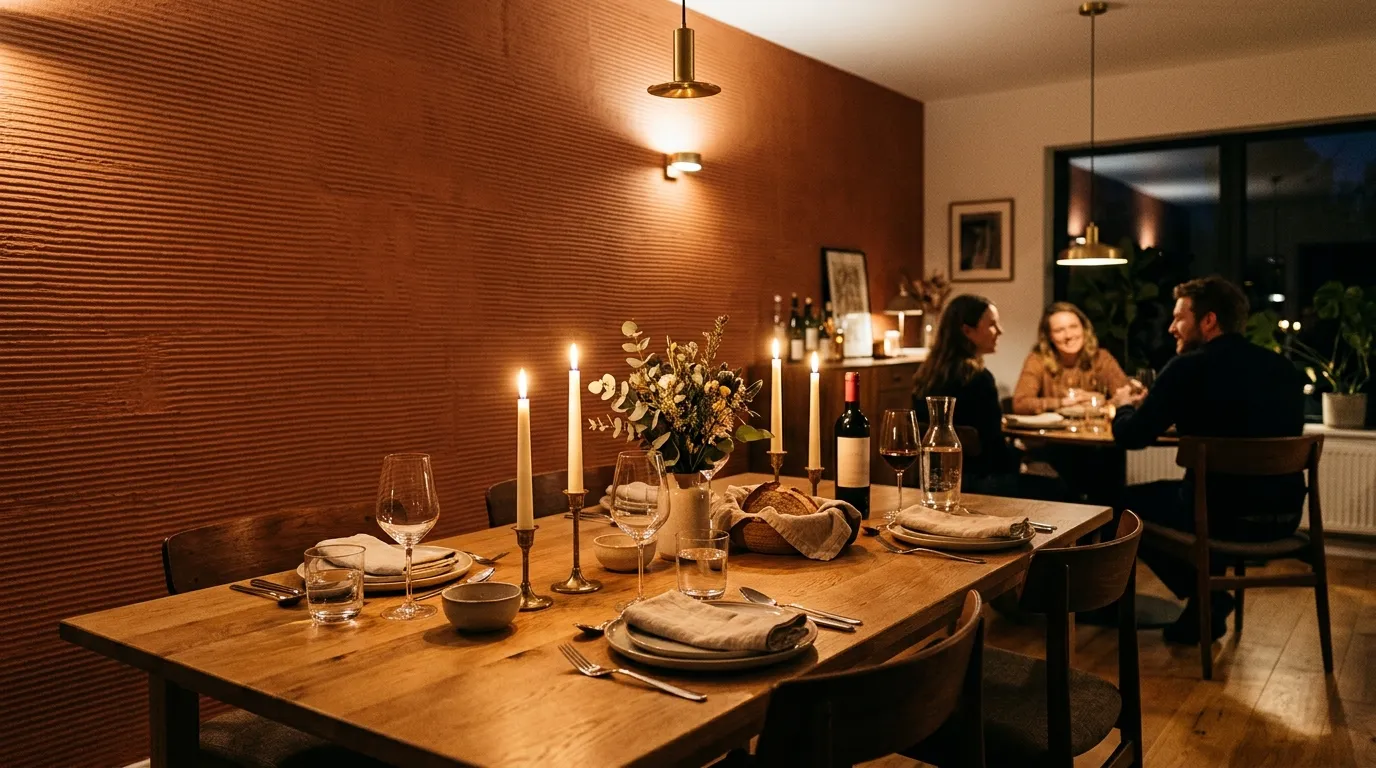
Dining rooms are one of the few spaces in a home built entirely around gathering, which makes them a great candidate for a bolder textured statement. A deep comb pattern or a rich Venetian plaster finish, paired with warm, dimmable lighting, creates the kind of ambiance that makes a dinner feel like an occasion rather than just a meal.
Because dining rooms are typically used in the evenings under warm artificial light rather than harsh daylight, textures with more dramatic shadow play anything relying on raking light perform especially well here. It’s one of the best rooms in the house to be a little more adventurous with your chosen finish.
Materials and Tools You’ll Actually Need
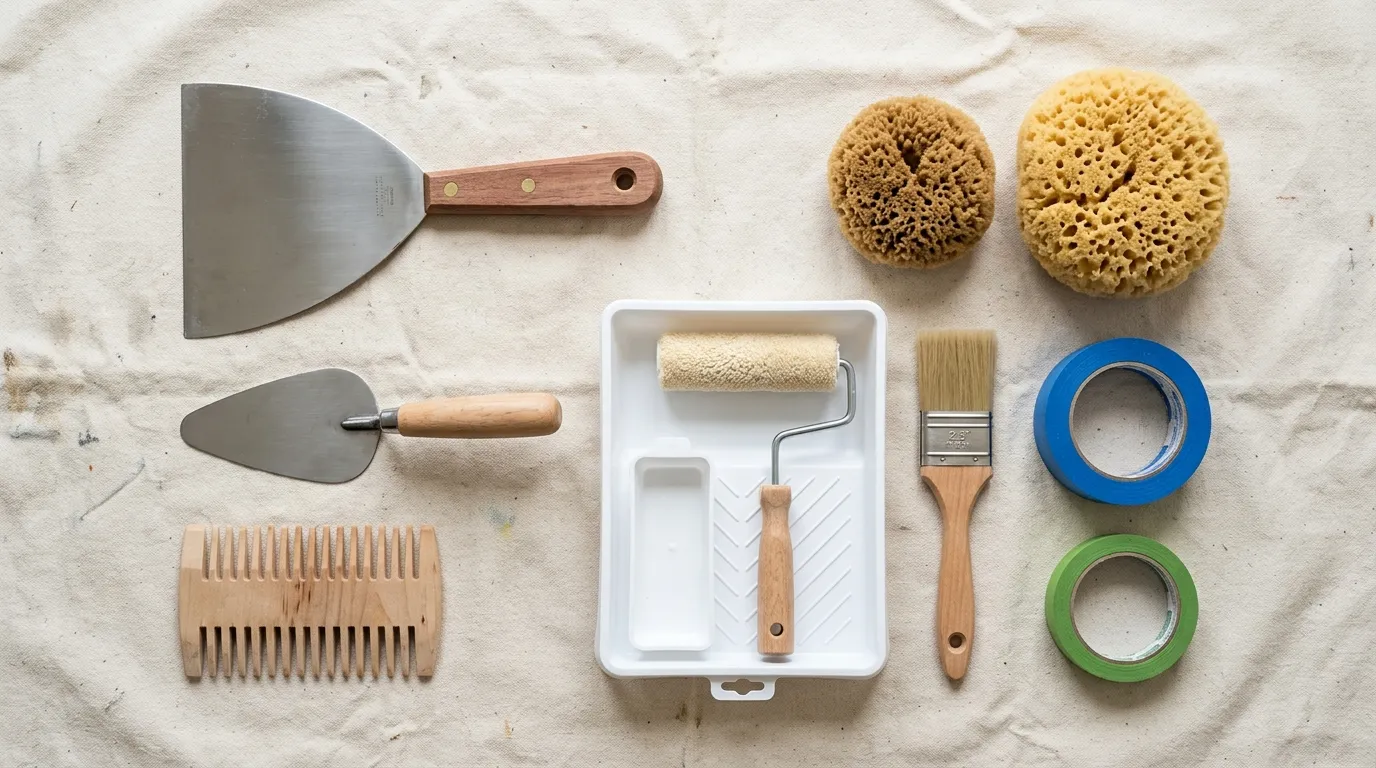
Regardless of which room you’re tackling, a core toolkit covers almost every technique in this guide. You’ll want a couple of trowels in different sizes, a texture comb or notched trowel for wave patterns, natural sea sponges for softer rolled effects, and a wide putty knife for skip trowel work. Painter’s tape, a canvas drop cloth, and a bucket of water for quick cleanup round out the essentials.
It’s worth buying slightly more material than you think you’ll need. Running out mid-wall means mixing a new batch that may not match the exact consistency or tint of your first batch, which can create a visible seam in your finished texture something that’s much harder to fix after the fact than simply starting with a little extra.
Mistakes to Avoid Room by Room
In entryways, the most common mistake is going too bold for too small a space, making the area feel busy rather than welcoming. In bedrooms, it’s choosing a texture without testing it under evening lighting first, only to find the calm effect you wanted turns dramatic after dark. In bathrooms, it’s skipping a proper sealant, which can lead to moisture damage in grooved or heavily textured finishes over time.
Across every room, the same underlying lesson applies: test first, commit second. A small sample patch, viewed under the room’s actual lighting conditions at the time of day you use that space most, will tell you far more than any photo of someone else’s finished wall ever could.
Final Thoughts: Let the Room Choose the Texture
The best textured paint projects don’t start with a technique you saw online they start with a genuine look at how a room is lived in, lit, and used throughout the day. Match the texture’s intensity and mood to that reality, and the result will feel like it belongs, rather than like a trend borrowed from someone else’s home.
Start with one room, one technique, and a testing patch before you commit. Once you see how much depth and warmth texture adds to even a single wall , it becomes hard to look at a flat, untouched wall the same way again.
Frequently Asked Questions
What can I mix with paint to make it textured?
Baking soda, sand, flour, or joint compound are the easiest household options, while plaster and trowel techniques give a more refined, professional finish for full walls.
Is textured paint cheaper than wallpaper?
Yes most textured finishes use paint you may already have, plus basic tools like a trowel or sponge, making it far cheaper than wallpaper or hiring a contractor.
Can I use leftover paint for texture?
Definitely. Mixing leftover paint colors together is actually a great way to test texture techniques without buying new paint, since slight color variations often blend into the texture itself.
Do I need to seal textured paint wall ?
In high-moisture areas like bathrooms, yes a sealant helps prevent moisture from settling into grooves or ridges over time.