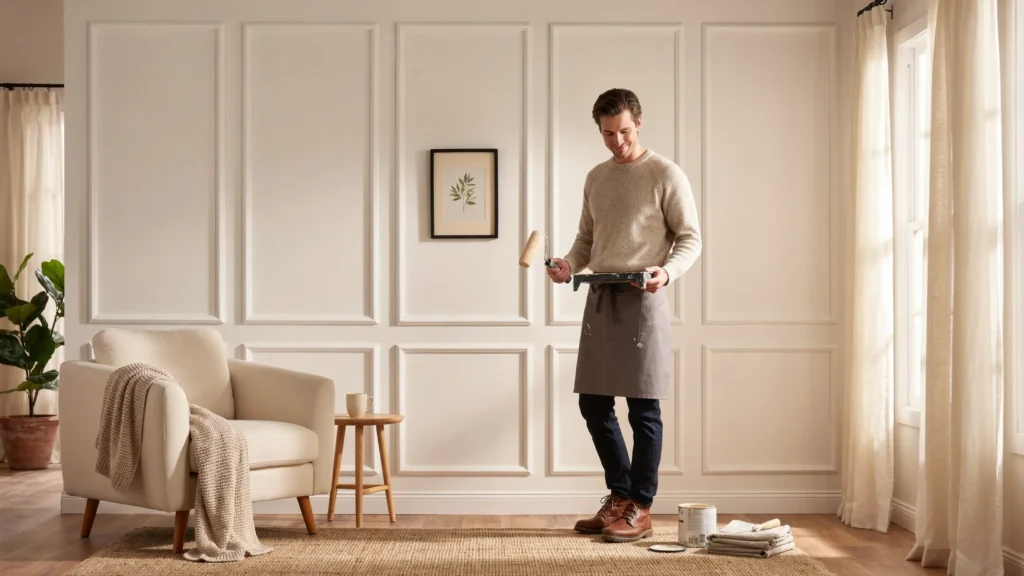
A grid molding wall is a decorative treatment made by attaching thin strips of molding to your wall in a repeating square or rectangular pattern. Most DIYers can complete one over a weekend using a miter saw, nail gun, and basic materials like MDF molding, caulk, and paint often for $100 to $300 per wall. If you’re ready to get started, this Traditional Grid Molding Wall: DIY Step-by-Step Guide will walk you through the entire process from start to finish.
Walls don’t have to be flat and forgettable. A grid molding wall adds depth, texture, and a custom, high-end look to any room without the price tag of a professional contractor. This classic design has been gracing elegant homes for centuries, and the good news is that you can recreate it yourself with patience and a few common tools.
In this guide, you’ll learn everything from planning and measuring to cutting, installing, and painting your grid molding wall. We’ll walk through the tools you need, the exact steps to follow, and how to fix common mistakes along the way. Whether this is your first wall project or your tenth, you’ll find practical tips to help you get a clean, professional finish.
By the end, you’ll have the confidence to transform a plain wall into a stunning focal point. Let’s get into it.
Is Grid Molding the Same as Board and Batten?
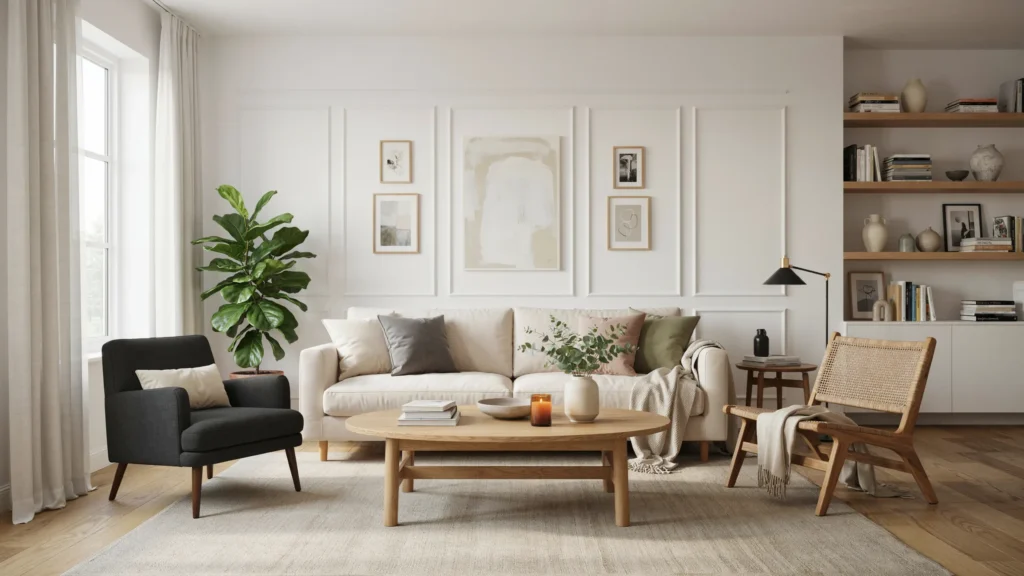
You’ll often see this style referred to as board and batten, especially in traditional and farmhouse-inspired homes, and it’s essentially the same concept with slightly different roots. Board and batten traditionally uses wider vertical boards with narrower strips (battens) covering the seams, while grid molding typically refers to a full repeating pattern of squares or rectangles across the wall. In practice, many DIYers use the terms interchangeably, and the installation process is nearly identical for both. If you’re searching for inspiration or supplies, it’s worth looking under both terms since retailers and tutorials often use one or the other.

Should You Add a Chair Rail or Dado Rail to Your Design?
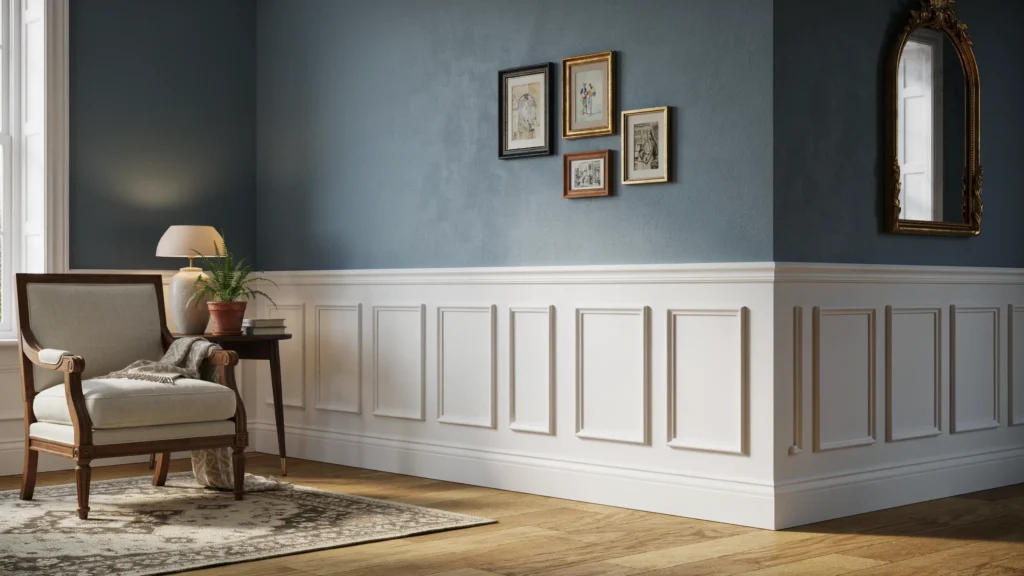
Before you commit to a full-height grid, consider whether a horizontal divide would improve the look of your wall. A chair rail, also called a dado rail, splits the wall into an upper and lower section and gives you the option to run your grid molding only below it, keeping the top of the wall clean and simple. This divide doesn’t need to sit exactly at the halfway point; placing it lower on the wall can actually make the ceiling feel higher and the room feel taller. If your wall has a lot of vertical height to work with, a chair rail is a simple way to add another layer of architectural interest without extending the grid pattern all the way to the ceiling.
Can You Install Grid Molding Without Power Tools?
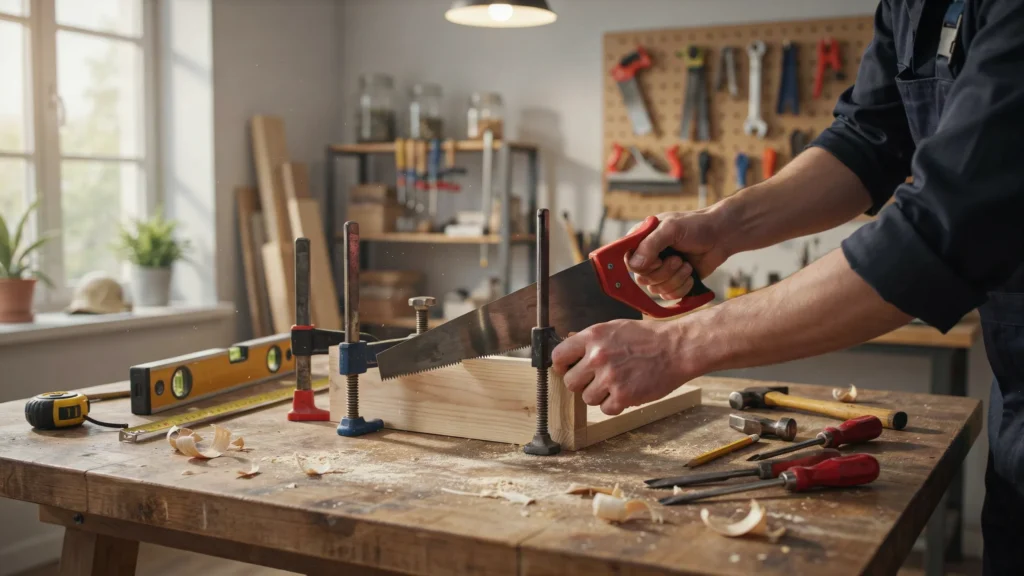
A miter saw speeds things up, but it isn’t strictly necessary for this project. A simple mitre box paired with a hand-backed tenon saw can achieve the same clean 45-degree angle cuts, just with a bit more manual effort per piece. This makes grid molding a realistic weekend project even if you don’t own power tools, and it’s a quieter option if you’re working in an apartment or a shared space. Pair your hand-cut pieces with a spirit level instead of a laser level, and construction adhesive alone can hold lightweight MDF strips in place without needing a nail gun at all.
Can You Install Grid Molding on Stairs?
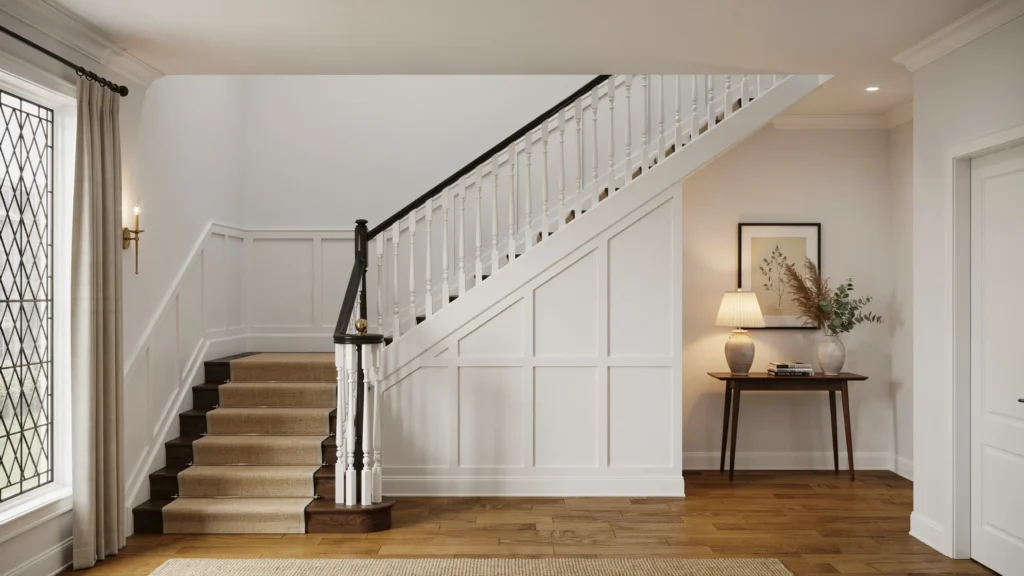
Grid molding isn’t limited to flat walls it can also be installed along a staircase for a striking architectural detail that follows the line of the stairs. The core process is similar, but the angles for each panel change to match the slope of the stairway rather than the standard 45-degree corners used on a flat wall. Because the geometry is trickier and every panel angle needs to be measured individually against the stair’s rake, this variation is better suited to DIYers who already feel confident with the flat-wall version of the project.
What Can You Do Inside the Panels for Extra Style?
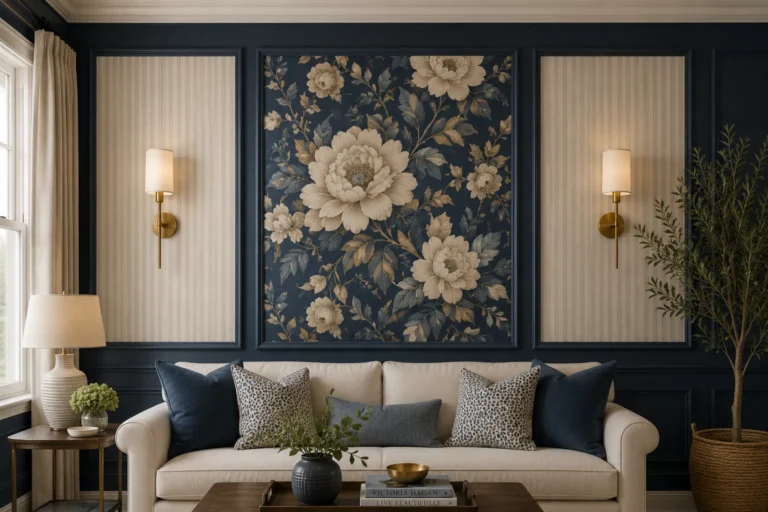
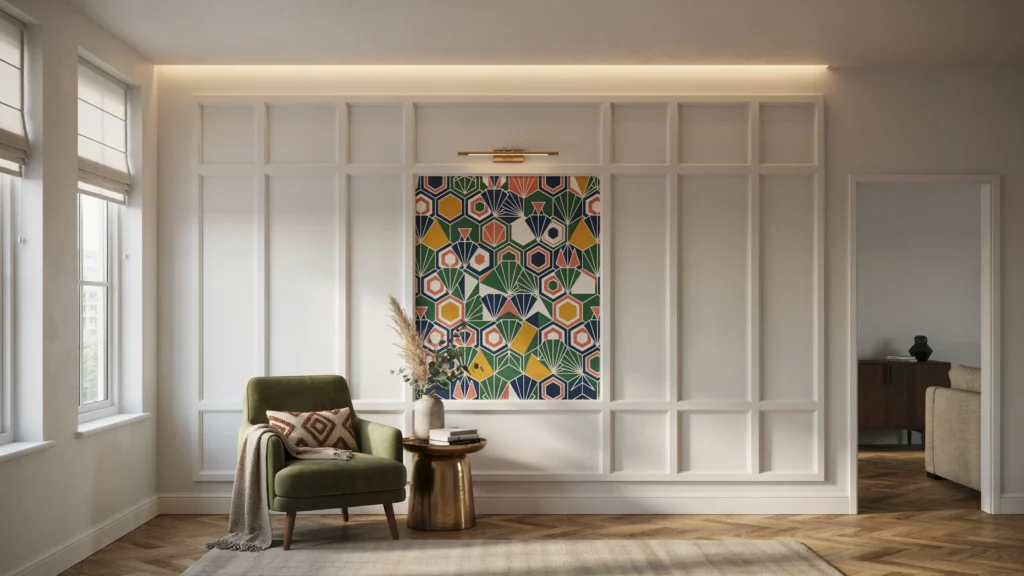
Once your grid molding is installed, painted, and dried, the empty panels themselves become a design opportunity. Filling the interior of each panel with wallpaper adds color, pattern, and texture that a flat painted wall can’t achieve on its own, and it pairs especially well in dining rooms, bedrooms, or a feature wall behind a bed. A wallpaper mural sized to fit a single large central panel can also create a striking focal point, while smaller coordinating patterns in the surrounding panels keep the overall look cohesive rather than busy.
What is a grid molding wall, and why should you add one?
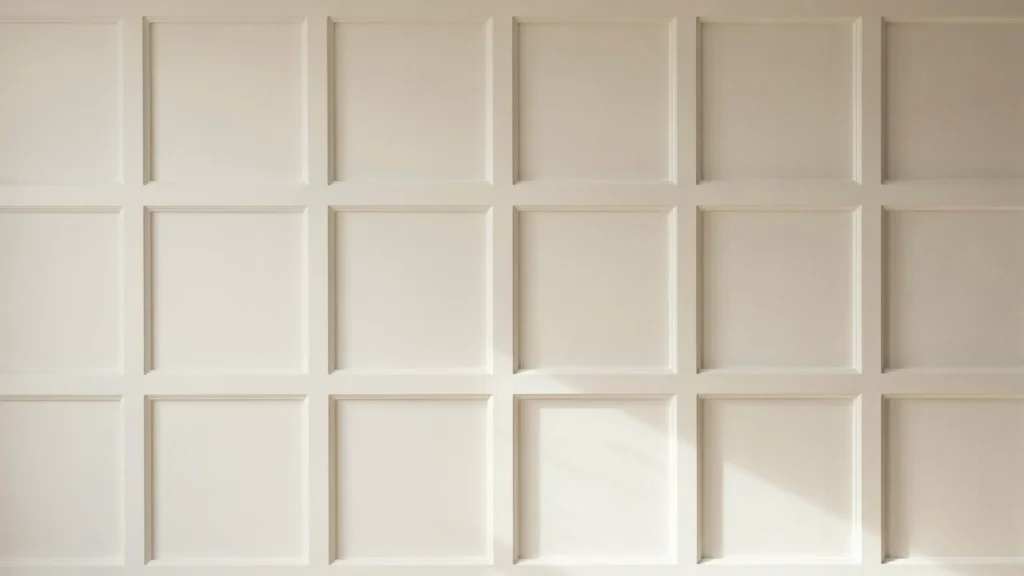
Grid molding is a decorative wall treatment where strips of trim are arranged in a grid usually a series of squares or rectangles across the surface of a wall. The molding sits on top of your existing drywall, creating raised borders that catch light and cast subtle shadows. The result looks like custom millwork, similar to the paneling you’d find in older, upscale homes.
So why go to the trouble? Here are the biggest reasons homeowners choose grid molding:
- Aesthetics: It instantly makes a room feel more polished and intentional. A flat wall becomes a designed feature.
- Added home value: Custom wall details signal quality to buyers. Small upgrades like this can boost perceived value during a sale.
- Endless customization: You control the pattern, size, and color. A tight grid feels modern, while larger panels feel traditional.
- Budget-friendly impact: Compared to wainscoting kits or hiring a carpenter, DIY grid molding is remarkably affordable.
Choose grid molding if you want a high-end look but prefer to keep costs low and do the work yourself.
How do you plan a grid molding wall project?
Good planning is the key to a polished look and helps you feel confident in your project. Take your time here it saves headaches later.
How do you measure your space correctly?
Start by measuring the full width and height of your wall. Write these numbers down. Then measure your ceiling height and note any obstacles like outlets, light switches, or windows. These will affect where your grid lines fall.
A helpful tip: measure twice and record everything on paper or a phone note. Accurate measurements help you feel reliable and prevent mistakes that could cause frustration.
How do you design the grid pattern?
This is the creative part. Decide whether you want squares or rectangles, and how many rows and columns you’d like. A common approach is to aim for even spacing keeping the gaps between molding consistent across the whole wall.
To visualize your grid pattern, sketch it on graph paper or use a free design app. Use painter’s tape on the wall to test the layout and ensure proper proportions before committing.
A real-world example: on a wall that’s 120 inches wide and 96 inches tall, you might create three columns and three rows of evenly spaced rectangles, leaving a 4-inch border around the outer edge.
Should you use wood or MDF molding?
Both work well, but they suit different needs:
- MDF (medium-density fiberboard): Affordable, smooth, and easy to paint. Choosing MDF helps you feel smart about your budget and proud of a flawless finish. Solid wood: More durable and better if you want a stained, natural look. Choose wood if you plan to stain rather than paint, or if the wall is in a high-moisture area.
For most painted grid walls, MDF molding is the practical, budget-friendly winner.
How much will a grid molding wall cost?
Costs vary by wall size and material, but most single-wall projects land between $100 and $300. MDF molding strips typically cost a few dollars per linear foot. Add in caulk, wood filler, primer, and paint, and you have a complete project for a fraction of what a contractor would charge.
To estimate materials, add up the total length of all your grid lines (horizontal and vertical) and buy about 10% extra to account for cutting mistakes.
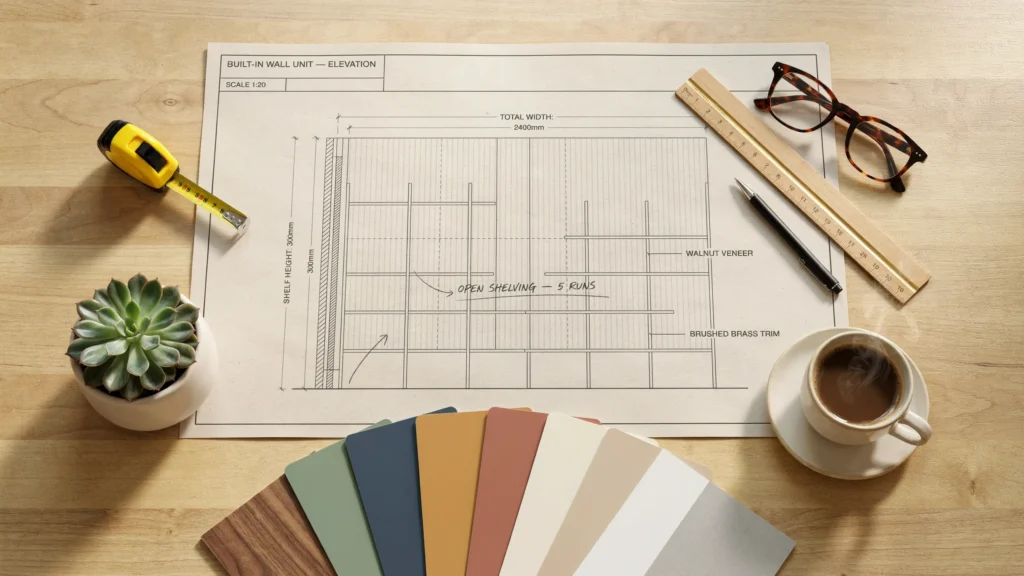
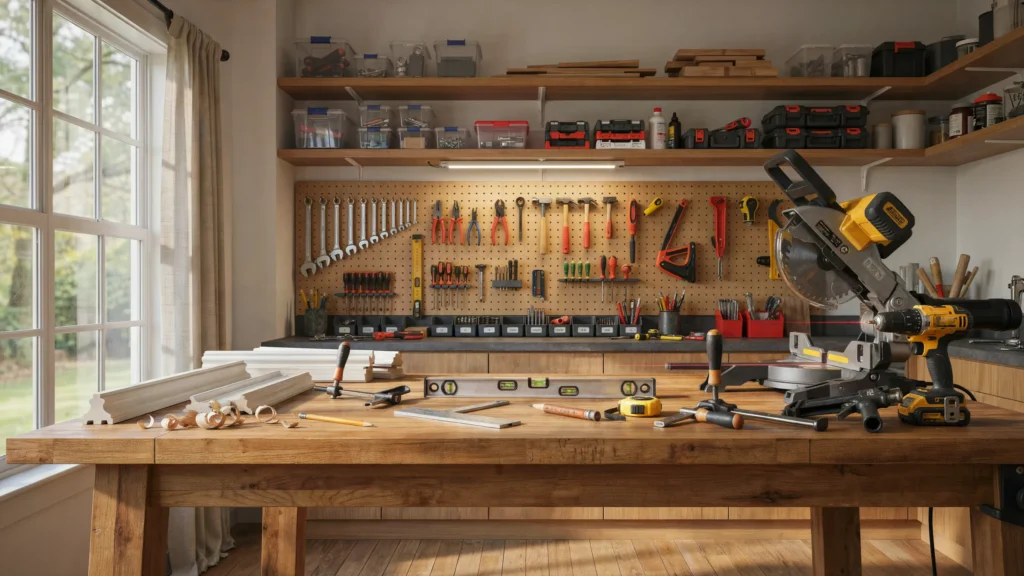
Having all your tools and materials ready before starting ensures a smooth project. Here’s a detailed list to help you prepare effectively. Having everything ready before you start makes the whole project smoother. Here’s your complete checklist.
Essential tools:
- Miter saw (for clean, precise angle cuts)
- Nail gun or brad nailer
- Level
- Tape measure
- Caulk gun
- Pencil
- Painter’s tape
Materials:
- Molding strips (MDF or wood)
- Construction adhesive
- Brad nails
- Wood filler
- Paintable caulk
- Primer
- Paint (your chosen color)
- Sandpaper (medium and fine grit)
If you don’t own a miter saw, many hardware stores will cut pieces to length for you, though you’ll lose precision on custom angles.
How do you install a grid molding wall step by step?
Now for the main event. Follow these steps in order for the best results.
Step 1: Prepare the wall
Clean the wall to remove dust and grease. Patch any holes or cracks with filler, sand them smooth, and wipe the surface down. If your wall is unpainted or glossy, apply a coat of primer so everything adheres well and looks uniform.
Step 2: Mark the grid pattern
Using your measurements and design, mark the grid lines with a pencil and level. Take your time to get every line straight and evenly spaced. This is where painter’s tape helps lay it out first to confirm the pattern looks right before you commit.
Step 3: Cut the molding to size
Measure each section and cut your molding on the miter saw. For simple square or rectangular grids, you’ll mostly make straight 90-degree cuts. If you want mitered corners (angled at 45 degrees), measure carefully and cut precisely so the pieces meet cleanly.
Always double-check each piece against the wall before nailing it down.
Step 4: Attach the molding
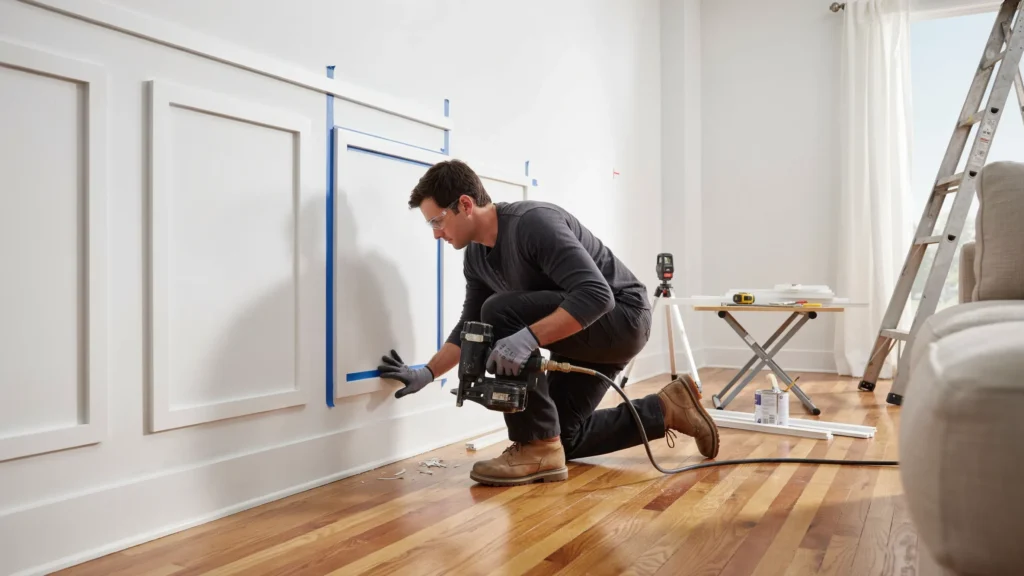
Run a thin bead of construction adhesive along the back of each molding strip. Press it onto the wall along your pencil lines, then secure it with brad nails using your nail gun. Use a level constantly to keep everything straight. The adhesive holds it flat; the nails hold it in place while the glue cures.
Step 5: Fill nail holes and seams
Once all the molding is up, fill every nail hole and any small gaps at the joints with wood filler. Let it dry, then sand it smooth so the surface is even.
Step 6: Caulk for a seamless finish
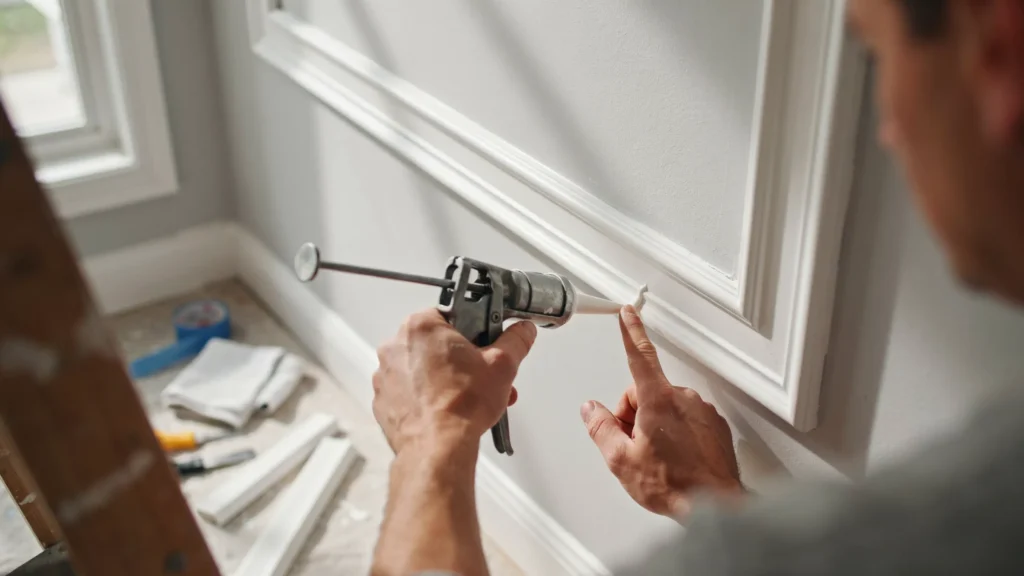
Run a thin line of paintable caulk along the edges where the molding meets the wall and where pieces join. Smooth it with a damp finger or a caulk tool. This step is what makes the difference between a DIY look and a built-in, professional finish.
How do you paint and finish a grid molding wall?
With the molding in place and the caulk dry, you’re ready for the finishing touches that pull the whole look together.
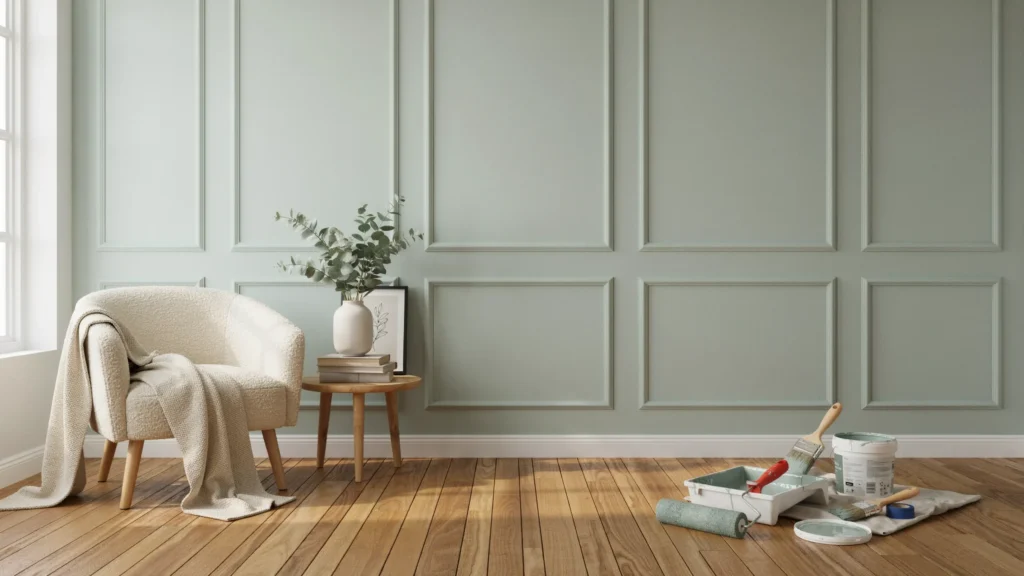
Start by priming the molding, especially if you used raw MDF. Primer seals the surface and helps your paint go on evenly. Once the primer dries, apply your paint in thin, even coats. Use a small brush for the molding edges and a roller for the flat wall areas. Two coats usually give the cleanest result.
For a designer touch, you can paint the wall and molding the same color for a seamless, monochromatic look, or contrast them for more drama.
Want to take it further? Consider adding wallpaper or a textured finish inside the grid squares. This works beautifully in dining rooms and bedrooms where you want extra personality.
How do you fix common grid molding mistakes?
Even careful DIYers run into small problems. Here’s how to handle the most common ones:
- Uneven cuts: If a piece is slightly short, fill the gap with caulk or wood filler. If it’s too long, trim a hair off with the saw.
- Gaps at corners: Paintable caulk hides small gaps where pieces meet. Apply, smooth, and paint over it.
- Paint bleeding: Use painter’s tape along edges, and remove the tape while the paint is still slightly wet for a crisp line.
- Molding not sitting flat: Add a little more pressure and an extra nail. Make sure your wall surface is clean before gluing.
A tip for perfectionists: work in good lighting and step back often to check your progress from across the room. Small flaws disappear once everything is caulked and painted.
What are the best grid molding design ideas?
The beauty of grid molding is how flexible it is. Here are some variations to inspire your own design:
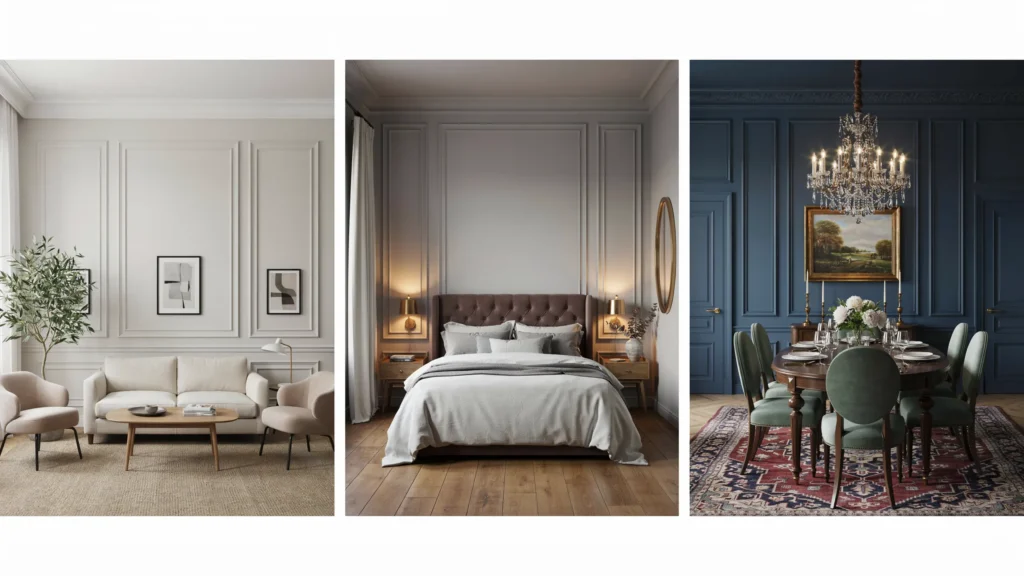
- Classic squares: Even, symmetrical squares give a timeless, traditional feel.
- Tall rectangles: Vertical rectangles make ceilings feel higher, and rooms feel grander.
- Custom asymmetric layouts: Mix sizes for a modern, artistic statement.
Grid molding suits nearly every room. In living rooms, it creates an elegant backdrop behind a sofa or TV. In bedrooms, it makes a stylish headboard wall. In dining rooms, it adds formal charm. You can even combine grid molding with other treatments, like adding it above a chair rail or pairing it with wallpaper for layered texture.
How do you maintain and care for grid molding?
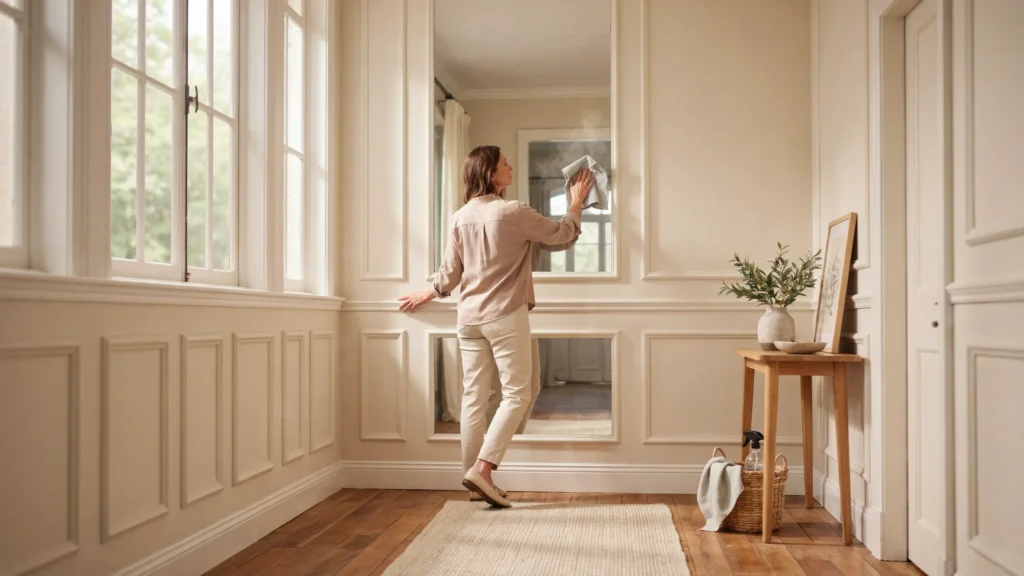
One of the perks of grid molding is how low-maintenance it is. To keep it looking fresh, dust the ledges occasionally and wipe the surface with a damp cloth when needed.
Over time, you might notice tiny cracks appear in the caulk as your home naturally settles. These are easy to fix apply a fresh bead of caulk and touch up the paint. With proper installation, grid molding can last for decades, making it one of the most durable decorative upgrades you can add to your home.
Ready to transform your wall?
A grid molding wall delivers a custom, high-end look at a fraction of the cost of professional millwork. With careful planning, the right tools, and a little patience, you can turn a plain wall into the standout feature of any room. The benefits are hard to beat: better aesthetics, added home value, and a design that’s entirely your own.
If you’ve been waiting for a weekend project that pays off in a big way, this is it. Gather your materials, sketch your design, and start small if you need to even one accent wall can completely change a space.
Finished your own grid molding wall? Share your project and photos with us we’d love to see how you made it your own.
Frequently asked questions
How much does it cost to install a grid molding wall yourself?
Most single-wall DIY projects cost between $100 and $300, depending on wall size and materials. MDF molding keeps costs low, while solid wood costs more. This is far cheaper than hiring a contractor for custom millwork.
How long does it take to install grid molding?
A typical accent wall takes one weekend. Allow time for the wall prep, marking, cutting, and installation on day one, then filling, caulking, priming, and painting with drying time in between across the rest of the project.
Is MDF or wood better for grid molding?
MDF is best for painted finishes because it’s affordable, smooth, and resists warping indoors. Solid wood is better if you want a stained, natural look or if the wall is in a high-moisture area. For most painted grid walls, MDF is the practical choice.
Can a beginner install a grid molding wall?
Yes. Grid molding is one of the more beginner-friendly wall projects. The main skills needed are careful measuring and straight cutting. If you don’t own a miter saw, hardware stores can cut molding to length for you.
Do you need a nail gun for grid molding?
A nail gun makes the job faster and cleaner, but it’s not strictly required. You can use construction adhesive alone for lightweight MDF molding, though nails help hold pieces flat while the glue cures.