
You can transform a sunburst mirror into a one-of-a-kind ceiling light fixture using basic tools, a lighting kit, and a few hours of your time. This DIY project costs a fraction of designer alternatives, requires no advanced electrical skills, and produces a show-stopping centerpiece for any room.
DIY Sunburst Mirror Ceiling Light: Step-by-Step Guide shows you how to turn an ordinary decorative mirror into a stunning custom light fixture without spending a fortune. Sunburst mirrors have long been celebrated for the way they reflect light and add a sculptural, almost theatrical energy to a room. But what if the mirror itself could become the light source? That’s the inspiration behind this creative DIY project—transforming a classic sunburst mirror into a ceiling light fixture that looks like it came straight from a luxury interior design showroom.
This guide walks you through every step of the process, from gathering materials to flipping the switch for the first time. Along the way, you’ll find design tips, safety advice, troubleshooting help, and personalization ideas so the final result is entirely your own. Whether you’re working with a brand-new mirror or giving an old one a second life, this project delivers serious visual impact without a serious price tag.
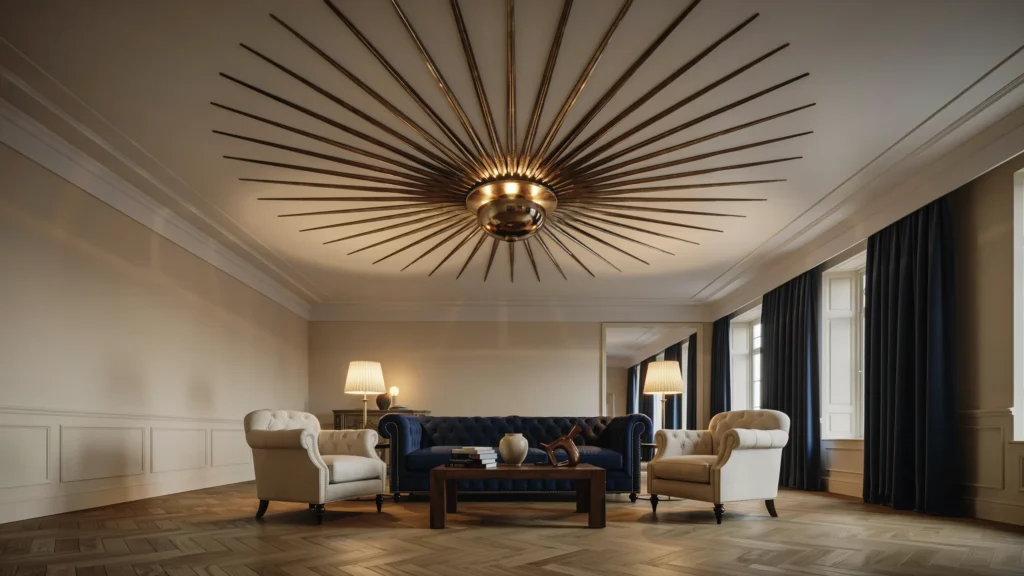
Why DIY Your Ceiling Light?
Designer ceiling fixtures can run anywhere from a few hundred to several thousand dollars. A DIY sunburst mirror ceiling light, on the other hand, can be completed for as little as $50–$150, depending on the mirror you choose and the lighting components you use. That’s a significant saving for a result that often looks more distinctive than anything you’d find on a showroom floor.
Beyond the cost, there’s the matter of customization. Mass-produced light fixtures are designed to appeal to the widest possible audience, which usually means they appeal deeply to no one in particular. A DIY build lets you choose the exact mirror style, finish, bulb type, and embellishments that match your space. The result is a fixture that fits your home rather than forcing your home to fit around it.
There’s also something genuinely satisfying about flipping on a light you built yourself. The practical skills you develop basic wiring, ceiling mounting, working with tools carry over into future projects. This one is a great entry point.
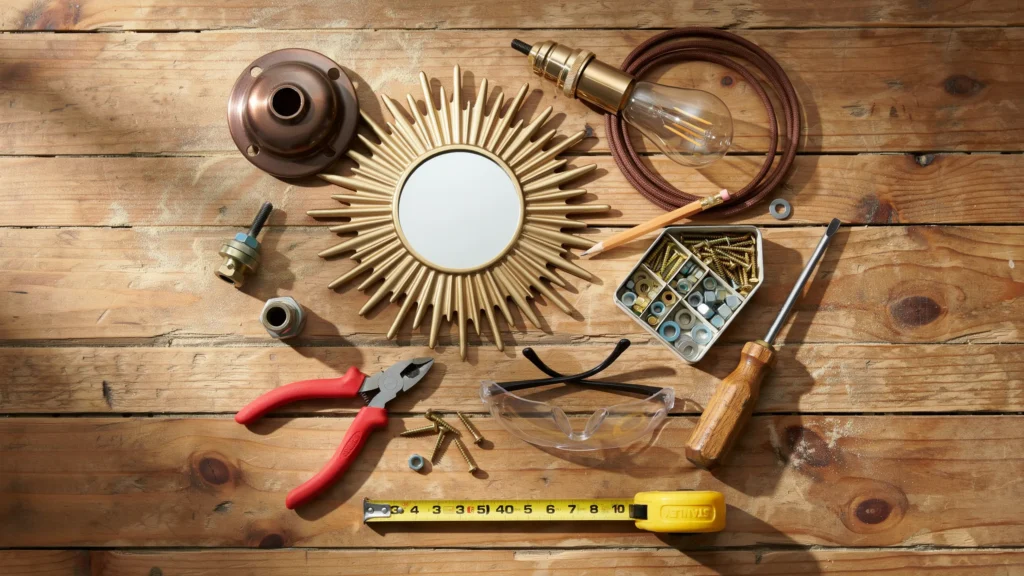
What Materials Do You Need for a Sunburst Mirror Ceiling Light?
Getting your materials organized before you start saves time and prevents mid-project frustration. Here’s what you’ll need:
The Mirror
- A sunburst mirror (new or secondhand) with a sturdy frame and a flat or slightly convex glass center
- Size matters: a 24–36-inch mirror works well for most standard rooms
Lighting Components
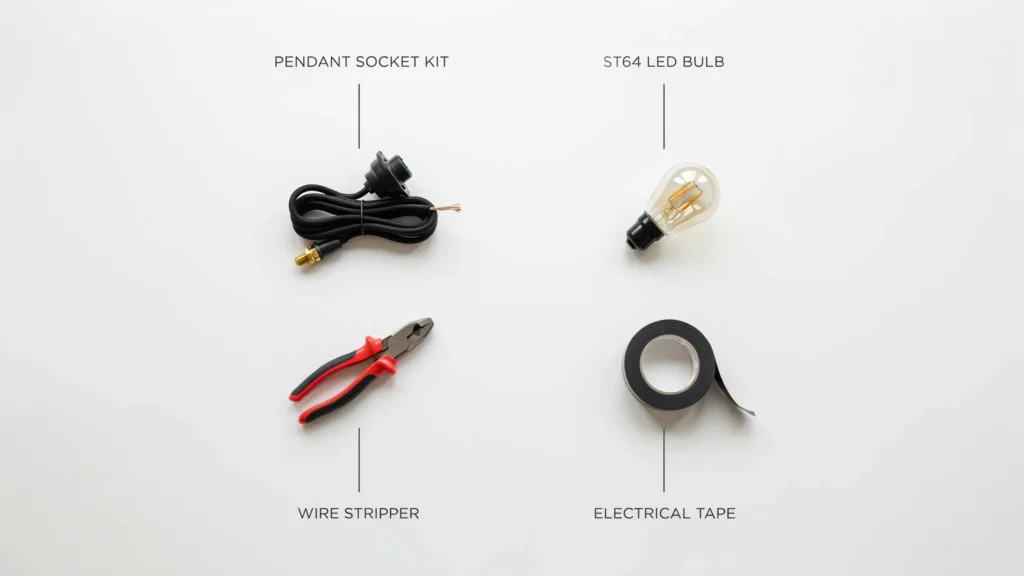
- A pendant or ceiling lamp socket kit (available at hardware stores or online)
- Electrical wire rated for ceiling use
- A canopy kit for ceiling mounting
- An Edison or LED bulb (more on bulb types later)
- Wire nuts and electrical tape
Tools
- Power drill with metal/wood bits
- Wire cutters and wire strippers
- Flathead and Phillips screwdrivers
- Measuring tape
- Pencil for marking
Safety Gear
- Safety glasses
- Work gloves
- Non-contact voltage tester
Always turn off the power at the circuit breaker before working on any ceiling wiring. If you’re uncomfortable working with electrical connections, consult a licensed electrician for the wiring stage the mirror preparation and mounting steps can still be done independently.
Step-by-Step Guide: Building Your Sunburst Mirror Ceiling Light
Step 1: Prepare the Mirror
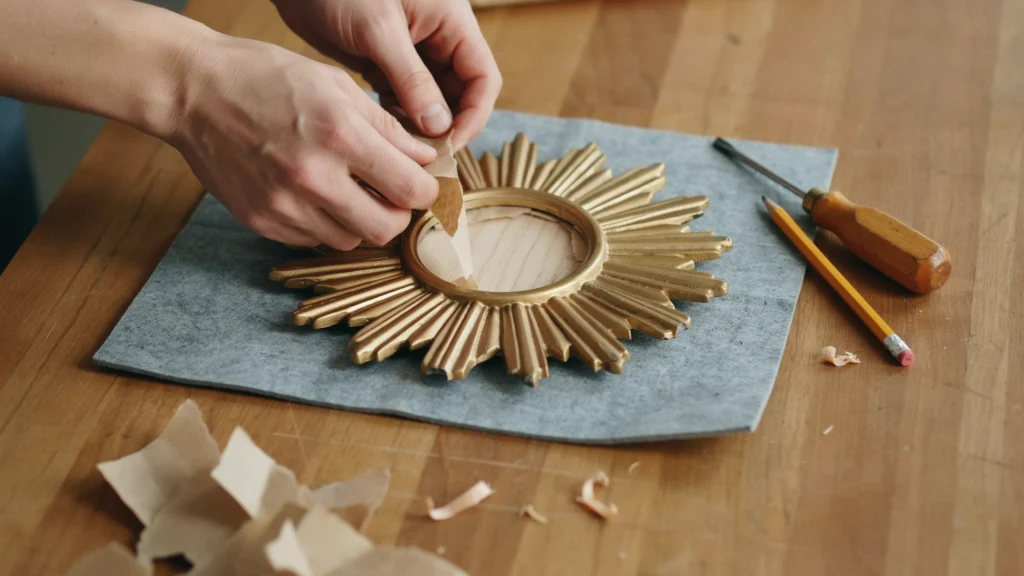
Start by cleaning the mirror thoroughly dust and residue will be harder to remove once the fixture is assembled. If your mirror has a backing board, carefully remove it using a screwdriver or utility knife. You’ll need access to the back of the mirror frame to route the wiring.
Inspect the frame’s center point. This is where your light socket will sit. Mark the center clearly with a pencil, then use your drill to create a hole large enough to feed the electrical wire through. The hole size will depend on your socket kit check the kit’s specifications before drilling.
Step 2: Integrate the Light Fixture
Thread the electrical wire from your socket kit through the hole you drilled. Pull enough wire through the back of the mirror to reach your ceiling junction box with some slack. Follow the socket kit’s wiring instructions to connect the socket at the front of the mirror this usually involves connecting the neutral (white) and hot (black) wires using wire nuts.
Once the socket is secured at the center of the mirror, use electrical tape to wrap any exposed connections and keep them insulated.
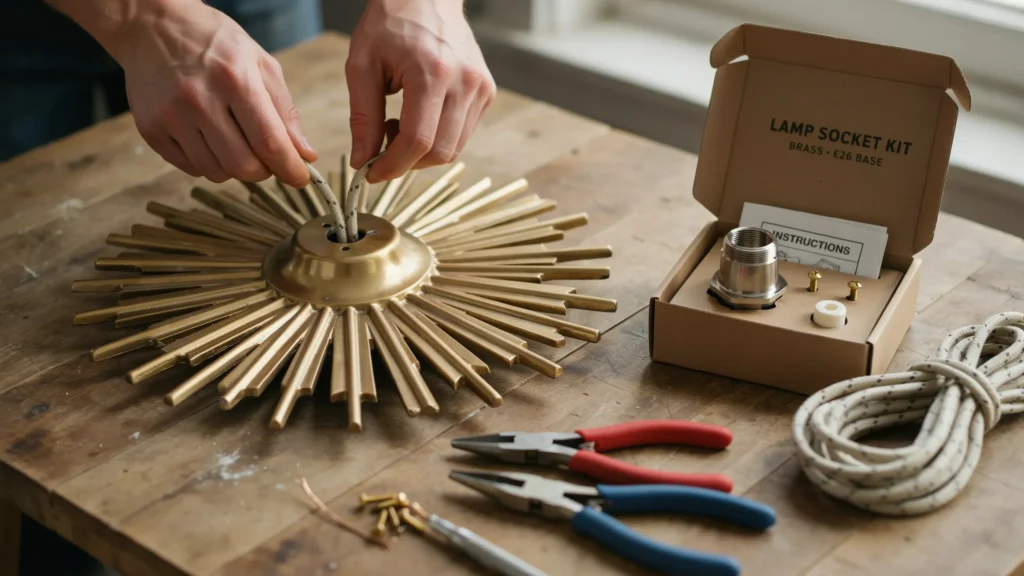
Step 3: Secure the Components
Position the socket snugly at the mirror’s center. Many socket kits come with a mounting plate or collar that screws into place, holding everything firm. Double-check that no wires are pinched or exposed before moving to the next step.
Use zip ties or cable clips to route any excess wiring neatly along the back of the mirror frame, keeping everything tidy and secure.
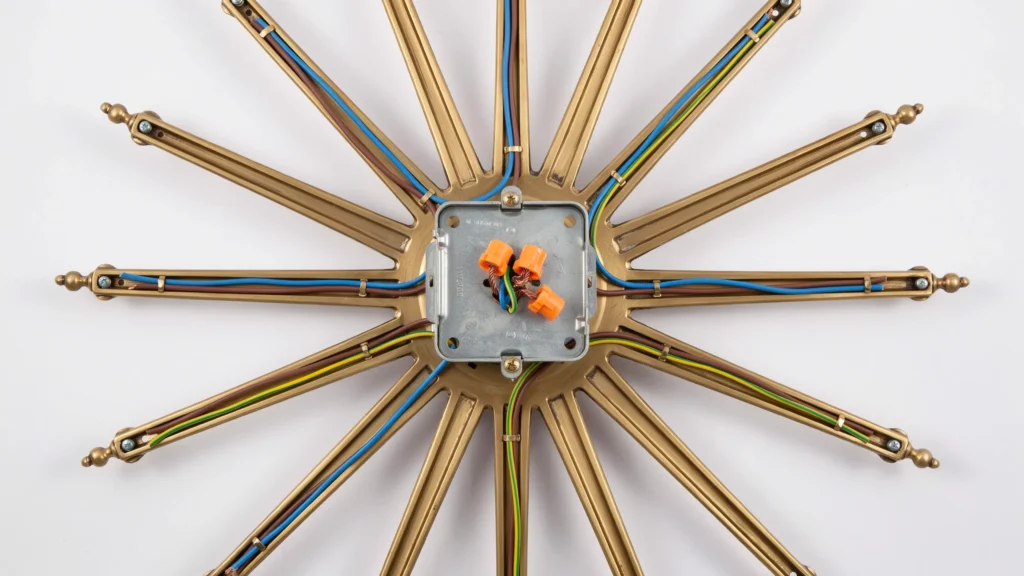
Step 4: Test the Light
Before mounting the fixture to the ceiling, do a quick test. Connect the wiring to a temporary power source (or ask an electrician to check the connections), screw in your bulb, and turn it on. Confirm the bulb lights up and that there are no flickering or buzzing issues. Fix any loose connections now it’s much easier before the fixture goes up.
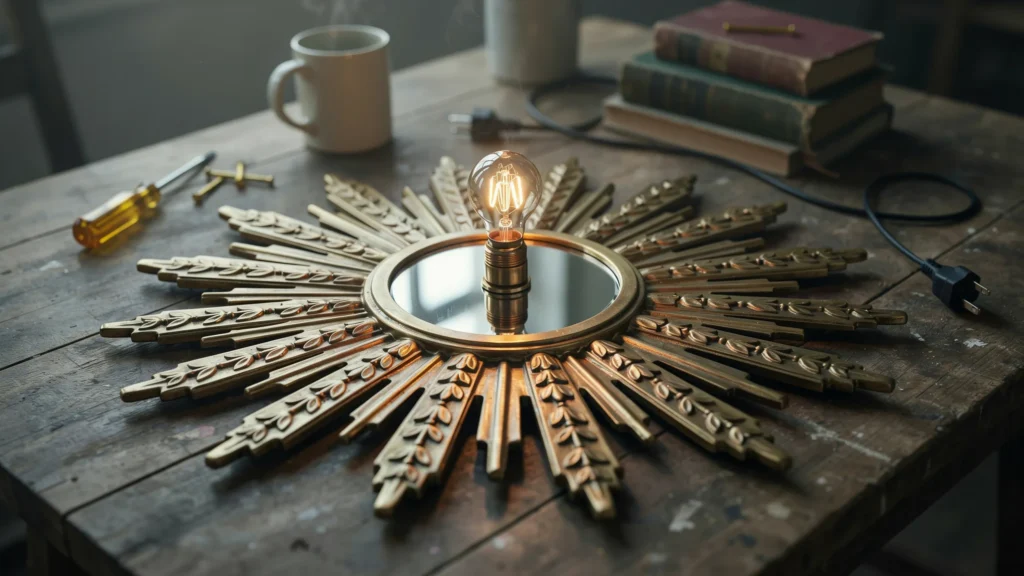
How Do You Safely Install a Sunburst Mirror Ceiling Light?
Ceiling Mounting Techniques
Your canopy kit will attach to the existing ceiling junction box. Make sure the box is rated to support the weight of your fixture sunburst mirrors can be heavier than standard light fixtures. If you’re unsure, replace the junction box with a fan-rated box, which is designed to hold more weight.
Thread the wiring through the canopy, connect it to the ceiling junction box (matching black to black, white to white, and green or bare copper to ground), and secure the canopy with the screws provided. The mirror should hang level use a spirit level to check before tightening everything down.
Electrical Safety Precautions
- Always turn off the circuit breaker before touching ceiling wiring
- Use a non-contact voltage tester to confirm the power is off
- Never work alone when dealing with ceiling installations have someone nearby in case of an emergency
- If your home has aluminum wiring (common in homes built before 1975), consult an electrician before proceeding
Adjusting for Optimal Light Dispersion
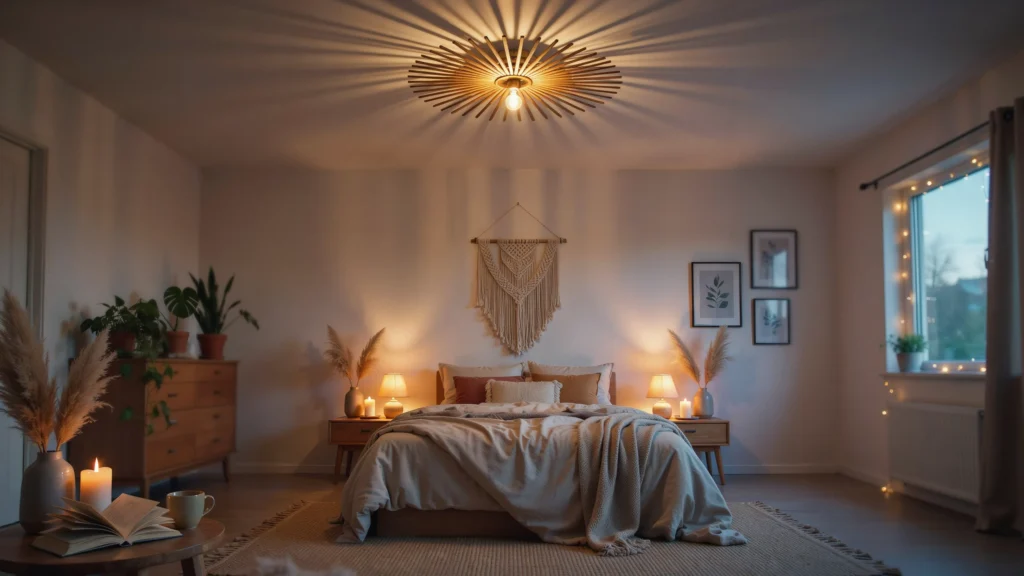
The position of the bulb relative to the mirror’s center affects how light spreads around the room. A bulb that sits flush with the mirror face will cast light outward and upward, creating a dramatic, ambient glow. A bulb that extends further down will add more direct downward light. Experiment with bulb positioning using a pendant extension rod if you want more flexibility.
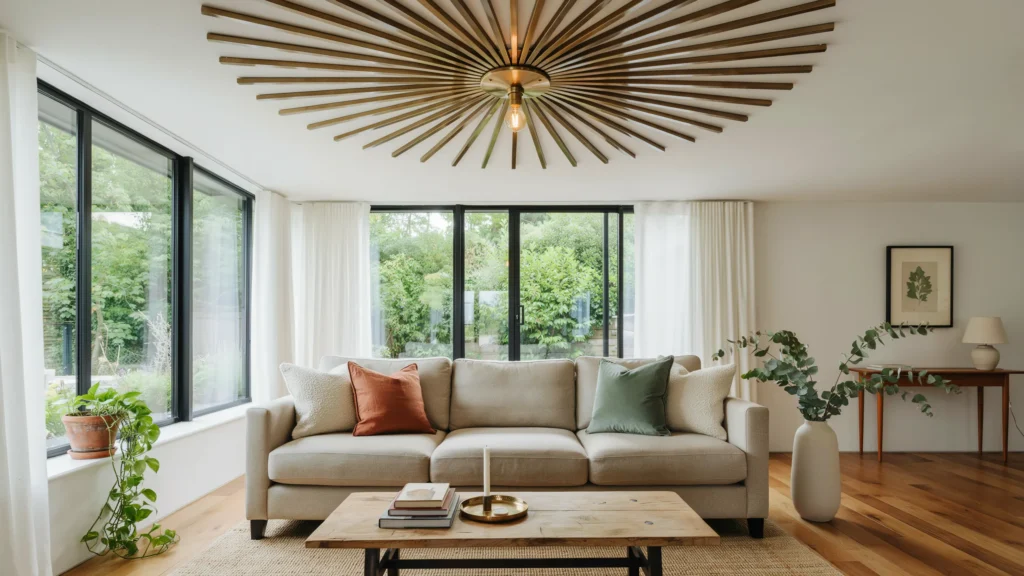
Design Variations and Personalization Ideas
Mirror Styles and Sizes
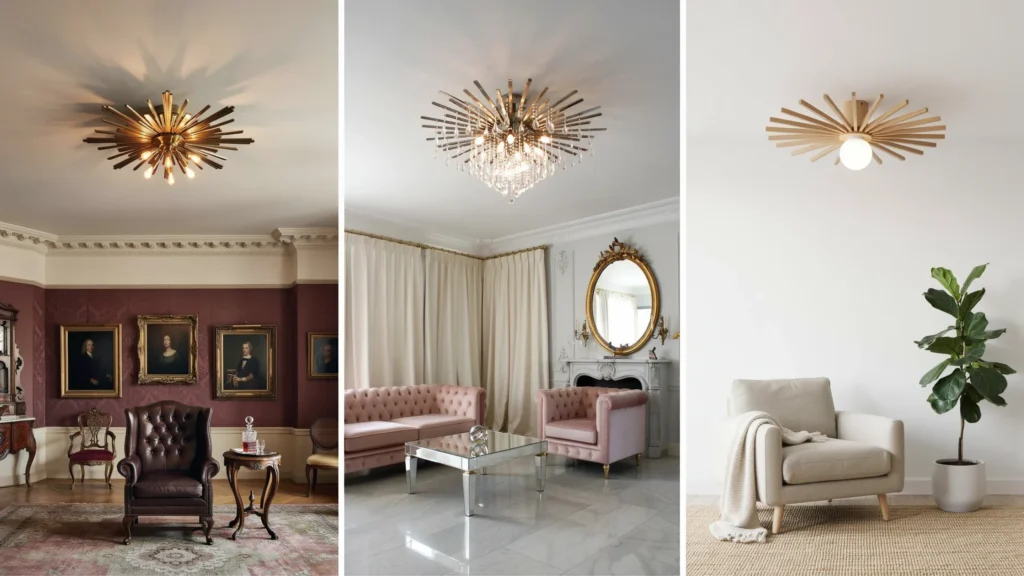
- Gold or brass frames: Warm and glam, ideal for maximalist or Art Deco interiors
- Silver or chrome frames: Clean and modern, works beautifully in Scandinavian or minimalist spaces
- Natural wood rays: A bohemian or organic feel that pairs well with rattan and linen textures
- Oversized mirrors (36″+): Make a bold statement in larger rooms or entryways
Bulb Types and Their Effects
- Bulb Type
- Light Quality
- Best For
- Edison (incandescent) Warm, amber glow Living rooms, dining areas
- LED globe Bright, energy-efficient Kitchens, workspaces
- Candelabra Soft, decorative Bedrooms, reading nooks
- Smart bulb Adjustable color/brightness Any room with a smart home setup
Embellishments
Once the light is installed and working, the creative possibilities are wide open. Some popular additions:
- Crystals or beads hung from the mirror’s rays for a chandelier-inspired effect
- Spray paint to change the mirror frame’s finish (use heat-resistant paint near the bulb area)
- Floral accents made from dried flowers or faux botanicals are attached to the outer rays
Troubleshooting Common Issues
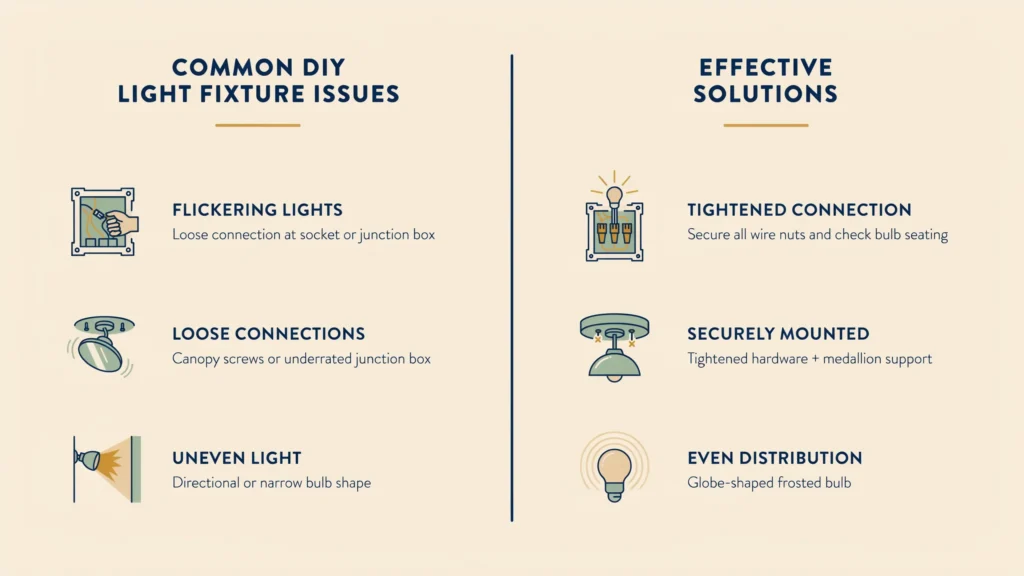
Flickering Lights
Flickering is usually caused by a loose connection at the socket or ceiling junction box. Turn off the power, remove the canopy, and check each wire connection. Tighten wire nuts and confirm no wires have pulled loose. Also, check that the bulb is fully screwed in loose bulbs are a common culprit.
Loose Connections
If the mirror feels unstable after mounting, the canopy screws may not be fully tightened, or the junction box may not be rated for the fixture’s weight. Re-check all mounting hardware and consider adding a ceiling medallion for additional structural support.
Uneven Light Distribution
This usually comes down to bulb placement or bulb shape. A narrow or directional bulb will create hotspots. Switching to a globe-shaped bulb which emits light in all directions will produce more even distribution across the room. Frosted bulbs also help diffuse light more gently.
Maintenance and Care
Cleaning the Mirror and Fixture
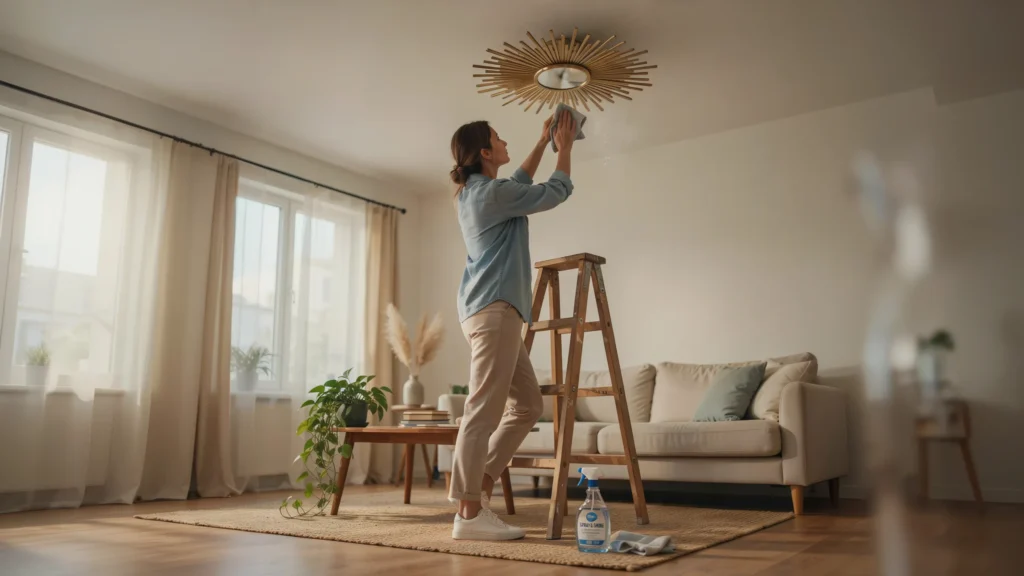
Dust the mirror’s rays regularly using a soft, dry microfiber cloth. For stubborn smudges on the glass center, use a small amount of glass cleaner applied to the cloth never spray directly onto the mirror, as liquid can seep into the frame joints. Avoid abrasive cleaners on metallic finishes, as they’ll scratch the surface over time.
Bulb Replacement
Always turn off the power before replacing a bulb. Allow the bulb to cool completely before touching it LED bulbs stay cooler than incandescent ones, but both can retain heat after extended use. When replacing, match the wattage and base type specified on your socket kit to avoid overloading the fixture.
Ready to Light Up Your Space?
A DIY sunburst mirror ceiling light is one of those projects that rewards you well beyond the effort it takes. The materials are affordable, the skills required are learnable, and the finished product genuinely transforms a room. Better still, no two builds are exactly alike your fixture will be a reflection of your taste, your space, and your creativity.
Start by sourcing a mirror that speaks to you. Check thrift stores, Facebook Marketplace, and estate sales for affordable finds, or buy new if you have a specific style in mind. Once your materials are together, set aside a weekend afternoon and work through the steps methodically. The results will speak for themselves.
When you’re done, share your creation! Tag your finished project on social media and inspire others to try it. There’s a whole community of DIY home decorators who’d love to see what you’ve built.
Frequently Asked Questions
How much does it cost to make a sunburst mirror ceiling light?
Most builds cost between $50 and $150, depending on the mirror and lighting components used. Secondhand mirrors sourced from thrift stores or online marketplaces can significantly reduce costs. Lighting socket kits typically cost $15–$40 at hardware stores.
Do I need an electrician to install a sunburst mirror ceiling light?
Not necessarily. If you’re comfortable following basic electrical safety procedures turning off the circuit breaker, using a voltage tester, and connecting color-coded wires you can complete the wiring yourself. However, if your home has older wiring or you’re unsure at any stage, hiring a licensed electrician for the ceiling connection is a smart and safe choice.
What type of bulb works best for a sunburst mirror ceiling light?
Globe-shaped LED bulbs are the most practical choice. They emit light in all directions (producing even, ambient illumination), consume less energy than incandescent options, and run cooler which is beneficial in an enclosed fixture. Edison-style filament bulbs are a popular aesthetic choice for warmer, more decorative settings.
Can I use any sunburst mirror for this project?
Most sunburst mirrors with a solid central frame can be converted, but sturdier frames work best. Avoid mirrors with very thin or fragile frames that may not support the weight of the socket hardware. A frame depth of at least 1 inch gives you more room to work with when routing wiring.
Is this DIY project safe?
Yes, when done correctly. The key safety steps are: always cut power at the circuit breaker before working on ceiling wiring, use a non-contact voltage tester to verify the power is off, and ensure your ceiling junction box can support the fixture’s weight. Following these precautions makes the project as safe as any standard light fixture installation.
How long does this DIY project take to complete?
Most people complete the build and installation in 3–5 hours, spread across a single afternoon. First-time builders should allow extra time for the wiring and ceiling mounting stages.


