You can turn almost any sturdy old picture frame into a DIY antique mirror from an old frame in a single weekend. The simplest route is mirror effect spray paint on the back of the glass, followed by a vinegar water mist for aged flecks and a coat of black paint behind it for depth. The whole project needs a frame with a deep enough rebate, a clean pane of glass, and a dry place to spray.
The four methods in this guide suit different frames, budgets and skill levels. Mercury glass spray gives the fastest result, vinegar aging gives the most convincing old glass, gold leaf gives the richest frame, and a black backed faux antique is the safest choice when you do not want to cut glass at all. Pick your method first, then read the frame and hanging sections before you start.
Start With the Frame, Not the Paint
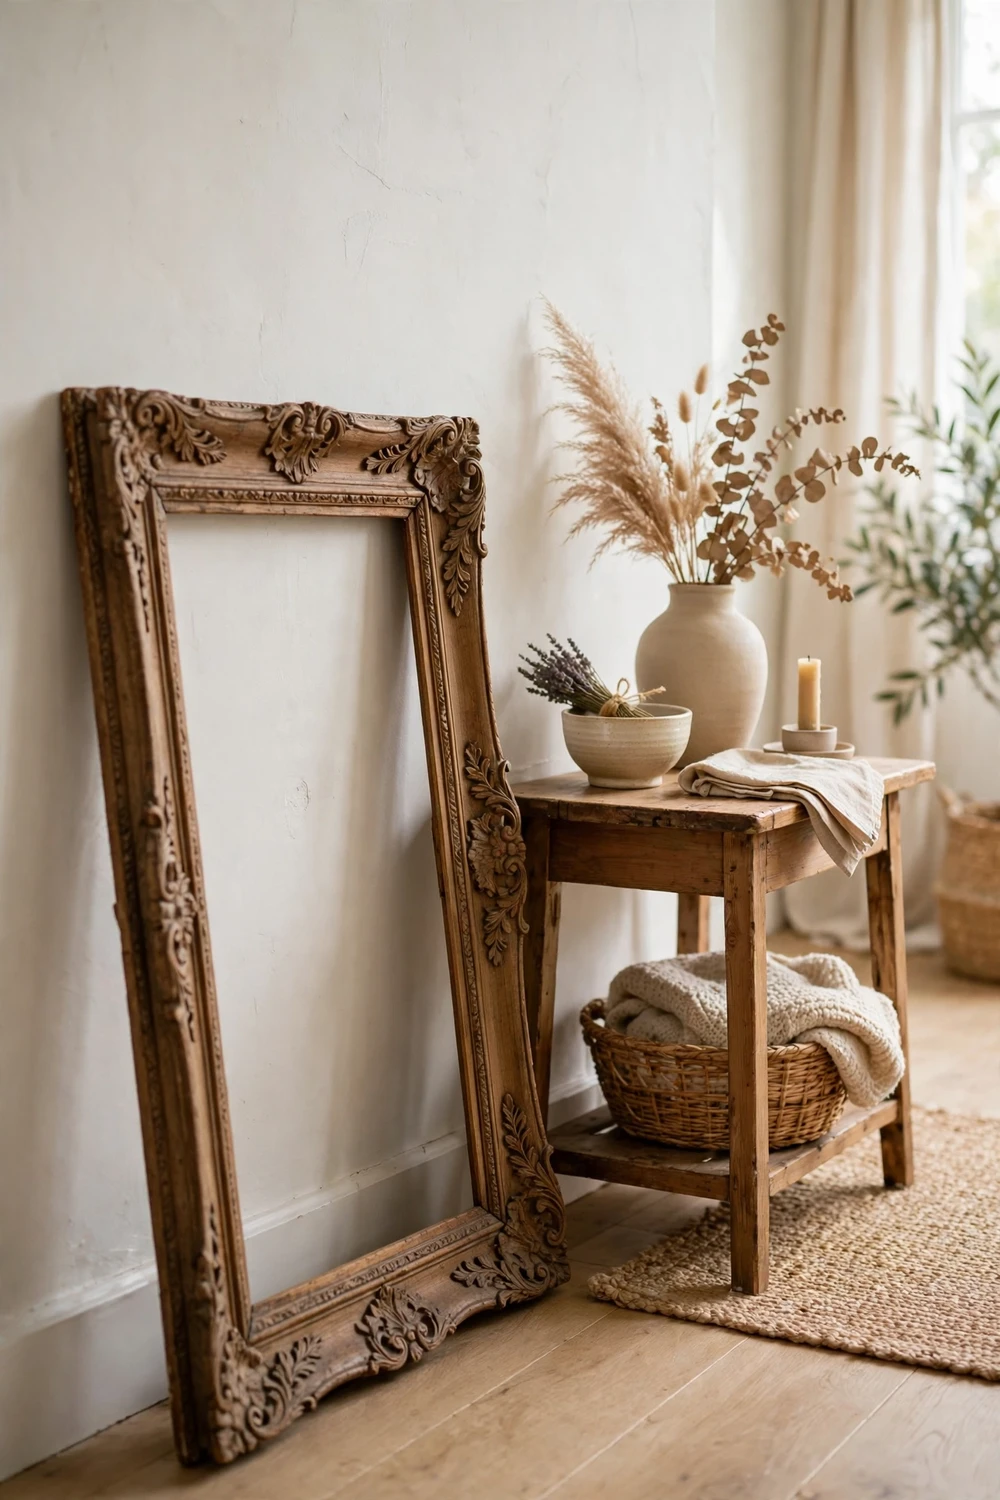
Every good antique mirror project starts at the frame, not the paint can. A frame that looks perfect on a charity shop shelf can still be wrong for a mirror, and the faults only show up once the glass is in.
Look for solid wood with tight corners. Press each corner gently and watch for movement. A little wobble can be fixed with wood glue and a clamp, but a corner that opens more than a millimetre or two will keep working loose under the weight of glass. Carved frames suit this project best, because carving hides small repairs and takes gilding well.
Measure the rebate, which is the ledge inside the frame that holds the glass. It needs to be at least 6 millimetres deep to hold mirror glass plus a backing board. Shallow rebates are the most common reason a frame fails for this project. If the rebate is only 3 or 4 millimetres deep, choose the black backed method, which uses thinner materials, or pick another frame.
Check the glass that comes with the frame. Hold it up to a window and look through it at an angle. Light scratches are fine under mirror paint, but a chip near an edge can spread when you handle the glass, so replace chipped panes.
Avoid plastic frames. They look like wood from a distance, but they flex when you lift them, and that flex cracks mirror paint and loosens glazing points over time. Avoid frames with missing chunks of moulding unless you enjoy repair work. For a first project, pick a frame that needs cleaning and paint, not rebuilding.
Clean the frame before you do anything else. Brush dust out of the carving with a soft brush, wipe it with a damp cloth, and let it dry fully, because grime stops paint and size from sticking.
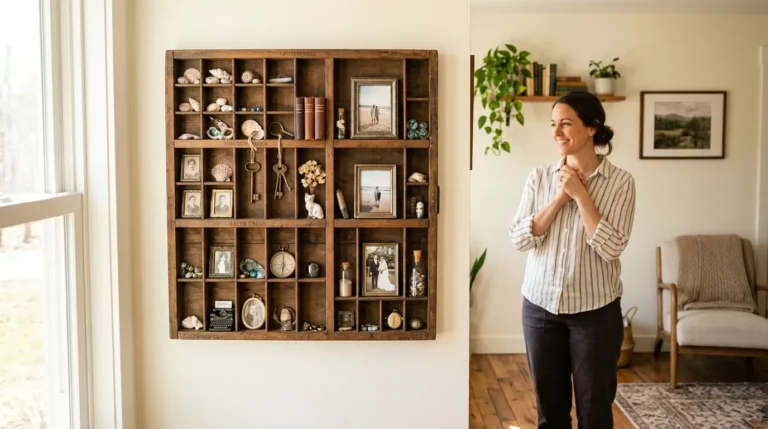
Think about where the finished mirror will hang before you choose a size. A frame wider than 90 centimetres gets heavy fast once glass and backing go in, and it needs proper wall fixings. A frame between 40 and 70 centimetres wide is the sweet spot for a first project. It is easy to carry, easy to spray, and it fits above a console table or a chest of drawers. If you love collecting old things, a thrifted frame mirror sits happily beside other vintage finds, and these vintage printers tray decor ideas show how to style old pieces together without the room looking like a junk shop.
Method One: Mercury Glass Spray Paint
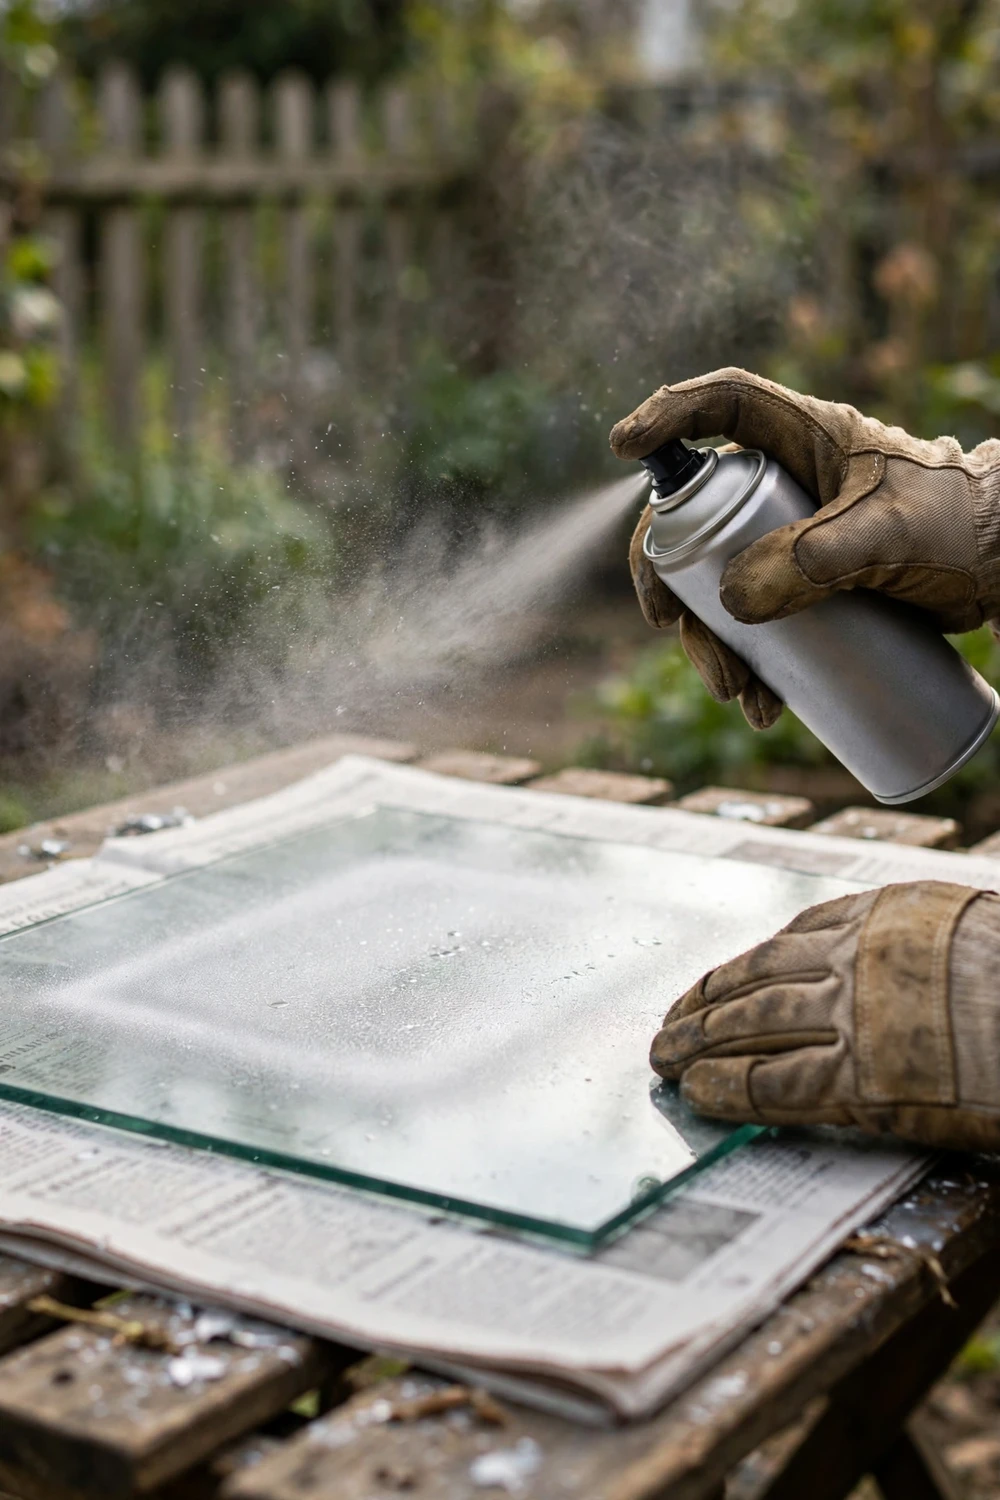
Mercury glass spray is the fastest way to make an antique mirror, and it is the method I would hand to a complete beginner. You spray mirror effect paint on the back of the glass, mist it lightly with vinegar water to create aged flecks, then back it with black paint.
Gather your supplies first. You need a can of mirror effect spray paint, white vinegar, a spray bottle, black acrylic or spray paint, newspaper or a drop cloth, gloves, and a mask. Lay the glass on newspaper, clean side down, so the back faces up. Clean the back with glass cleaner and a lint free cloth, then leave it to dry for ten minutes.
Spray the first coat very lightly from about 25 centimetres away, moving in steady side to side passes. The aim is a thin, even mist, not a solid coat. Let it dry for five minutes, then spray a second light coat. Repeat until you have five to eight thin coats, with five minutes of drying between each one. Thin coats are the whole secret here. One heavy coat runs, pools and dries cloudy, and there is no way to fix it except to scrape the paint off and start again. Patience between coats matters more than skill.
After the last coat, while the paint is still slightly tacky, mist the surface lightly with a mix of one part white vinegar to one part water from about 30 centimetres away. The vinegar eats tiny flecks out of the fresh paint and creates the aged, foxed look of old mercury glass. Mist once, wait a minute, and look at the result in good light before you mist again. You can always add more flecks, but you cannot put paint back.
Once the surface is dry to the touch, after about 30 minutes, spray or brush a coat of matt black paint over the whole back. The black layer sits behind the silver and gives the mirror its depth. Let the black coat dry for at least two hours before you handle the glass. The mirror paint needs a full 24 hours to cure before you fit it into the frame.
The mistakes people make with this method are always the same. They spray too close, they spray too much at once, and they mist the vinegar too heavily on the first pass. If your first coat looks cloudy, wait, because many coats look cloudy wet and clear as they dry. If the finished mirror looks too new, add another vinegar misting.
Method Two: The Vinegar Aged Mirror
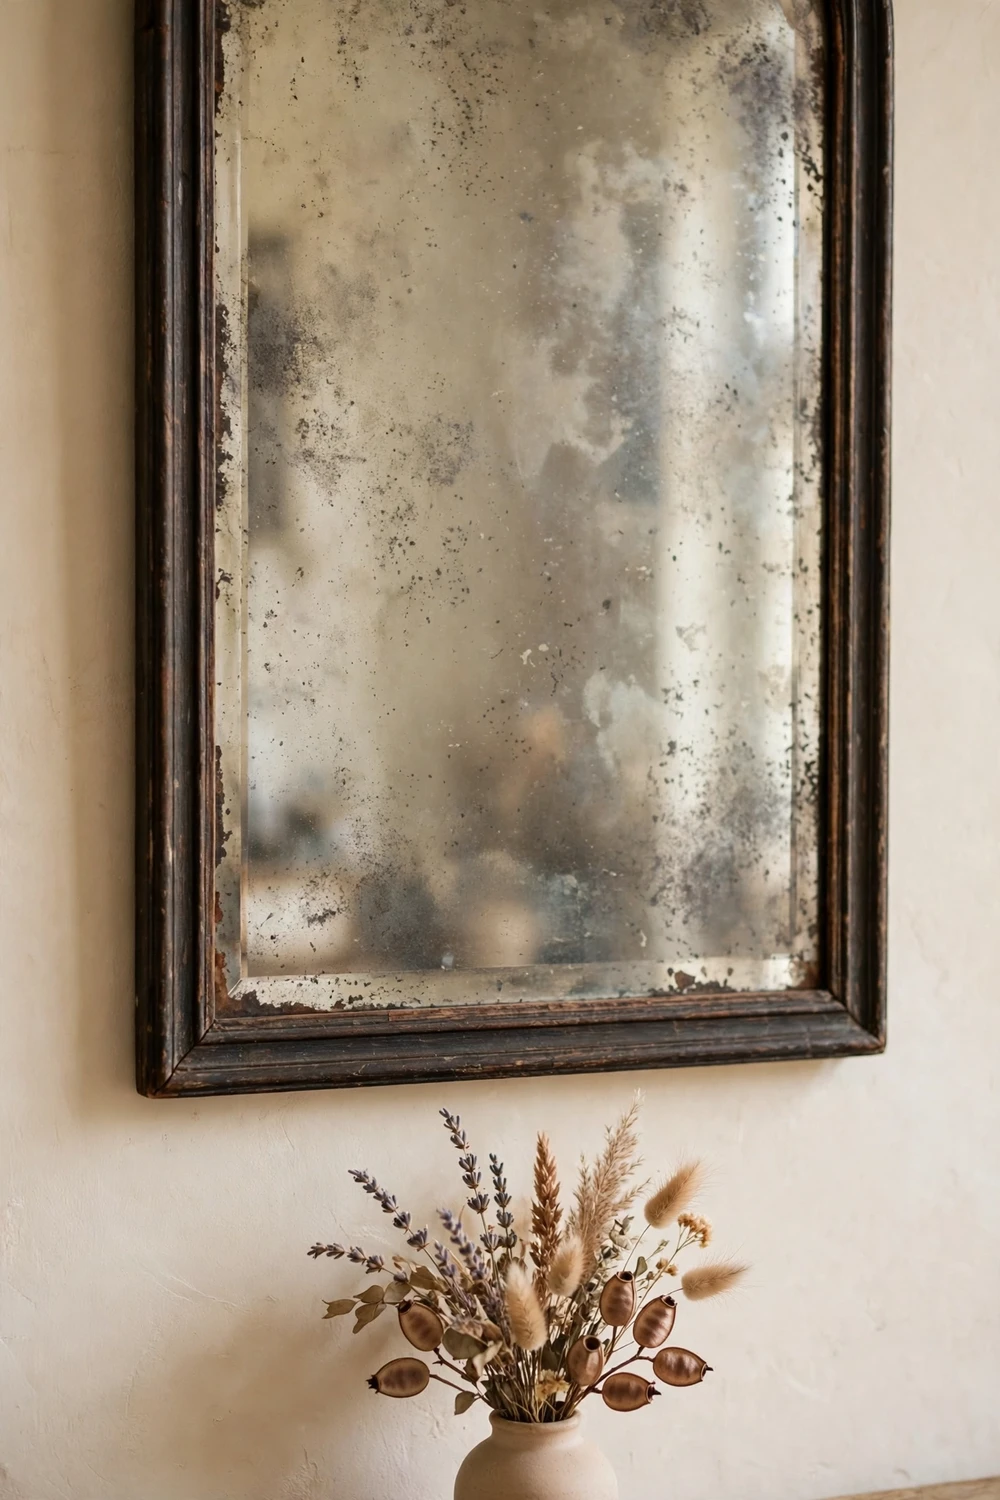
A vinegar aged mirror starts with a real mirror, not a painted one, and the vinegar slowly eats away at the silvering on the back. The result is the most convincing old glass of all four methods, because the ageing happens in the mirror itself rather than in a layer of paint.
Start with a plain new mirror cut to fit your frame, or buy a cheap framed mirror and take the glass out. You need access to the back of the mirror, which is the silvered side. Lay the mirror face down on a soft towel and remove the backing. If the mirror has a protective grey or black coating over the silvering, strip it first with paint stripper and a plastic scraper, working in a ventilated space with gloves on.
Mix one part white vinegar with one part water in a spray bottle. Mist the back of the mirror lightly and evenly, then wait. The vinegar starts to eat small flecks out of the silvering within a few minutes. Blot the surface gently with a paper towel after about five minutes, then look at the front of the mirror in good light. Work in small stages. Mist, wait five minutes, blot, check. Three or four light rounds give a better result than one heavy soaking, because a heavy soaking can strip large patches and leave bald spots that look damaged rather than old.
Focus the ageing on the edges and corners, where real old mirrors wear first. Mist the centre lightly and the edges a little more heavily. You can shield the centre with a piece of card while you mist the edges, which gives a natural gradient.
When the ageing looks right, stop. Rinse the back of the mirror with clean water and pat it dry. Do not scrub it. The silvering is fragile once the vinegar has worked on it, and hard rubbing will strip it further. Seal the back with a coat of clear spray sealant or matt black paint to stop the ageing from continuing. Let the sealant dry for at least two hours before fitting.
This method has two real risks. The first is overdoing it. Once the silvering is gone, it is gone, and the only fix is a new mirror. Check the front after every round, and stop earlier than you think you should. The second risk is uneven ageing from a dirty surface. Clean the back of the mirror properly before you start, and keep your fingers off the silvering.
Method Three: Gold Leaf Frame and New Mirror Glass
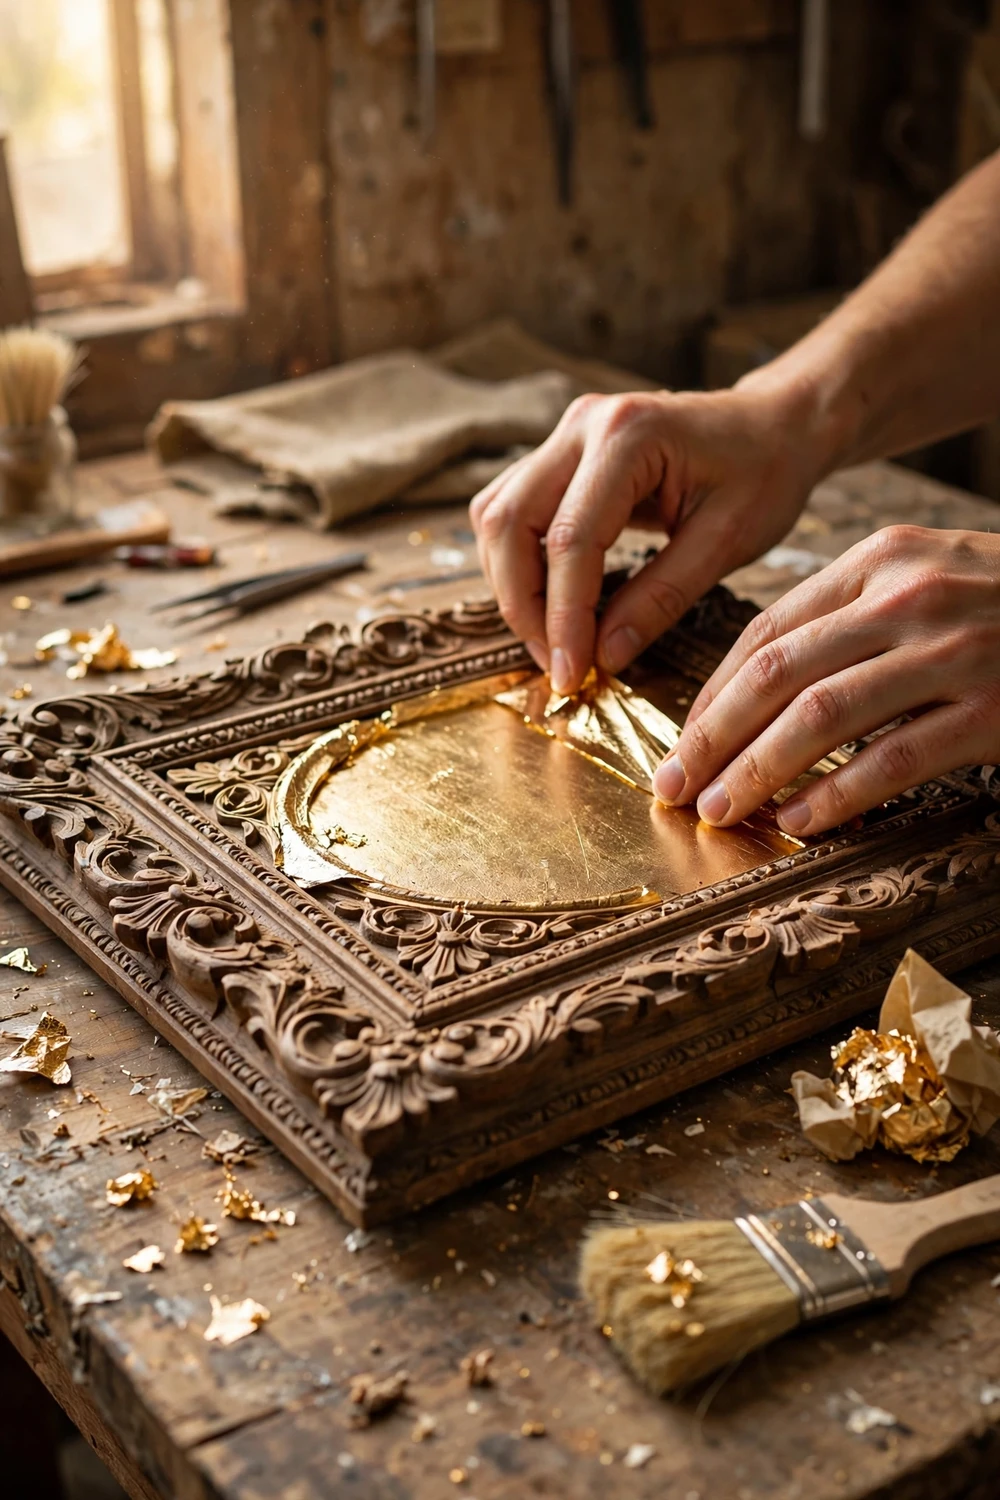
Gold leaf changes the frame instead of the glass, and it suits a different kind of project. Use this method when the frame is beautiful but tired, with worn gilt or scratched paint that no amount of cleaning will save. A gilded frame paired with clean new mirror glass gives a formal, collected look that suits a hallway, a dining room or a bedroom with traditional furniture.
Start by cleaning the frame and repairing any loose joints or missing chips with wood filler, then sand the filler smooth once it is dry. If the frame has old flaking gilt, brush off anything loose with a stiff brush. You do not need to strip the frame back to bare wood. Gold leaf sticks best to a smooth, sealed surface, so brush on a coat of gilding size, which is the adhesive sold for this job, and wait until it turns tacky. That usually takes 15 to 30 minutes, depending on the room temperature.
Pick up a sheet of gold leaf with a gilding tip or a soft dry brush and lay it gently onto the tacky surface. Press it down lightly with a soft brush, working from the centre of the sheet outwards. Overlap the next sheet by a few millimetres. Press the leaf into carved crevices with a small soft brush, and let it crack and settle into the detail rather than fighting it. Close the windows first, because a draught will lift a sheet of leaf and carry it across the room.
Once the whole frame is covered, leave it for an hour, then brush off the loose leaf with a soft brush. Seal the leaf with a clear lacquer made for gilding, or with a thin coat of antique wax rubbed on with a cloth. The wax tones down the bright gold and gives it a warm, old glow. If the gold still looks too bright after sealing, rub a little dark wax into the carving and wipe the raised areas clean.
Pair the gilded frame with new mirror glass cut to size. My own view is that a gilded frame looks best with a lightly aged mirror, because a perfect mirror next to ornate gold can feel too new and too shiny. A little foxing at the edges softens the whole piece and makes the frame and the glass feel like they belong together.
Work in sections of about 15 centimetres at a time, and keep the leaf booklet close to the frame. If a sheet lands wrong, leave it and cover it with another sheet. Trying to peel it off makes a bigger mess than the mistake itself.
Method Four: The Black Backed Faux Antique
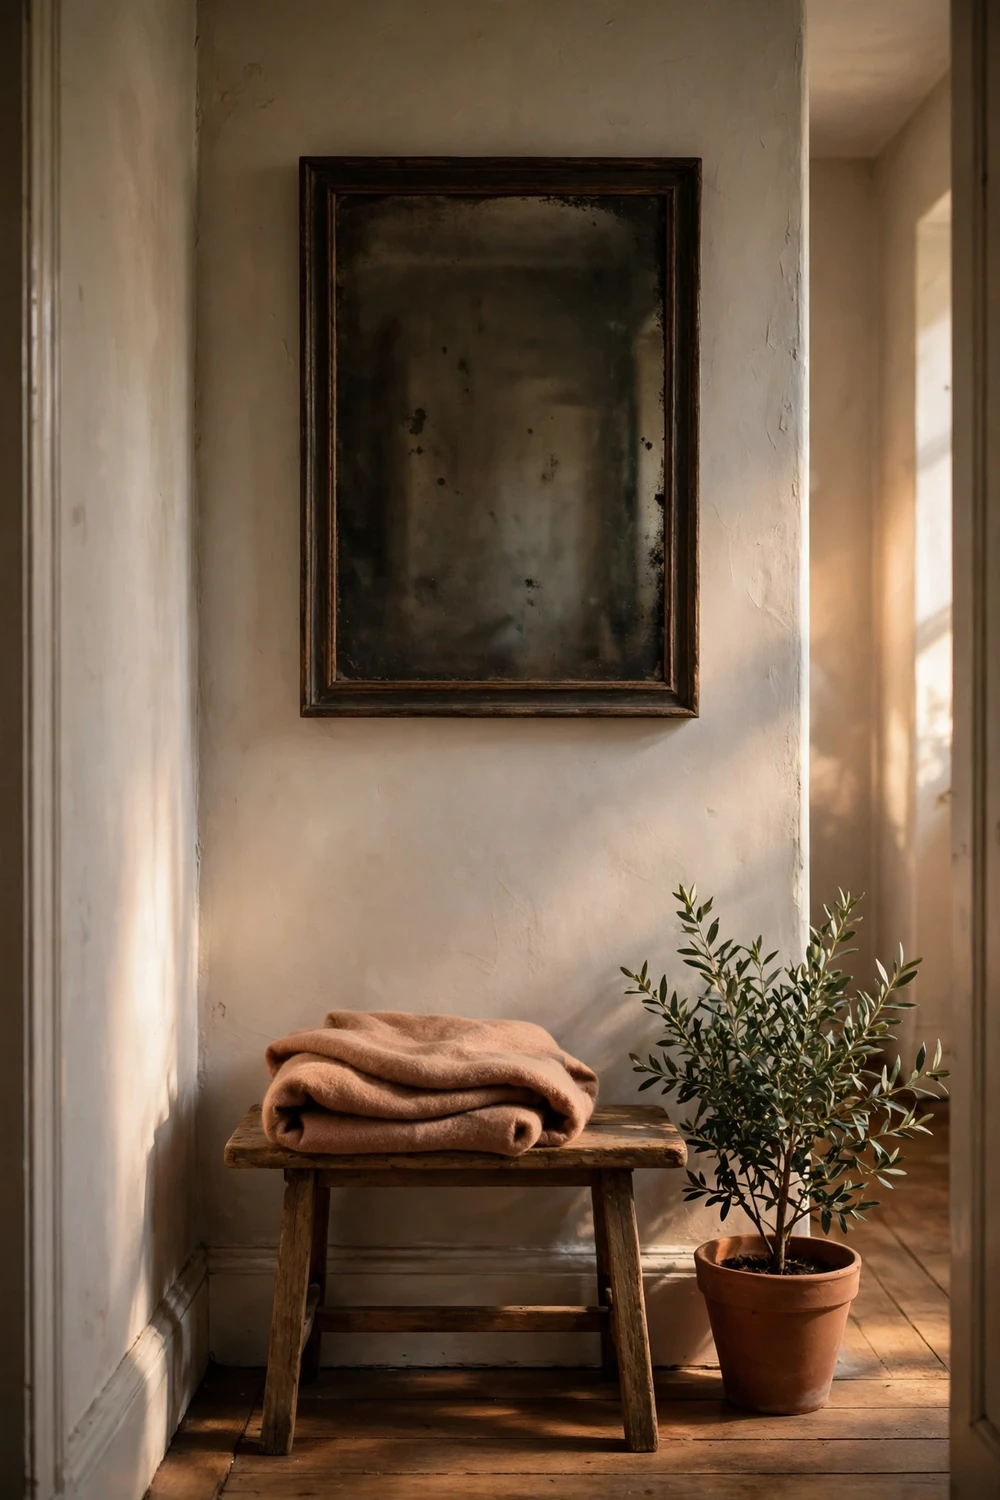
The black backed faux antique is the simplest method of the four, and it is the one to choose when you do not want to cut glass, spray paint or handle chemicals. It works with the glass already in the frame, or with a cheap acrylic mirror sheet, and it gives a soft, dark, moody reflection that suits hallways, bedrooms and rooms with low light.
Start by painting the back of the glass with a coat of matt black paint and letting it dry fully. The black layer kills the bright, modern reflection and gives the mirror a dark base. Then add the aged effect on the front of the glass, not the back. Dab small patches of silver and grey metallic paint onto the front with a sea sponge, keeping the patches light and uneven. Focus on the edges and corners, and leave the centre mostly clear so the mirror still works as a mirror.
Once the paint is dry, seal the front with a clear matt spray sealant. This stops the sponge work from scratching off when the mirror is cleaned. Fit a piece of thin plywood or hardboard behind the glass as a backing board, and tape the edges with aluminium tape to keep dust and damp out.
This method suits renters and first timers because nothing is permanent. If you do not like the result, the paint on the front of the glass wipes off with a razor scraper and glass cleaner, and you can start again.
The main thing to watch is the amount of paint you put on the front. Too much silver and the mirror stops reflecting properly and looks like a grey painting. Too little and the ageing is invisible. Test on a small piece of spare glass first, or on one corner of the mirror, before you commit to the whole surface. A dark wall behind the mirror makes this method look even better, and these black accent wall ideas show how a dark backdrop makes a mirror glow rather than disappear.
DIY Antique Mirror from an Old Frame: Four Methods Compared
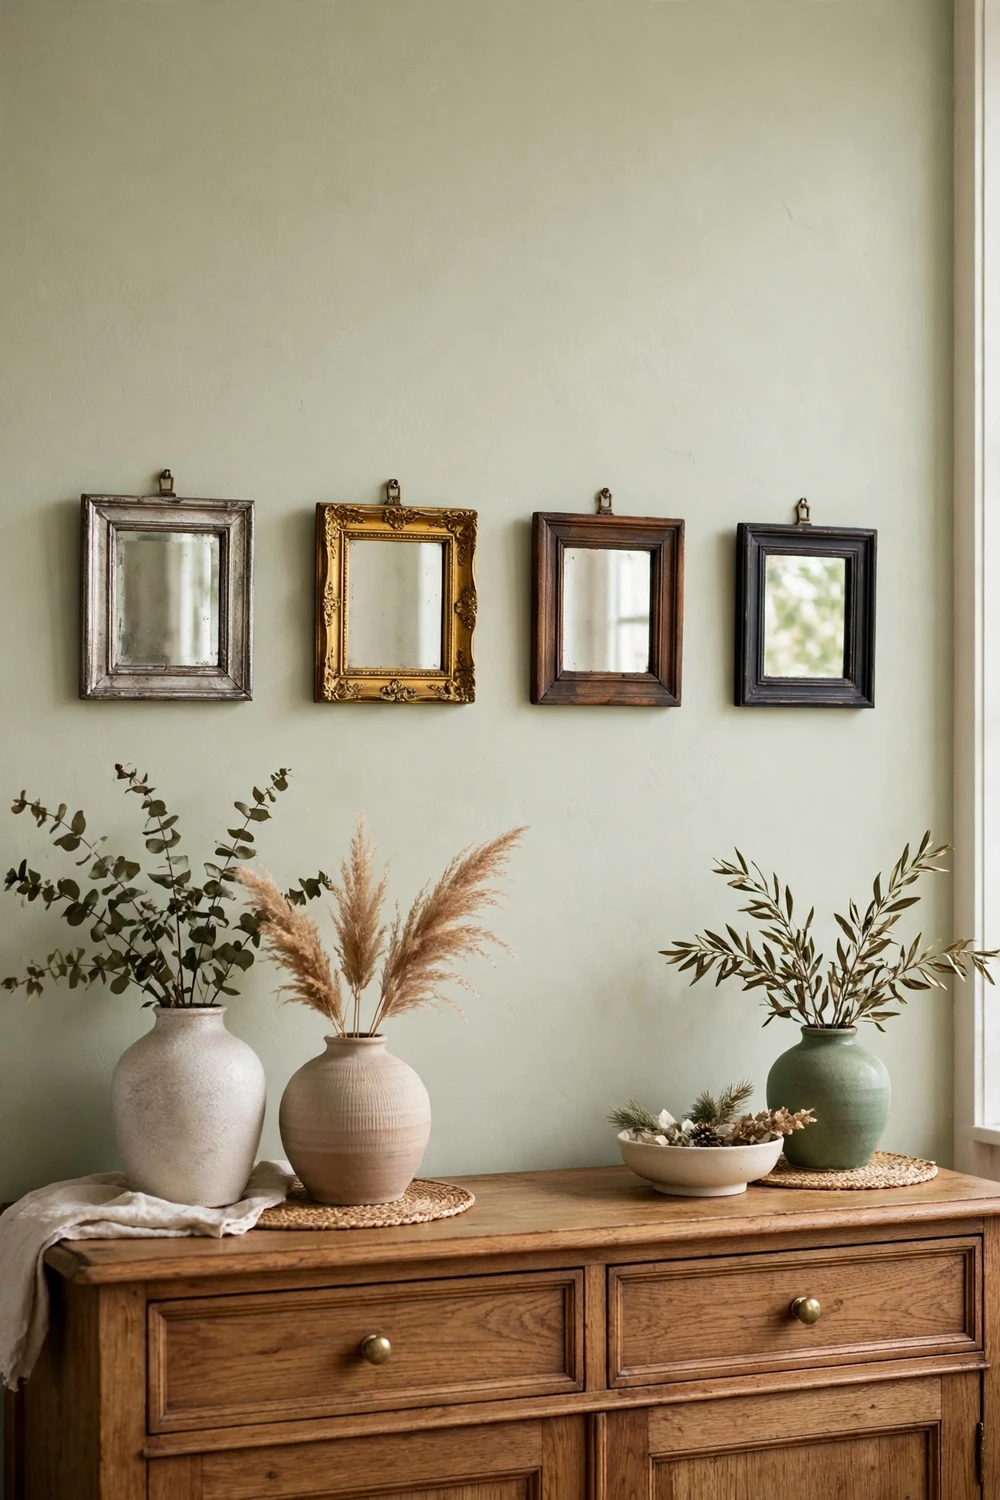
Choosing a method is easier when you can see the four side by side. Cost, time and skill matter as much as the finish, because a method that needs tools you do not own will cost more than the table suggests. The costs below are typical ranges for the materials, not fixed prices, and they assume you already own basic tools like a brush, a cloth and a screwdriver.
| Method | Typical cost | Active time | Skill level | Best for |
|---|---|---|---|---|
| Mercury glass spray | Low | About 1 hour plus 24 hours curing | Beginner | Fast results, first projects, small frames |
| Vinegar aged mirror | Low to medium | About 2 hours plus drying | Intermediate | The most convincing old glass |
| Gold leaf frame | Medium to high | 3 to 5 hours over two days | Intermediate | Ornate frames, formal rooms |
| Black backed faux antique | Low | Under 1 hour | Beginner | Renters, shallow frames, quick projects |
If I had to pick one method for a first project, I would pick the mercury glass spray. It is the most forgiving of the four, because a coat that goes wrong can be scraped off and redone in ten minutes, and the result looks good even when the ageing is uneven. The vinegar method gives a better finish, but it punishes impatience, and a first timer who mists too heavily ends up with a mirror that looks damaged rather than old. Gold leaf is a joy to do once you have tried it, but it is slow, and slow work on a first project can feel like a chore.
Think about the room as well as the frame. A mercury glass mirror suits a bright room where its soft reflection adds warmth without darkening the space. A vinegar aged mirror suits a bedroom or a hallway where the light is softer and the cloudy patches read as character. A gold leaf frame needs a room with some traditional furniture to feel at home.
Cutting Glass, Fitting the Mirror and Sealing the Back
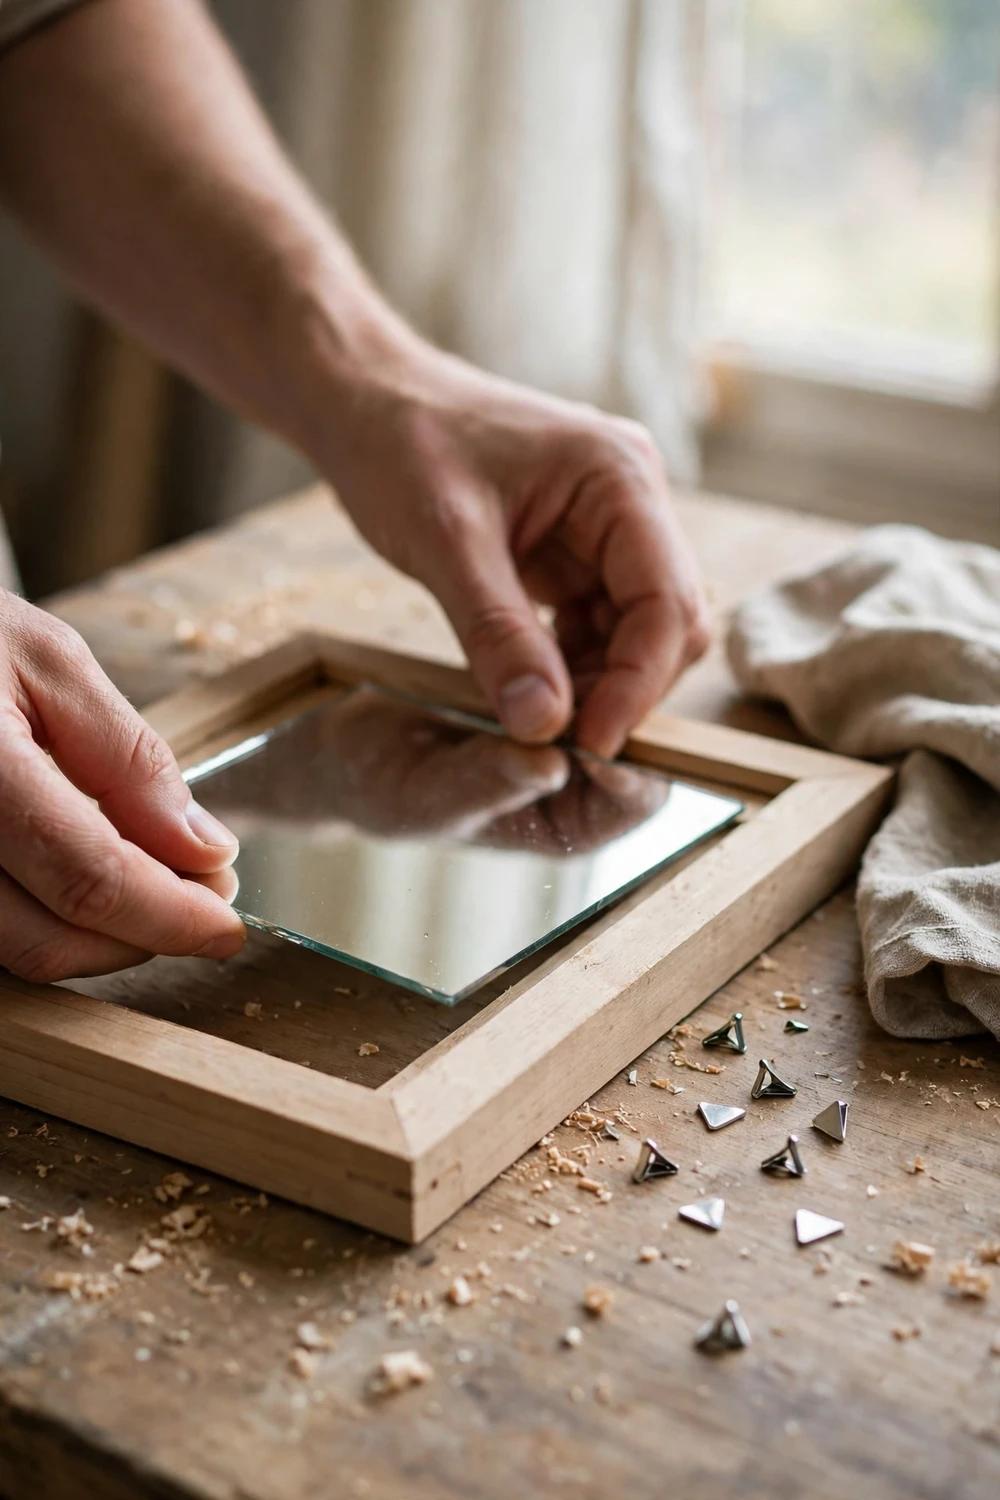
Glass cutting worries most people more than it should. The measurements matter more than the cutting itself. Measure the inside of the rebate in both directions, then subtract 3 millimetres from each measurement.
If you cut the glass yourself, work on a flat surface with a glass cutter, a straight edge and a pair of cut resistant gloves. Score the glass once, firmly, in a single smooth pass. Do not score the same line twice, because a second pass chips the edge and the break will run crooked. Snap the glass over the edge of the table with a quick, confident press.
Fit the glass into the frame from the back, face down on a soft towel. Press it gently into the rebate and check that it sits flat in all four corners. Hold the glass in place with glazing points, which are small metal triangles that press into the wood around the edge of the glass.
Cut a backing board from thin plywood or hardboard to the size of the frame opening and lay it over the glass. The board protects the mirror back and stiffens the whole frame. Tape the edges of the board to the frame with aluminium tape or strong parcel tape, which keeps dust and damp out and stops the silvering from tarnishing.
Glass thickness and hanging hardware depend on the size of the finished mirror. A small mirror can use thinner glass and simple fixings, but a large mirror needs thicker glass and fixings rated for its full weight.
| Frame size | Glass thickness | Hanging hardware | Wall fixing |
|---|---|---|---|
| Under 40 cm wide | 2 mm | Single D-ring or sawtooth hanger | Picture hook or screw into a stud |
| 40 to 70 cm wide | 3 mm | Two D-rings with wire | Two screws into studs or plasterboard anchors |
| Over 70 cm wide | 4 mm | Two heavy D-rings with braided wire | Two heavy duty anchors or a French cleat |
Weigh the finished mirror on bathroom scales before you buy fixings. A framed mirror is heavier than it looks, and most hanging failures happen because the fixings were chosen for the frame alone, not the frame plus glass plus backing. If the mirror weighs more than 10 kilograms, use a French cleat. It spreads the weight across the wall and it is far more secure than a wire on a single hook.
Hanging It Safely and Styling the Finished Mirror
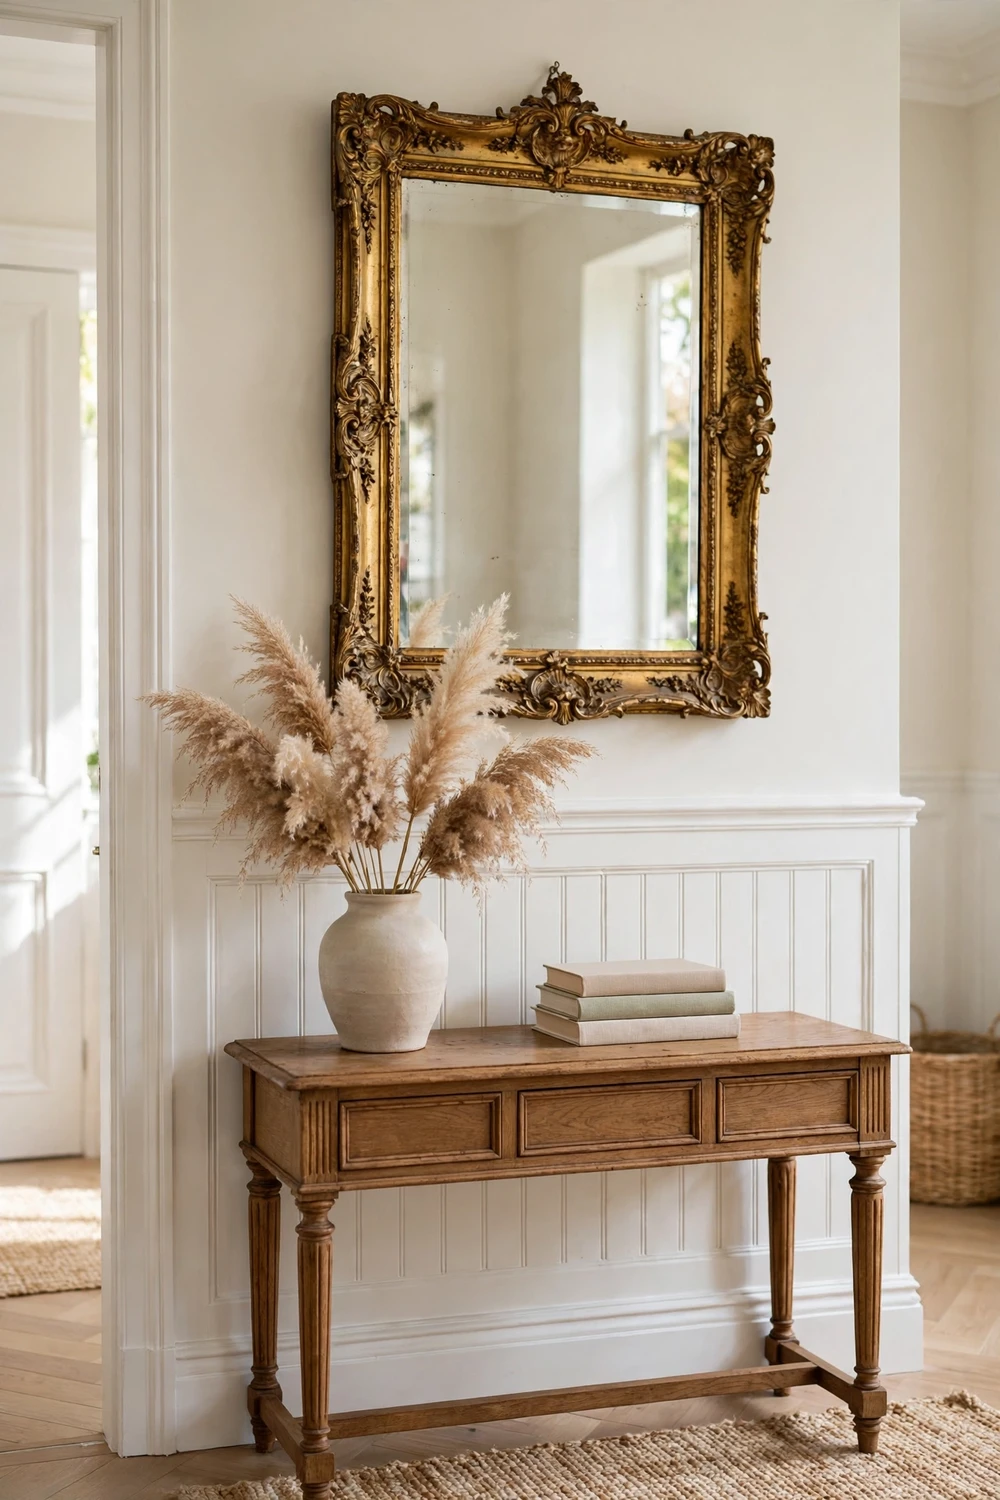
Hanging a mirror is the part people rush, and it is the part that matters most. A mirror that falls breaks glass, damages the wall and can hurt someone standing below it. Take ten extra minutes here. Find the studs with a stud finder, or tap the wall and listen for the solid sound of timber behind the plaster. If you cannot hit a stud, use plasterboard anchors rated for at least twice the weight of the mirror.
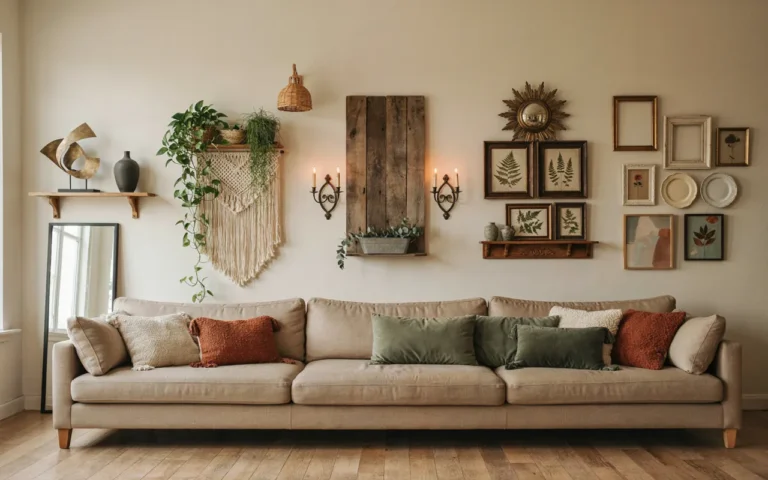
Hang the mirror so its centre sits at about 145 to 150 centimetres from the floor, which is eye level for most adults. Above a console table or a chest of drawers, leave a gap of 15 to 20 centimetres between the top of the furniture and the bottom of the frame. These above couch wall decor ideas show how the right size and height change the whole look of a living room wall.
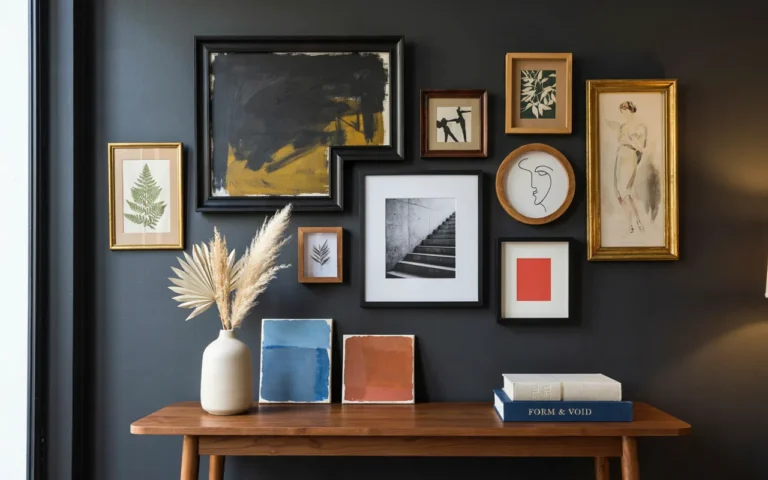
Style the mirror with restraint. An antique mirror already has a lot of character, so it needs very little around it. A single vase with dried stems, a small stack of books or a candle on the table below is enough. Too many objects compete with the frame and make the whole arrangement look busy.
Antique glass needs gentle cleaning. Wipe it with a soft, dry cloth or a cloth dampened with water. Avoid ammonia based glass cleaner on aged mirrors, because ammonia can attack the silvering at the edges and speed up the tarnishing you worked so hard to create. If the frame is gilded, dust it with a soft brush rather than a cloth, because cloths catch on carving and pull leaf loose.
Think about what the mirror reflects before you hang it. A mirror opposite a window doubles the light in a room, which is the oldest trick in decorating and still the best one. That is why a mirror suits a reading nook so well, and these reading nook ideas with bookshelves show how a mirror and a shelf of books work together in a small corner. If you are building a gallery wall, a small antique mirror breaks up a run of framed prints beautifully, and a mirror next to bird prints or botanical art feels natural rather than forced, as these Audubon bird gallery wall ideas show.
What Readers Ask Before They Start
Can I turn any old picture frame into a mirror?
Almost any solid wood frame can become a mirror, as long as the corners are tight and the rebate is at least 6 millimetres deep. Plastic frames are the exception, because they flex and crack mirror paint. For a first project choose a frame that only needs cleaning and paint.
Do I spray mirror paint on the front or the back of the glass?
Always spray on the back of the glass. The paint forms the reflective layer, and you look at it through the glass from the front. Spraying the front gives a dull grey surface that never looks like a mirror, and it scratches off the first time you clean it.
How do I age a mirror with vinegar without ruining it?
Mist a mix of one part white vinegar to one part water onto the back of the mirror in light rounds, checking the front after each round. Stop earlier than you think you should, because the effect looks stronger in daylight. Seal the back as soon as you are happy, so the vinegar stops working.
Is gold leaf hard for a beginner?
Gold leaf is slow rather than hard. The leaf tears easily and it drifts in a draught, but mistakes are easy to cover with another sheet. Work in a still room, in sections of about 15 centimetres, and seal the finished frame with lacquer or antique wax. Most beginners get a good result on their first frame.
How much does a DIY antique mirror cost?
A small mirror made with the spray or black backed method typically costs very little beyond the frame itself, because you only need paint, vinegar and a backing board. The vinegar method costs a little more if you need a new mirror cut, and gold leaf is the most expensive because leaf and size add up.
How do I hang a heavy framed mirror safely?
Weigh the finished mirror first, then use fixings rated for at least twice that weight. Fix into studs where possible, or use heavy duty plasterboard anchors. Use two fixings rather than one, and use a French cleat for anything over 10 kilograms.
Start With the Frame You Already Have
The best frame for this project is probably already in your house. It might be hanging in a spare room, leaning behind a wardrobe, or sitting in a charity shop for a few pounds. It does not need to be valuable or beautiful yet. It needs solid corners, a deep enough rebate and a shape you like, because everything else in this guide is just paint, vinegar and patience.
Pick one method, gather your supplies, and start with the smallest frame you can find. A small mirror teaches you the whole process in an afternoon, and it gives you something lovely to hang at the end of it. The second one will be better, and the third one will look like it came from an antique shop. That is the quiet pleasure of this project. You start with a frame nobody wanted, and you end with a mirror nobody believes you made yourself.