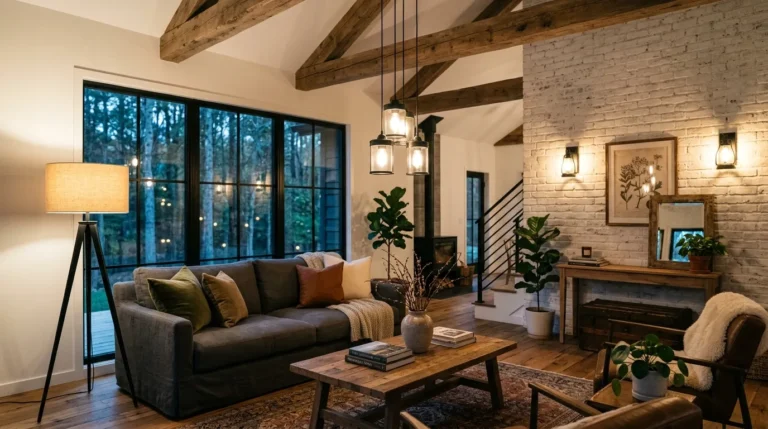
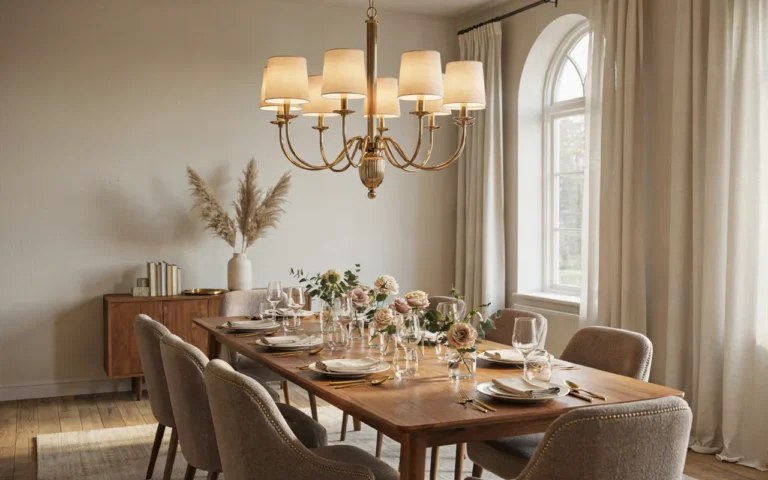
An industrial farmhouse chandelier is the right buy when its diameter is one half to two thirds of the table below it, its bottom sits 30 to 36 inches above the tabletop on a standard 8 foot ceiling, and its frame mixes matte black metal with warm wood or clear glass. Get those three things right and even a modestly priced fixture looks deliberate and expensive.
On a tight budget, spend on size and build quality first. A well sized open frame in black metal and wood reads as industrial farmhouse from across the room, while a small fixture with fussy details reads as an afterthought, whatever it cost. This guide walks through the sizing maths, the hanging heights for every room, the finishes that work, the bulbs that flatter the room, and the budget tiers where saving is safe and where it is not.
Start With the Room, Not the Chandelier
Most chandelier regret starts in the shop, not in the dining room. A fixture looks wonderful under bright store lights, surrounded by other fixtures, and then it arrives home and looks either lost above the table or heavy enough to swallow the room. The fix is simple and it costs nothing. Measure the room and the table before you look at a single listing.
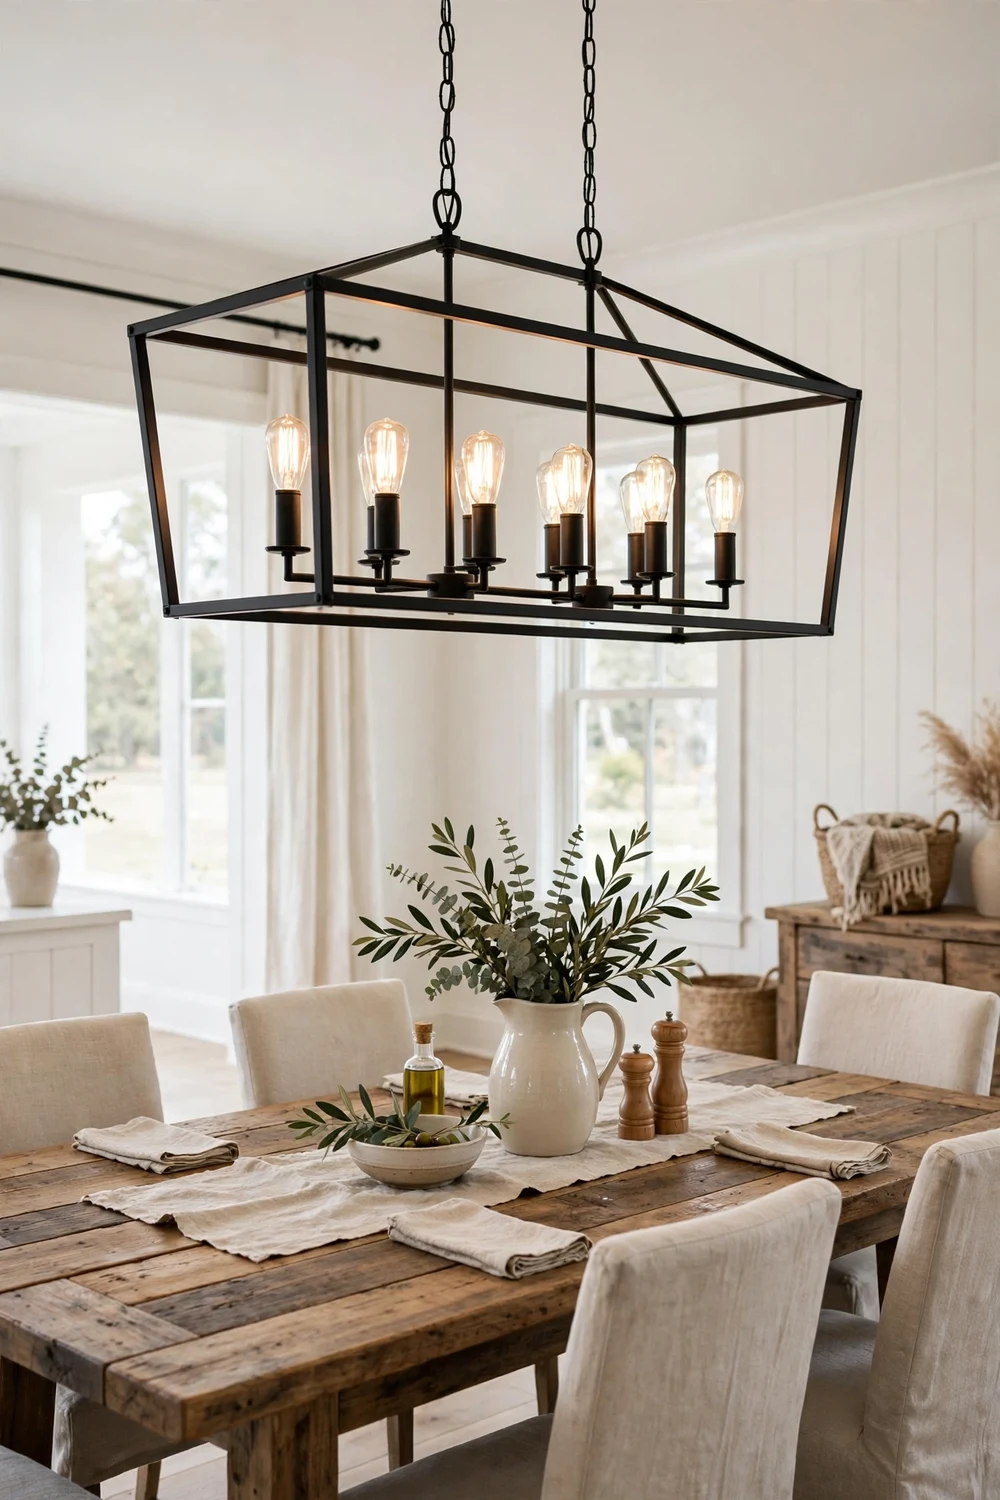
Industrial farmhouse is a blend, and the blend is what makes it forgiving on a budget. The industrial half brings black metal, visible chain, exposed bulbs, rivets, and cage frames. The farmhouse half brings warm wood, linen, soft white walls, and a relaxed, lived in feel. When the two halves are balanced, the chandelier anchors the room without shouting. When the industrial half wins completely, the room can feel like a warehouse. When the farmhouse half wins completely, the fixture can look like a country candle holder that wandered into the wrong house.
Look at the room you already have. If your table is reclaimed wood with a rough edge, a smooth polished fixture will fight it. A matte black frame with a wood beam or a wood toned accent will sit with it naturally. If your kitchen has white cabinets and a marble look worktop, a black metal frame with clear glass shades adds contrast without adding clutter. If your walls are already busy with shiplap, beams, and open shelves, choose a simpler open frame so the chandelier does not compete with everything else.
Think about the shape before the style name. Round chandeliers suit round and square tables. Linear frames suit rectangular tables and kitchen islands. Wagon wheel and ring shapes suit open rooms and entryways, where the fixture is seen from below. Drum shapes give softer, more diffused light. Choosing the shape first narrows the search faster than any shopping filter.
Finally, decide where the chandelier will be seen from. A dining room fixture is seen seated, so its lower edge and its bulbs matter most. An entryway fixture is seen from the front door and the stairs, so its silhouette matters most. Walk the route a guest takes into the room and look at the ceiling from that spot. That is the view you are actually buying.
If you want a wider view of how this style works across a whole house, our room by room guide to industrial farmhouse lighting on a budget covers pendants, sconces, and lamps alongside chandeliers, so you can see where a chandelier earns its place and where a simpler light does the job better.
Industrial Farmhouse Chandelier Size: The Rule That Stops Most Mistakes
Here is the rule that matters more than any other in this guide. A chandelier over a table should be one half to two thirds of the table width. That is the farmhouse chandelier size guide in one sentence, and it is the rule that searchers ask about most, because it is the rule that prevents the two classic mistakes: too small, and too big.
A fixture that is too small looks apologetic. It floats above the table like a pendant that lost its nerve, and the table below it looks bare. A fixture that is too big crowds the table, blocks sightlines across it, and makes the room feel smaller than it is. The one half to two thirds range gives you room to choose. If your room is tall and your table is long, lean toward two thirds. If your ceilings are low and your room is small, lean toward one half. Either end of the range looks right, which is why the rule has survived so many trend cycles.
Measure the table width, not the room, when a table sits below the fixture. A 48 inch wide table takes a fixture of 24 to 32 inches. A 60 inch table takes 30 to 40 inches. A 72 inch table takes 36 to 48 inches. For a round table, use the diameter of the table in the same way. For a rectangular table, use the width for a round fixture and the length for a linear fixture, and keep the linear fixture between one half and two thirds of the table length.
When there is no table below the fixture, use the room rule instead. Add the length and the width of the room in feet, and read the total as inches. A room that is 12 feet by 14 feet adds up to 26, so a fixture around 26 inches across is a sensible starting point. This rule is a guide, not a law, and it works best in rooms with standard ceiling heights. In a room with a very tall ceiling, go a little larger, because a small fixture will look lost in all that vertical space. In a room with a low ceiling, go a little smaller, because a large fixture will press down on the room.
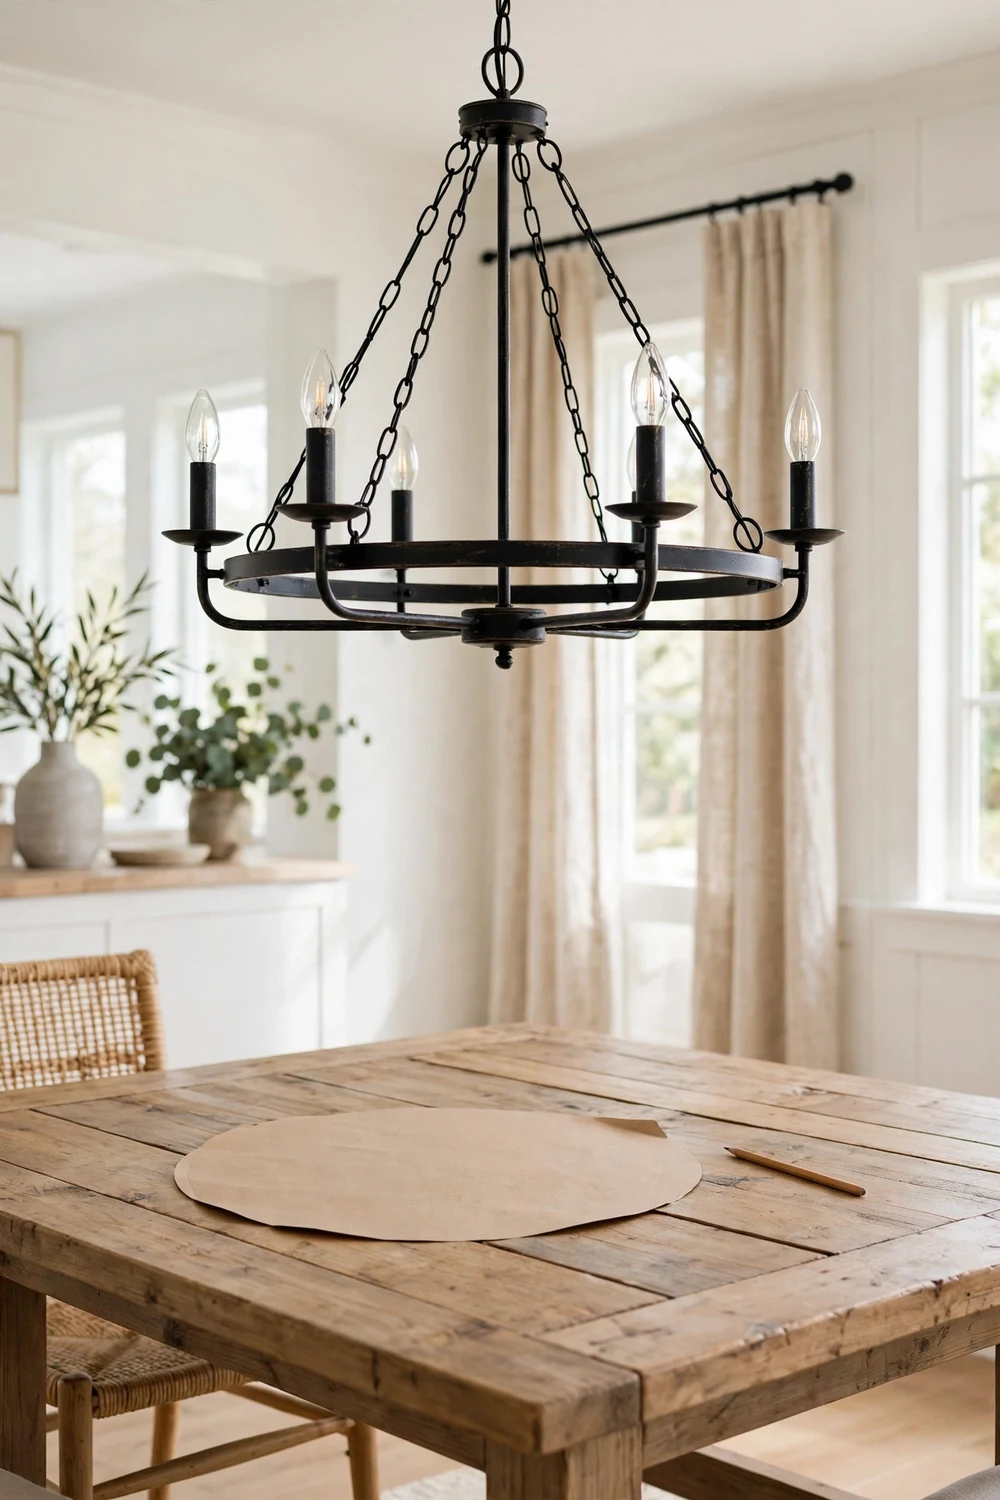
Before you order, cut a paper template. Take a sheet of brown paper or an old bed sheet, cut it to the diameter you are considering, and tape it to the ceiling where the fixture will hang, or lay it flat on the table. Stand back, sit at the table, and walk into the room from the doorway. A paper circle costs nothing and it tells you more in two minutes than an hour of scrolling through photos. I have seen people change their mind completely after this one test, usually toward a larger size than they first planned, and they were glad they checked before the box arrived.
| Table width | Chandelier diameter | Best shape |
|---|---|---|
| 36 to 44 inches | 18 to 29 inches | Round, small cage, or drum |
| 44 to 54 inches | 22 to 36 inches | Round, cage, or small linear |
| 54 to 66 inches | 27 to 44 inches | Round, cage, or linear |
| 66 to 72 inches | 33 to 48 inches | Linear or large round |
| 72 inches and over | 36 to 48 inches, or two fixtures | Long linear, or a pair of small rounds |
Long tables deserve a special note. A single fixture over a table of eight feet or more leaves the ends dim, so two smaller matching chandeliers, spaced evenly along the table, often light it better and look more intentional. Keep them identical, because two different fixtures over one table look like a mistake.
How High to Hang an Industrial Farmhouse Chandelier in Every Room
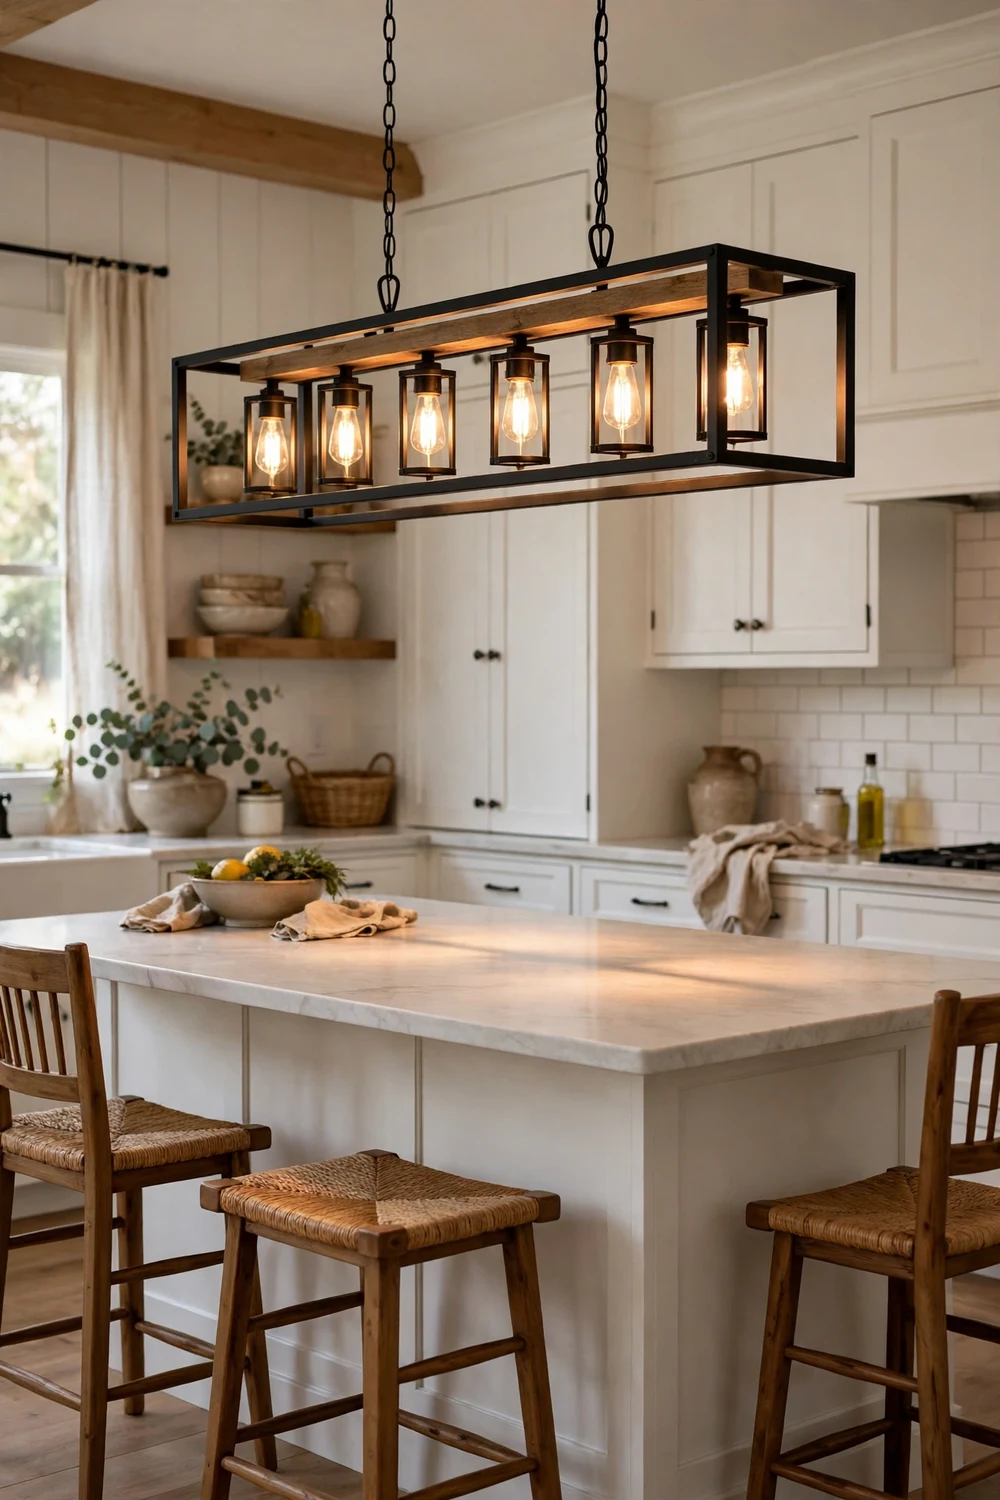
How high to hang a chandelier above a dining table is the second most asked question about these fixtures, and the answer is refreshingly specific. On a standard 8 foot ceiling, the bottom of the chandelier should sit 30 to 36 inches above the tabletop. Measure from the table surface to the lowest point of the fixture, not from the floor and not from the ceiling. That gap keeps the light close enough to warm the food and the faces around the table, and high enough that nobody has to duck or peer around it to talk.
Ceiling height changes the gap. For every extra foot of ceiling above 8 feet, raise the fixture by about 3 inches. A 9 foot ceiling puts the bottom around 33 to 39 inches above the table. A 10 foot ceiling puts it around 36 to 42 inches above the table. The fixture should still feel connected to the table, not stranded near the ceiling, so do not raise it more than the rule suggests. If the gap grows past 42 inches, the light starts to feel distant and the table loses its pool of warmth.
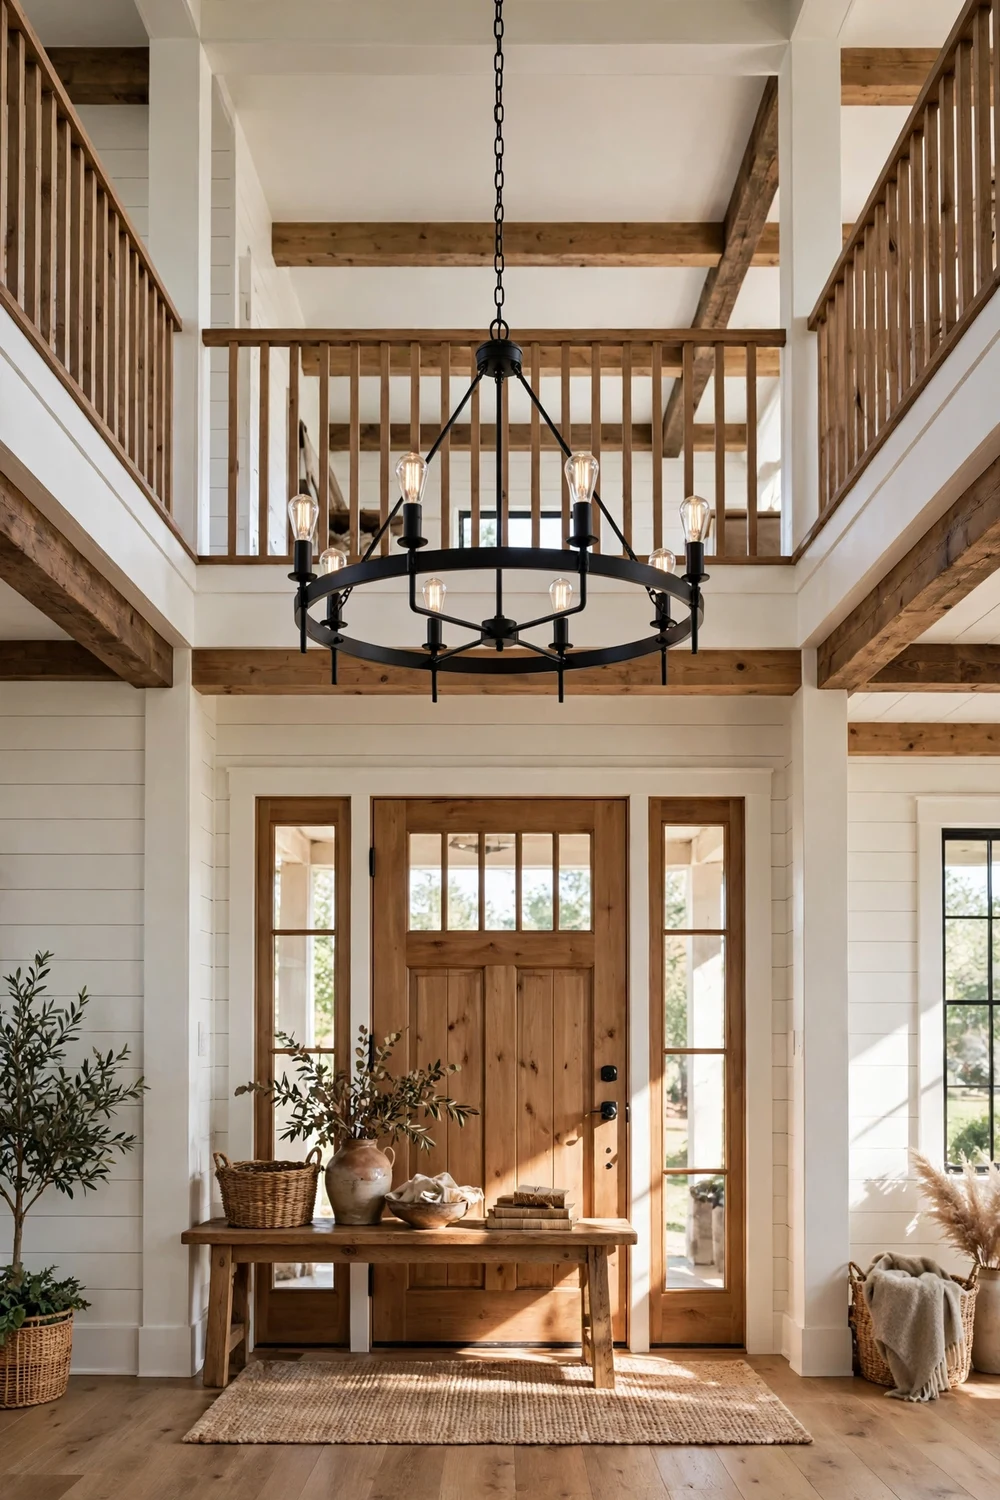
Where people walk underneath, a different rule takes over. The bottom of the chandelier must clear at least 7 feet above the floor, so nobody brushes it with their head. This is the rule for entryways, hallways, and open living rooms, and it is a safety rule as much as a style rule. In a two storey entryway, hang the fixture so its bottom sits just above the sightline from the front door, usually around 7 to 8 feet above the floor, or level with the second floor landing if the space is very tall. A fixture hung too high in a tall entryway looks like it is trying to escape through the roof. A fixture hung too low makes the doorway feel cramped.
Chain versus rod is a practical choice, not just a style choice. Chain is the classic farmhouse option. It is adjustable, it suits sloped ceilings, and it adds to the industrial look. You shorten it link by link until the height is right, which is forgiving if your measurements were slightly off. A rod gives a cleaner, more rigid line and suits a modern farmhouse look, but it comes in fixed lengths, so you need to know your drop before you order, and a rod on a sloped ceiling needs a special canopy. If your ceiling slopes, choose chain. If your ceiling is flat and you want a crisp line, a rod works well. Either way, hang the fixture temporarily on a hook or a strong cord first and live with the height for an evening before you fix the chain length for good.
| Room and ceiling | Bottom of fixture above surface or floor |
|---|---|
| Dining table, 8 foot ceiling | 30 to 36 inches above the tabletop |
| Dining table, 9 foot ceiling | 33 to 39 inches above the tabletop |
| Dining table, 10 foot ceiling | 36 to 42 inches above the tabletop |
| Kitchen island, 8 foot ceiling | 30 to 36 inches above the worktop |
| Entryway or walkway | At least 7 feet above the floor |
| Bedroom, over the bed | At least 7 feet above the floor |
| Two storey entryway | Bottom level with the landing, or 7 to 8 feet above the floor |
Never hang a chandelier by eye alone while standing on a ladder. Get someone to hold it at the height you think is right while you sit at the table and look across it. The right height feels obvious when you test it this way.
Dining Room: Round, Rectangular and Long Tables
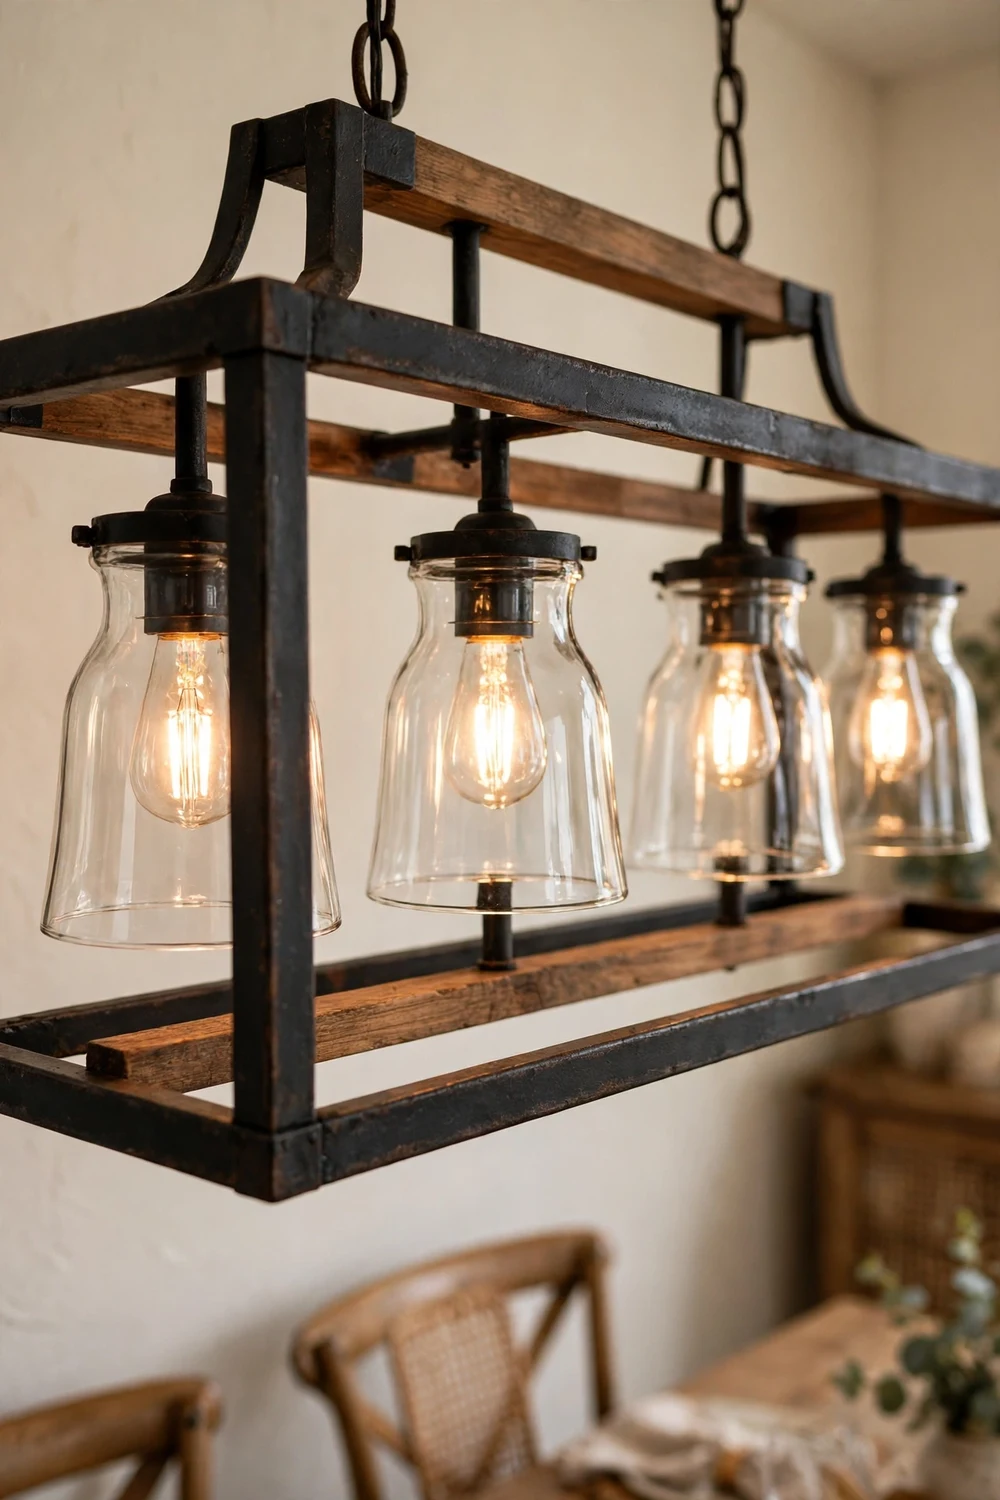
The dining room is where an industrial farmhouse chandelier earns its keep, and it is also where the shape decision matters most. A round table wants a round chandelier. The circle above echoes the circle below, and the light spreads evenly to every seat. A 48 inch round table pairs well with a fixture of 24 to 32 inches, and a single central fixture is usually enough, because every seat is the same distance from the centre.
A rectangular table wants a linear chandelier, the long frame that runs along the length of the table. A linear fixture spreads its light along the table instead of pooling it in the middle, so the people at the ends are not left in shadow. Aim for a fixture length of one half to two thirds of the table length. A six foot table takes a linear fixture of about 36 to 48 inches. A seven foot table takes about 42 to 56 inches. If the linear fixture is too short, the ends of the table go dark and the centre looks over lit. If it is too long, it overhangs the table ends and feels top heavy.
Think about sightlines before you fall in love with a tall fixture. A chandelier with tall candle arms can block the view across the table, so open frames and shallow fixtures keep conversation easy. If you love a tall design, hang it at the higher end of the height range.
The table itself tells you which finish to choose. A dark walnut table pairs well with a matte black frame and warm wood accents, because the wood in the fixture picks up the wood in the table. A pale oak table pairs well with a black frame and clear glass, because the glass keeps the fixture light and the black gives it definition. A painted table, white or sage, can take a bolder fixture, because the table is quiet and the chandelier can do the talking. Our guide to chrome and wood accent pieces shows how mixed metal and wood finishes can warm a room without making it look busy, and the same balance applies here.
Kitchen Islands, Entryways and Bedrooms
A kitchen island follows the same rules as a dining table, with one change. Hang a linear farmhouse chandelier for kitchen island use 30 to 36 inches above the worktop, and keep its length to about two thirds of the island. A long island often suits two smaller fixtures better than one long one, because two pools of light cover the worktop more evenly. Leave at least 6 inches of worktop clear at each end so the fixture does not overhang the seating.
An entryway is the room where scale is judged in seconds, because guests see the fixture the moment they walk in. A single storey entryway takes a smaller round or drum fixture, sized by the room rule, with its bottom at least 7 feet above the floor. A two storey entryway can take a much larger ring or wagon wheel fixture, hung so its bottom sits level with the landing. If your entryway also serves as a mudroom, keep the fixture simple and easy to dust, and pair it with the practical ideas in our mudroom lighting ideas, which cover the corners a single chandelier never reaches.
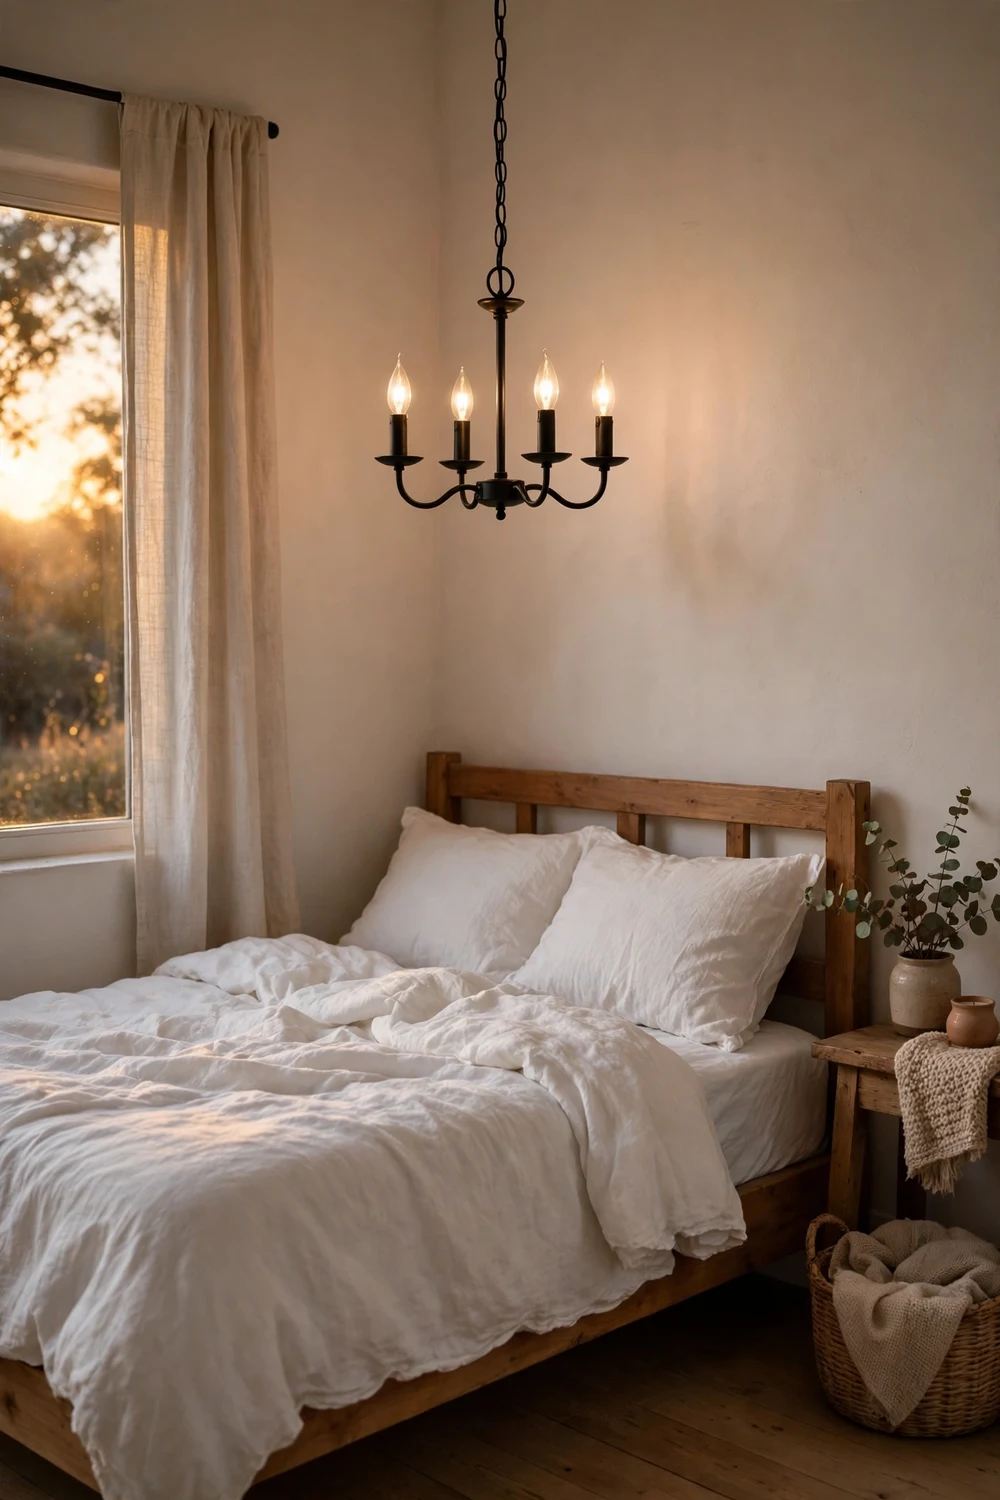
Bedrooms need the gentlest approach. A small four light fixture over the bed is usually enough, and a dimmer matters more here than anywhere else. Keep the bottom at least 7 feet above the floor, and choose shades or frosted bulbs if you read in bed, because bare bulbs at eye level are tiring when you are lying down.
Finishes, Frames and Glass: What Reads Industrial Farmhouse
Three finishes do almost all the work in this style. Matte black metal is the anchor, and it suits nearly every farmhouse room, because it reads as iron without looking heavy. Aged bronze and oil rubbed bronze warm the look up and suit rooms with brass hardware or warm wood floors. Distressed wood, usually as a beam or a frame accent, is what tips a fixture from industrial into farmhouse. A black metal and wood chandelier is the safest single choice if you are unsure, because the wood softens the metal and the metal keeps the wood from looking rustic in the wrong way.
Glass changes the light as much as the frame does. Clear glass shows the bulb and gives a bright, open feel, which suits kitchens and dining rooms. Seeded glass softens the bulb and adds texture, which suits living rooms and bedrooms. No glass at all, the open cage look, gives the most light and the strongest industrial feel, but the bulbs are fully visible, so choose warm bulbs and a dimmer. My own preference is clear glass in the dining room and seeded glass in the bedroom, because the dining room needs the light and the bedroom needs the softness.
Watch out for finishes that look right in a photo and wrong in daylight. Shiny chrome reads modern, not farmhouse, and shows every fingerprint. Faux wood that is really printed plastic looks convincing in a thumbnail and cheap from three feet away, so check the return policy before you commit. The same care applies to shaded fixtures, and our shaded chandelier splurge versus save guide explains where a higher price buys a genuinely better shade.
Bulbs, Dimmers and the Light It Actually Gives
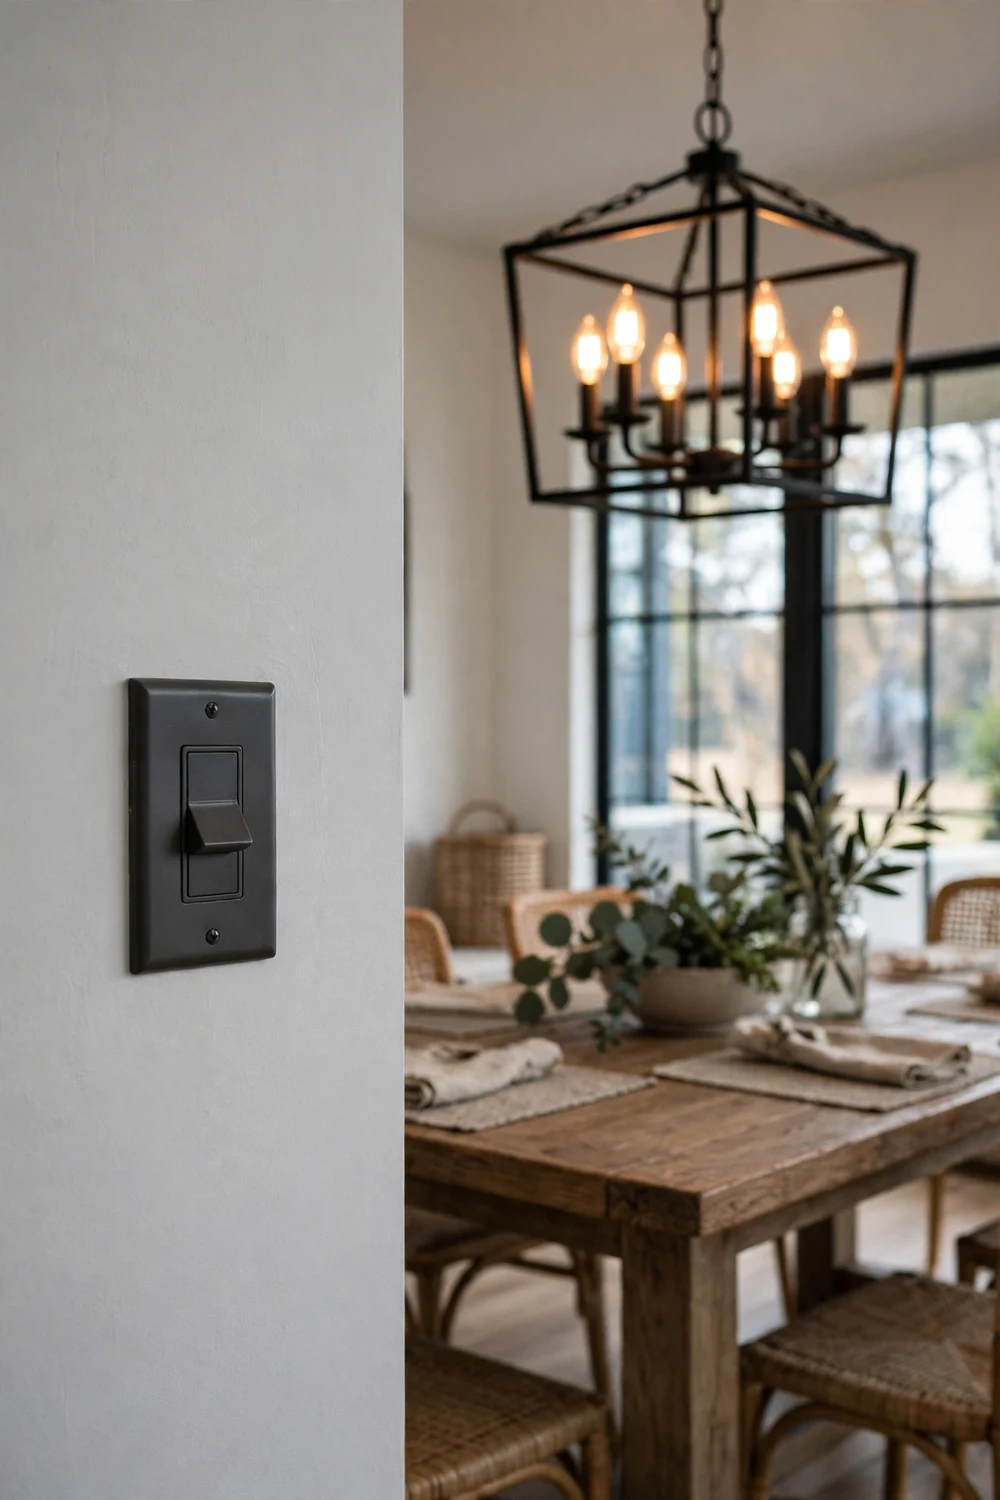
Bulbs decide whether your chandelier flatters the room or fights it, and they are the cheapest part of the whole project to get right. For a farmhouse dining room, choose warm white light at about 2700K. That is the colour temperature of a traditional bulb, and it makes wood look warm and skin look healthy. At 3000K the light turns a little cooler and crisper, which suits a kitchen. Above 4000K the light turns cold and blue, and a farmhouse room starts to look like an office, so avoid it here.
Check the bulb base before you order. Most farmhouse chandeliers take candelabra bulbs with a small E12 base, or standard E26 bulbs. Ask for dimmable farmhouse chandelier bulbs by name, because not every LED bulb dims smoothly. Buy one bulb first, test it on your dimmer, and then buy the rest.
A dimmer is the single best upgrade you can add to a chandelier, and it costs far less than a better fixture. Full brightness suits cooking, homework, and setting the table. Half brightness suits dinner, and a low glow suits a late evening when the room should feel calm. If your fixture has exposed bulbs, a dimmer is not optional, it is the difference between a room that feels welcoming and a room that feels interrogated. Make sure the dimmer is rated for LED bulbs if you are using them, and check that the fixture itself is listed as dimmable.
Budget Tiers: Where to Save and Where to Spend
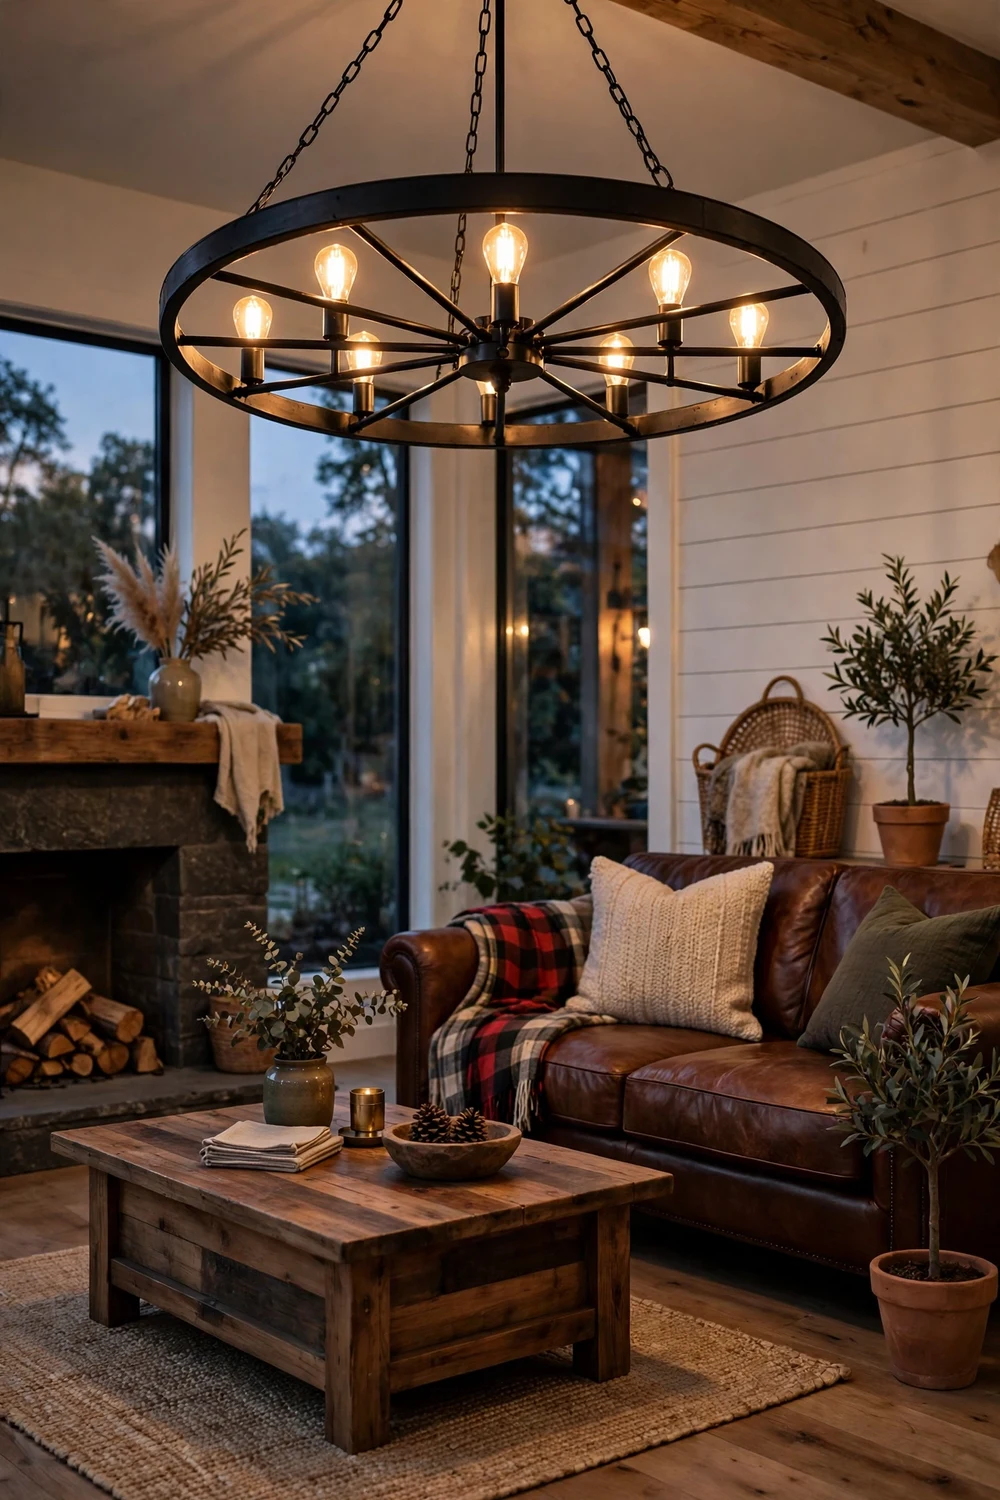
Budget tiers for these fixtures fall into three rough bands, framed here as typical ranges, not fixed prices. The entry band, typically under 150 dollars, covers small four and five light fixtures in matte black metal, often with simple frames and bulbs sold separately. This band suits a bedroom, a small dining nook, or a first farmhouse fixture. Check the weight, the chain length, and whether the bulbs are included, because those are where the cheapest listings cut corners.
The middle band, typically 150 to 400 dollars, is where most dining room buyers should shop. Here you find larger six and eight light fixtures, wood beam frames, seeded glass, and better powder coating that resists chips. Spend the extra money here on size and finish, not on extra arms or decorative crystals, because size and finish are what you see every day.
The upper band, typically above 400 dollars, buys heavier materials, hand finished wood, better glass, and fixtures that feel solid when you lift them. It is worth it for the one chandelier that defines your home, usually the dining room or the entryway, and it is rarely worth it for a secondary room. Whatever band you shop in, check three things before you pay: the maximum wattage per socket, the weight and whether your ceiling box can hold it, and the return policy. A fixture that is too heavy for its ceiling box is a job for a professional, not a weekend fix.
Installation deserves a plain warning. Always switch the power off at the breaker before you touch any wiring, and test that the power is off before you start. If the fixture is heavy, if the wiring looks old, or if you are adding a new ceiling box, a licensed electrician is the safe choice for hardwiring. You can still assemble the frame and shorten the chain yourself, and leave the wiring to the electrician.
For a sense of what a handmade ceiling light can look like when you build part of it yourself, our DIY sunburst mirror ceiling light shows the same idea at a smaller scale, and the same care with measurements applies. And if the room around the chandelier needs a small side table to balance it, our chrome side tables buying guide covers sizes that sit well beside a sofa under a large fixture.
Frequently Asked Questions
What size industrial farmhouse chandelier do I need for my dining table?
Choose a diameter of one half to two thirds of your table width. A 48 inch table takes a 24 to 32 inch fixture, and a 60 inch table takes a 30 to 40 inch fixture. For a rectangular table, use a linear fixture of one half to two thirds of the table length. When in doubt, cut a paper template and check it over the table before you order.
How high should I hang a chandelier above a dining table?
Hang the bottom of the fixture 30 to 36 inches above the tabletop on a standard 8 foot ceiling. Add about 3 inches for every extra foot of ceiling height. Measure from the tabletop to the lowest point of the fixture.
Can I put an industrial farmhouse chandelier in a small room?
Yes, if you size it to the room. Use the room rule, add the length and width in feet and read the total as inches, and lean toward the smaller end of the range. Choose an open frame rather than a heavy closed design, because an open frame lets light and sightlines pass through.
What colour temperature is best for a farmhouse chandelier?
Warm white at about 2700K suits dining rooms, living rooms, and bedrooms, because it flatters wood and skin tones. A kitchen can take 3000K for a slightly crisper light over worktops. Avoid bulbs above 4000K in a farmhouse room, because the light turns cold and blue and fights the warm materials.
Is chain or rod better for a farmhouse chandelier?
Chain is better when your ceiling slopes, when you are unsure of the exact drop, or when you want the classic industrial look, because you can shorten it link by link. A rod is better when your ceiling is flat and you want a clean, rigid line.
Do I need an electrician to install a chandelier?
You need a licensed electrician if the fixture is heavy, if the wiring is old, or if a new ceiling box is needed. Always switch the power off at the breaker before touching any wiring. If you are confident with the safe parts, you can assemble the frame and shorten the chain yourself and leave the hardwiring to the electrician.
Your First Step
Start with the tape measure, not the shopping site. Measure your table width, your ceiling height, and the length and width of the room, and write the three numbers on a card you keep by your computer. Work out your diameter range and your hanging height from the tables in this guide, then cut a paper template and check it over the table. Once the size is settled, choose a matte black frame with a wood accent, warm 2700K dimmable bulbs, and a dimmer. That order, measure first and shop second, is what turns a tight budget into a chandelier that looks chosen for the room, because it was.