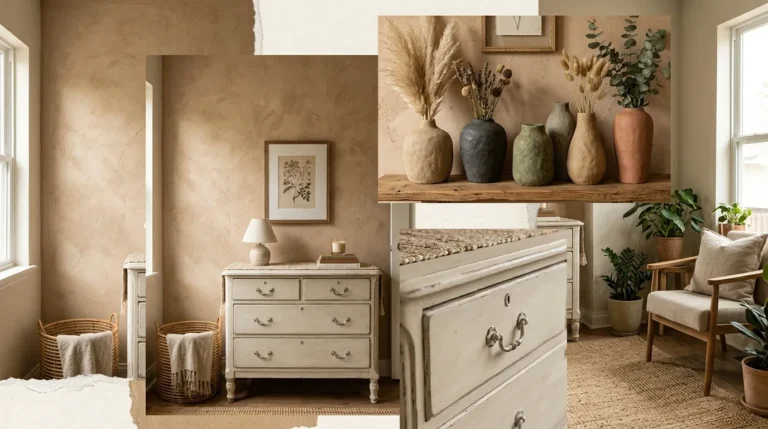
Baking soda texture paint is ordinary water based paint thickened with baking soda until it dries with a matte, slightly grainy surface that looks like stone or handmade pottery. Mix two parts paint with one part baking soda for a strong stone finish, or start with one tablespoon of baking soda per cup of paint for a soft chalky coat.
It works best on glass, ceramic, wood and terracotta, and it suits small decor pieces far better than whole walls. Two thin coats, a full night of drying and a clear matte sealer give you a finish that looks bought, not made, and the whole project costs little more than the paint you already own.
What Baking Soda Actually Does to Paint
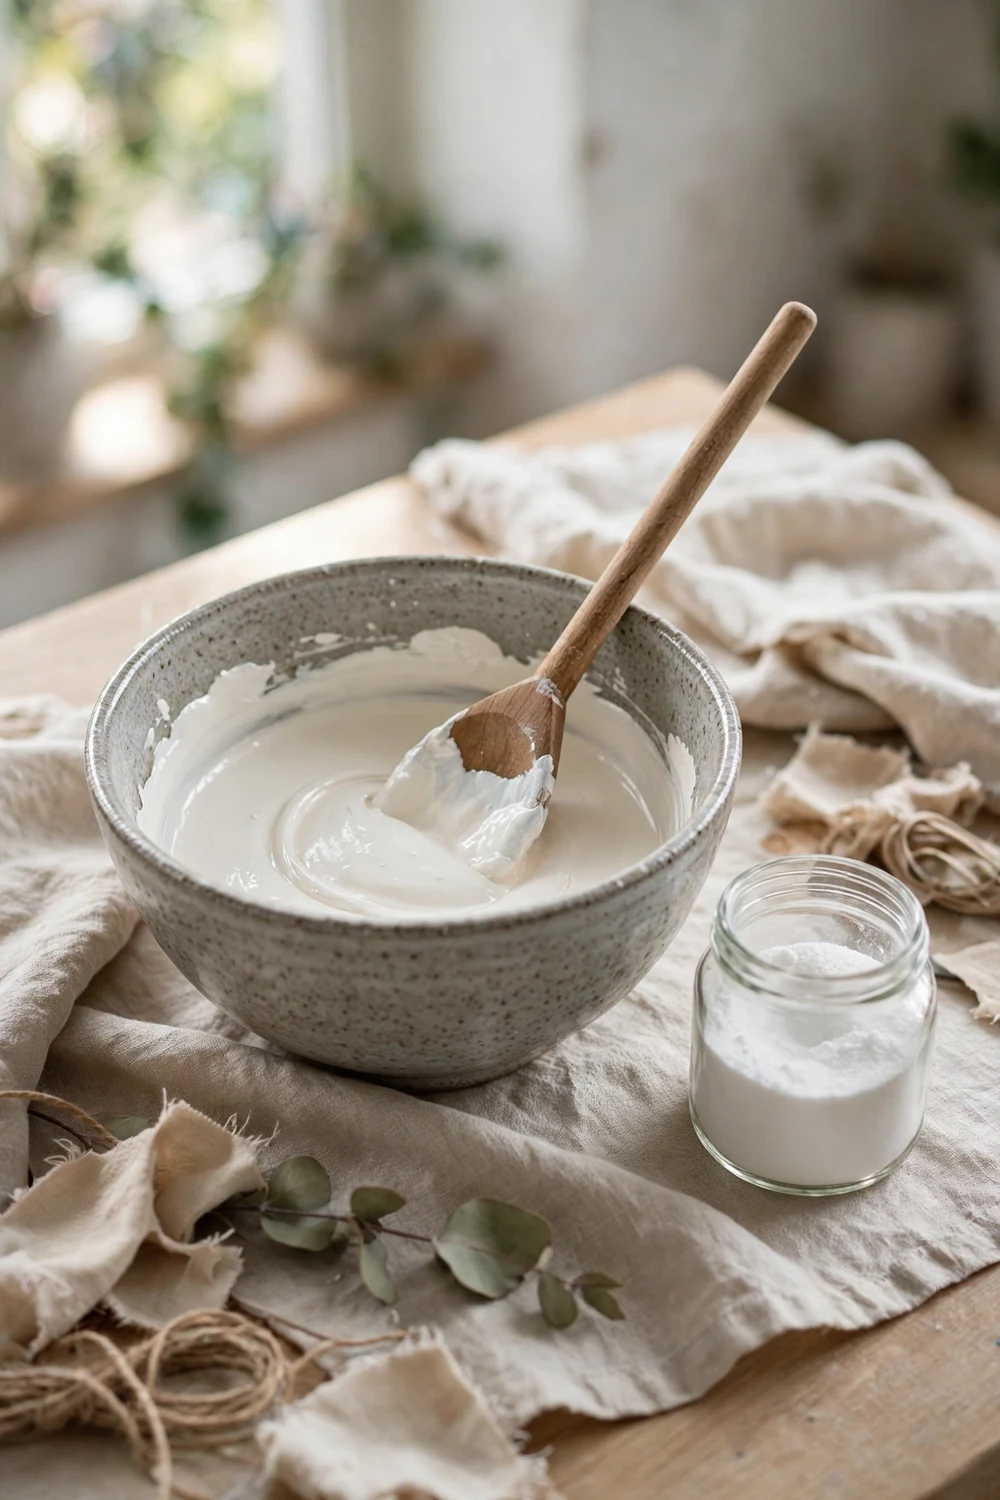
Stir baking soda into paint and the first thing you notice is the change in body. The paint turns thick and fluffy, almost like cake frosting, and it stops behaving like ordinary paint. It holds peaks, it does not run down the side of a vase, and it sits where you put it. That is exactly what makes it useful for decor crafts.
The grains of baking soda stay suspended in the paint as it dries, and they leave a fine, sandy relief across the surface. The finish turns matte at the same time, because the powder breaks up the smooth film that gives paint its sheen. Put those two effects together and a shiny glass bottle starts to read as carved stone or wheel thrown clay. The eye believes the texture before it notices the paint. The finish stays a decorative coating, so water and rough handling will damage it.
There is no chemical reaction to worry about. Baking soda does not fizz inside water based paint the way it does with vinegar. Baking powder is a different story, because it contains an acid that reacts once it meets moisture, so it can foam and change the mix in ways you cannot control. Stick with plain baking soda, the kind sold for cooking, and the behaviour stays predictable from batch to batch.
My own view is simple. I like this technique precisely because it is honest about what it is. It does not pretend to be pottery, and it does not need expensive supplies to look good. A spoonful of powder from the kitchen cupboard and a half used tin of paint can turn a dull object into something you actually want to look at, and that small transformation is the whole pleasure of the craft.
The Basic Baking Soda Paint Recipe, With Ratios for Every Finish
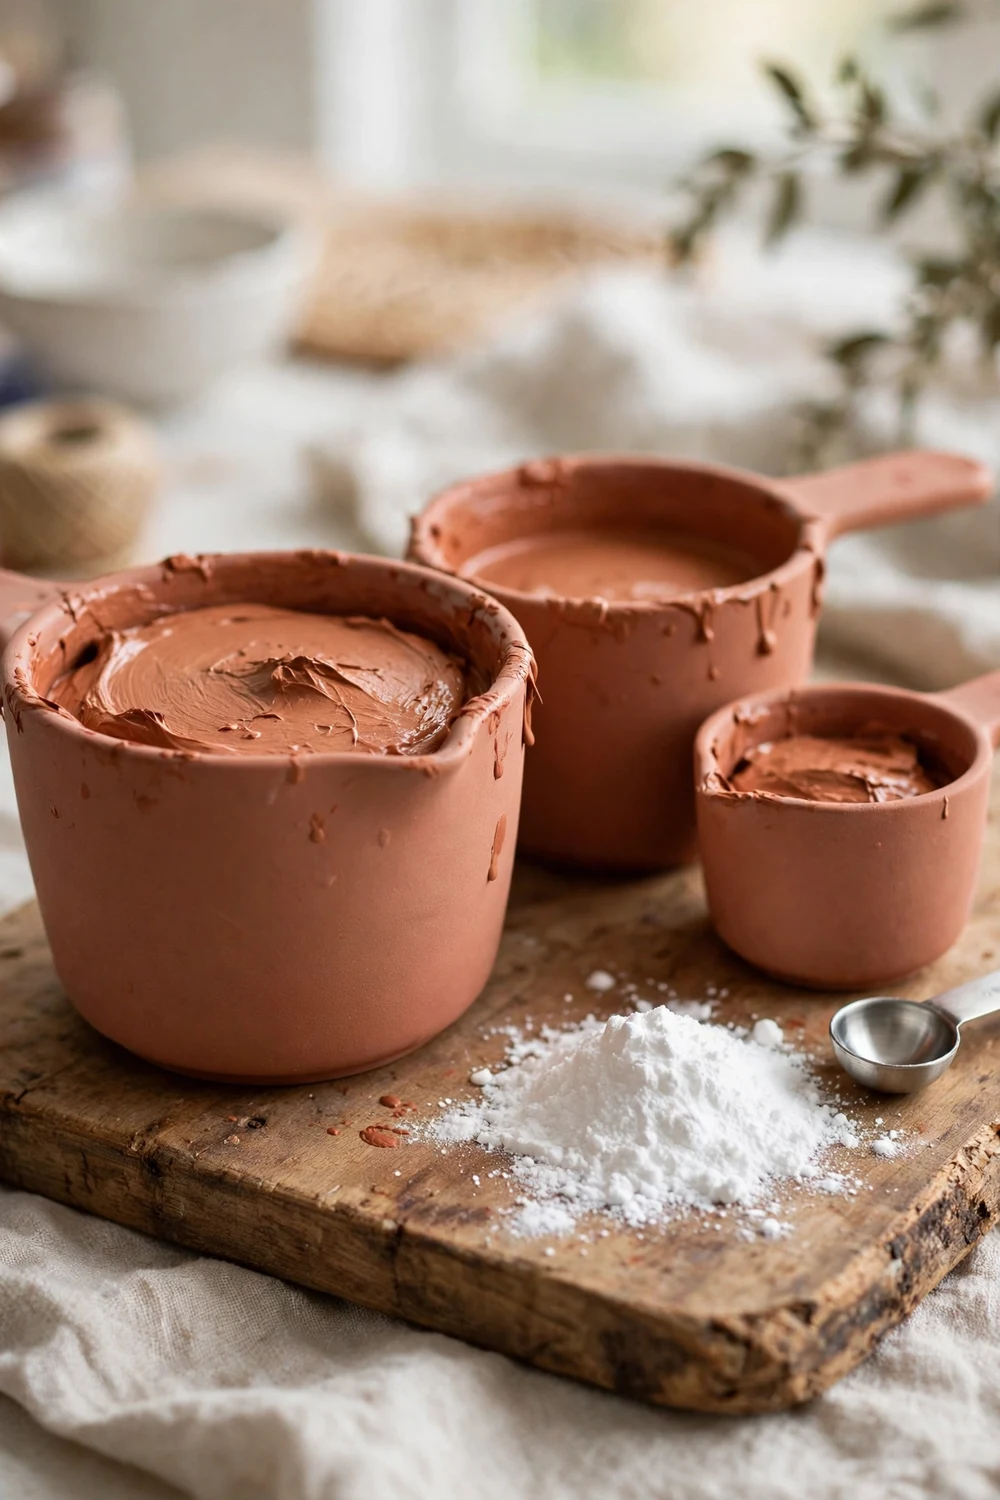
Most tutorials tell you to add baking soda until the paint looks right, and then they stop. That advice is not wrong, but it leaves a beginner guessing, and guessing is how you end up with a mix that cracks or a finish so faint you wonder why you bothered. A few clear ratios fix that. Measure once, learn what each ratio feels like, and you will never need to guess again.
Start with the standard recipe. Pour half a cup of paint into a disposable container, then sift in a quarter cup of baking soda, a spoonful at a time, stirring as you go. The result is a thick paste with the consistency of soft frosting. It spreads with a brush, holds its shape when dabbed, and dries to a clear stone texture. This two to one ratio, two parts paint to one part baking soda, is the one to learn first.
If you want something softer, pull the ratio back. One tablespoon of baking soda per cup of paint gives a gentle chalky finish with only a whisper of texture. The paint stays easy to brush, it levels out more smoothly, and it is the right choice for a picture frame or a small box where you want the matte look without heavy grain. It also works well as a first coat under a thicker second coat, because it grips the surface and gives the heavier mix something to hold on to.
For a rougher, almost stucco like surface, use three parts paint to two parts baking soda. It makes a very thick paste that you press on rather than brush on, and it suits planters and chunky candle holders best. Go further than this and the paint turns brittle, cracks as it dries and crumbles when you handle the piece.
Mix fresh for each piece, because the powder settles and the mixture stiffens, and it will not be the same the next morning. The table below gives you the starting points.
| Finish you want | Paint | Baking soda | Consistency | Best for |
|---|---|---|---|---|
| Soft matte, light texture | 1 cup | 1 tablespoon | Thick cream | Frames, small boxes, first coats |
| Stone, the standard finish | 1/2 cup | 1/4 cup | Soft frosting | Vases, planters, candle holders |
| Heavy stucco, deep relief | 3 tablespoons | 2 tablespoons | Stiff paste | Chunky planters, sculptural pieces |
| Chalk paint style, smooth | 1 cup | 1/2 cup, plus 3 tablespoons cool water | Smooth, thick paint | Furniture accents, larger flat pieces |
One practical note saves a lot of frustration. Mix enough paint to finish the whole piece, including the second coat. Matching a colour exactly in a second batch is nearly impossible once baking soda changes how the pigment reads, and a vase painted from two slightly different batches will show it.
Which Paints Work With Baking Soda, and Which Ones Fail
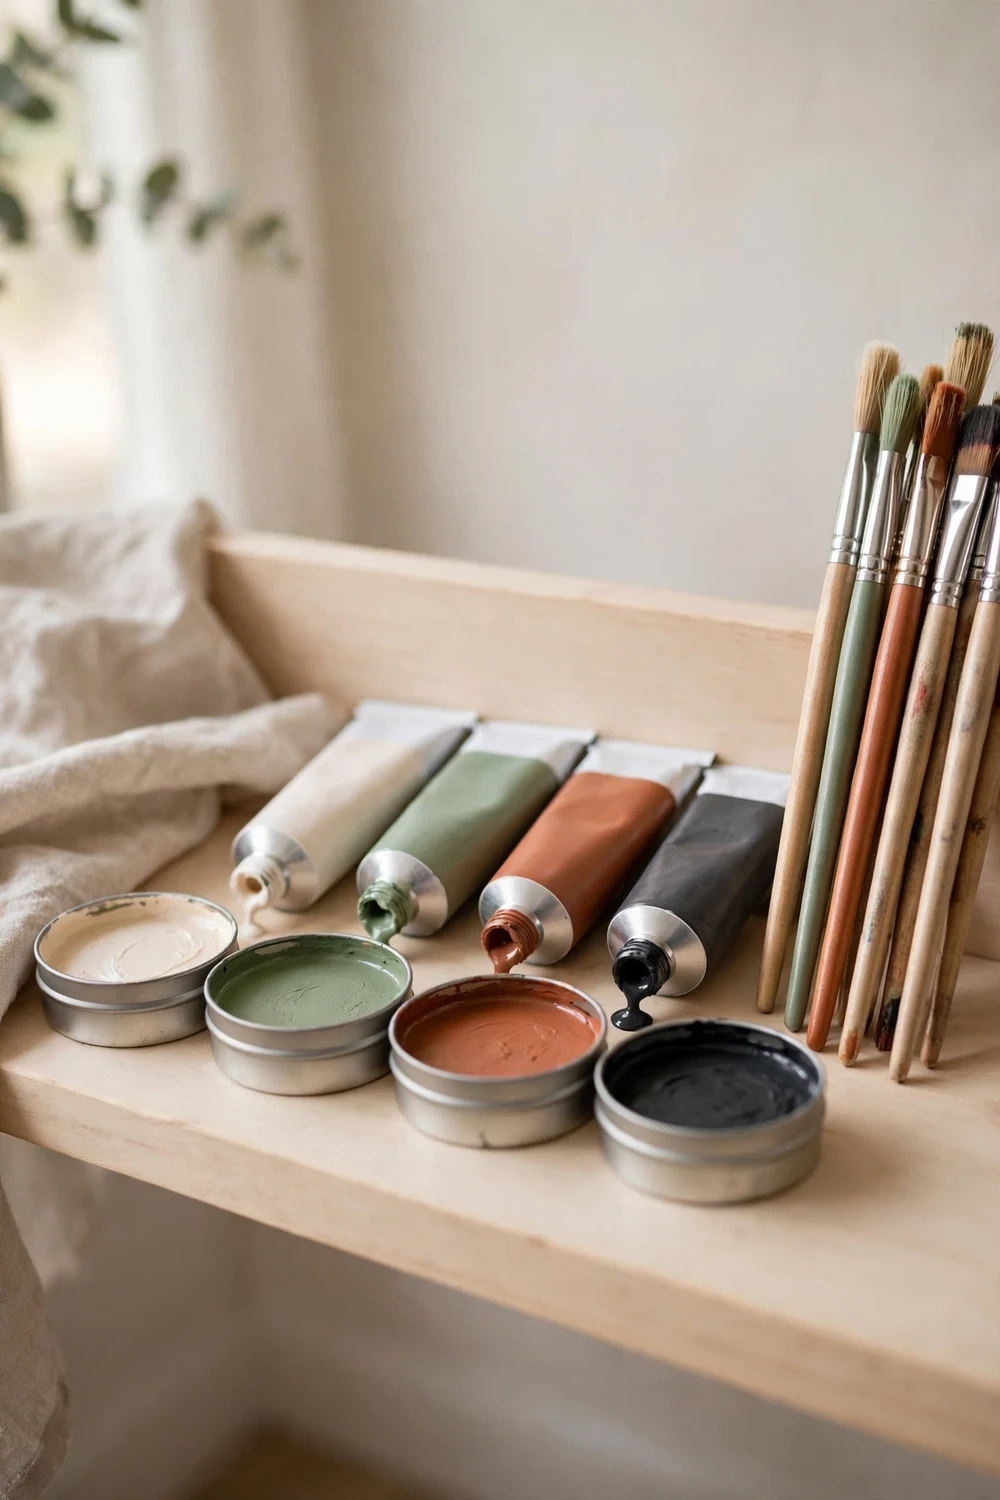
The paint you choose decides the finish more than the baking soda does. Get the paint right and the technique feels easy. Get it wrong and no amount of stirring will save the project. The rule is short. Use water based paint, and choose a flat or matte finish whenever you can.
Acrylic craft paint is the easiest starting point. It comes in small bottles, it mixes well with baking soda, it dries quickly, and the colour range makes it simple to match a room. It suits small pieces best, because you can mix a spoonful at a time and waste almost nothing. Coverage on very slick glass can look patchy at first, but a second coat fixes that.
Flat or matte latex paint, the kind sold for walls, is the better choice for larger pieces and for anything with a broad flat surface. It is thicker than craft acrylic, it holds texture well, and it dries to the chalky finish that makes the stone effect convincing. Leftover wall paint is ideal here, and it is the most budget friendly option of all. If you have a half tin sitting in the garage, this is its moment.
Oil based paint is the one to avoid. Baking soda does not blend into it cleanly, the drying time stretches out, and the finish stays tacky and uneven. Spray paint is out too, since you cannot stir powder into a can. High gloss paint will technically mix, but the gloss fights the matte texture you are trying to create, and the result often looks like shiny paint with grit in it rather than stone.
Colour deserves a thought before you open the tin. Warm white, soft grey, sage, sandy beige and terracotta are the shades that sell the stone illusion best, because real stone and clay live in those tones. Bright colours can work, and a cobalt blue vase or a mustard planter can look wonderful, but the texture reads differently on them. The eye sees paint first and stone second.
Brush, Sponge or Palette Knife: How Your Tool Changes the Finish
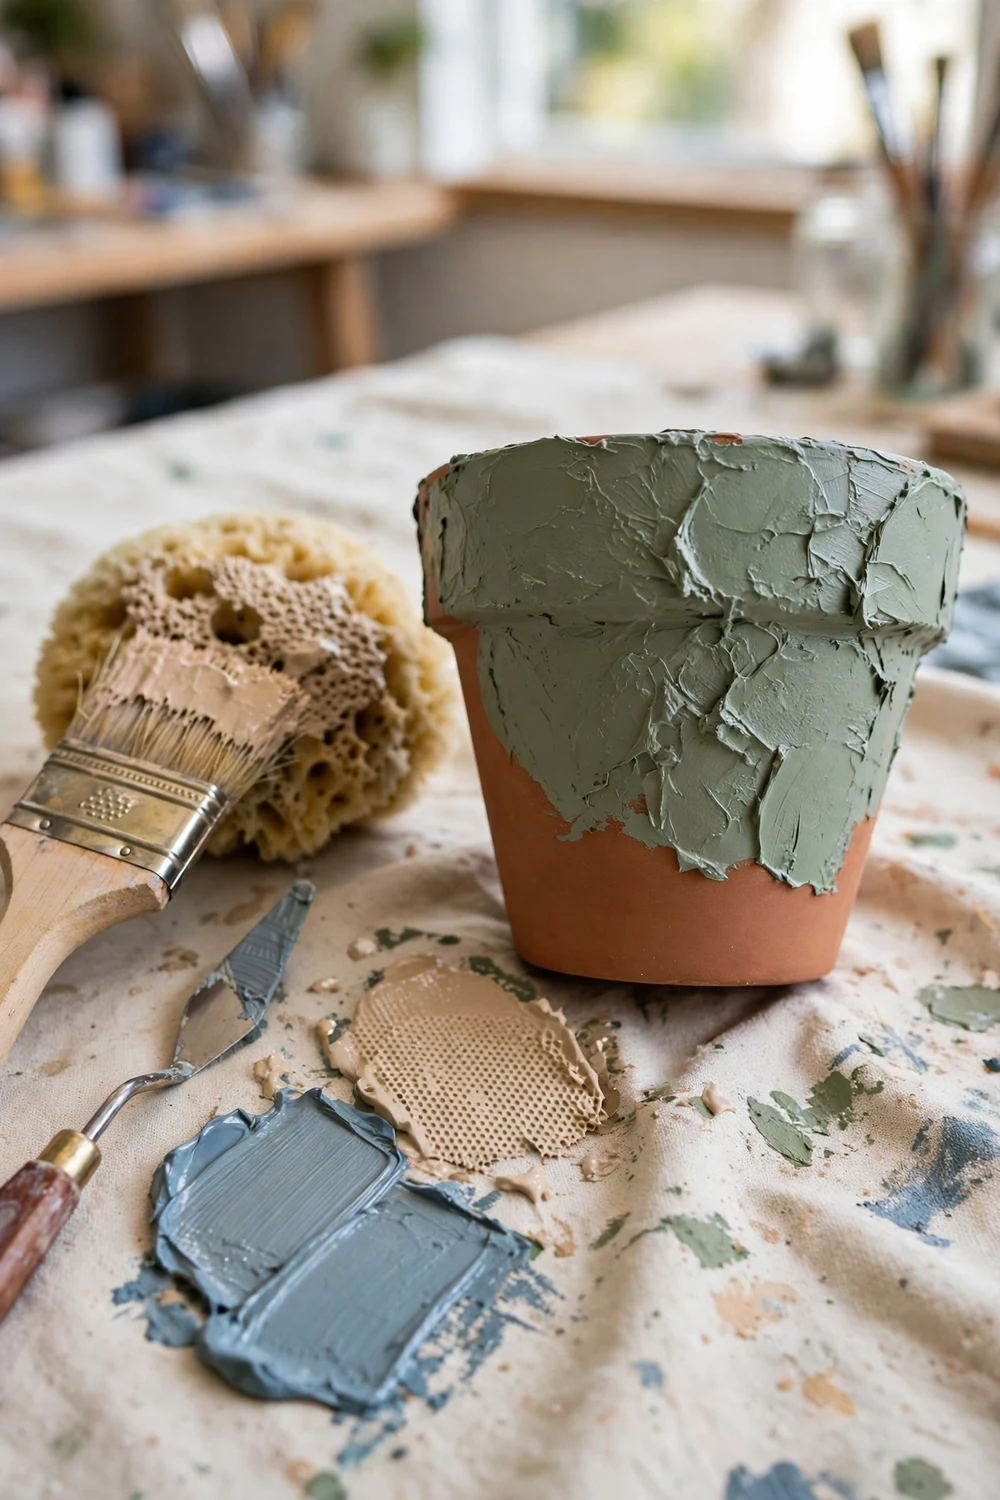
The same bowl of baking soda texture paint can give you three completely different finishes, and the only thing that changes is the tool in your hand. This is the part of the technique that most tutorials skip, and it is the part that separates a piece that looks handmade from one that looks merely painted.
A chip brush is the workhorse. It is cheap, its bristles are stiff enough to push thick paint around, and you can throw it away when you are done. Load it generously and dab the paint on with short patting strokes instead of long smooth ones. Dabbing leaves little peaks and valleys in the surface, and those peaks are what catch the light and read as stone. Smooth strokes flatten the texture you just mixed in, so resist the urge to brush it out neatly.
A natural sea sponge gives a softer, more even grain. Press the sponge into the paint, then press it onto the surface with a light bouncing motion. The sponge leaves a fine, pitted texture that looks close to sandstone, and it is the best tool for curved surfaces where a brush leaves streaks. It also works well for the second coat, because it adds texture without disturbing the first coat underneath.
A palette knife is for the boldest finish. Spread the thickest mix onto the surface and drag the edge of the knife across it to leave ridges, sweeps and rough patches. The result is sculptural and uneven, and it suits planters and chunky candle holders more than delicate vases. The knife also lets you build up texture in specific places, like a raised band around the neck of a vase, while leaving the rest of the piece smoother.
Whatever tool you choose, keep it moving while the paint is workable. Baking soda paint starts to skin over faster than plain paint, especially in a warm room, and going back over a half dry section will drag the surface and leave bald streaks. If a section needs more work, wait until it is fully dry, then add the next coat. Patience here is not a virtue, it is the technique.
The Surfaces That Take Baking Soda Paint Well, and the Ones That Fight Back
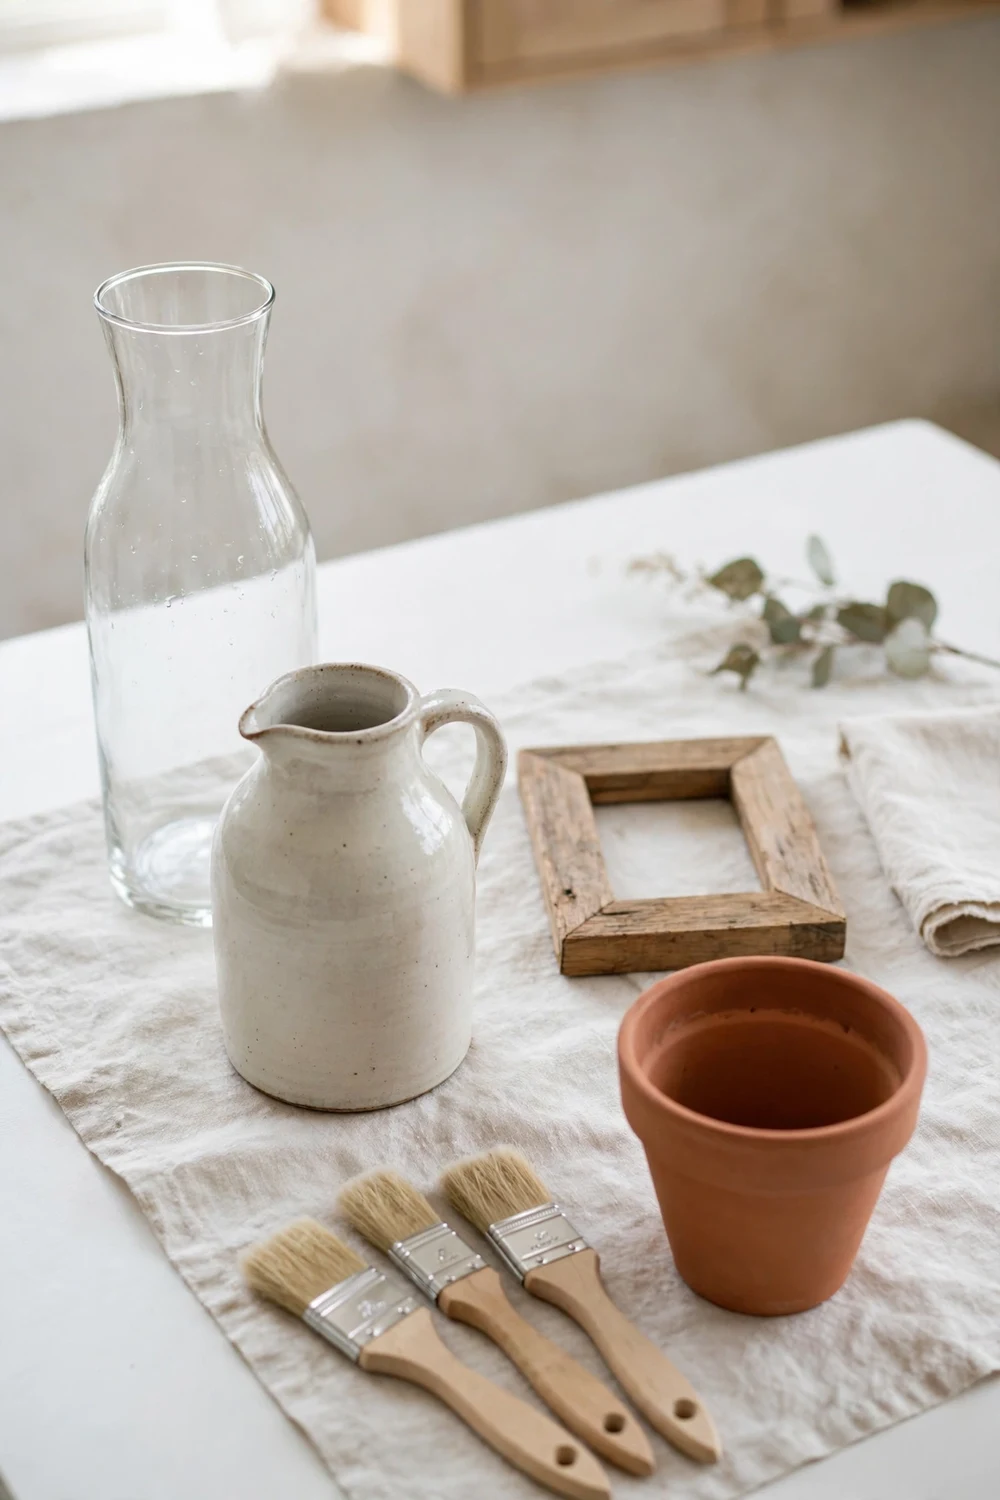
Not every surface welcomes this paint equally, and knowing which ones do saves you from a peeling disaster a week after you finish. The good news is that the best surfaces are also the cheapest ones to find, because thrift stores are full of them.
Glass is the star of this technique, which is why so many of the pieces you see online start life as a plain glass vase or bottle. The paint grips clean glass well, the smooth surface lets the texture stand out, and the transformation is dramatic, because a clear bottle looks nothing like stone until the first coat goes on. Wash it in warm soapy water, rinse, then wipe with a little white vinegar or rubbing alcohol to remove grease, and let it dry completely.
Ceramic and glazed pottery are nearly as good. The glaze gives the paint a smooth base to hold on to, and the weight of the piece makes it feel substantial once painted. Wash it the same way you would wash glass, and check for chips or cracks first, since paint will pool in a crack and dry darker there. Unglazed terracotta is the easiest surface of all, because it is porous and drinks in the first coat. It also dries faster, so work a little quicker on terracotta than you would on glass.
Wood takes the paint beautifully, and it is the best choice if you want to paint something larger, like a frame or a small box. Sand it lightly with fine sandpaper first, just enough to remove shine and give the paint something to grip, then wipe away the dust with a damp cloth. Raw wood will soak up the first coat, so expect it to look thin and uneven until the second coat goes on.
There are two surfaces to skip. Anything that will hold water is a problem, because standing water softens the paint from the inside, and a vase meant for fresh flowers will fail. If you love a painted vase, use it for dried stems or slip a small glass or jar inside it to hold the water. Fabric is the other one. The paint stiffens cloth and cracks when the fabric bends, so save this technique for hard surfaces.
| Surface | Preparation | How it behaves | Best use |
|---|---|---|---|
| Glass | Wash, wipe with vinegar, dry fully | Paint grips well, dramatic change | Vases, bottles, jars |
| Ceramic and glazed pottery | Wash and dry, check for chips | Smooth, even coats | Jugs, planters, ornaments |
| Terracotta | Brush off dust, no sanding needed | Absorbs first coat, dries fast | Plant pots, garden decor |
| Wood | Light sand, wipe dust away | First coat soaks in, second coat evens out | Frames, boxes, small trays |
| Plastic | Light sand, wipe clean | Can scratch if handled roughly | Ornaments, display pieces |
| Metal | Wash, light sand, dry fully | Chips at edges if knocked | Trays, candle holders, tins |
Drying and Curing: How Long to Wait Between Coats
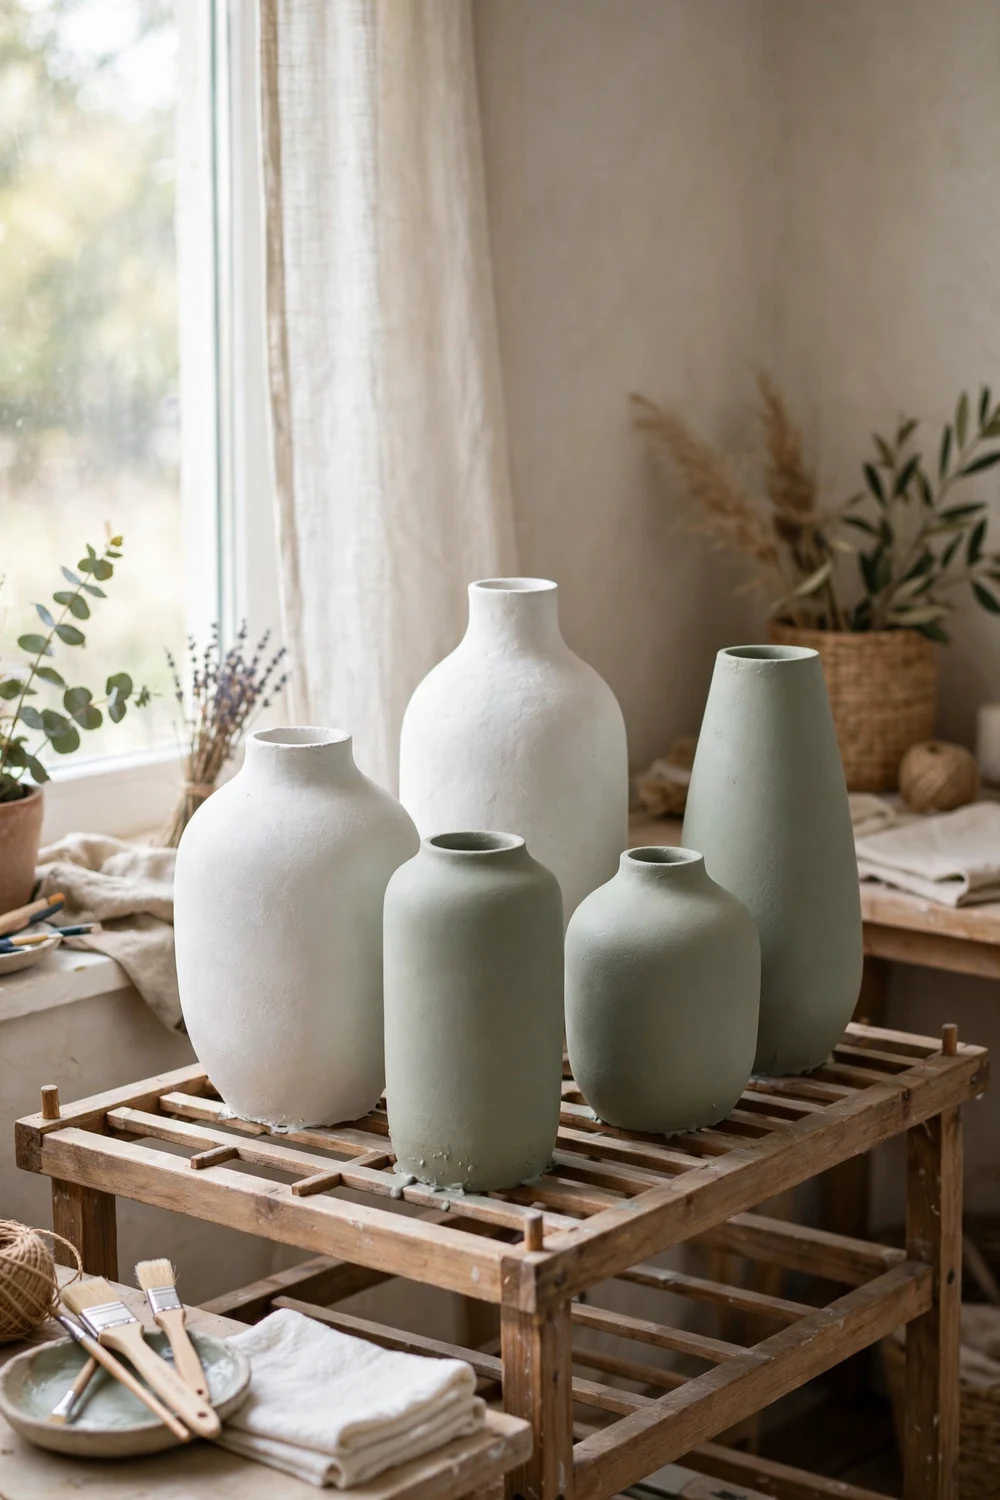
Drying is where most baking soda paint projects go wrong, and it is almost always because the maker was impatient. The paint looks dry long before it is dry, and the gap between those two moments is where cracks, smudges and peeling live. Understand the timing and the rest of the project gets easier.
A thin first coat feels dry to the touch in about thirty to forty minutes in a normal room. That does not mean it is ready for the next coat. The surface has formed a skin, but the paint underneath is still soft, and brushing over it will drag the skin and leave streaks. Wait at least an hour between coats for a thin mix, and two hours for the standard stone finish. If the room is cool or damp, add another hour. Your fingertip is a better guide than the clock. Press it lightly to an inconspicuous spot. If it feels cool or leaves any mark at all, wait longer.
Thick coats need far more time. A heavy stucco mix can take four to six hours to feel dry, and a full day to dry through. This is the coat that cracks if you rush it, because the surface dries and shrinks while the inside is still wet. If you see cracking start, stop and let the piece dry completely, then brush a thin coat of the standard mix over the cracks.
Curing is different from drying, and the difference matters. Drying means the water has left the paint. Curing means the paint film has fully hardened and bonded to the surface. For baking soda paint, curing takes about a full day for thin coats and up to two days for thick ones. During that time, handle the piece as little as possible, keep it out of direct sunlight, and do not stack anything against it.
Airflow helps more than heat. A room with a gentle draught and normal warmth dries paint evenly, while a blast of hot air dries the surface too fast and traps moisture underneath. Paint in the morning when you can, so the piece gets a full day of drying before the evening.
Sealing the Finish So It Lasts
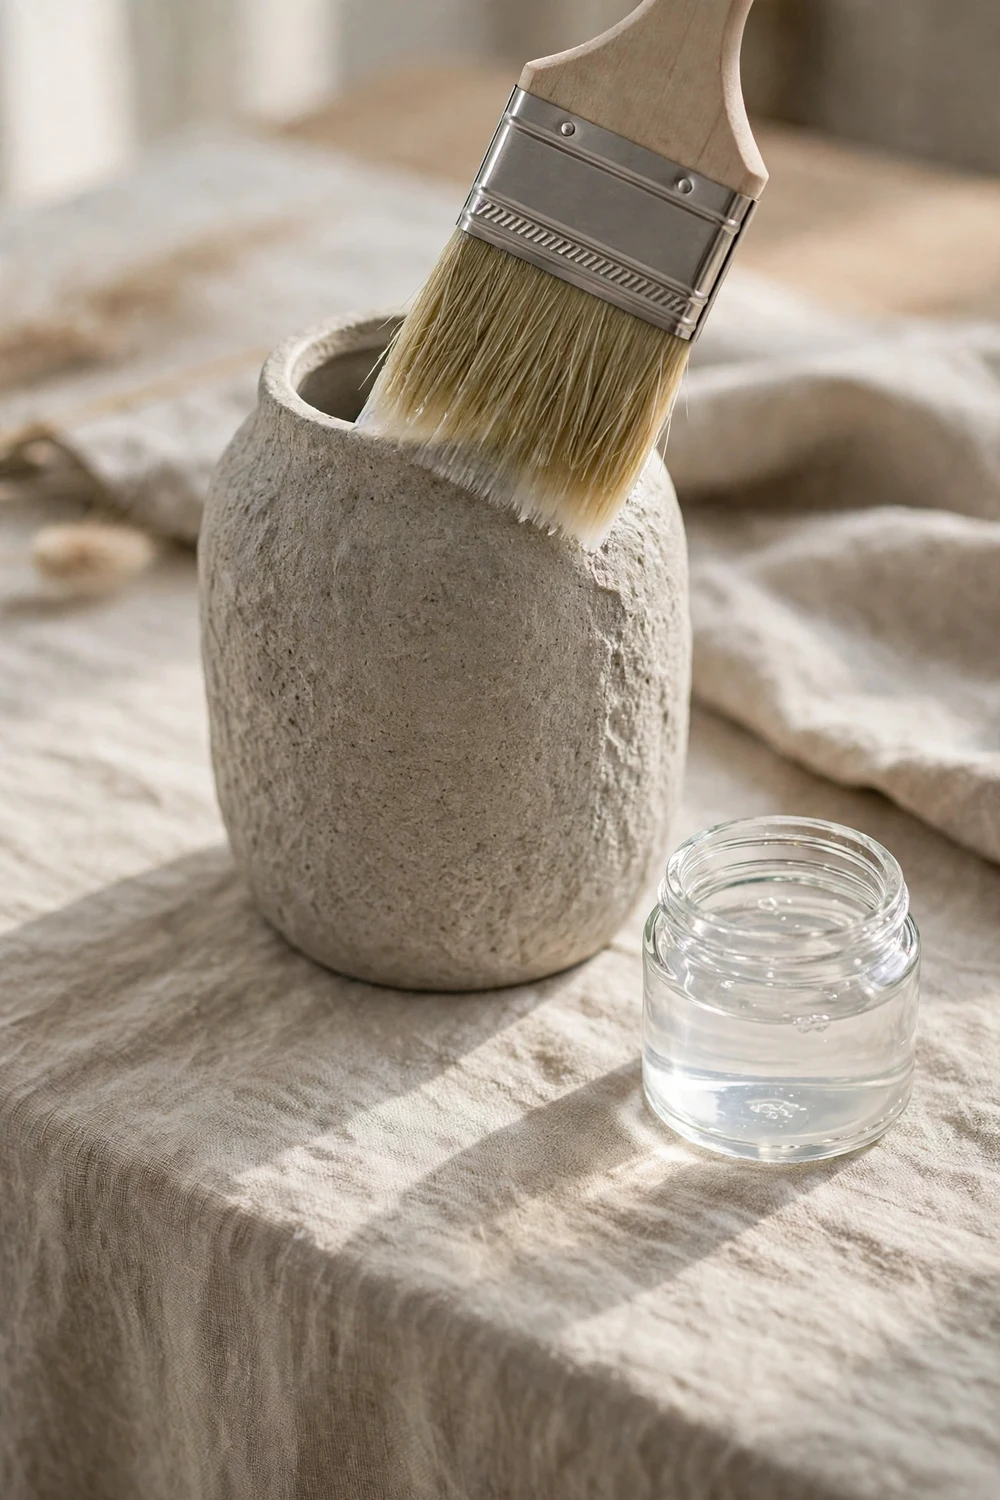
Sealing is the step people skip, and it is the step that decides whether a piece still looks good in six months. Unsealed baking soda paint is soft. It marks when you pick it up, it picks up dust in its texture, and it will not survive a wipe with a damp cloth. A clear sealer fixes all of that, and it takes ten minutes.
Wait until the paint has fully cured before you seal, which means at least a full day after the last coat. Sealing too early traps moisture under the sealer, and the finish can turn cloudy or peel in sheets. Test a small hidden spot first if you are unsure. If the sealer goes on clear and stays clear, the paint is ready.
A water based matte varnish or a clear acrylic sealer is the best choice for most pieces. Brush on two thin coats, letting the first dry fully before the second. Use a soft brush and long, even strokes, because a sealer applied in thick pools will dry shiny in patches and undo the matte effect you worked for. Matte sealer keeps the stone look intact.
Spray sealer is faster and it reaches into the texture more evenly than a brush, which makes it a good choice for pieces with deep relief. Work outdoors or in a well ventilated space, hold the can at the distance printed on the label, and apply two light passes rather than one heavy one. A heavy spray coat can drip and pool in the texture.
Sealing also changes how you clean the piece. A sealed vase can be dusted with a dry cloth or a soft brush, and a sealed planter can be wiped with a barely damp cloth. An unsealed piece can only be dusted, and even that risks marking the surface. If you plan to give a piece as a gift, seal it. The person receiving it will handle it, dust it and move it around, and a sealed finish will forgive all of that in a way an unsealed one will not.
Six Baking Soda Paint Crafts, Ranked From Easiest to Hardest
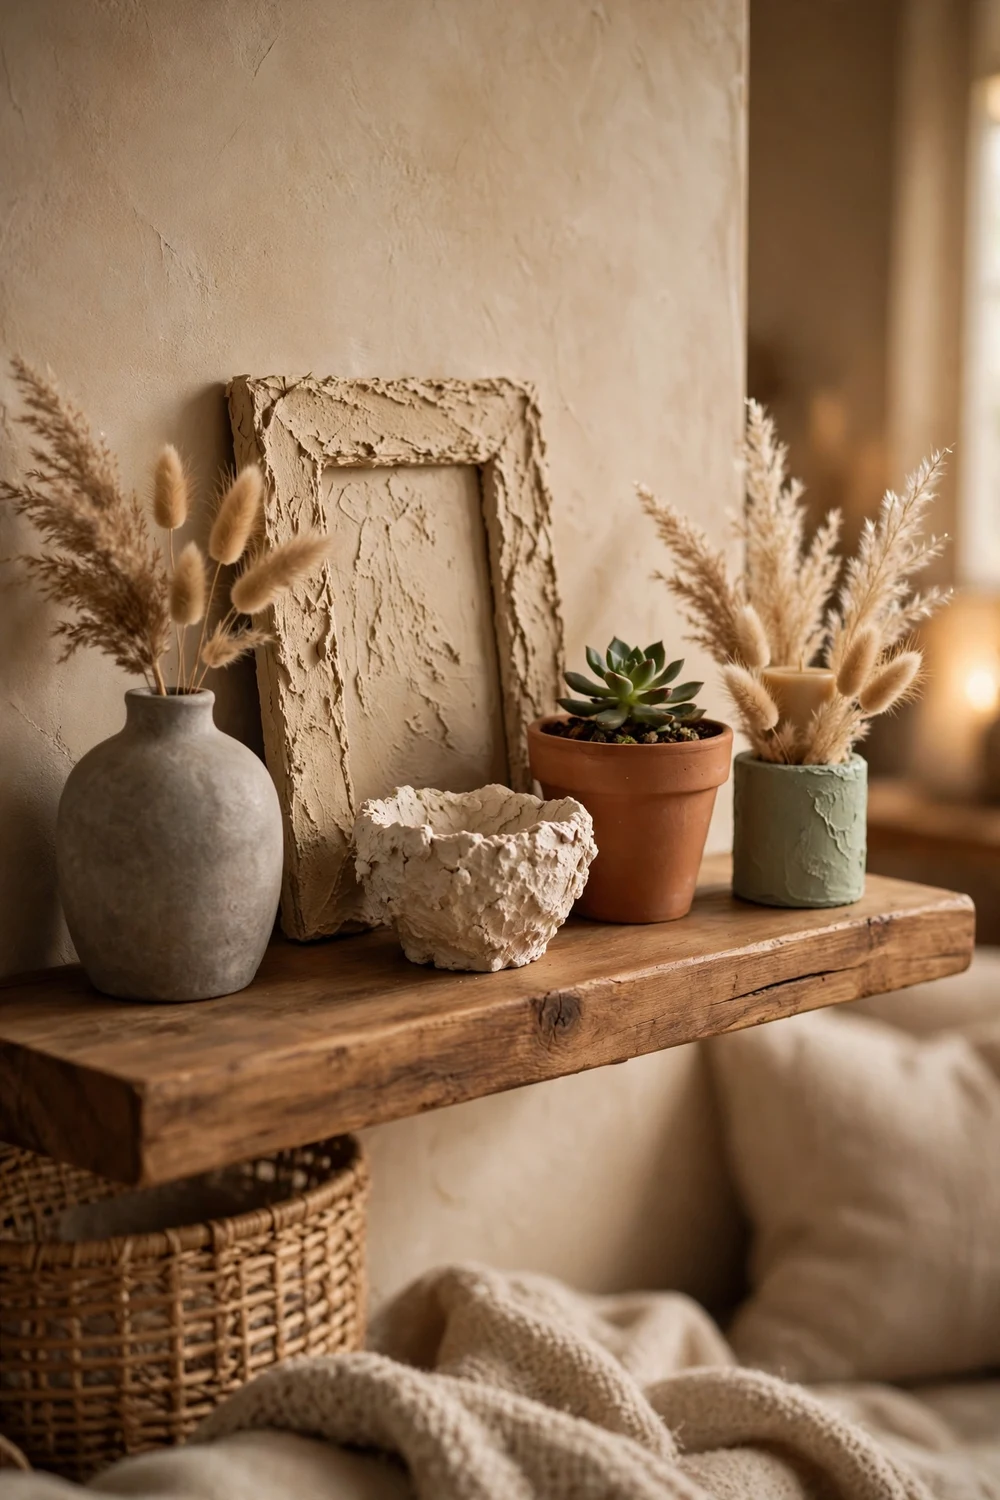
Once you know the mix, the question becomes what to paint first. These six projects are ordered by difficulty, and each one teaches a skill the next one builds on.
The thrifted vase is the classic first project, and it deserves its reputation. A plain glass vase, two coats of the standard mix and a clear sealer will turn a dull charity shop find into the kind of piece that looks at home on a mantel. Use the finished vase for dried stems. This is the project that gave the technique its nickname online, the trash to terracotta vase, and it is still the best place to begin. If you want to see how this single method compares with the wider family of textured finishes, our guide to DIY textured paint techniques puts the six main methods side by side.
Terracotta plant pots come next, and they are even more forgiving than glass. The porous surface grips the paint, the shape is simple, and a slightly uneven finish looks intentional on a pot. Paint two or three pots in the same colour for a set, or paint each one a different tone from the same family, like three shades of warm white. Seal them well, and leave the inside unpainted.
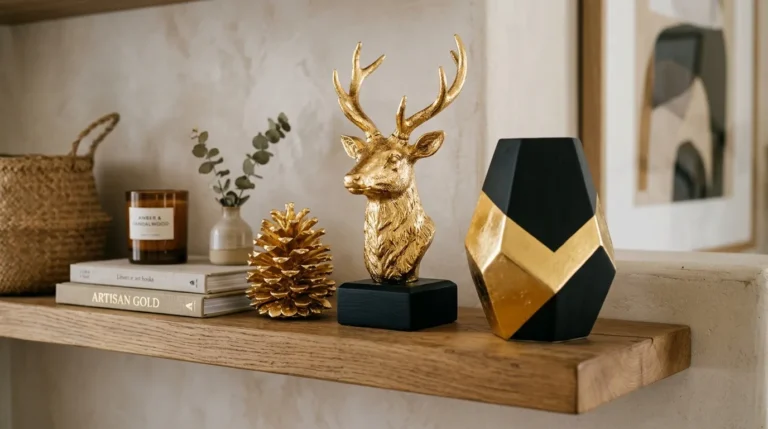
A wooden picture frame is the third project, and it teaches control. The frame is small and easy to handle, but it shows every mistake up close. Use the lighter ratio here, one tablespoon of baking soda per cup of paint, so the texture stays fine and does not overwhelm the shape of the frame. Two thin coats and a matte sealer give a soft, chalky frame that makes even a simple print look considered. Our DIY gold leaf sculpture guide uses the same idea of transforming a plain object with a surface finish, and pairing a textured frame with a gilded accent works surprisingly well on a shelf.
Candle holders are the fourth project, and they introduce the idea of painting a piece that will be used. A chunky holder in a stone finish looks far more expensive than it is. Paint the outside only, seal it with a matte varnish, and keep the paint away from the top rim where the flame sits. If you enjoy making pieces for the table, our luxury DIY candles from thrift store finds show how to build the whole table setting around pieces like this one.
A set of matching storage jars is the fifth project, and it is where consistency matters. Three jars in the same colour, painted with the same batch of paint, look like a set bought together. Three jars painted from three different batches will show small tone differences that give the game away. Mix one large batch and paint all three in the same session.
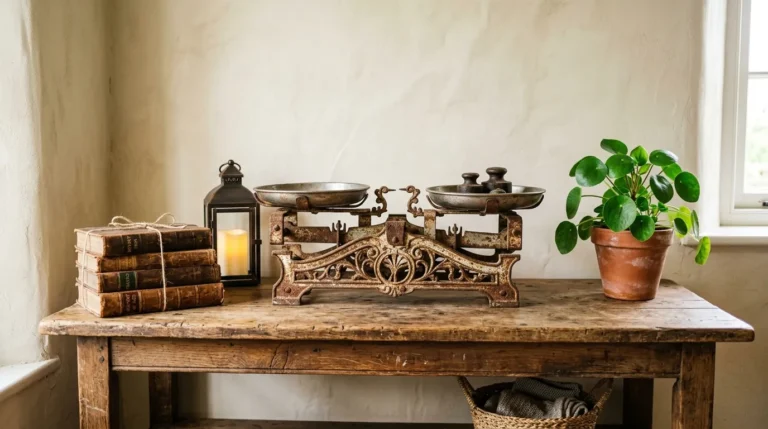
The hardest project on this list is a thrifted figurine or a small sculpture, the kind of piece with folds, faces and fine detail. The texture can fill in delicate features if you apply it too thickly, so use the lightest mix and a small brush, and build the finish in three thin coats rather than two thick ones. It is slow work, and it is the project where patience pays most visibly. Our faux rust paint makeover of a thrifted scale follows the same principle, transforming a detailed thrifted object one careful coat at a time, and it is worth reading before you start a piece with fine detail. The same technique scales up to a wall panel too, and it pairs naturally with the handmade accents in our DIY air dry clay chain tutorial.
Frequently Asked Questions About Baking Soda Texture Paint
Can you add baking soda to any paint?
You can add it to water based paints, including acrylic craft paint, flat latex paint and chalk paint. It does not work well in oil based paint, and you cannot add it to spray paint. Flat or matte finishes give the best stone effect.
What is the best ratio of baking soda to paint?
The most reliable starting point is two parts paint to one part baking soda, which gives a clear stone texture that spreads well and dries evenly. For a lighter chalky finish, use one tablespoon of baking soda per cup of paint. For a heavy stucco finish, use three parts paint to two parts baking soda.
Does baking soda paint crack?
It cracks when the mix is too thick, when a coat is applied too heavily, or when the piece dries too fast in hot air. Thin coats, the standard two to one ratio, and drying in a room with normal warmth and gentle airflow will keep cracking away.
How long does baking soda texture paint take to dry?
A thin coat feels dry to the touch in about thirty to forty minutes, but you should wait at least an hour, and two hours for the standard stone finish, before adding the next coat. Thick coats need four to six hours to feel dry and a full day to dry through.
Do you need to seal baking soda paint?
Yes, if the piece will be handled, dusted or kept for a long time. Unsealed paint marks easily and cannot be wiped clean. Two thin coats of a water based matte varnish or a clear acrylic sealer protect the finish without changing the stone look.
Can you use baking soda paint on a vase that holds water?
No, not directly. Standing water softens the paint and it will peel or flake. Use a painted vase for dried stems, or slip a small glass or jar inside it to hold water for fresh flowers.
Your First Project Starts With One Thrifted Vase
Pick up a plain glass vase from a thrift store, mix half a cup of paint with a quarter cup of baking soda, and dab it on. Let it dry overnight, seal it the next day, and put it on a shelf with a few dried stems. It will not be perfect, and it does not need to be.
What you will have is a finished piece that cost almost nothing, a clear sense of how the mix behaves, and a reason to try the next project. Start with the vase. The rest will follow.