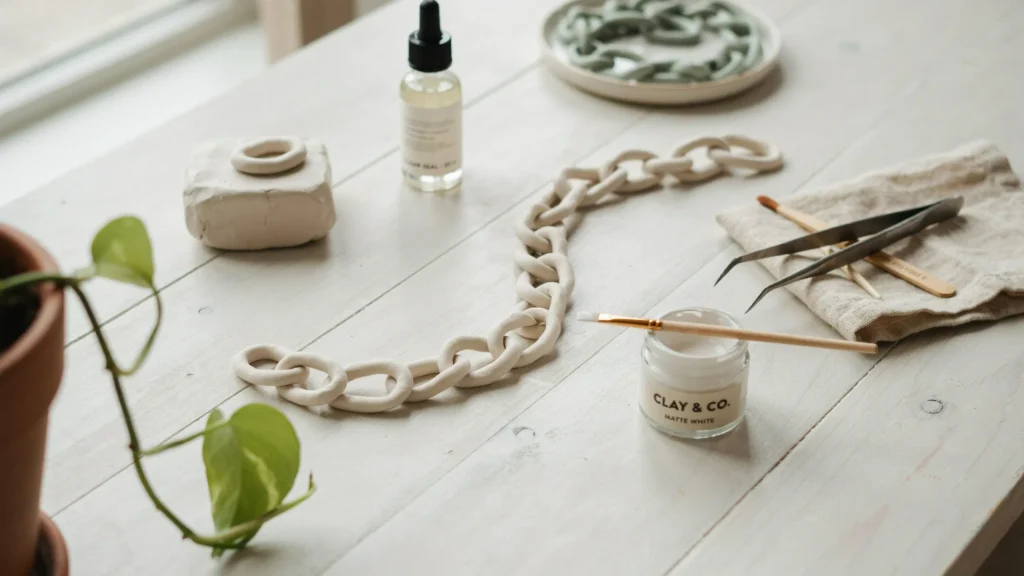
This DIY Air-Dry Clay Chain That Looks Expensive (Under $20) is a great way to craft a stylish, high-end-looking decorative chain at home using air-dry clay, a few simple tools, and some paint perfect for budget conscious home decor enthusiasts. Roll the clay into ropes, shape interlocking links, let them cure for 24–72 hours, then paint and seal. Usually, the total cost stays under $20, saving you money compared to store-bought options.
Decorative chains have quietly become a staple in styled homes, draped over coffee table books, coiled in ceramic bowls, or hung as wall art. The chunky, sculptural look feels luxe, but the price tags often don’t match the simplicity of the object. A wooden or resin decor chain can easily run you $80 or more.
Here’s the good news: you can make one yourself for the price of a coffee. Air-dry clay is cheap, forgiving, and surprisingly sturdy once cured. With a little patience and the right finishing techniques, your handmade chain can pass for something you’d find in a high end boutique.
This guide walks you through every step, from choosing your clay to the painting tricks that sell the “expensive” look. No kiln, no special skills, and no big budget required.
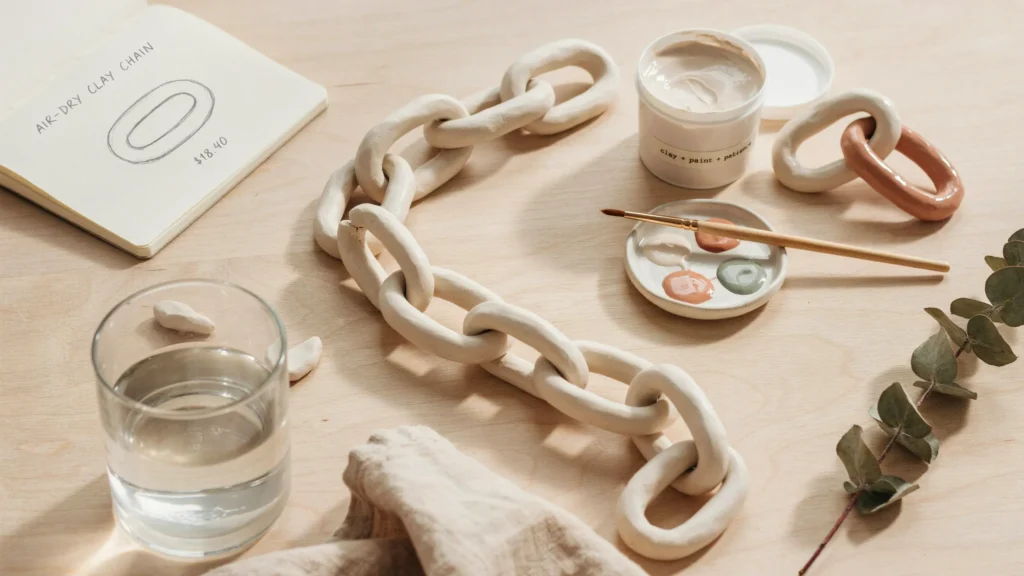
Why air-dry clay is the best choice for a budget decor chain
Air-dry clay is exactly what it sounds like a moldable clay that hardens at room temperature without baking or firing. That single feature makes it ideal for beginners and budget crafters.
Here’s why it works so well for a decorative chain:
- It’s affordable. A 2.2-pound (1 kg) block of air-dry clay typically costs between $8 and $15, enough for a full sized chain with material to spare.
- No special equipment. You don’t need an oven, a kiln, or a pottery wheel. Your hands and a few household items are enough.
- It’s forgiving. Made a lumpy link? Smooth it out with a damp finger before it dries, or sand it down afterward.
- It takes paint beautifully. Once cured, air-dry clay accepts acrylic paint, wood stain, and sealants, which is the secret to that high end finish.
- It’s lightweight. A finished chain won’t scratch your furniture or strain a wall hook.
The main trade off is durability. Air-dry clay is more fragile than fired ceramic, so a decor chain is perfect, but you wouldn’t use this method for something that takes daily abuse.
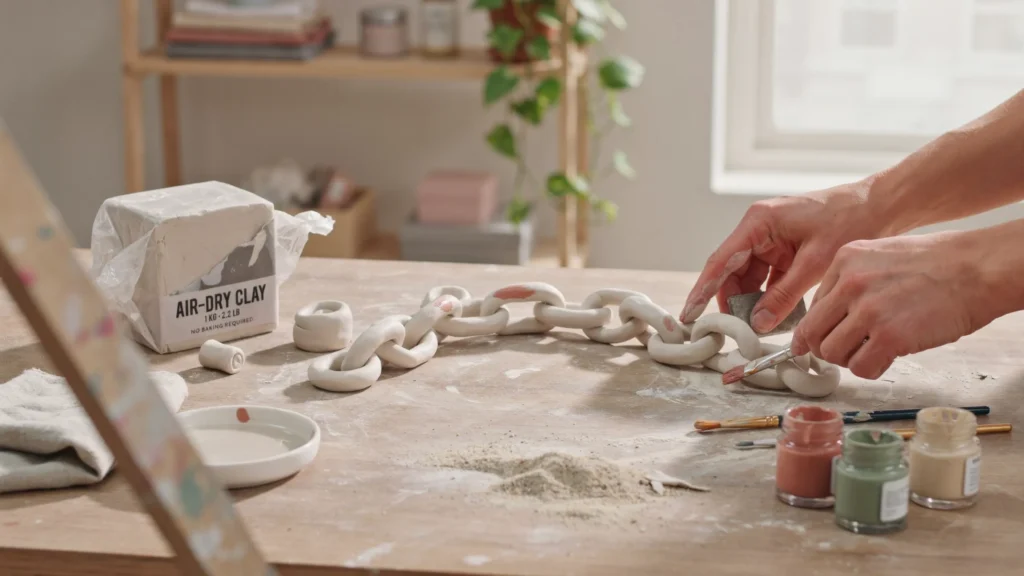
What tools and materials do you need to make a clay chain?
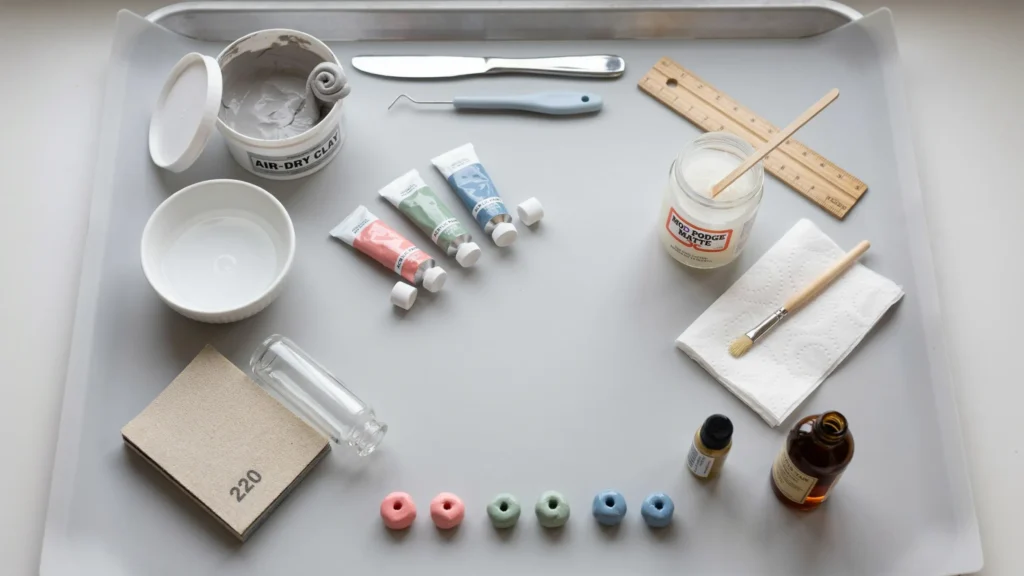
You probably already have most of these items at home. Here’s the full list to get you started, making the process accessible and straightforward for beginners and DIY crafters alike.
Materials:
- Air-dry clay (1–2 pounds, depending on chain length)
- A small bowl of water
- Acrylic paint (your choice of color)
- Clear sealant or Mod Podge (matte or gloss)
- Optional: wood stain or metallic paint for special finishes
Tools:
- A clean, flat work surface (a silicone mat or parchment paper works well)
- A butter knife or a clay cutting tool
- A ruler
- Fine grit sandpaper (220 grit or higher)
- A small paintbrush
- A rolling pin or smooth bottle
That’s it. Most of these are kitchen drawer staples, which keep your total cost low.
How do you make an air-dry clay chain step by step?
This is the heart of the project. Take your time with each stage rushing the drying or skipping the finishing work is where most chains lose their “expensive” look.
Step 1: Prepare your workspace and clay
Cover your work surface with parchment paper or a silicone mat to prevent sticking. Keep your bowl of water within reach, since damp fingers are your main tool for smoothing the clay.
Pinch off a piece of clay and knead it for a minute to warm it up and remove any air bubbles. Air bubbles are a common cause of cracks later, so this small step matters.
Step 2: Form the links for uniformity and strength
Consistency is what separates a homemade looking chain from a polished one. Aim for links that are roughly the same size.
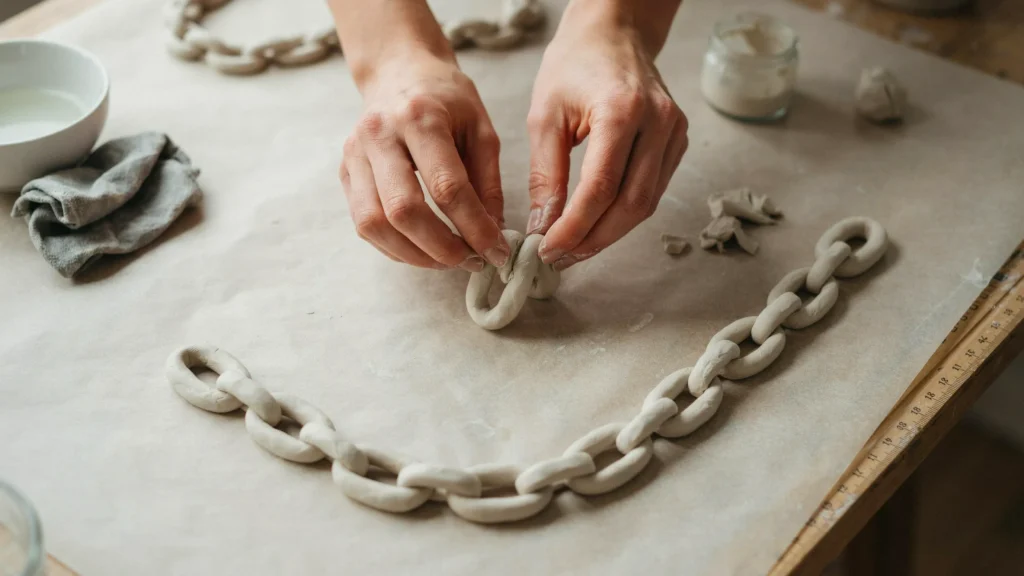
- Roll a piece of clay into a rope about the thickness of your finger (around half an inch). Use a ruler to cut each rope to the same length around 5 to 6 inches works well for a chunky look.
- Bend each rope into an oval and press the ends together firmly. Smooth the seam with a damp finger so it disappears.
- Before closing the next link, loop it through the previous one. This is the key to an interlocking chain each link must connect to the one before it while the clay is still soft.
- Repeat until your chain reaches the length you want. For thicker, sturdier links, make your ropes wider rather than longer.
A good rule of thumb: thicker links are stronger and read as more “designer,” while thin links look delicate but crack more easily.
Step 3: Dry and cure the chain properly
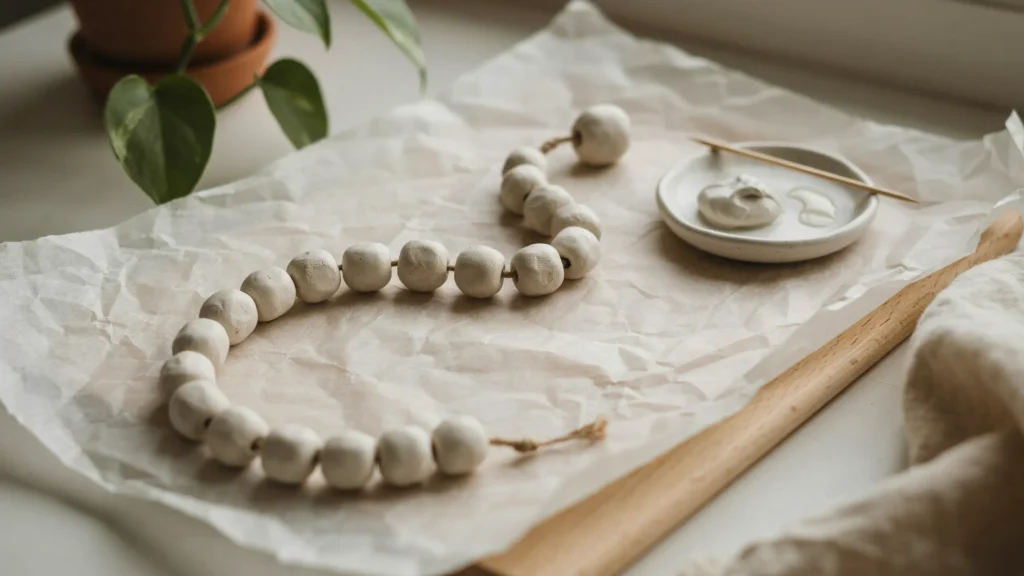
Patience pays off here. Lay your chain flat on the parchment and let it dry slowly at room temperature. Avoid direct sunlight or heaters, since fast drying causes cracks.
Most air-dry clay needs 24 to 72 hours to cure fully. Patience here ensures your chain feels sturdy and lasts longer, boosting your confidence in your craft.
If you spot small cracks during drying, rub a little fresh clay or a clay-and-water paste into the gap and smooth it over.
Step 4: Sand, paint, and seal for an expensive finish
This final stage is where the magic happens. The finishing work is what makes a $15 project look like a $150 one.
- Sand it smooth. Once fully cured, gently sand any rough spots or seams with fine grit sandpaper. Wipe away the dust with a dry cloth.
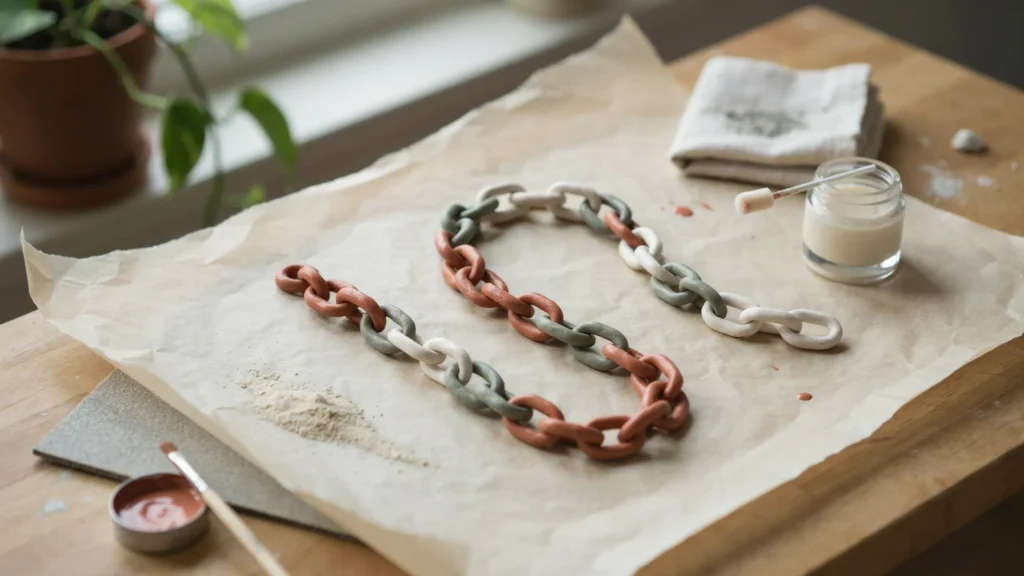
- Paint your base color. Apply two thin coats of acrylic paint rather than one thick coat. Thin layers dry more evenly and won’t pool in the crevices. Warm whites, terracotta, sage, and matte black all read as upscale.
- Add depth (optional). For a more expensive look, try a distressing technique: paint a darker shade over your base, then lightly wipe it off the raised areas. This creates shadow and dimension, like aged stone or carved wood.
- Seal it. Finish with a clear sealant. A matte seal gives a stone like, organic feel, while a gloss seal looks more like polished ceramic. The sealant also protects your chain from moisture and dust.
How can you style a decorative clay chain at home?
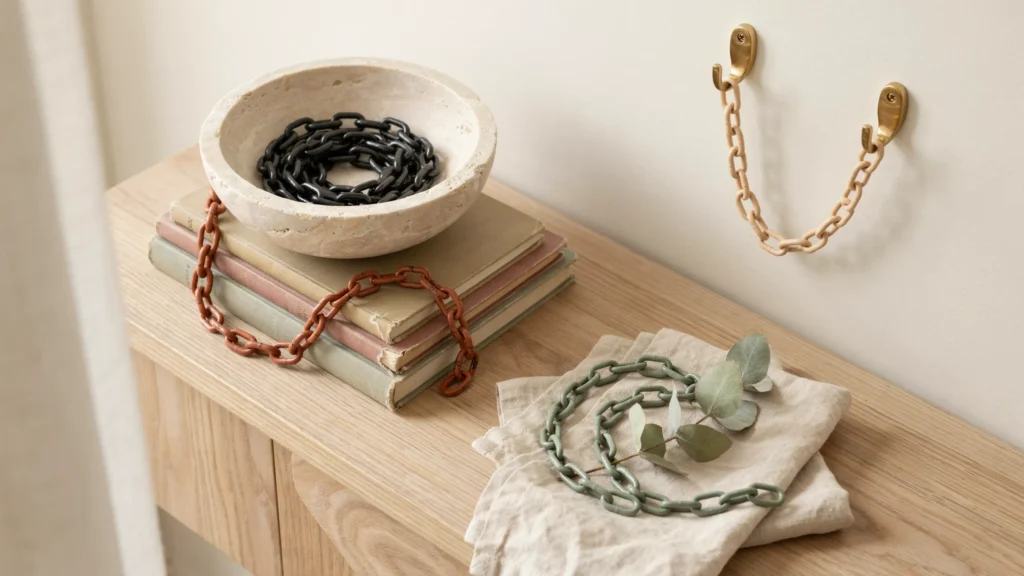
A chain is one of the most versatile decor objects because you can drape, coil, or hang it. Match the finish to your space:
- Modern minimalist: A matte white or black chain coiled inside a stone bowl, or laid in a clean line across a console table.
- Warm and rustic: A terracotta or distressed brown chain draped over a wooden ladder or a stack of cookbooks.
- Coastal or Scandinavian: A soft sage or sandy beige chain layered with linen and natural textures.
- Wall art: Hang a longer chain from two small wall hooks for a sculptural, gallery-style display.
The trick is restraint. One well-placed chain reads as intentional; three competing for attention read as clutter.
How do you fix cracks and other common problems?
Even careful crafters hit snags. Here are the most common issues and how to solve them.
- Cracks while drying: Usually caused by drying too fast or trapped air bubbles. Fix small cracks with a clay-water paste, and prevent them by kneading well and drying slowly.
- Links breaking apart: This happens when seams aren’t pressed firmly. Smooth seams thoroughly while the clay is wet, and avoid making links too thin.
- Uneven drying: Flip the chain regularly so air reaches every side.
- Paint pooling or streaking: Caused by coats that are too thick. Always use thin, even layers and let each dry fully before adding the next.
- Rough, bumpy texture: Sand it down after curing, then wipe clean before painting.
How do you care for and maintain your clay chain?
Air-dry clay decor lasts a long time with a little care. Keep your chain looking fresh with these habits:
- Keep it dry. Air-dry clay isn’t waterproof, even when sealed. Display it indoors and away from bathrooms or kitchens with heavy steam.
- Dust gently. Wipe it with a soft, dry cloth. Skip wet wipes or sprays.
- Handle with care. Pick up the chain by supporting several links at once rather than dangling it from one end.
- Reseal occasionally. If the finish starts to dull after a year or two, add a fresh coat of sealant to refresh the look.
Treated well, a handmade clay chain can stay on display for years.

Air-Dry Clay vs. Oven-Hardening Clay: Which Should You Use?
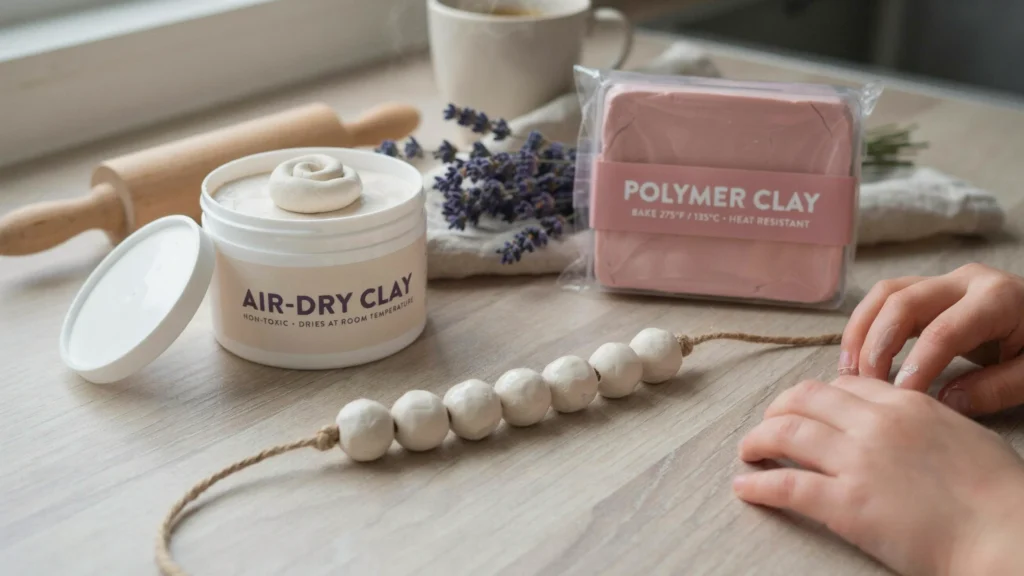
If you’ve browsed the craft aisle, you’ve probably noticed both air-dry clay and oven-hardening clay (like polymer clay) sitting side by side. For a decorative chain, air-dry clay is the better choice since it doesn’t require baking and dries naturally at room temperature, making it more forgiving for beginners. Oven-hardening clay is more durable and better suited for projects that need to withstand heat or heavy handling, like jewelry worn daily. Air-dry clay is also non-toxic, which makes it a safe option if kids want to help with the shaping process.
Where to Buy Air-Dry Clay and Which Brand Is Best?
Air-dry clay is easy to find at most craft stores or online, and a few brands stand out for chain-making projects. Crayola Air-Dry Clay is a great pick for beginners since it’s soft, easy to shape, and dries within about 24 hours. DAS Air-Dry Clay is a classic choice with a smoother finish, ideal for larger or chunkier chain links, and it comes in extra options like terracotta and stone tones if you want to skip painting altogether.

Can You Speed Up Drying Time With an Oven Trick?
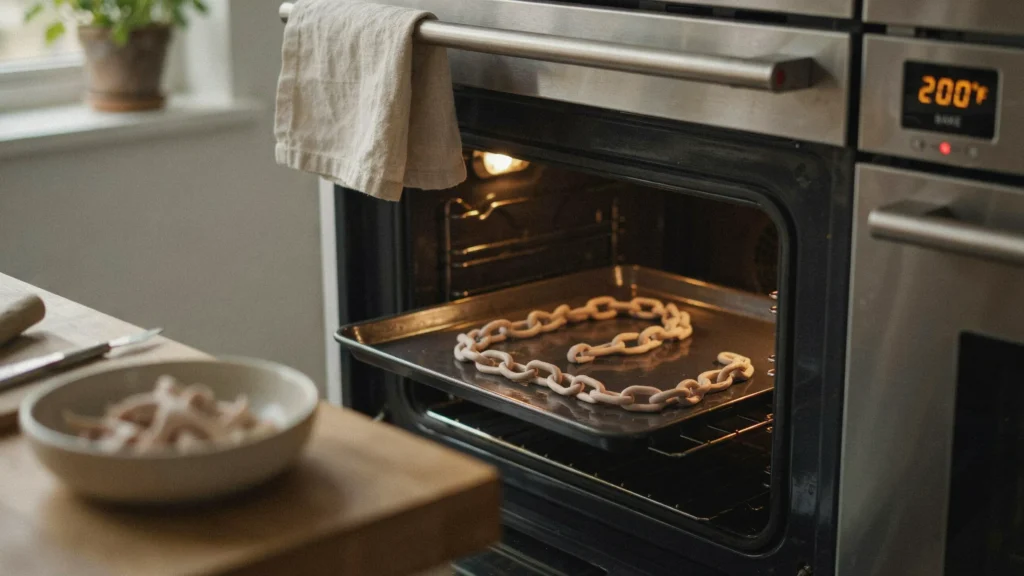
If you don’t want to wait the full 24 to 72 hours, there’s a shortcut. Place your fully shaped clay chain on a baking sheet, put it in a cold oven, and set the temperature to around 200 degrees. Let it bake for about 15 minutes, no longer, since higher heat or extra time can cause the clay to burn or crack. This method works best for thinner links; chunkier chains still do best with slow, natural air drying to avoid warping.
How Do You Get That Stone or Granite-Look Finish?
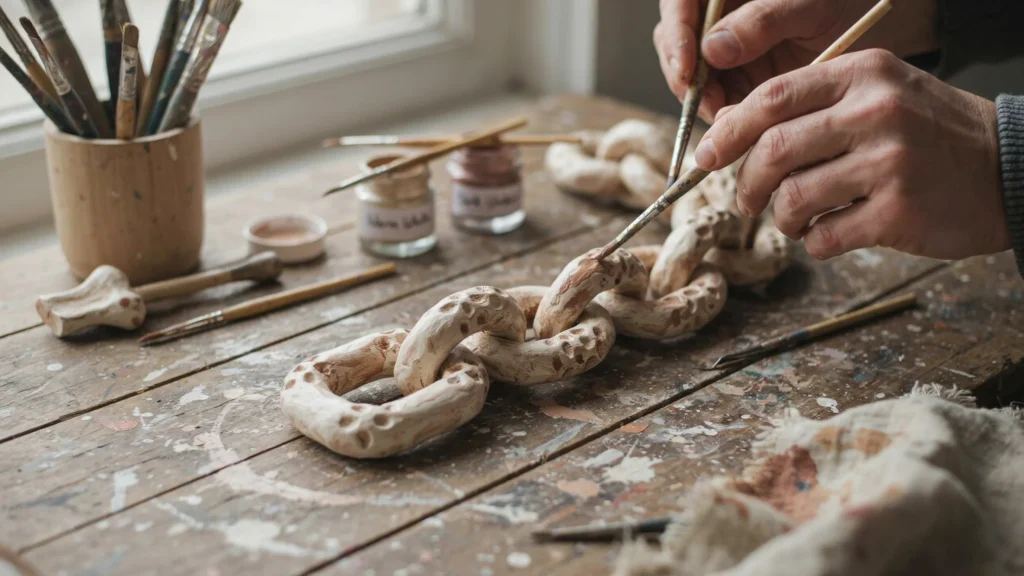
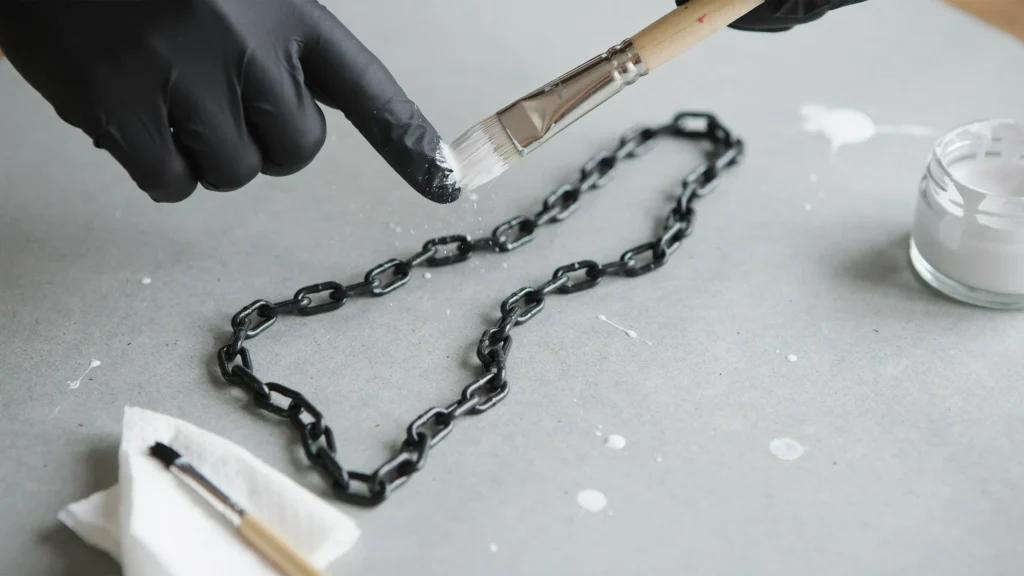
The paint technique is what really sells the expensive, designer look. After your base coat of black or dark paint has dried, dip a medium craft brush into white acrylic paint and tap off the excess. Hold the brush a few inches above the chain and drag your finger across the bristles to splatter fine white flecks across the surface, mimicking natural stone or granite. Wear gloves for this step since it gets messy, and if any splatter lands too heavily in one spot, touch it up with a small brush and a bit of your base color.
More Air-Dry Clay Projects to Try Next
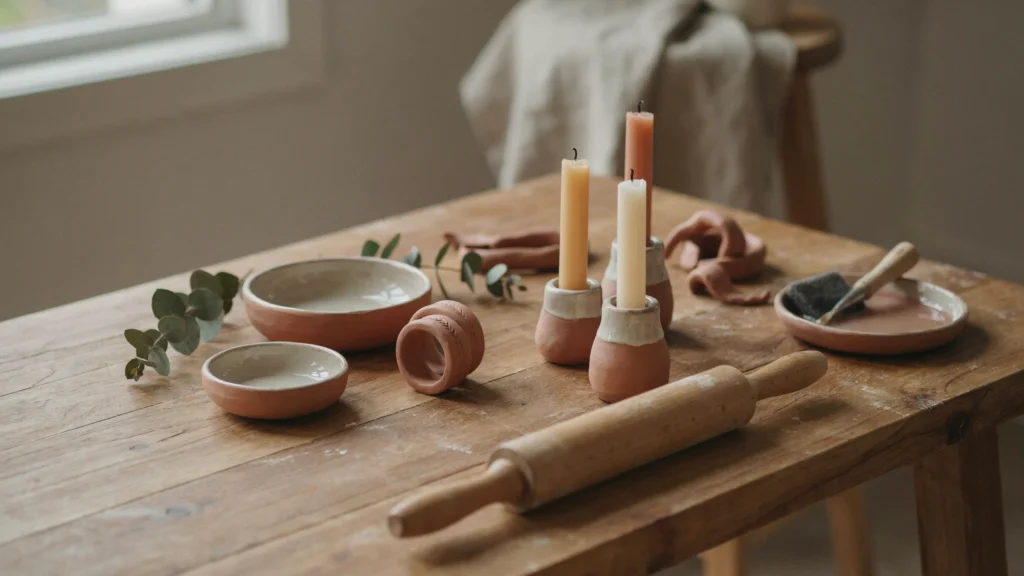
Once you’ve mastered the chain, your leftover clay doesn’t have to go to waste. Try shaping small trinket dishes, napkin rings, or a set of clay candle holders using the same rolling and smoothing techniques. These smaller projects are a great way to practice your seam-smoothing and painting skills before tackling a longer, more detailed chain.
Bring boutique style home with your own two hands.
A decorative clay chain proves that high-end style doesn’t require a high-end budget. For less than $20 and an afternoon of work, you can create a piece that looks pulled straight from a designer’s catalog. The real secret isn’t the clay it’s the finishing touches, from careful sanding to thin paint layers and a thoughtful seal.
Start with a single short chain to get a feel for shaping the links. Once you’ve nailed the technique, experiment with colors, thicknesses, and finishes to match every room in your home. Your next conversation-starting decor piece is sitting in a block of clay, waiting for you to shape it.
Frequently asked questions
How much does it cost to make an air-dry clay chain?
A homemade air-dry clay chain usually costs under $20. A block of clay runs $8 to $15, and most other supplies paint, sealant, sandpaper are common household items. Store bought decorative chains often cost $50 to $200, so making your own saves significant money.
How long does air-dry clay take to cure fully?
Air-dry clay typically takes 24 to 72 hours to cure completely, depending on thickness and humidity. Thicker links take longer. The clay is fully cured when it feels hard and is no longer cool to the touch. Avoid speeding up drying with heat, as this causes cracking.
Is air-dry clay strong enough for a decorative chain?
Yes, air-dry clay is strong enough for a decorative chain meant for display. It’s more fragile than fired ceramic, so it’s not suited for heavy daily use, but a sealed chain handled gently will last for years as home decor.
Can you make air-dry clay waterproof?
Not fully. A clear sealant adds moisture resistance and protects the surface, but air-dry clay should not be submerged or left in damp areas. Keep your finished chain indoors and away from steam or splashes for the best longevity.
What paint works best on air-dry clay?
Acrylic paint works best on cured air-dry clay. Apply two thin coats for even coverage, then finish with a clear sealant. For an upscale look, use warm neutrals like white, terracotta, or sage, and try a distressing technique to add depth and dimension.