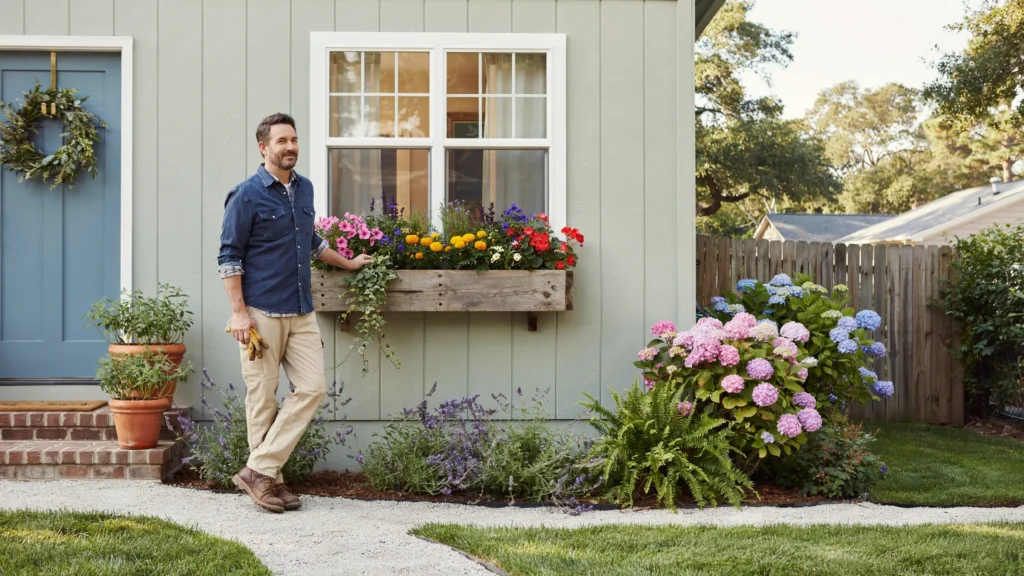
You can build a window box planter from scrap wood in a weekend using basic tools like a saw, drill, and sander. Choose rot-resistant wood like cedar or treated pine, cut and assemble four sides plus a base, add drainage holes, seal it for weather protection, then mount it securely under your window. The total cost can be under $20 if you source free scrap wood. This Easy DIY Scrap Wood Window Box Planter Guide walks you through the process step by step, helping you create a durable and attractive planter on a budget.
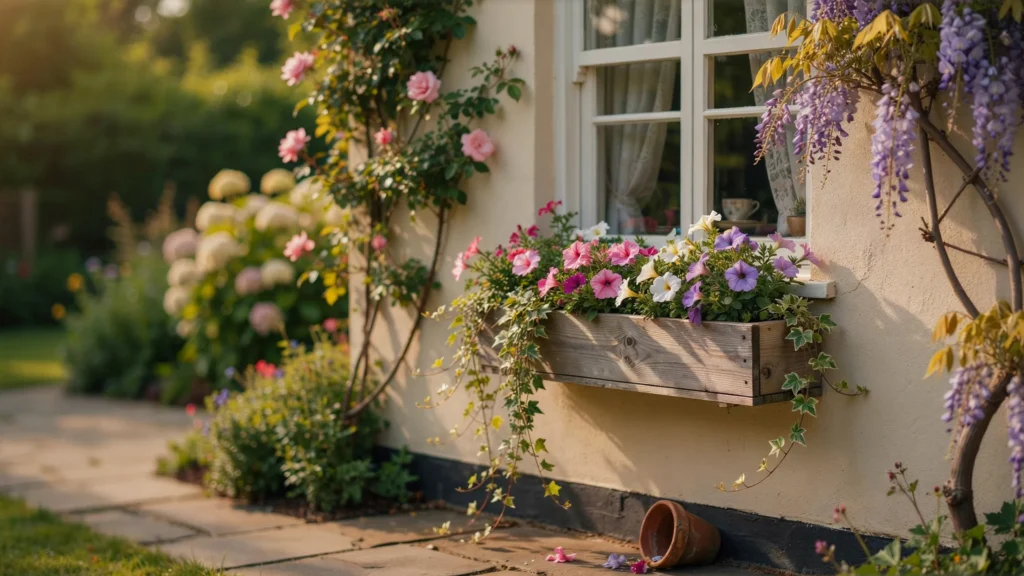
There’s something deeply satisfying about turning a pile of leftover lumber into something beautiful. A scrap wood window box planter does exactly that. It dresses up a plain window, gives your favorite flowers a home, and keeps usable wood out of the landfill.
This project is perfect for beginners. You don’t need fancy tools or expert skills just a free afternoon, some basic safety gear, and a bit of patience. The reward? A custom planter that fits your window perfectly and costs a fraction of what you’d pay in a store.
In this guide, you’ll learn how to plan, build, finish, mount, and plant your own scrap wood window box. We’ll cover the best wood to use, how to avoid common mistakes like warping and poor drainage, and a few advanced tricks to take your planter to the next level. By the end, you’ll have everything you need to start building today.
Why build a window box from scrap wood?
Scrap wood projects win on three fronts: cost, sustainability, and personality.
First, the savings are real. Store-bought wooden window boxes often run $40 to $100 or more. Build your own from salvaged wood, and your only real costs are screws, sealant, and a liner often under $20 total.
Second, it’s good for the planet. Reusing old pallets, fence boards, or construction offcuts keeps solid wood out of landfills. You’re giving material a second life instead of buying something new.
Third, you get full control over the design. Want a rustic farmhouse look? Leave the wood weathered. Prefer something sleek and modern? Sand it smooth and paint it a bold color. A DIY box matches your home and your taste in a way mass-produced versions never can.
How do you plan a window box planter?
Good planning prevents wasted wood and frustrating do-overs. Spend a little time here before you cut anything.
How do you measure for the right fit?
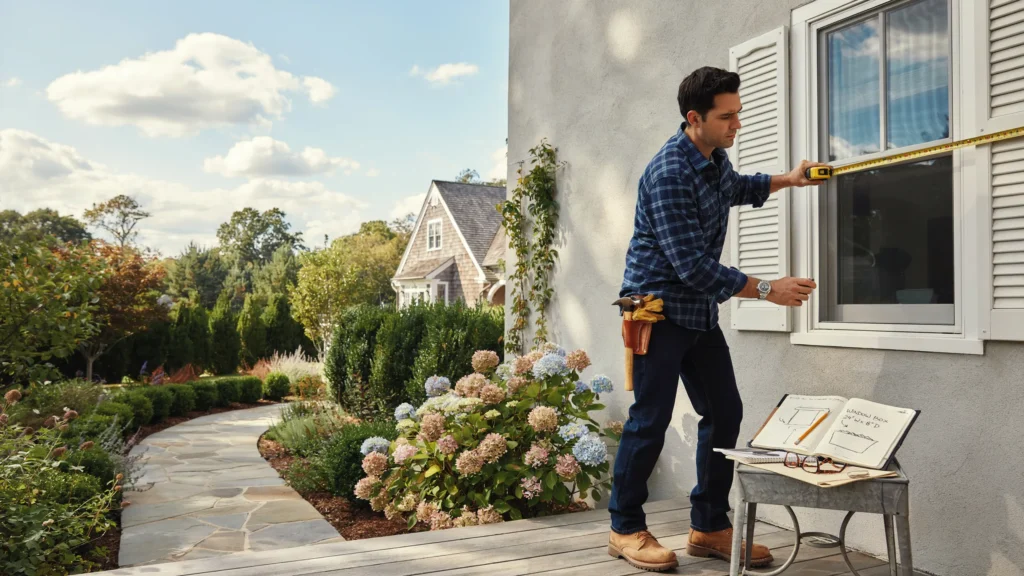
Start with your window. Measure the width of the window or the sill where the box will sit. A box that spans the full width of the window looks balanced and intentional. A common guideline is to make the box about as wide as the window itself, or slightly narrower.
For depth and height, aim for at least 8 inches in both directions. This gives plant roots enough room to grow and hold moisture. Anything shallower dries out fast and limits your plant choices.
Note your window type, too. Windows that open outward (casement windows) need a box mounted lower so it doesn’t block the swing. Double-hung windows that slide up and down give you more flexibility.
Which scrap wood works best for outdoor planters?
Not all wood survives the weather. For a box that lasts years instead of months, choose rot-resistant options:
- Cedar: Naturally resists rot and insects. Lightweight and beautiful. The top choice if you can find it.
- Redwood: Similar benefits to cedar durable and weather-friendly.
- Treated pine: Affordable and widely available. It’s chemically treated to resist rot, which makes it a solid budget pick.
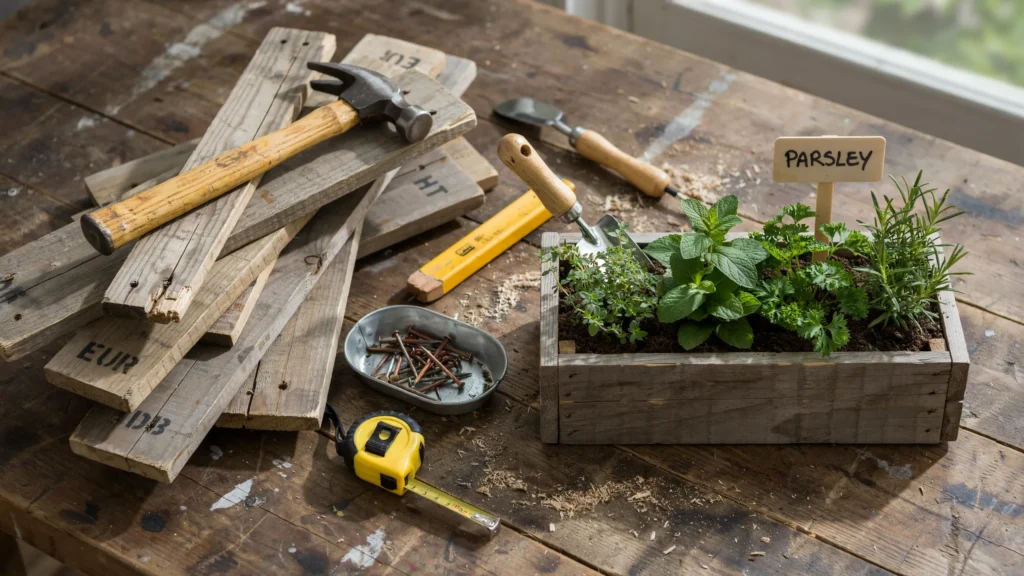
Where do you find scrap wood? Check these sources:
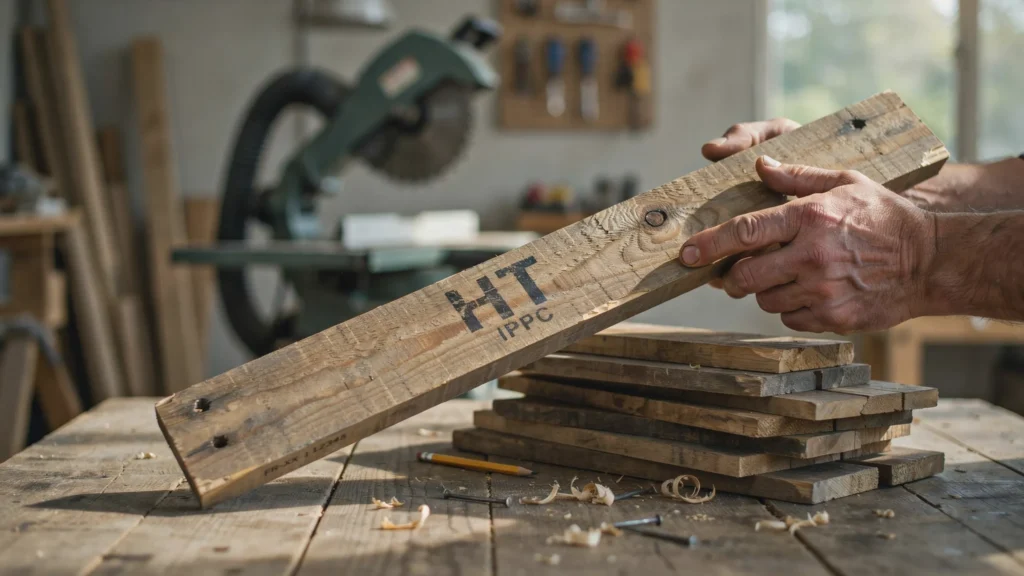
- Wooden shipping pallets (look for the “HT” stamp, meaning heat-treated and safe)
- Old fence boards
- Construction site offcuts (always ask permission first)
- Leftover deck or fence lumber from past projects
Before building, inspect every piece. Pull out old nails and screws. Avoid wood that’s cracked, soft, or showing signs of rot. Wipe off dirt and let the damp wood dry fully so it doesn’t warp later.
What design choices matter most?
Three design decisions shape your final box:
- Style: Decide on rustic, modern, or traditional before you start. This guides whether you sand heavily, paint, or leave the wood raw.
- Drainage: Every planter needs drainage holes so roots don’t sit in water and rot. Plan for several holes across the bottom. Some builders add a false bottom for extra airflow.
- Liner: A plastic or fabric liner protects the wood from constant moisture and extends the box’s life. Plan to add one before planting.
What tools and materials do you need?
Gather everything before you begin so you’re not running to the store mid-project.
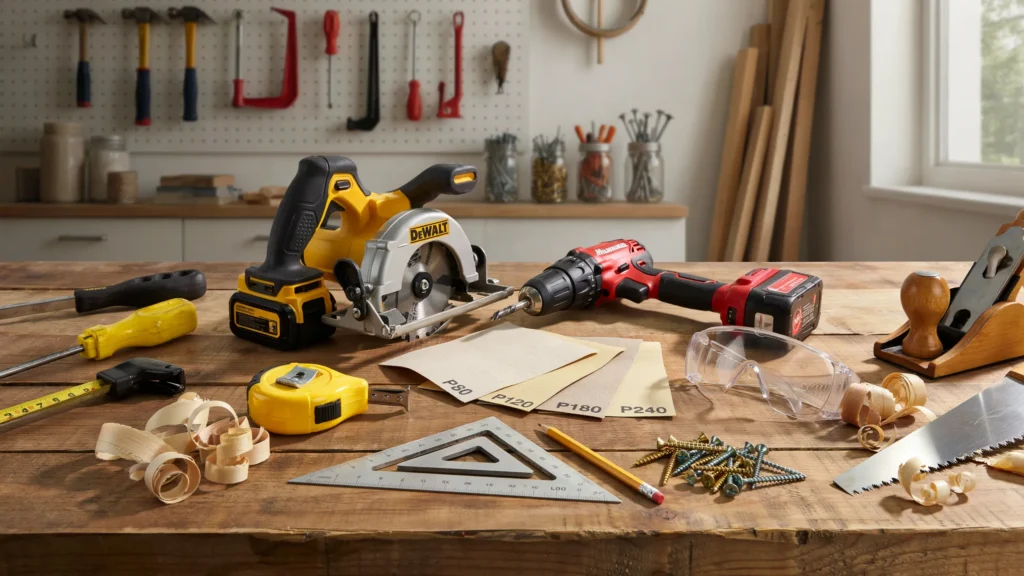
Essential tools:
- Saw (hand saw or circular saw)
- Drill with bits
- Tape measure
- Sander or sandpaper
- Safety gear (goggles, gloves, dust mask)
Materials checklist:
- Scrap wood (cleaned and inspected)
- Exterior screws or galvanized nails
- Waterproof wood glue
- Outdoor sealant or paint
- Liner (plastic sheeting or landscape fabric)
Using exterior-grade screws and galvanized nails matters. Regular fasteners rust quickly outdoors and stain your wood with ugly streaks.
How do you build the window box step by step?
Now for the fun part. Take your time and double-check measurements as you go.
Step 1: Cut the wood
Measure and mark each piece with a pencil before cutting. You’ll need:
- One base
- Two long sides (front and back)
- Two short sides (ends)
Cut slowly and let the saw do the work. Always wear your goggles and keep fingers clear of the blade. Measure twice, cut once it’s a cliché because it’s true.
Step 2: Assemble the base and sides
Pre-drill holes before driving screws. This stops the wood from splitting, especially near the ends. Apply a line of waterproof wood glue along the joints, then fasten with screws.
Check that your corners form right angles as you work. A speed square or even a book corner helps you keep things square. Crooked corners lead to gaps and a wobbly box.
Step 3: Add the front and back panels
Attach the long front and back boards to the assembled base and end pieces. Glue first, then screw. Press the joints tight before fastening so everything sits flush.
Step 4: Drill drainage holes
Flip the box over and drill several holes across the bottom. Space them evenly about one hole every few inches works well. These holes let excess water escape so your plants don’t drown.
Step 5: Add optional details
Want extra flair? Add small wooden feet to lift the box off the sill and improve airflow. You can also attach trim, decorative molding, or a simple painted pattern to match your home.
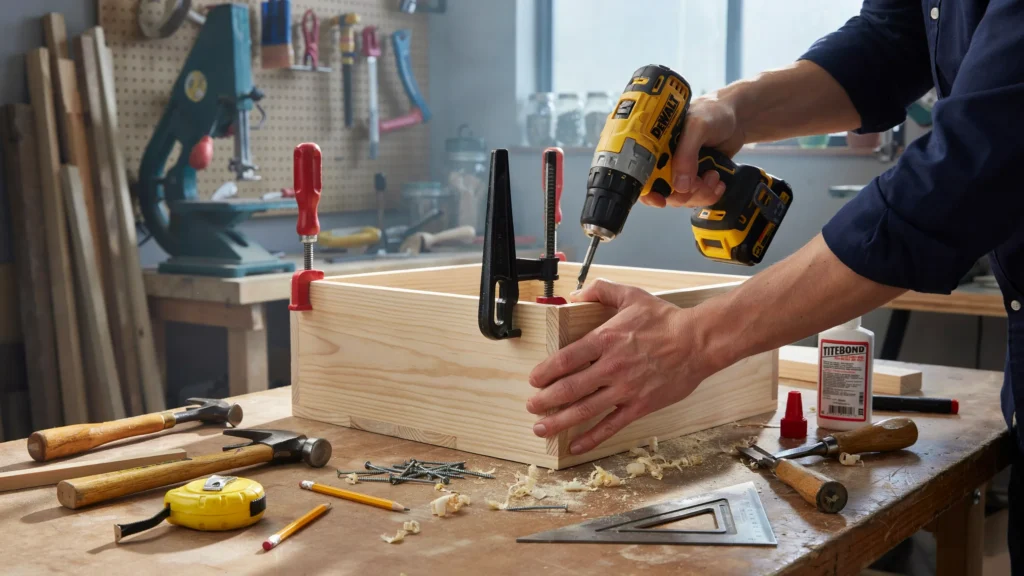
Can You Add Decorative Stencils to a Window Box Planter?
A plain wooden box looks nice enough on its own, but a stenciled design on the front panel turns it into a real focal point. Simple stencils work best on a window box since the surface is narrow and often viewed from below or from a distance, so bold shapes, a house number, a short word, or a basic floral motif read clearly without needing fine detail. Paint the base coat first and let it fully cure, then tape the stencil down firmly along every edge before applying a contrasting paint color in light layers, since heavy, wet coats tend to bleed underneath the stencil edges and blur the design. This step is entirely optional, but it’s one of the easiest ways to make a scrap wood box look intentional rather than thrown together.
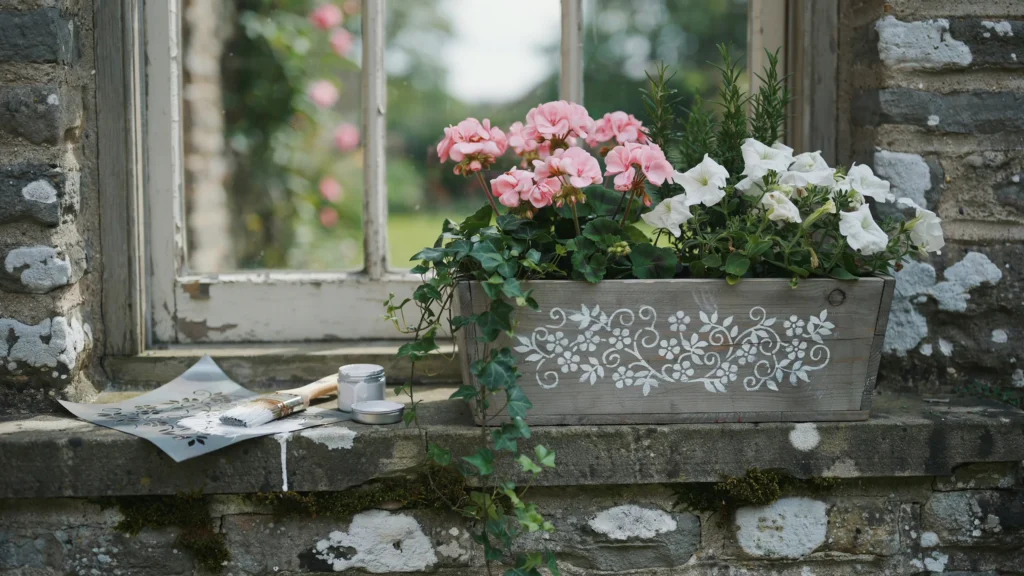
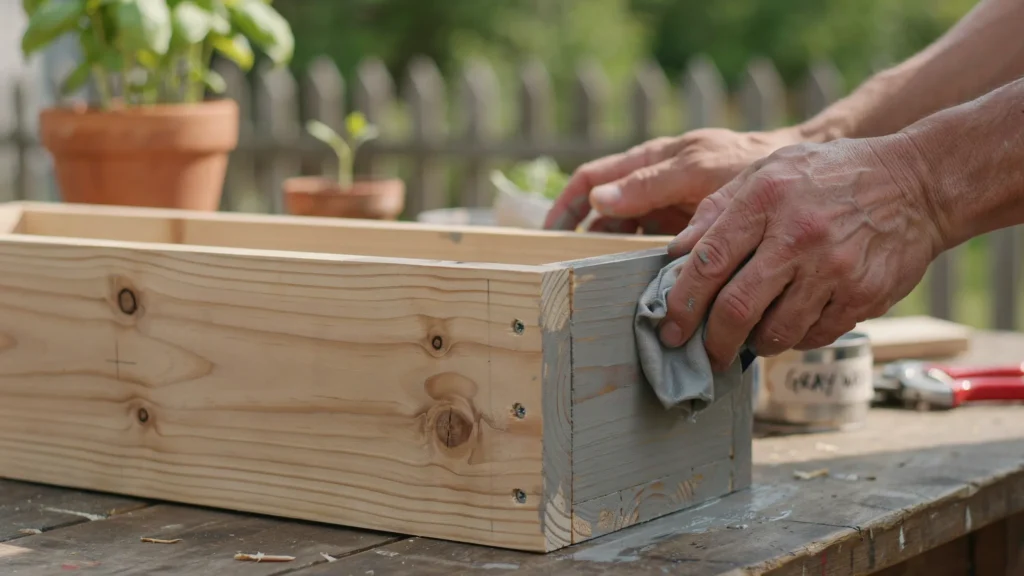
Should You Gray Wash New Wood to Match an Older Structure?
Fresh scrap wood, even when cleaned up, can look noticeably newer than the shed, fence, or house it’s being mounted against, and that mismatch is easy to fix with a simple wash technique. Mix outdoor paint with water at roughly a one-to-one ratio, then brush it onto the raw wood and wipe most of it back off with a rag while it’s still wet, leaving pigment settled into the grain rather than sitting on top like a solid coat. A gray or white wash is the most common choice because it mimics naturally weathered wood, but you can tint the mix toward whatever tone matches your existing structure. This technique also seals in some protection while keeping the wood grain visible, giving you a finished look that feels aged rather than freshly built.
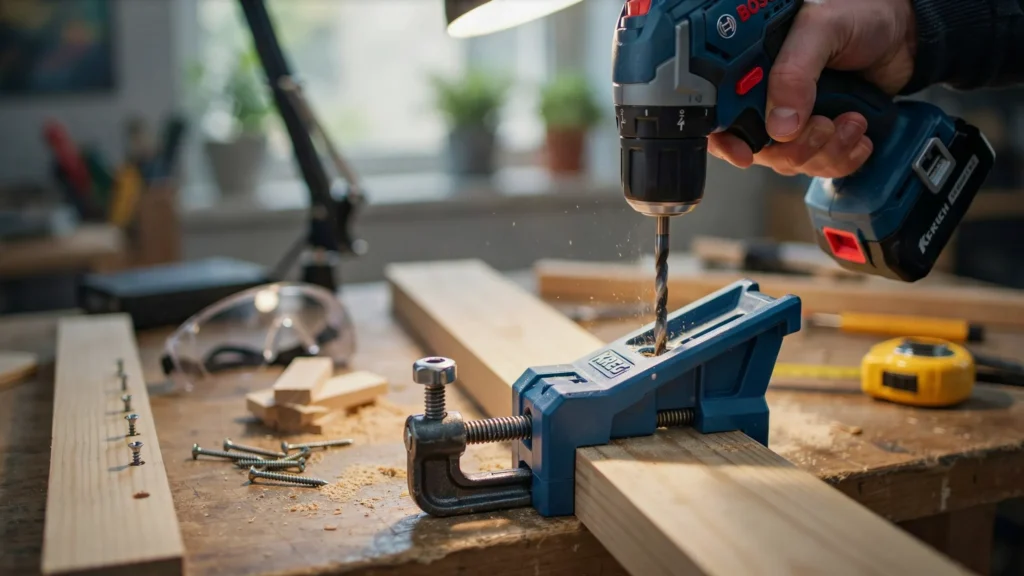
Is Pocket-Hole Joinery Worth It for a Window Box?
Basic screws driven straight through the side of a board work fine, but pocket-hole joinery gives you a noticeably stronger, cleaner-looking box, especially at the corners where most planters eventually loosen over time. A pocket-hole jig drills an angled hole into the back or underside of a board, letting the screw bite into the adjoining piece at an angle that pulls both boards tightly together without splitting the wood. Because the screw hole ends up hidden on the inside or underside of the joint, the outside of the box stays completely smooth with no visible screw heads to fill or sand down. It’s a small tool investment, but if you plan on building more than one planter, it pays for itself quickly in both strength and finish quality.
How Do You Build a Tall, Narrow Planter on Legs?
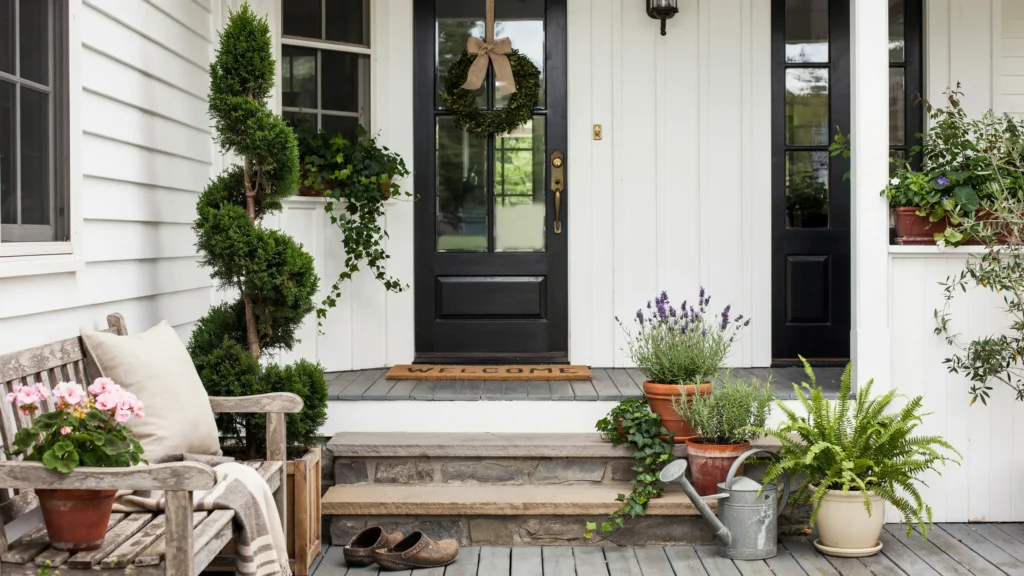
Not every space calls for a low box mounted under a window, sometimes a tall, narrow planter works better for a porch stoop, a tight side entry, or a spot where you want height without much footprint. This version uses the same basic panel-building process as a standard box, but each side panel gets attached to a set of vertical 2×2 legs instead of sitting flush on a windowsill, lifting the whole planter up and giving it a furniture-like presence. The legs also solve drainage and airflow automatically, since the box never sits directly on a wet surface the way a ground-level planter might. This design works especially well paired with a single tall “thriller” plant or even a small faux evergreen, since the height of the legs already does a lot of the visual work.
Should You Add an X-Pattern to the Sides of Your Planter?
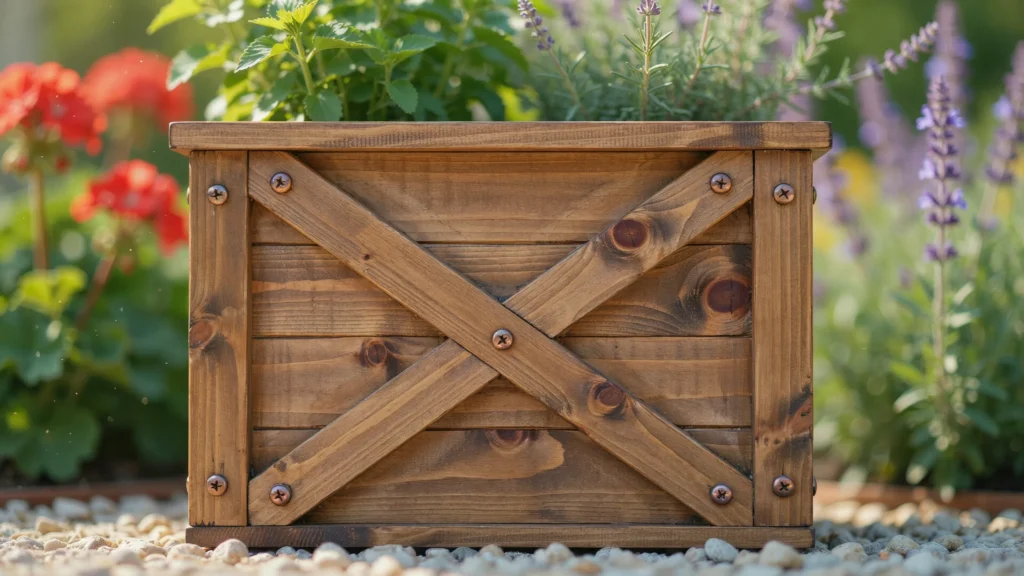
A plain flat side panel is functional, but adding a simple X made from two thin crossed boards gives the whole planter a farmhouse look that reads as far more custom-built than it actually is. Measure the angles of your specific side panel first, since box height and width will change the exact angle needed, then cut two strips to cross diagonally corner to corner and attach them with wood glue and a brad nailer. This detail costs almost nothing in extra material since it only needs a couple of thin scrap strips, but it’s one of the details people notice first when they walk up to a finished planter. It also works well as a way to dress up an otherwise plain side panel that would normally just be a flat, unbroken surface of wood.
What Exact Measurements Should You Cut for a Standard Box?
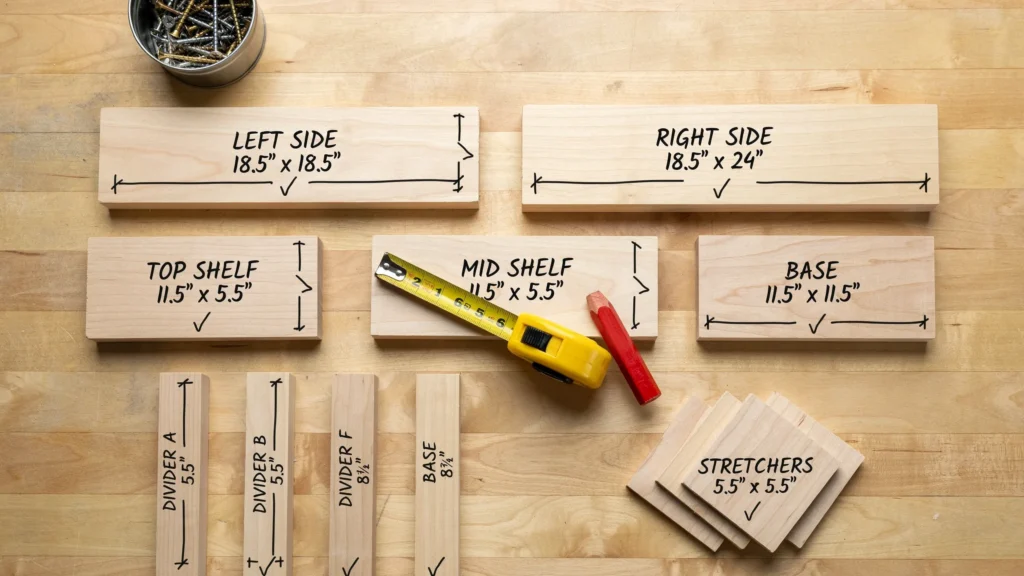
Having a precise cut list on hand before you start saves you from stopping mid-project to remeasure, and it makes the whole build go faster since every piece is ready before assembly begins. For a mid-sized box roughly two feet long, you’ll typically need two side panels around 17 to 18 inches each, a base cut to match your box’s interior width, and two end pieces cut to your chosen depth, usually 8 to 10 inches. If you’re adding legs for an elevated design, cut those to your desired final height minus the depth of the box itself, so the finished planter sits at the height you actually want. Cutting all your pieces at once using the first cut board as a template for the rest keeps every matching piece consistent, rather than measuring and adjusting the saw repeatedly throughout the build.
How do you finish and weatherproof your box?
Finishing is what separates a box that lasts one season from one that lasts years.
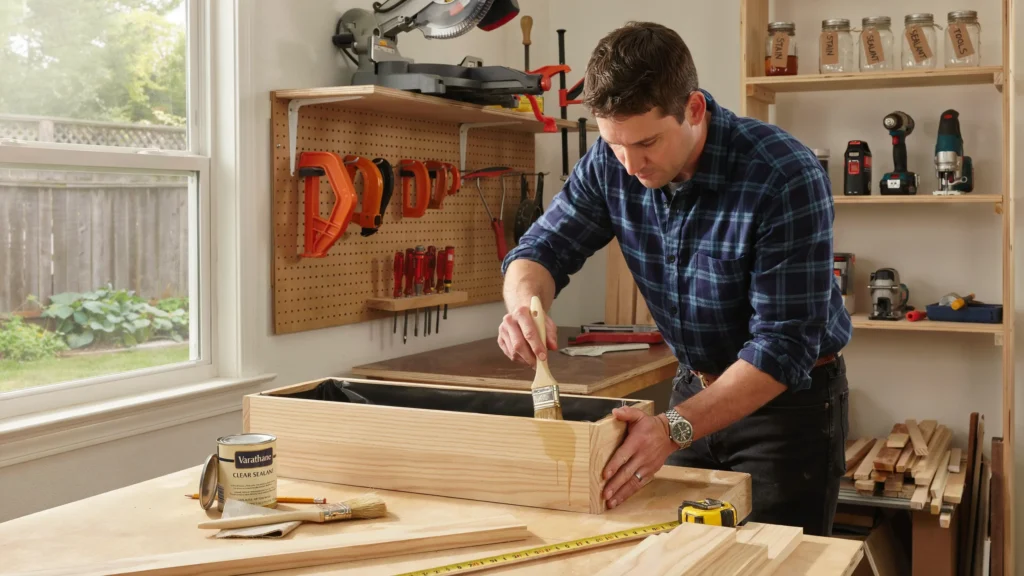
Start by sanding all surfaces smooth. This removes splinters and rough edges and helps paint or sealant stick better.
Next, protect the wood. You have a few options:
- Clear outdoor sealant: Keeps the natural wood look while blocking moisture.
- Exterior paint: Adds color and a protective layer in one. Use a primer first for best results.
- Wood stain plus sealant: Enriches the color while protecting the surface.
Apply thin, even coats and respect the drying times on the label usually a few hours between coats and 24 hours before use. Rushing this step leads to a sticky, uneven finish.
Finally, install your liner. Cut plastic sheeting or landscape fabric to fit inside the box, then poke holes in it to line up with your drainage holes. The liner shields the wood from soil moisture and makes the box last much longer.
How do you mount a window box safely?
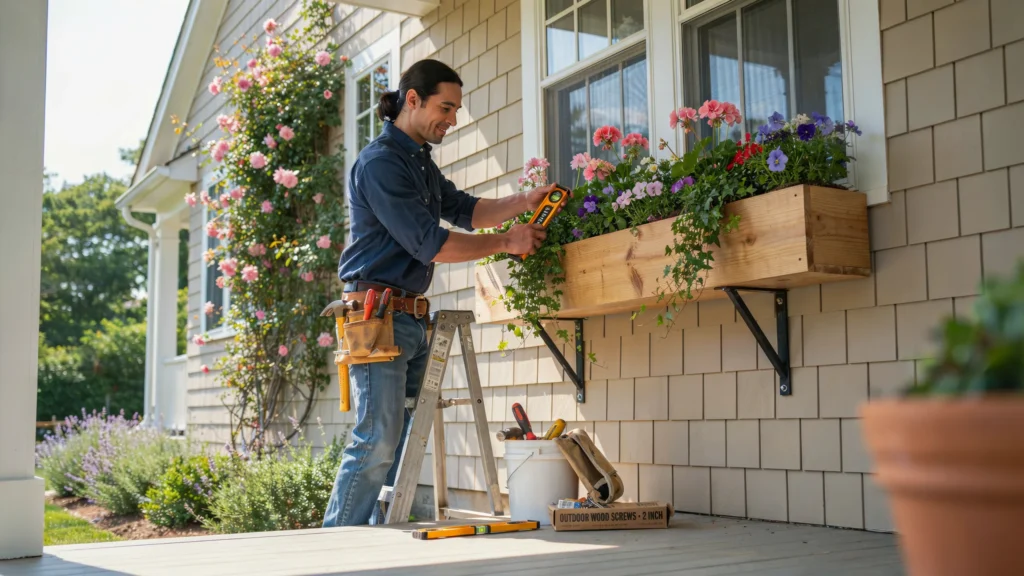
A loaded planter full of wet soil is heavy. Secure mounting keeps it and anyone walking below safe.
Choose sturdy hardware:
- Metal brackets: Screw into the wall below the window and support the box from underneath.
- French cleats: A pair of angled boards that lock together for a strong, hidden hold.
Mount your hardware into solid material like wall studs or a window frame, not just siding. Use a level to make sure the box sits straight a tilted box looks off and drains unevenly.
Test the stability before adding soil. Push gently on the mounted box to confirm it holds firm. When in doubt, add an extra bracket. You can’t be too careful with something hanging overhead.
What should you plant in a window box?
A well-planted box turns a wooden frame into a living display.
How do you choose the right plants?
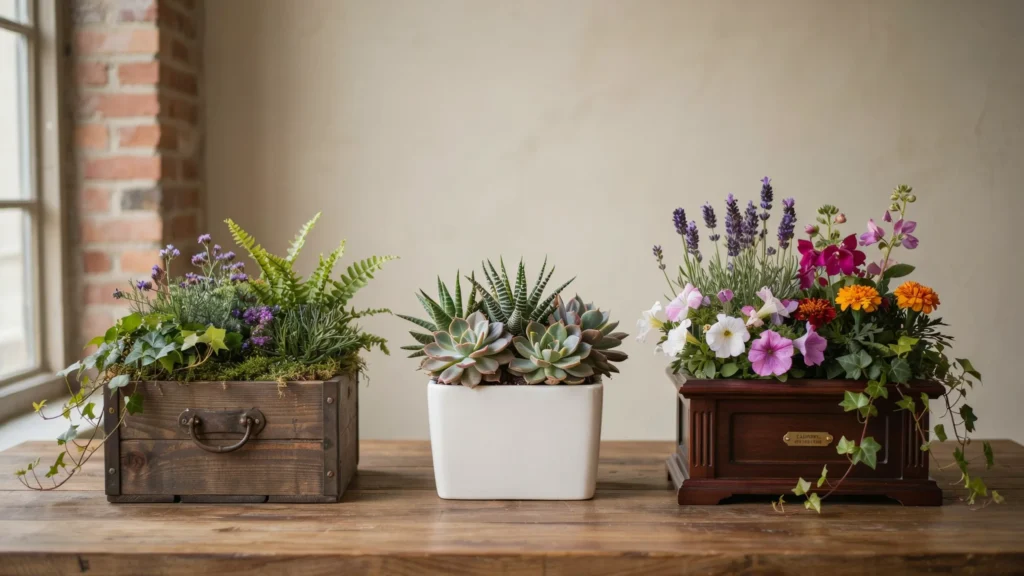
First, match plants to your light. South-facing boxes get lots of sun and suit petunias, geraniums, and herbs. Shady spots do better with impatiens, ferns, or begonias.
Decide between annuals and perennials:
- Annuals bloom big for one season and let you change the look each year.
- Perennials come back yearly but may offer a shorter bloom window.
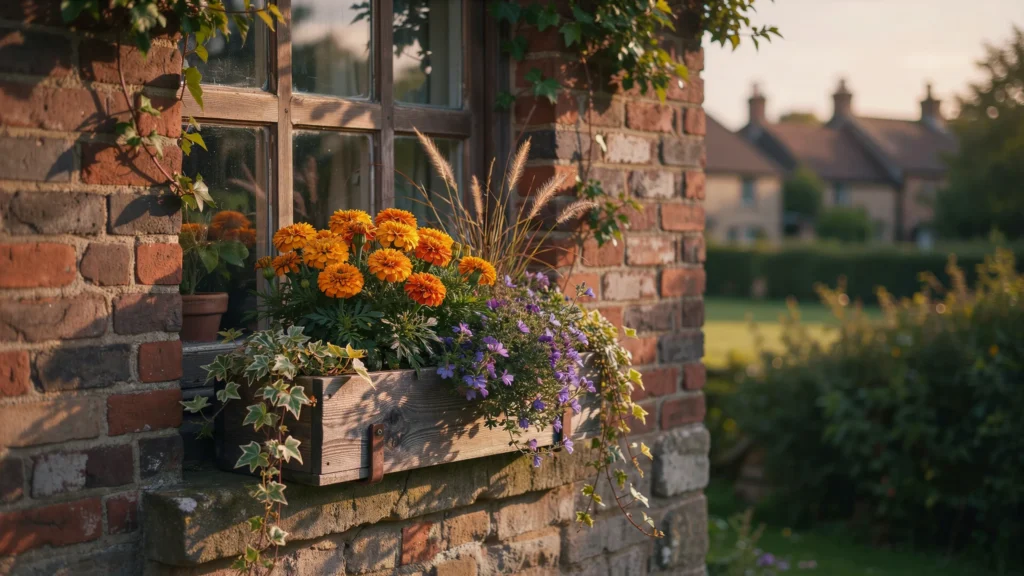
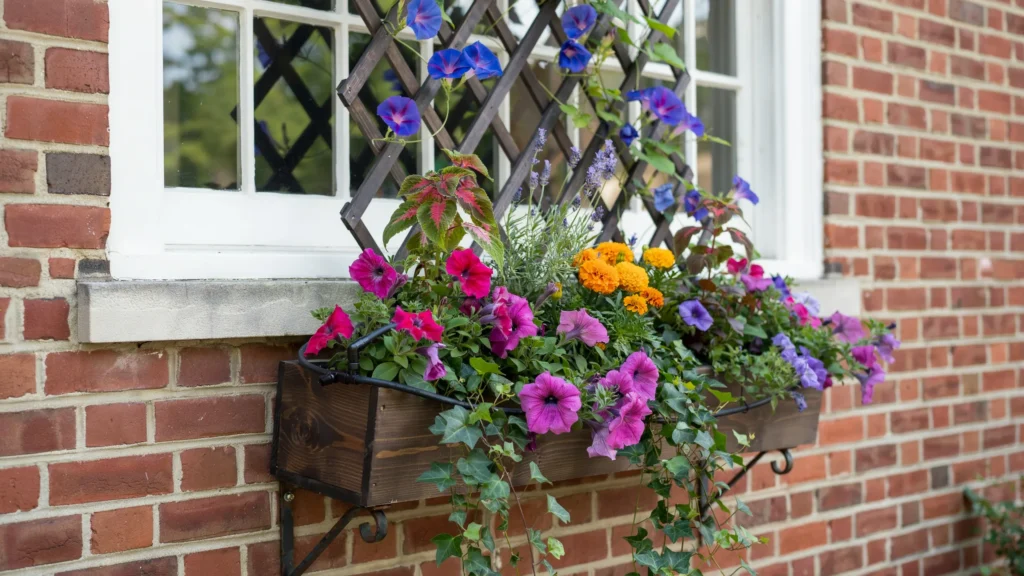
Use the classic “thriller, filler, spiller” formula for a full, layered look:
- Thriller: A tall centerpiece plant for height (like a spiky grass)
- Filler: Rounded plants that fill the middle (like marigolds)
- Spiller: Trailing plants that cascade over the edge (like ivy or trailing lobelia)
How do you plant and care for it?
Fill the box with quality potting mix, not garden soil. Potting mix drains better and won’t compact. Leave about an inch of space below the rim.
Arrange your plants, settle them in, and water thoroughly. Window boxes dry out faster than garden beds, so check the soil often daily in hot weather. A slow-release fertilizer keeps blooms going all season.
How do you fix common window box problems?
Even good builds hit snags. Here’s how to handle the most common ones.
Warping wood: Usually caused by moisture soaking unsealed wood unevenly. Prevent it by sealing all sides including the bottom and using a liner. If a board warps, you may need to replace it and reseal it.
Drainage problems: If water pools, your holes may be too few or clogged with soil. Add more holes, and place a thin layer of gravel or a coffee filter over each hole to stop soil from blocking it.
Plant health issues: Yellow leaves often mean overwatering or poor drainage. Wilting usually means too little water. Check your soil moisture and adjust. Move sun-loving plants to brighter spots if they look leggy and pale.
Advanced tips and customizations
Once you’ve mastered the basics, try these upgrades.
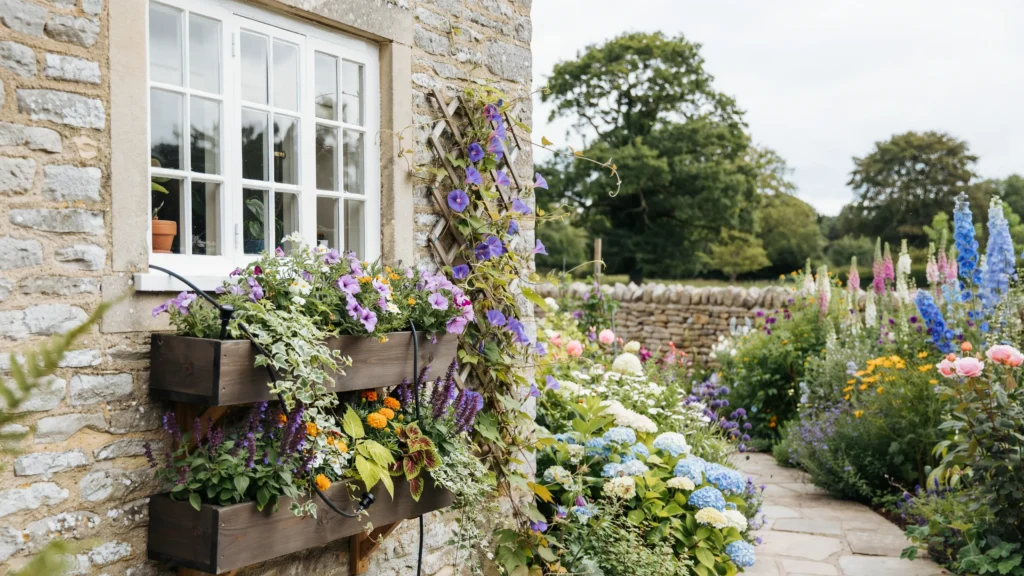
Add a simple irrigation system: A length of drip tubing along the soil keeps the box watered automatically great if you travel or forget to water.
Build in a trellis: Attach a small wooden trellis or wire frame to the back for climbing plants like sweet peas or morning glories.
Go multi-tiered: Stack two or three boxes at different heights for a dramatic vertical garden. Just make sure each tier is mounted securely and gets enough light.
Start building your window box this weekend.
A scrap wood window box planter proves that great projects don’t need a big budget. With some salvaged lumber, basic tools, and a few hours, you can build a custom planter that brightens your home, supports your garden, and keeps usable wood in use.
The best part is how forgiving this project is. Mistakes are easy to fix, and each box you build teaches you something new. So gather your scrap wood, pick your plants, and give it a go.
Built one already? Share a photo of your creation in the comments, and drop your own tips to help fellow DIYers along the way.
Frequently asked questions
How much does it cost to build a scrap wood window box?
If you source free scrap wood from pallets or old fences, your total cost can be under $20. That covers exterior screws, sealant or paint, and a liner. Buying new lumber raises the price but still beats most store-bought boxes, which run $40 to $100 or more.
What is the best wood for an outdoor window box?
Cedar is the top choice because it naturally resists rot and insects and stays lightweight. Redwood offers similar benefits. Treated pine is the most budget-friendly option since it’s chemically treated to resist decay. Avoid untreated softwoods, which rot quickly outdoors.
How long does it take to build a window box planter?
Most beginners can finish in a weekend. Cutting and assembly take a few hours. The longest part is finishing sealant and paint need drying time, often 24 hours before the box is ready to mount and plant.
Do window boxes need drainage holes?
Yes. Drainage holes are essential. Without them, water collects at the bottom and rots both the roots and the wood. Drill several evenly spaced holes across the base, and add a liner with matching holes to protect the wood.
Can I build a window box without power tools?
Yes. A hand saw, a manual drill or bradawl, and basic screwdrivers can get the job done. It takes more effort and time, but the same steps apply. Power tools speed things up and make cleaner cuts.
How do I keep my window box from warping?
Seal all sides of the wood, including the bottom, and add a plastic or fabric liner. Warping happens when moisture soaks into bare wood unevenly. Proper sealing and a liner keep moisture out and your box flat for years.